learn. C4D Mograph Techniques 05
$60.00
learn. C4D mograph techniques with this expert training from Tim Clapham.
10 unique projects exploring Cinema 4D’s Point Based Dynamics System.
Master Rope, Cloth and Soft Bodies.
learn. C4D Mograph Techniques 05 is the fifth in a series of tutorials to help you master the Cinema 4D toolset. This edition focuses on the powerful simulation system, exploring rope, cloth, and soft bodies.
Taught by expert C4D user, Tim Clapham, with over 20 years of experience, these are some of Tim’s go-to techniques, guaranteed to provide you with essential skills for your motion graphics projects.
These tutorials focus on typographic effects, but all setups can easily be applied to other 3D objects or adapted for alternative uses.
Training Summary
Master C4D PBD Simulations
10 Unique Projects
Rope, Cloth, Soft Bodies, plus more
Mostly 100% Procedural Setups
Includes free HDRI files
Scenes, Models & Textures included
All finished setups supplied
Min requirements C4D 2023.1
Basic knowledge of C4D required
Scene files use Redshift 3.5
(Redshift is not required for the training)

With this course the primary focus is on working with the Cinema 4D point based simulation system. You will build ten unique projects, each exploring a different setup or feature. This approach will give you a comprehensive run through of the entire system, leaving you with a solid understanding of PBD simulations in C4D.
We also include all the final scene files, setup with materials and lighting and ready to go in Redshift. You can easily reverse engineer the material setup and adapt these for your scenes.

Duration: 16 minutes (durations are rounded to nearest minute)
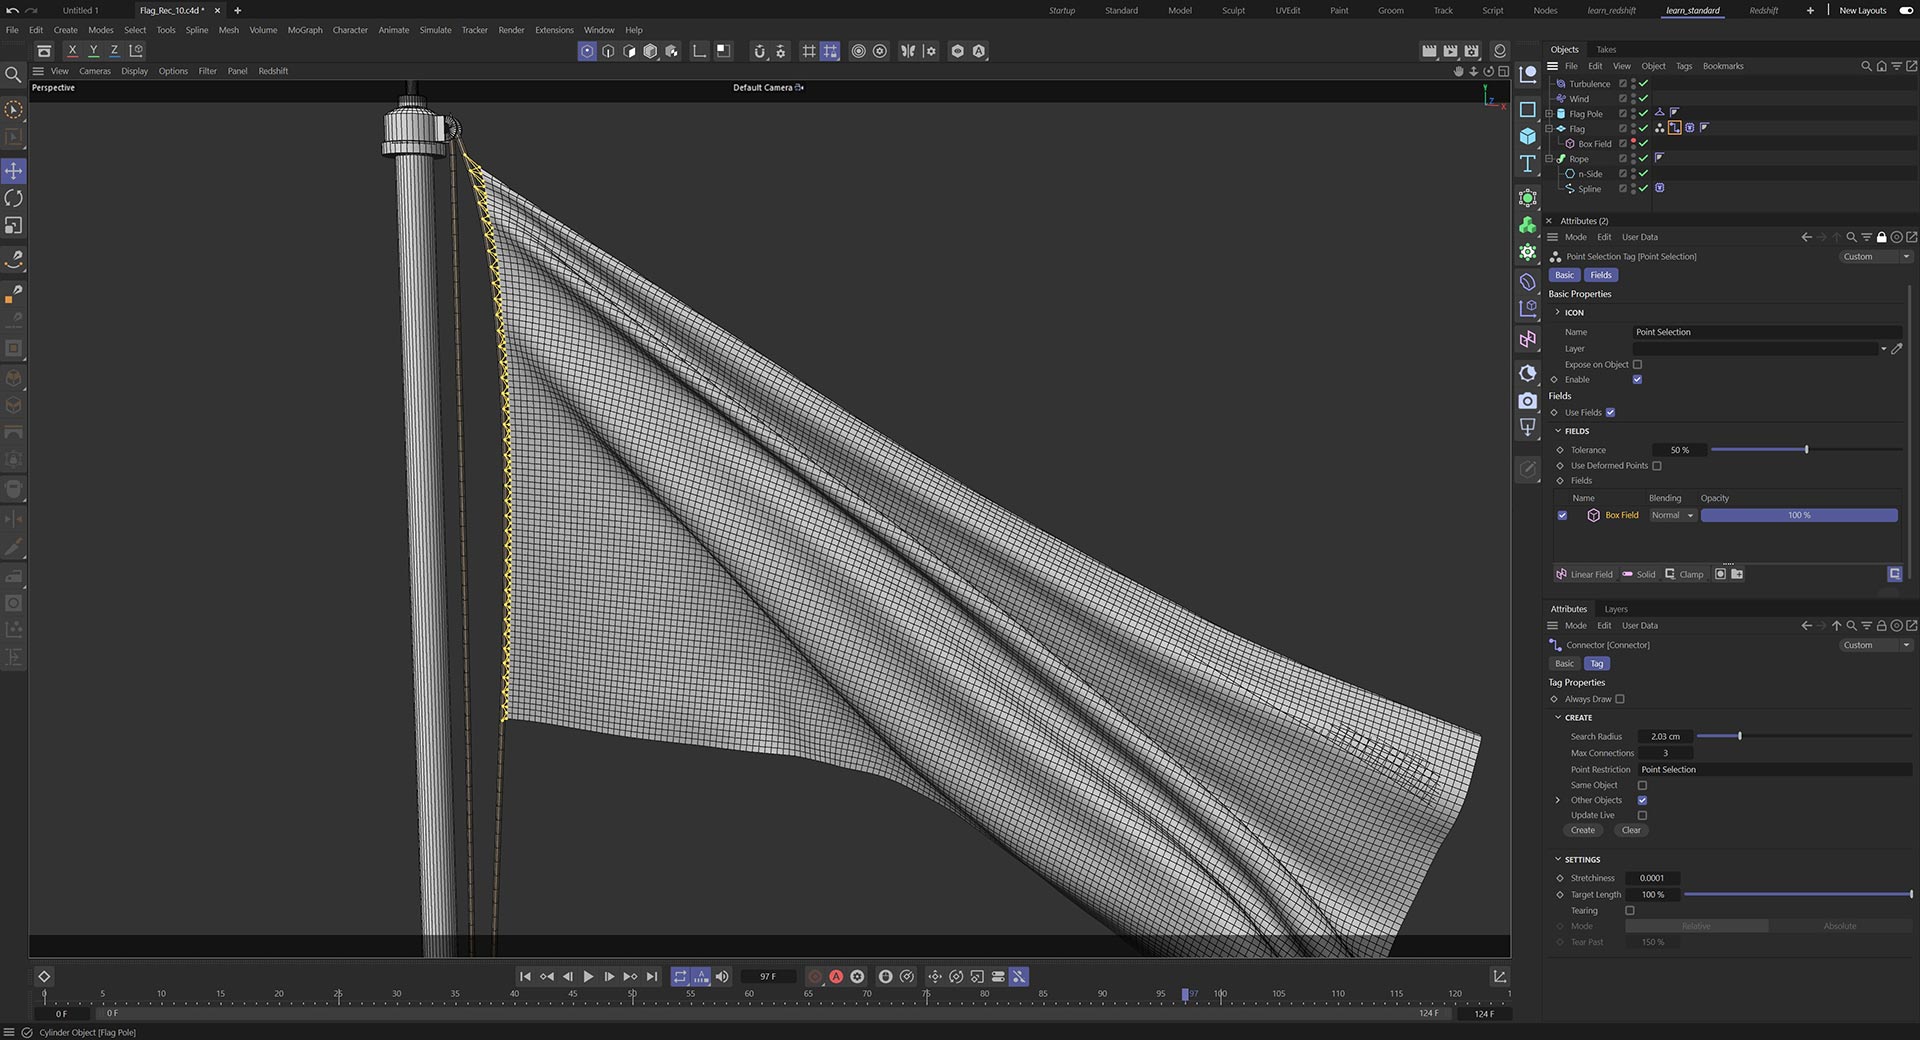
This tutorial introduces you to the Cloth Simulation system. You will learn the fundamental principles of how the simulation system is implemented by creating a flag blowing in the wind. Cinema 4Ds Cloth system works with parametric objects which allows you to keep the scene procedural, we explore some of the key differences between working with polygonal vs procedural objects.
The initial setup for the flag is a basic introduction with the cloth simply pinned in place, we then adapt and improve this by attaching the cloth to a dynamic rope which becomes part of the simulation and results in a more realistic and flexible result.


Duration: 6 minutes
When you work with PBD simulations, there are global controls for controlling the simulation scene settings and also the simulation accuracy. These parameters are applied to all the simulation objects, but sometimes you need more control, or you simply want to keep your more complex simulations separate from something quite basic.
The simulation scene object allows this and you can use this object to separate your scene into multiple simulations, each with their own control. This short tutorial demonstrates how you can use this process to art director your shot and control multiple sims independently.

Duration: 17 minutes
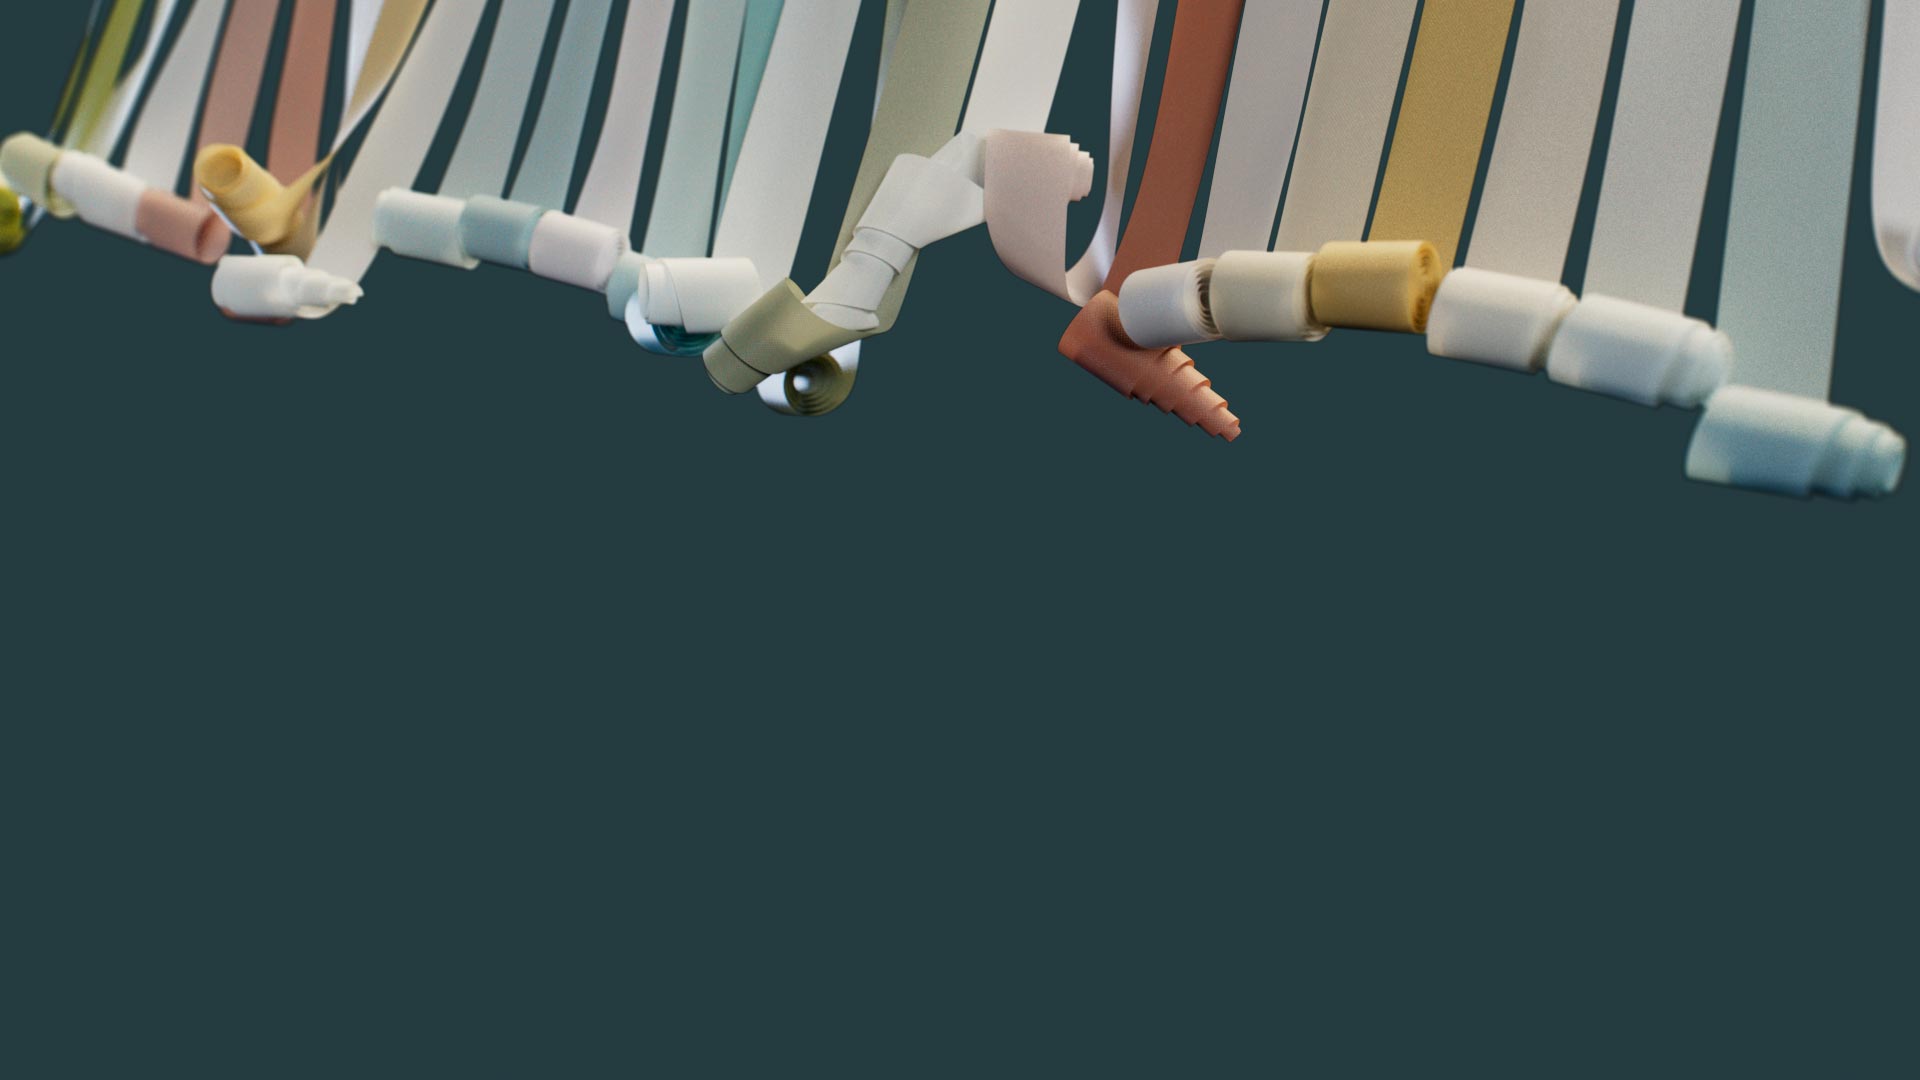
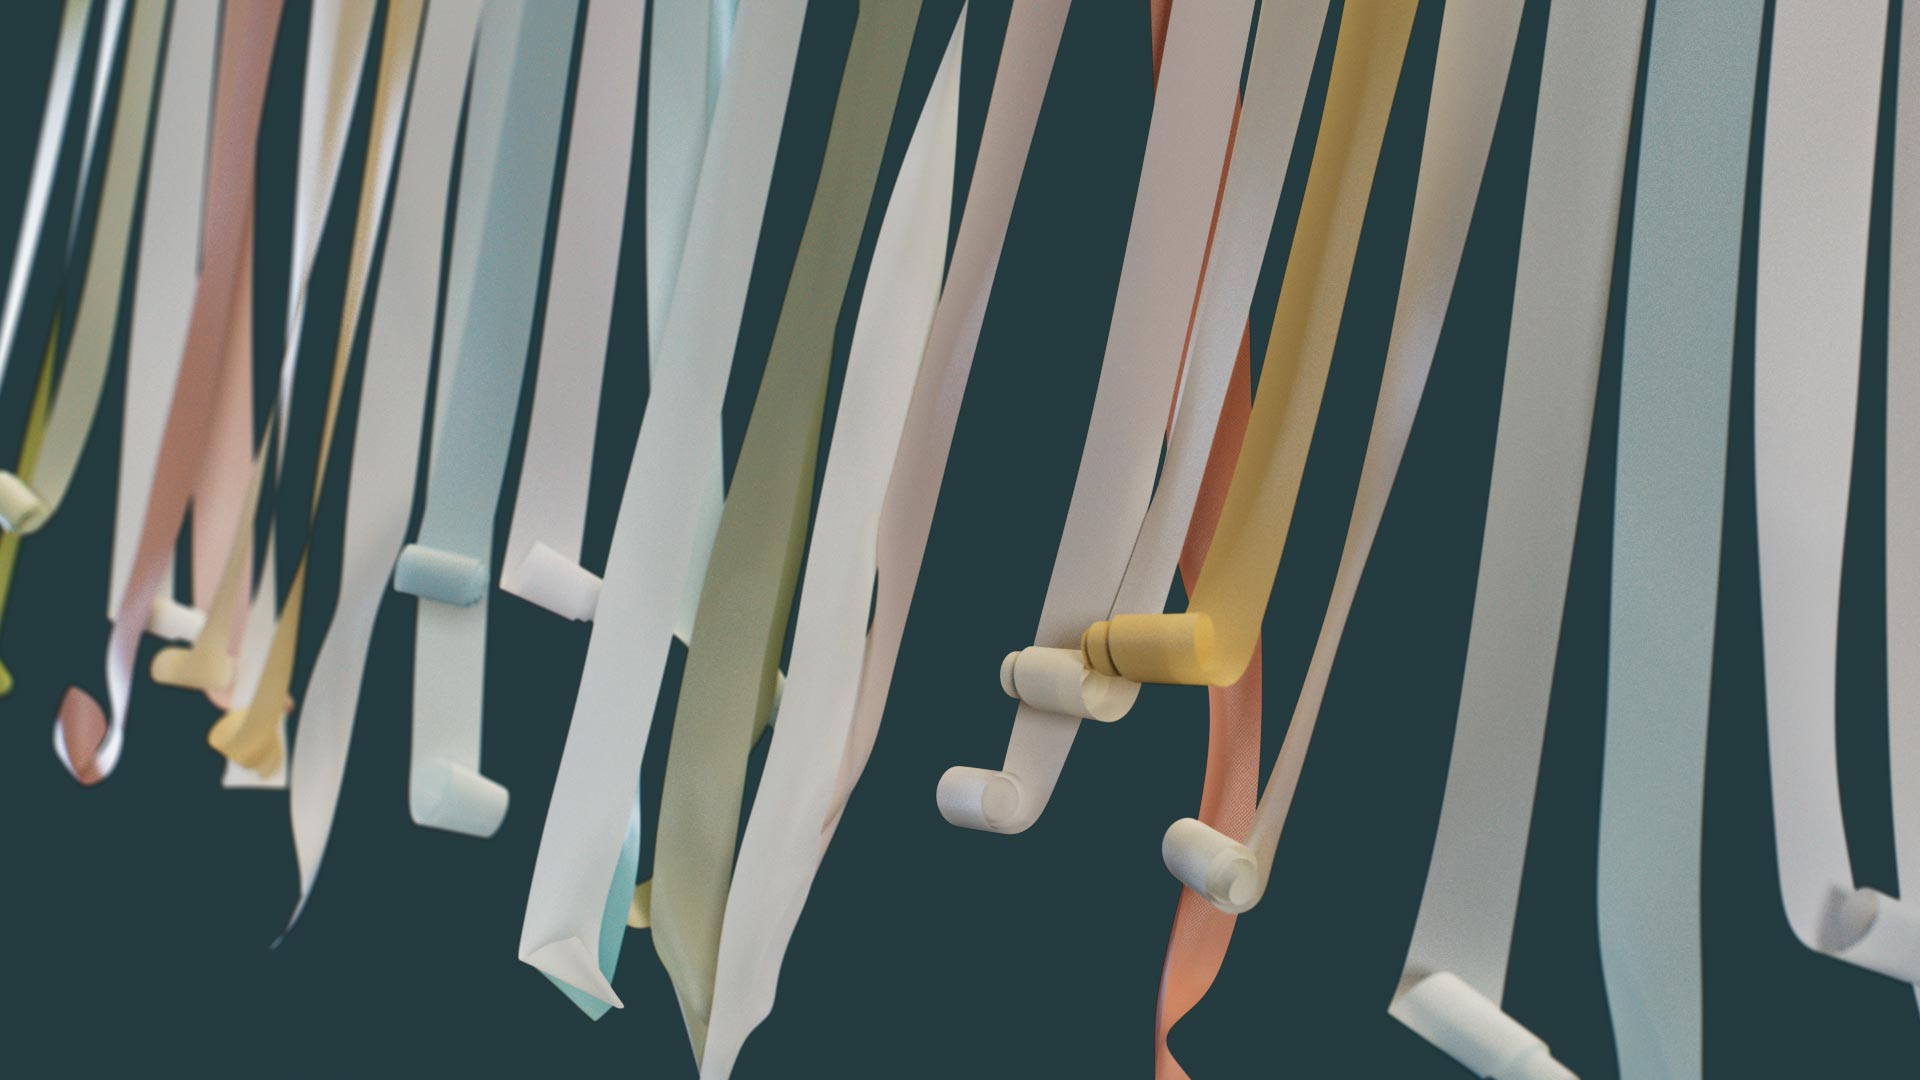
In this lesson we look at a simple solution to unrolling a flag or a large sheet of fabric. We use a deformer to coil the fabric into the desired shape and then the simulation naturally unfurls the cloth.
This setup is then expanded upon, as everything is parametric it is easy to adapt the initial rig. The cloth is changed to a thin strip, this is then cloned to create a curtain of fabric strips which all unfurl together.


Duration: 12 minutes
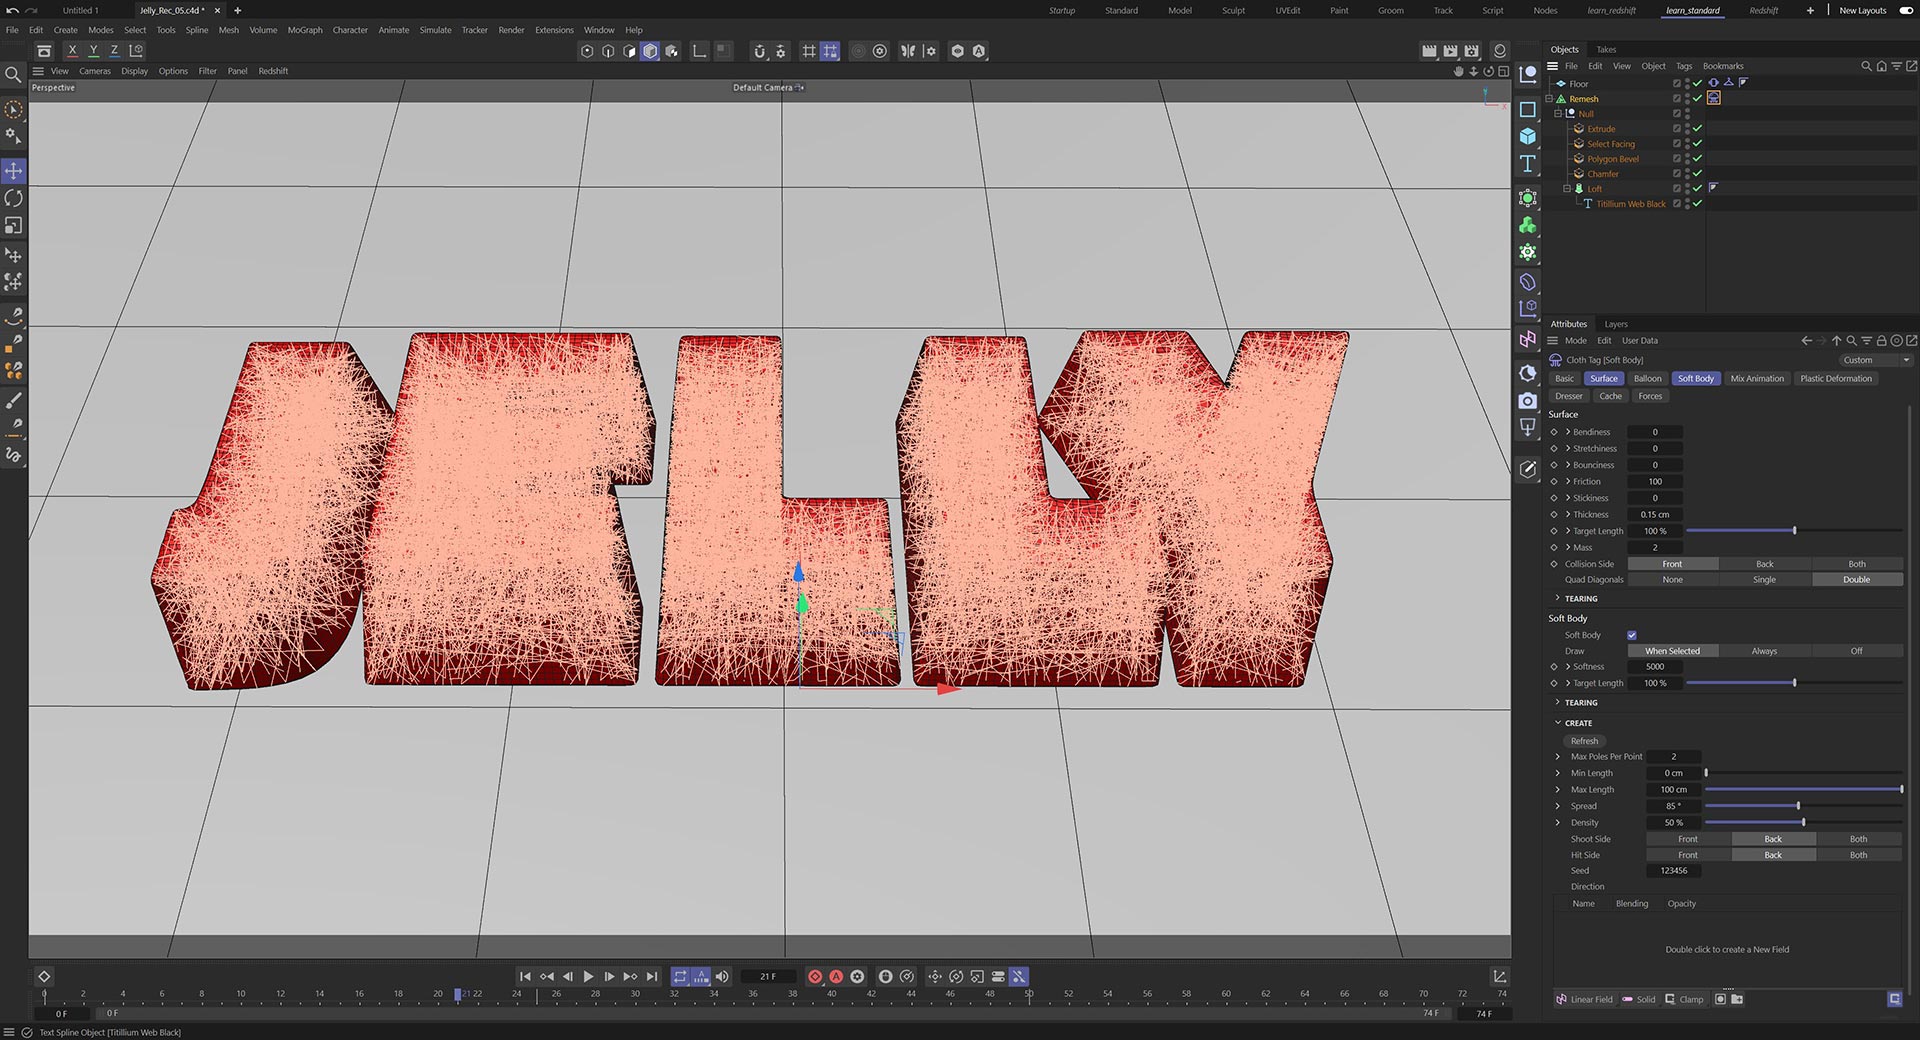
A quick and fun solution for making wibbly wobbly jelly on a plate.
With the aim to keep the scene procedural, this tutorial uses node capsules for some of the modelling process, rather than traditional modelling where the object would need to be polygonal, capsules allow us to model on generated geometry.
The model is very simple, but the process demonstrates an often overlooked part of Cinema 4D, procedural modelling with capsules. Once the jelly model is created we simulate using soft bodies, adapting the parameters until we have the wobble we desire.

Duration: 20 minutes
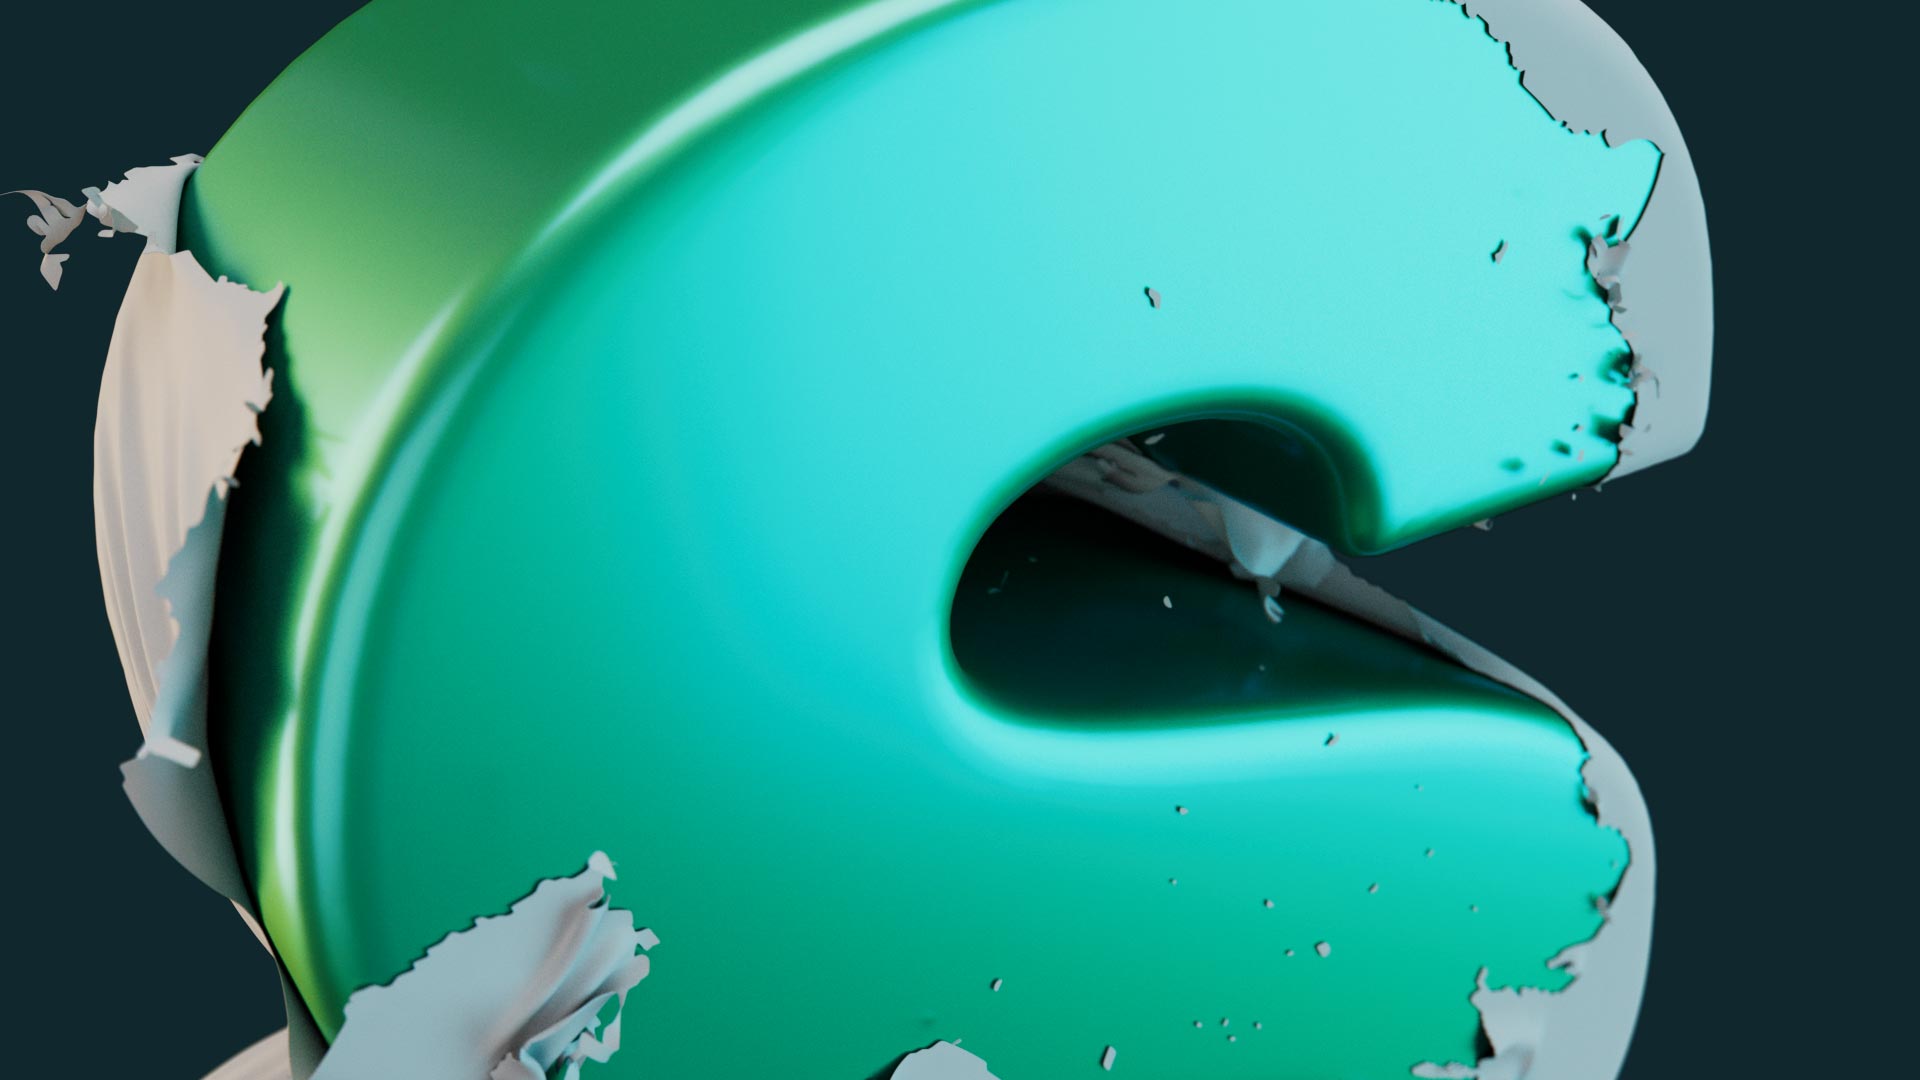
In this tutorial we create a skin or coating over an object and then we use the tearing feature of cloth to slowly peel and tear the cloth away from the surface and reveal the object underneath.
To trigger the effect, we use a particle field with Vertex Maps to create organic growth across the surface, when combined with forces, this causes the cloth tearing to peel away from the surface in a controlled manner.


Duration: 15 minutes
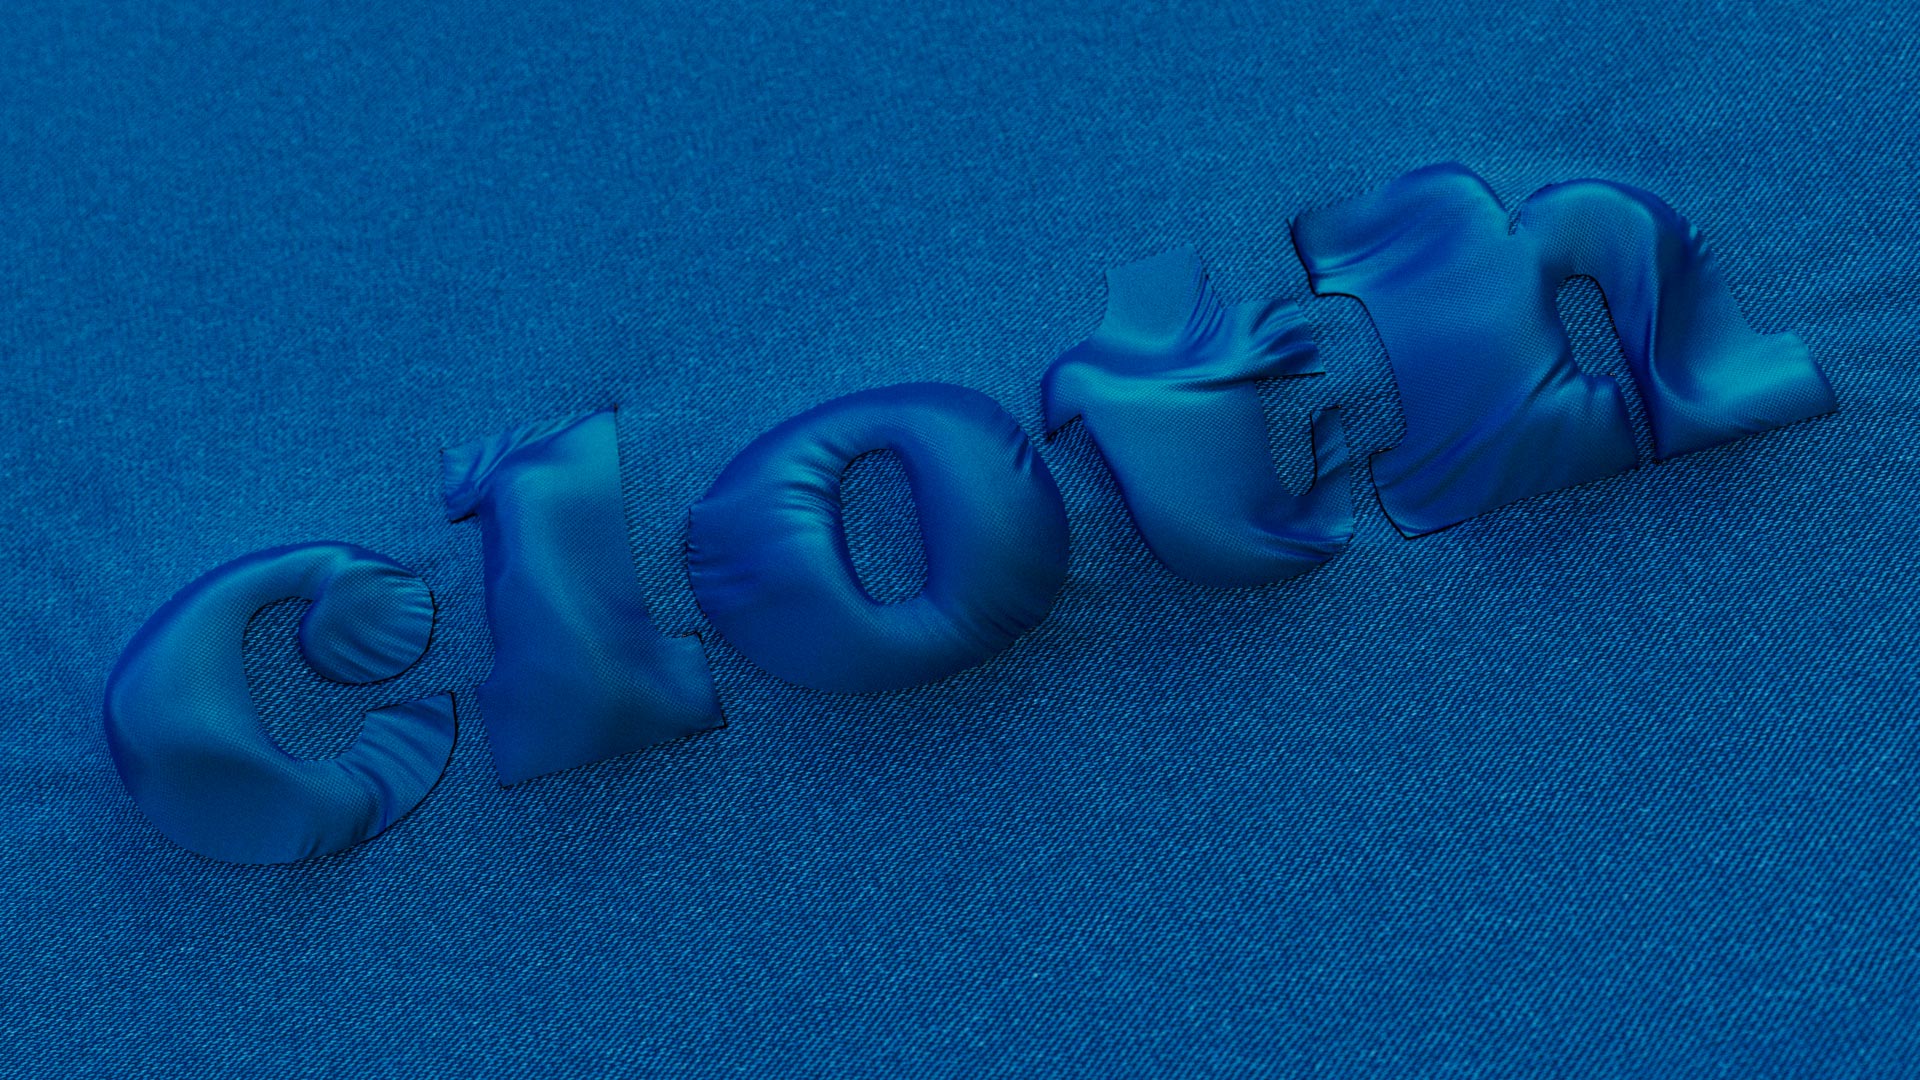
This tutorial is broken into two sections, first we create a cloth simulation using two types of cloth which are connected together. You will explore the parameters for each type of cloth, adapting the settings and also the topology to create one heavy stiff cloth combined with another softer and lighter cloth.
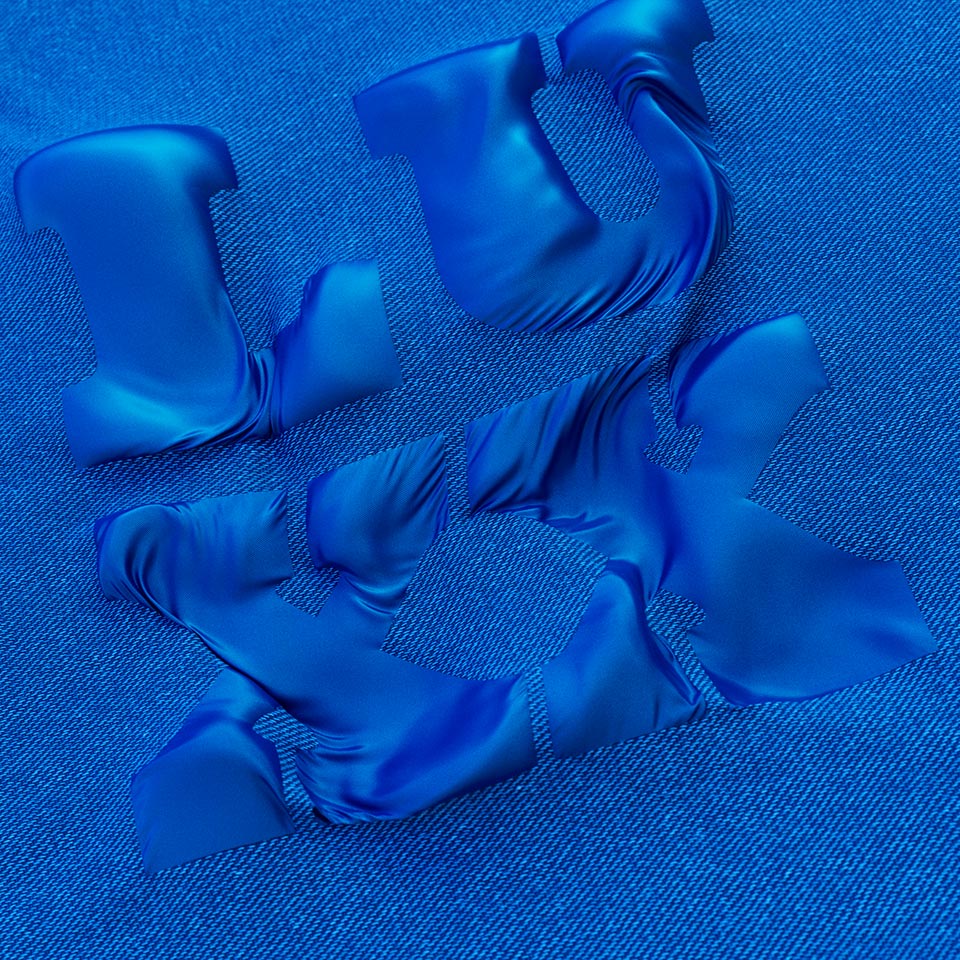
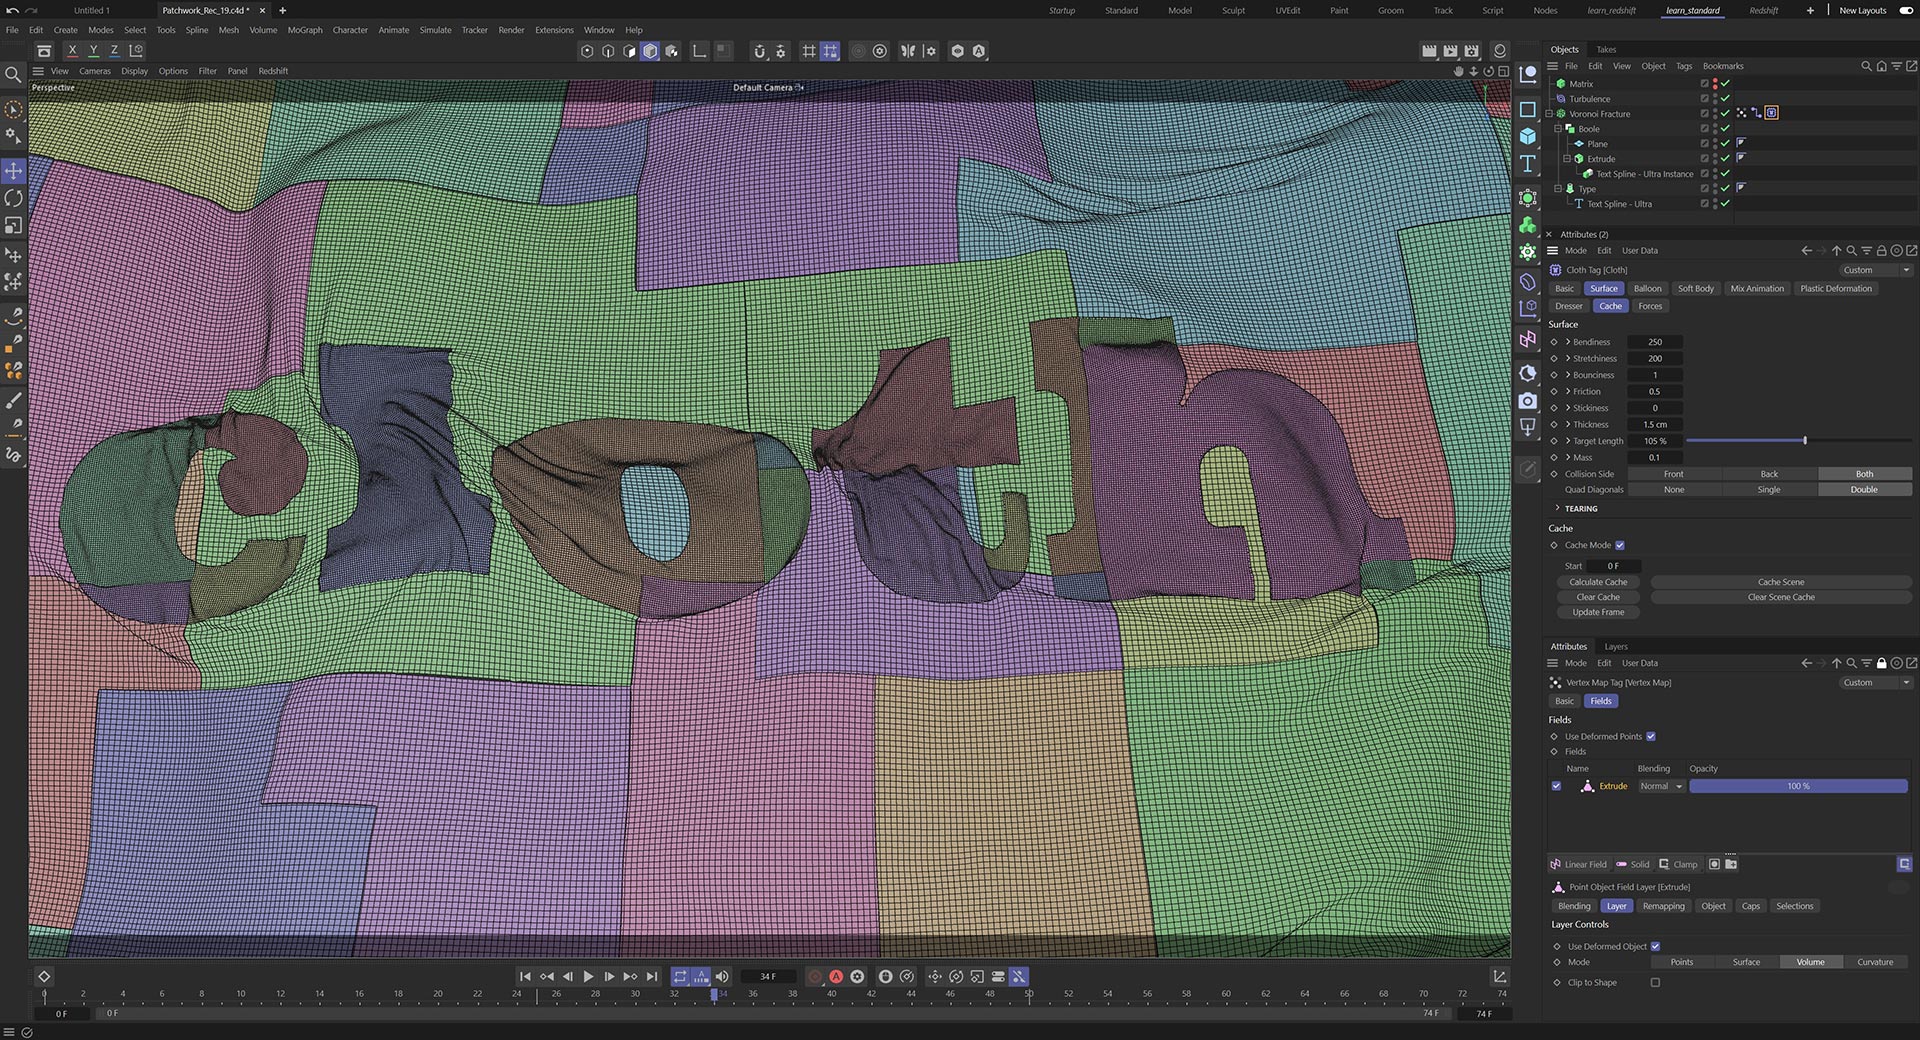
In the second part the initial setup is adapted and we use the Matrix Object with the Voronoi Fracture to generate lots of patches of cloth which are all ‘stitched’ together. Once again this is a fully procedural setup allowing for much creative exploration without destructive workflow.

Duration: 14 minutes
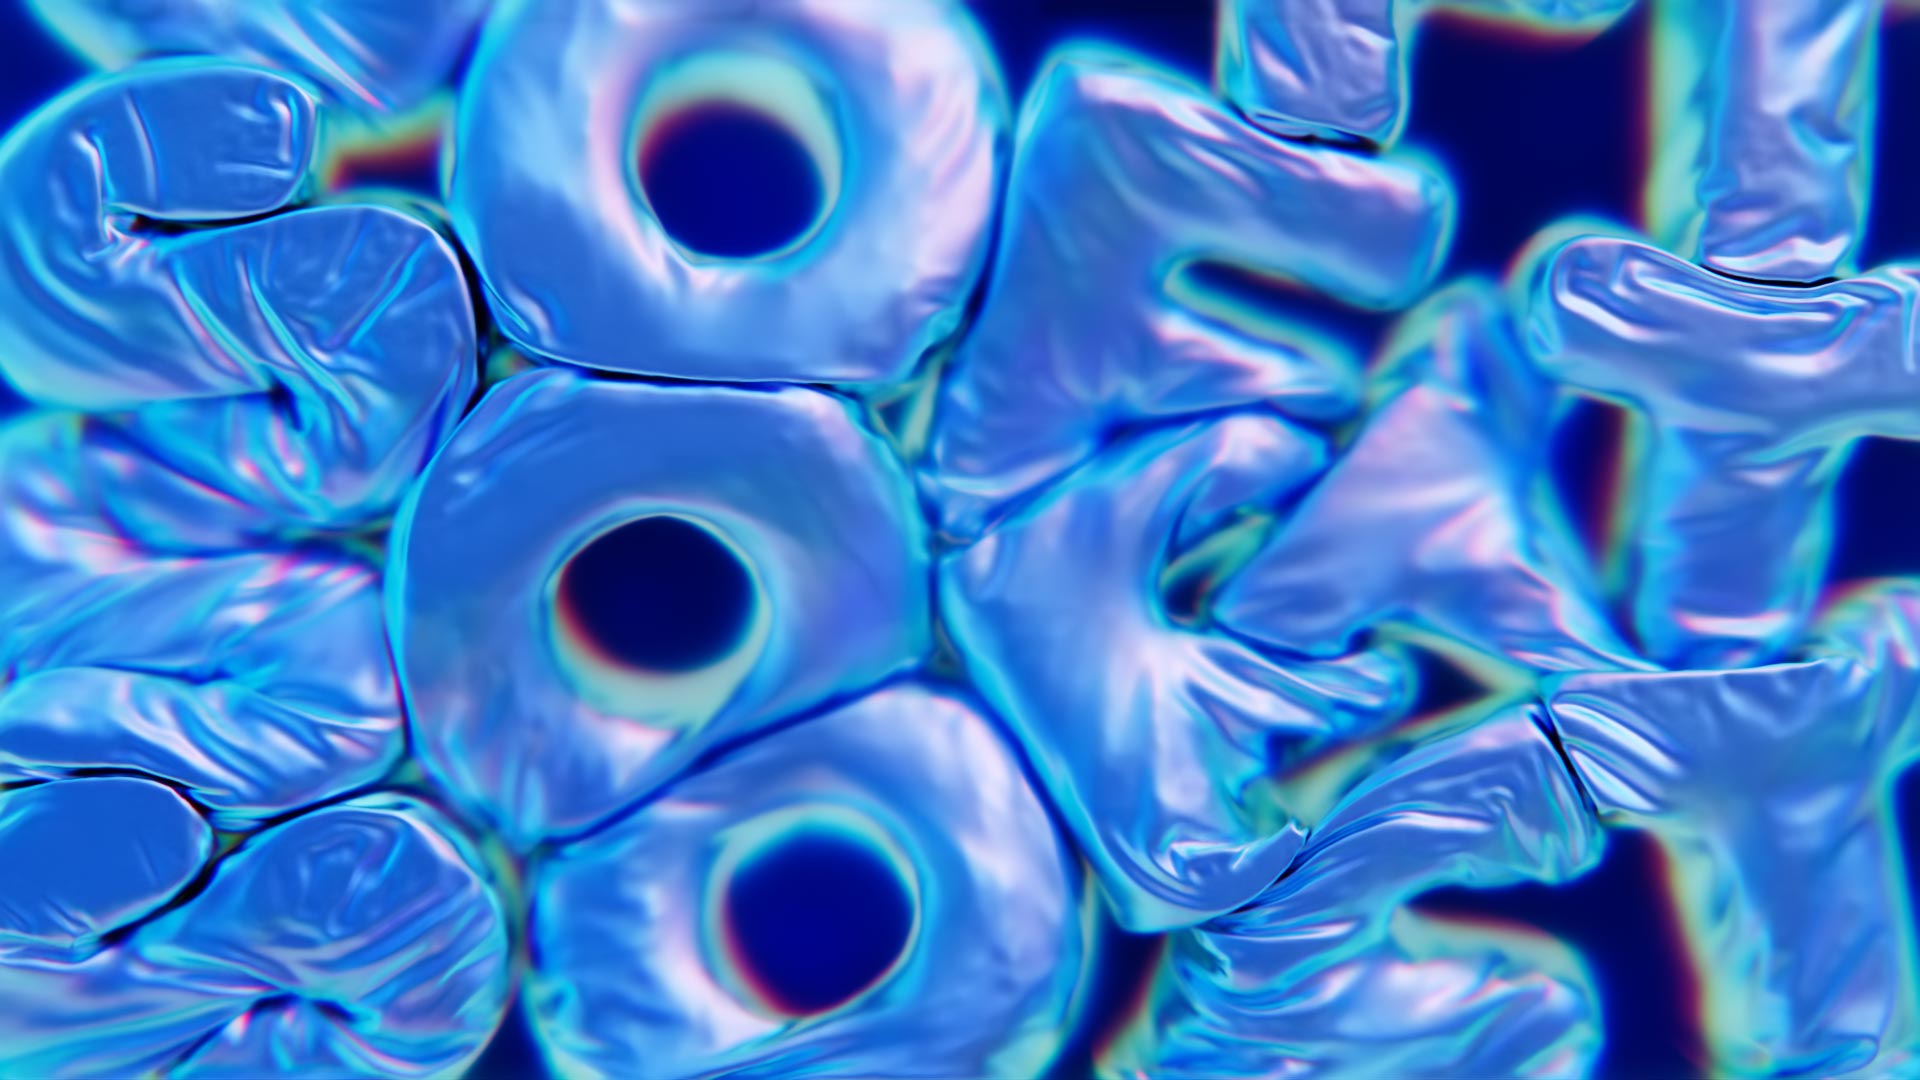
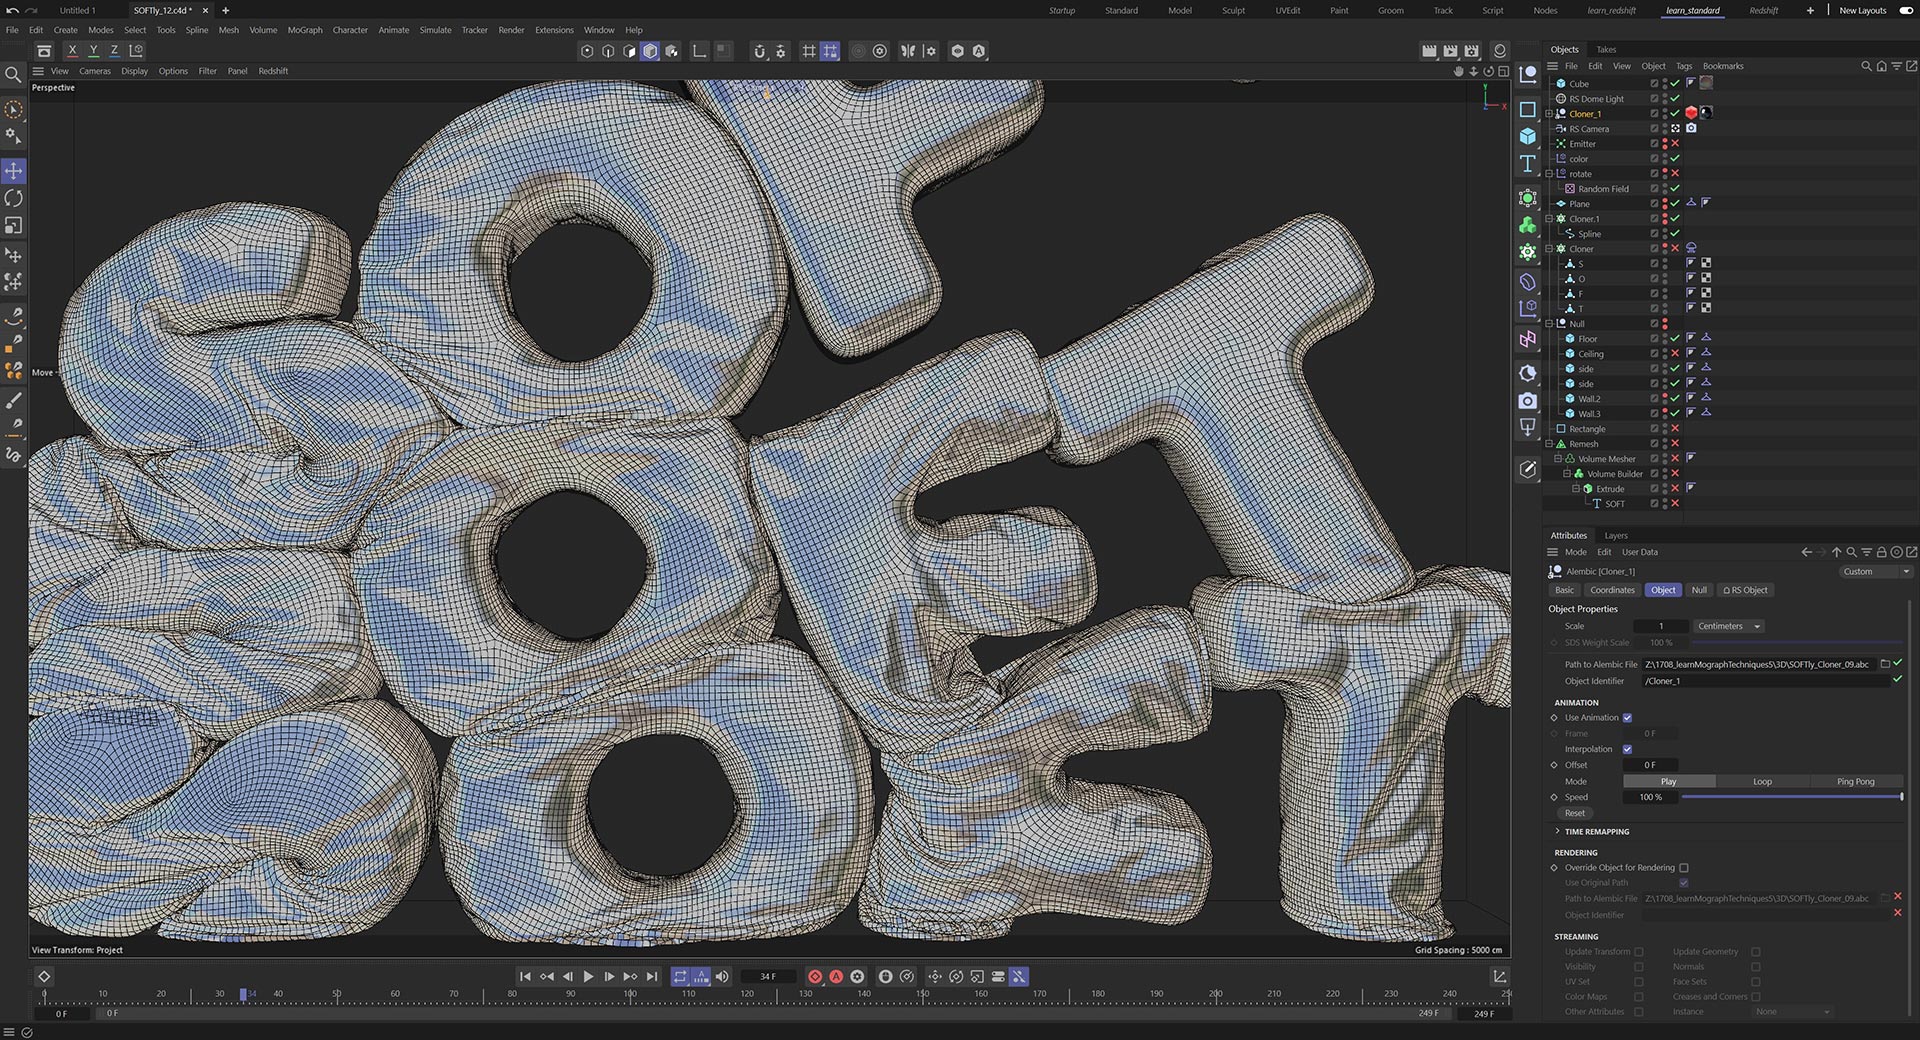
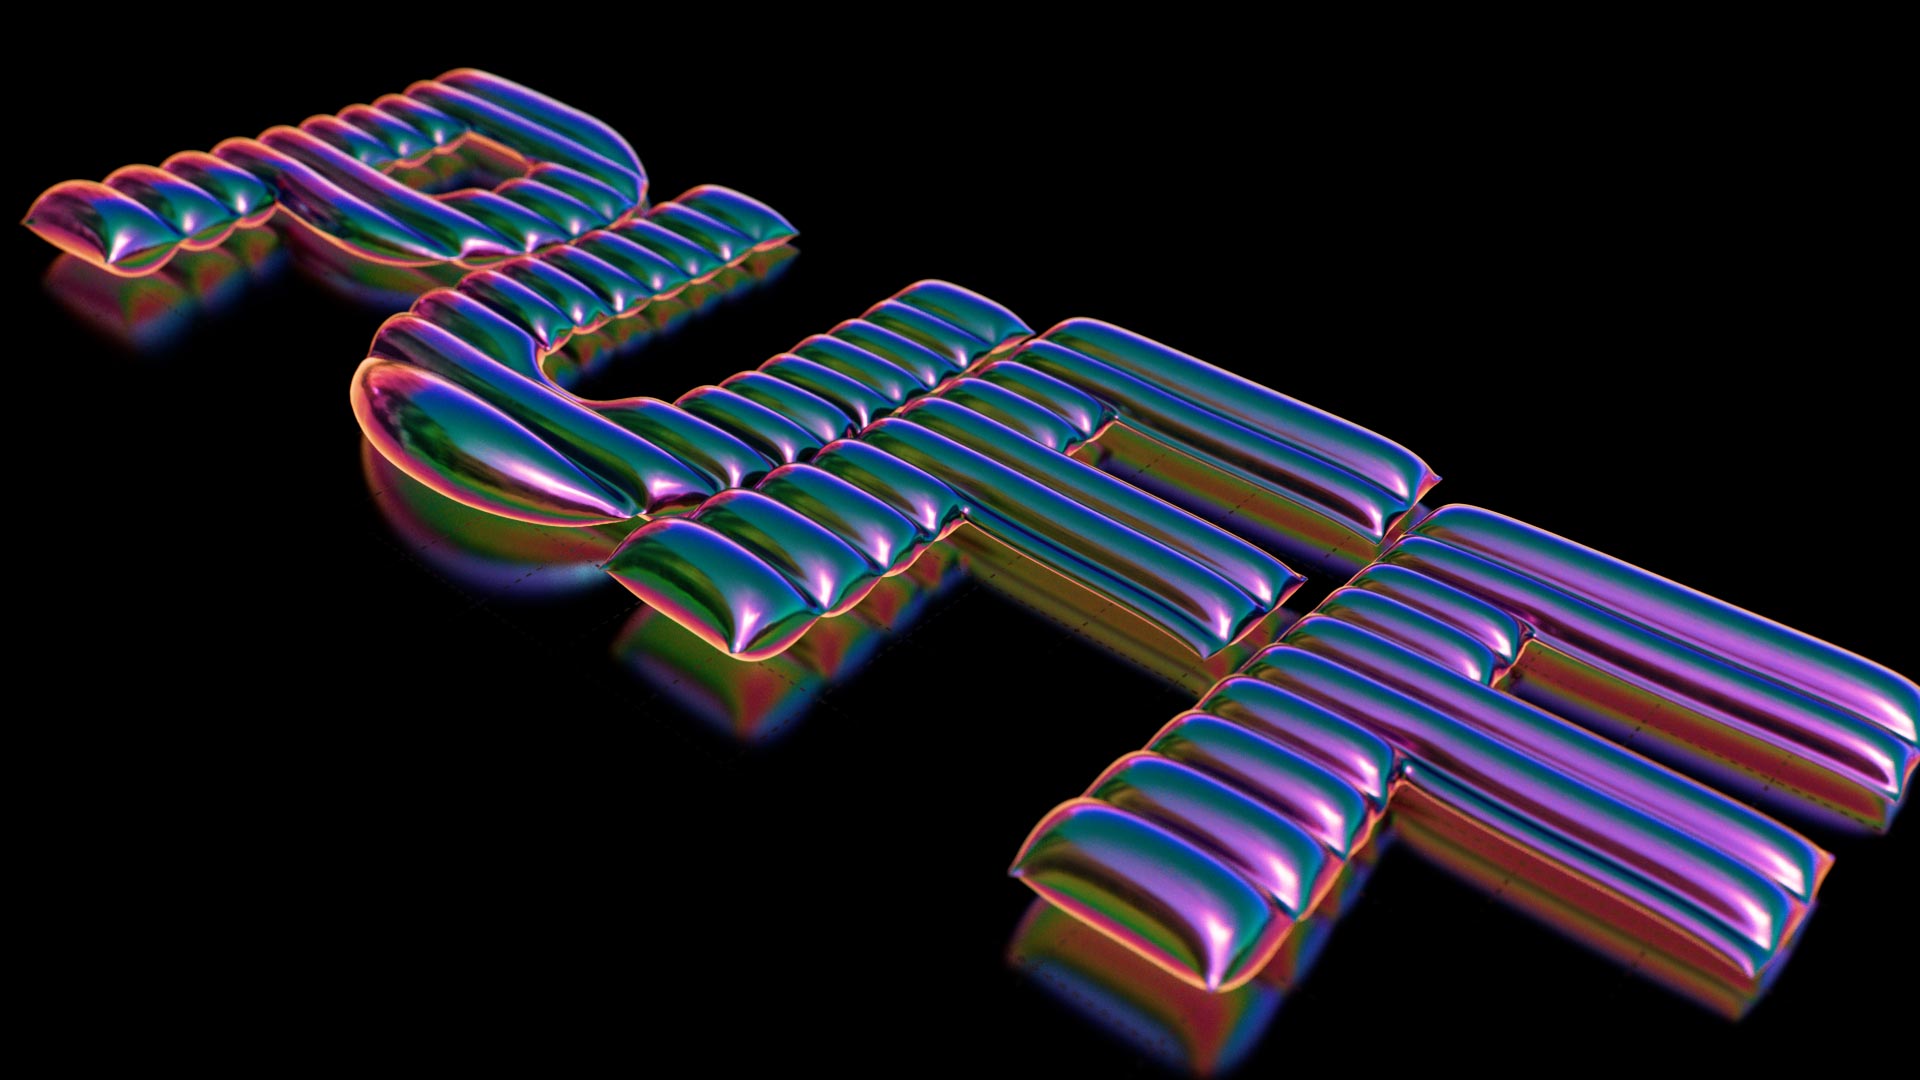
No soft body tutorial would be complete without a big pile of soft bodies dropping into place, there’s something so satisfying about it!
Working with the Soft Body Tag, you will learn how to adapt the settings to create a soft spongy mesh that maintains a certain amount of integrity without totally collapsing.
Start with one simple letter to fine tune the parameters ensures fast and efficient workflow before scaling up the number of objects required. We build a container for the objects and then work with Cloner to create multiple soft bodies which all come tumbling down.
Due to the huge file sizes that can result from these kind of simulations, this tutorials shows how to export to Alembic and then import the ABC file for rendering. This is much more efficient than caching to the C4D scene file which can become overly bloated with simulation data.
Duration: 14 minutes
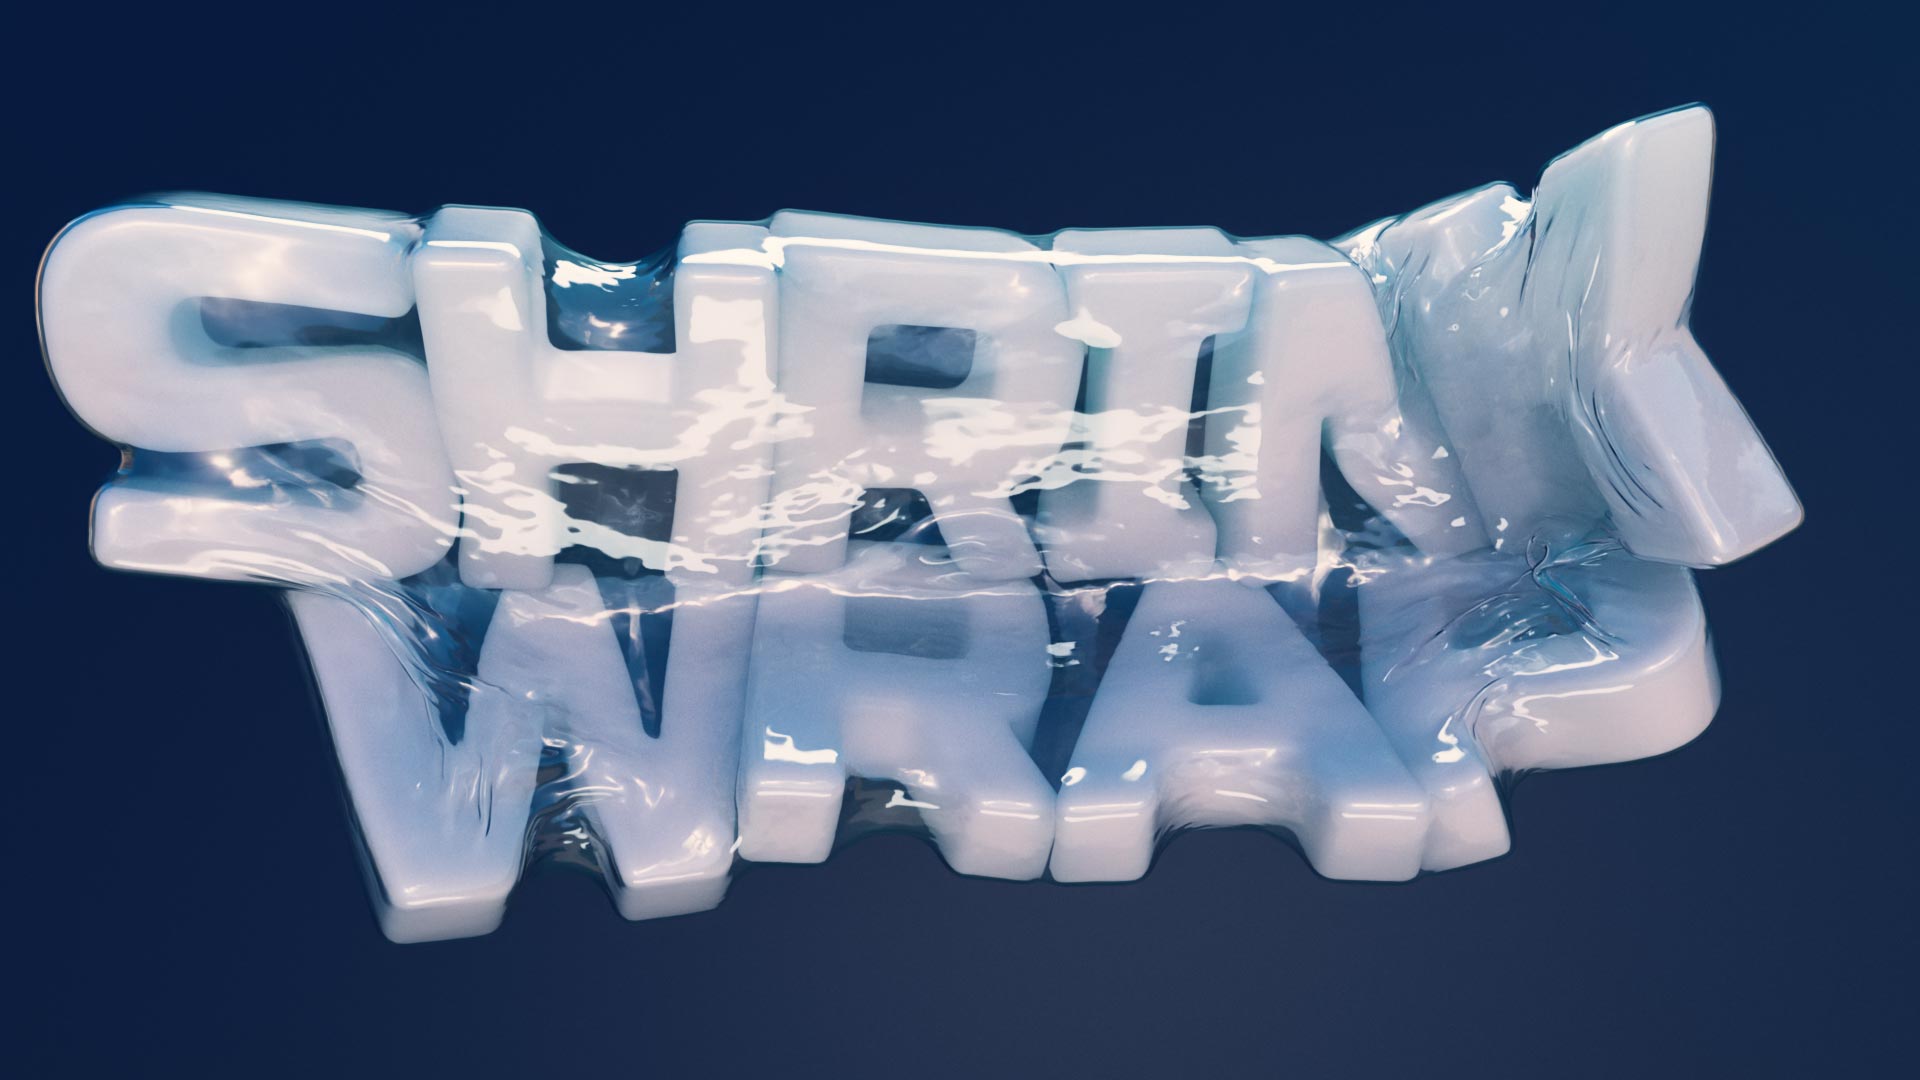
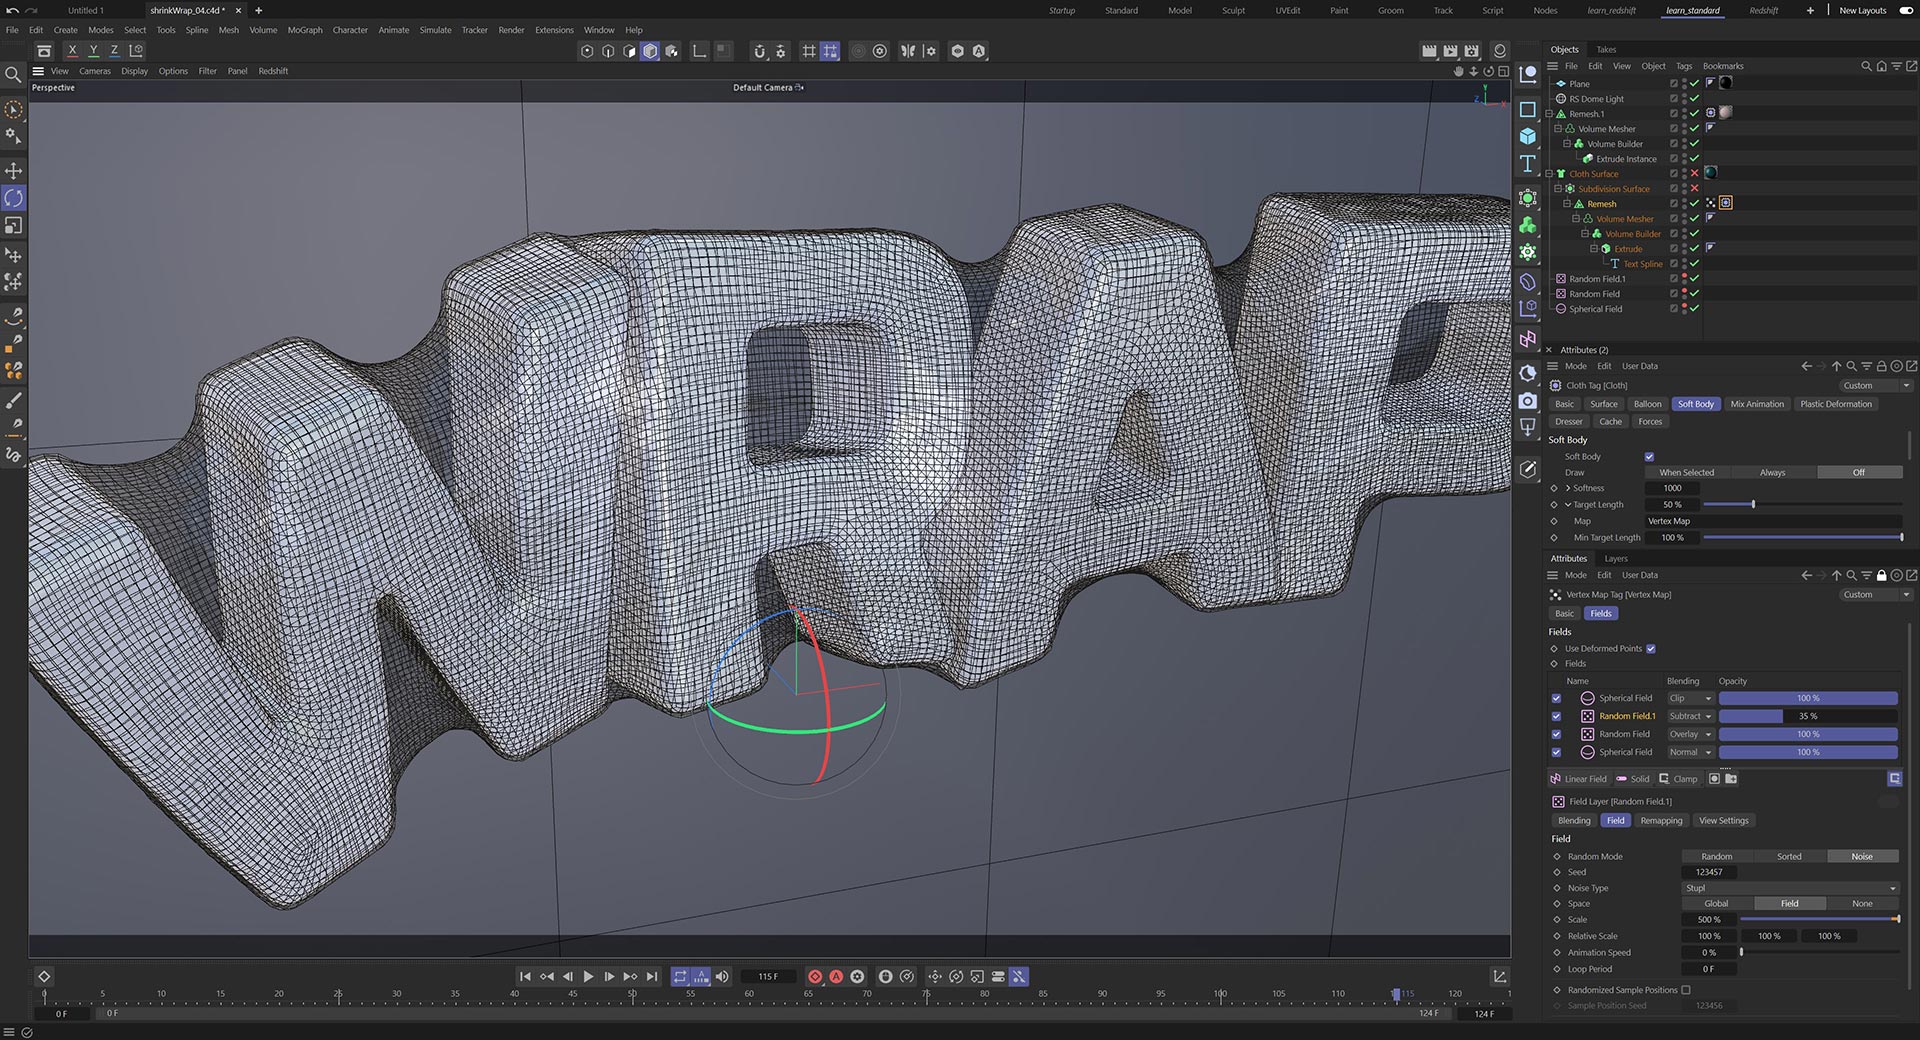
If you ever needed to virtually shrinkwrap your 3D objects then this is the recipe you’ve been looking for.
Starting with static collider objects we build out the plastic wrap using Volume Builder and a combination of filters, this is then set up to shrink onto the collider objects. Starting with keyframe animation, we then look at using Vertex Maps with Fields to control the Cloth Tag parameters.
Once the shrinkwrap effect is working, we then convert the collider objects inside to soft bodies, so they too become dynamic and are influenced by the shrinkwrap around them. The result is a dynamic simulation with the wrapper and the contents both interacting together.


Duration: 14 minutes
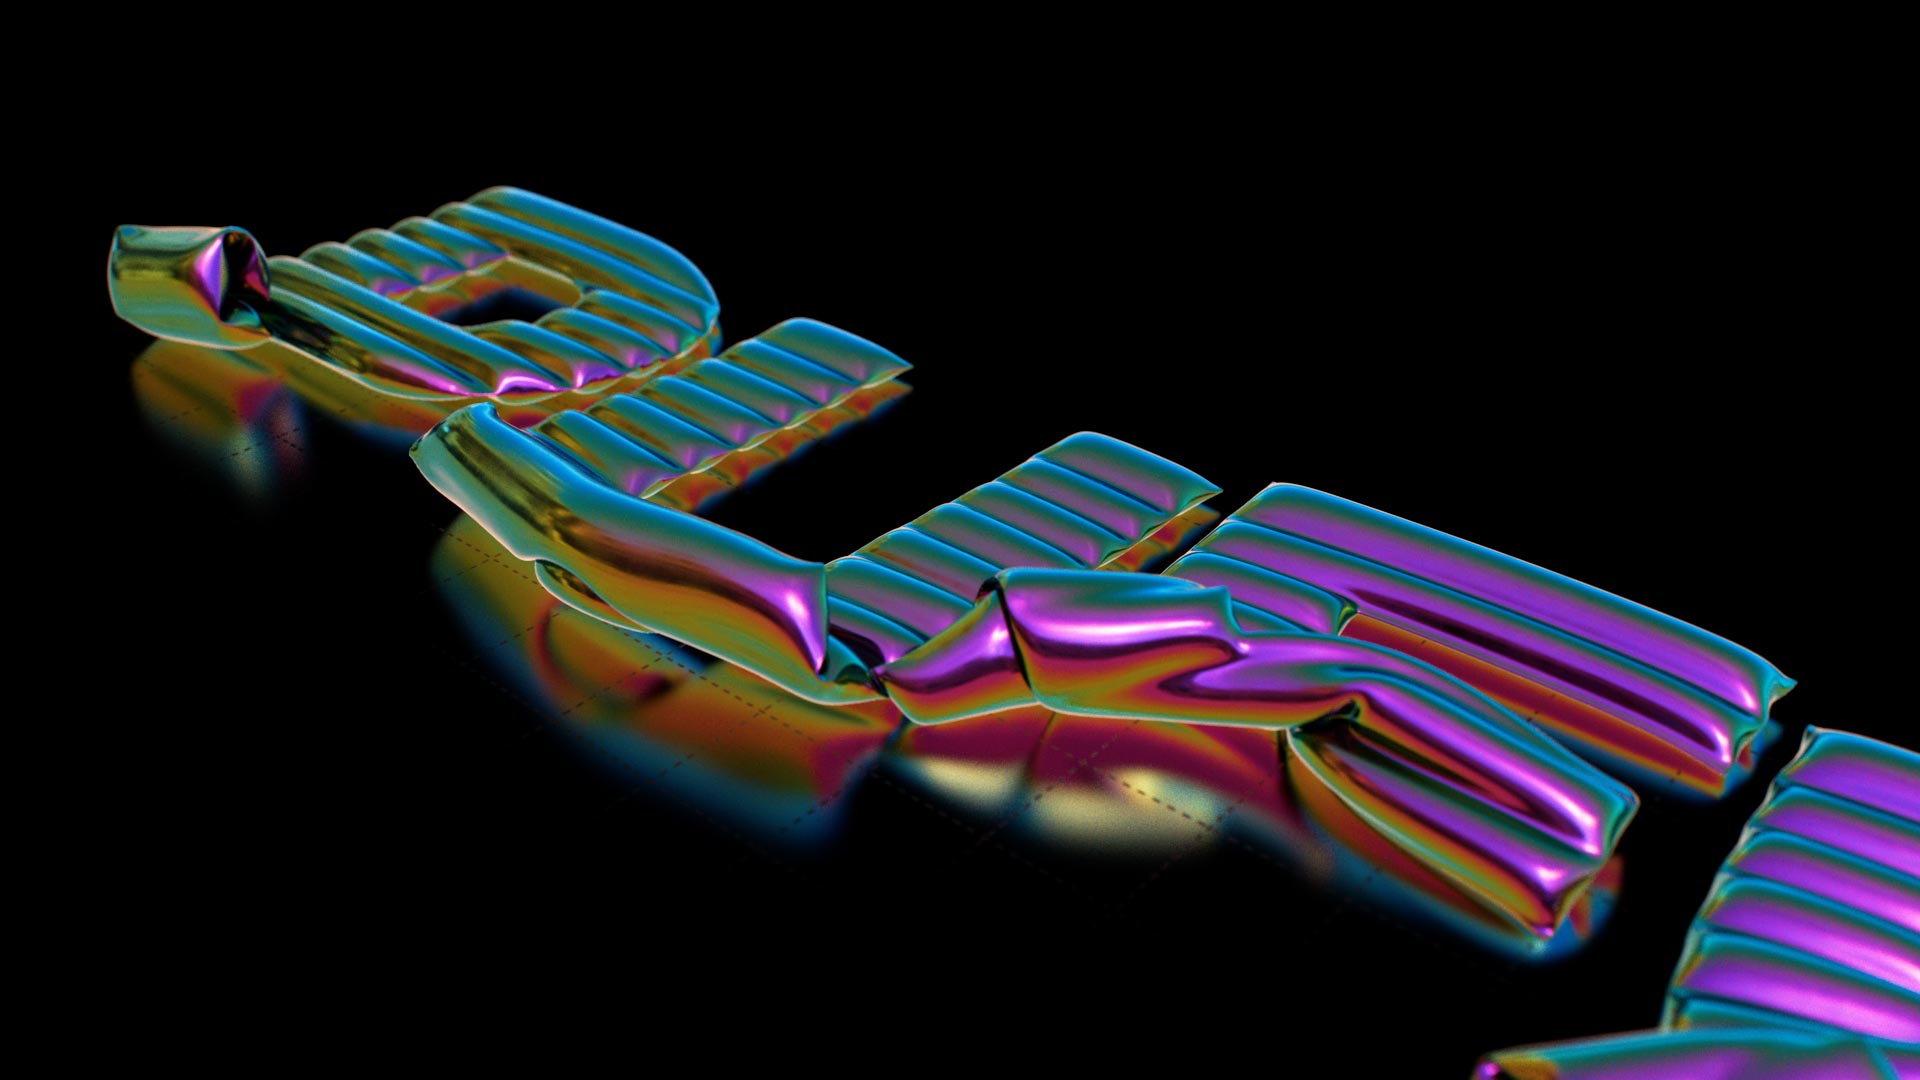
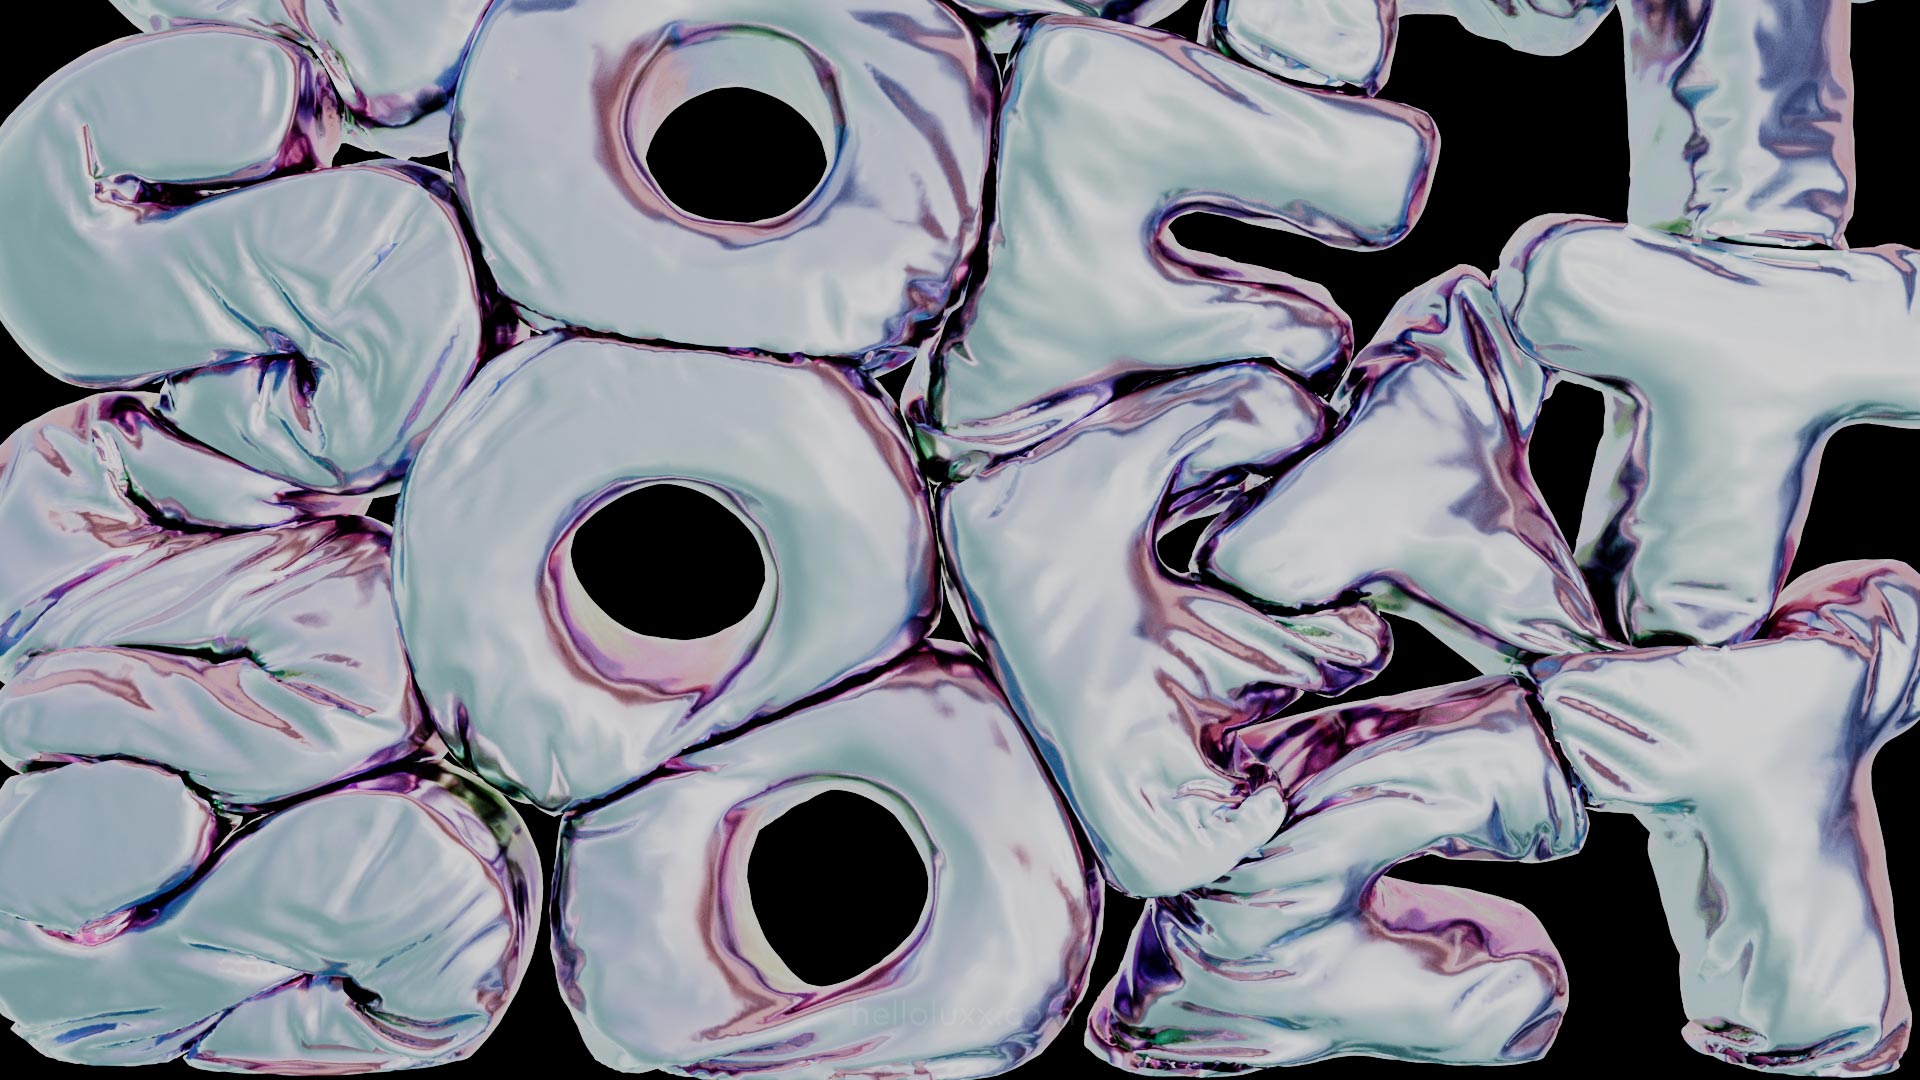
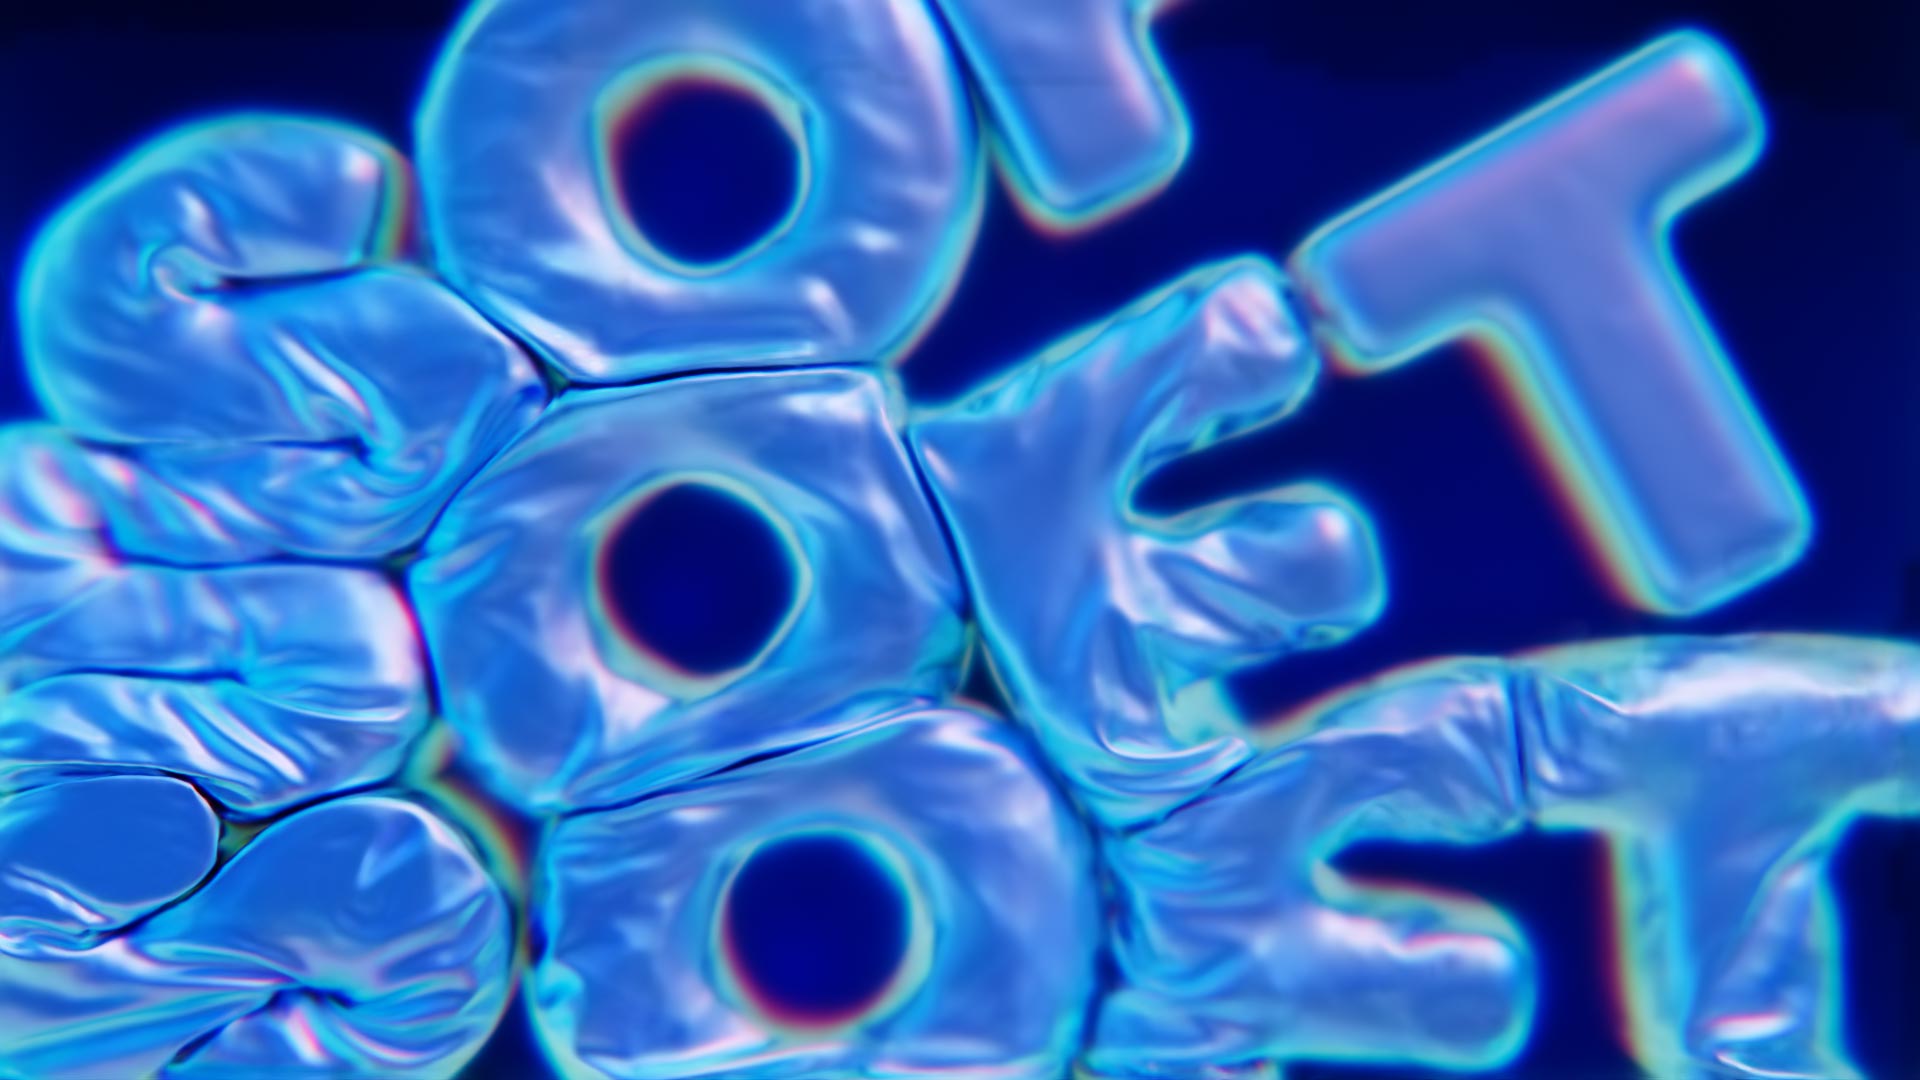
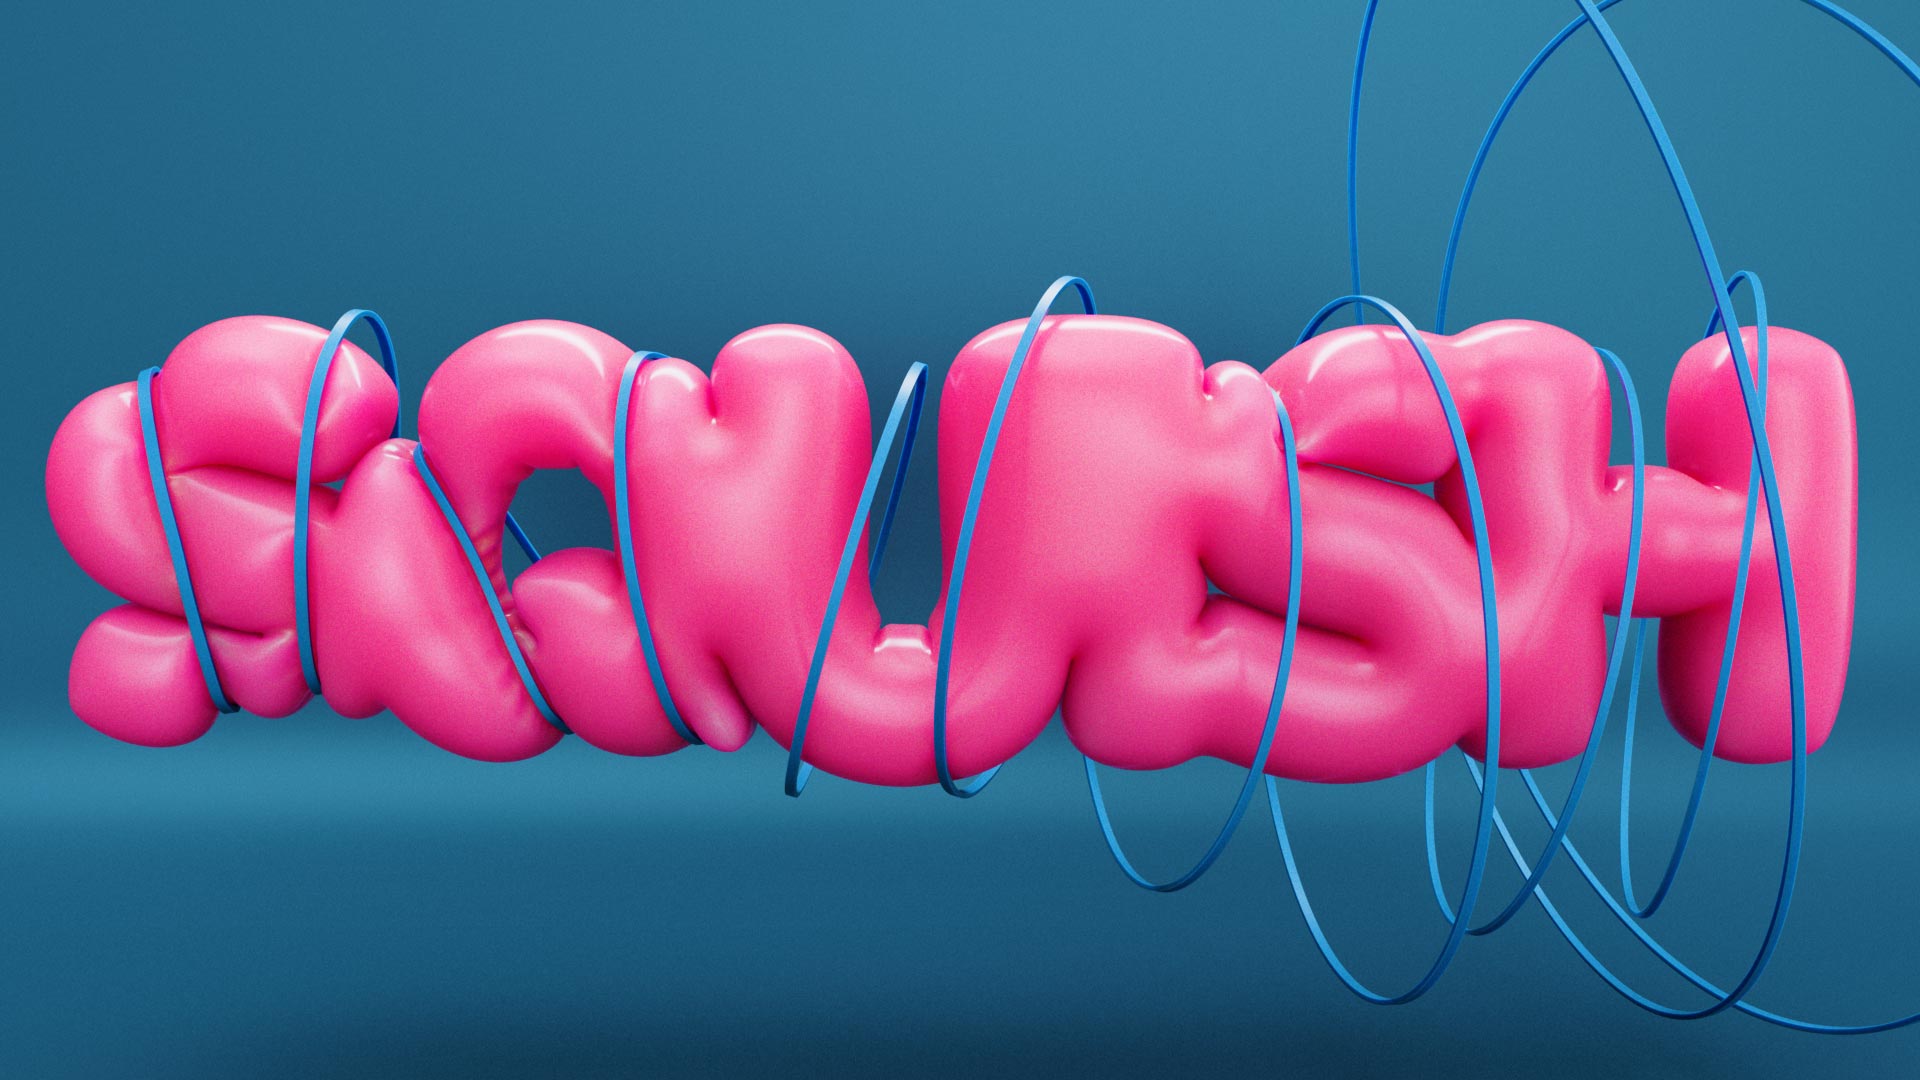
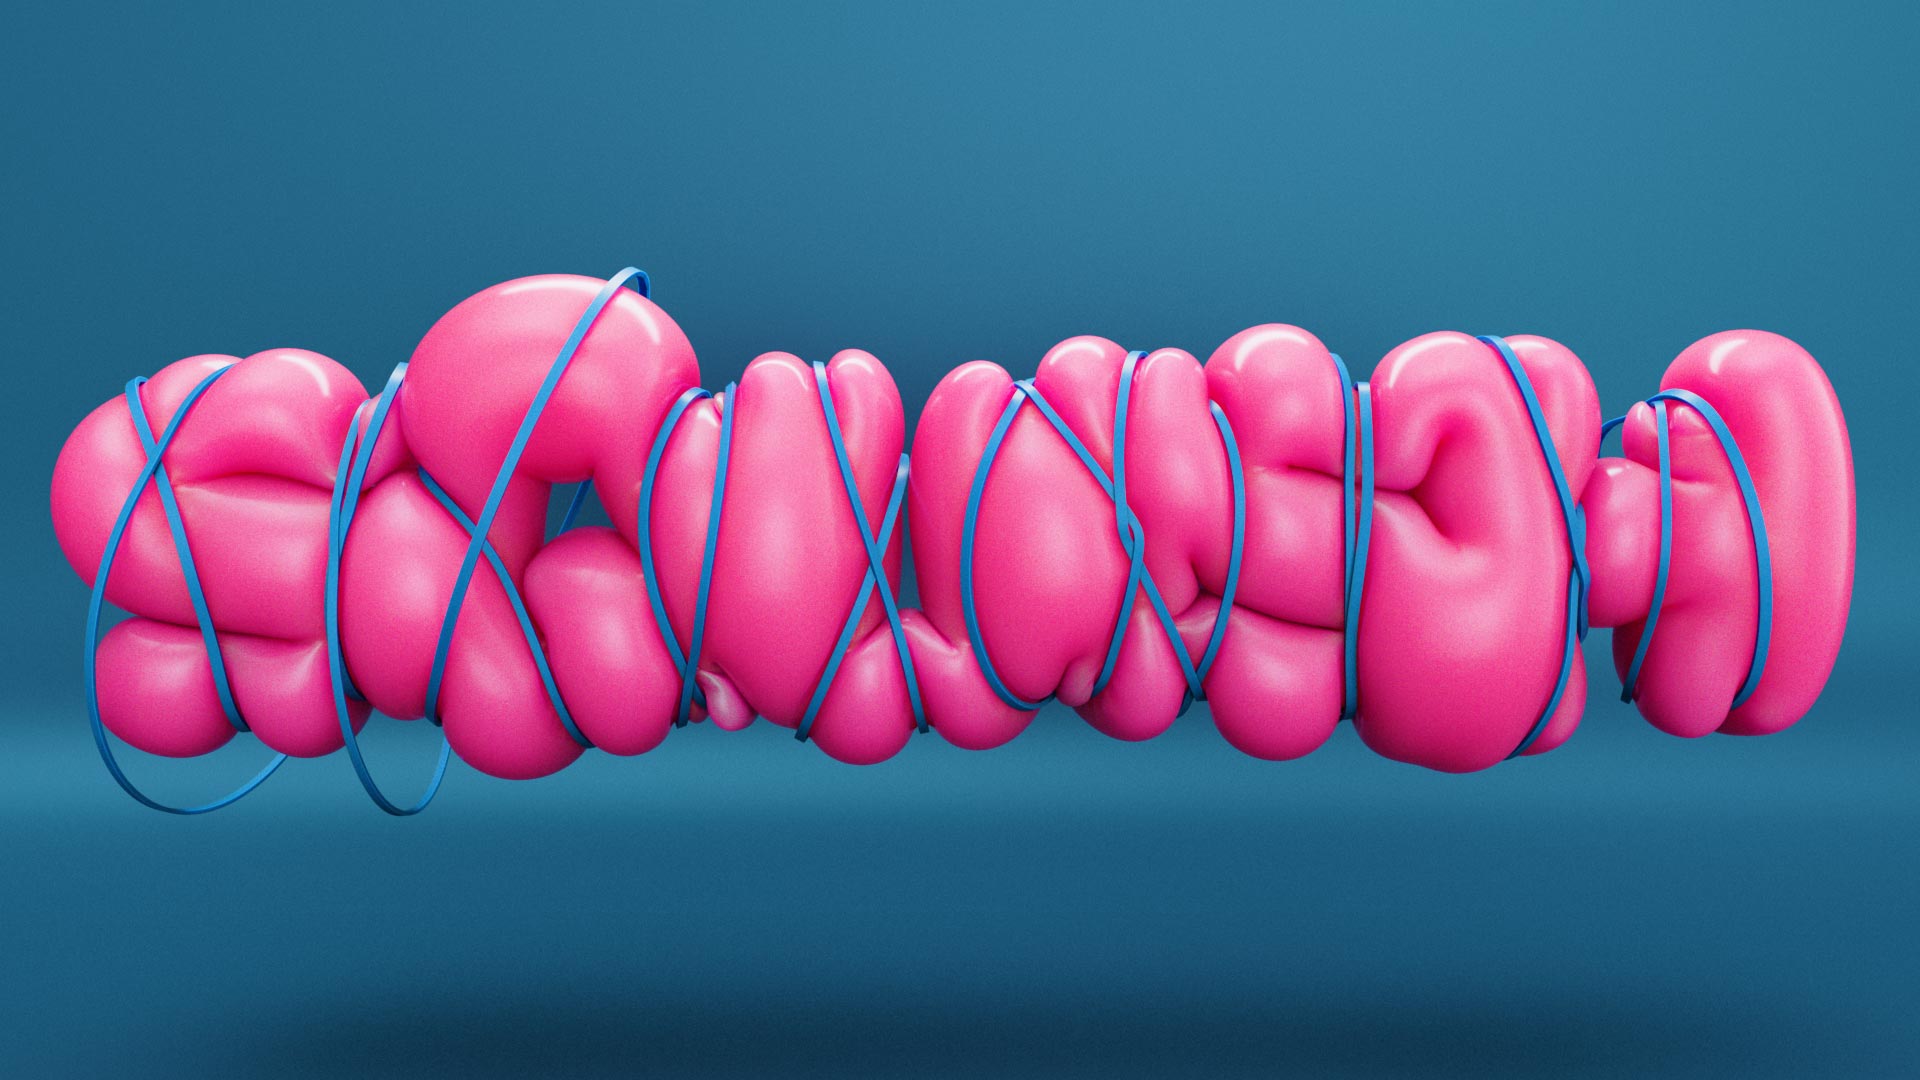
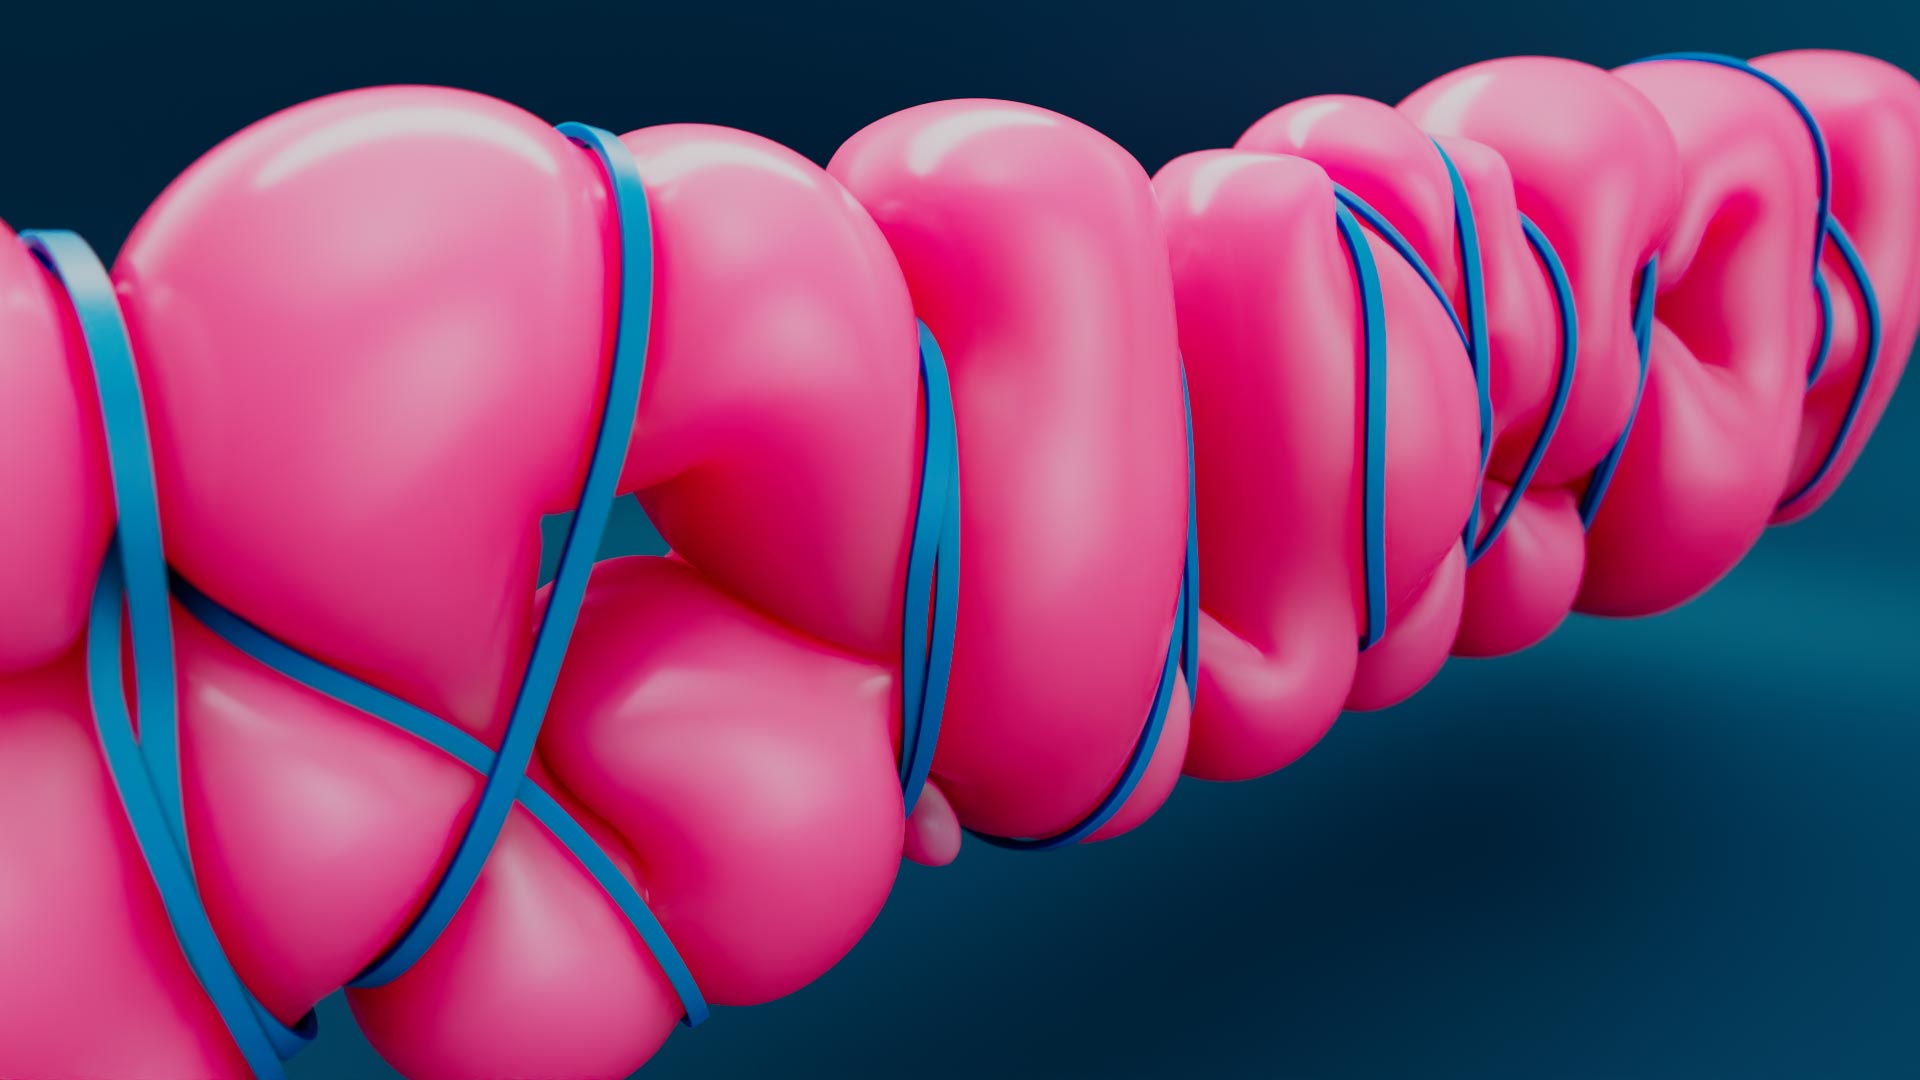
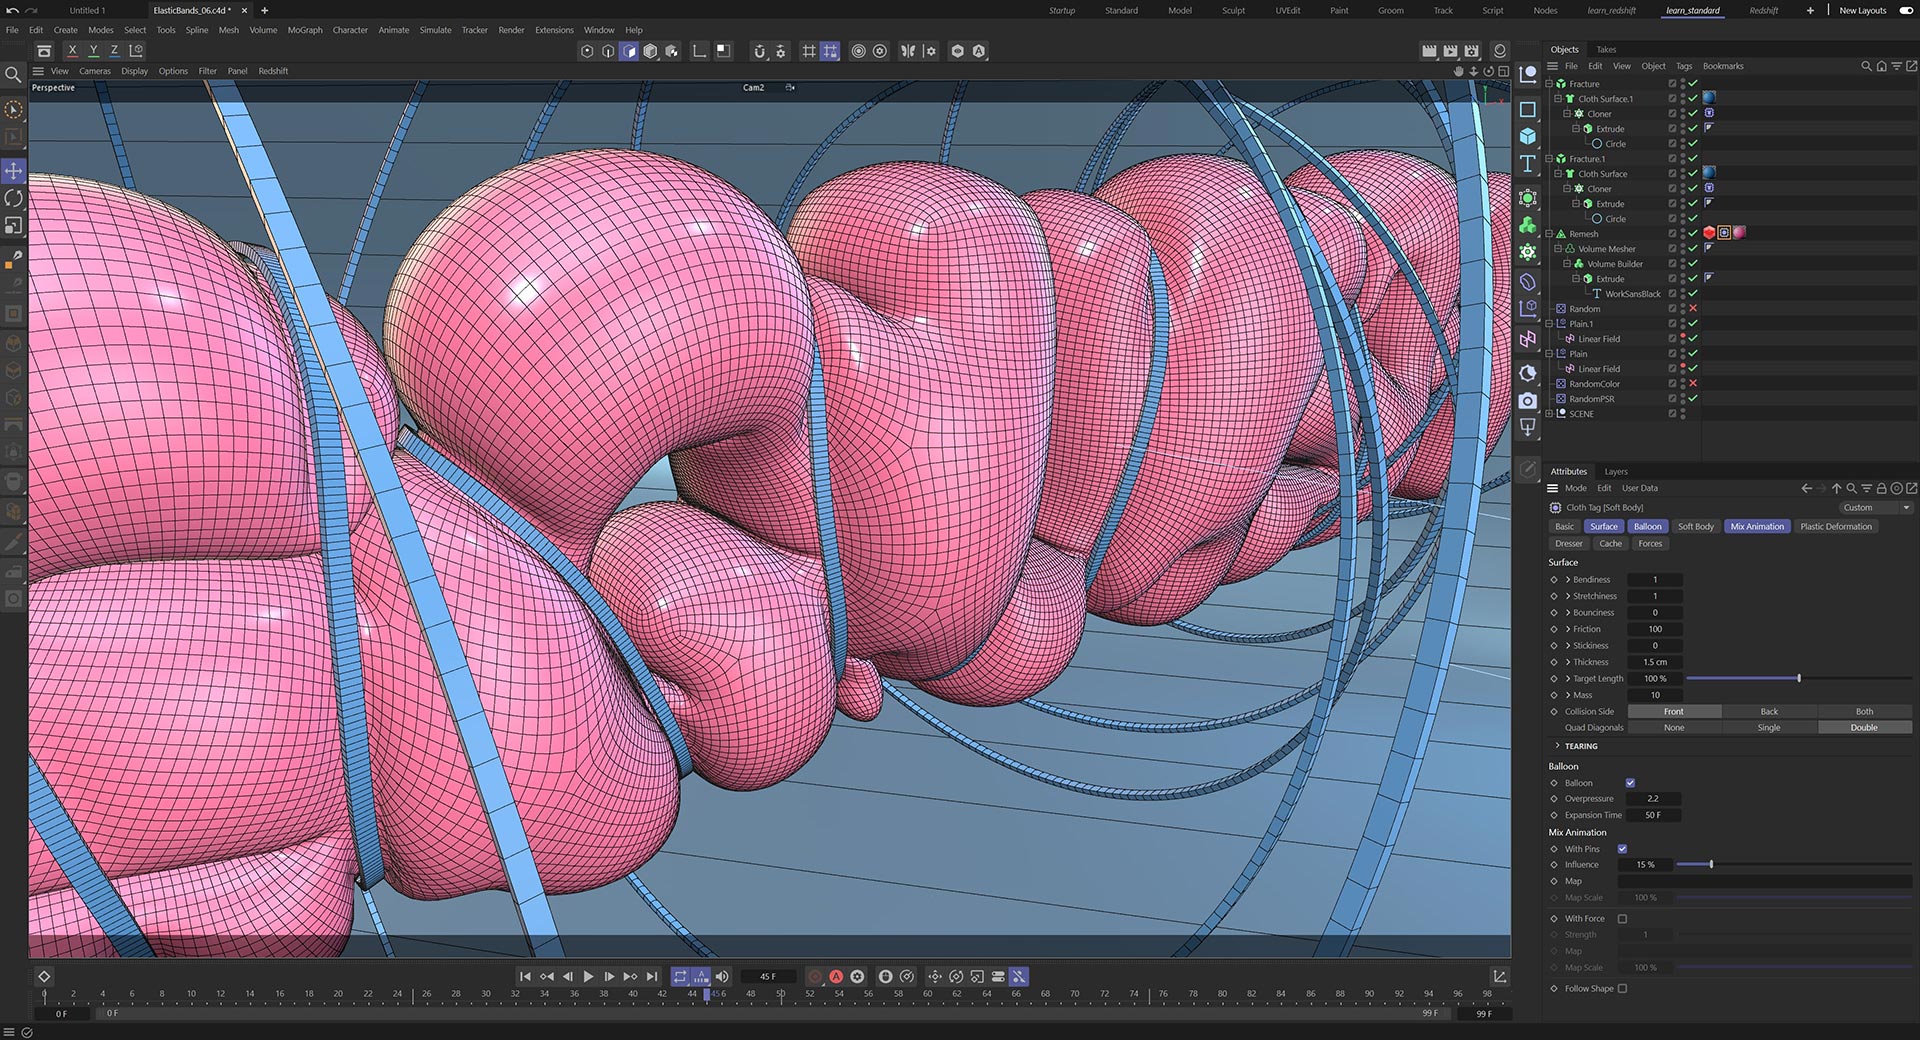
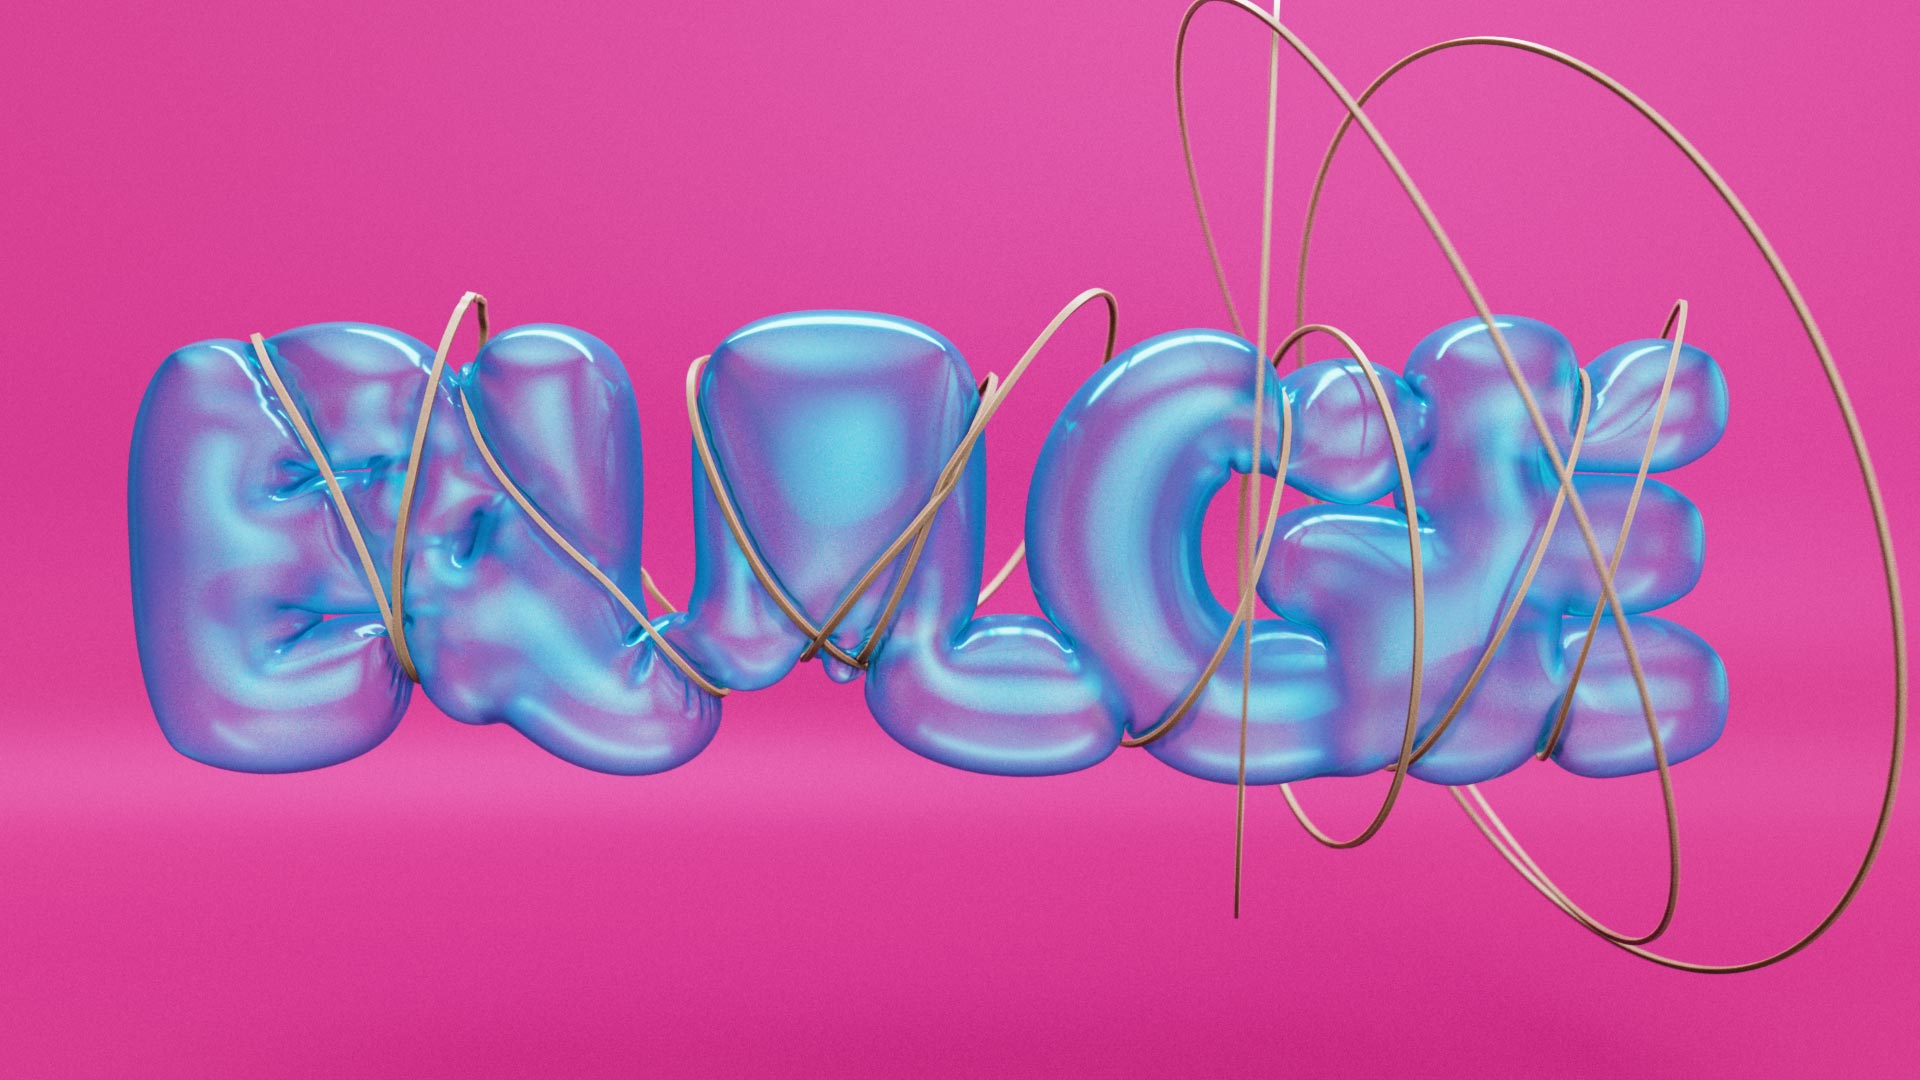
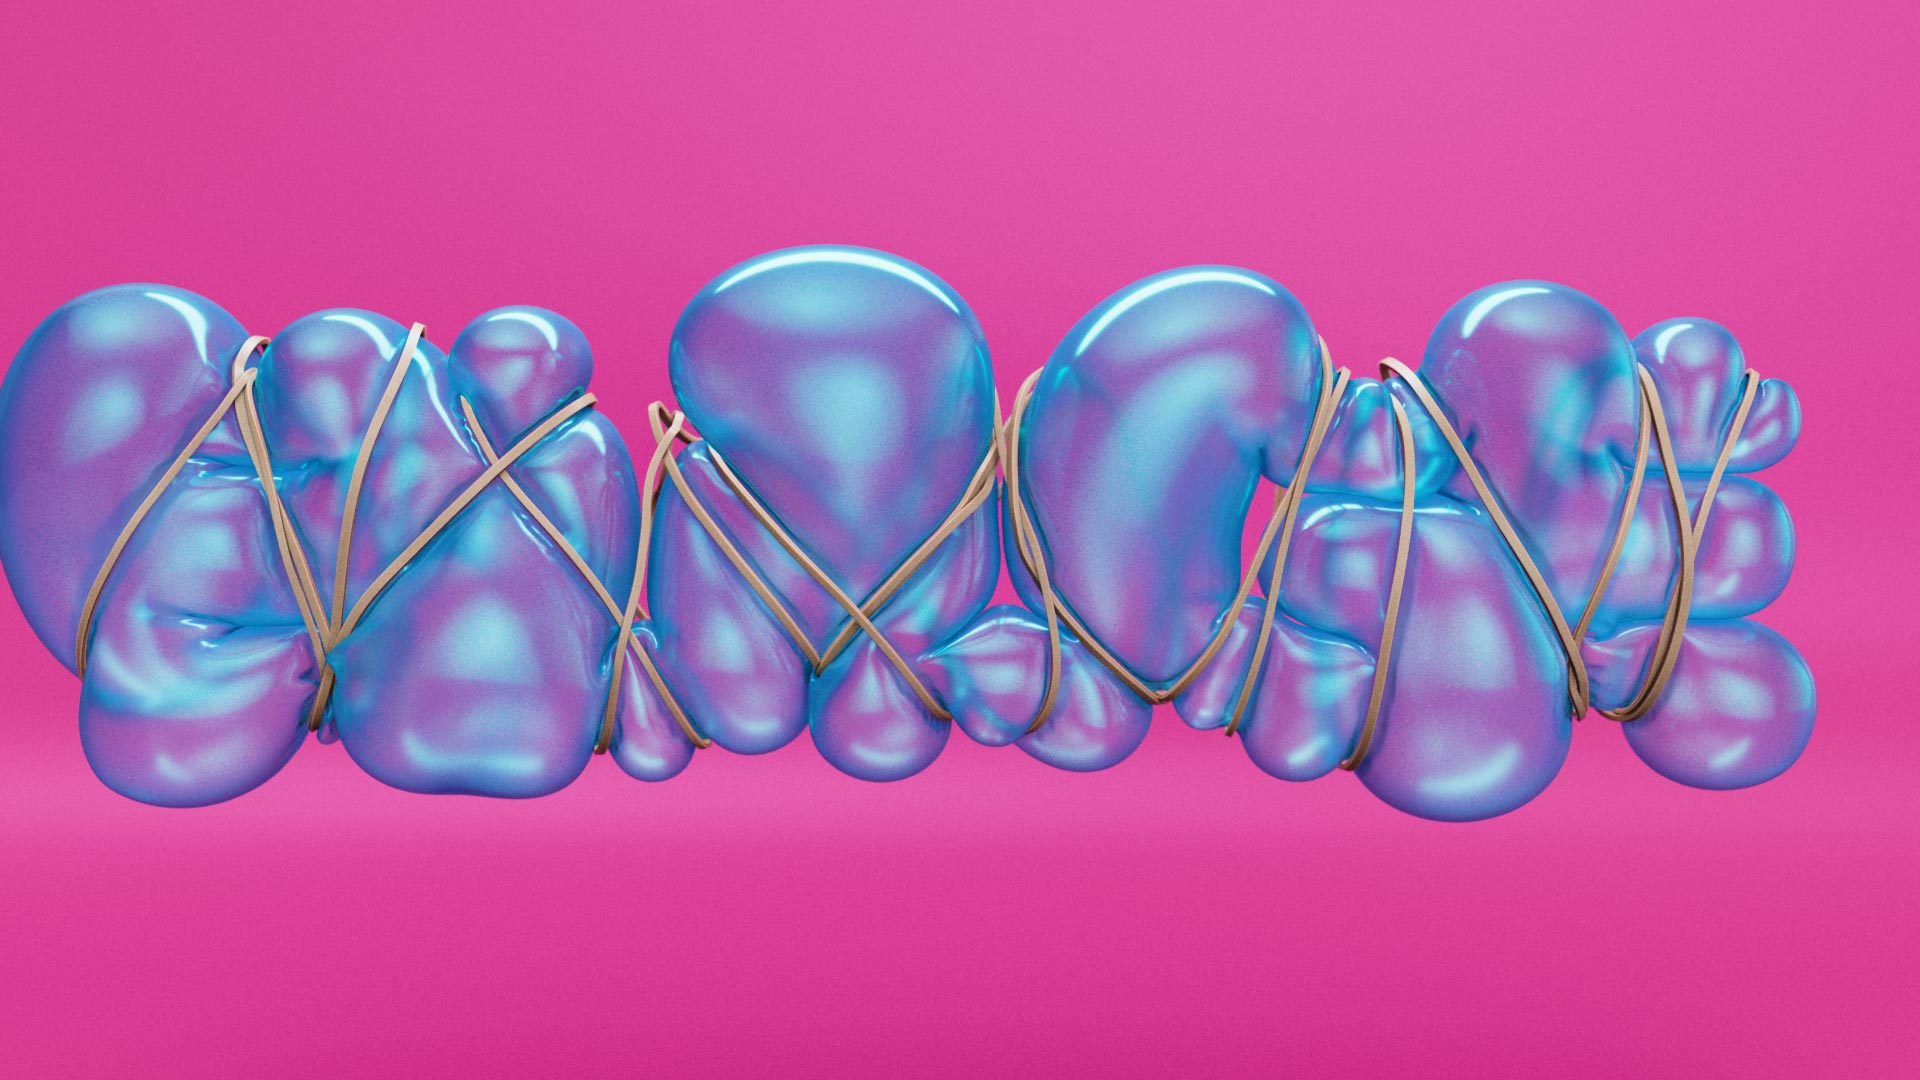
Imagine blowing up a balloon and simultaneously releasing elastic bands onto it’s surface, well that is exactly what you will be doing in this fun exploration of the Balloon feature. Combining the power of Mograph with the simulation system for incredible results.
Releasing elastic bands at high speed onto the surface creates a lot of energy and we will look at how to manipulate the settings and maintain a fast calculation, whilst reducing errors and intersections in the simulation.
The setup is 100% procedural, so it is simple to swap out the geometry or change the text for a completely different result.
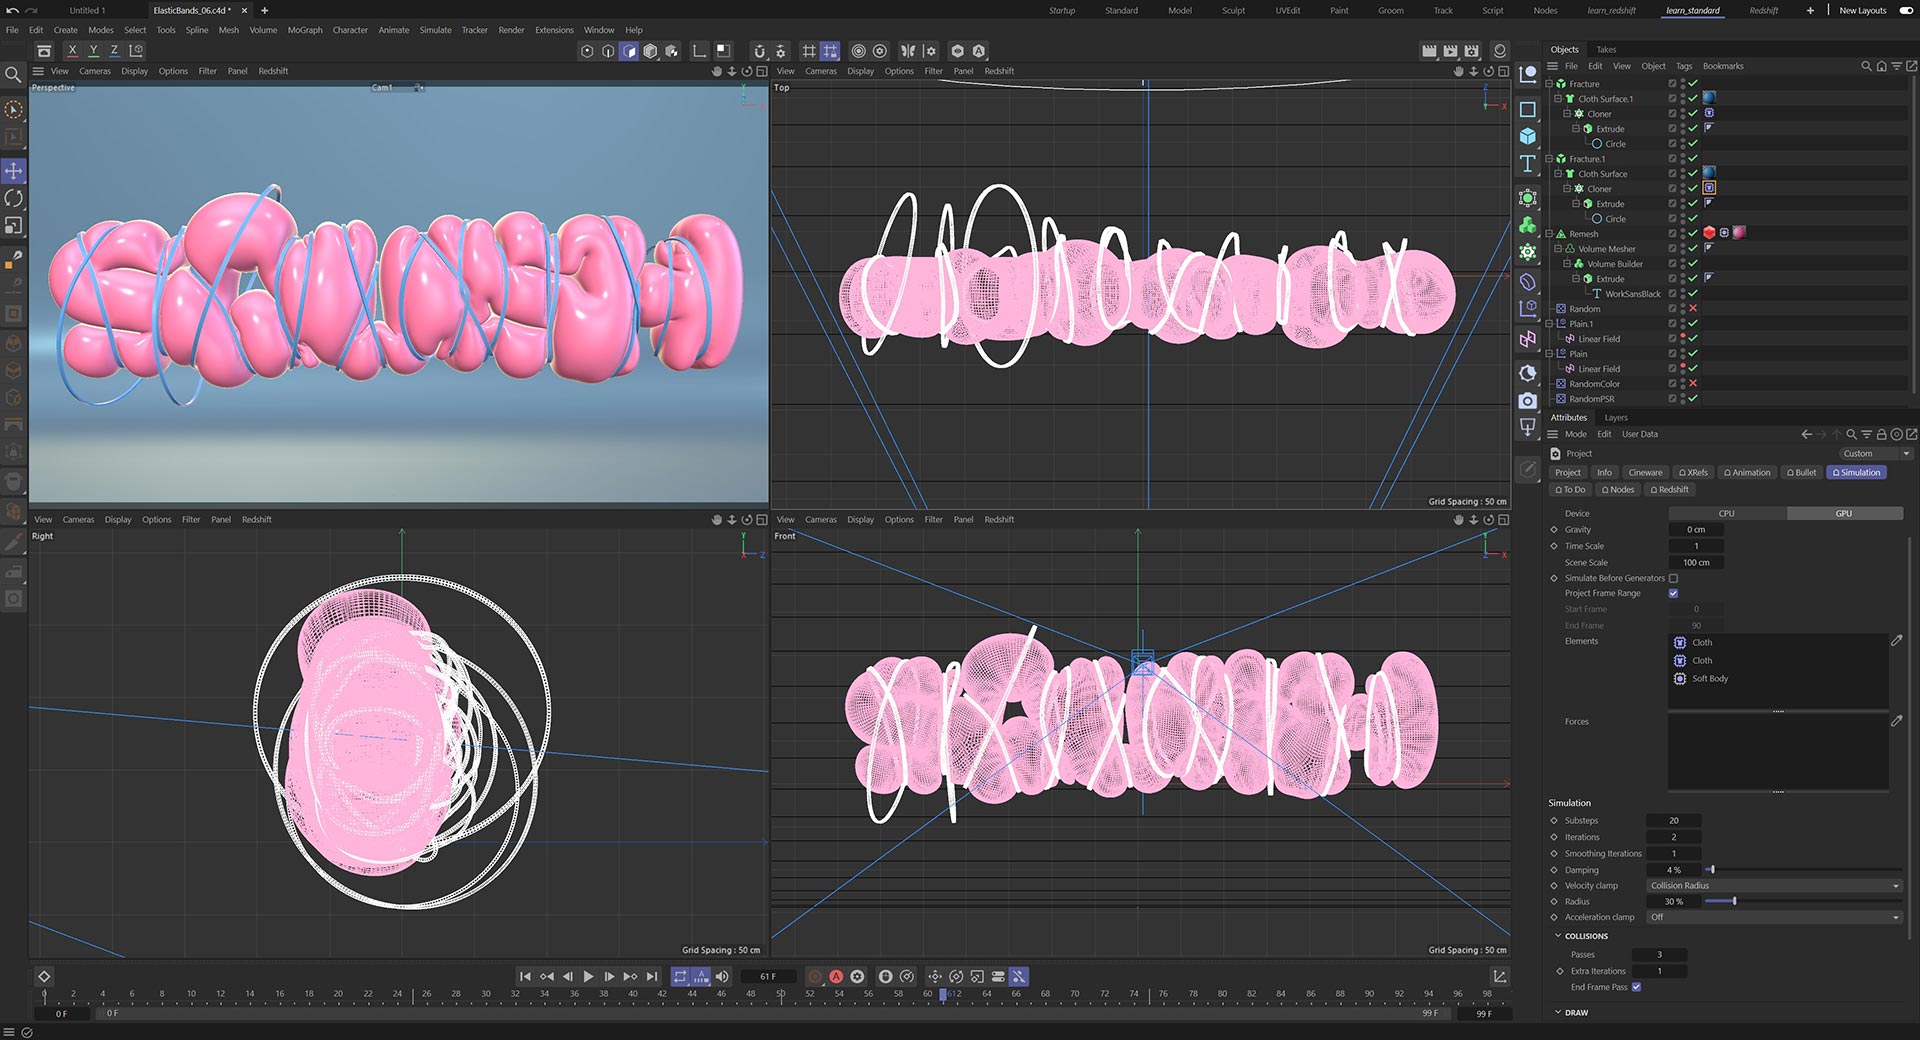
Duration: 29 minutes
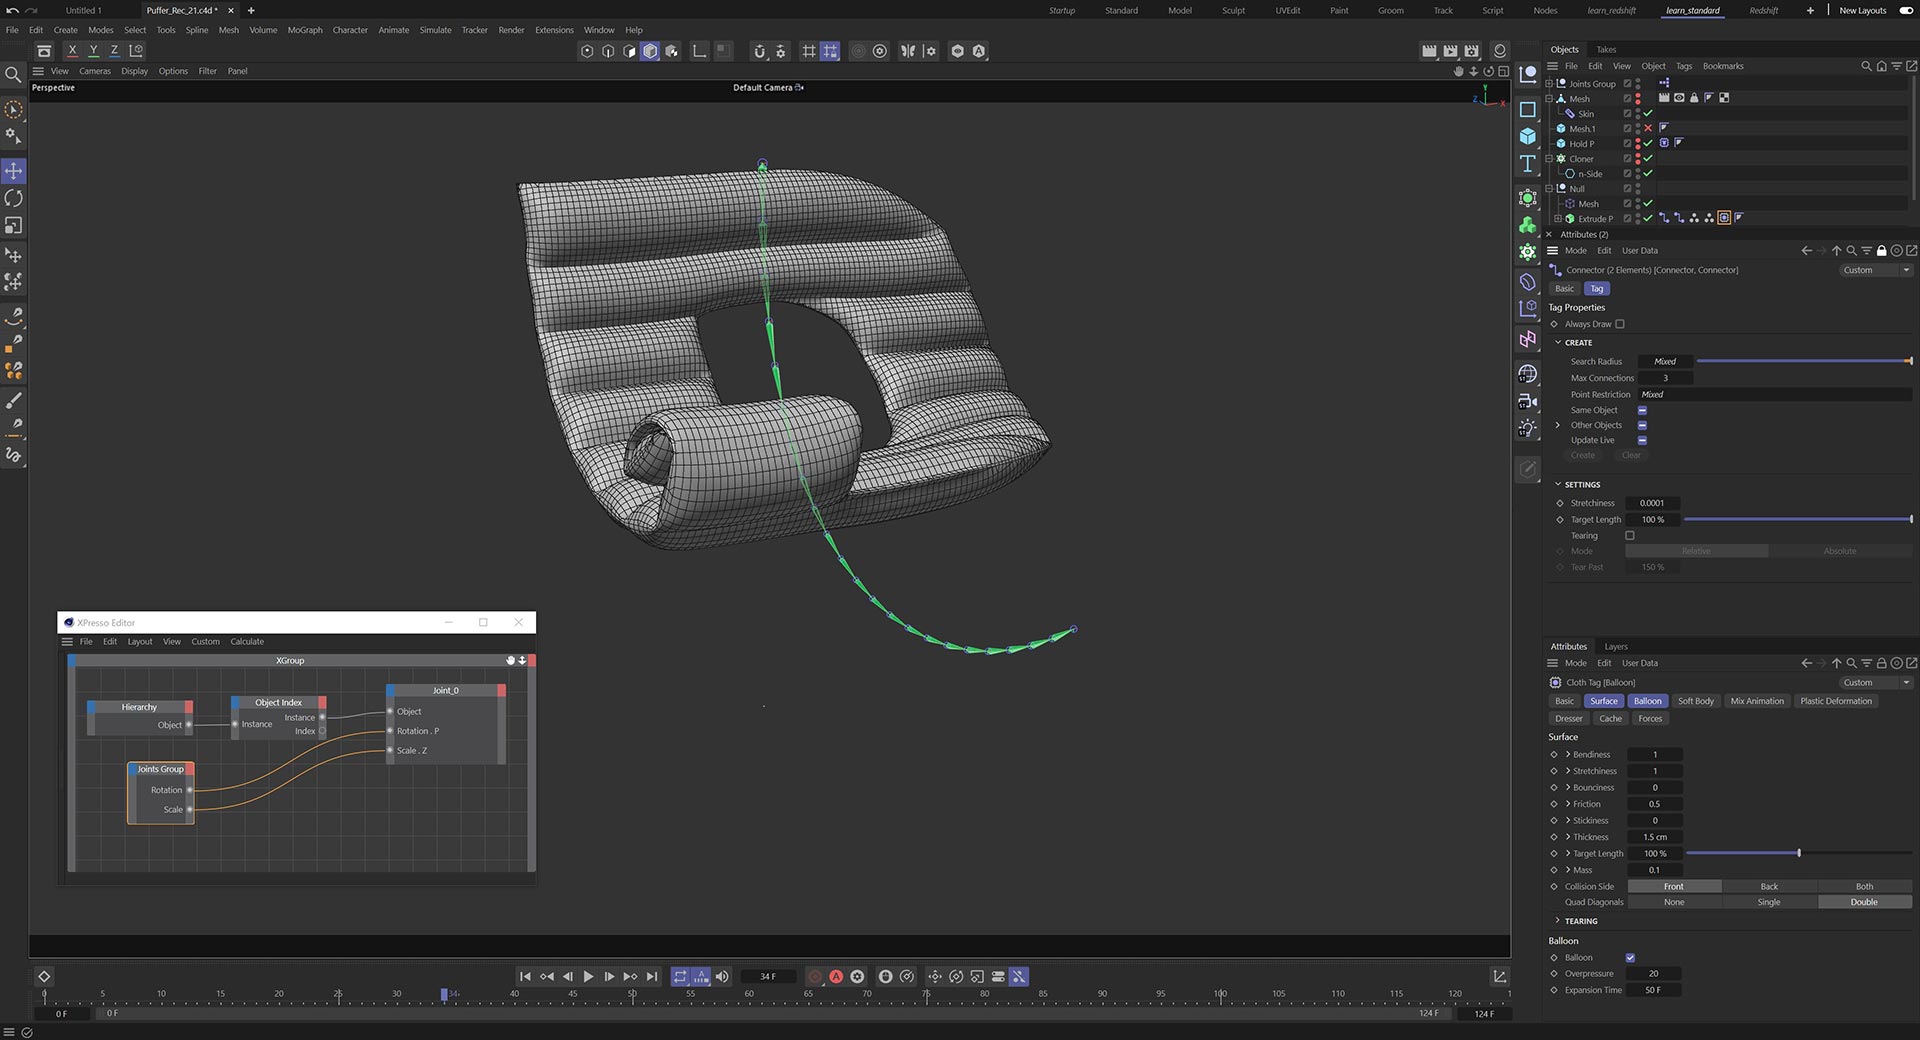
Being able to art director your simulation is important and this tutorial demonstrates how you can rig your object and animate with keyframes, then combine this with a simulation to allow maximum control with the fluid motion of cloth.
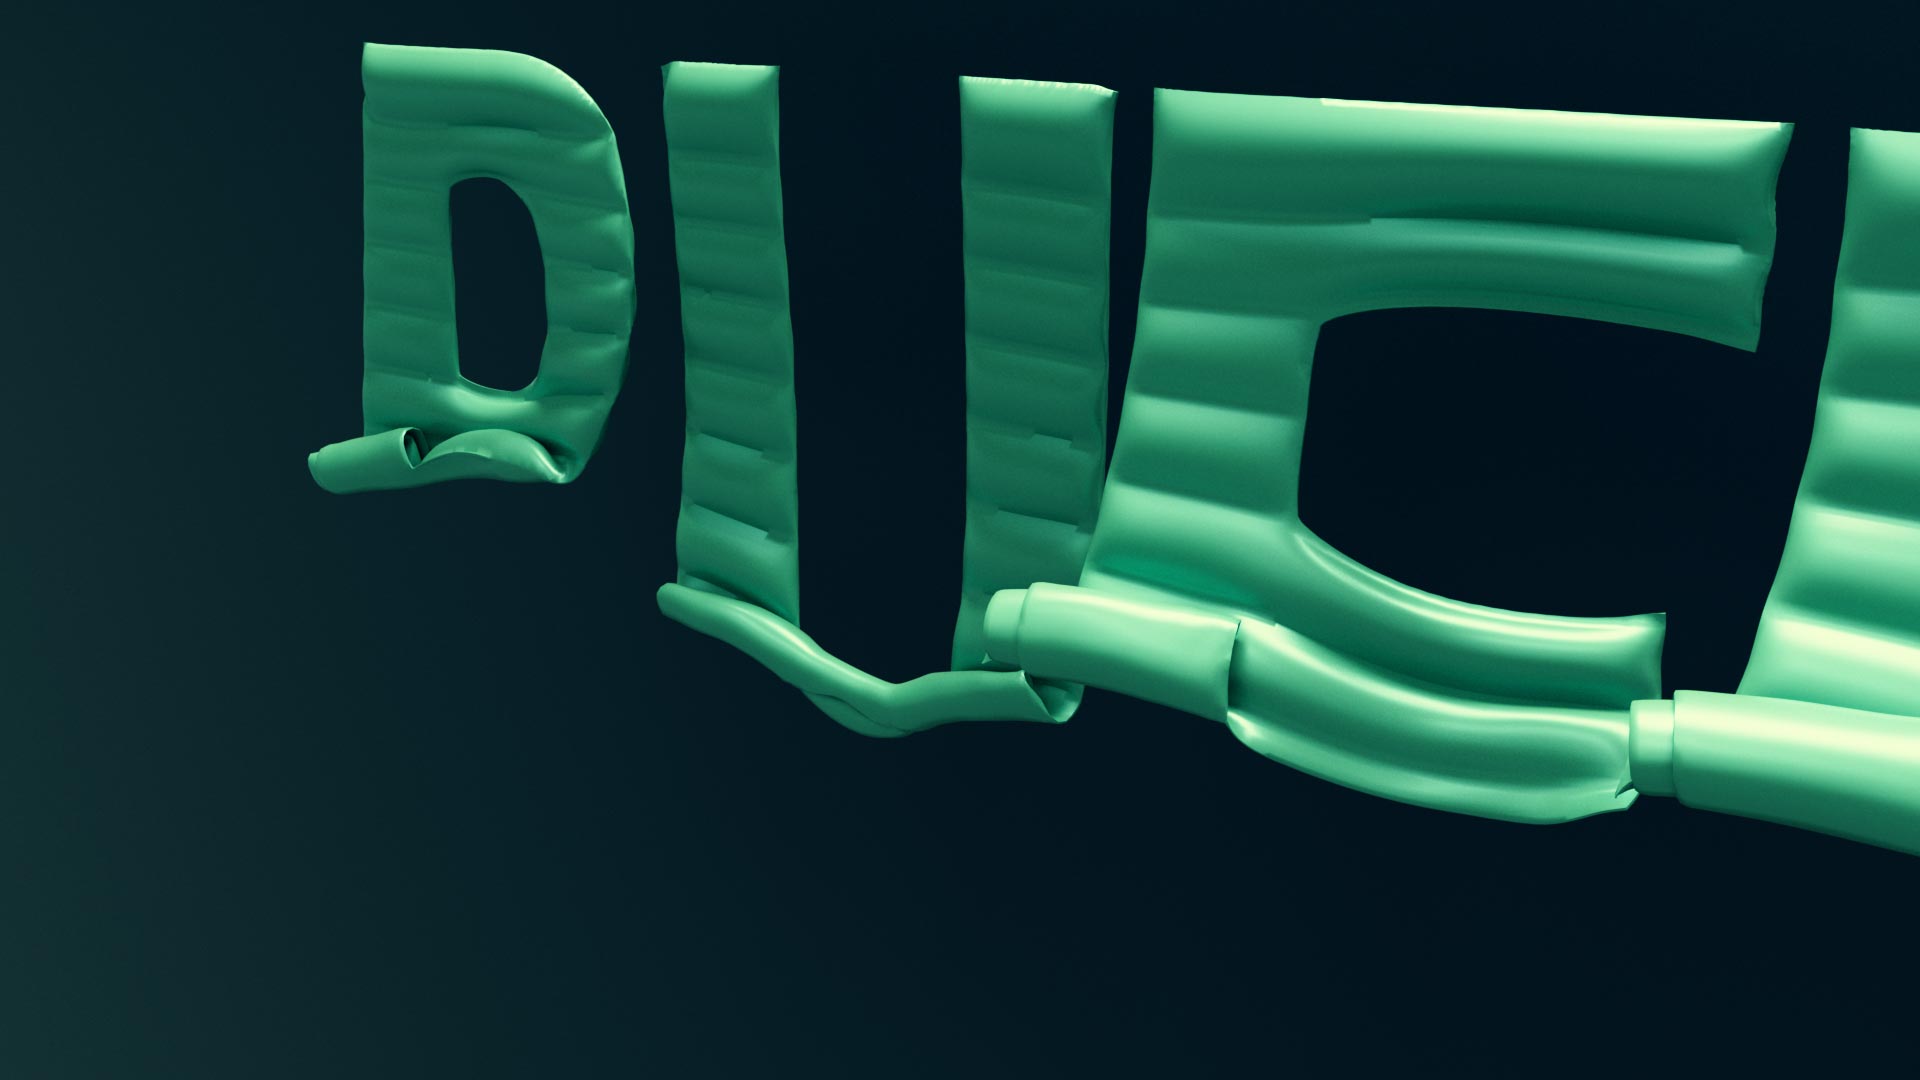
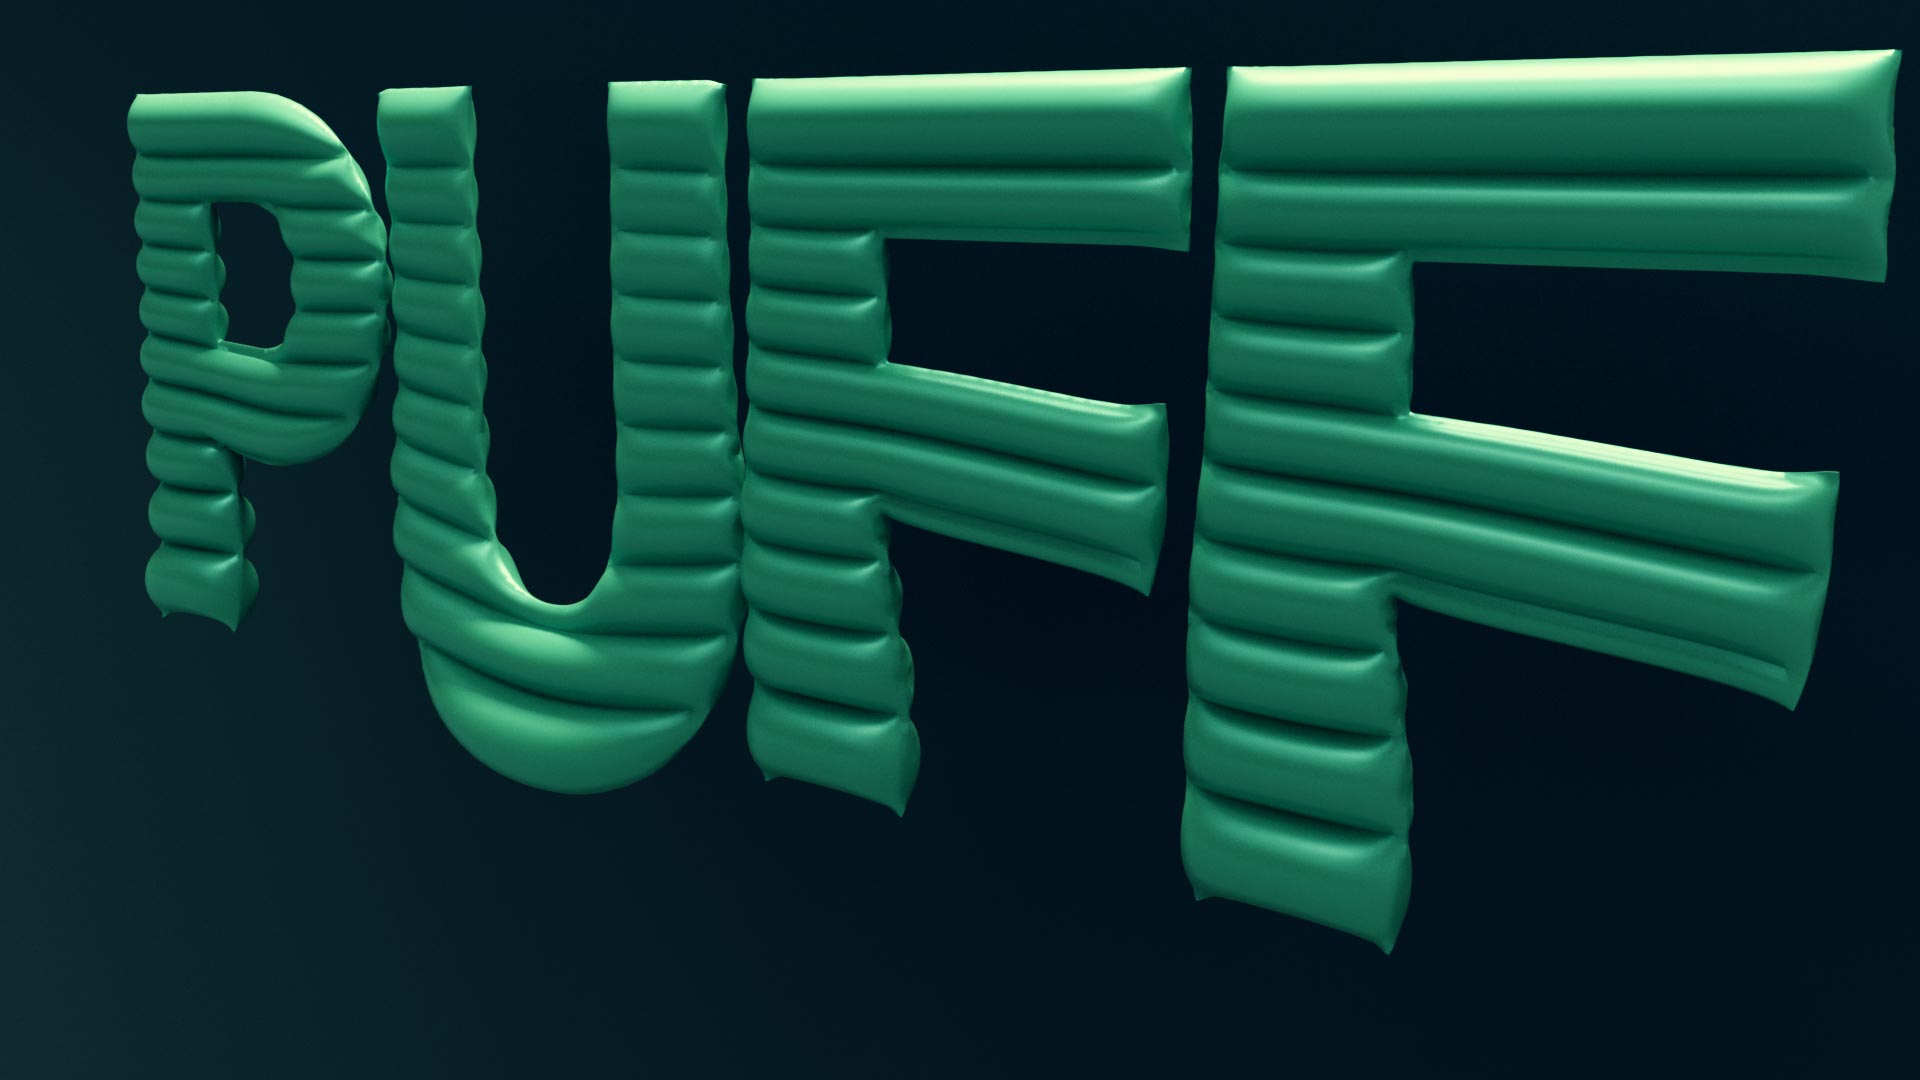
We start by building the puffer shape, this would be perfect for an airbed as it is created using the balloon feature. Once this is working as expected, the object is rigged using a joint chain and the skin deformer. The joints are controlled via a simple Xpresso setup which iterates through the hierarchy and applies the transformation. A fast and efficient workflow.
Finally the keyframed animation is combined with the simulation at various levels to demonstrate the flexibility of this approach.