3D Illustration and Animation in Blender
$55.00
Blender is fast becoming the hottest property in the worlds of film, motion graphics and game development, recently gaining huge financial and developmental support from such major players as Epic Games, Meta and Amazon. No other 3D suite on the planet is developing as quickly, averaging around four major releases a year.
Join Matt on this course for foundational knowledge and great workflow tips he’s picked up in his years as a professional 3d artist.
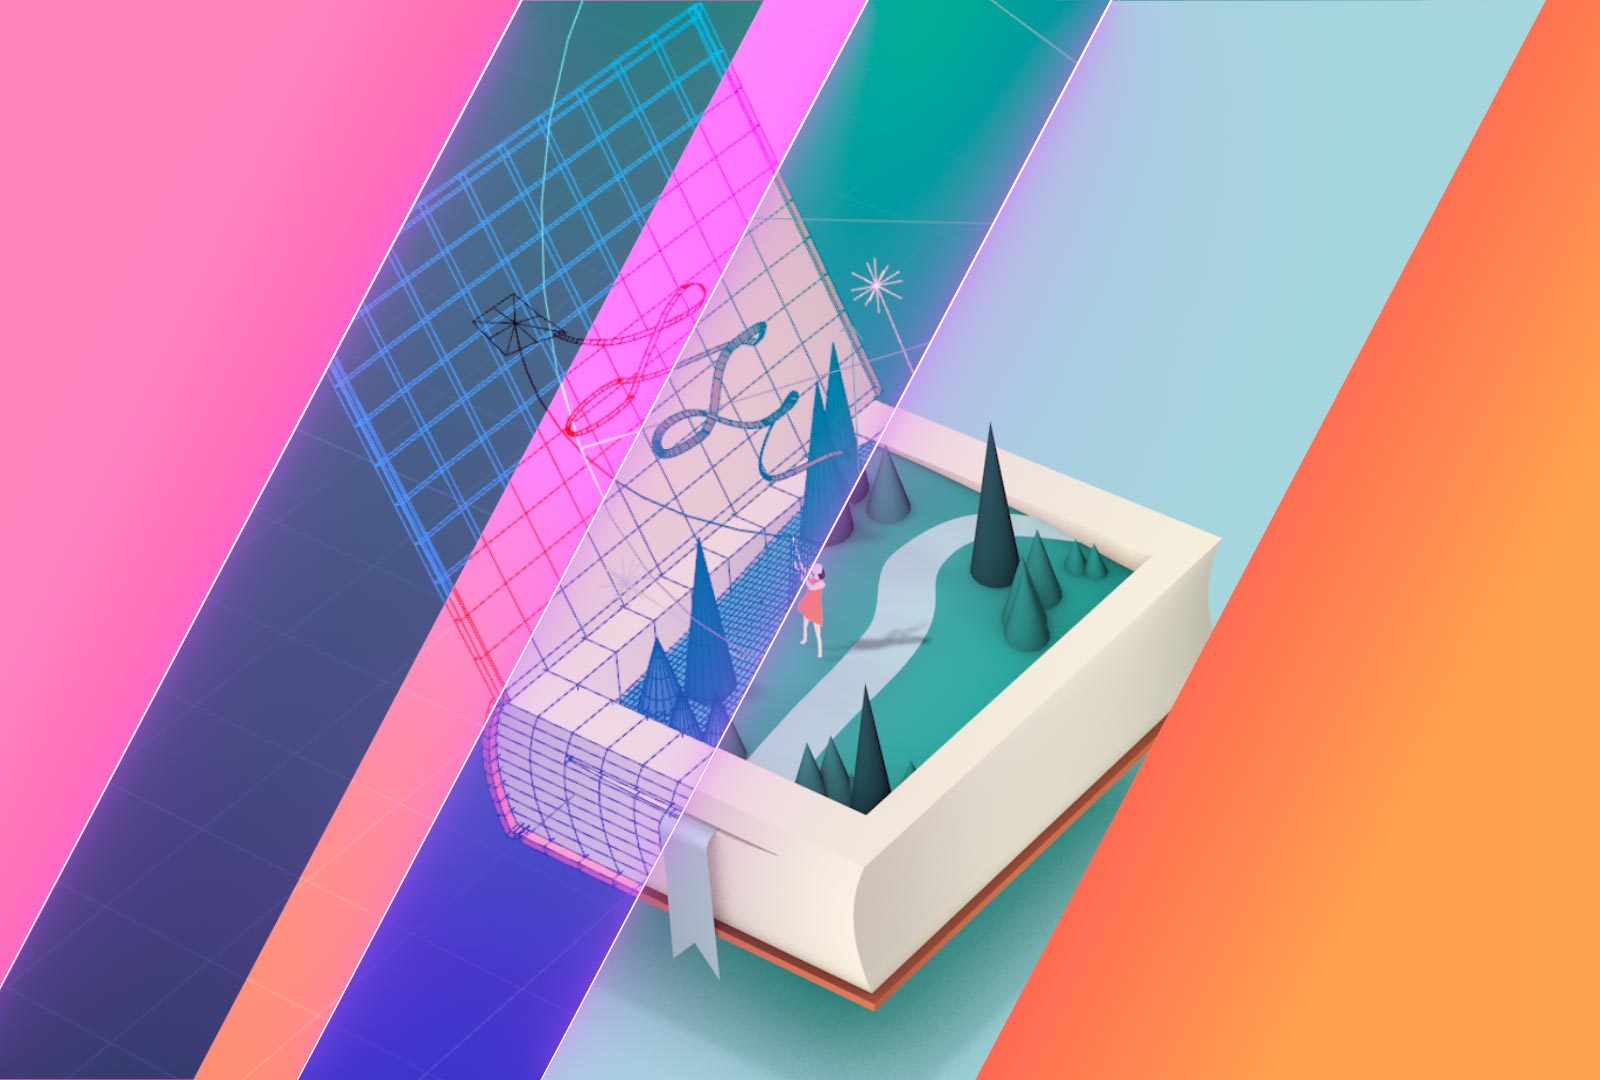
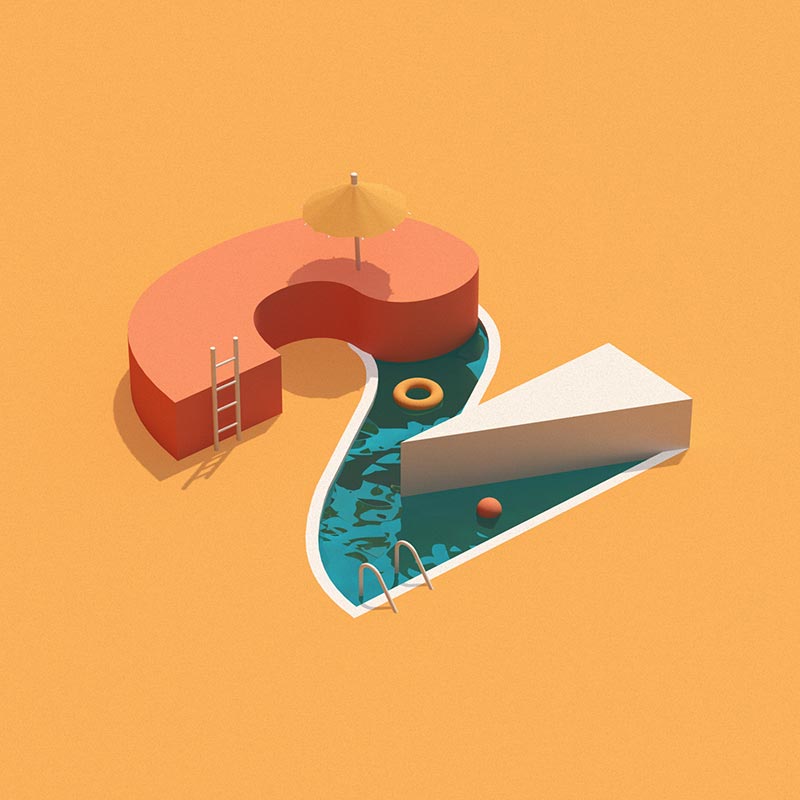
Building on concepts already covered in Blender From Zero, in this second beginner level course you’ll use Blender to go further, recreating an animation by respected design professionals Núria Madrid and Cristian Malagón Garcia. Observe the pros’ work closely to improve your own observation skills, and also be forced to get to grips with the how and why of more of the essential tools in Blender’s formidable arsenal.
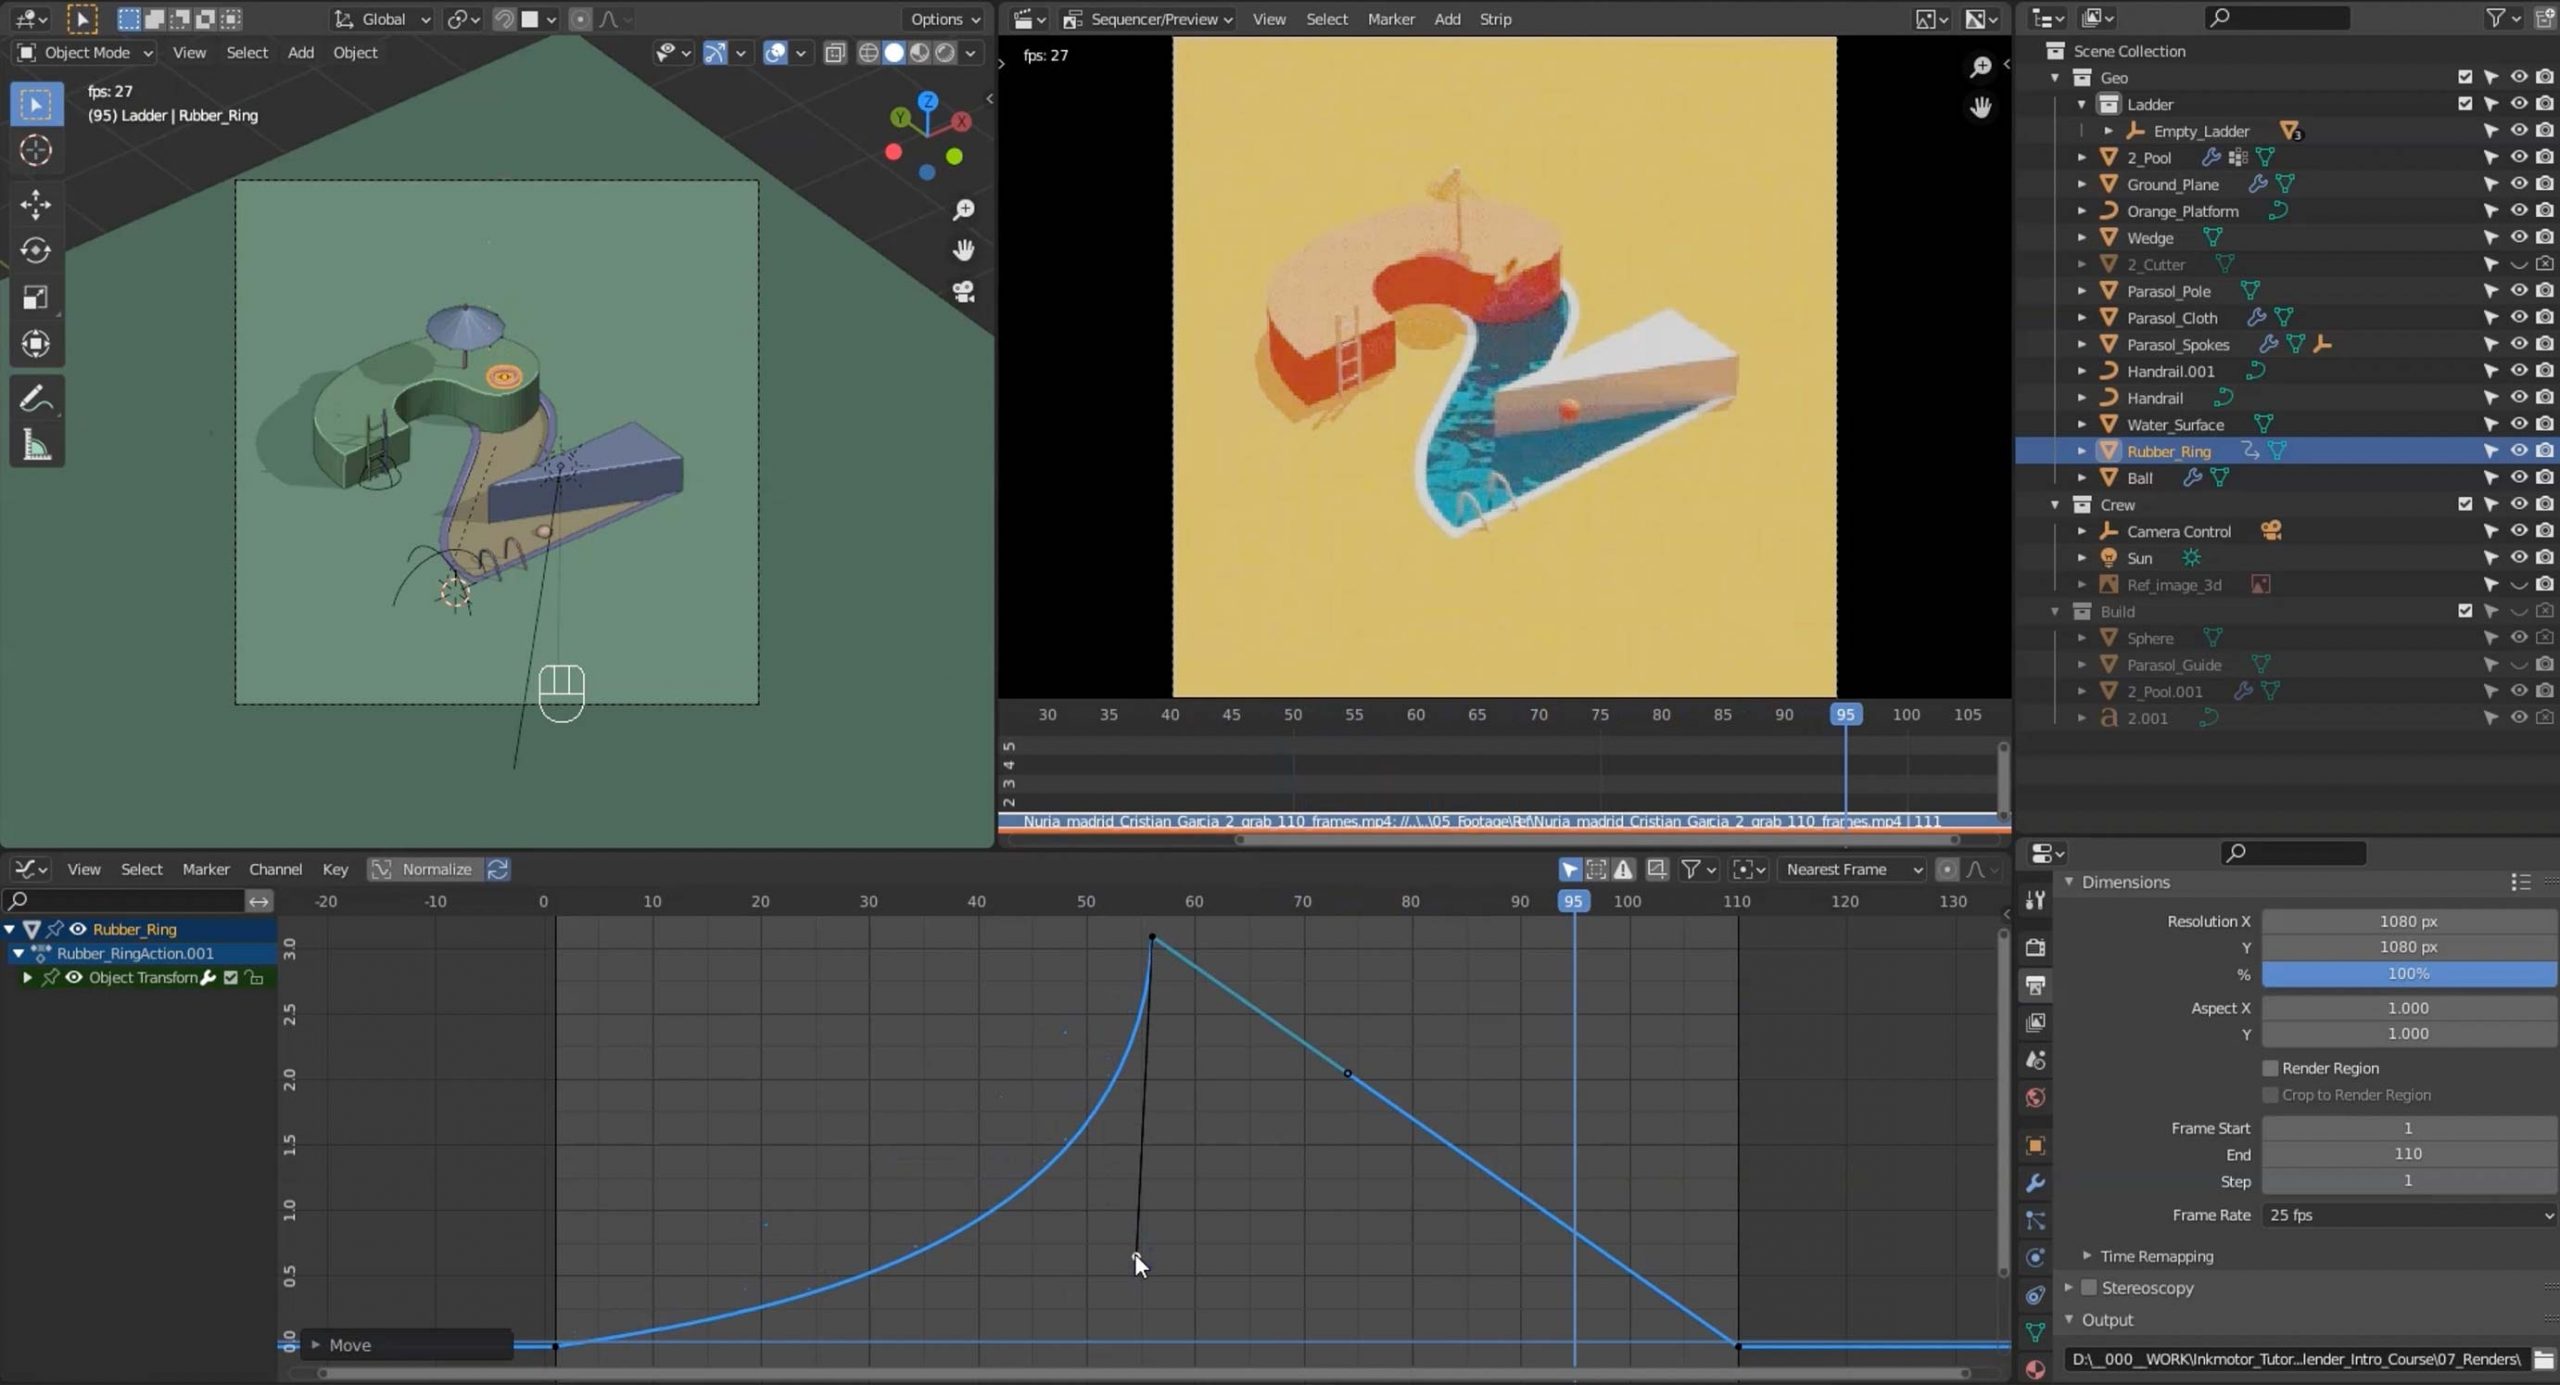
This 2.5 hour course is split into two parts, the first half focuses on constructing the scene, the latter covers animation: we’ll be bringing the scene we build to life and will take a deep dive into the timeline, exploring f-curves, interpolation types and how to create animation loops.
Jump on board and discover how quickly and easily you can add 3d animation to your skill set, using what is surely set to be the 3D app of the coming decade… Blender!
A quick review of how to get around in 3D space and setting some preferences to make this as intuitive as possible.
How to change Blender’s layout to suit your own way of working.
An introduction to Blender’s “Pie” or Heads-Up menu system which gives you easy access to a slew of tools.
Covering how to move, scale and rotate objects in 3d space, and handy ways of constraining and controlling these transforms.
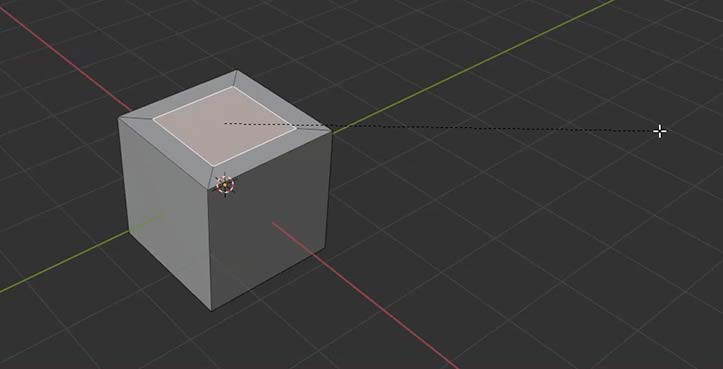
Moving on from transforming objects as a whole, we now explore how to alter an object’s geometry by switching from object to edit mode, which gives us access to the faces, edges and vertices which are the fundamental components of 3d objects.
With the extrude tool we use existing polygons as a starting point from which to pull out new geometry.
The inset tool takes the currently selected faces and creates an inset of them, with adjustable thickness and depth.

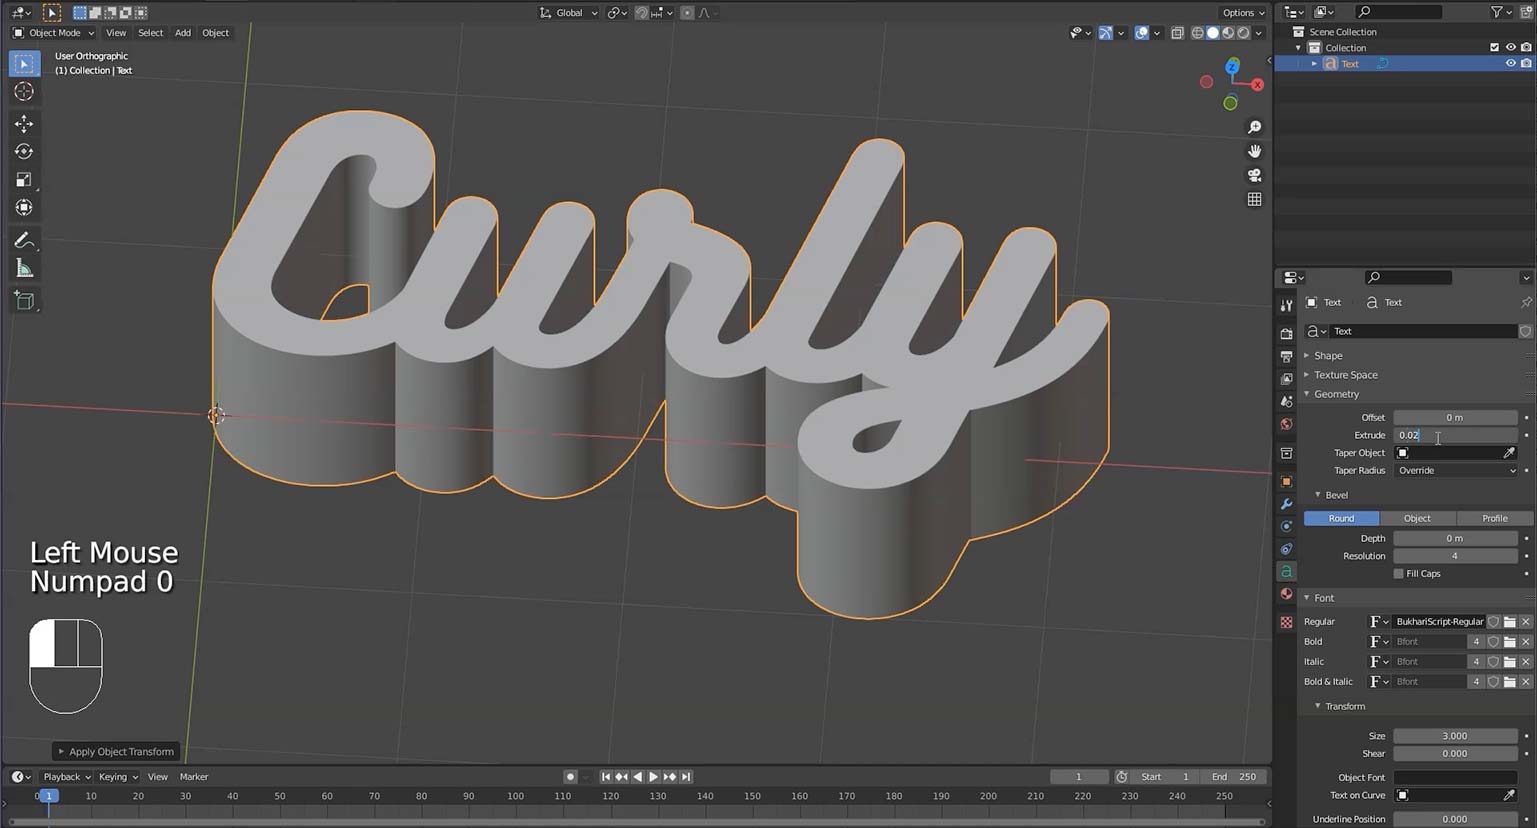
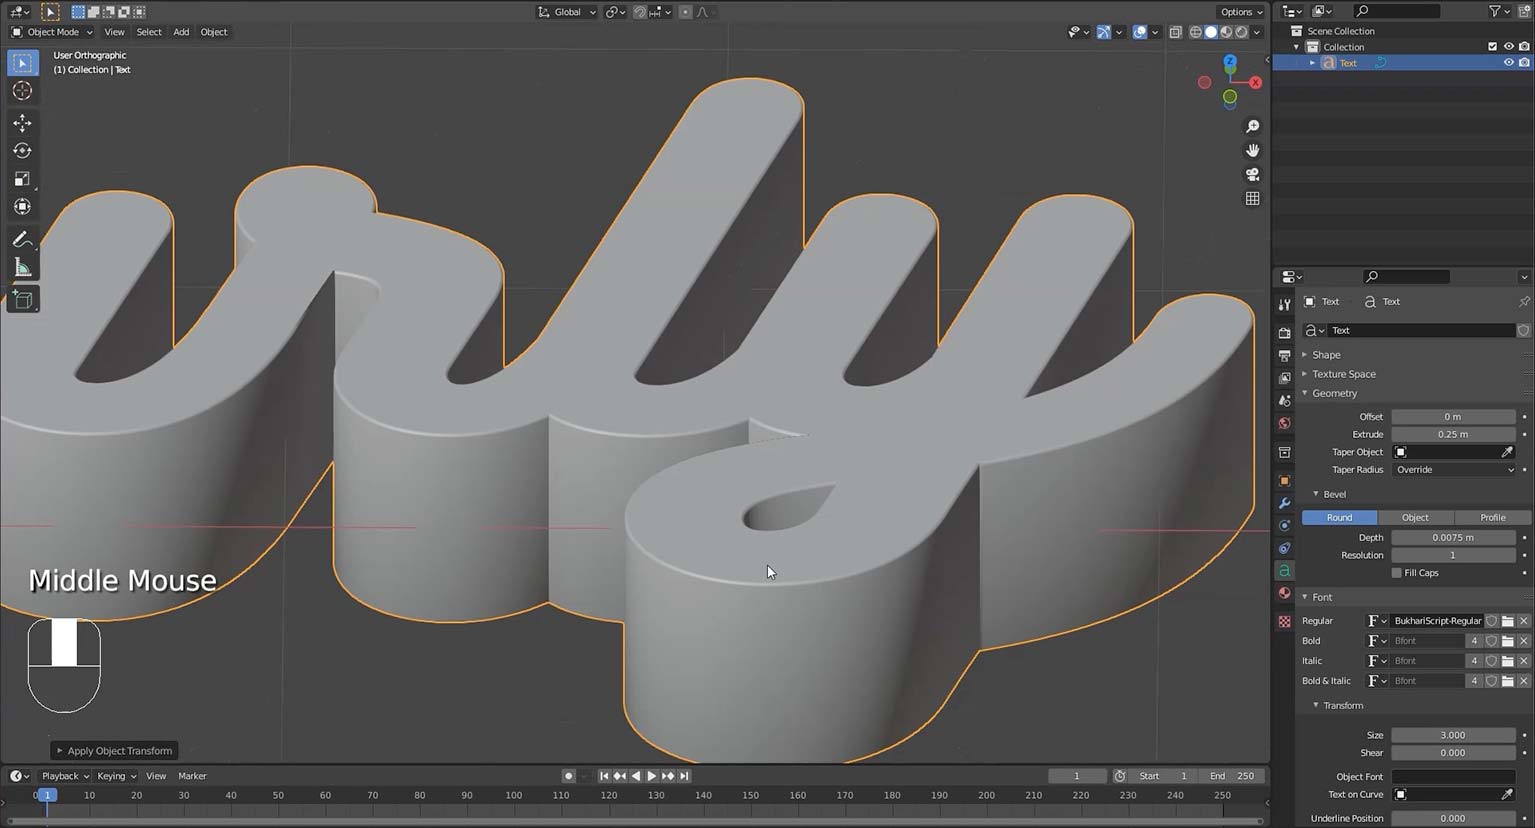
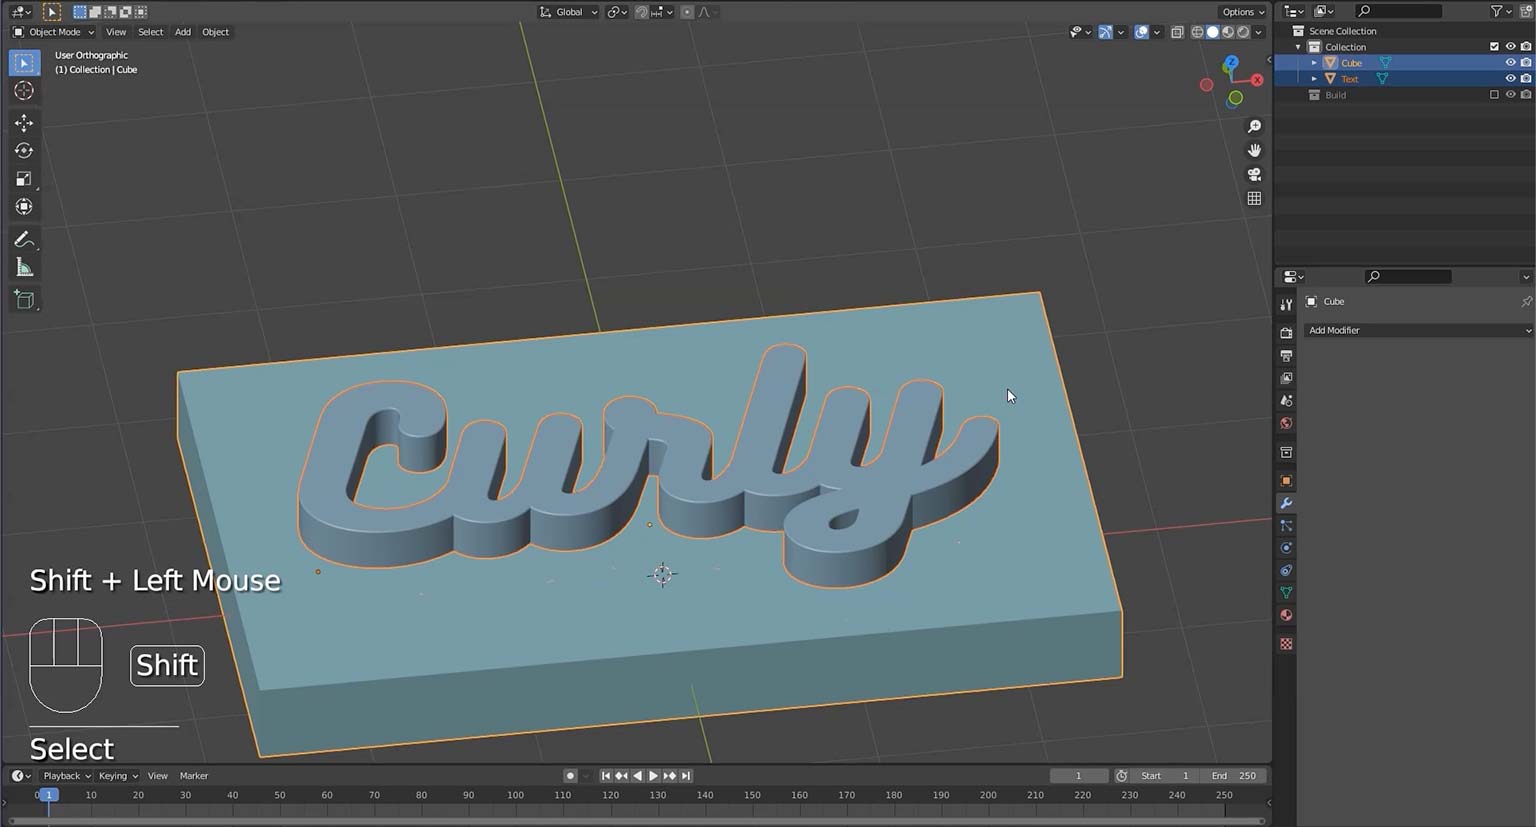
Text objects allow you to create and render 2D or 3D text. We cover how to add one to the scene, select a font, and extrude it to give it some thickness.
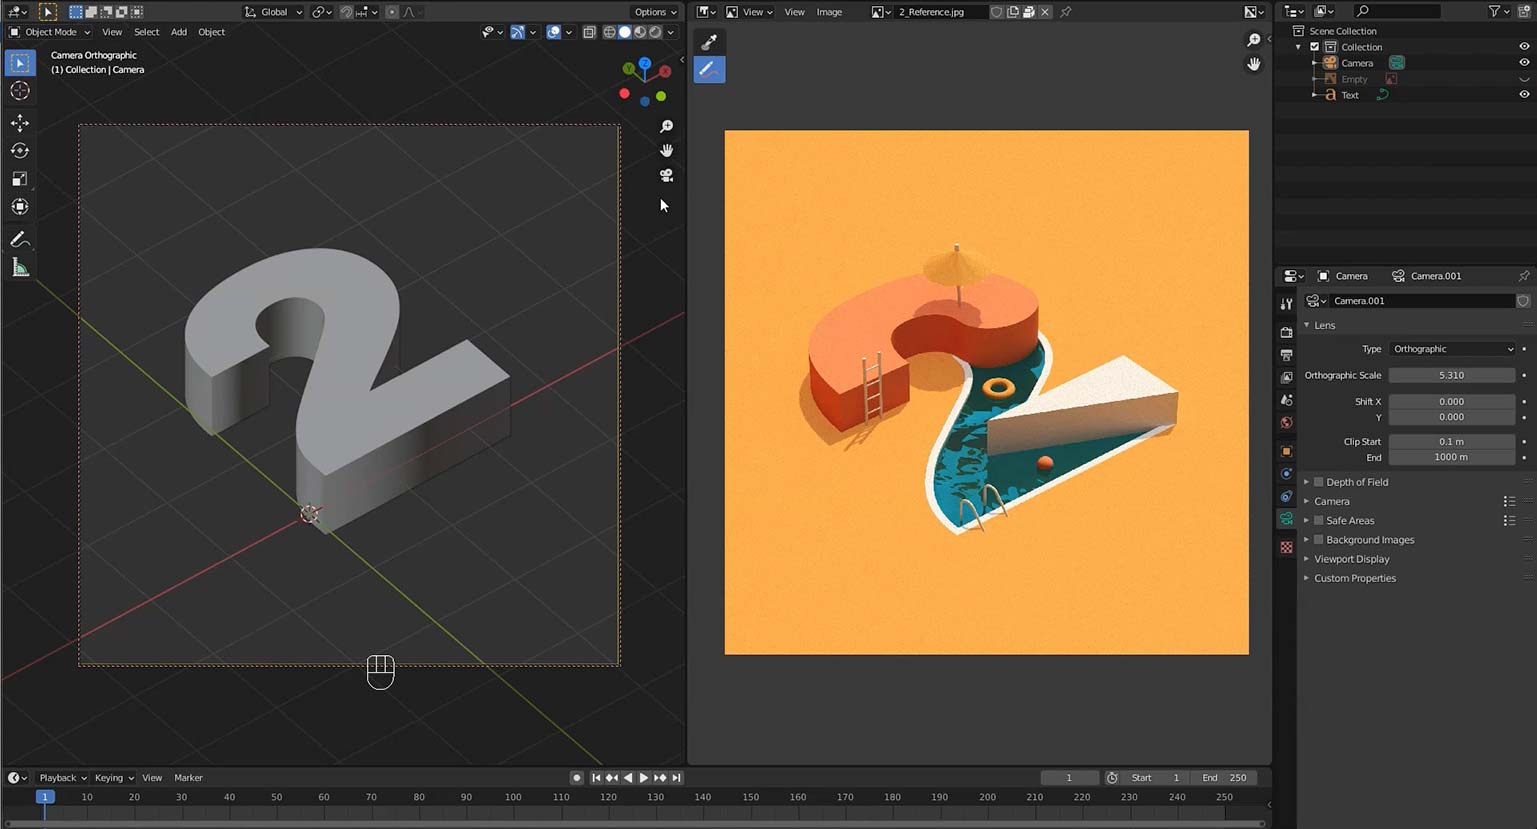
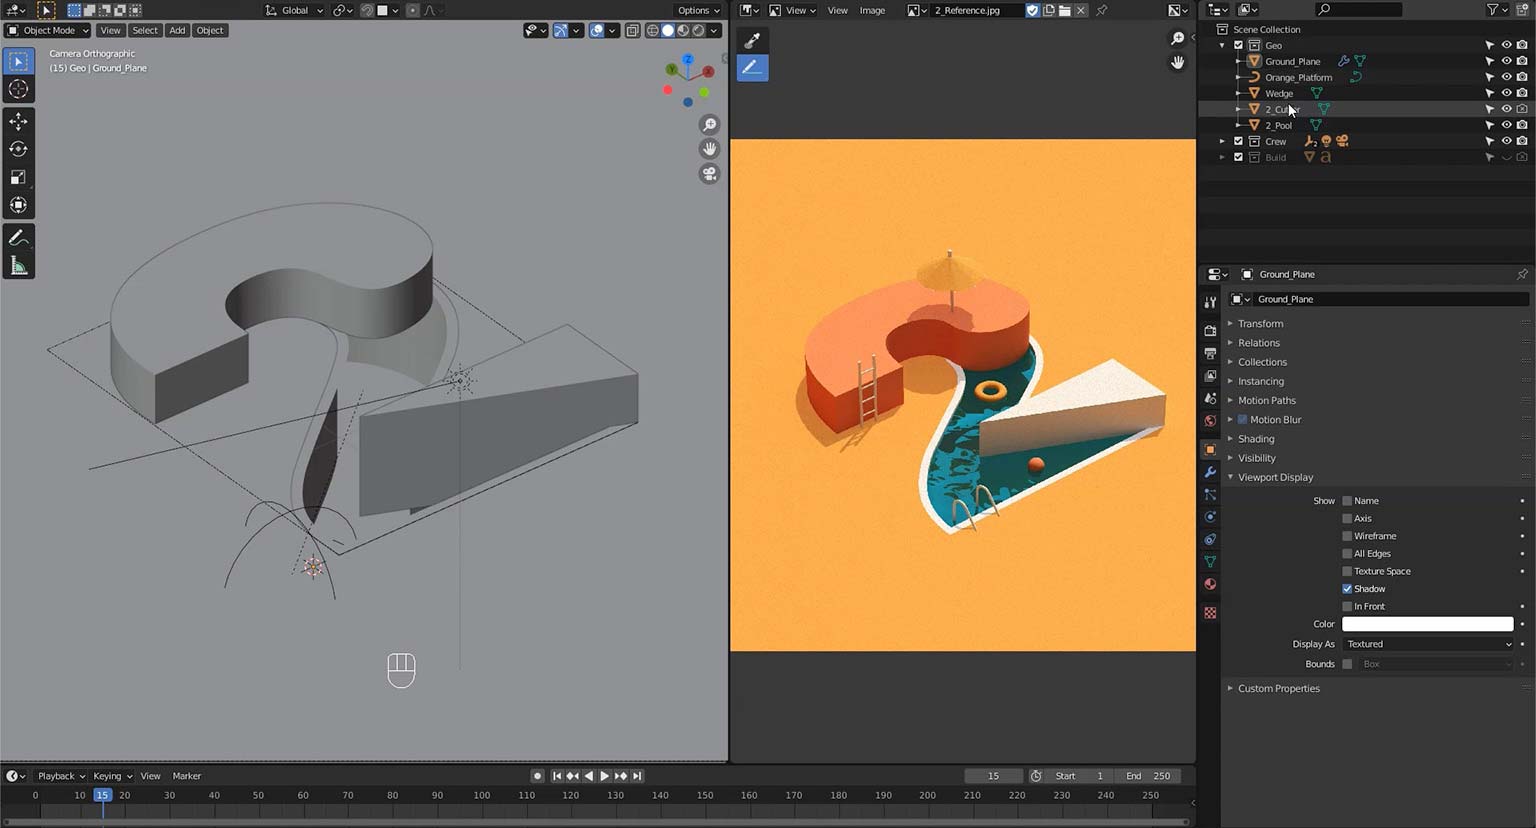
Without a camera, Blender will not render an image. In this video we learn how to add a camera to the scene, how to have the camera jump to our current viewpoint, the difference between perspective and parallel cameras, and how to adjust the aspect ratio in order to create a square render.
Collections are a means of grouping objects together in Blender. Objects may belong to any number of collections, which can be useful for keeping your scenes organised, controlling object visibility, selectability, whether or not they render, et cetera. Here we use a collection to group together render geometry which we’ll see in the finished image, and another for invisible “helper” objects such as cameras, lights etc.
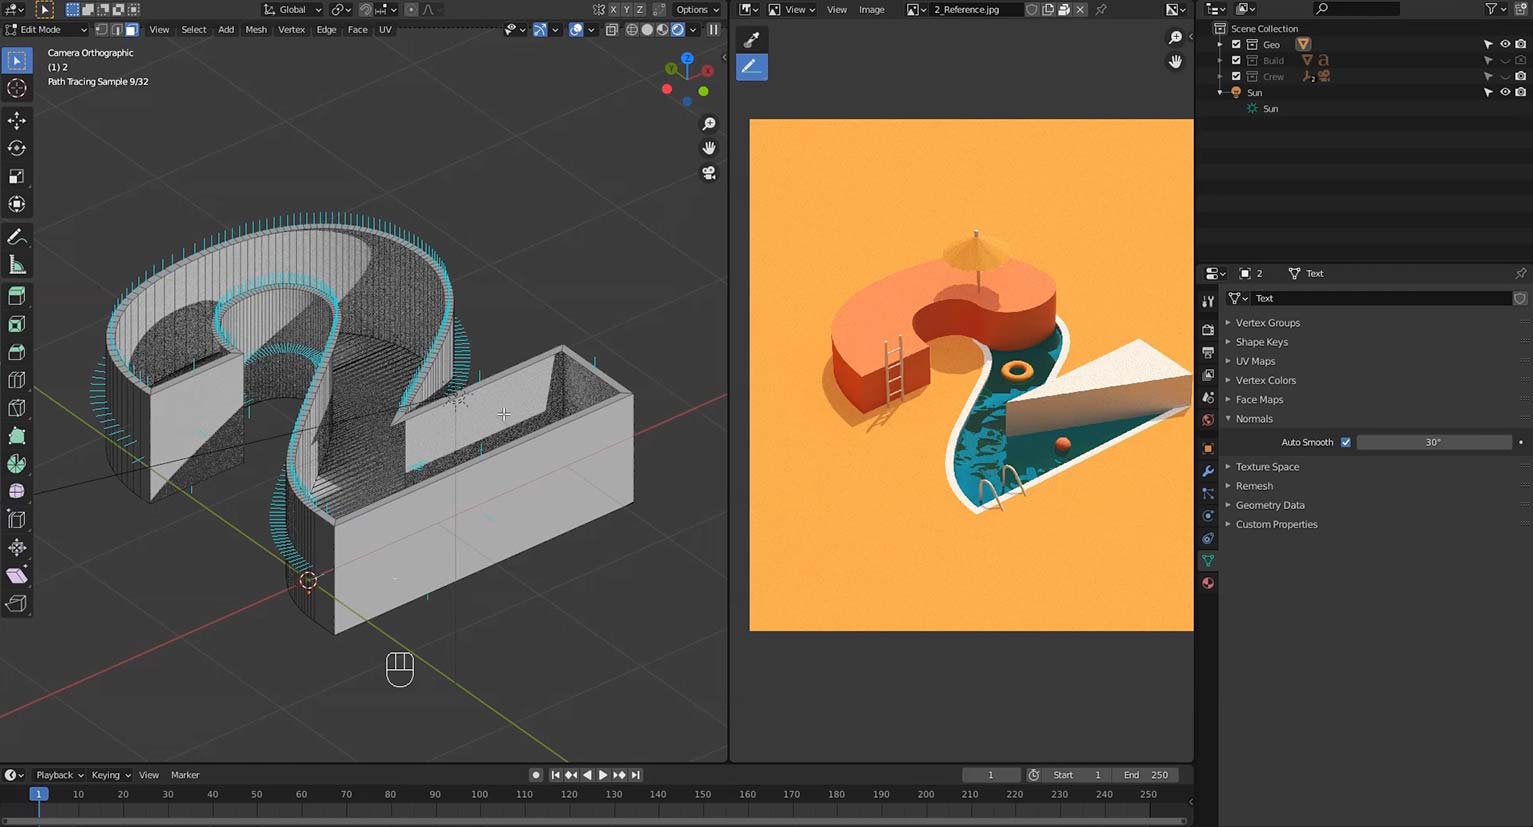
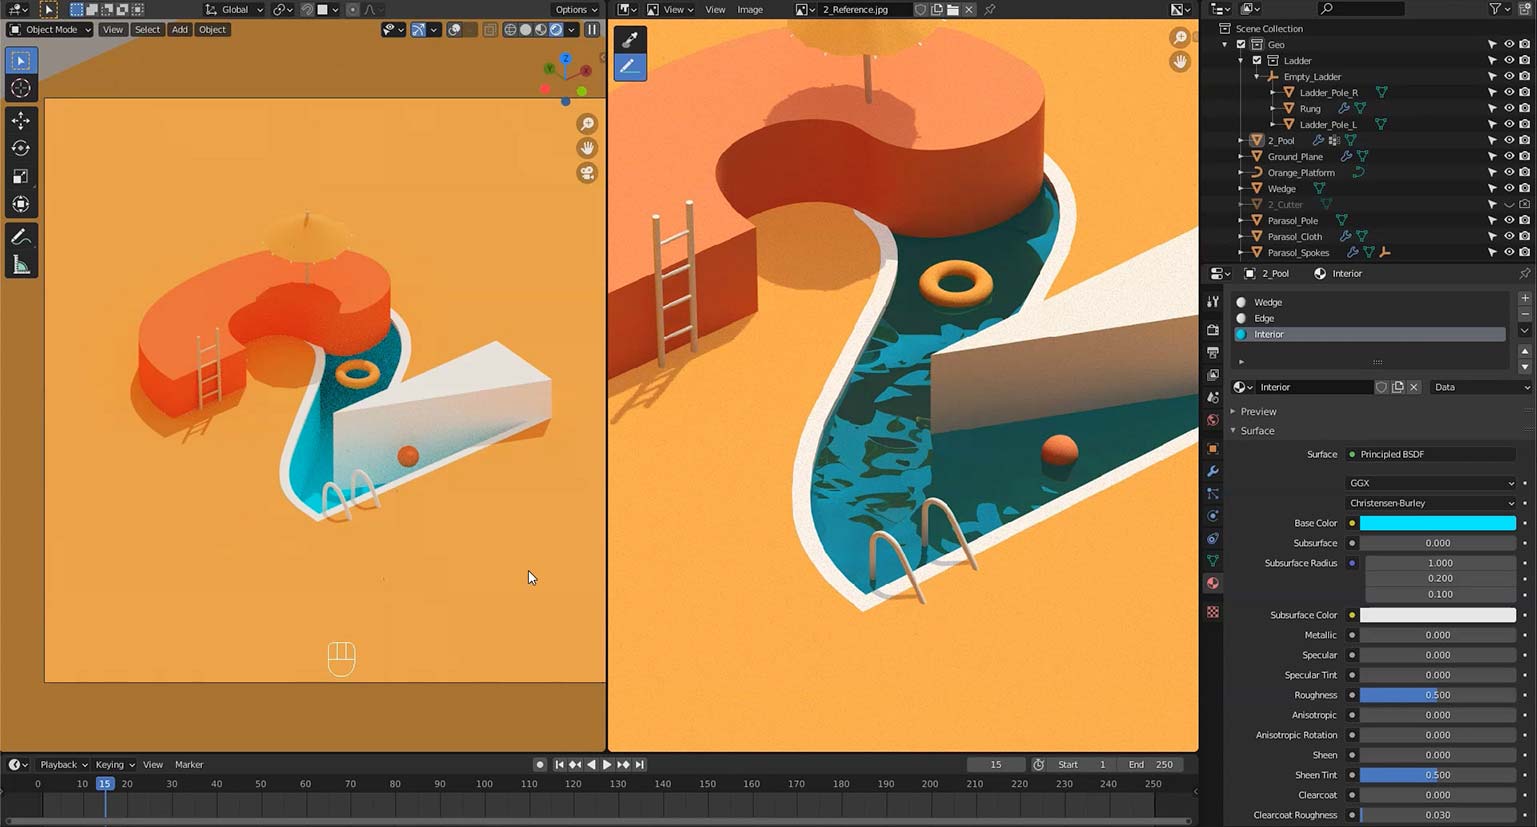
By converting the “2” from a curves-based text object to standard polygonal geometry we can start really customising it. Once converted, the top surface, made up of a complex array of triangles, is deleted, and the resultant hole is filled with a single “n-gon” shape. A simple inset operation then enables us to start recreating the white lip of the pool.
A method for cleaning up unwanted, overlapping geometry is also shown.
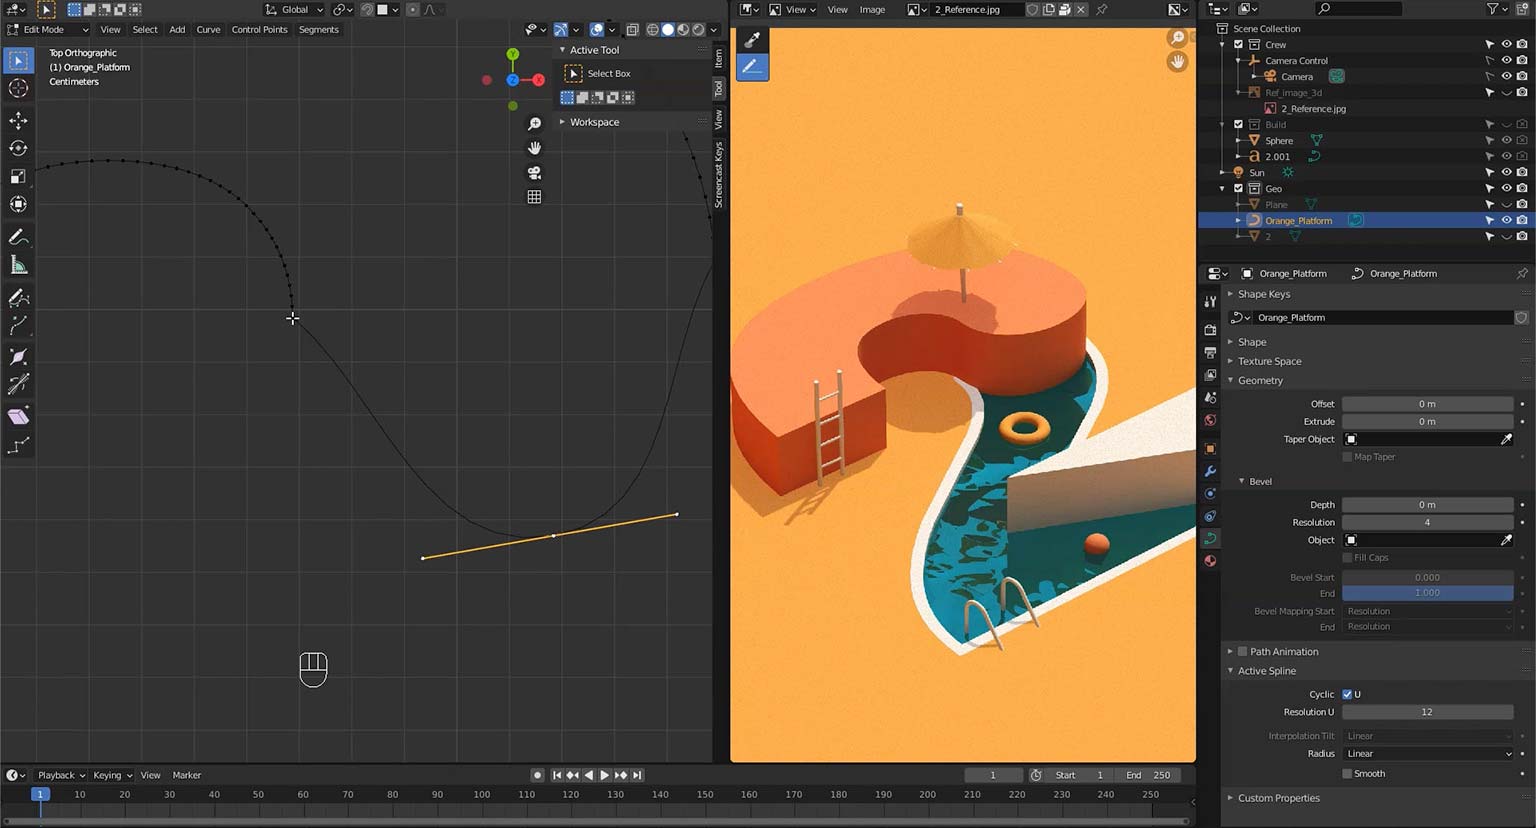
By duplicating an edge loop from the pool shape we’ve just made, we can form the basis of one of the diving platforms.
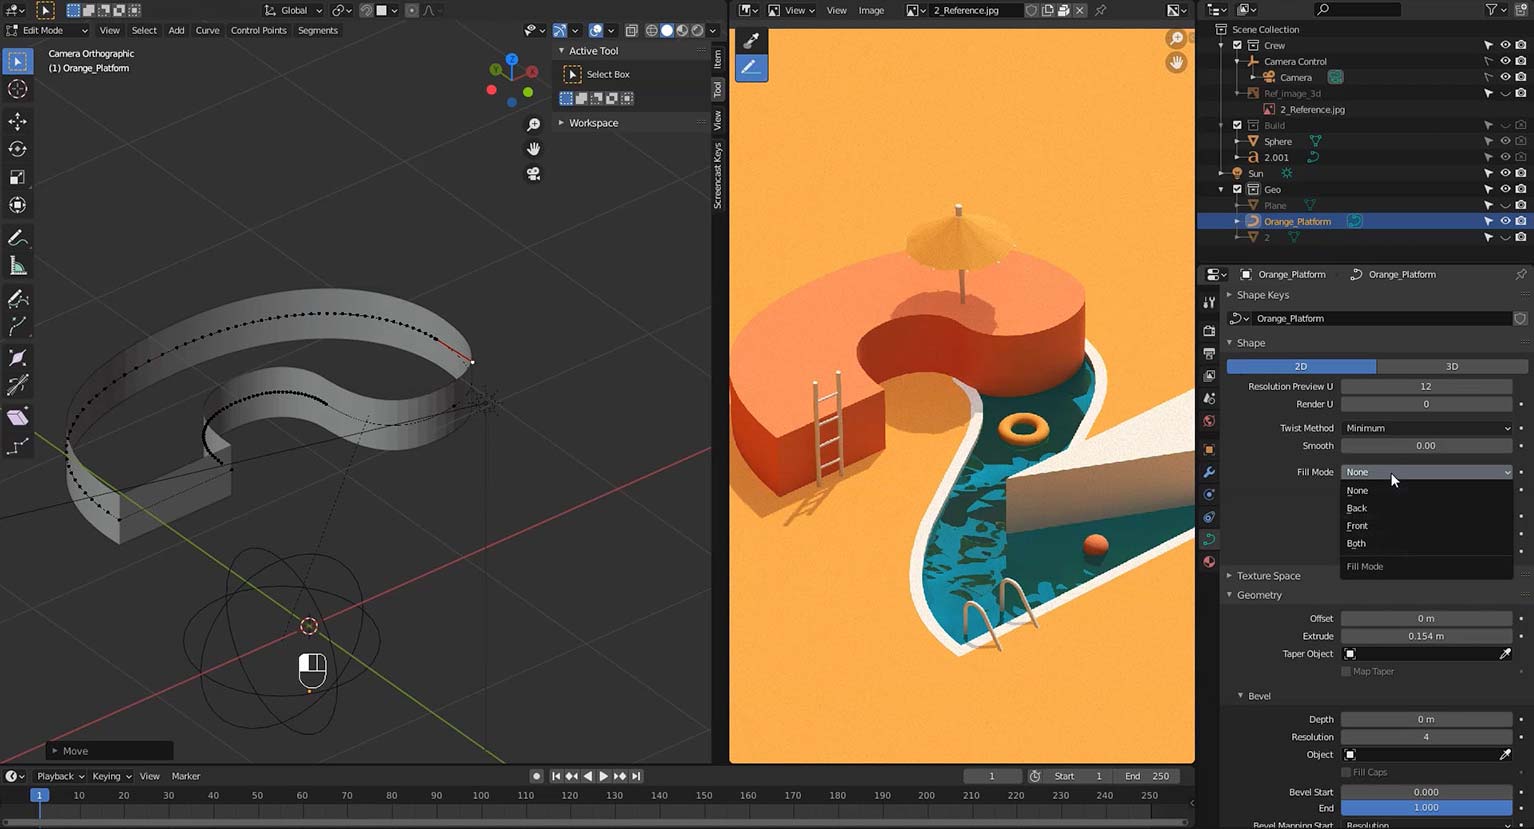
The edge loop is converted to a curve object so that it’s easy to recreate the curved form on its right hand side. Ways of manipulating curve points and handles are also demonstrated.
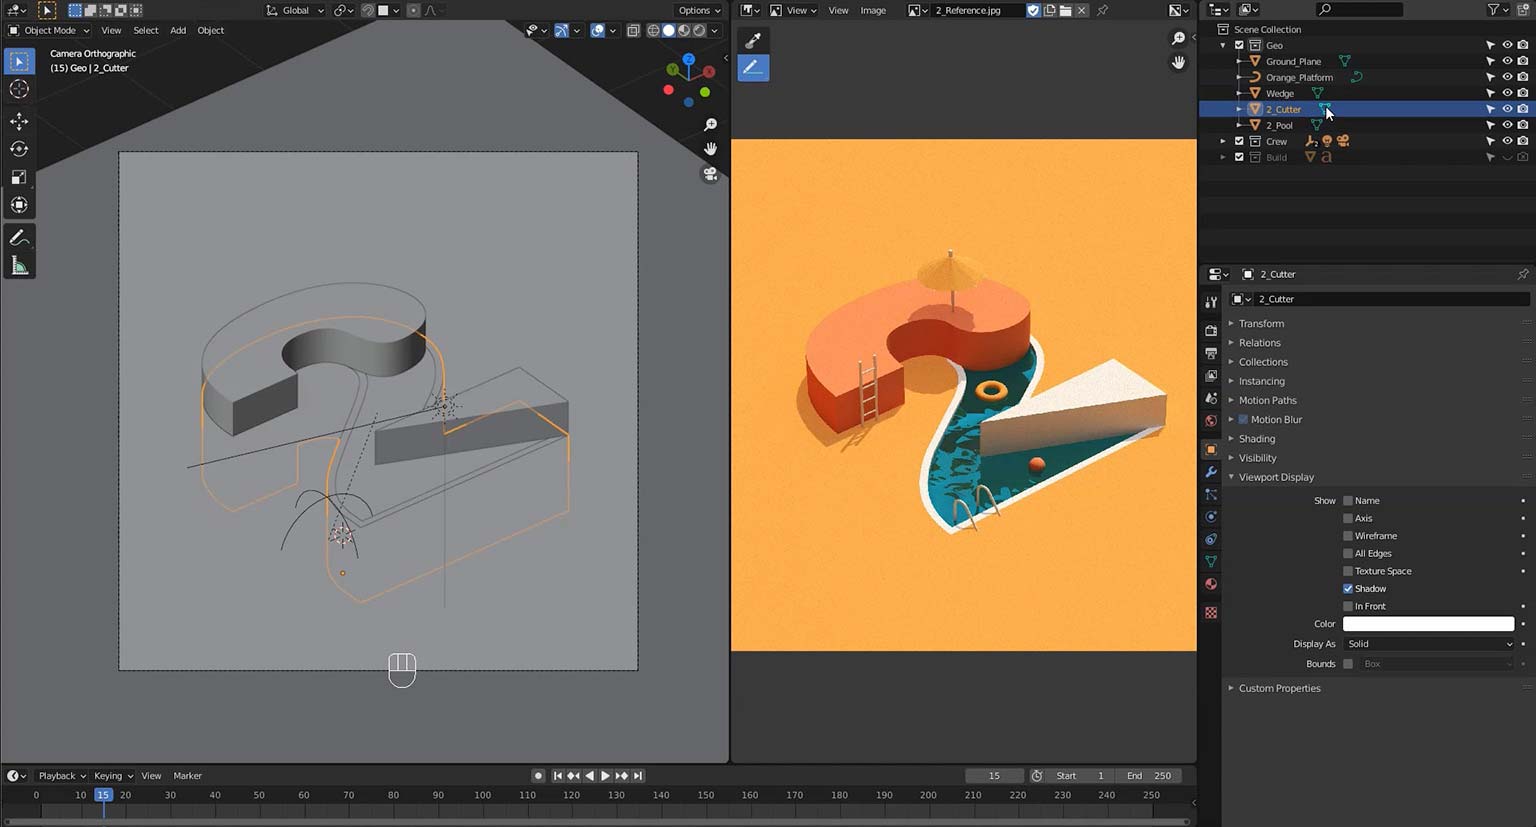
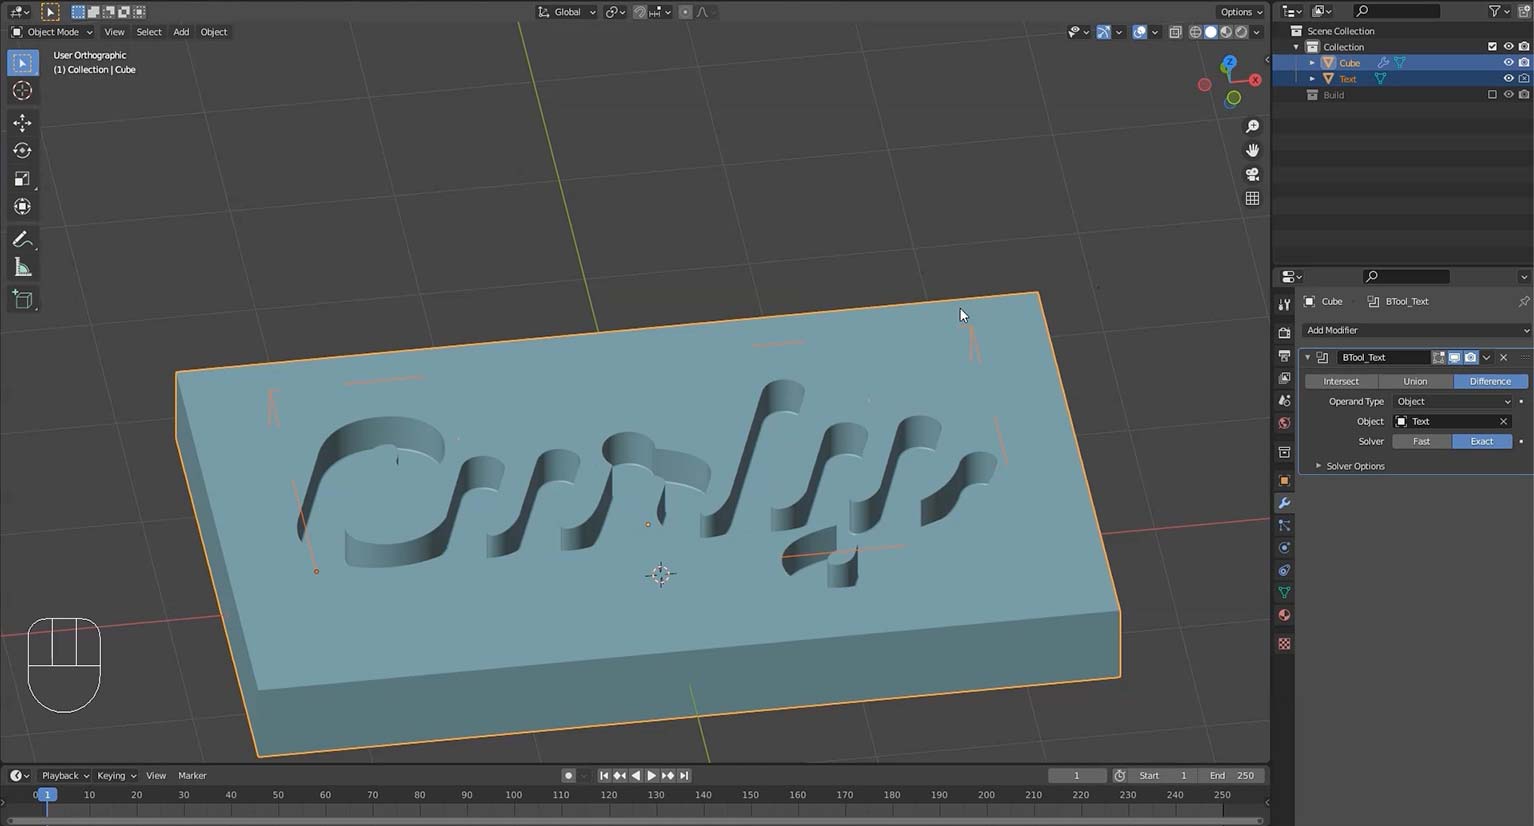
Using the Bool Tool addon enables us to easily use one object as a “cookie cutter” to cut a shape out of another.
In this case we use a duplicate of the “2 Pool” to cut a shape out of the ground plane that the pool sits in, so that it doesn’t obscure the pool.

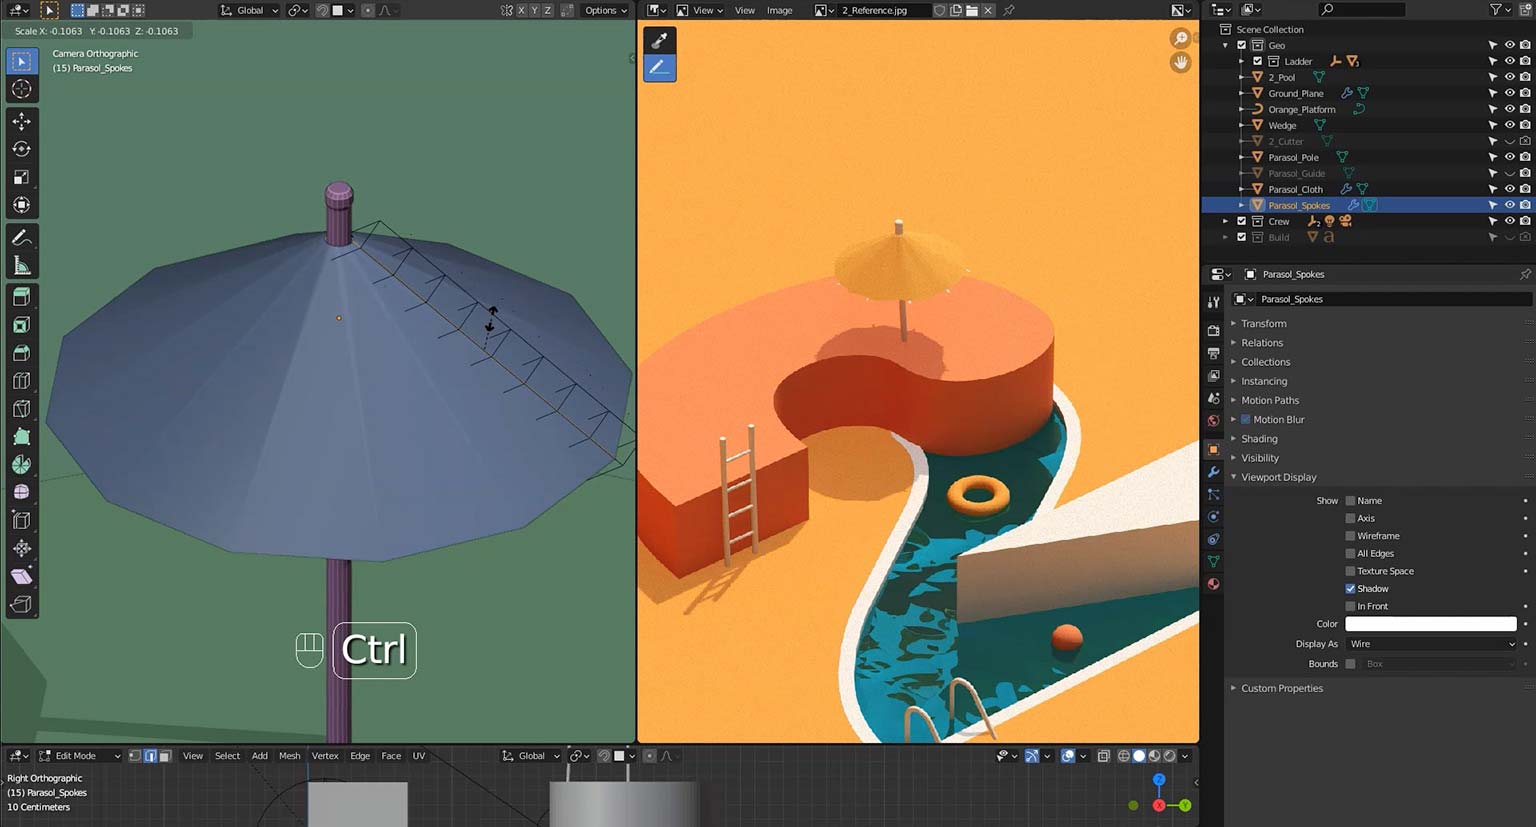
In this section we use a variety of modelling techniques to create a parasol, a ladder, some handrails, and the inflatables in the water.
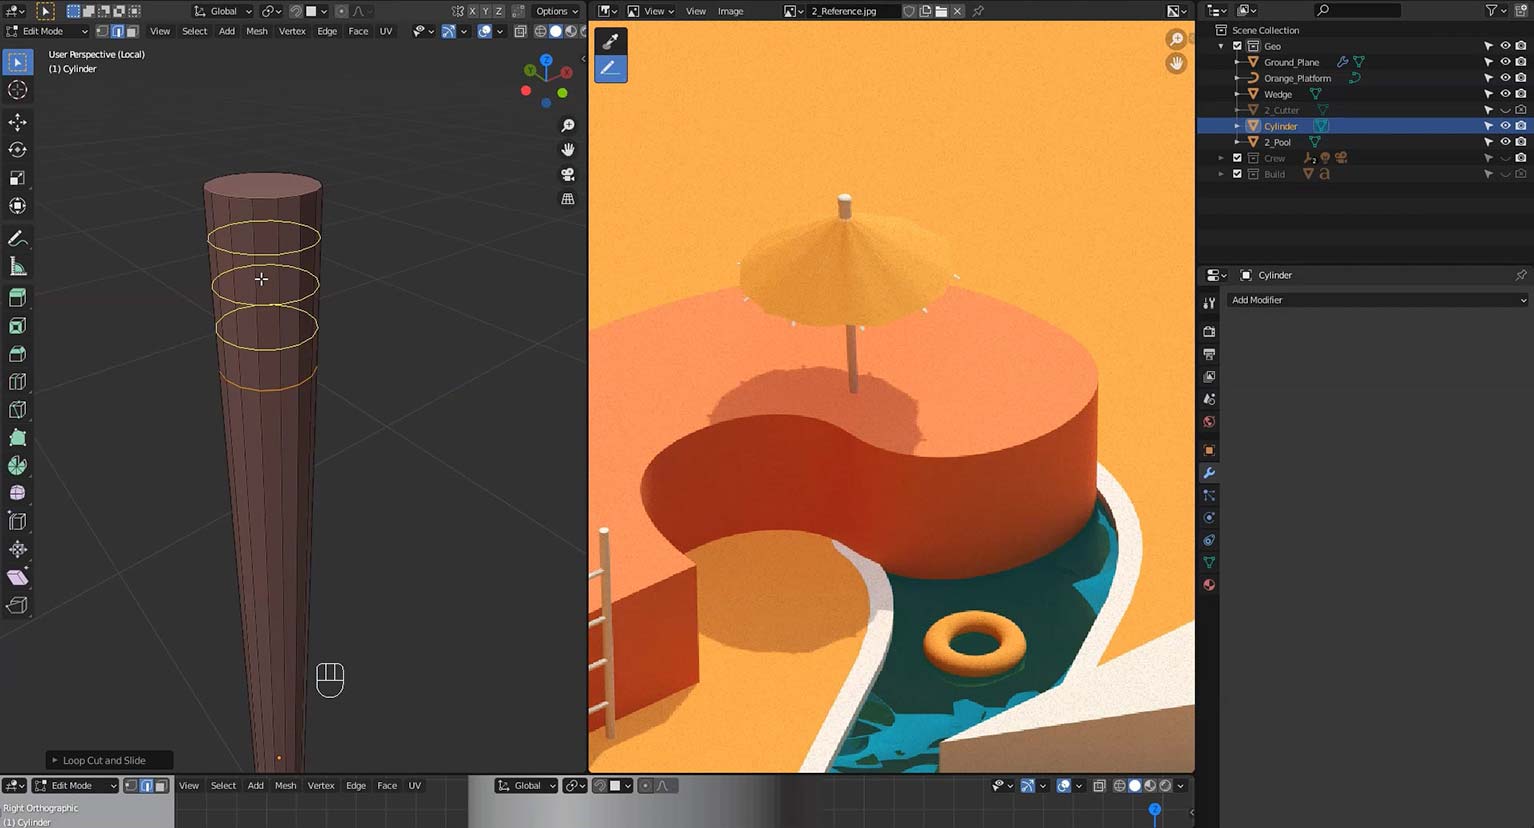
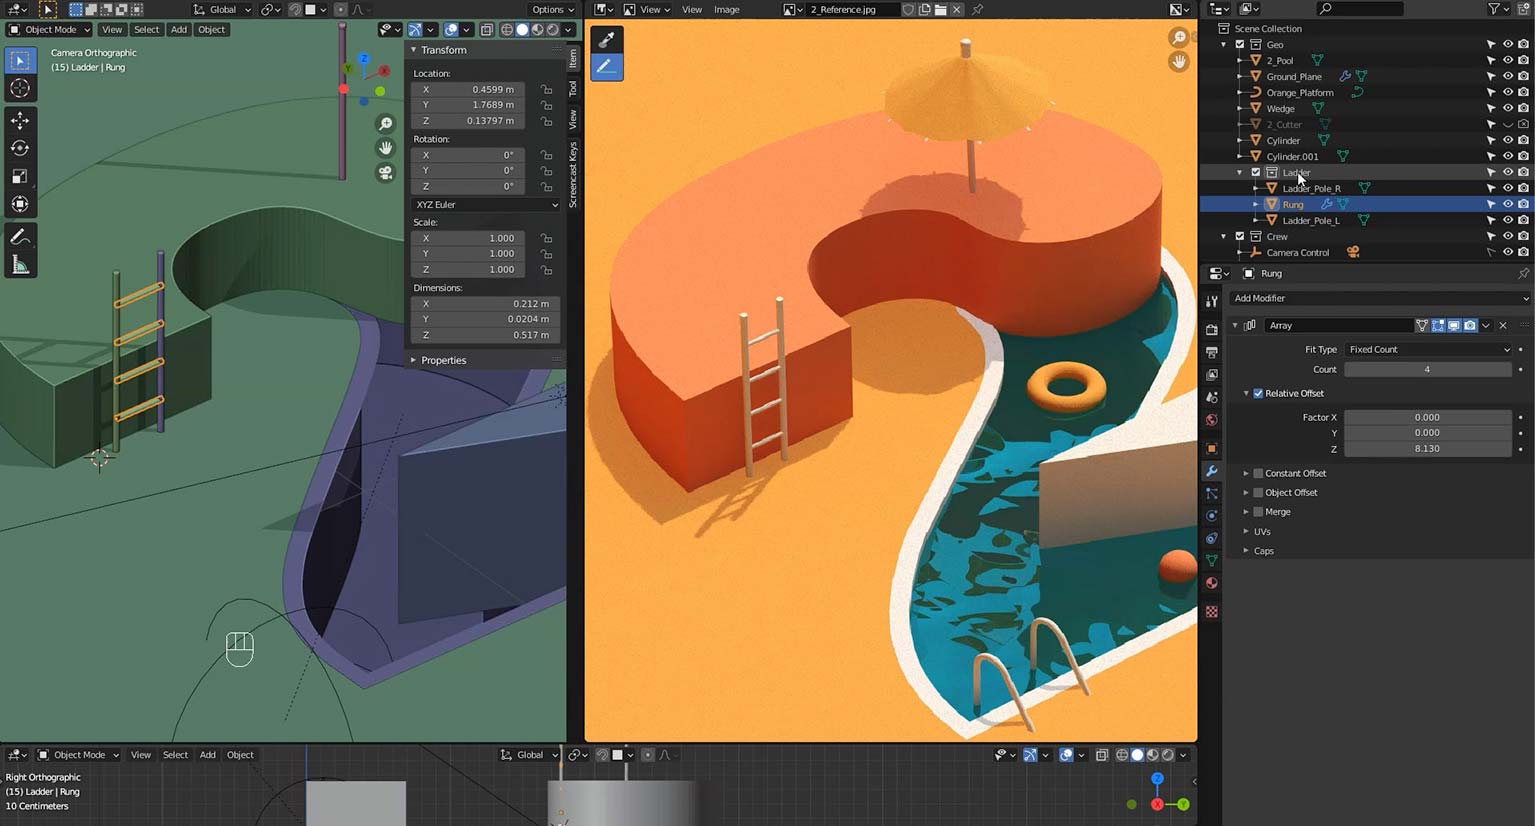
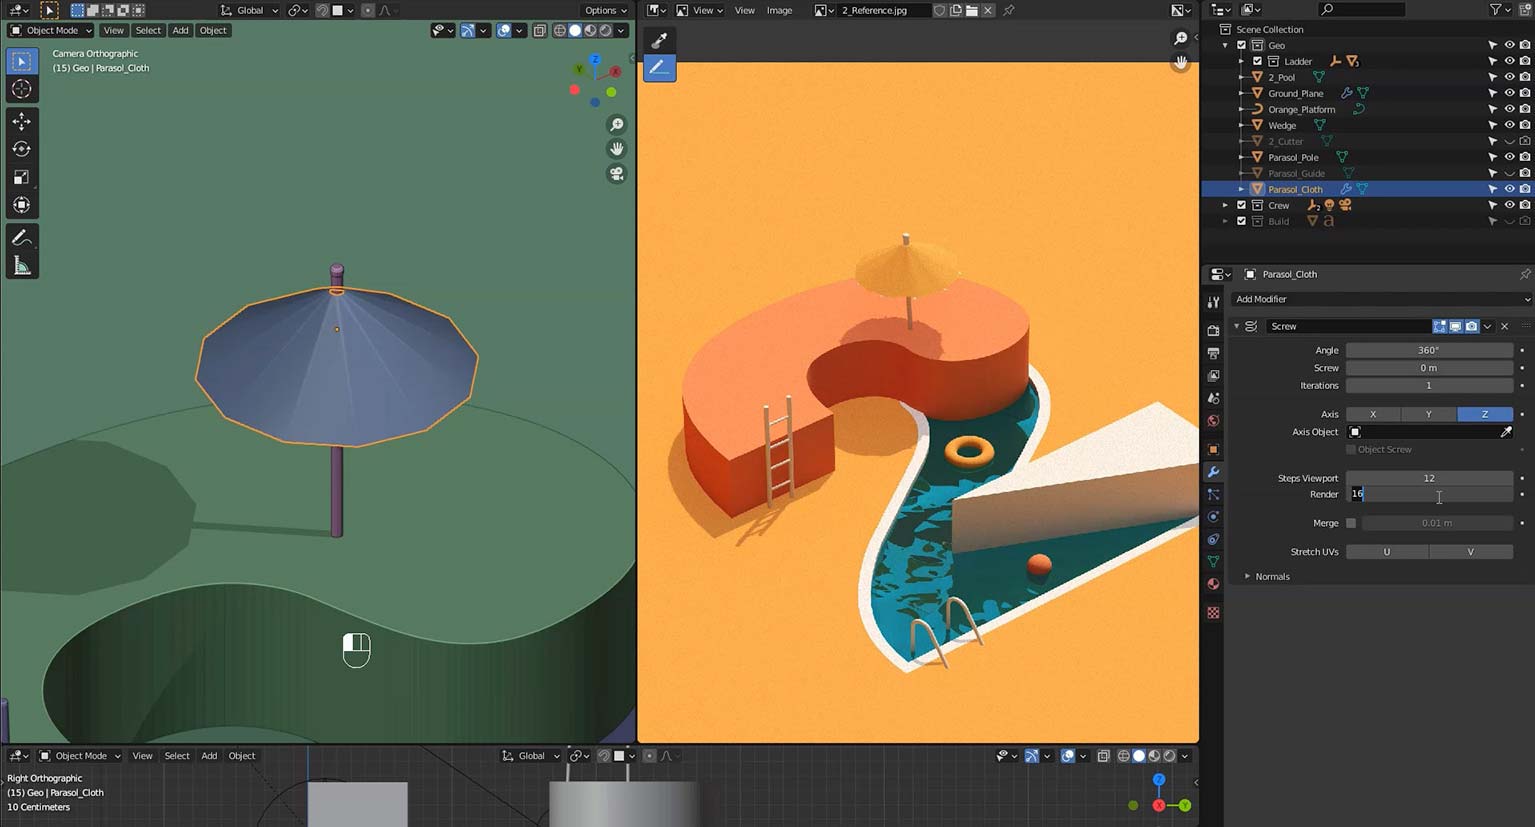
Starting with some simple polygon modelling techniques, the complexity of the models increases step by step with the introduction of more and more modifiers, including an array to clone rungs up the ladder, a skin modifier to create the solid spokes of the parasol from a simple, single edge, and a screw modifier to generate the parasol shade.
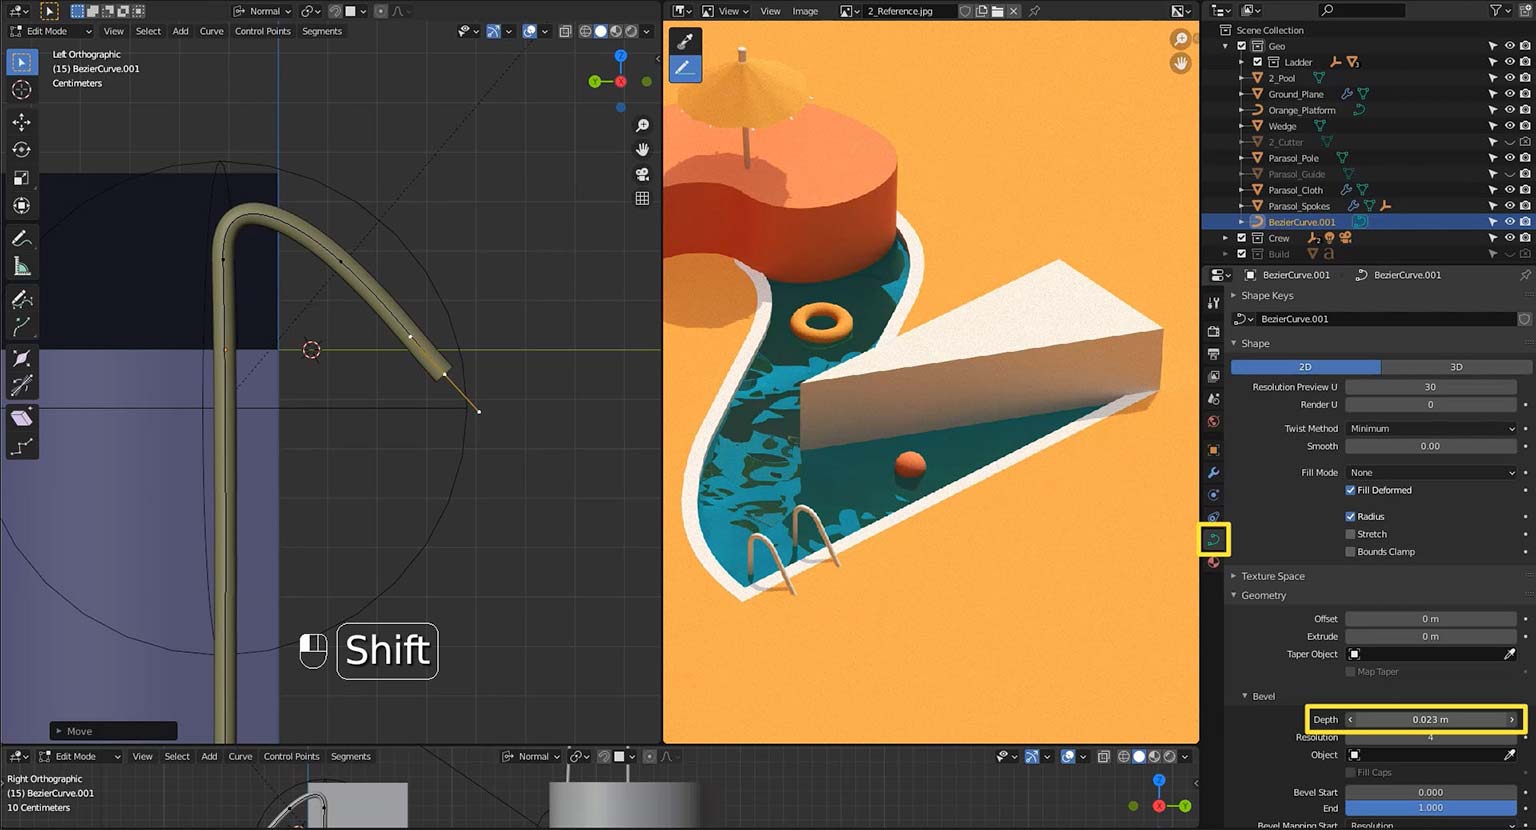
Finally we take advantage of Blender’s curve modelling tools. Since they afford more flexibility than straight poly-modelling tools, they’re a perfect fit for modelling the curved handrails into the pool.
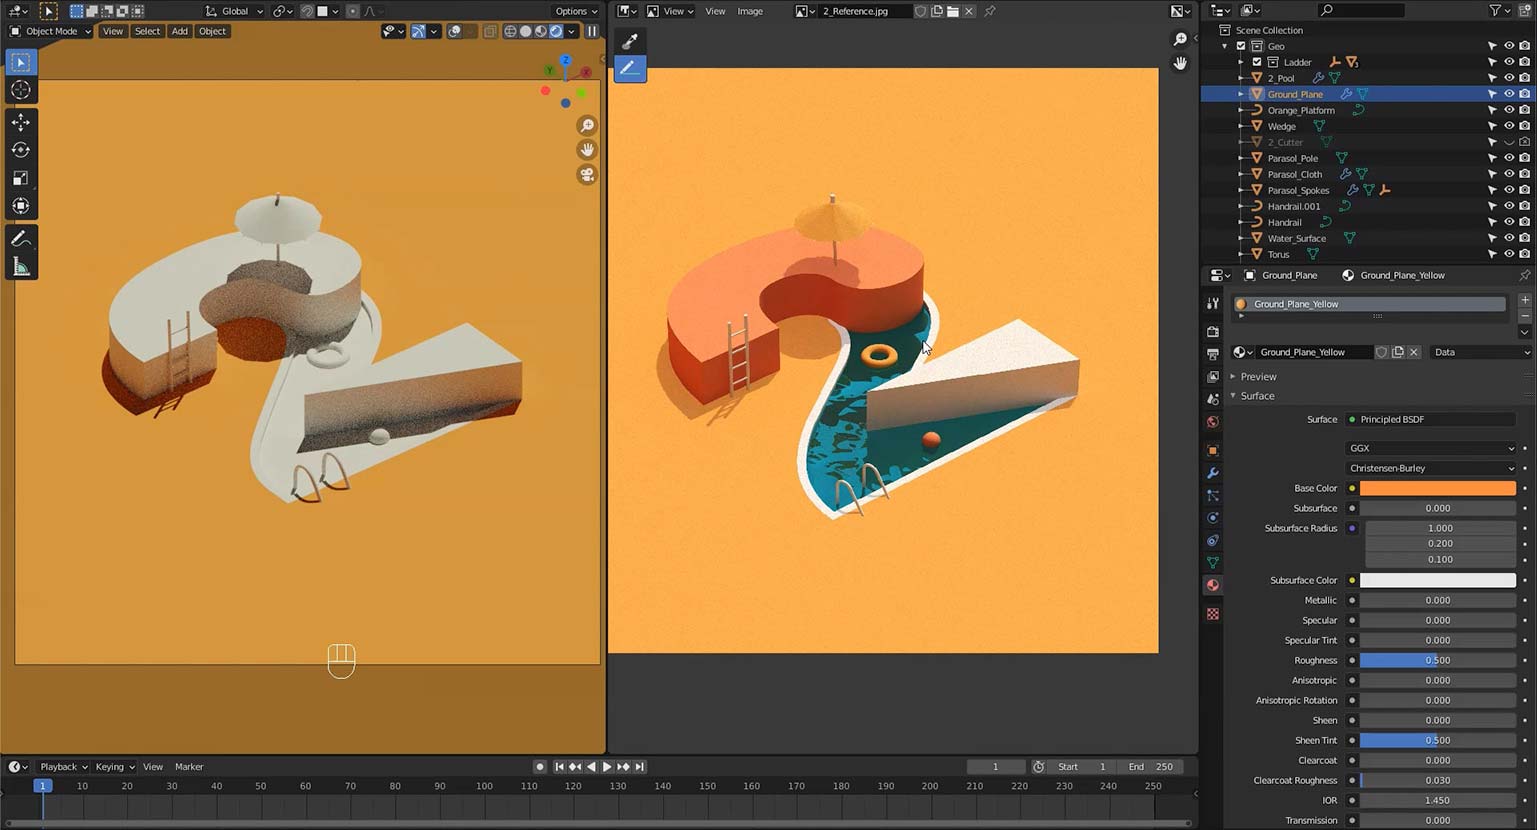
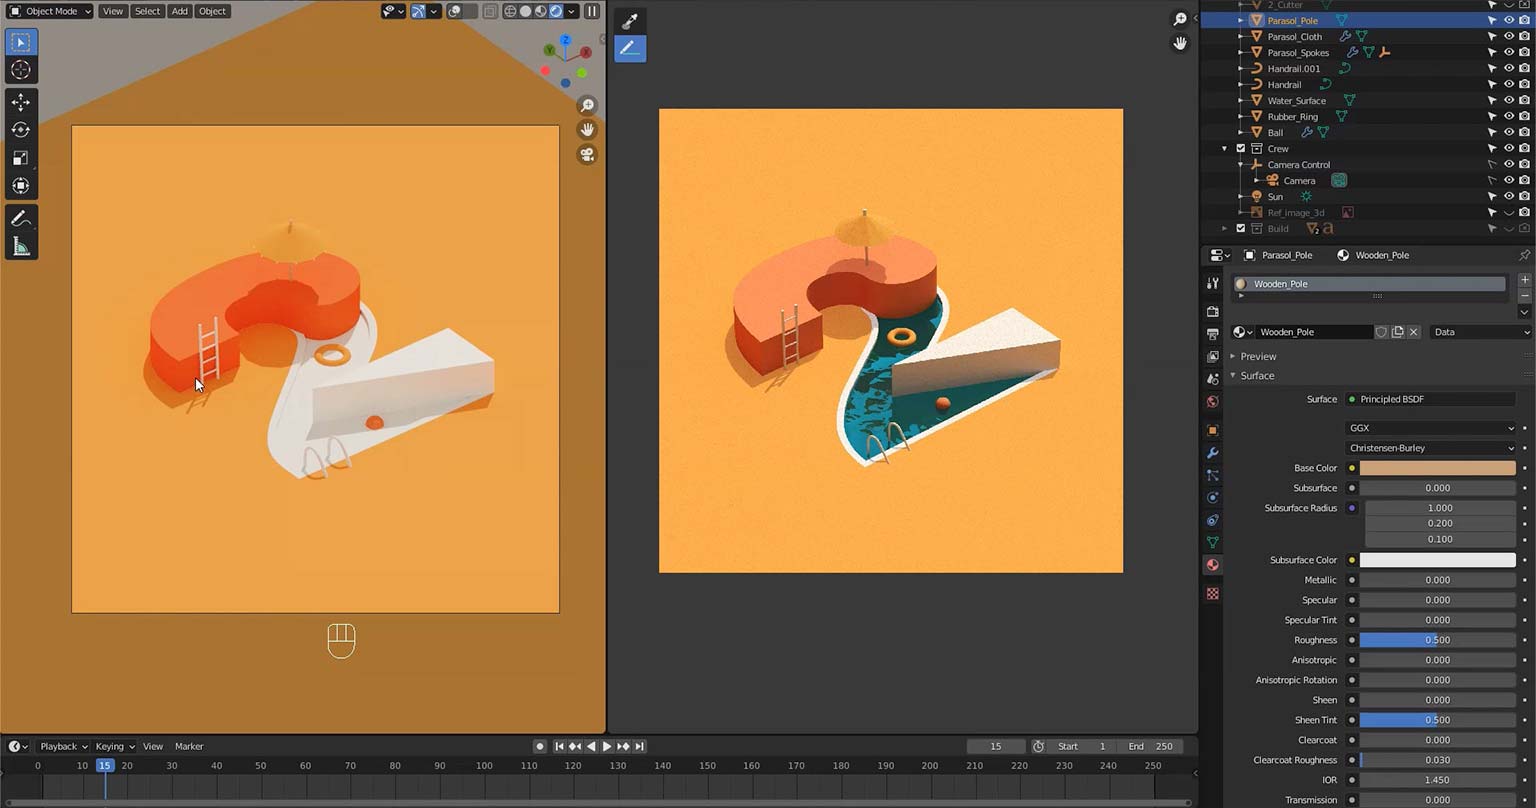
Balancing materials and how they are lit is one of the most important aspects of making 3d renders look good.
In this section we:
23 – Final Touches and Rendering
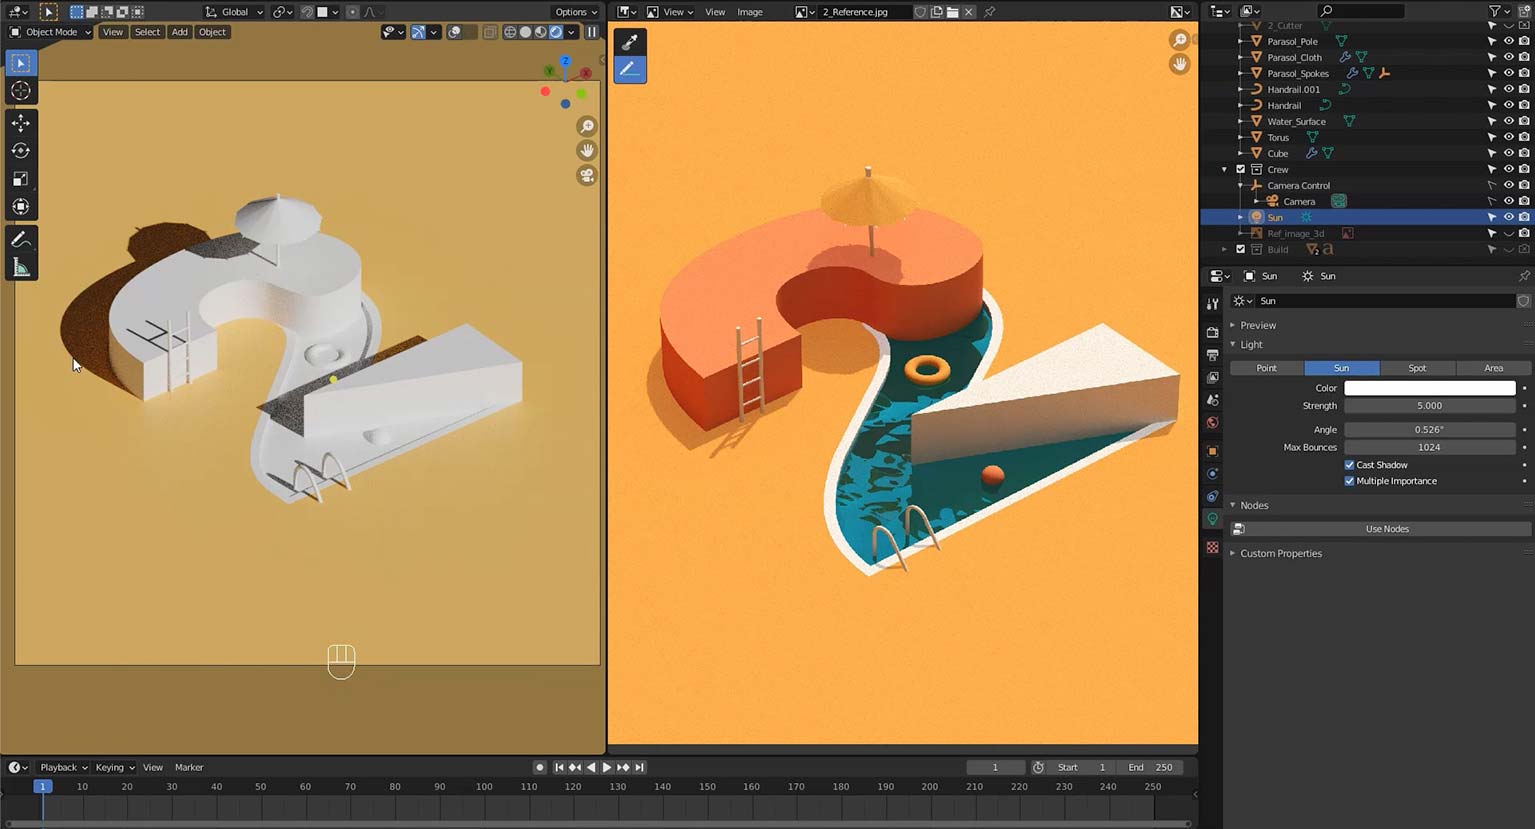
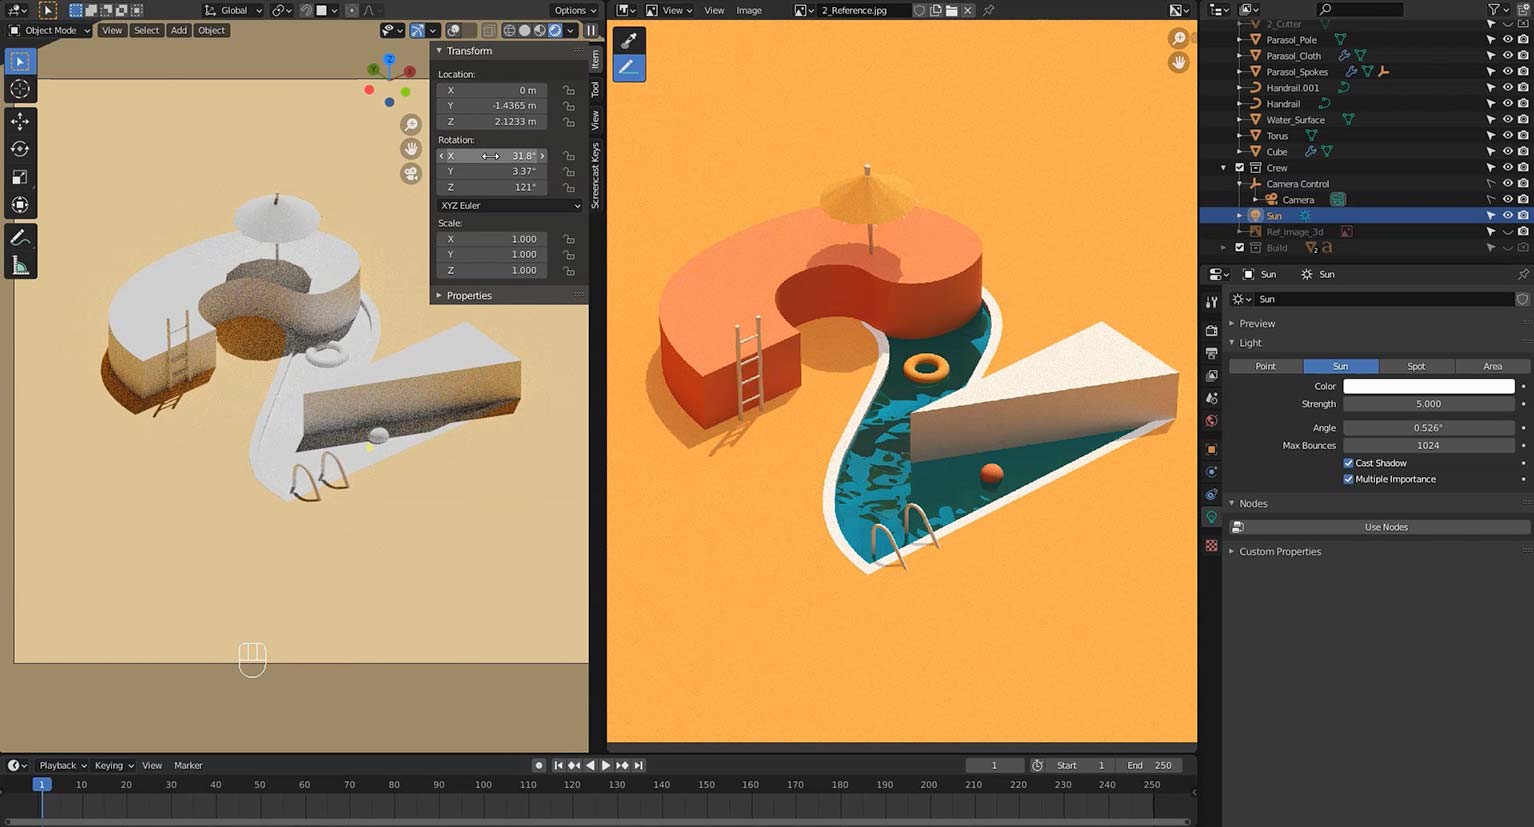
Finally we “finesse” the scene to have it match the reference as closely as possible, for example by making small adjustments to the camera and lighting, before setting up for the final output, or render.
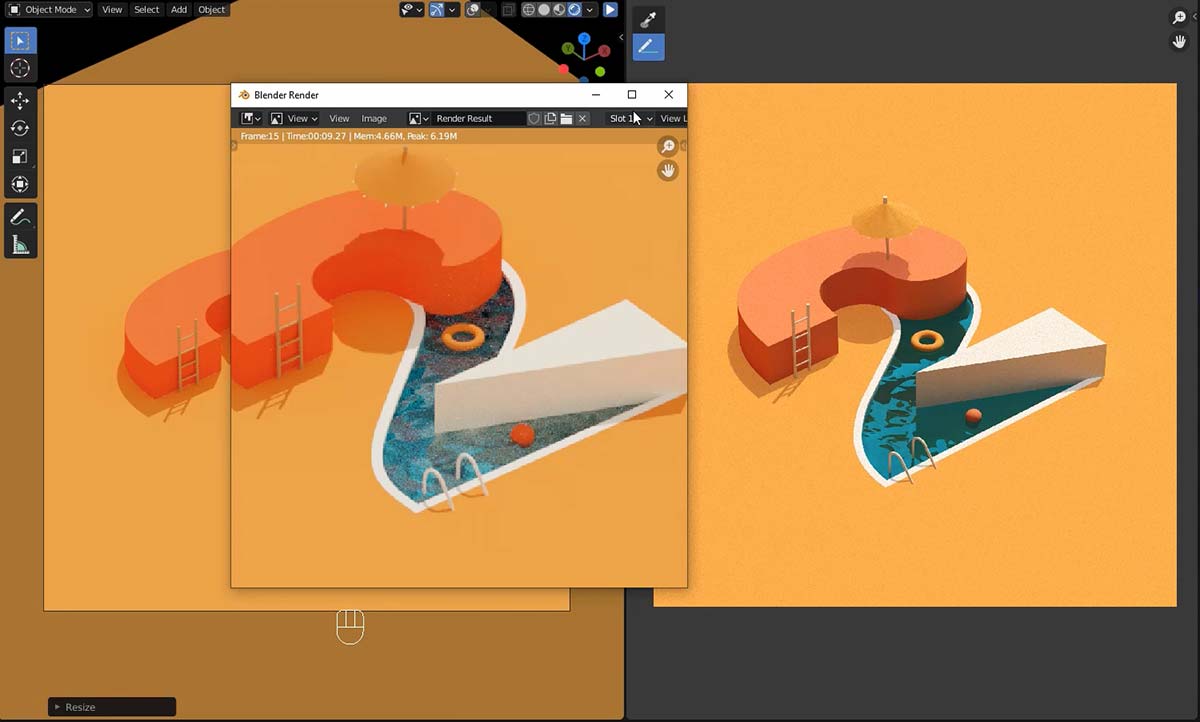
We make use of Blender’s render “slots”, which enable us to make easy side by side comparisons of different lighting and rendering settings.
Rendering transparent and reflective materials takes a fair amount of processing power, and we cover how to avoid rendering fuzzy or noisy surfaces whilst keeping render times quite low.
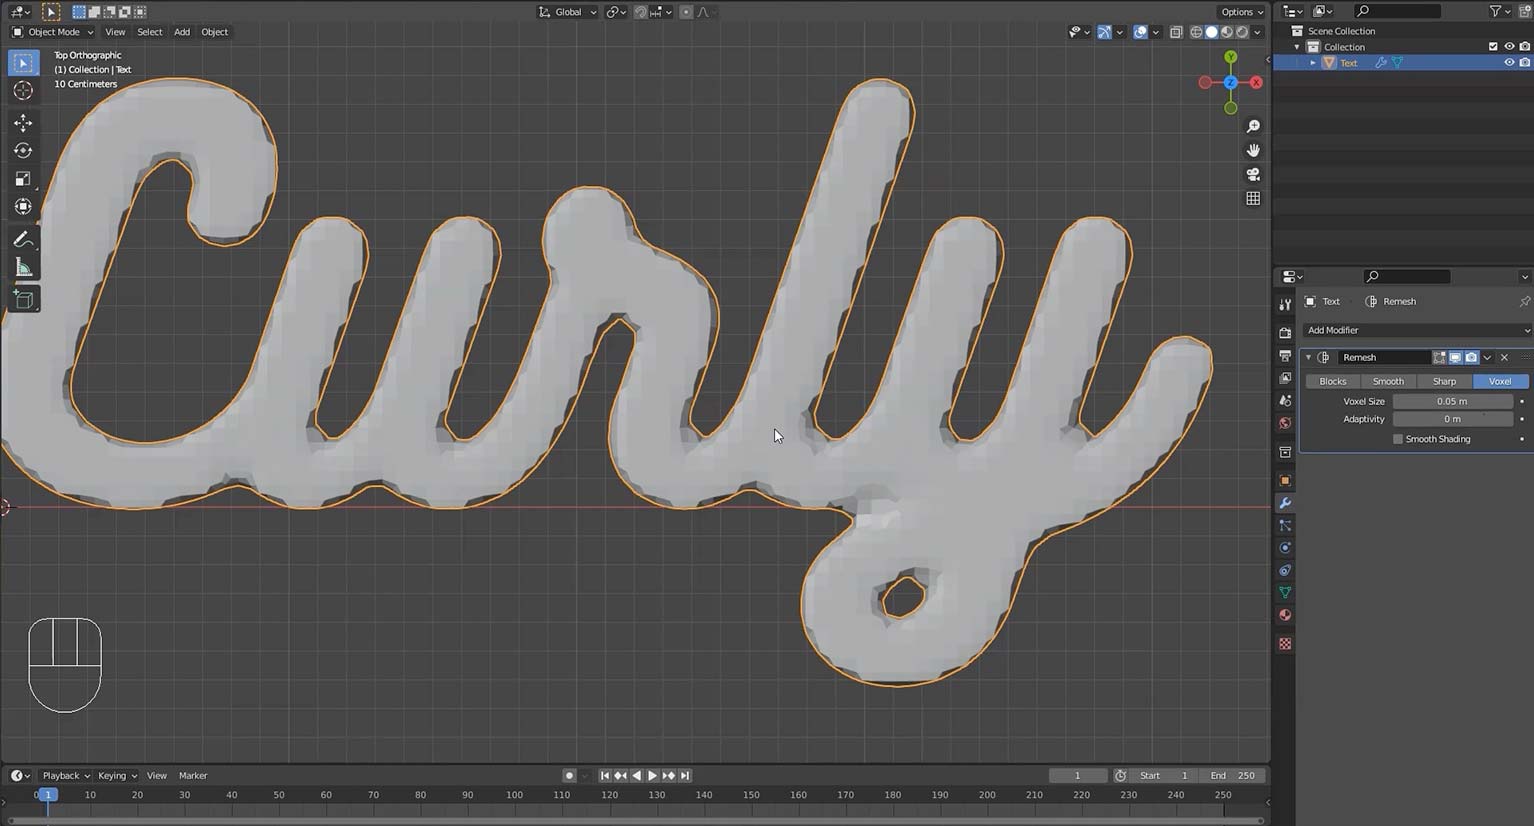
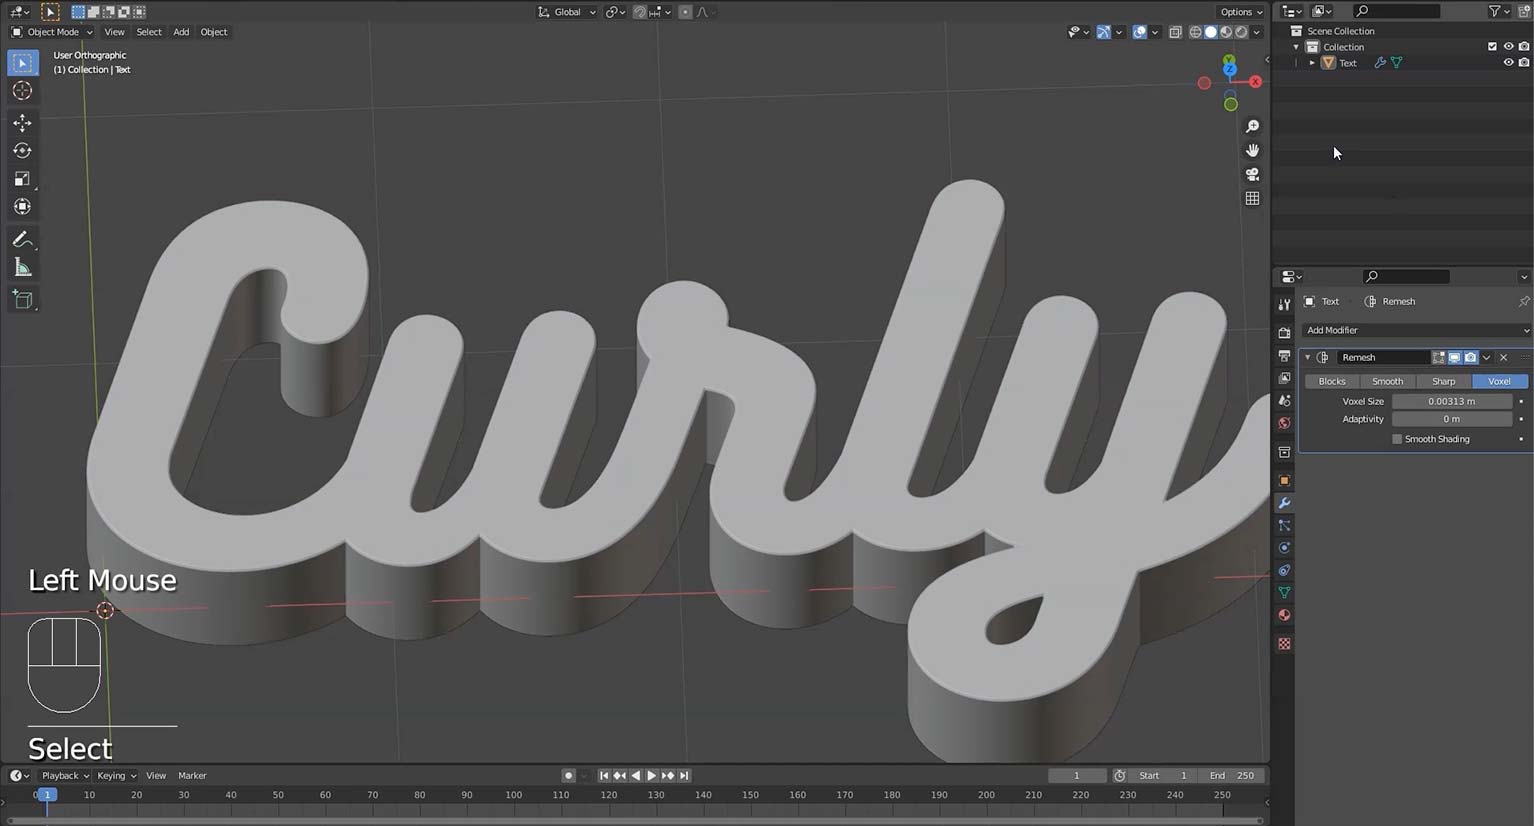
Booleans are a notoriously unreliable way of making 3d objects, as they generate quite complex, often messy geometry which does not render well.
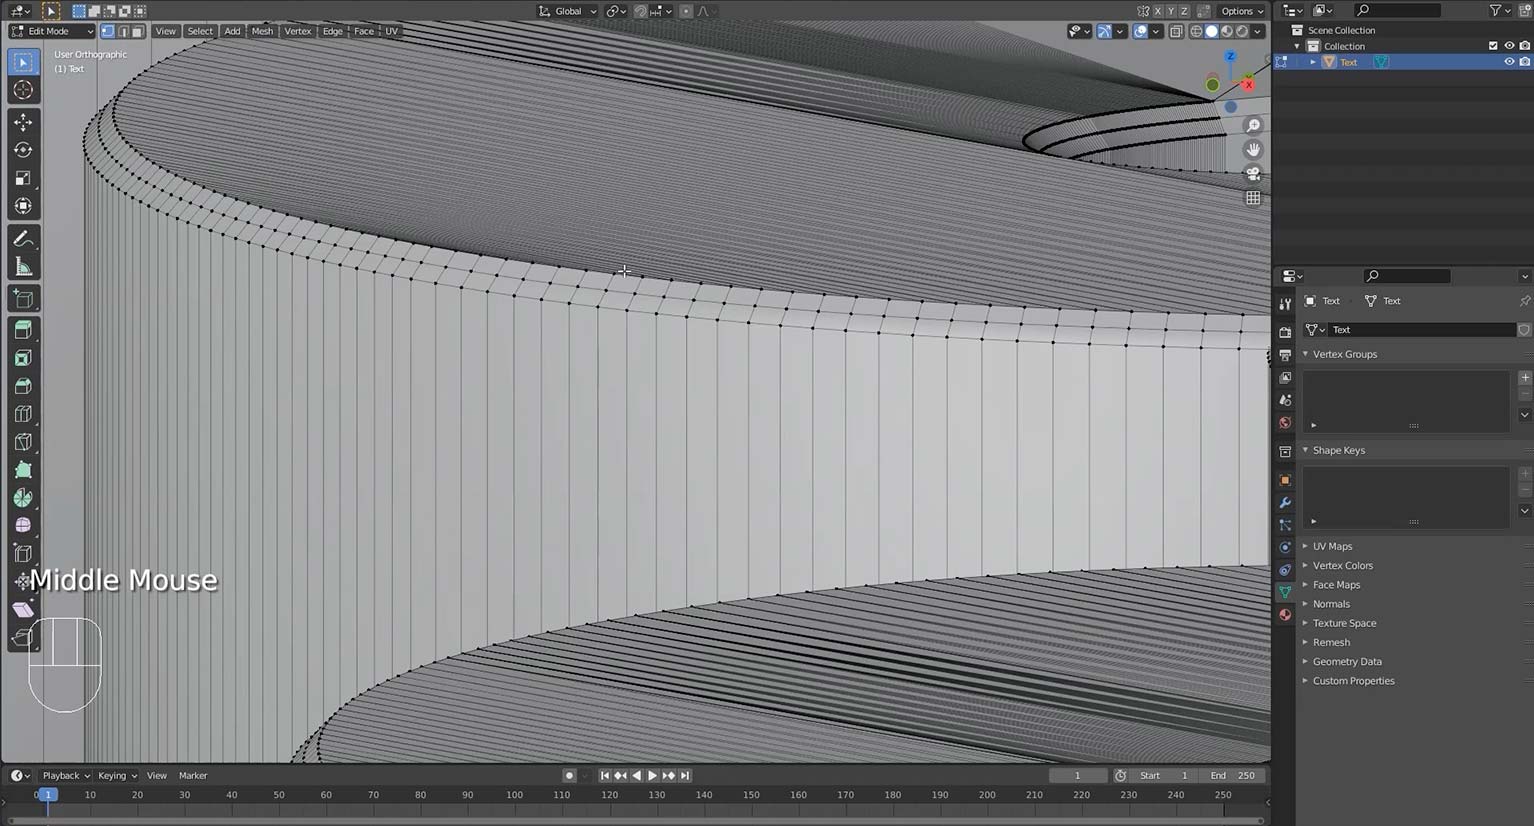
In order to make an indented shape from a complicated object such as a script style font text object, it’s necessary to prepare the “cutter” so that the resulting boolean object will work as expected.
In this bonus lesson, we go through the necessary steps:
You’ve learnt some of the basics of 3d image-making, now it’s time to bring things to life!
In this second part of the course, we’ll continue to explore the wonderful work of Núria Madrid and Cristian Malagón Garcia, this time as a way of getting to grips with the basics of Blender’s animation toolset.
We’ll carry on exactly where we left off in part 1, and it’s strongly recommended to complete that part as this section assumes some familiarity with Blender.
That said, scene files for every lesson will be available so you’ll be able to jump in and get practising animation techniques right away.
What you’ll learn:
Along with a liberal dose of shortcuts and tips, we’ll cover:
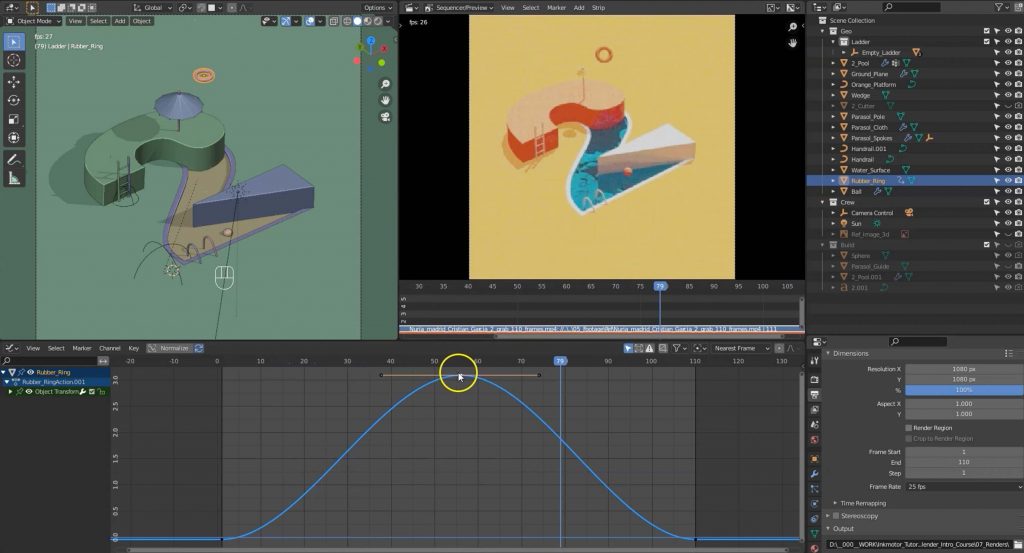
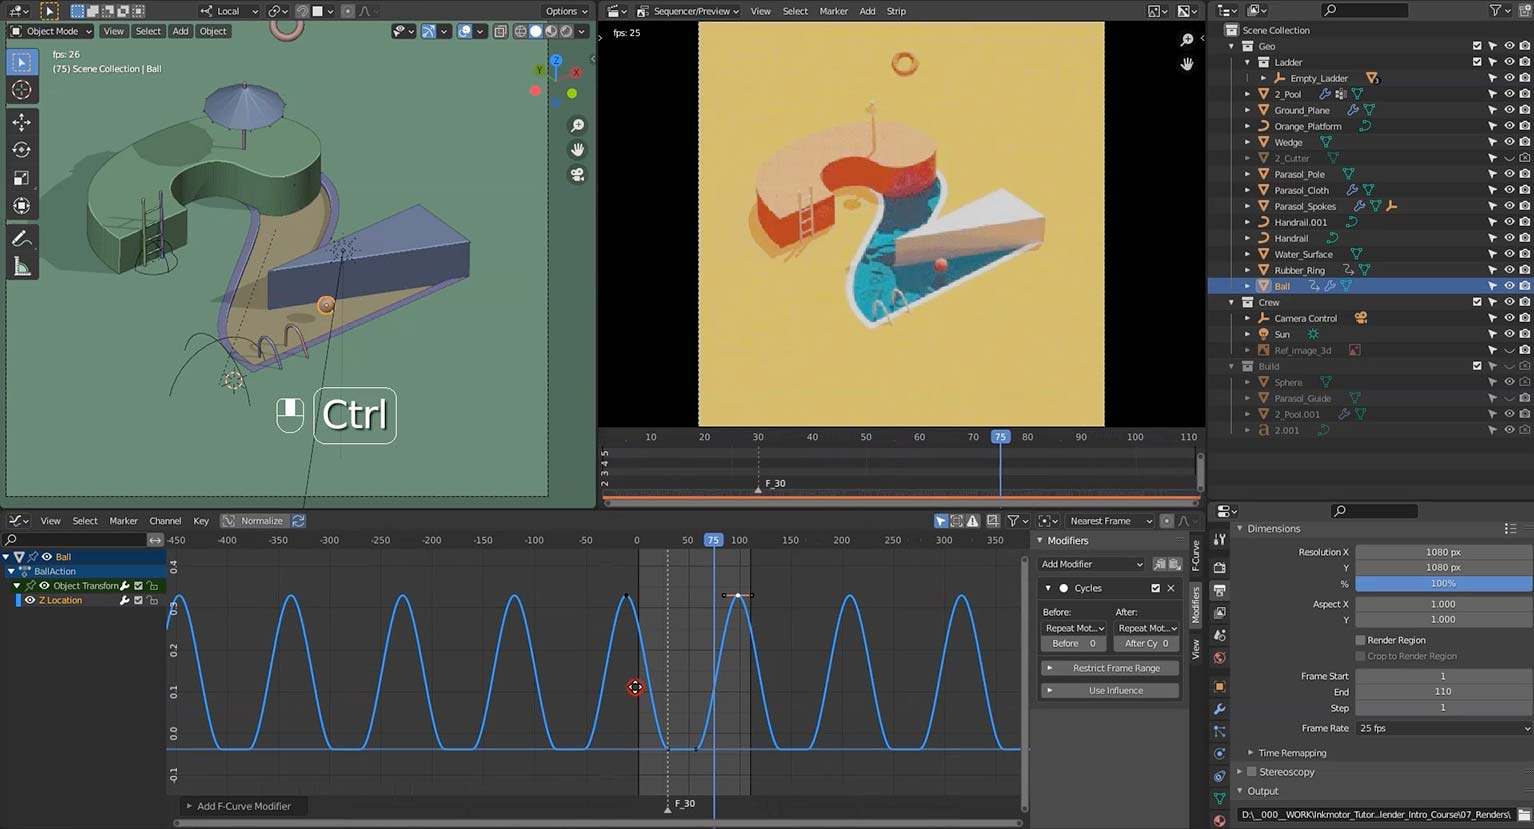
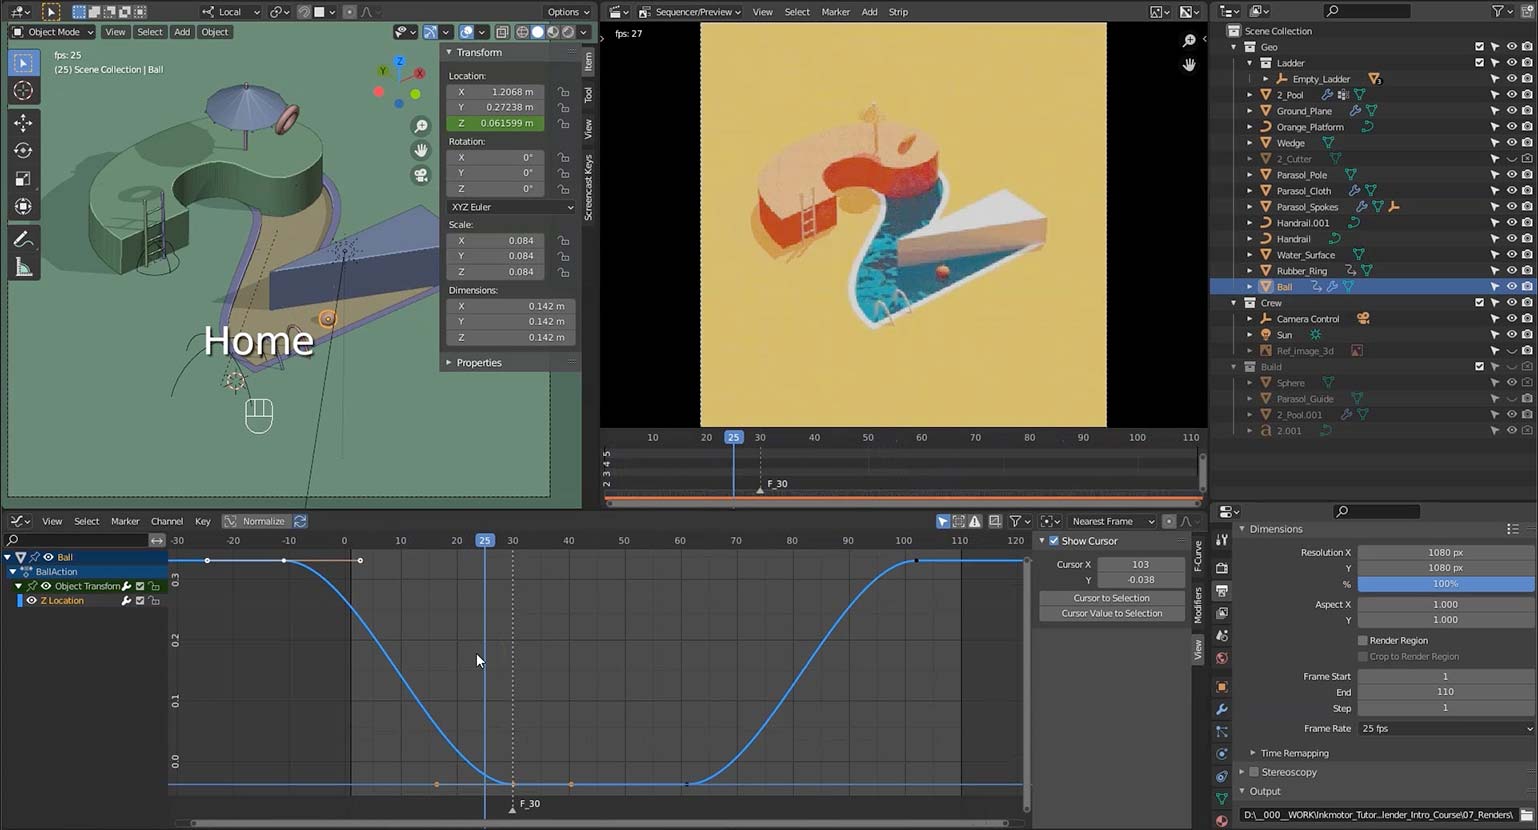
The ball moves in a slightly more halting way then the ring: using Blender’s built in sequence editor, we analyse half of the motion of the original, then use some of Blender’s graph editing tools to precisely copy it, and mirror the motion to complete one complete cycle.
Next we offset the animation so it matches the timing of the original, and finally use a graph editor modifier to create a loop.

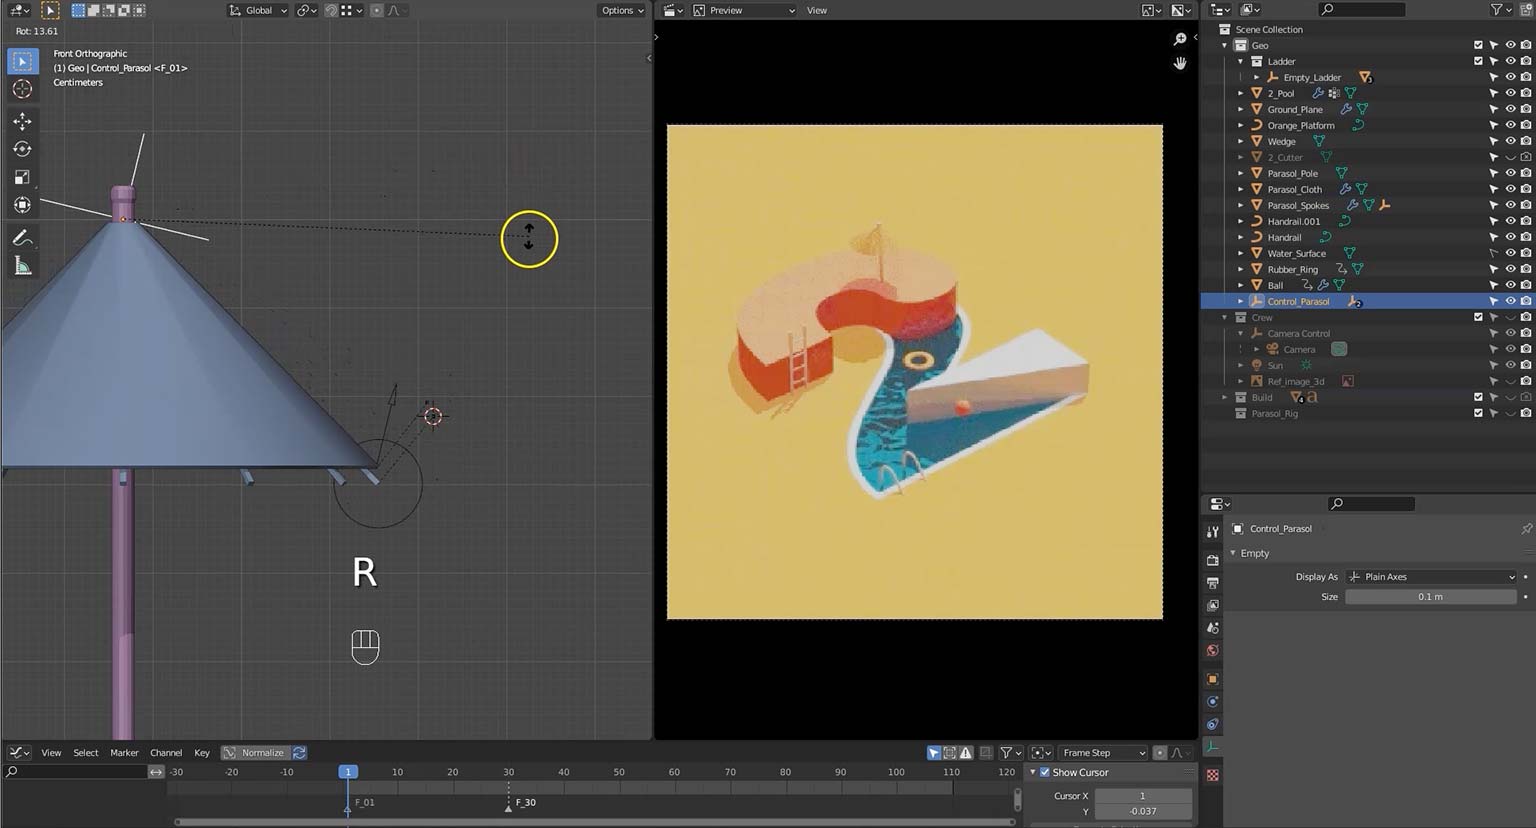
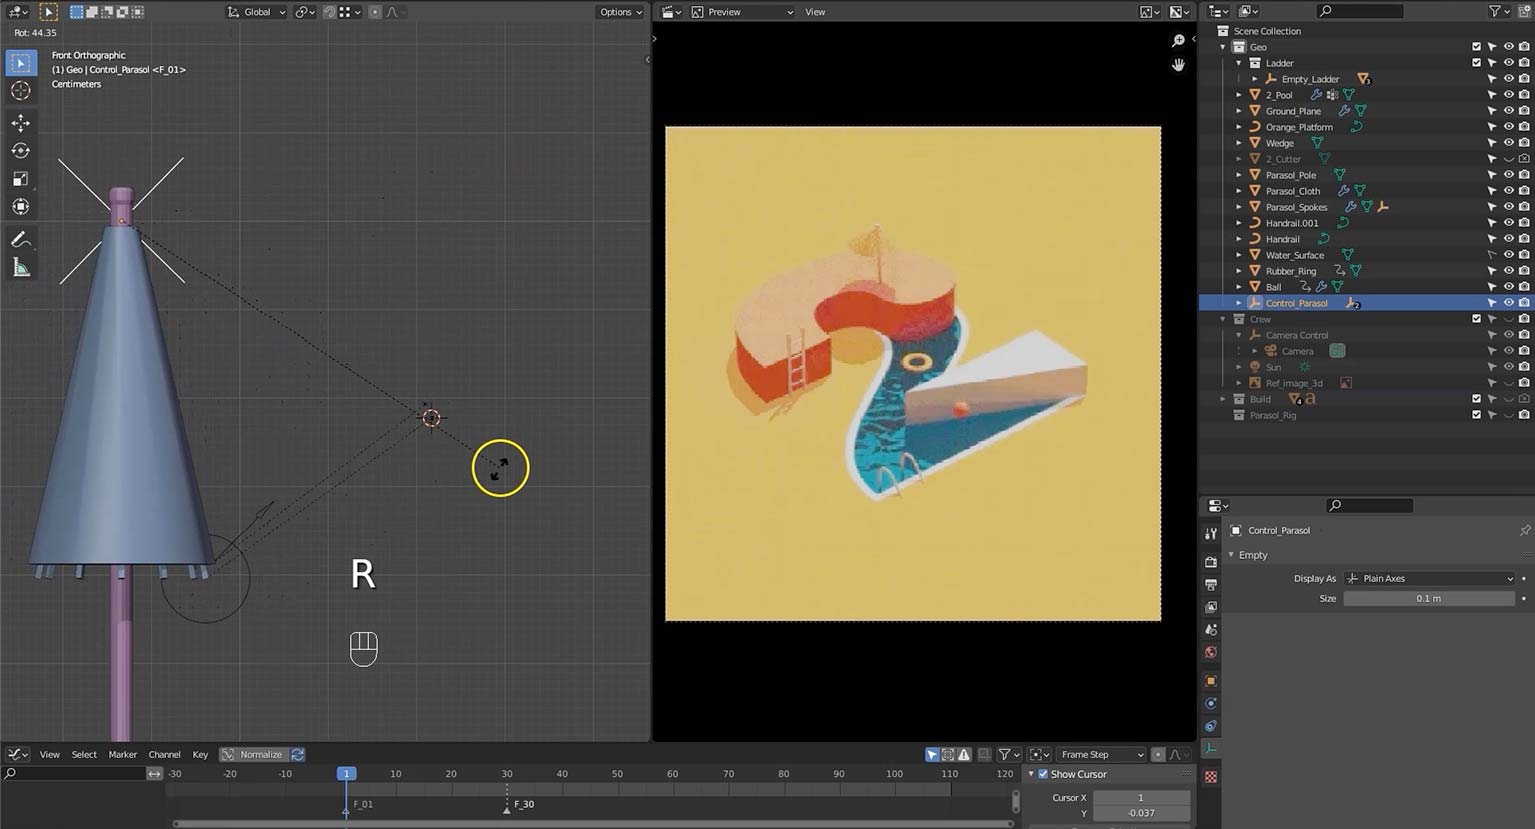
Having built the parasol shade and spokes using a system of modifiers in part 1 of the course, we can now animate it quite easily.
Using a system of special empties, known as hooks, we can attach individual vertices to their own empties, and thus animate specific sections of an object, rather than the object as a whole.
We create a hook for the parasol shade, and one for the spokes, then, by parenting both of these to a single, standard empty, we can move the spokes and the shade as one.
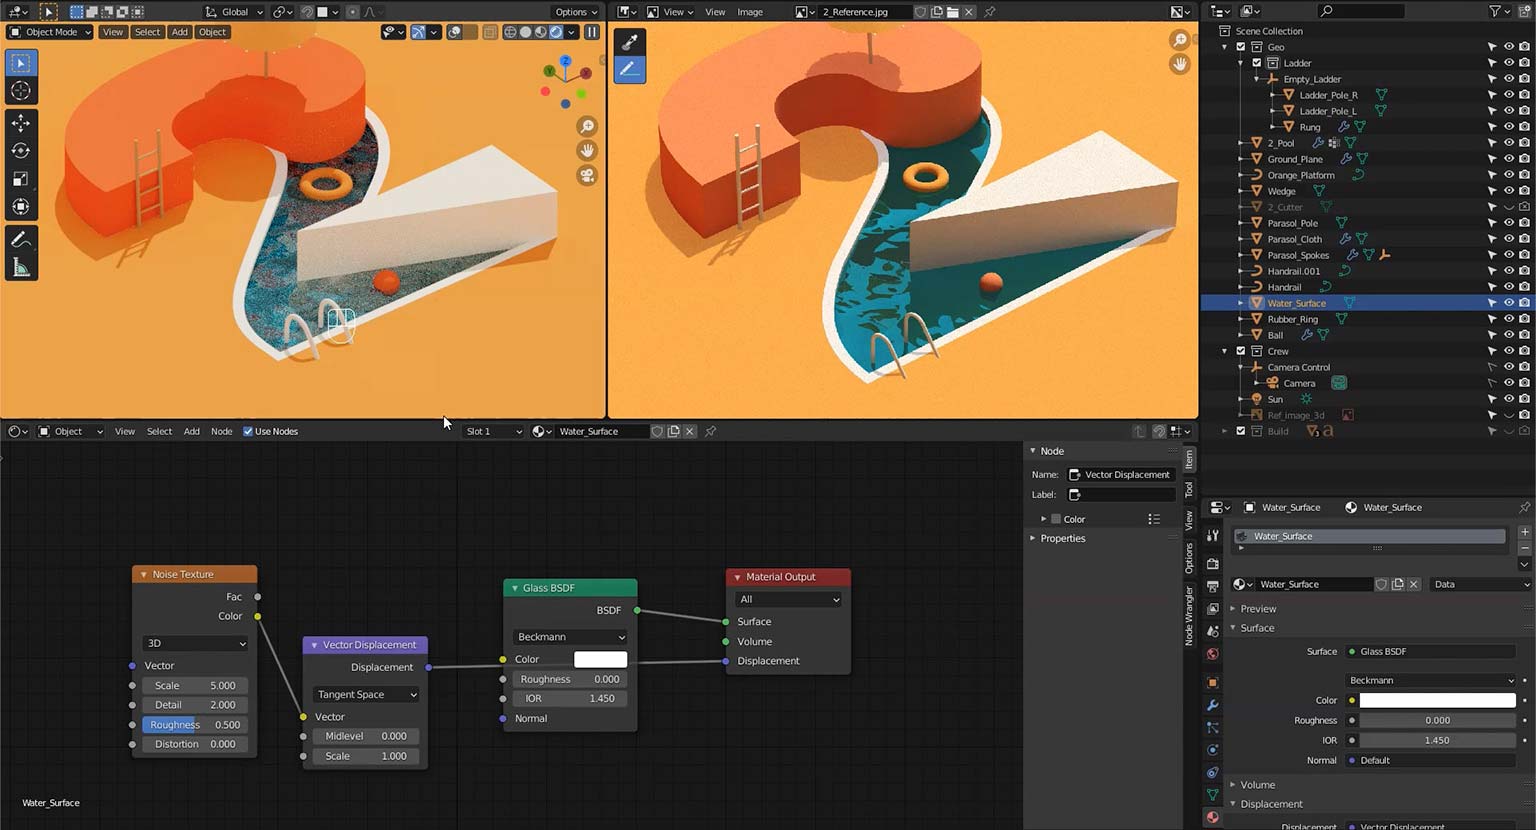
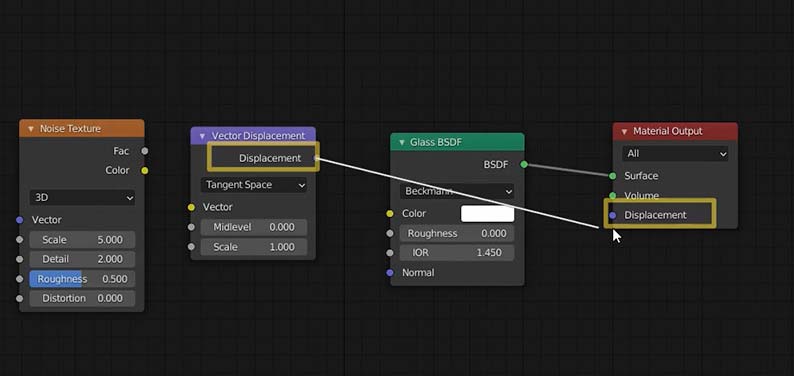
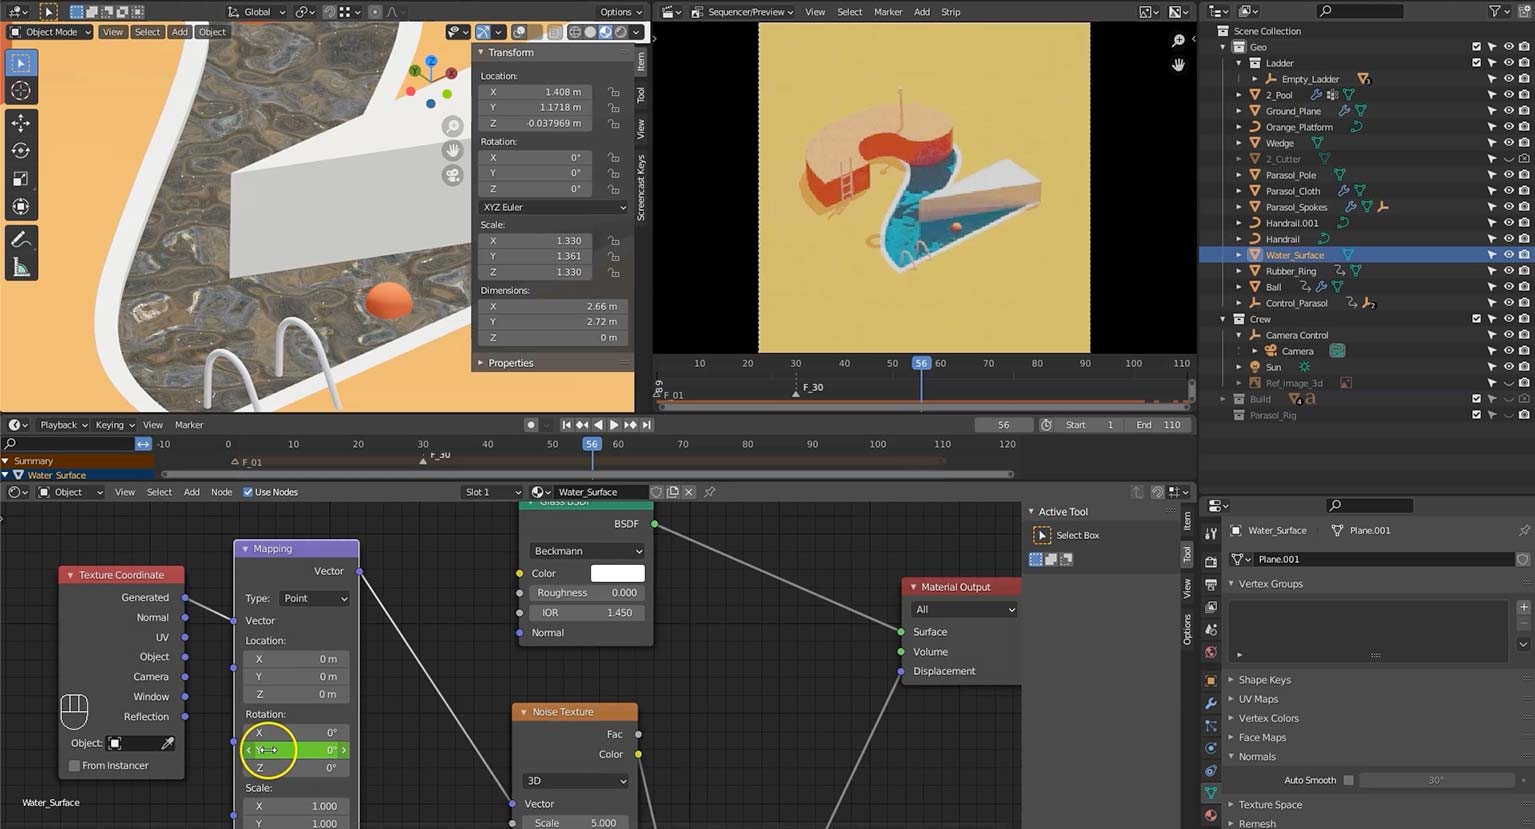
By using a texture setup in the shader editor (a Texture Coordinate node and a Mapping node), we can control how the noise texture is applied to the water, and thus create the impression of water rippling around in the pool.
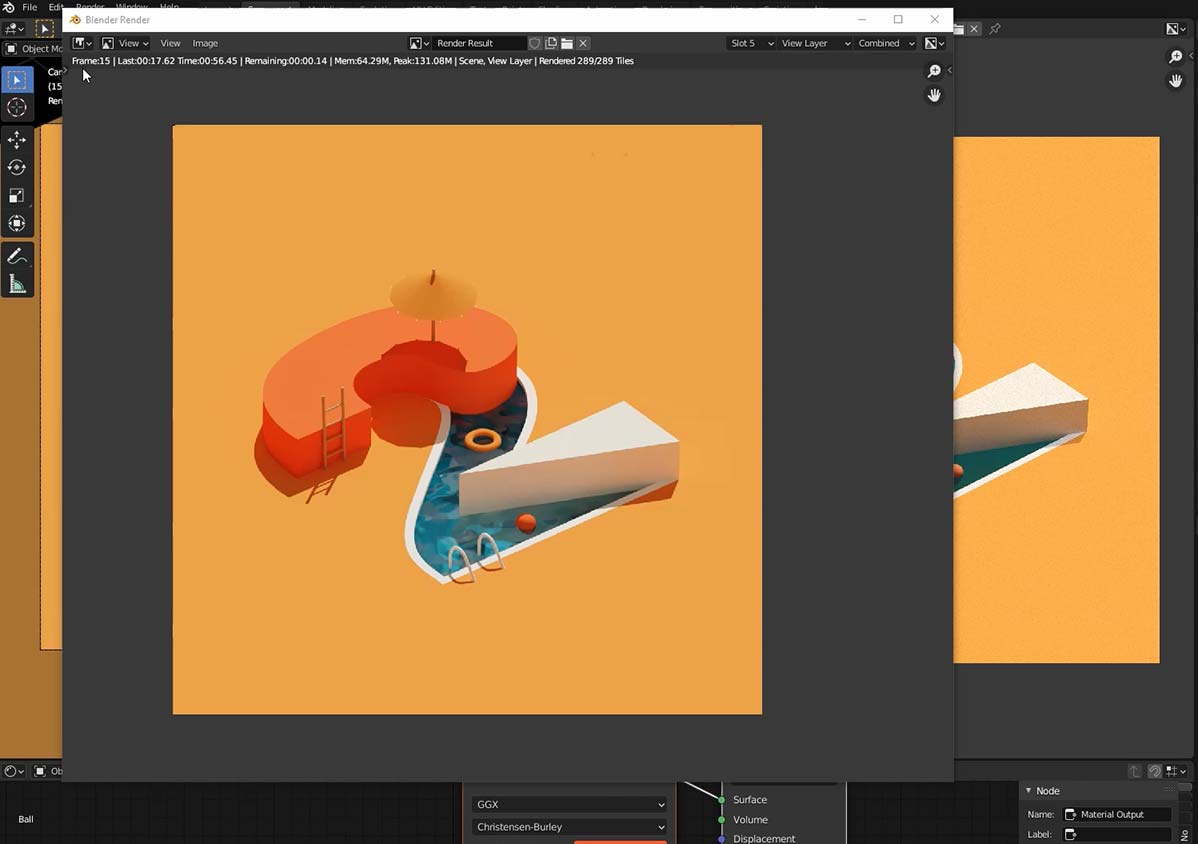
Because so many more frames are required to make an animation as opposed to a single still image, it pays to really try to balance image quality with render time.
On the other hand, animated sequences often reveal errors that are not apparent in a still.
In this section we carefully go over how to set up an acceptable render that doesn’t take too long: