3D Illustration in Cinema 4D
$35.00

In this beginner course from Matt Lloyd you’ll use Cinema 4D to recreate an illustration by respected professional Andrea DeSantis.
By trying to emulate some of his artwork you’ll improve your own observation skills, and also be forced to get to grips with the how and why of the essential tools in Cinema 4D’s formidable toolset.
Jump into this course and discover how quickly and easily you can add 3d to your skill set, opening a world of creative possibilities!
What you’ll learn
Polygonal modelling: take control of geometry
Procedural techniques: dip your toe into C4D’s powerful mograph toolset
Creating basic materials
Lighting: control light & shade in your image
Rendering: creating the 2D image from the 3d scene you’ve built.
Recommended requirements
This course was created using C4D R21, but will still be compatible will newer & older versions, however the interface may change a little between versions.

Optimising C4D navigation to make it easy to get around in 3d space how to pan, zoom and rotate around the scene.
How to scale, rotate and move objects.
Get familiar with Cinema’s interface: here we get set up to work on the project efficiently, and bring in our reference image.
Speed up your workflow by tailoring the workspace to suit you: keep frequently used tools close to hand, and save your own custom layout.
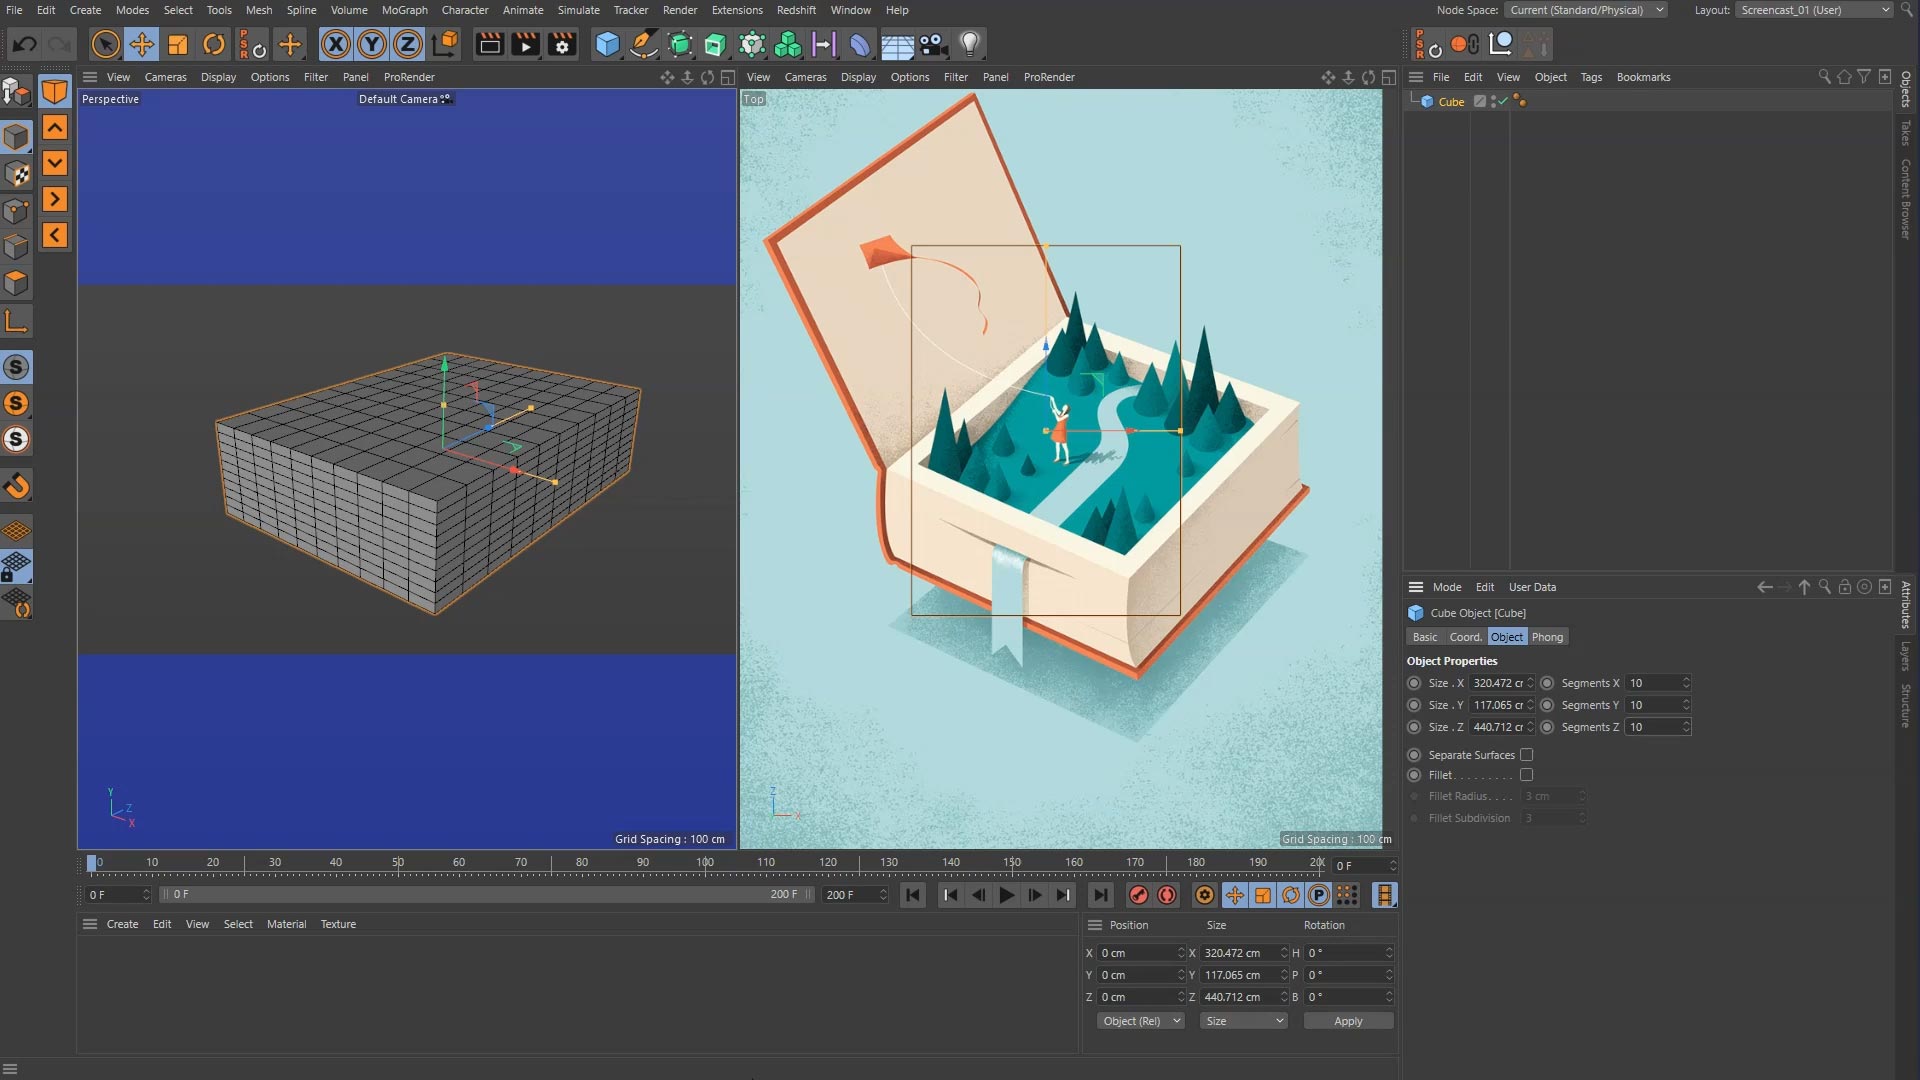
We make a start on the model by bringing in a parametric cube, and adjust its proportions and subdivisions so that it will serve as a basis for the book.
Parametric objects can only get us so far in Cinema: here we get into the vertices, edges and polygons of the cube object to enable us to customise it ad-infinitum.
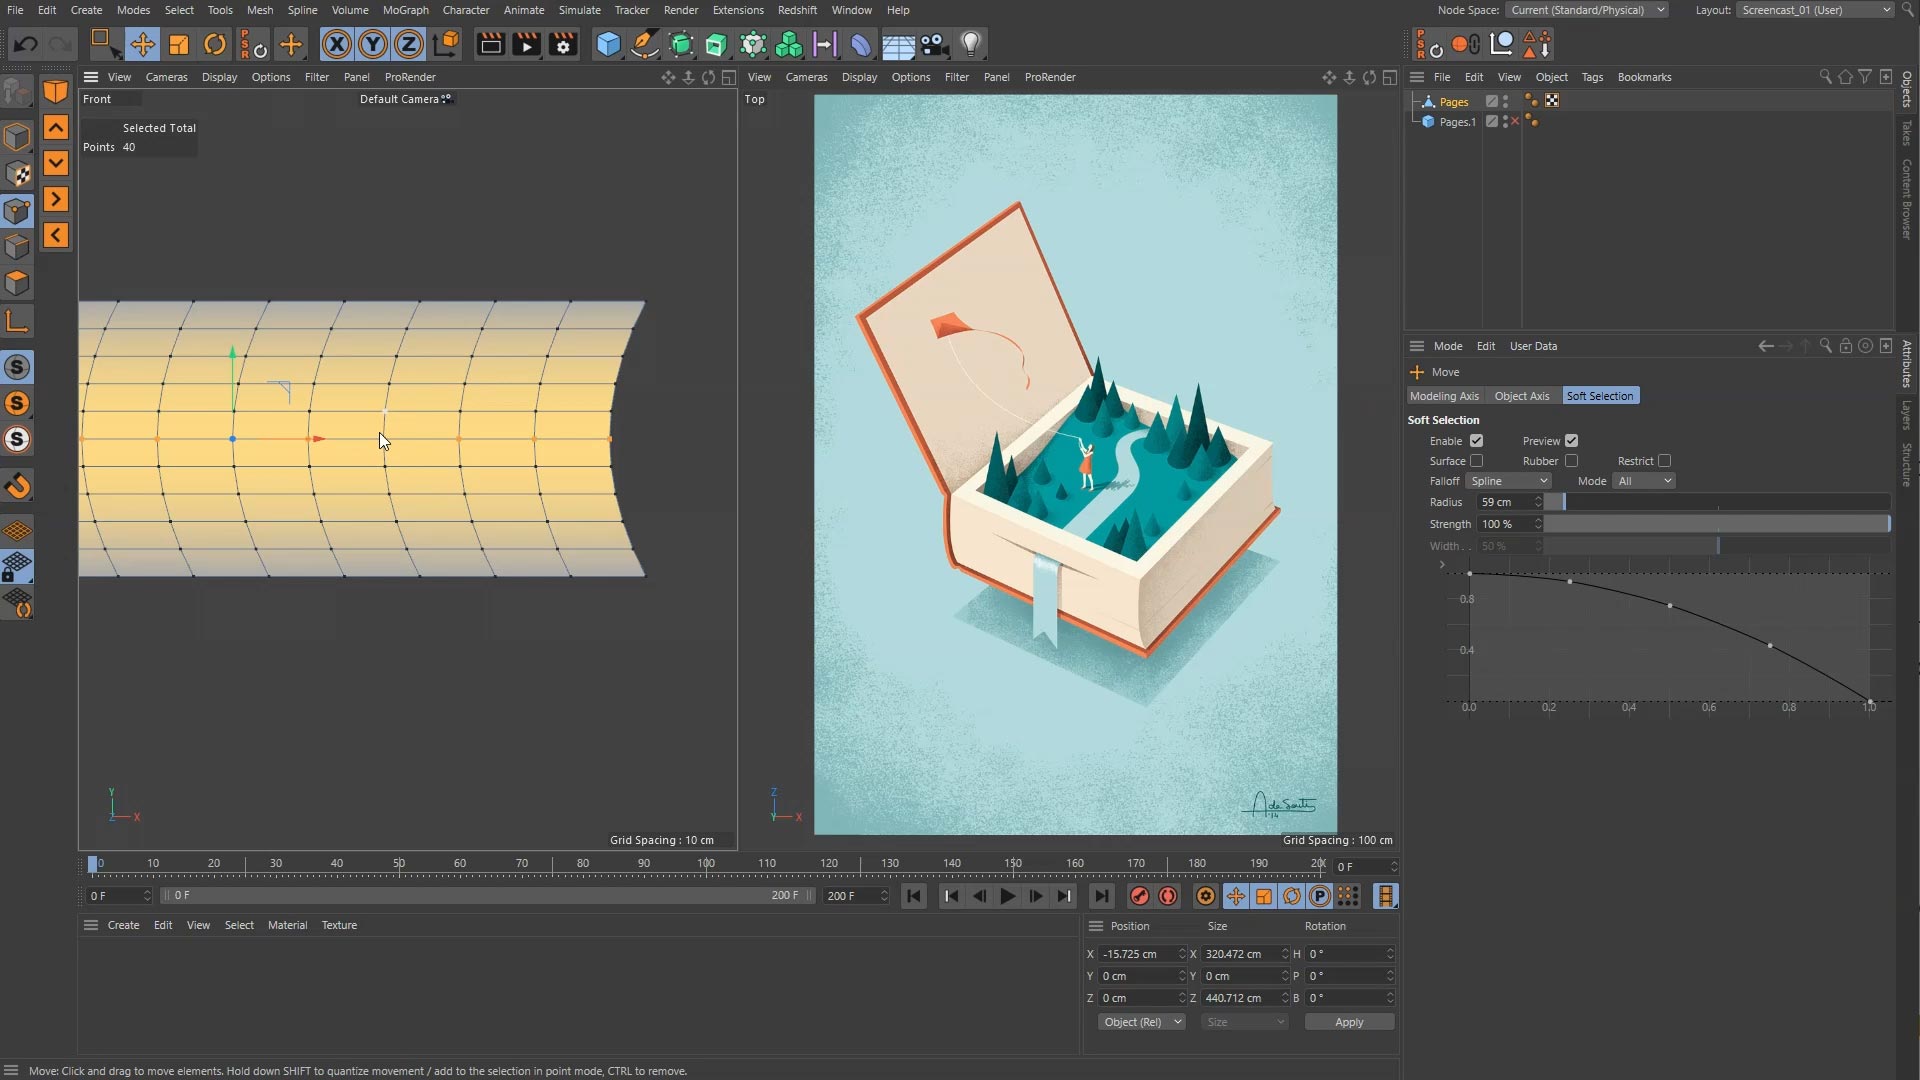
Fall-off, or the change in influence over distance, such as the way light fades as you move away from its source, is a fundamental concept to understand in 3D.
Discover the organic possibilities opened up by using fall off or “soft” selection: think of the way a rope moves as you lift it off the ground: a gentle curve is formed from where you hold it, easing away down to the ground. Different fall-off types, which control the shape of this curve, are discussed.
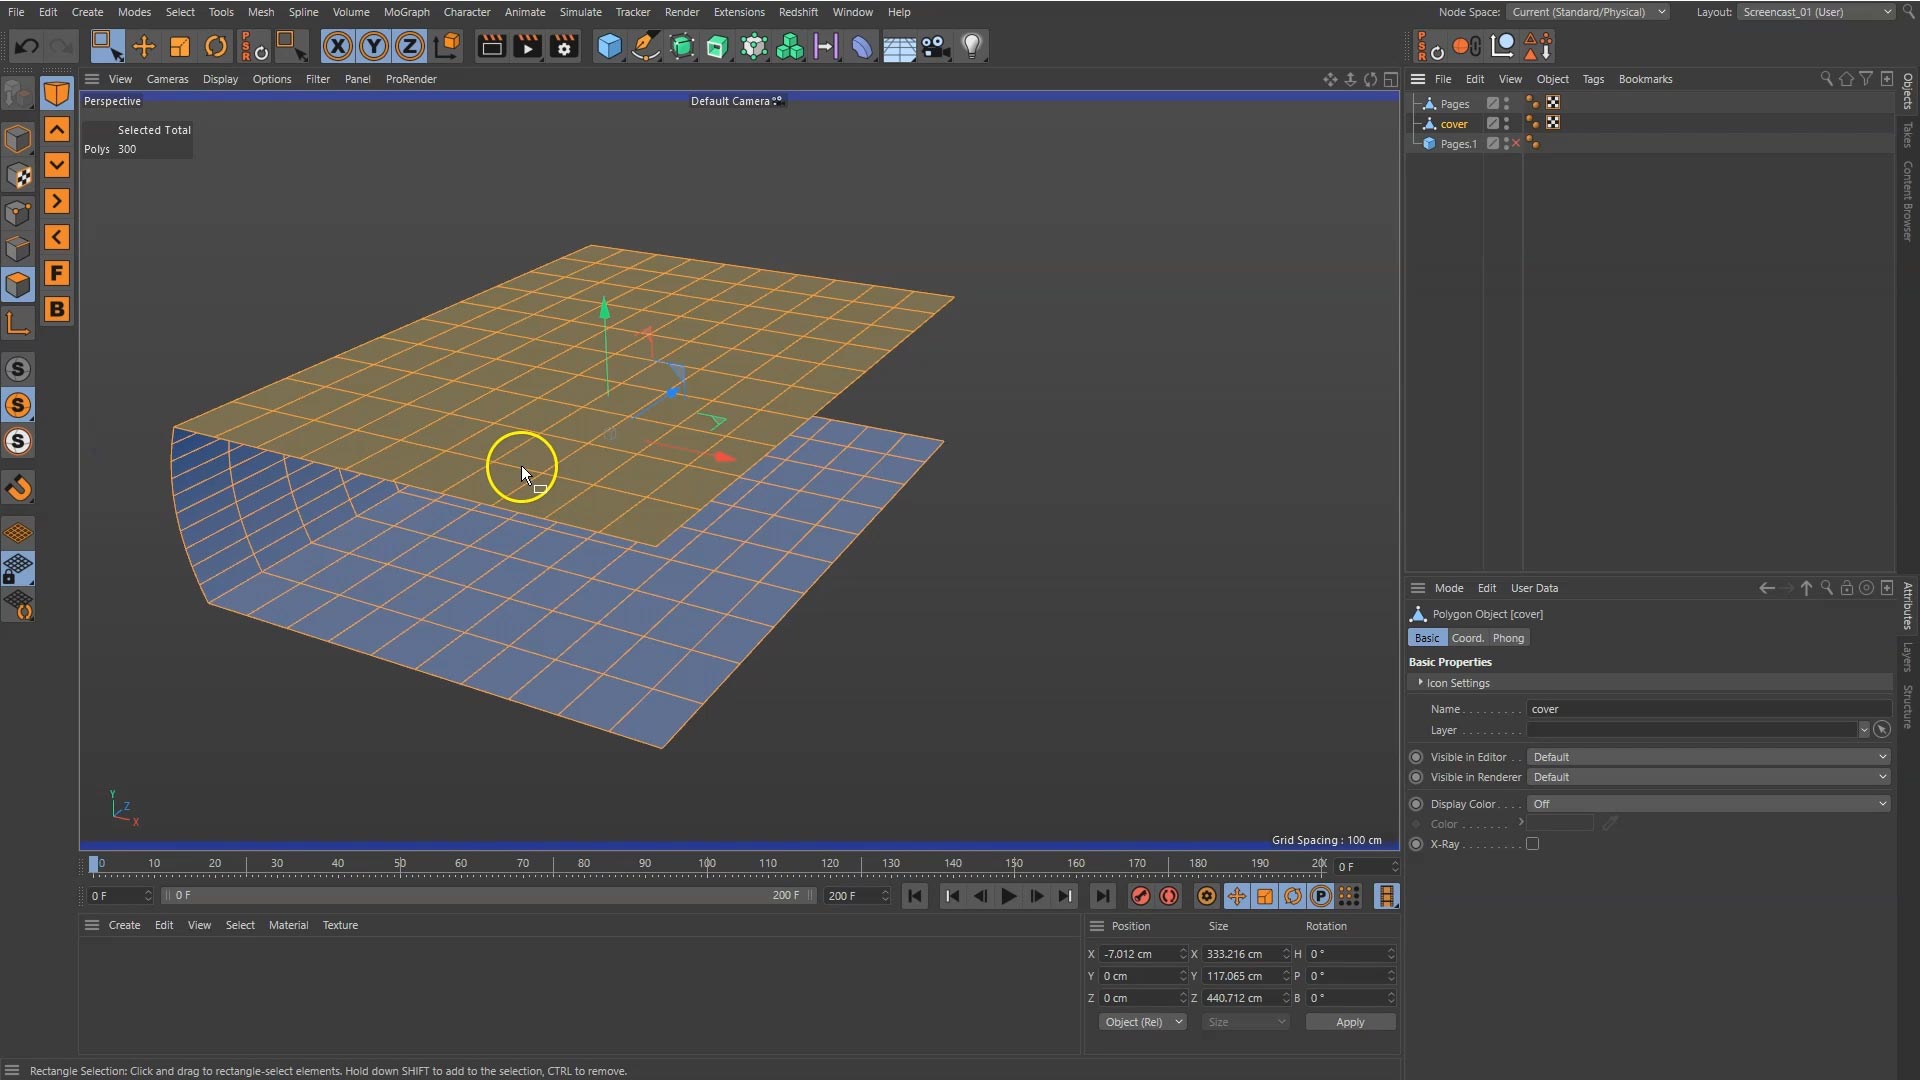
Re-use work where you can: here we use Split and Disconnect tools to copy and/or isolate existing geometry to help us make new components for our model.
Add some substance to the model with the extrude tool.
There are some gotchas hidden in this simple-seeming tool: we learn how to get it to behave the way we want.
We also cover the Set Selection tool: a means of saving selected parts of our geometry -groups of vertices or polygons- to get greater control over our model.
Get slicin’ n dicin’! It might sound basic, but the versatile knife tool has a ton of options and fantastic controls, such as multiple, simultaneous cuts and so forth. Here we use some of this functionality to create a groove in the book cover.

A brief look at Cinema 4D’s material system, and how to apply them to objects.
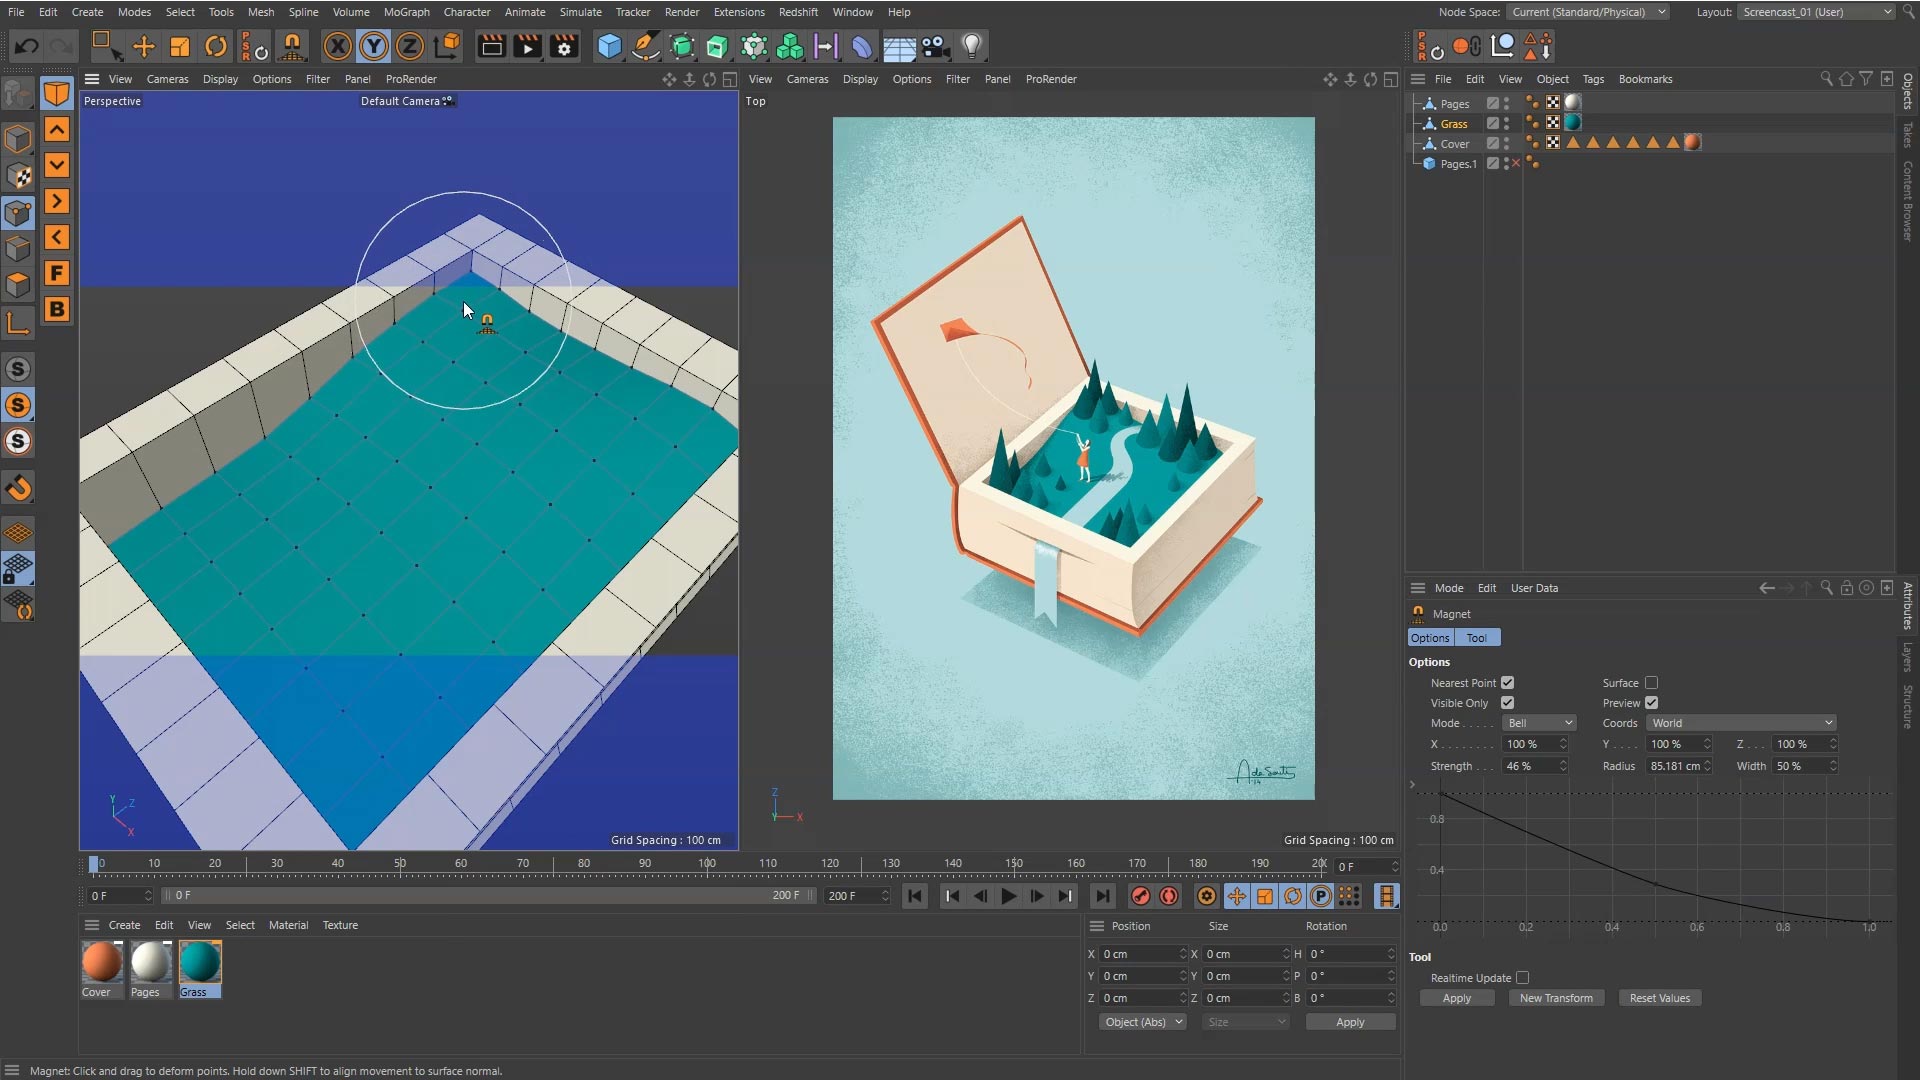
An automatic “soft selection” tool particularly useful for modelling organic, curved surfaces. Here we use it to shape the “hill” of grass within the book.
No light, no see. Using just a point light, similar to a bare lightbulb, and a sun-like infinite light we create a simple lighting set up to very roughly approximate the light and shade in the reference image.
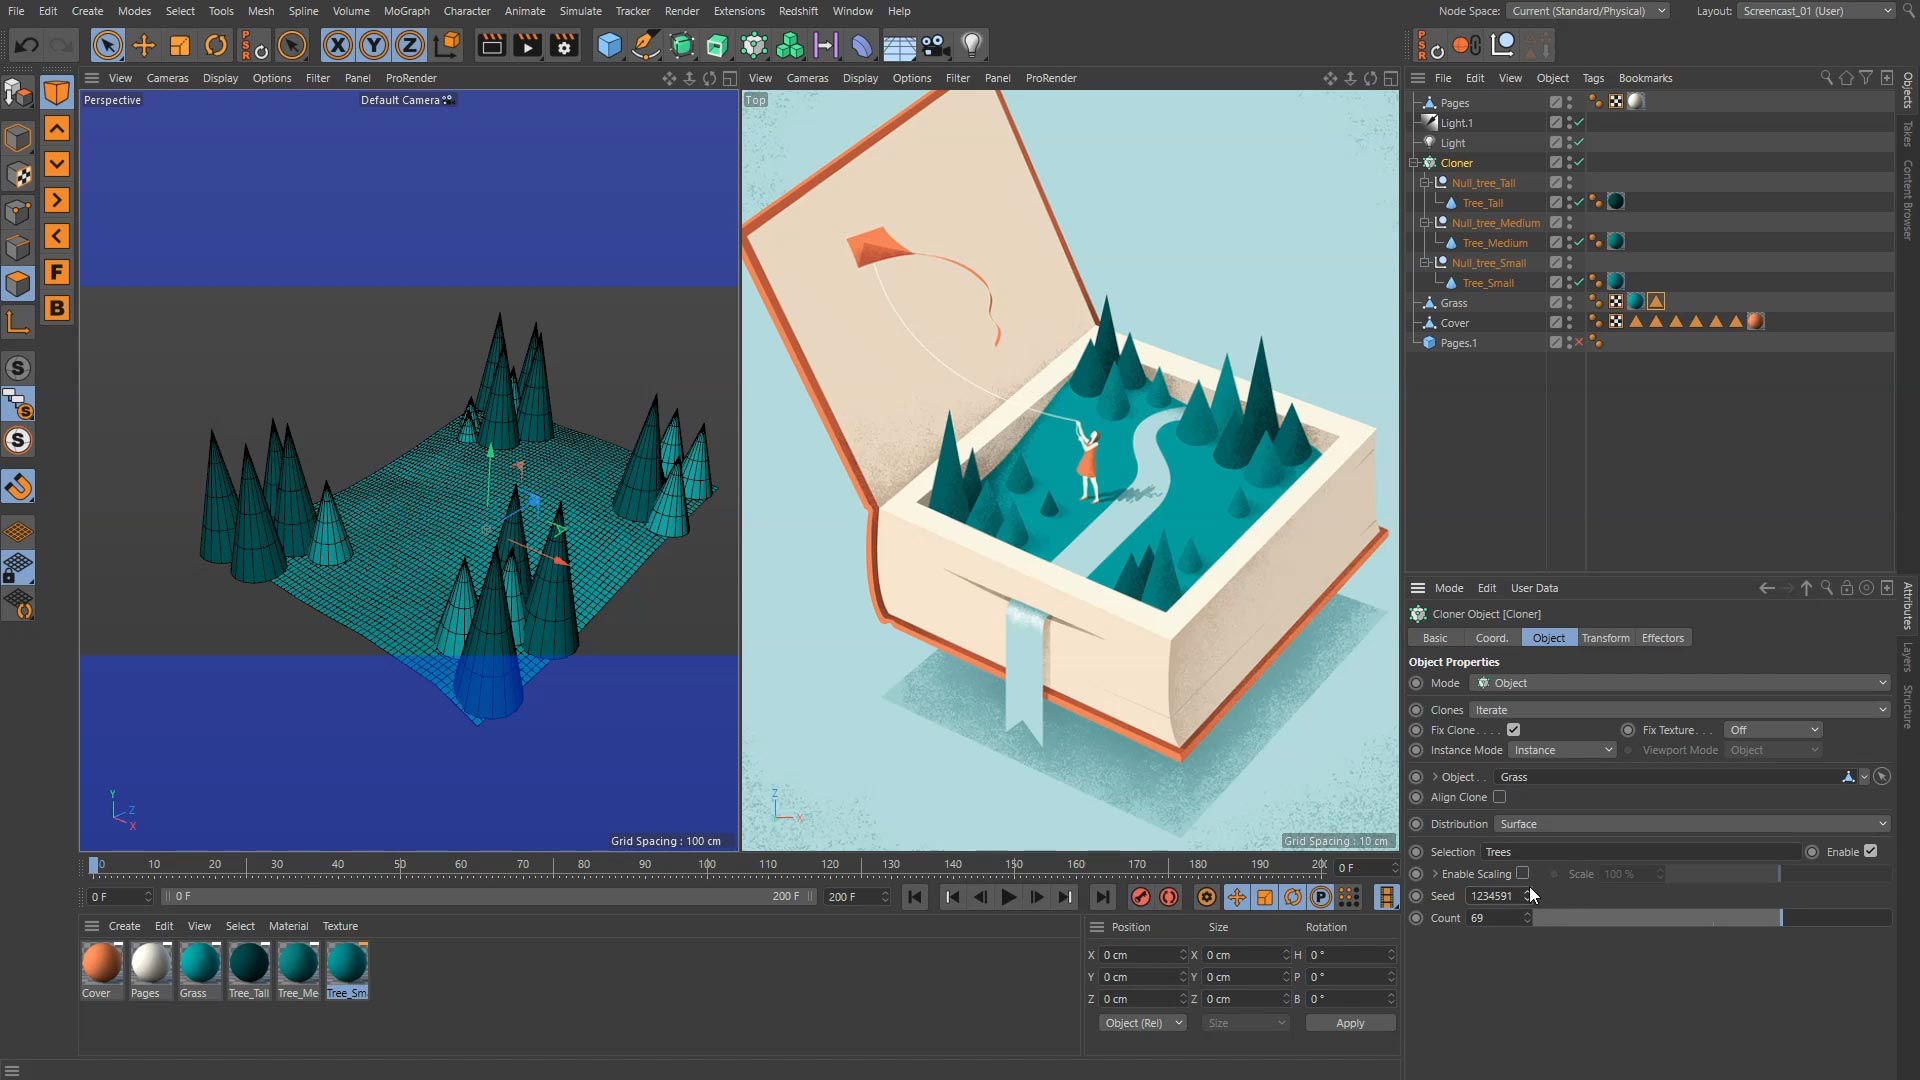
We take our first peek at Cinema 4D’s unparalleled Mograph toolset, and set up our first Cloner: a way to rapidly replicate geometry around the scene, in this case the trees.
A closer look at the cloner and how to get objects aligned the way you want, in this case, to the hillside. We set up three different source objects for our cloner to replicate, as a quick way of generating some controlled variation.
How to generate random distributions of clones, and how to control where they appear on a surface using selection sets.
In this chapter we make a few more modifications to the book part of our model so that we can open its cover, then we bring in a camera and set up its focal length, which can radically alter the look of a render: from fish-eye to almost isometric. We then parent the camera to a null to get fine control over its position and rotation. Finally, in render settings, we set up the aspect ratio, or shape, of our render to match the reference image.
The Smooth Tool makes a good companion to the magnet tool. We jump into C4D’s modelling layout, and use the brush to smooth out the grass hillside. Next, we use another function of the knife tool to cut right through the book cover in order to be able to make a new selection set, to which we can apply a separate material to the inside cover. Finally, using C4D’s interactive snapping tools, we fine-tune the geometry of the cover
We use the Set Active Object As Camera function in order to look through our infinite light to help us improve the angle of our lighting. We bring in simple placeholder geometry for the woman character to get our shadows working correctly.
We carefully examine the shadows in the reference, and begin to set up separate lights, which can each illuminate or ignore any object in the scene, to enable us to mimic the artistic lighting and shading in the reference.
We take a first look at Ambient Occlusion, an effect which helps “bed in” our render by adding naturalistic looking shading to our entire scene.
How to import a 2d PNG image with an alpha or transparency channel, and apply it to simple geometry in the scene to create the woman character.
We troubleshoot certain unwanted shadows in our scene caused by AO, and use compositing tags to take control of this useful effect.
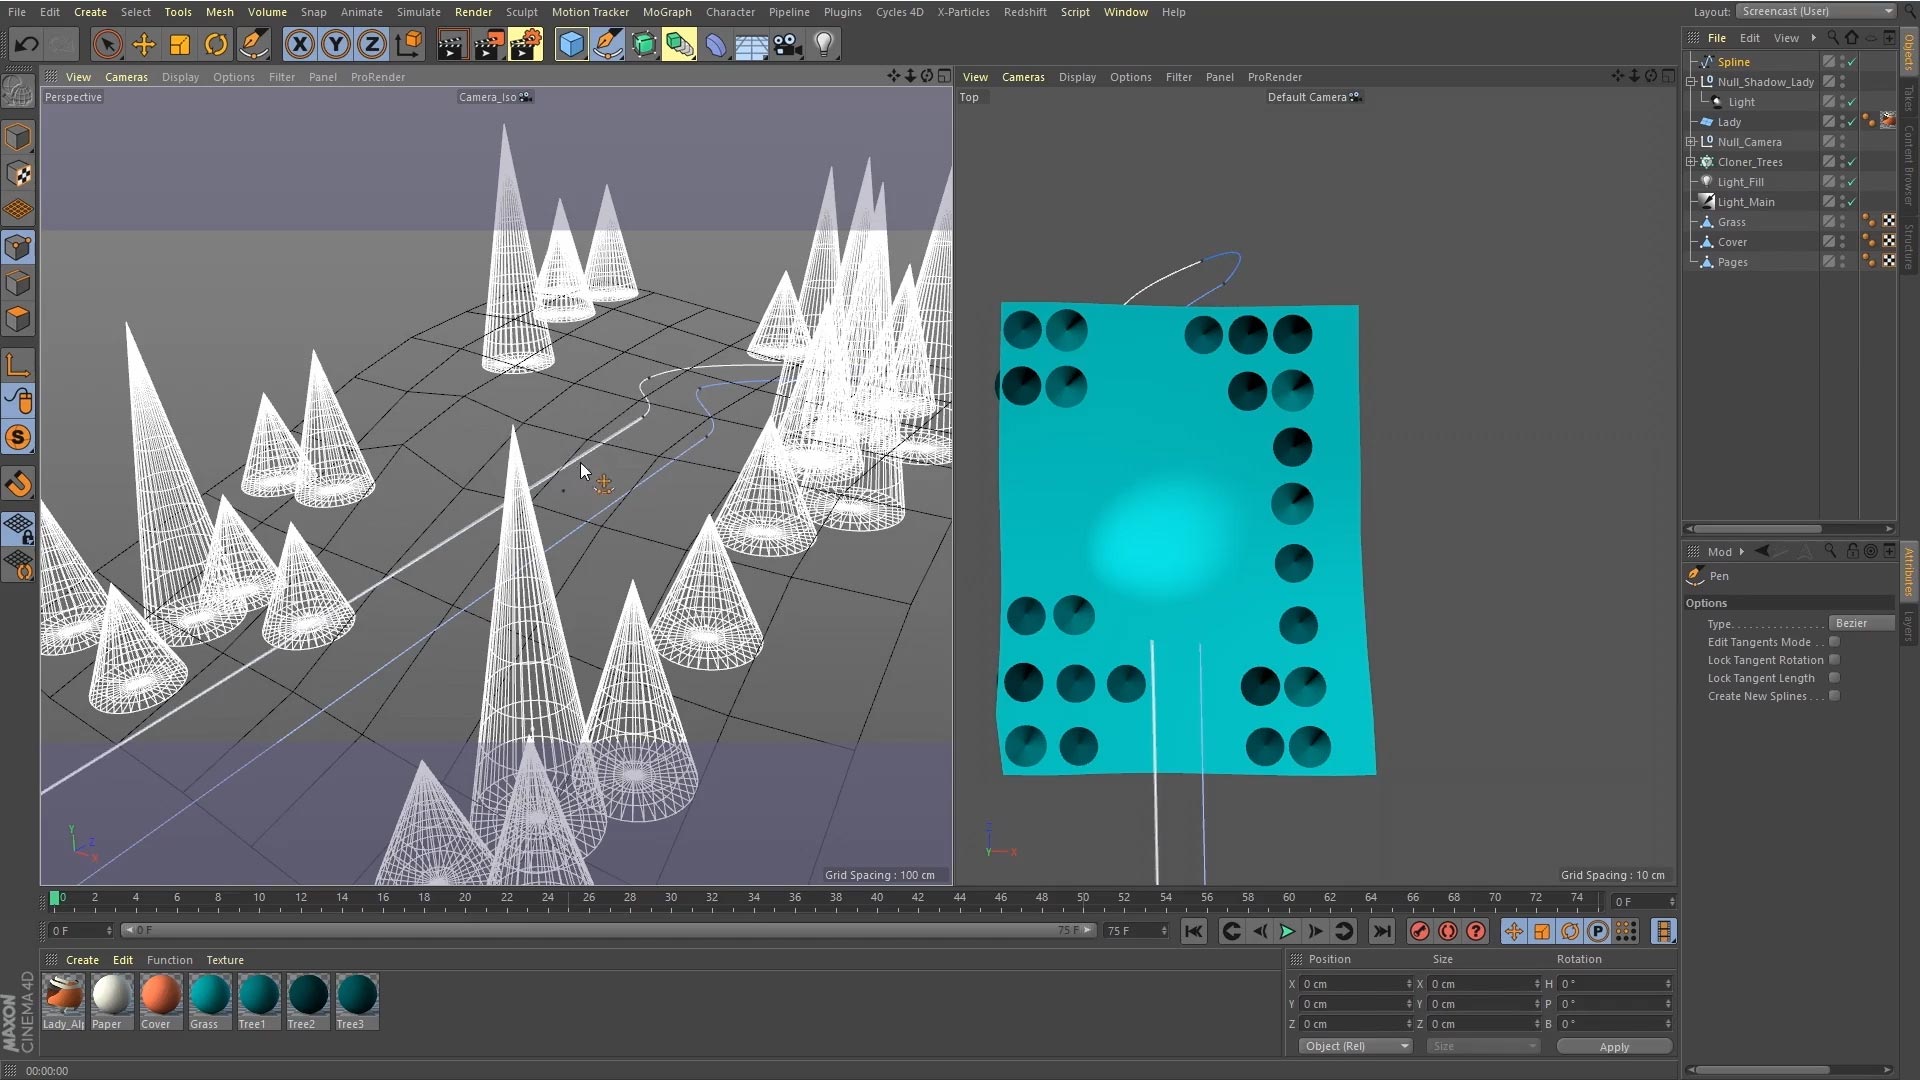
We tackle modelling the stream/bookmark using splines or mathematical curves, and use the project tool to get it to conform to the shape of the hillside. We then apply Extrude NURBS to turn the curve into visible geometry.
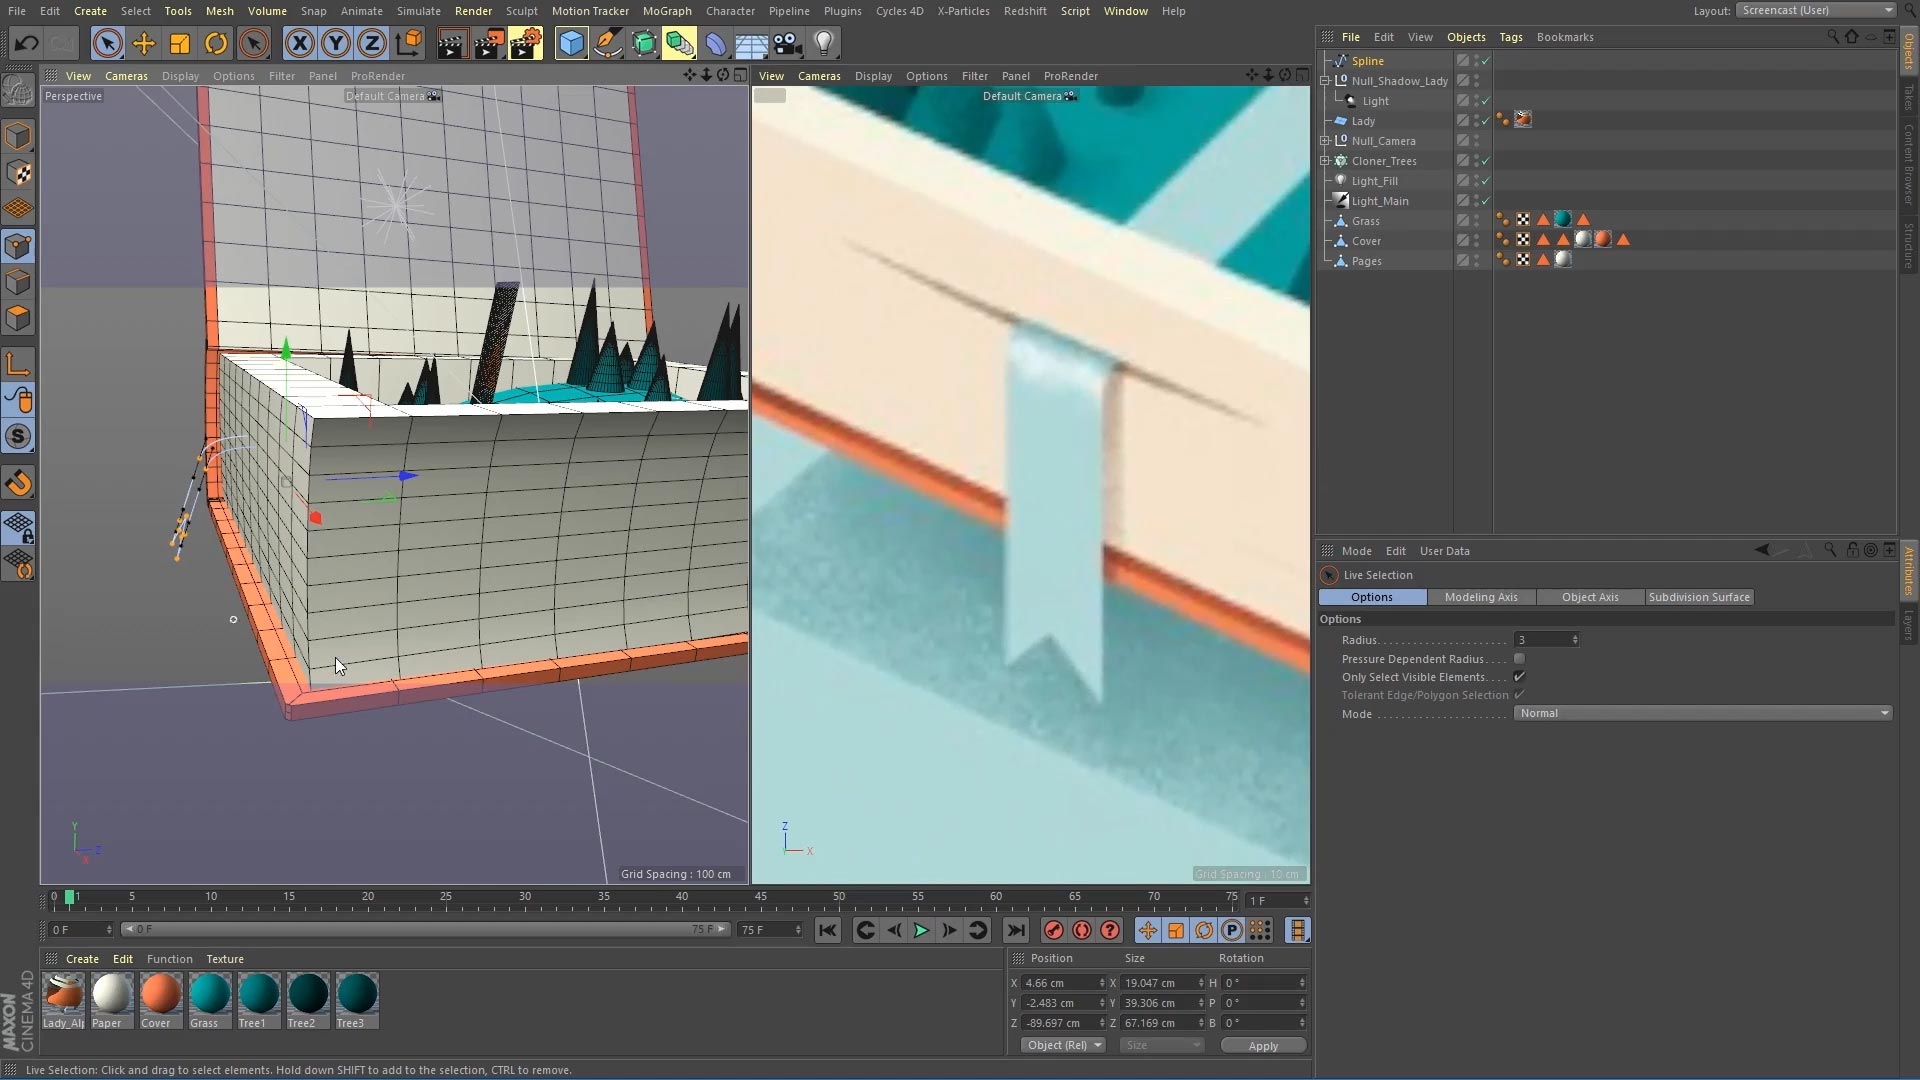
We prepare to cut a slit into the pages by first marking out a slot using the Extrude Inner tool, then model it to a natural looking curved shape using the magnet tool. Finally we extrude this shape into the pages object to create the slit.
Another variant in the spline modelling arsenal is the Sweep. A profile is swept along a path/curve/spline to create 3d geometry. An ideal technique for the kite string, and tail. We also tackle a spot of polygonal modelling to make the kite itself.

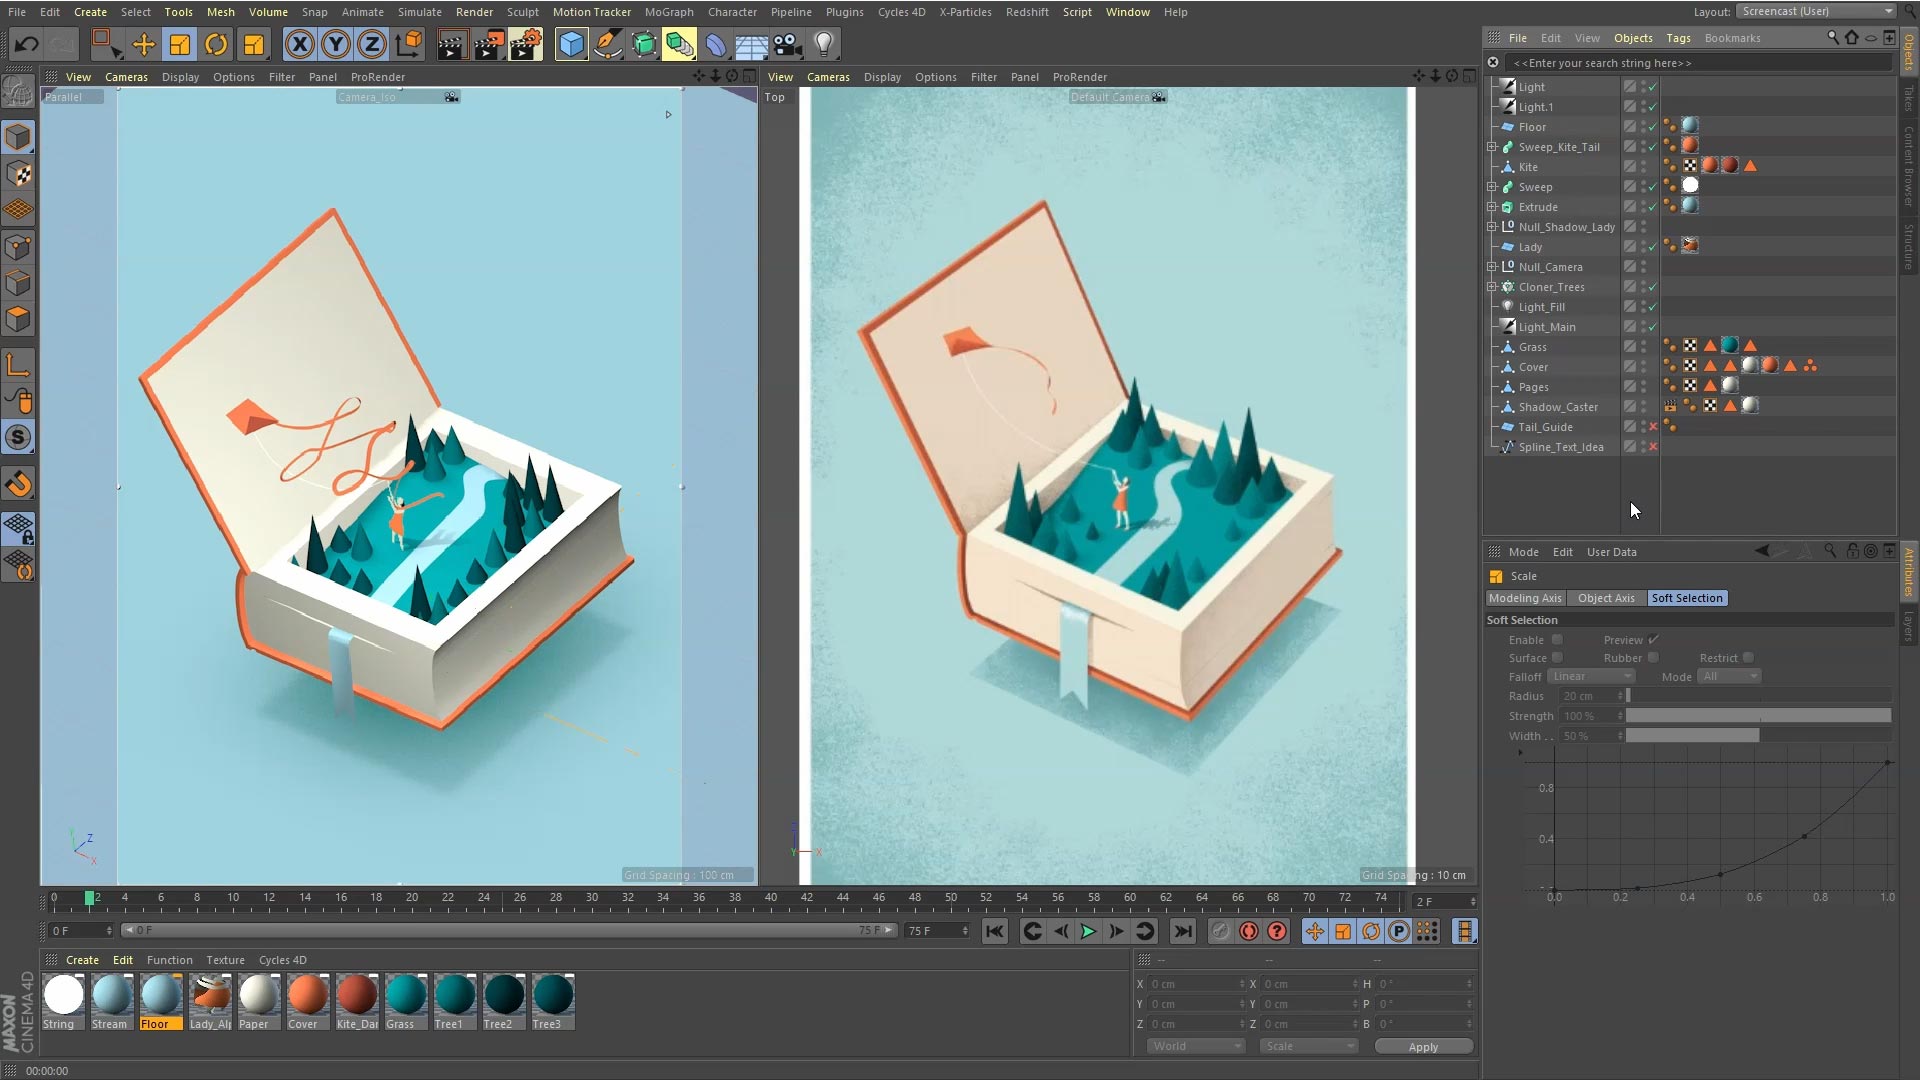

We delve deeper into lighting settings to further control the density and sharpness of shadows. We also create shadow caster or hidden geometry which is used only to create shadows.
The final step.
Outputting a finished image from the 3d scene is like taking a photo or video after building a physical set. You as creator know all the workings: the lights, the bounce-cards, the hiddens props and rigging, but the point of it all is to create an appealing image or movie. Render settings dictate the quality or resolution of the image, and we now walk carefully through these, making final adjustments to our camera and lighting as we go.