Blender From Zero
$55.00

This chunky foundational class is three things at once:
Follow along with Blender expert Matt Lloyd, as you start your journey with this fantastic software.
Interface
Gain a thorough understanding of Blender’s UI
3d Navigation
How to move through 3d scenes, manipulate cameras, perspective and orthographic modes and all the shortcuts you need to work snappily.
Object vs Edit Mode
How to add and transform objects in a scene.
Modelling
We’ll cover the essentials of Blender’s terrific direct polygon modelling toolset.
Modifiers
Automatic tools which can be used to quickly and radically alter your models in a non-permanent, or non-destructive way.

Vertex Groups
Isolate parts of your models so you can apply multiple materials.
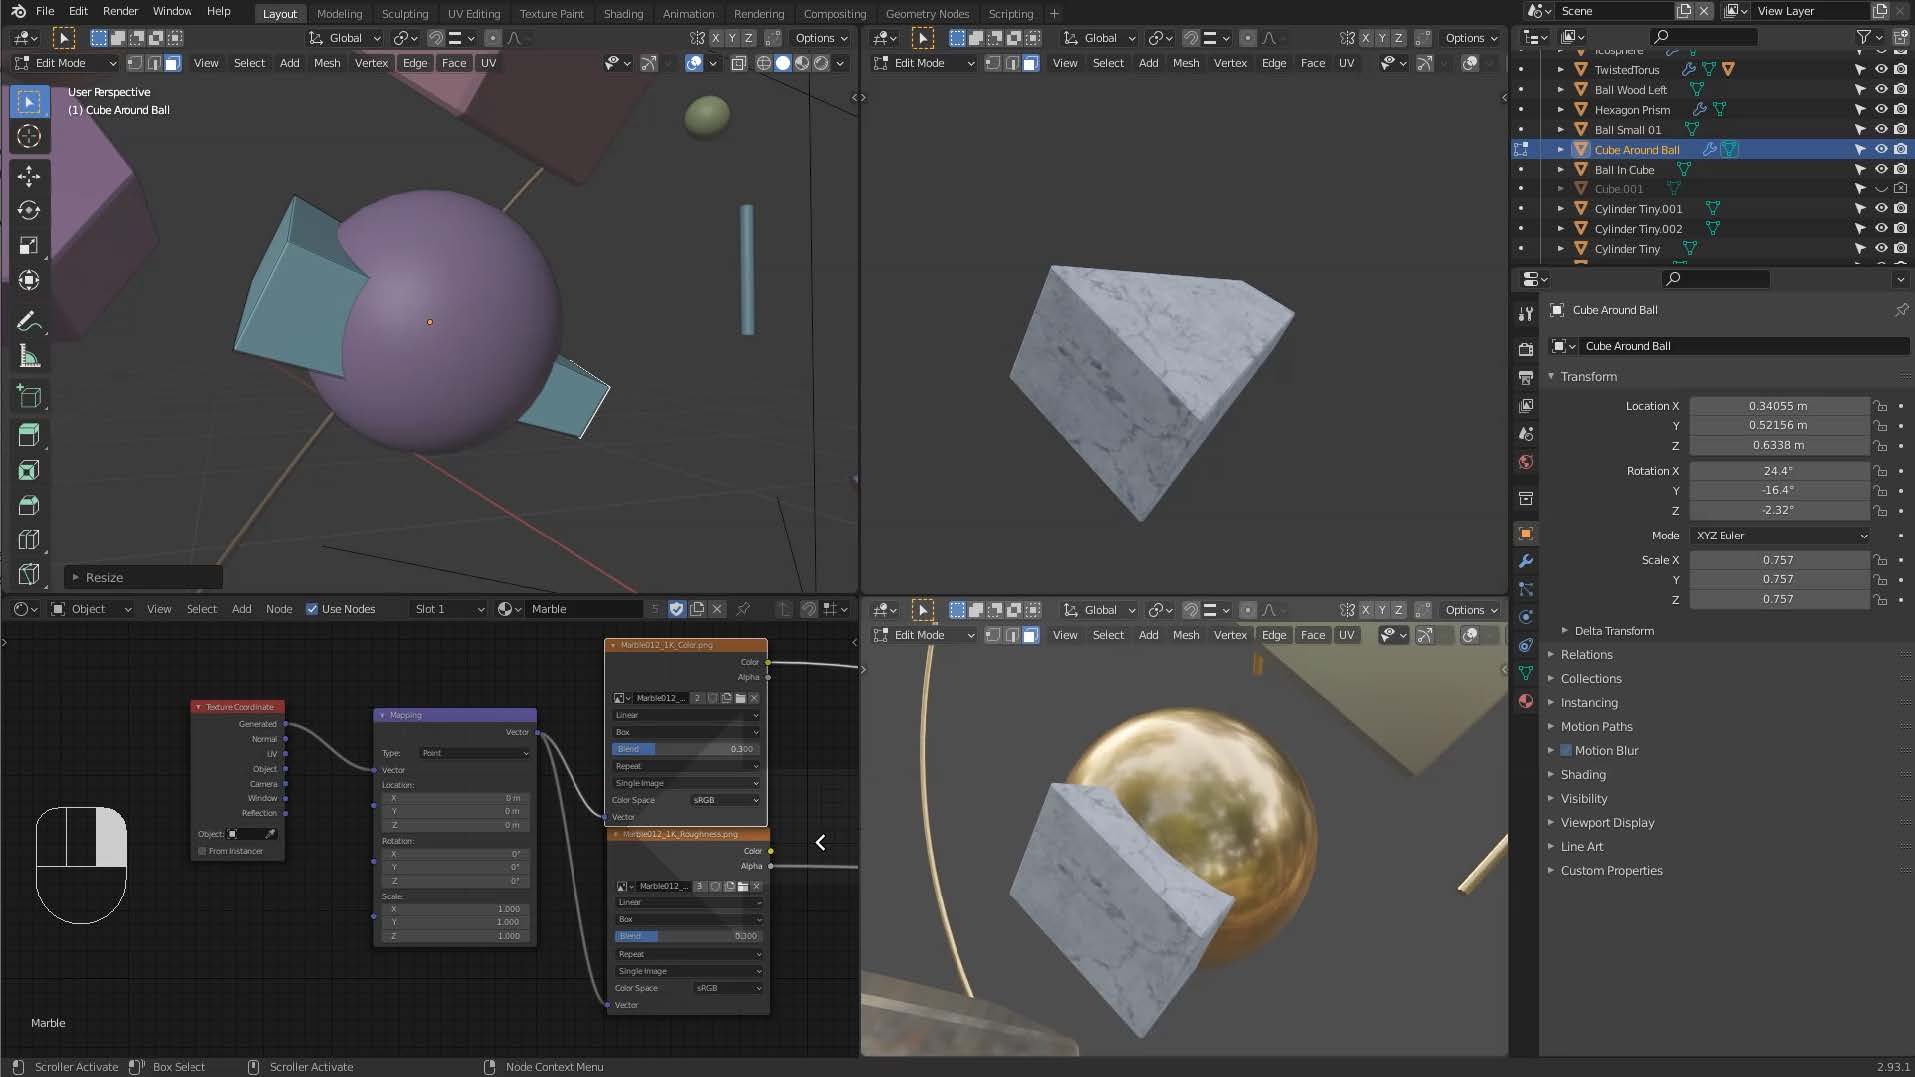
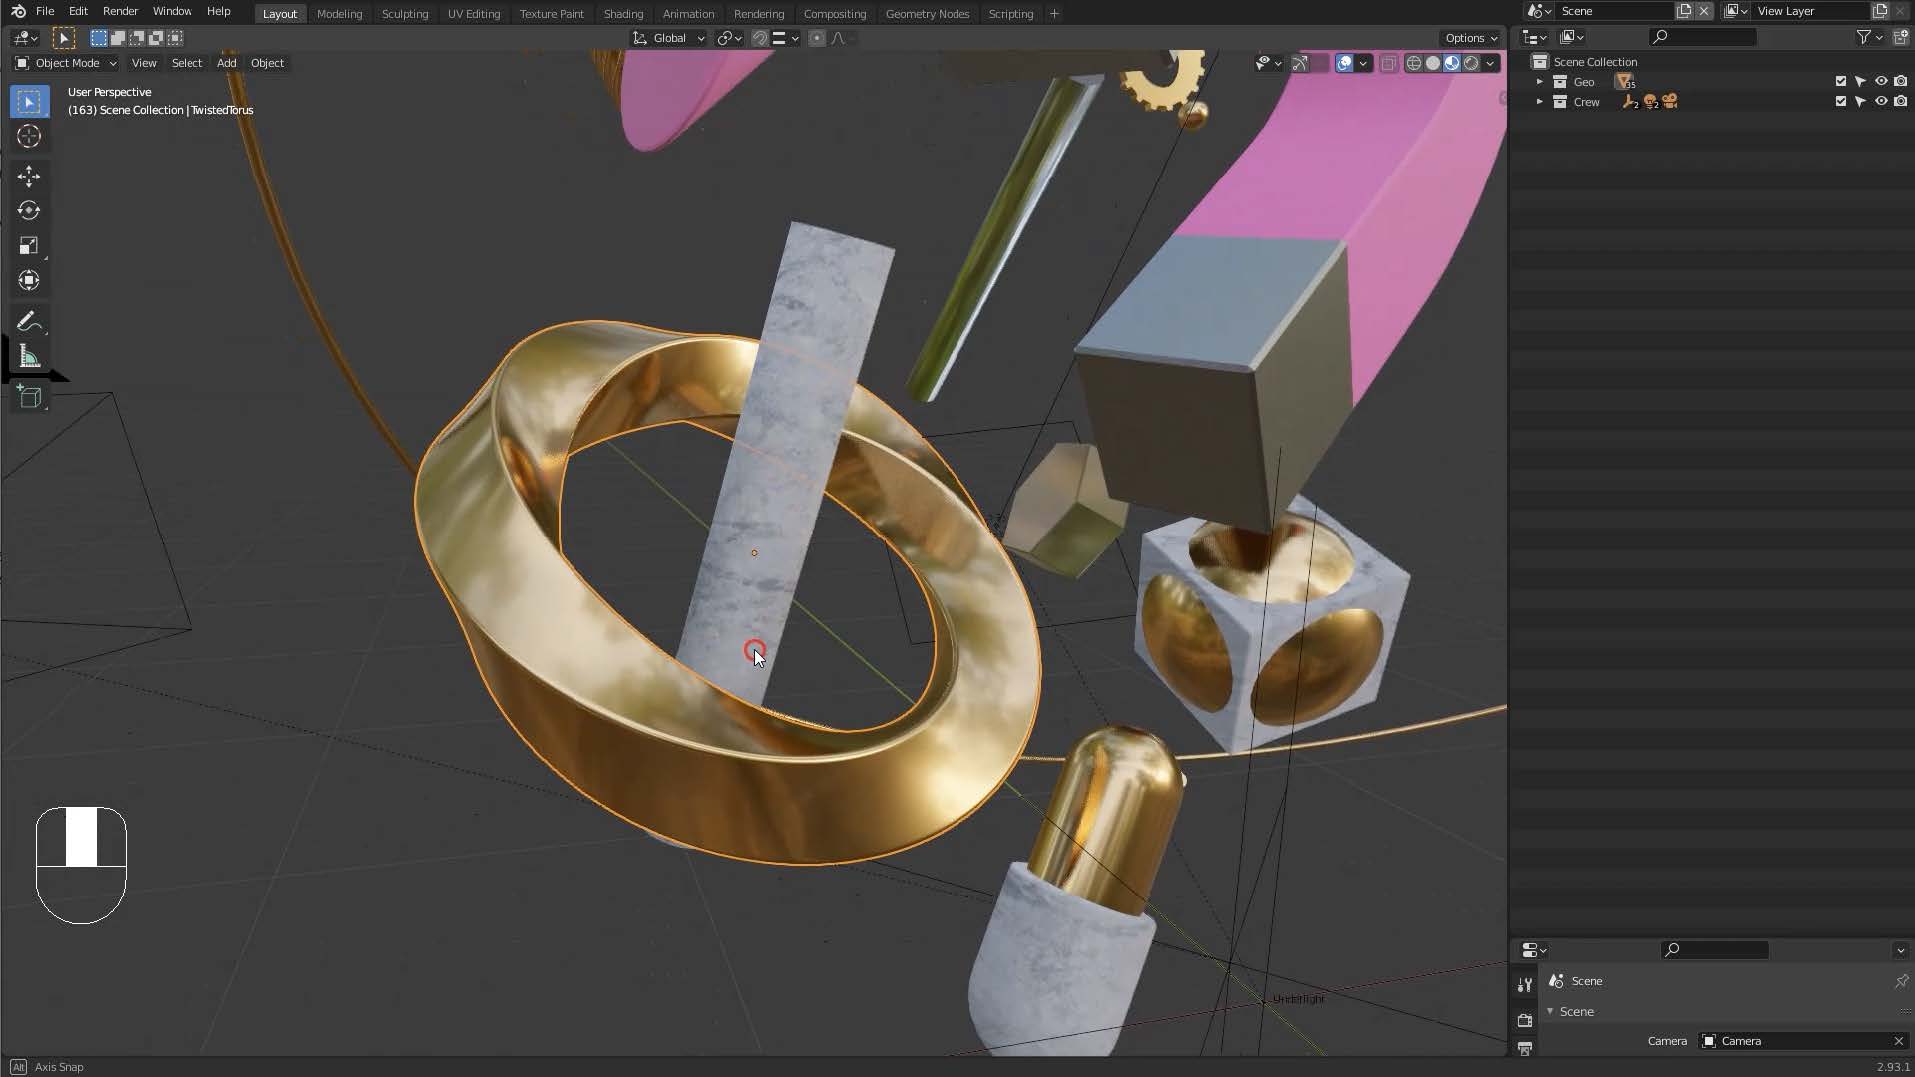
Materials
In this ten-part section we’ll break down this complex topic into its basic parts. We’ll see how to assign materials, and make metallic, transparent, and procedural or mathematically based textures, as well as take a thorough look at how to start using images as textures, and how they are applied, or mapped onto surfaces.
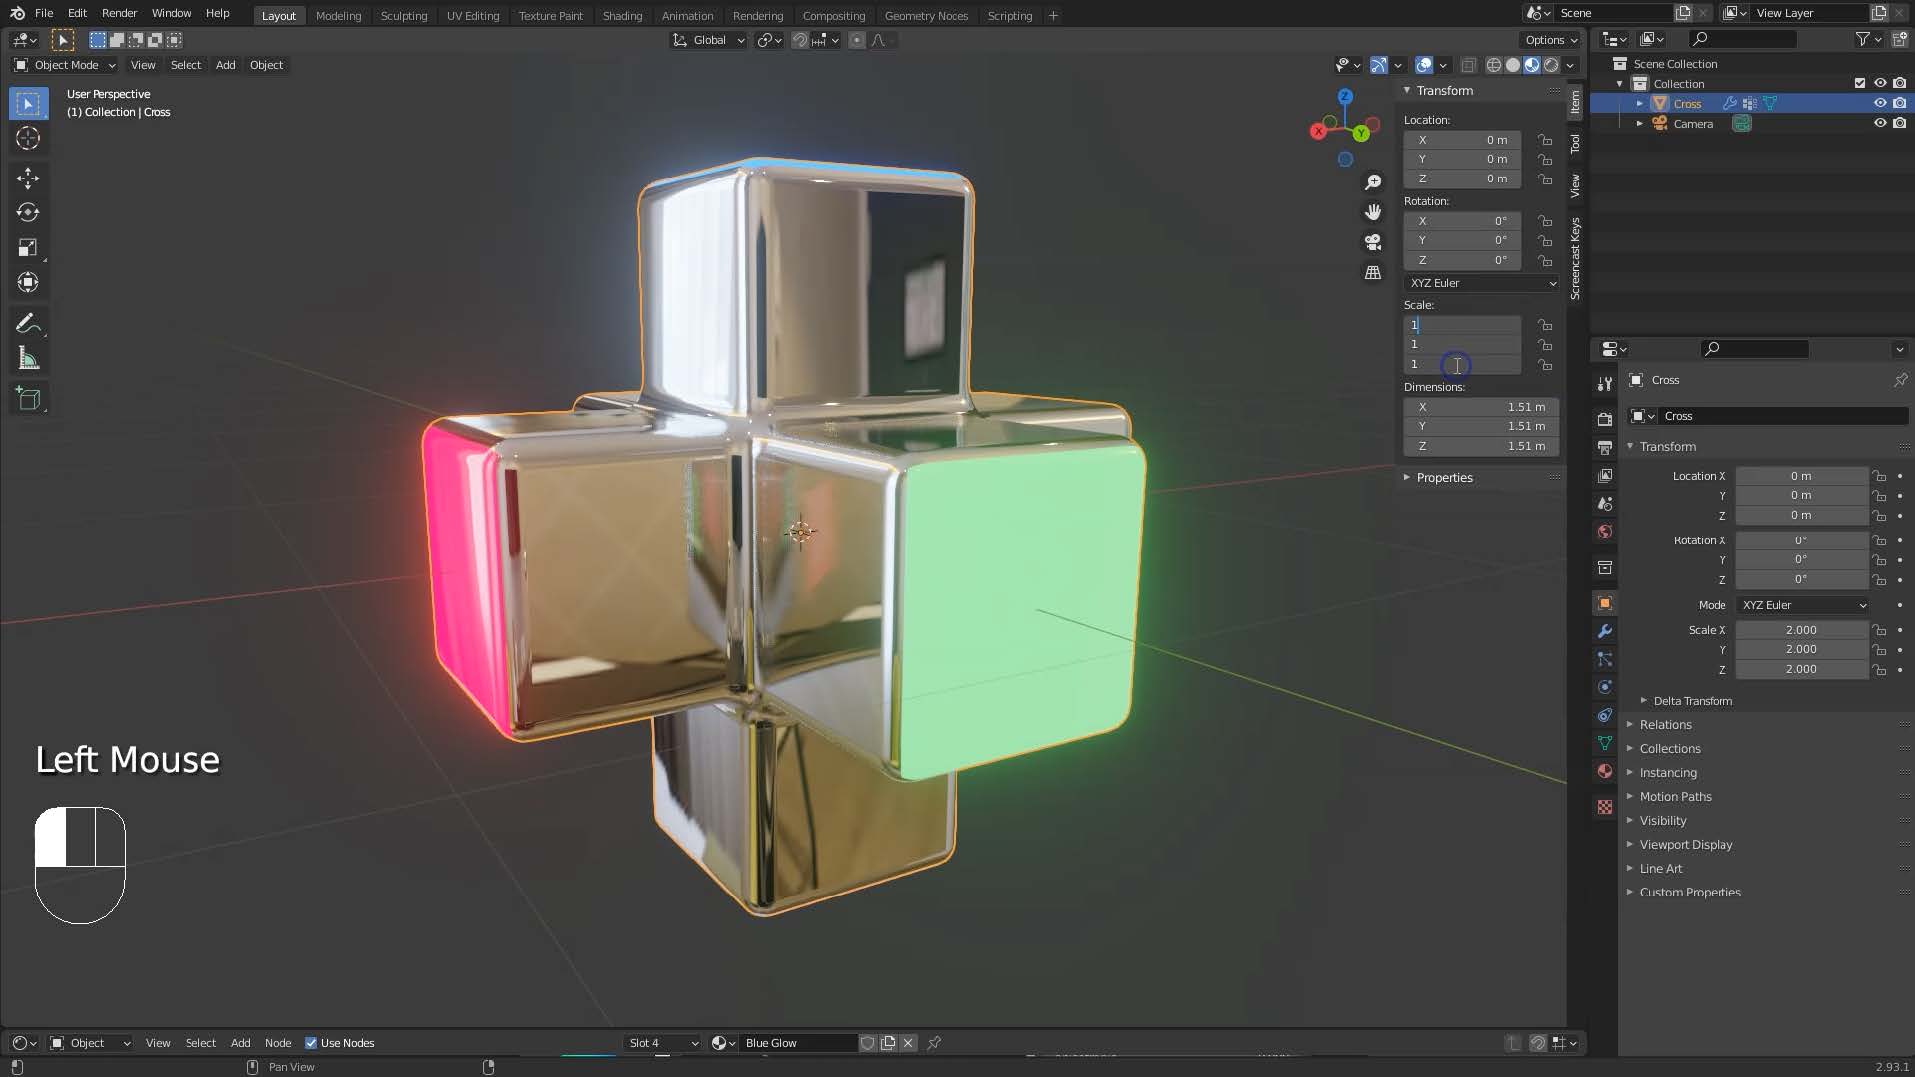
Lighting
The interplay of light and surfaces is at the heart of making 3d images: we’ll explore HDRIs – specialised photographic images of the real world that are used to bring incredible realism to your images.
We’ll also bring extra lights into the scene to precisely add accents and highlights.
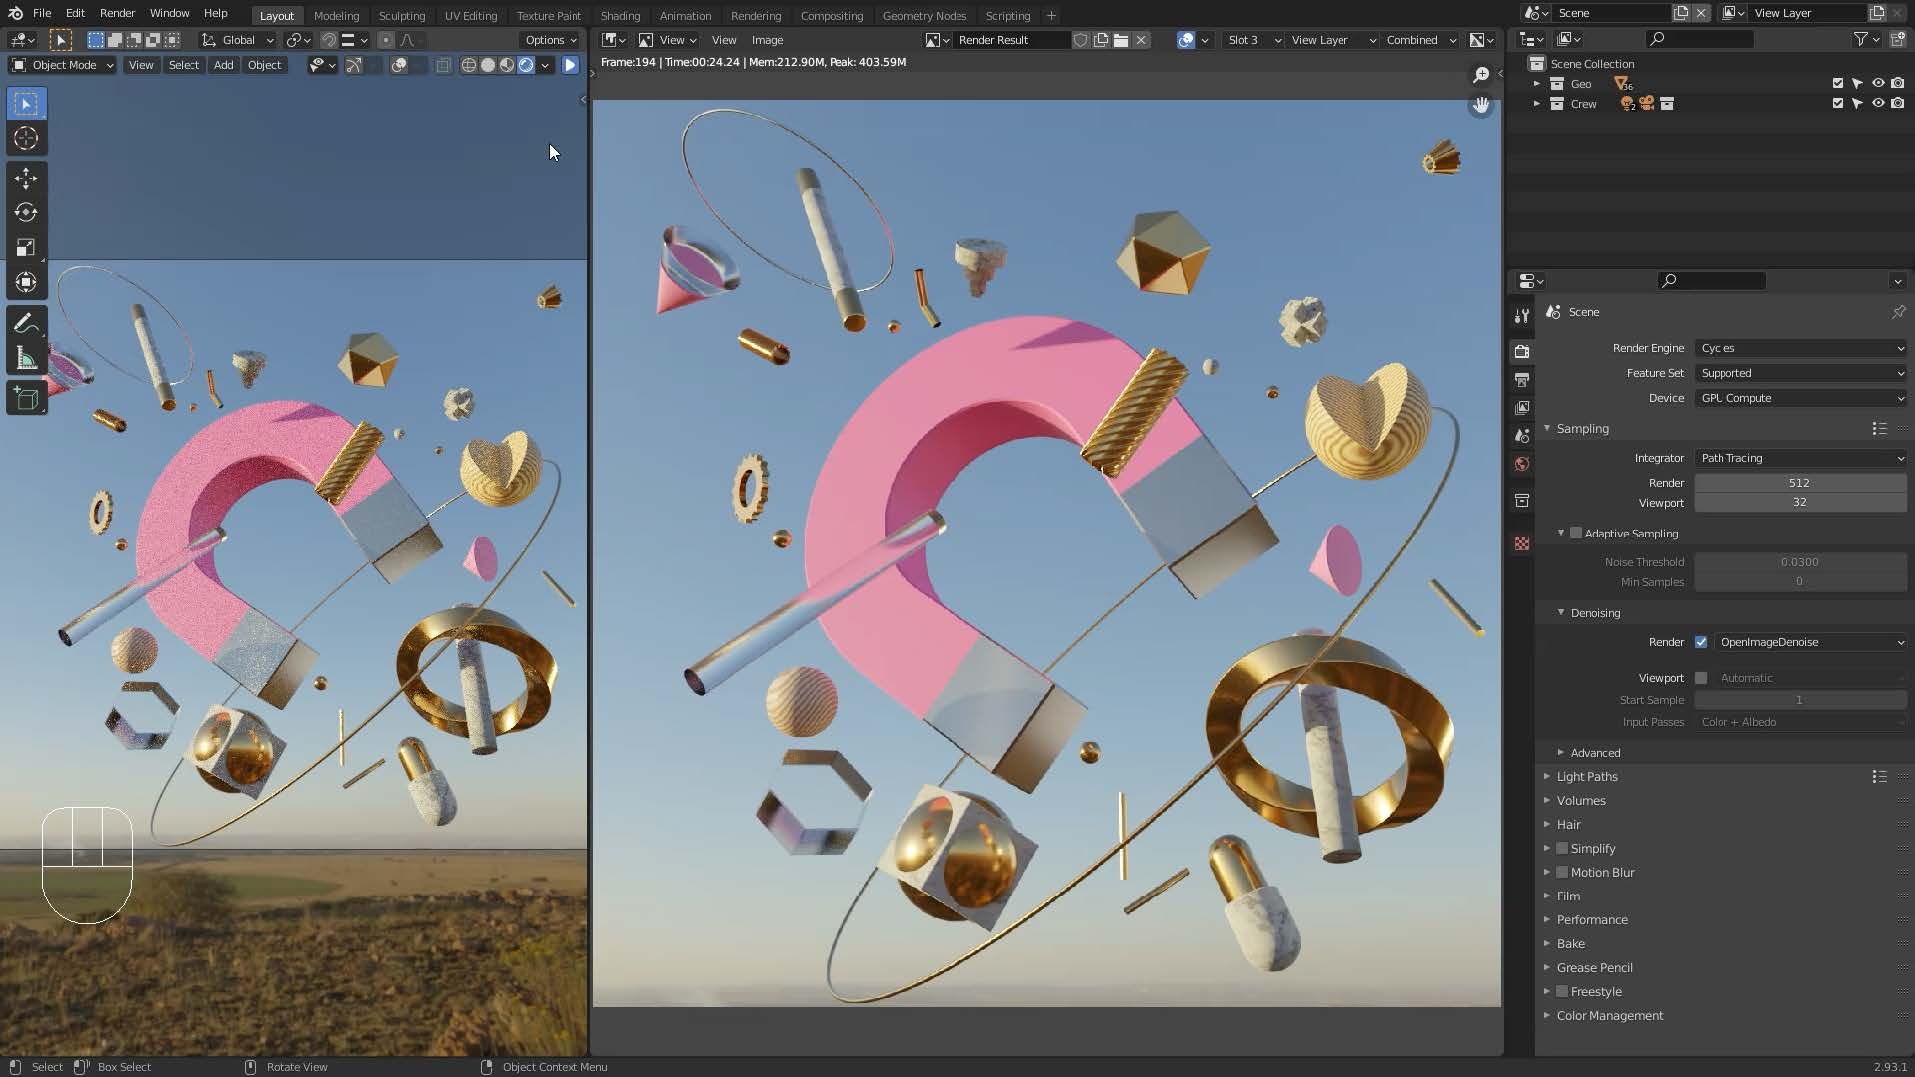
Rendering
This is the final process of creating a 2D image from the 3D scene you’ve built.
We’ll explore some of the differences between Blender’s two render engines: the blazing-fast realtime Eevee, and the movie production-level photo-real-capable Cycles.
02. Interface Part 1
In this video I explain my approach as to how best to work in Blender and start discussing the way the panels, or windows, function.
03. Interface Part 2
Blender’s interface is very flexible. Here I show how to split and join windows, making it easy to work on multiple facets of your projects simultaneously.
04. Interface Part 3
The three editors you’ll use the most will likely be the 3d Viewport, the Outliner, and the Properties Editor. In this video we cover some of the fundamentals of these, and consider the minimum three ingredients necessary to make a render, or finished image, in Blender.
05. Viewport Options
One of the most pleasing things about Blender is its super-snappy and flexible 3d viewport. Here we discuss some of the dozens of tools which can really help you see what you need to see whilst you build your scenes, focusing particularly on the different viewport lighting and rendering modes.
06. Outliner Part 1
The Outliner is the backbone of any project in Blender; whilst a list of objects might not sound particularly exciting, organising it well, and making judicious use of what in Blender are called “Collections” can seriously speed up your work.
07. Outliner Part 2
Here we dive into smart ways of using the outliner: getting to grips with keyboard shortcuts, and filtering functionality, and look at another use for Collections.
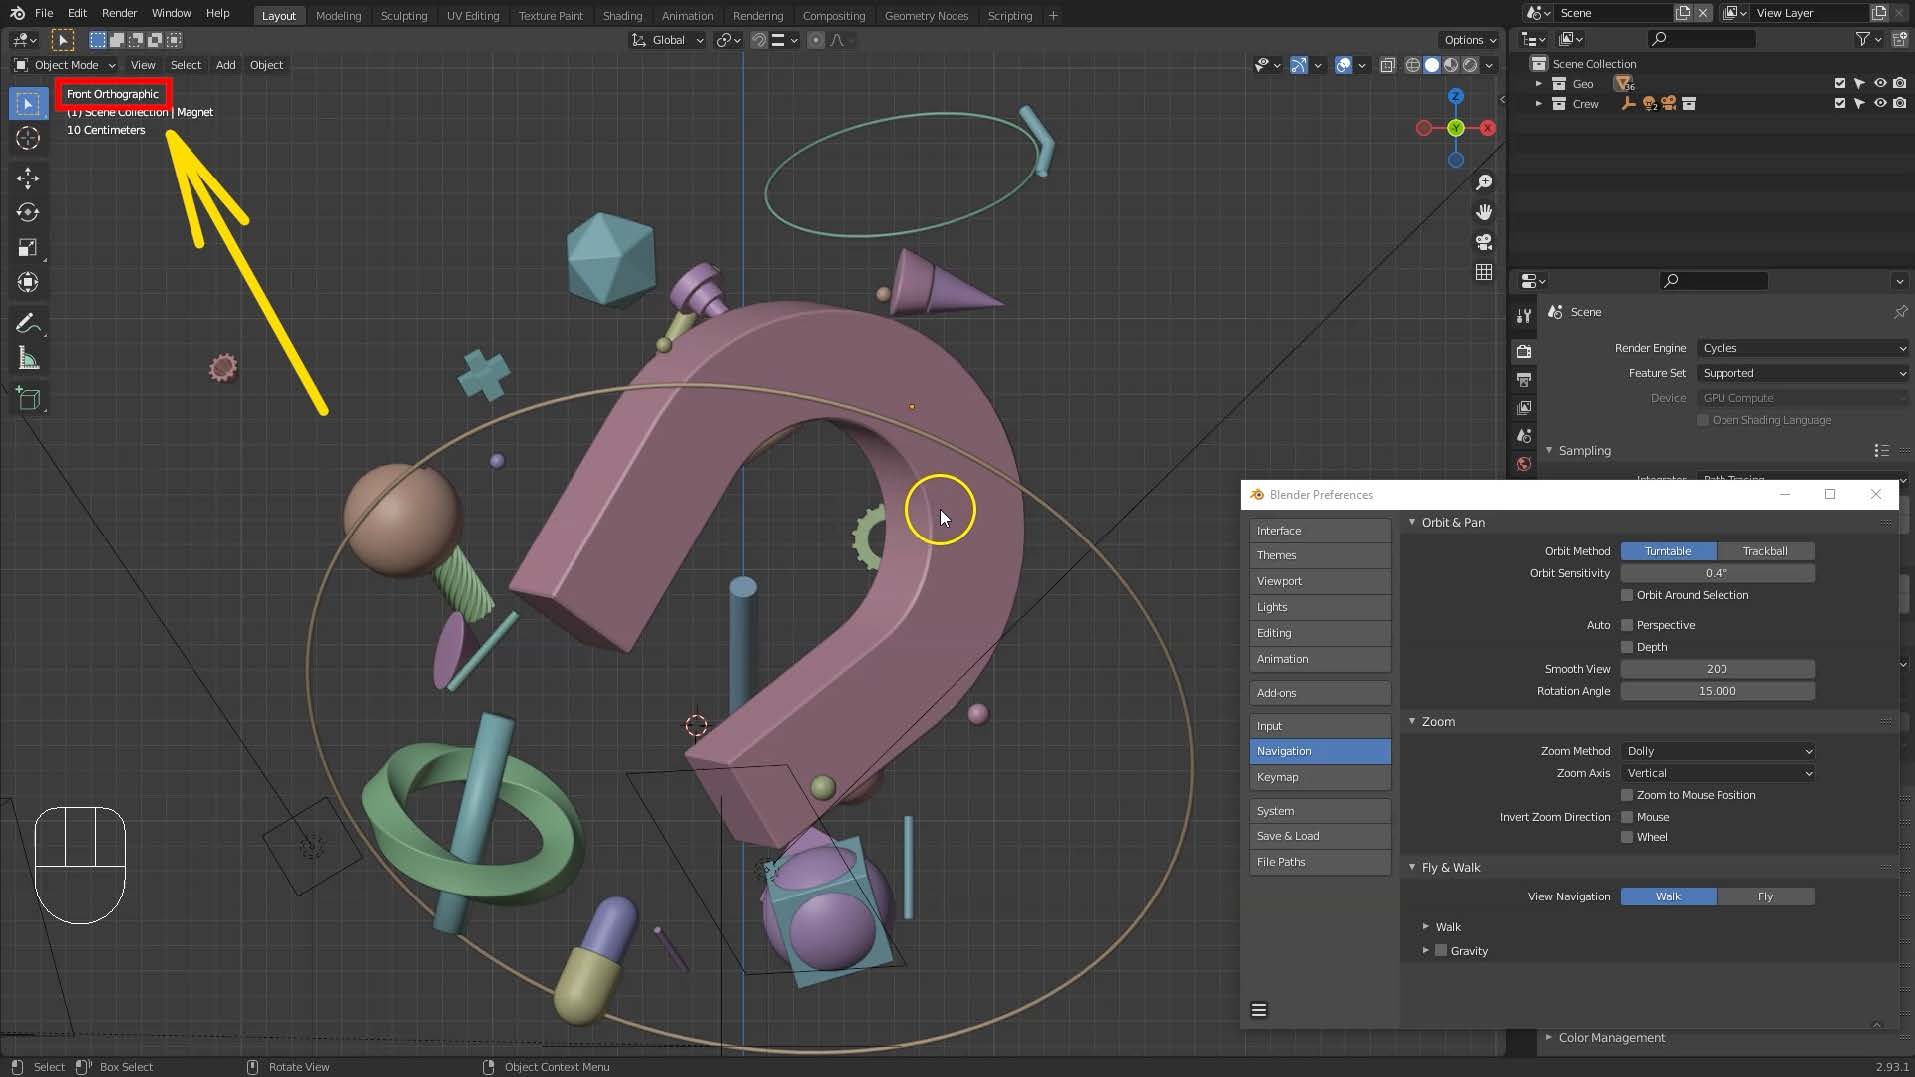
08. Navigation Part 1
Now we take a look at how to get around in Blender’s 3d space by using the middle mouse button, and other helpful navigational HUD elements (or “gizmos”).
09. Navigation Part 2
Whilst modelling, we often need to jump into orthographic views (like technical drawings showing the top, side or front of a machine for example). The fastest way to do this in Blender is by using the numberpad, but I show alternatives.
10. Navigation Part 3
Here we set up some preferences to help make 3d navigation in Blender as intuitive as possible.
11. Navigation Part 4 Alt Q Pie Menu
A further discussion of orthographic views, and the very useful navigational pie, or HUD menu, reached using the shortcut Alt+Q.
12. Transforming Objects Part 1
Having figured out how to navigate 3d space, we now take a first look at how to manipulate and move objects within that space.
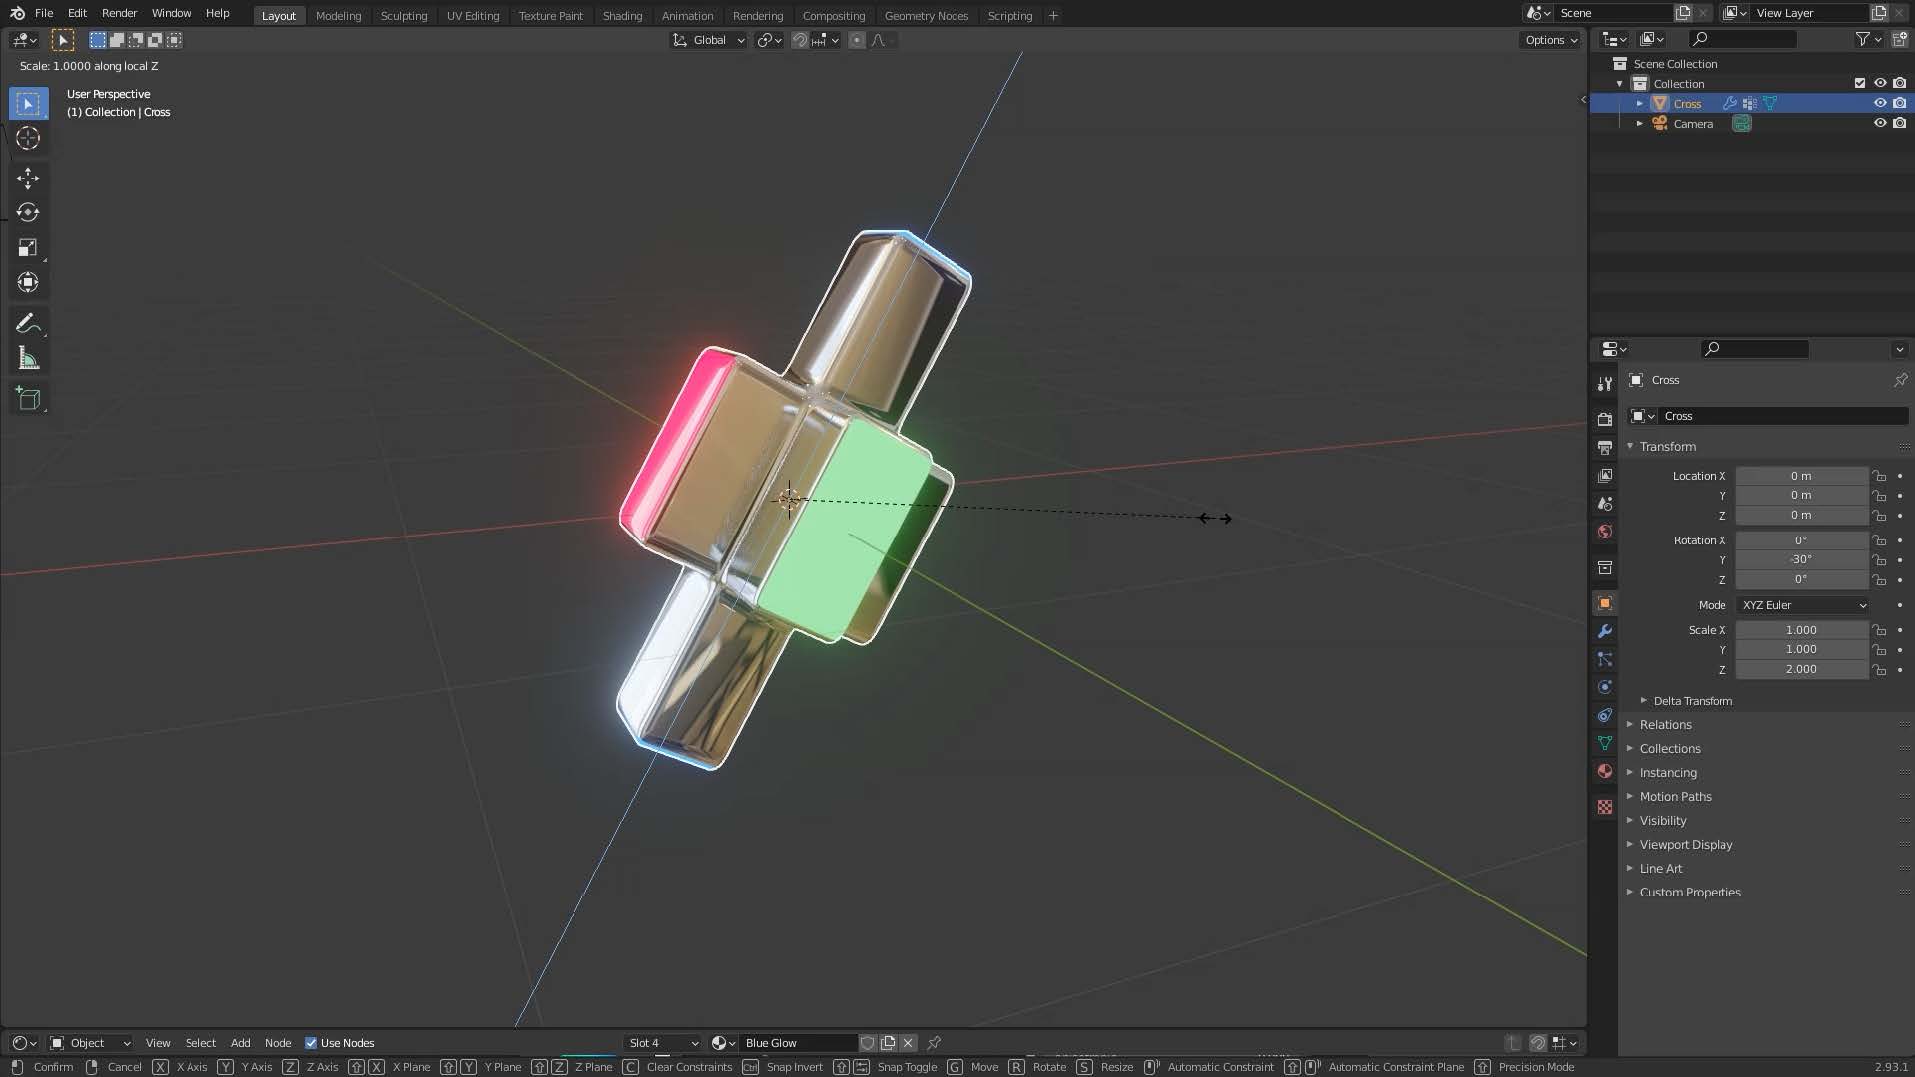
13. Transforming Objects Part 2 Precision
We can constrain how we move, scale and rotate (transform) objects using keyboard shortcuts, and also by moving the cursor further from, or closer to the object in question.
14. Transforming Objects Part 3 More Precision
The Shift and Control keys let us move very precisely: degree by degree, centimetre by centimetre if necessary. We can also type in precise values for our transforms.
15. Transforming Objects Part 4 Gizmos
A review of the visual helpers/handles or gizmos that can help us transform objects in a really intuitive way.
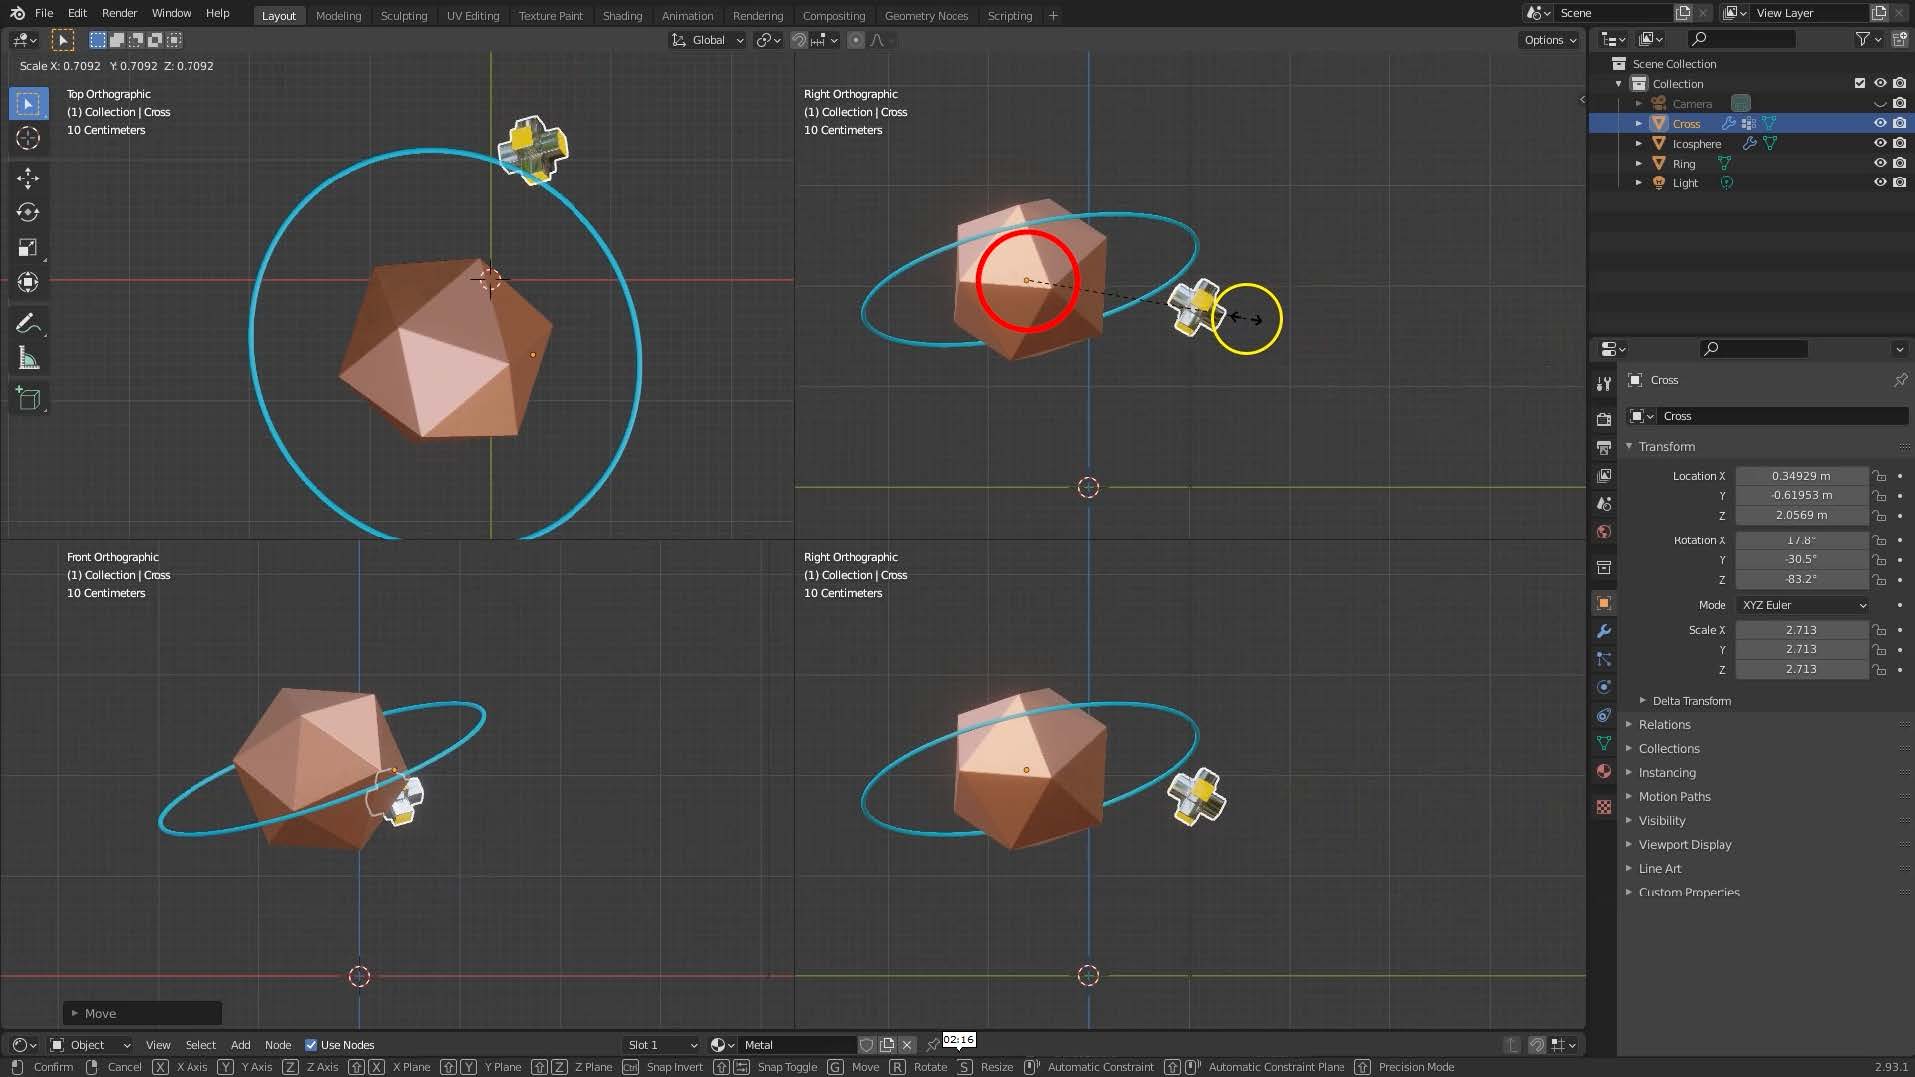
16. Global Vs Local Coordinates
Here we start to explore how to access an object’s local coordinates.
Imagine a spaceman character who’s spinning as he floats in his spaceship. His left arm is always his left arm, his head is always at the top of his body, no matter how he’s aligned relative to the ship.
When it’s created, an object’s coordinates (its own up-down, left-right if you will), line up with the global coordinates of the world it’s in, but once the object is rotated, its own, or local coordinates differ from the global.
17. Global Vs Local Coordinates Gizmos
A further review of global vs local coordinates, this time using visual handles, or gizmos.
18. Snap Menu and Pivot Point
An object’s transforms are all calculated from its origin point, usually at its centre. We can move this point though, and make an object, for example, rotate around a point outside itself. Alternatively, we can use the 3d cursor tool as a temporary pivot point.
19. Adding Objects Part 1
We cover the Shift+A menu and start bringing simple 3d objects into our scene. The 3d cursor is again used, this time to determine where objects will be placed when they are brought in.
20. Adding Objects Part 2
A look at the way blender uses the user’s vantage point to decide how the 3d cursor is positioned in space.
Positioning the cursor on an object’s surface.
21. Adding Objects Part 3: Last Operation Menu
An exploration of a menu which lets us adjust the parameters of any new object as it’s brought into the scene.
22. Align Objects to a Surface Part 1
Here we look at some of the intricacies of the 3d cursor and how it can be used to precisely control the alignment of new objects as they’re created.
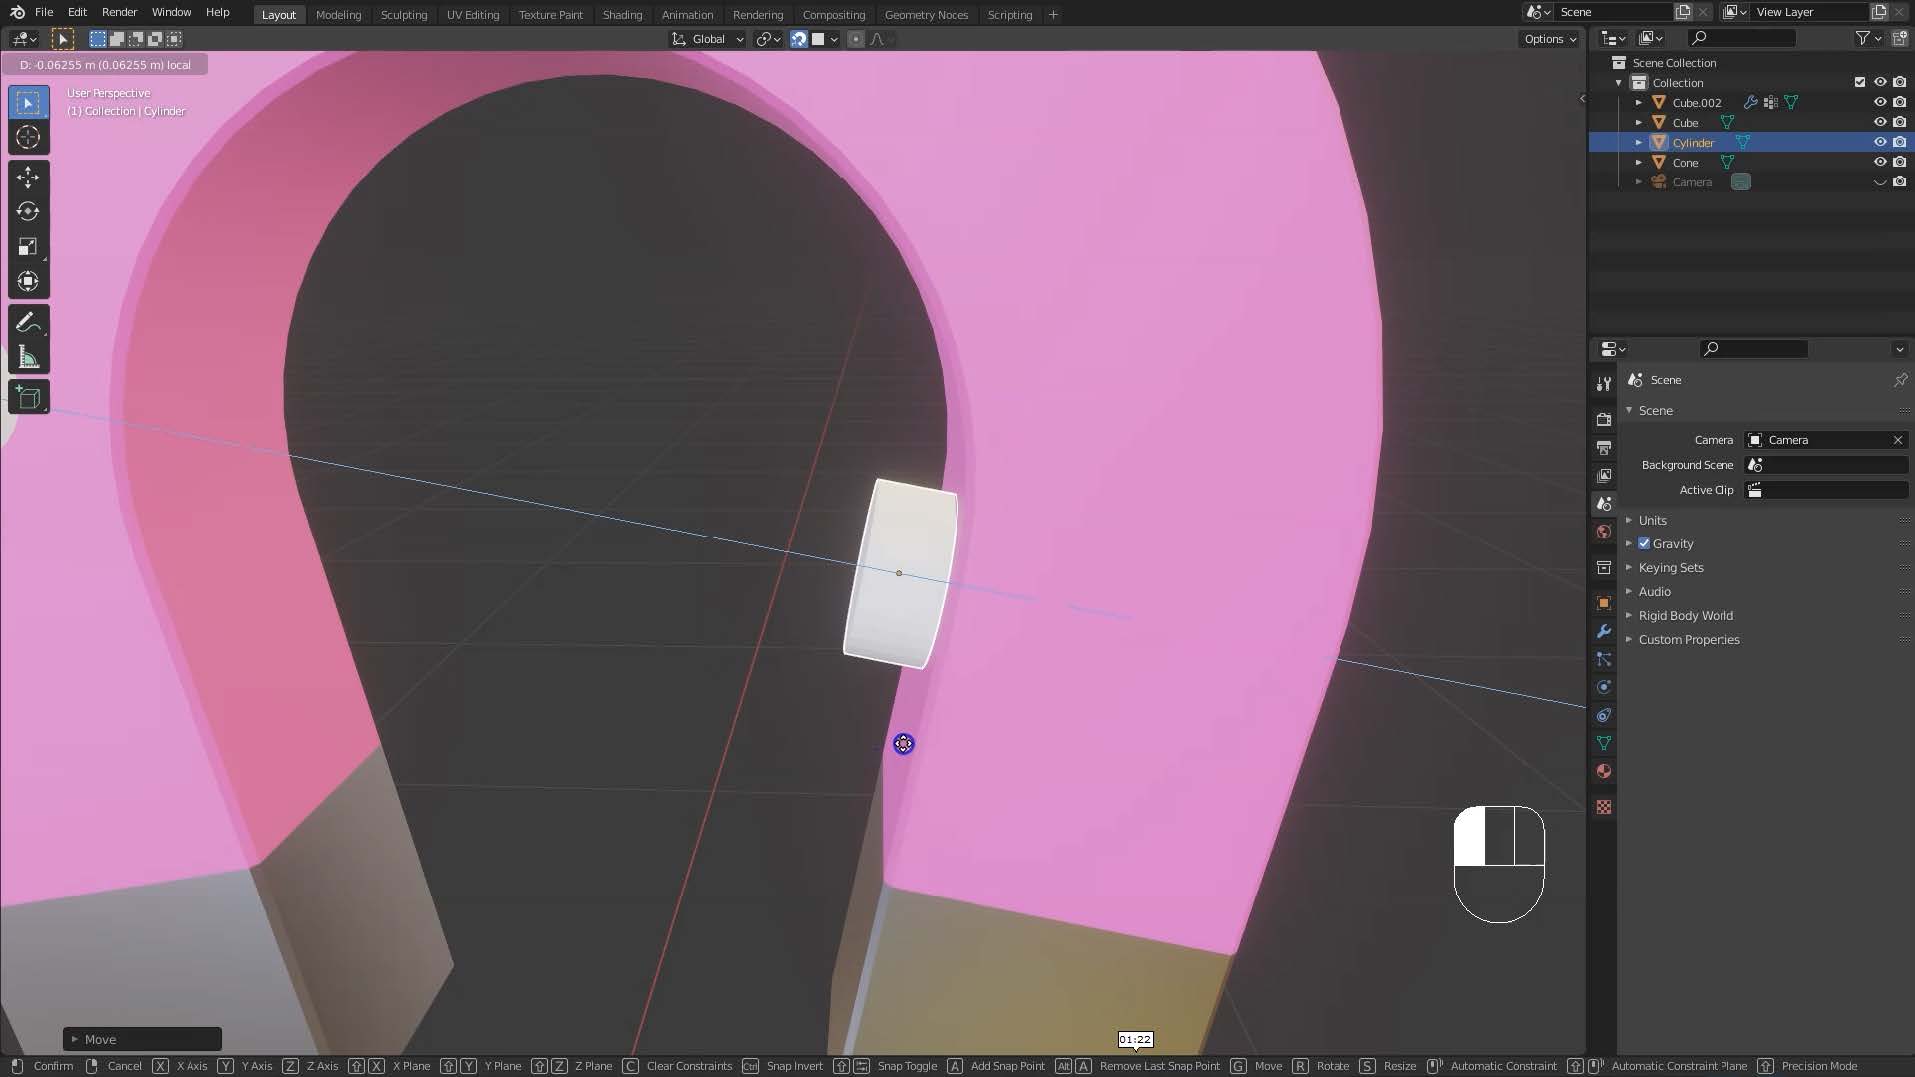
23. Align Objects to a Surface Part 2: Snapping
How to accurately “snap” one object to the surface of another
24. Draw Objects
A much more intuitive, speedy way of working, by simply “drawing” objects into the scene, in a similar way to Sketchup.
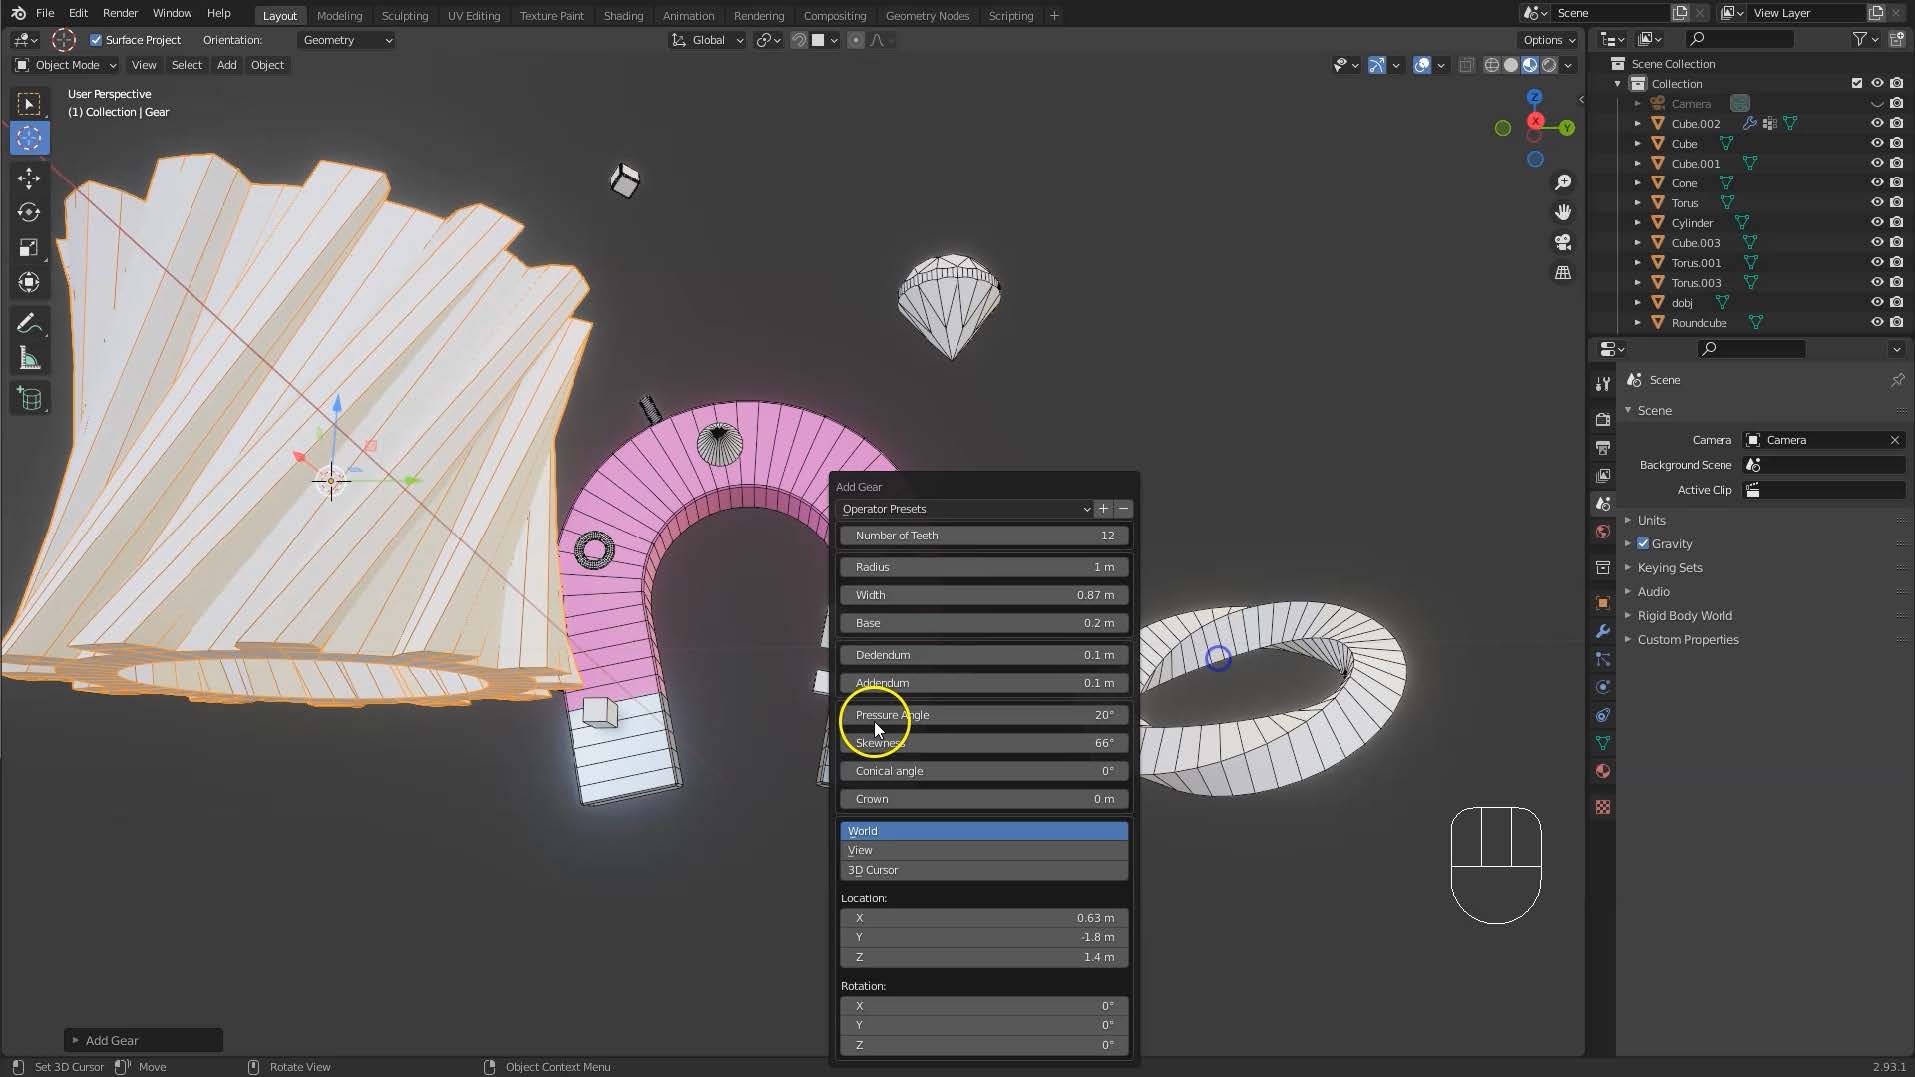
25. Extra Objects
We enable an add-on that significantly expands the range of base objects available to us: screws, cogs, diamonds, boulder.

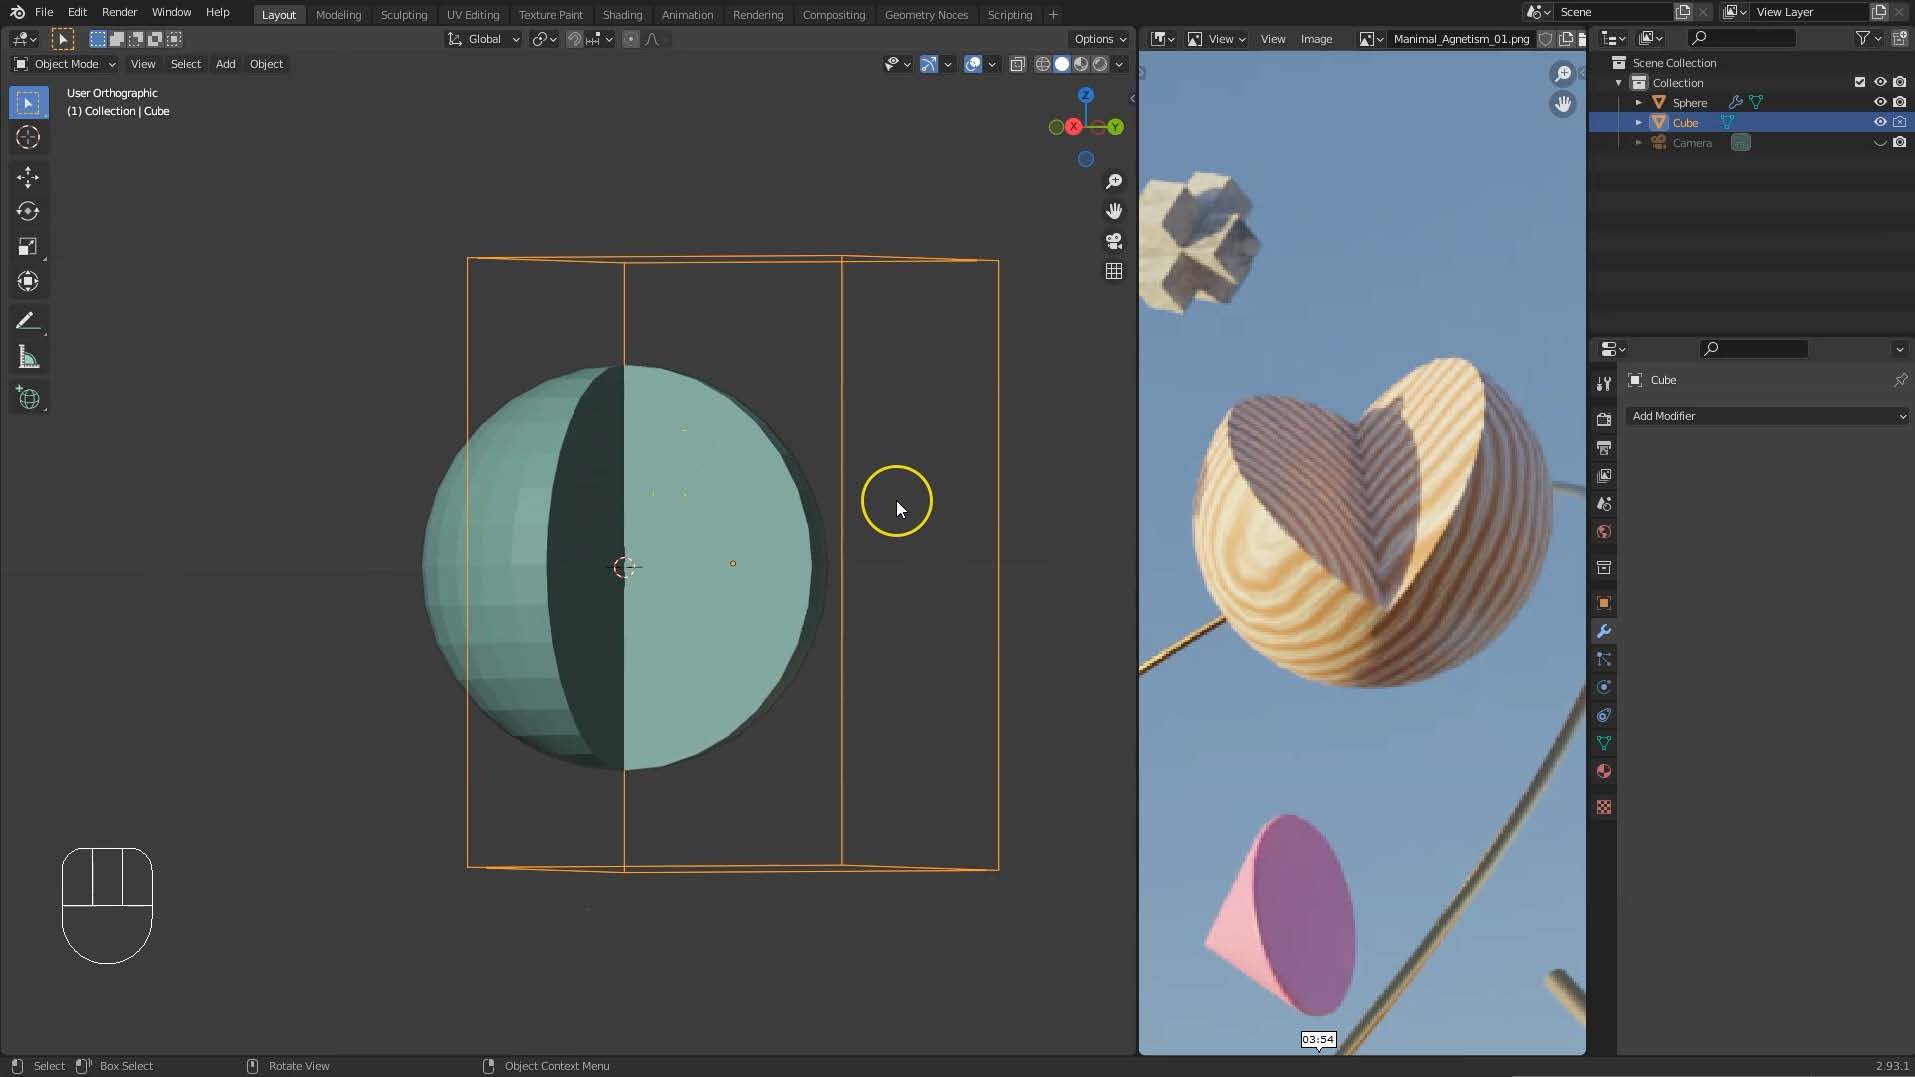
26. Object Vs Edit Mode Part 1
A first look at getting “under the hood” of 3d objects: in edit mode we get access to the vertices, edges and polygons that 3d objects are composed of. Now the real process of modelling can begin.
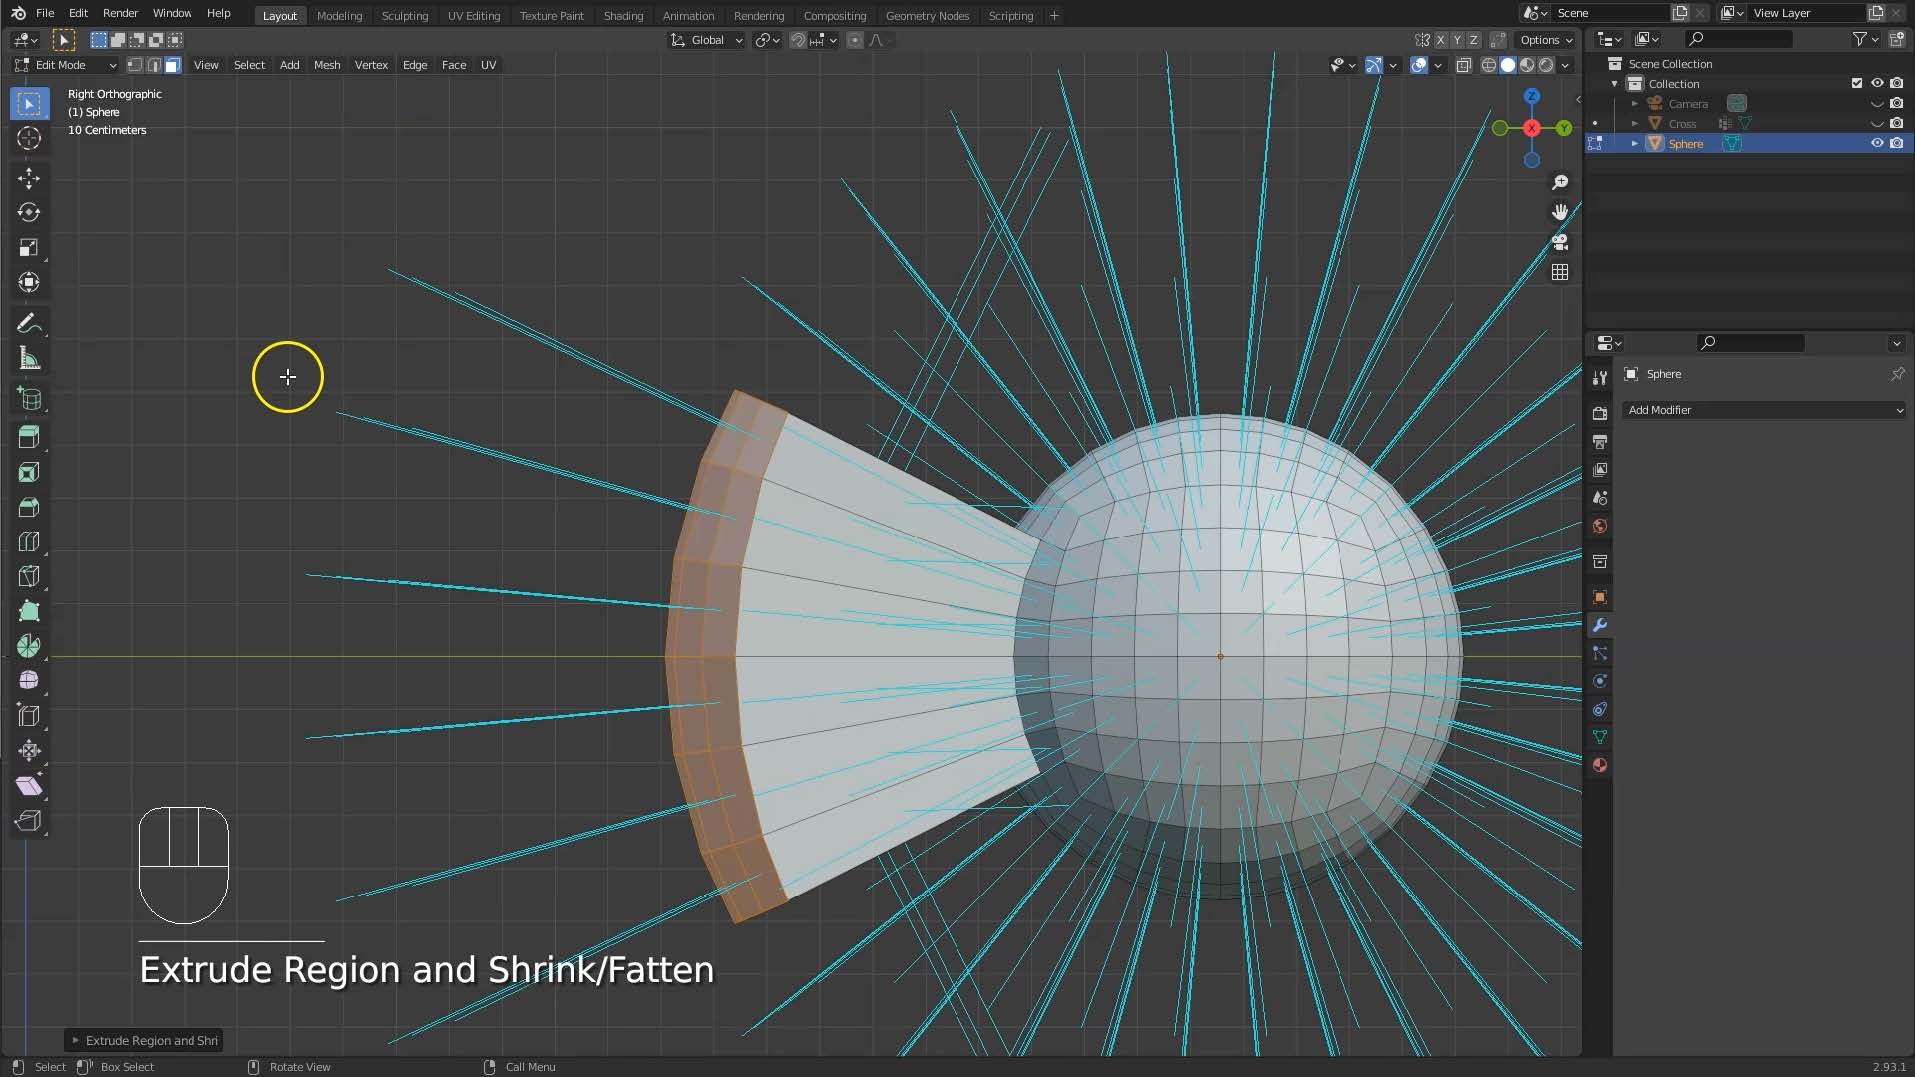
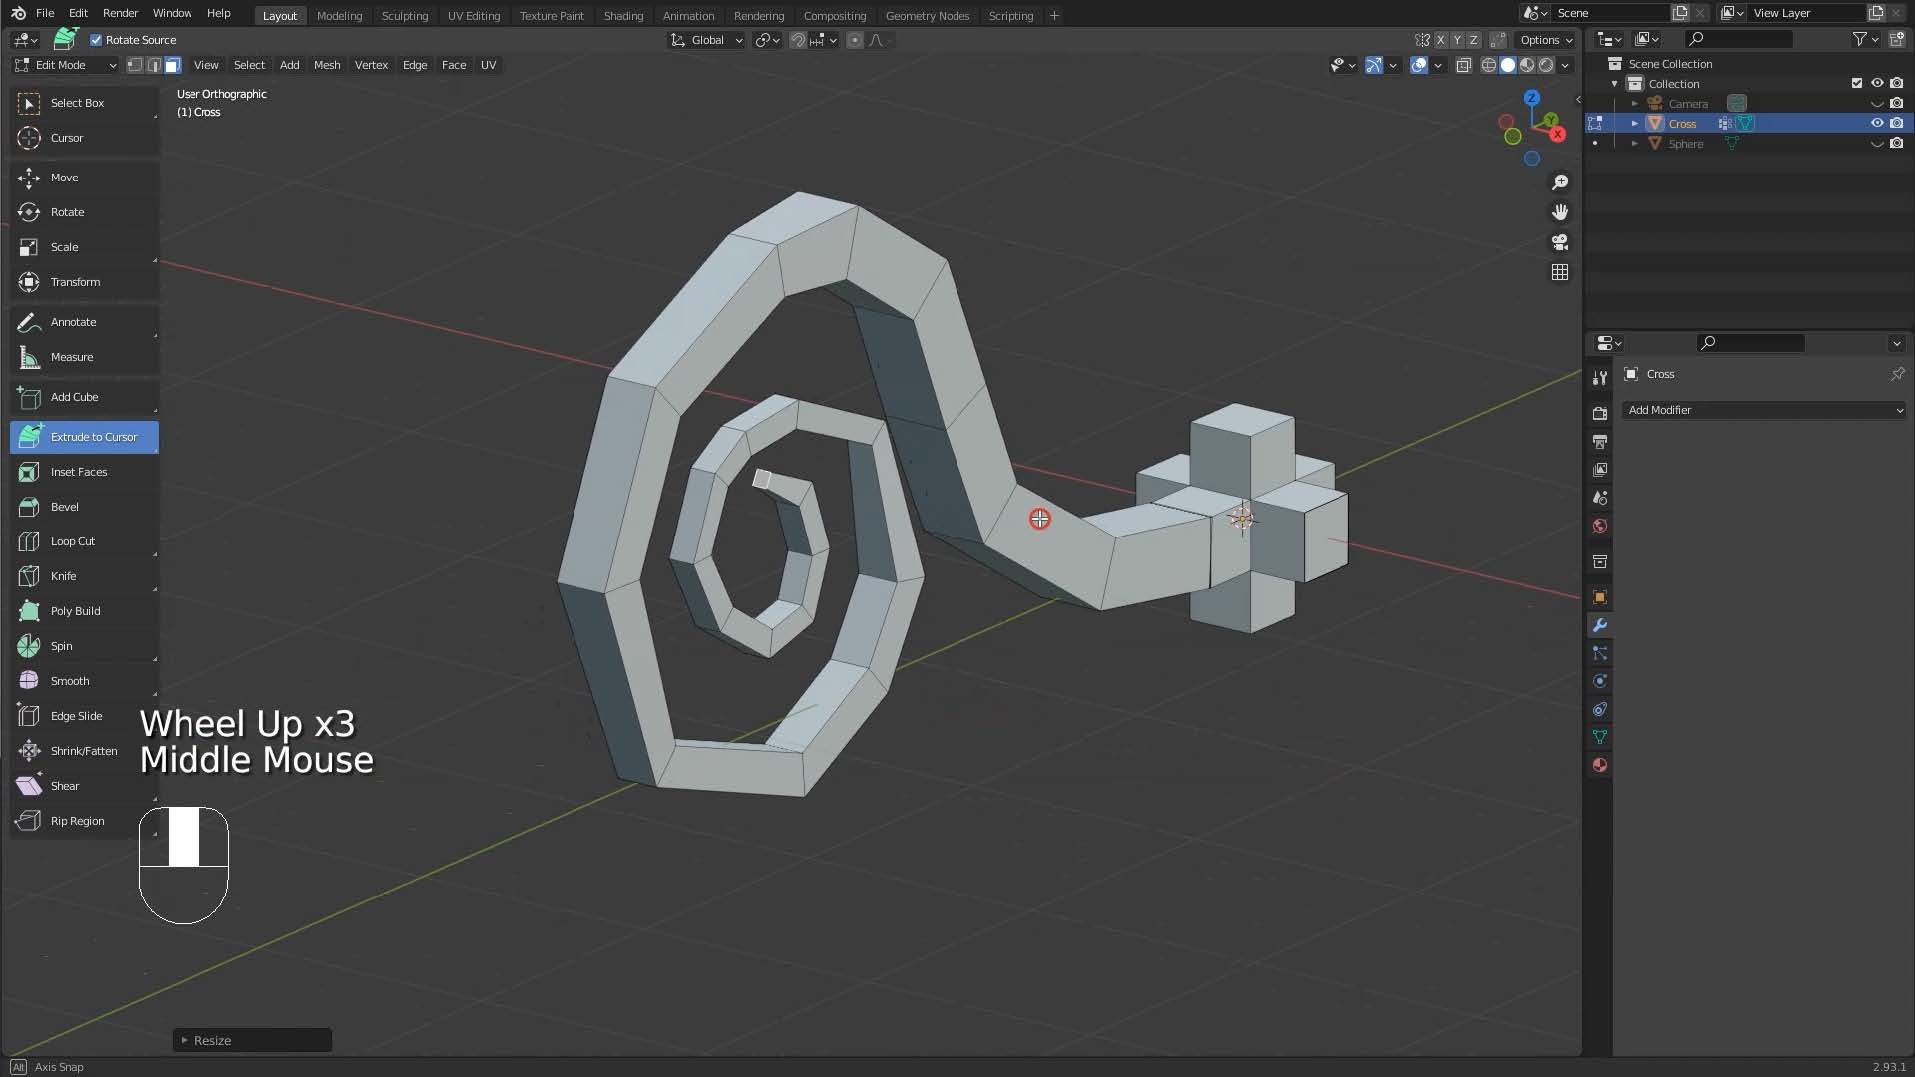
27. Modelling Tools: Extrude
Here we begin a tour of the “big four” modelling tools with the extrude tool. With this, we use existing polygons as a starting point from which to pull out new geometry.
28. Modelling Tools: Extrude Toolbar
The extrude toolbar offers a few more options than using just the keyboard shortcuts.
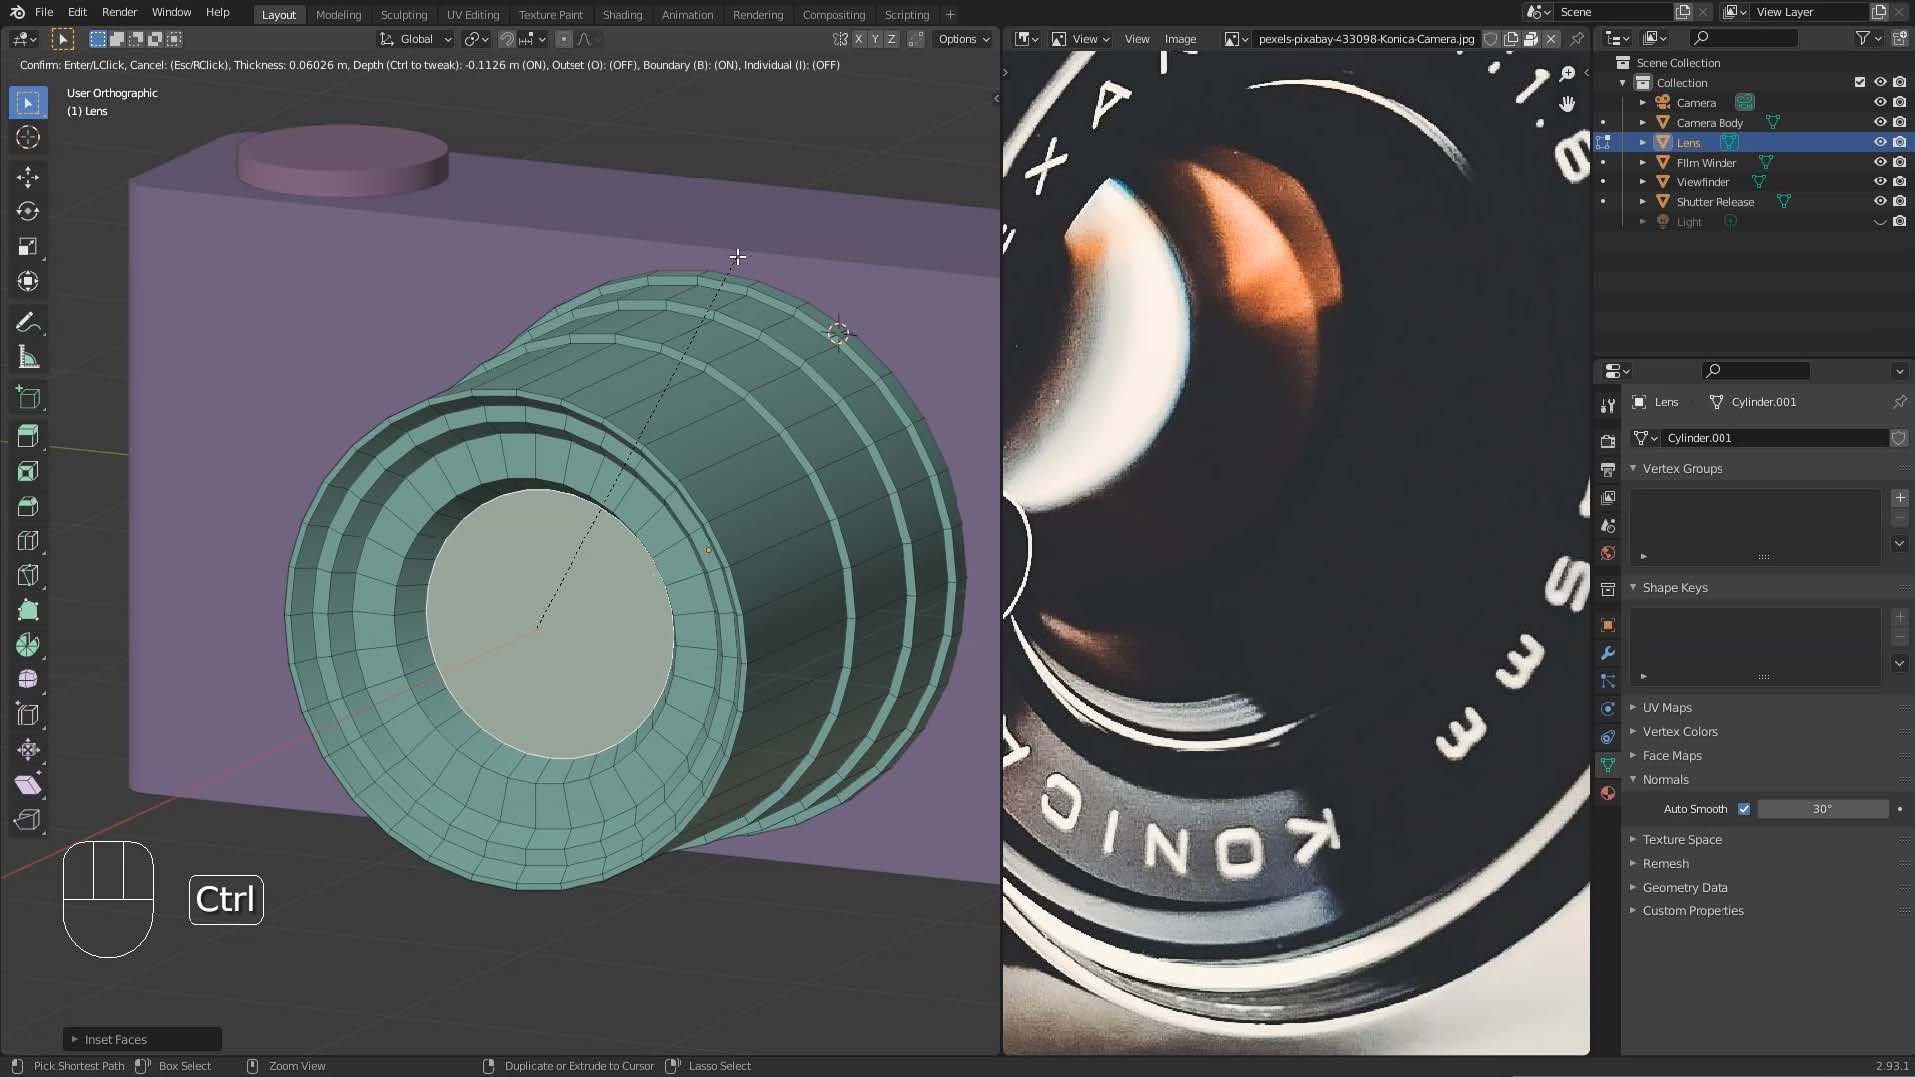
29. Modelling Tools: Inset
This tool takes the currently selected faces and creates an inset of them, with adjustable thickness and depth.
30. Modelling Tools Loop Cuts
How to make extra cuts, or edges, in your models.
31. Modelling Tools Bevel
An explanation of the bevel tool, which allows you to create chamfered or rounded corners on geometry.

32 – 36. Apply Object Scale; Object Vs Edit Mode
In this 5 lesson section we delve quite deeply into the difference between Object and Edit modes.
It’s something akin to the difference between driving a car, versus souping up its engine: in one case we simply move the car as a complete object from place to place, in the other we get under the hood and change the inner workings of the car, which is a bit like working in Edit Mode in Blender.
37. Separate, Delete, Grid Fill
Here we look at how to split an object into separate parts, how to delete specific types of geometry (vertices, edges, faces), and how to replace tricky “n-gon” geometry with more useful quads.
38. Proportional Editing
It can be handy, particularly when modelling organic or curved shapes, to move a region of geometry all together.
Imagine making a hill in 3d: you could start off with a simple plane of polygons, and by using proportional editing, grab a face and pull it upwards.
All the surrounding faces would also be pulled up to a degree, lessening the further away from the centre of action they are.
39. Parenting Objects
Object hierarchies enable us to nest separate “child” components within “parent” objects. The example given is a camera, the buttons and dials on which all need to be able to twist and move, but which need to come along with the main body of the camera wherever it goes.
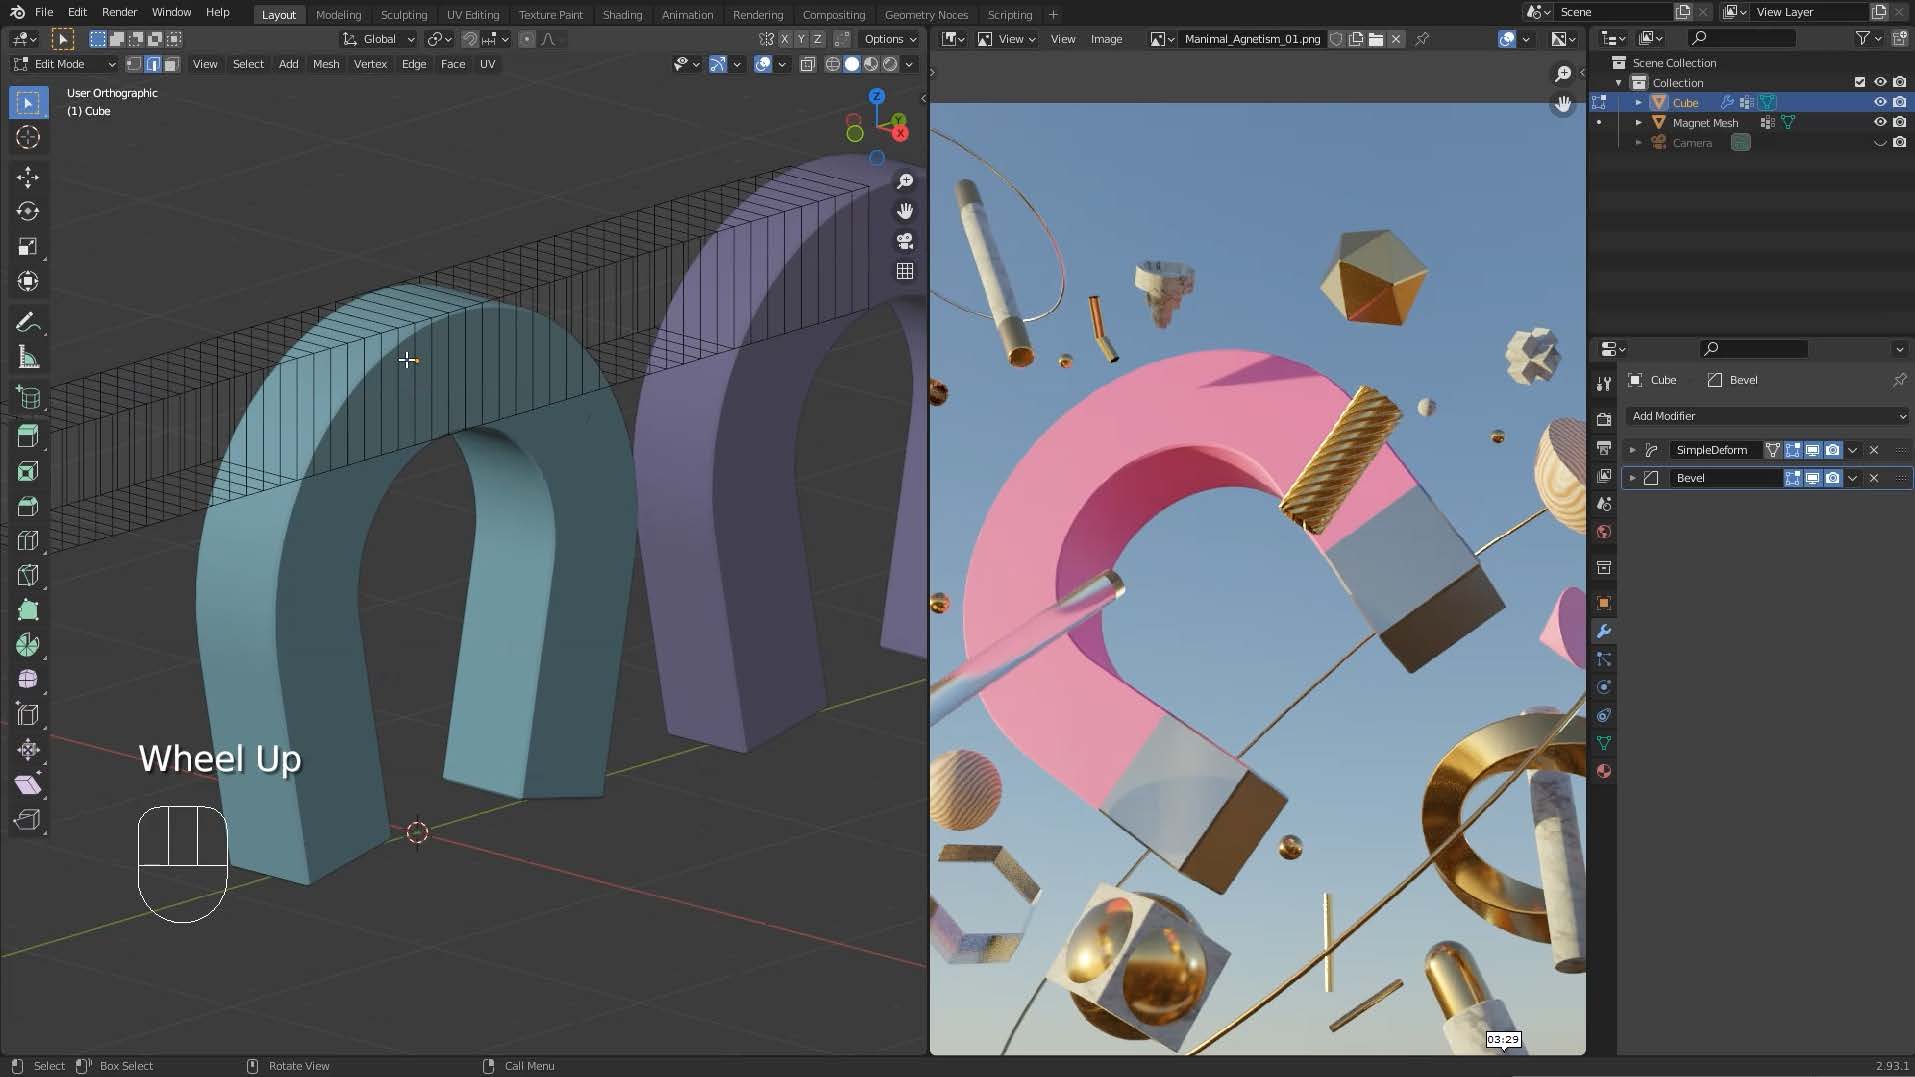
40 – 42. Modifiers
Modifiers are automatic operations that affect an object’s geometry in a non-destructive way. With modifiers, you can perform many effects automatically that would otherwise be too tedious to do manually and without affecting the base geometry of your object. In this example you’ll learn how to make a horseshoe shaped magnet from a simple box, using only modifiers.
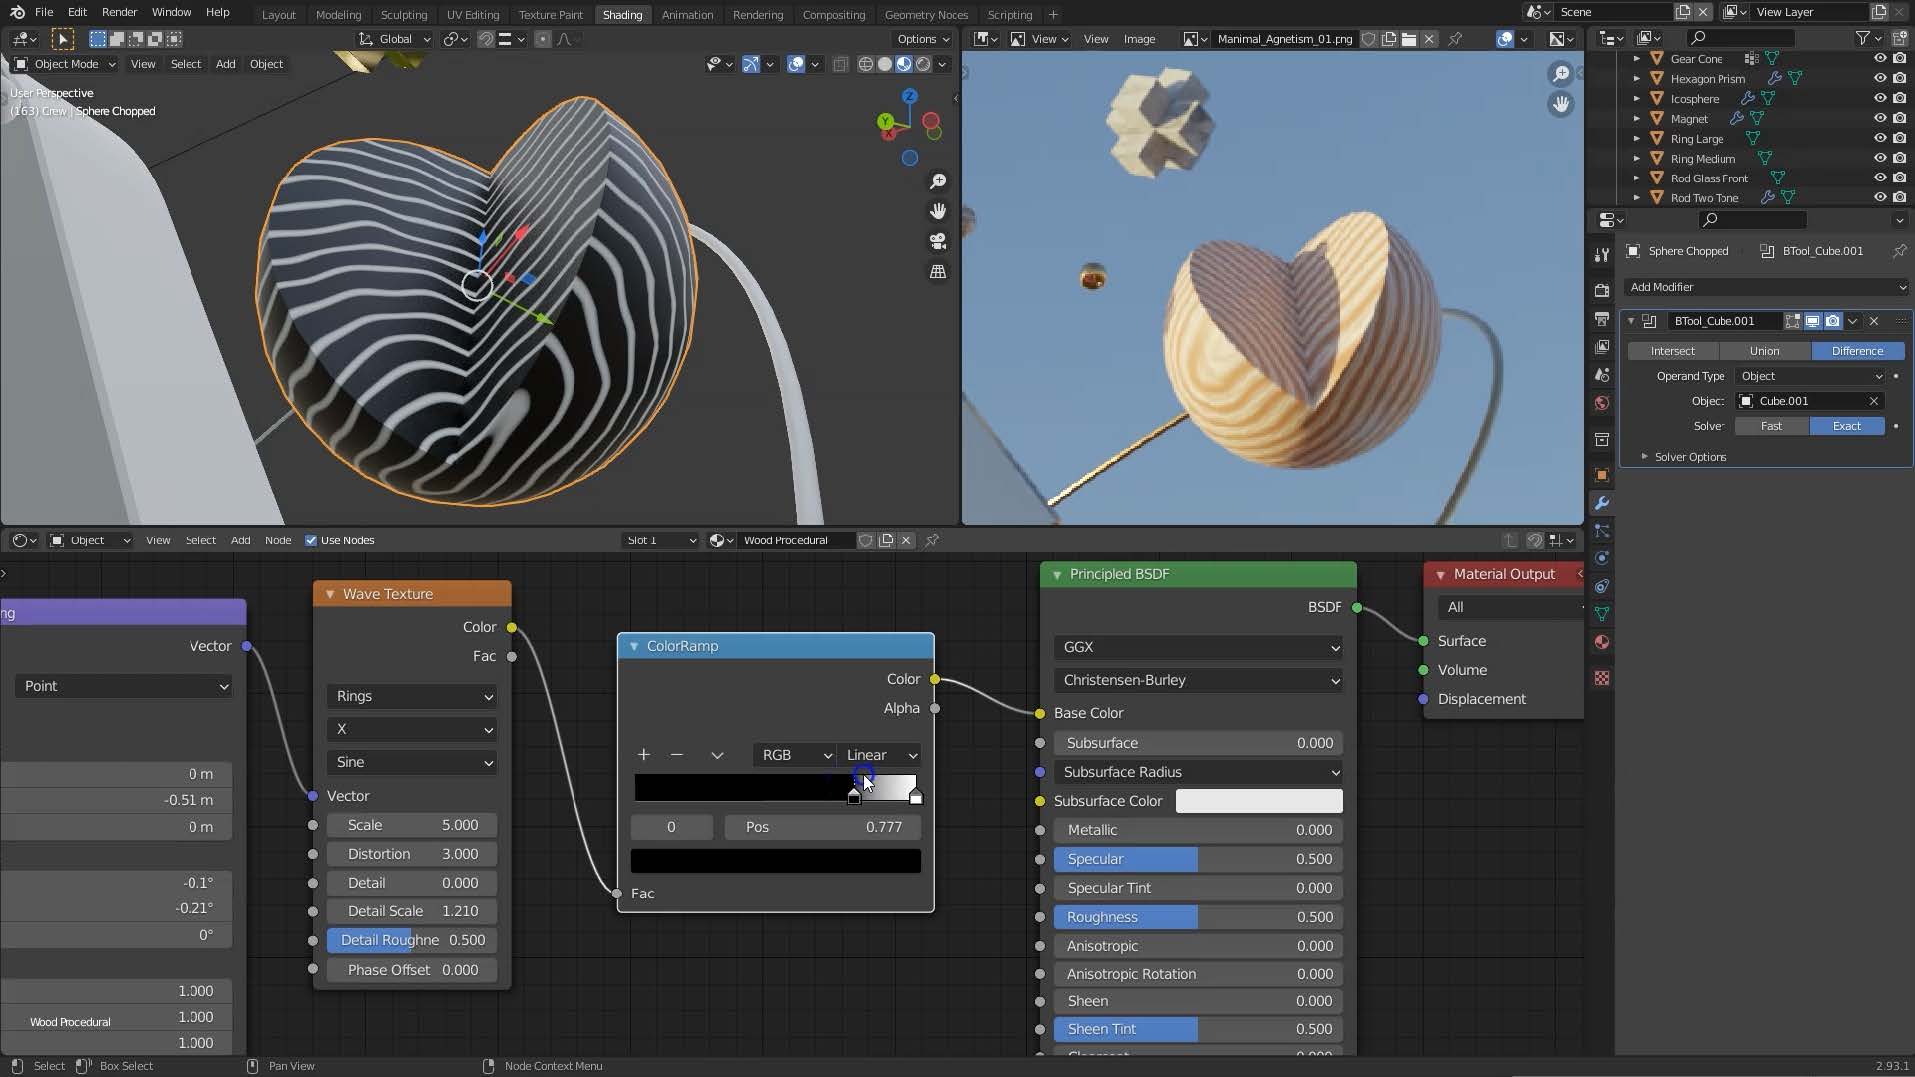
43. Bool Tool
Booleans enable us to join pieces of geometry together, or use one piece of geometry to cut one shape out of another. The Bool Tool add-on really improves Blender’s native boolean workflow, making it really quick for us to create quite complex shapes.
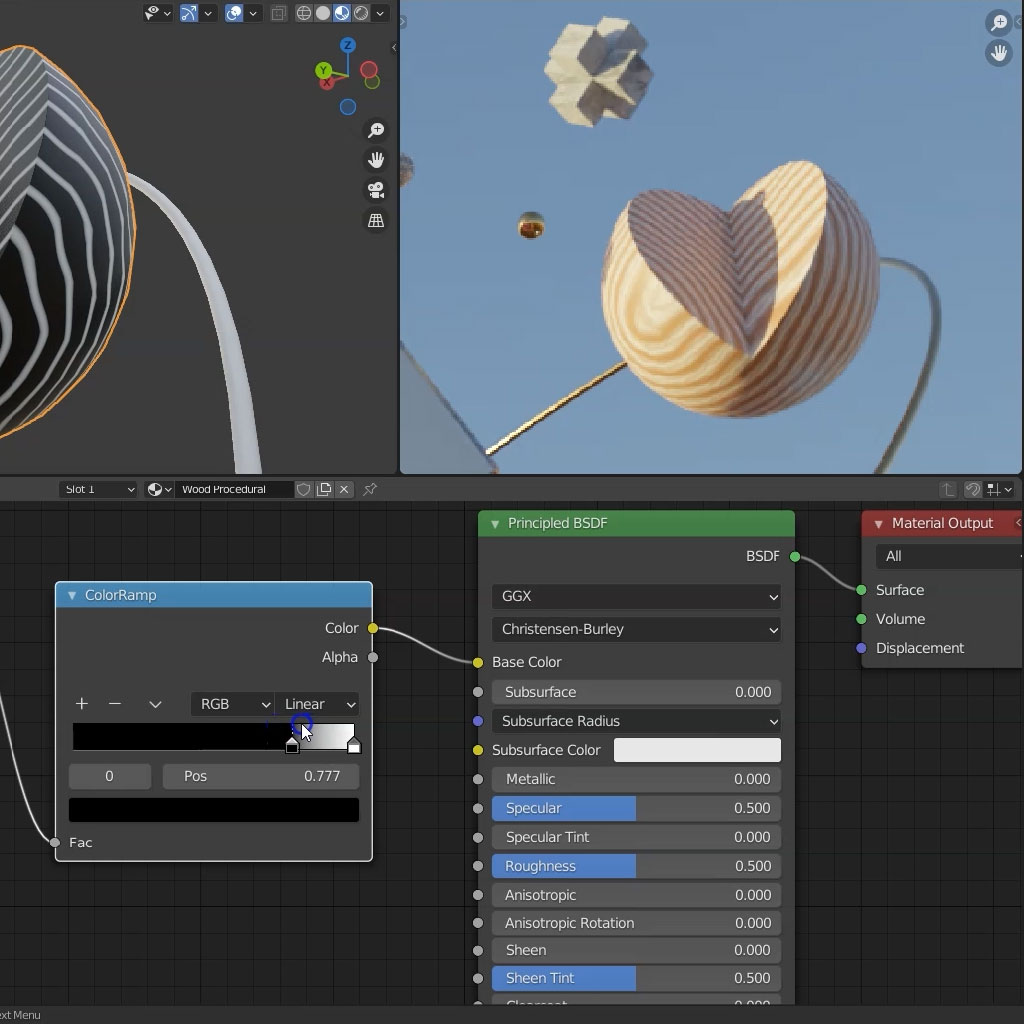
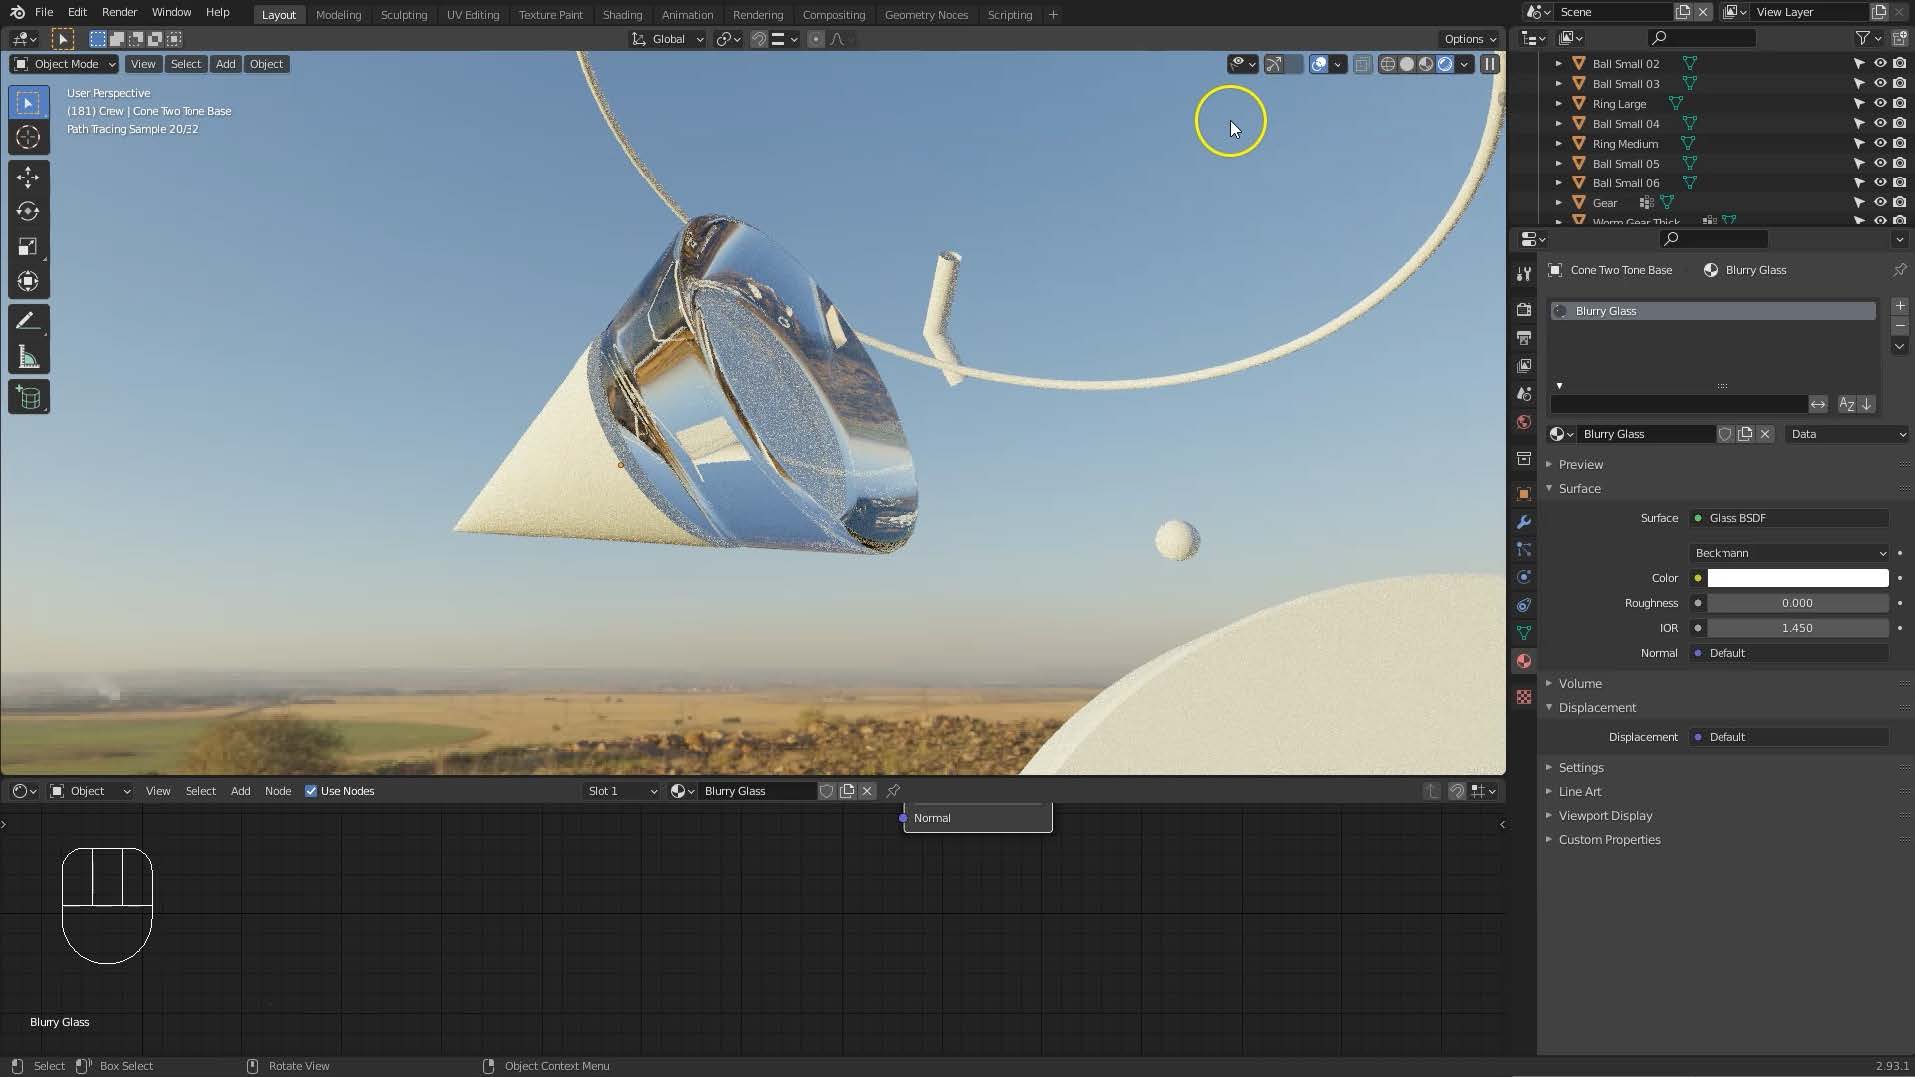
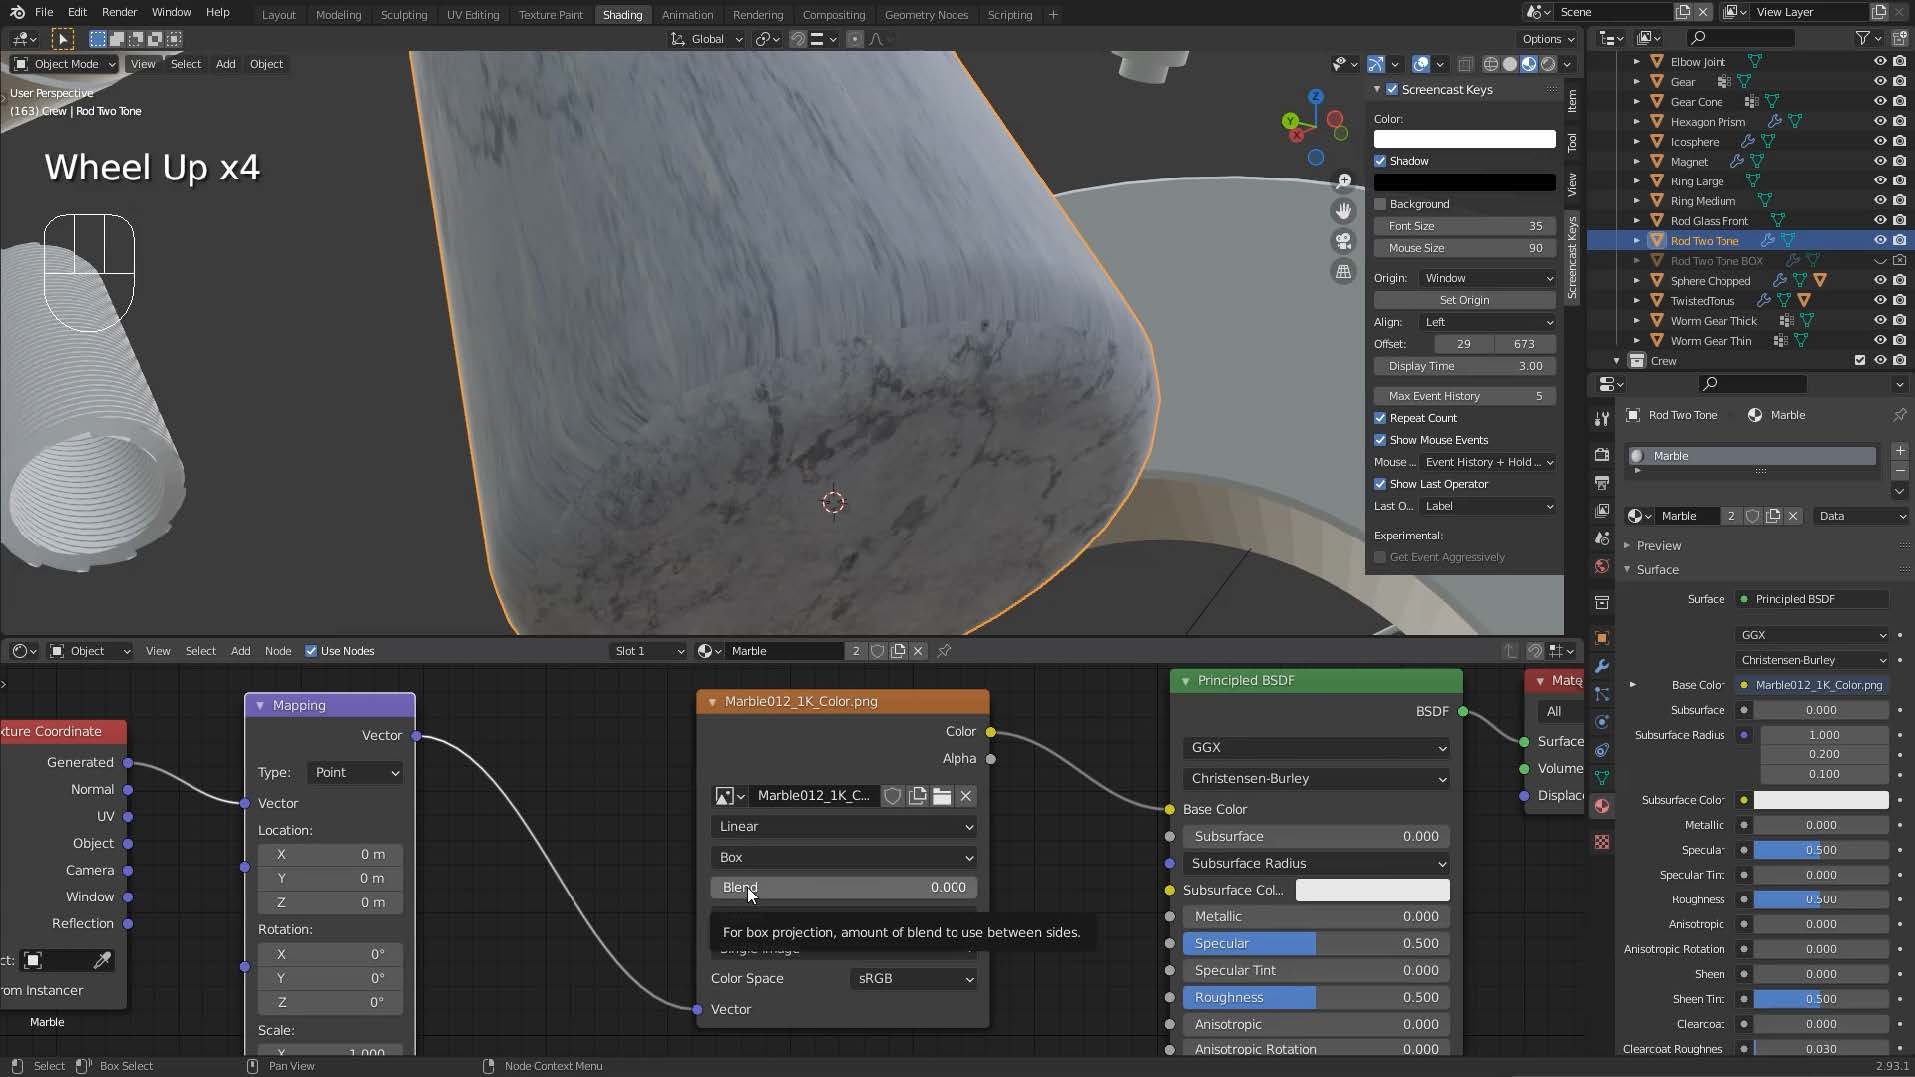
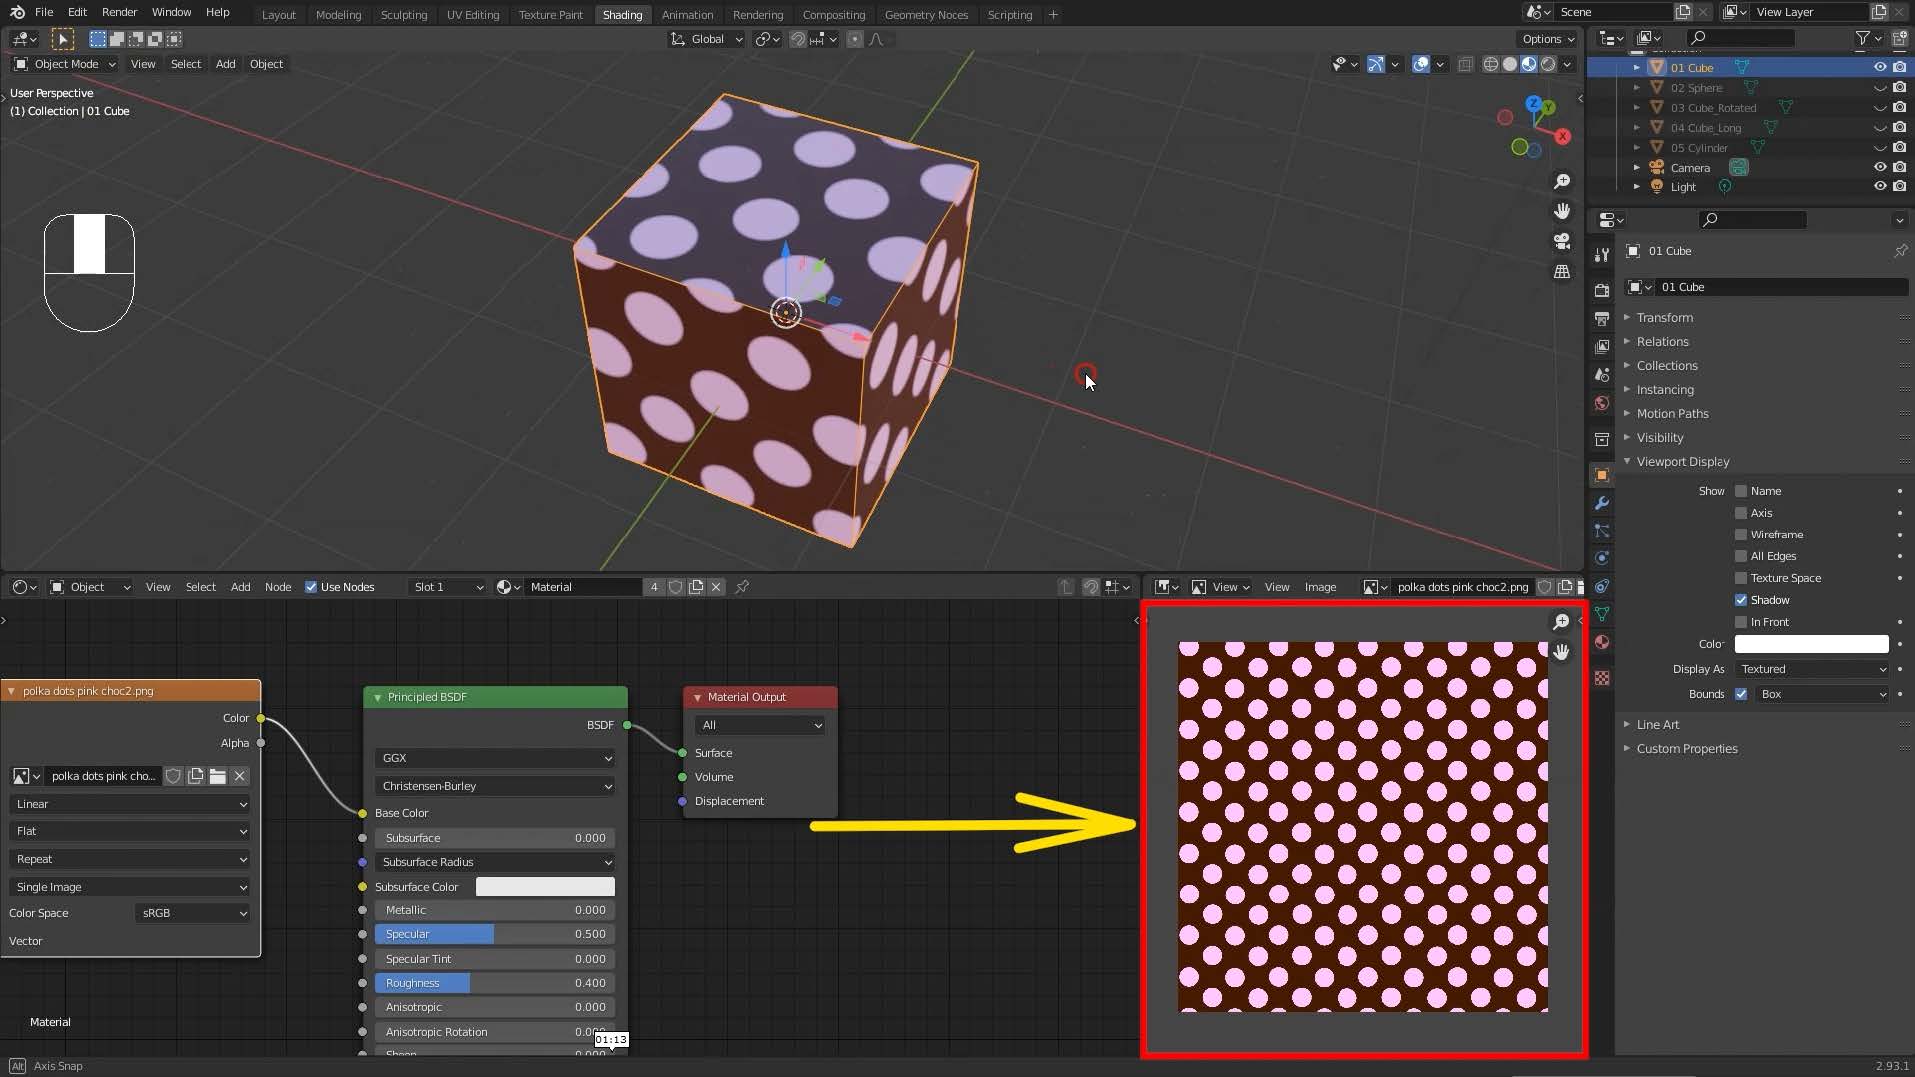
44 – 54. Materials
In this section we’ll explore the materials system in Blender, including:
55 – 58. Lighting
Materials don’t show up unless they’re lit: this section covers different types of lighting:
World (ambient) lighting
HDRI (image-based)
Area lamps, and tips on how to position them.
59 – 61. Rendering
This is the final stage in the 3d process: making a finished image.
In this section we look at how to control the resolution and fidelity of the final output, compare the Eevee and Cycles render engines, and learn how to balance image quality against render time.