We recently released a couple of quick tips which show you exactly how to create this volumetric effect using Cinema 4D or Houdini with Redshift. If you want a more detailed breakdown of the technique, please use the link to the tutorial below.
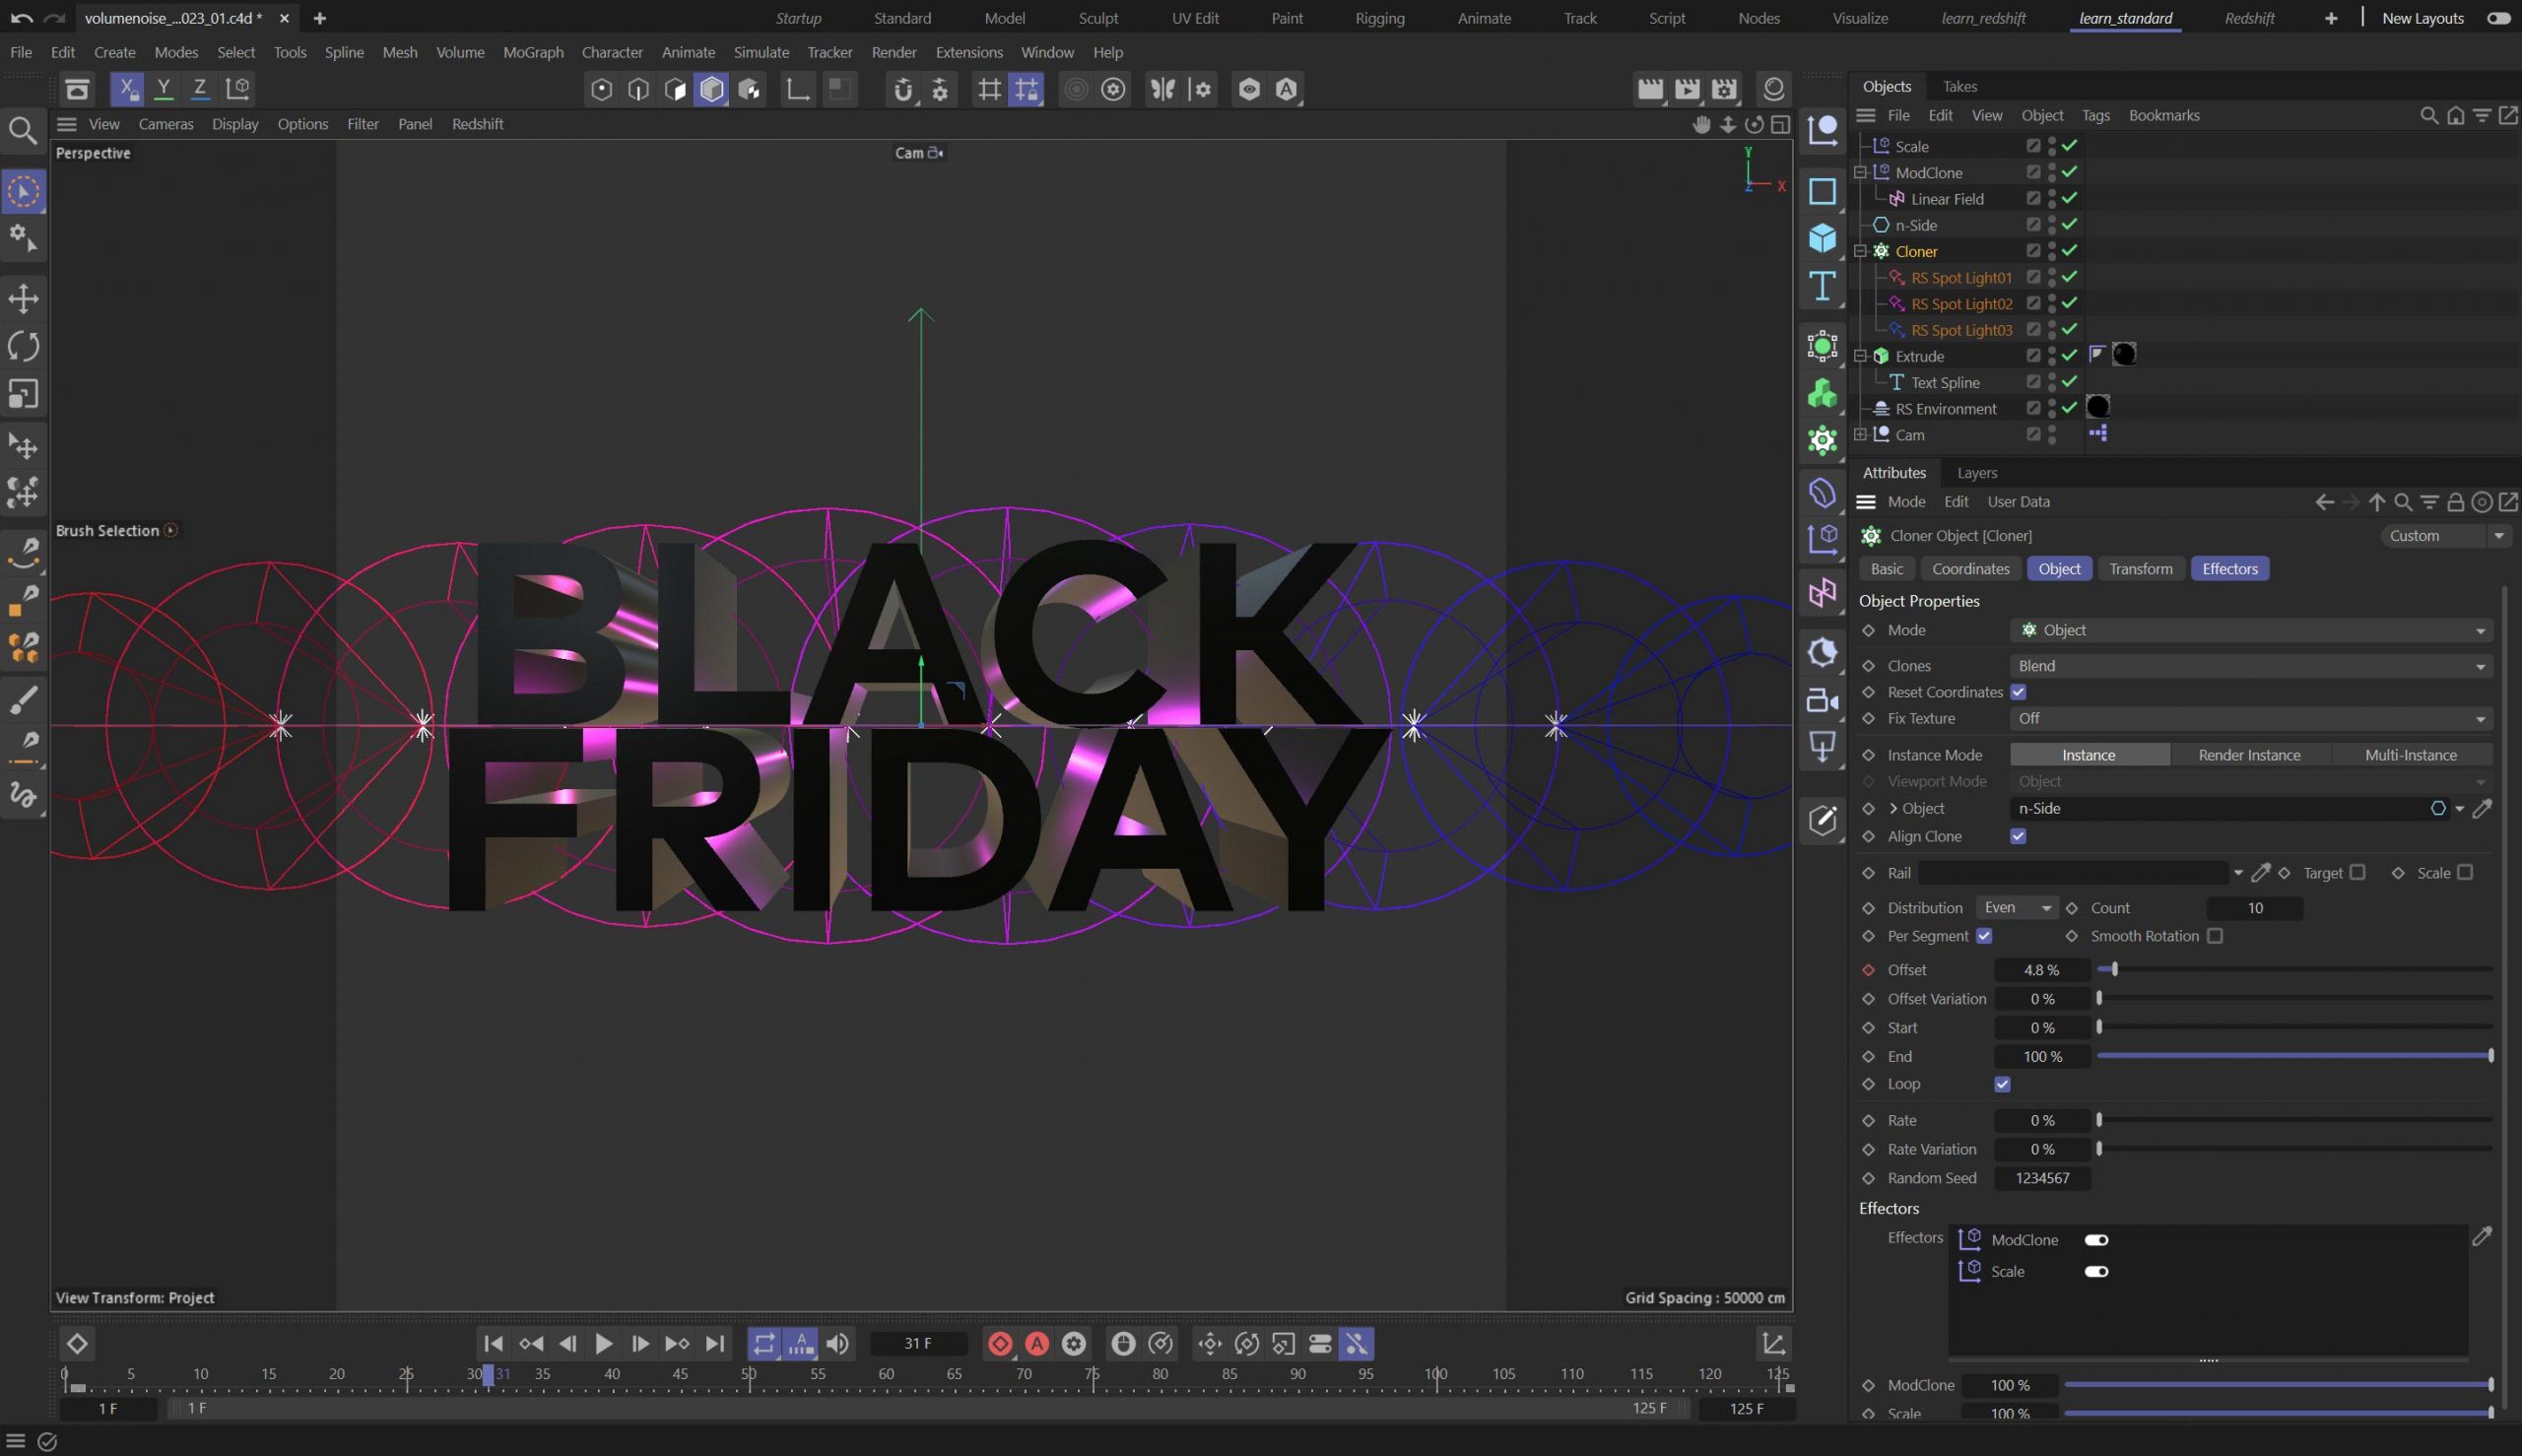
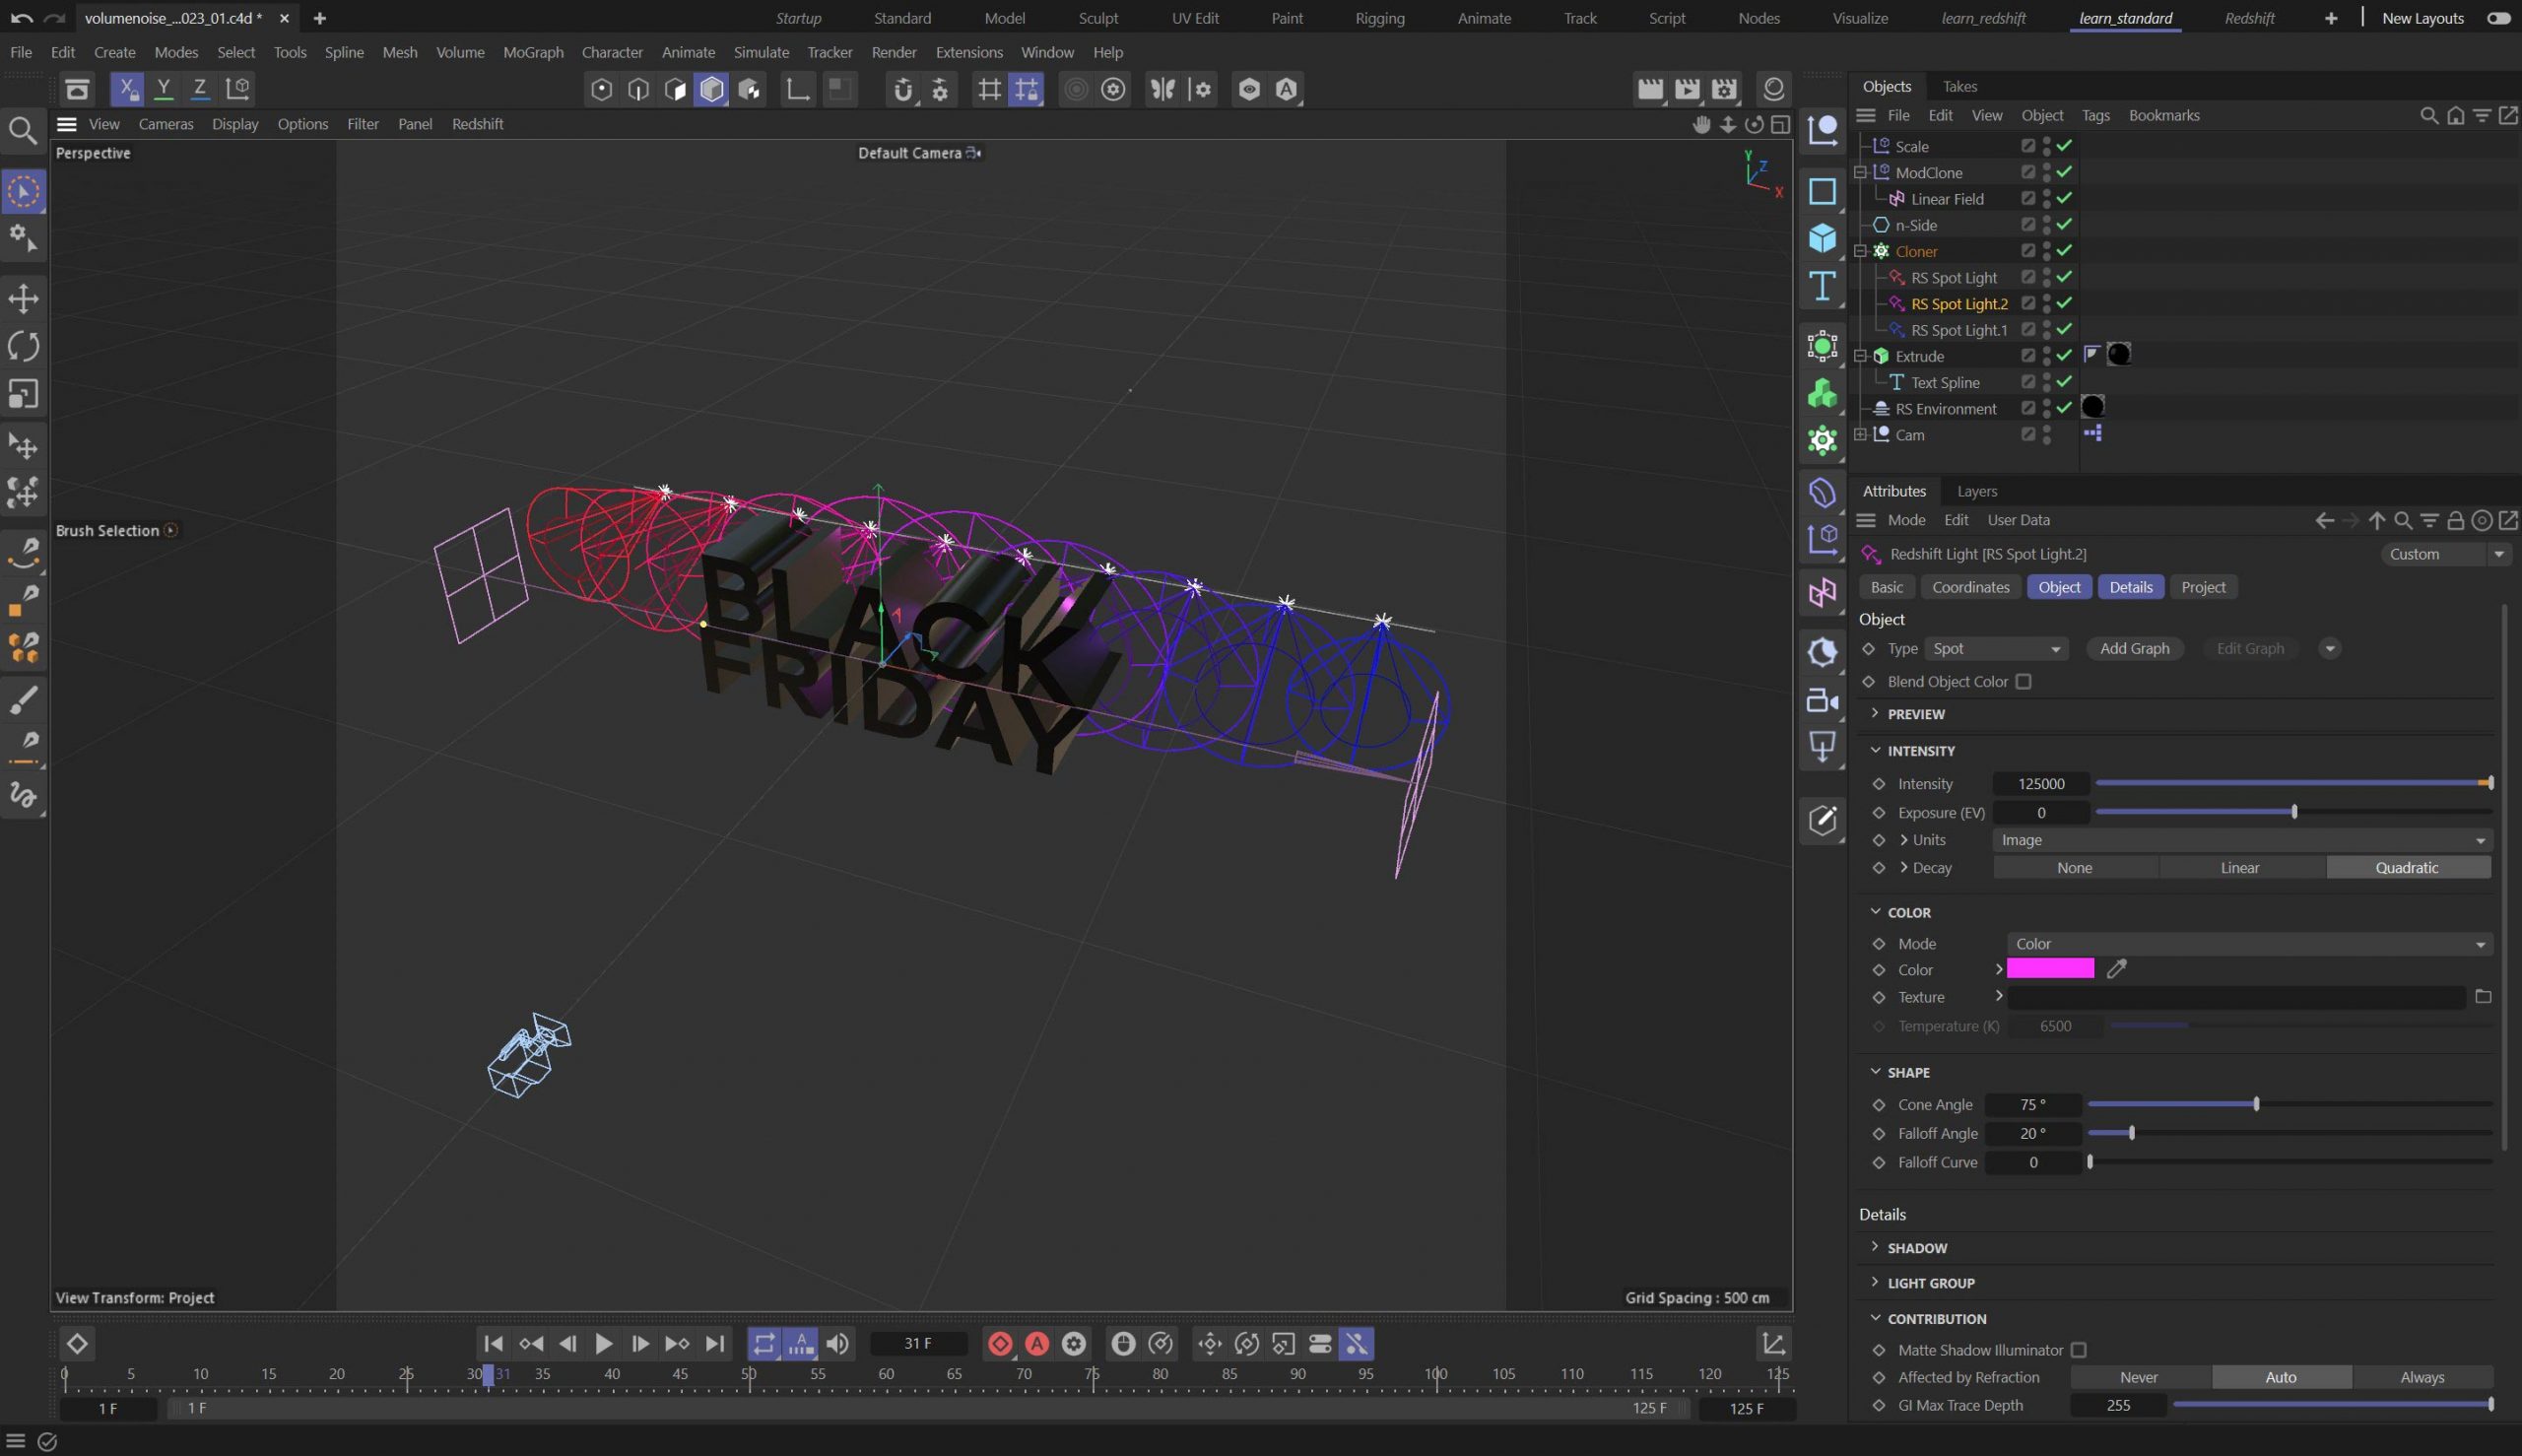
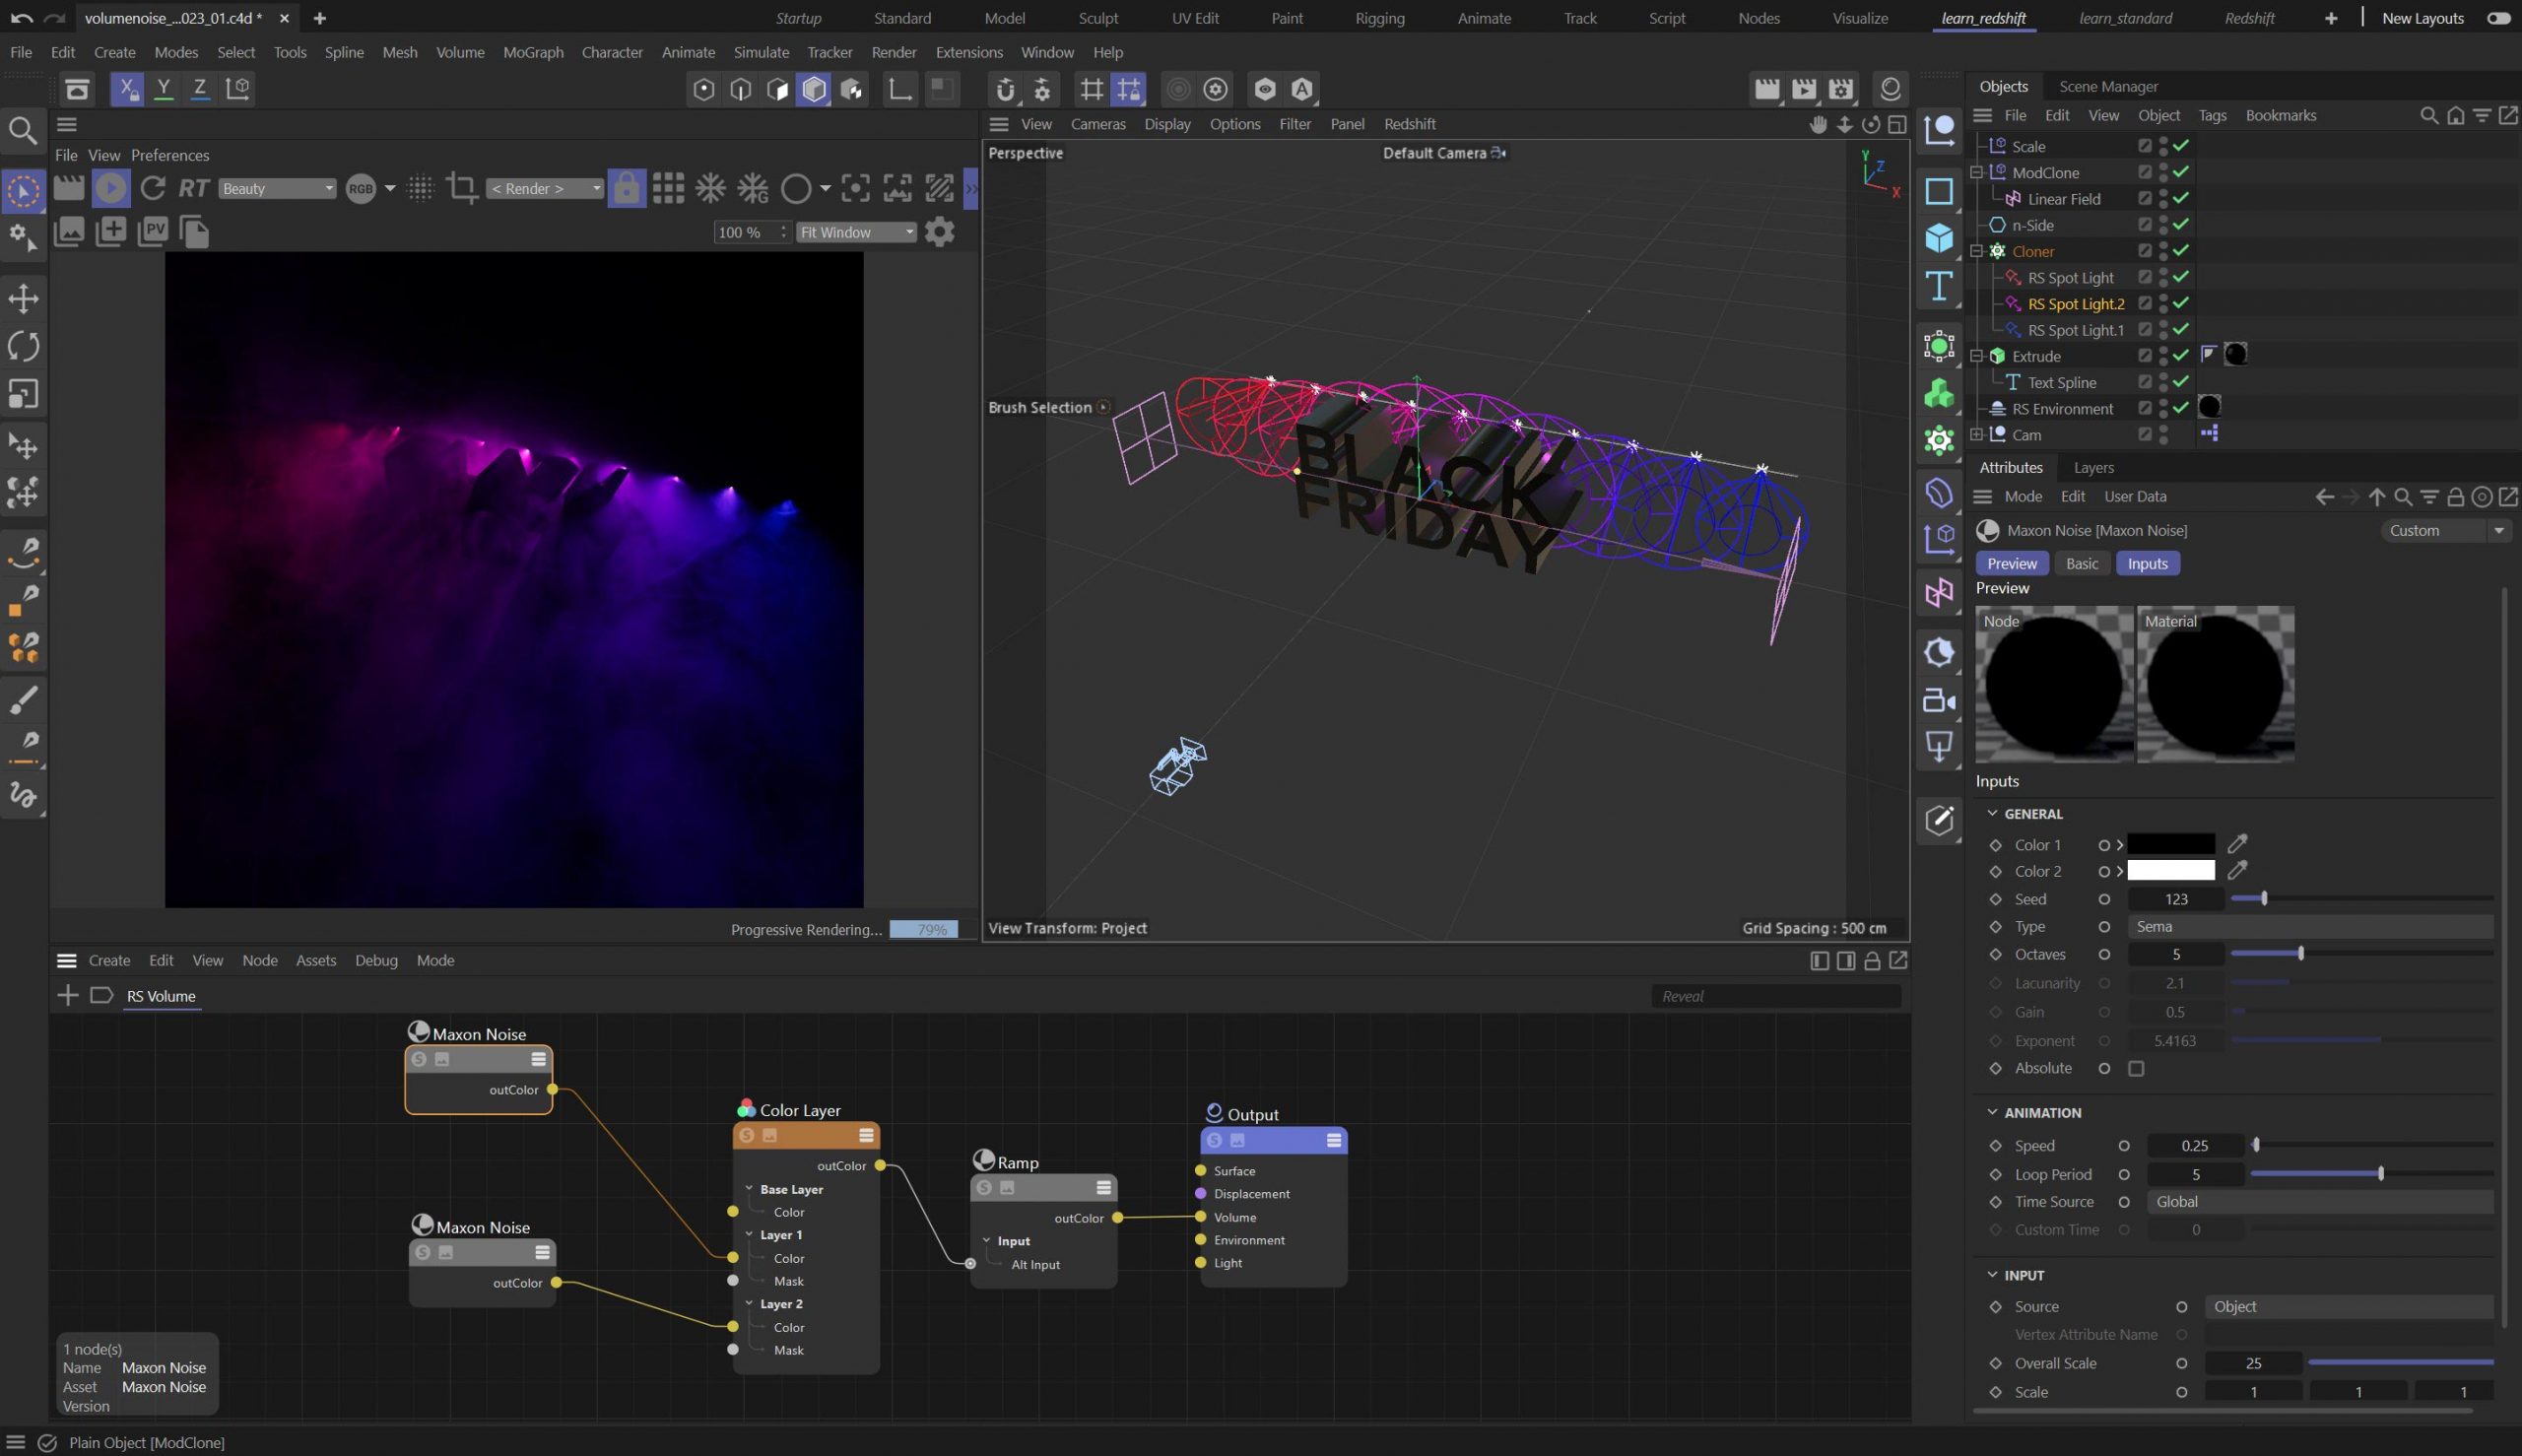
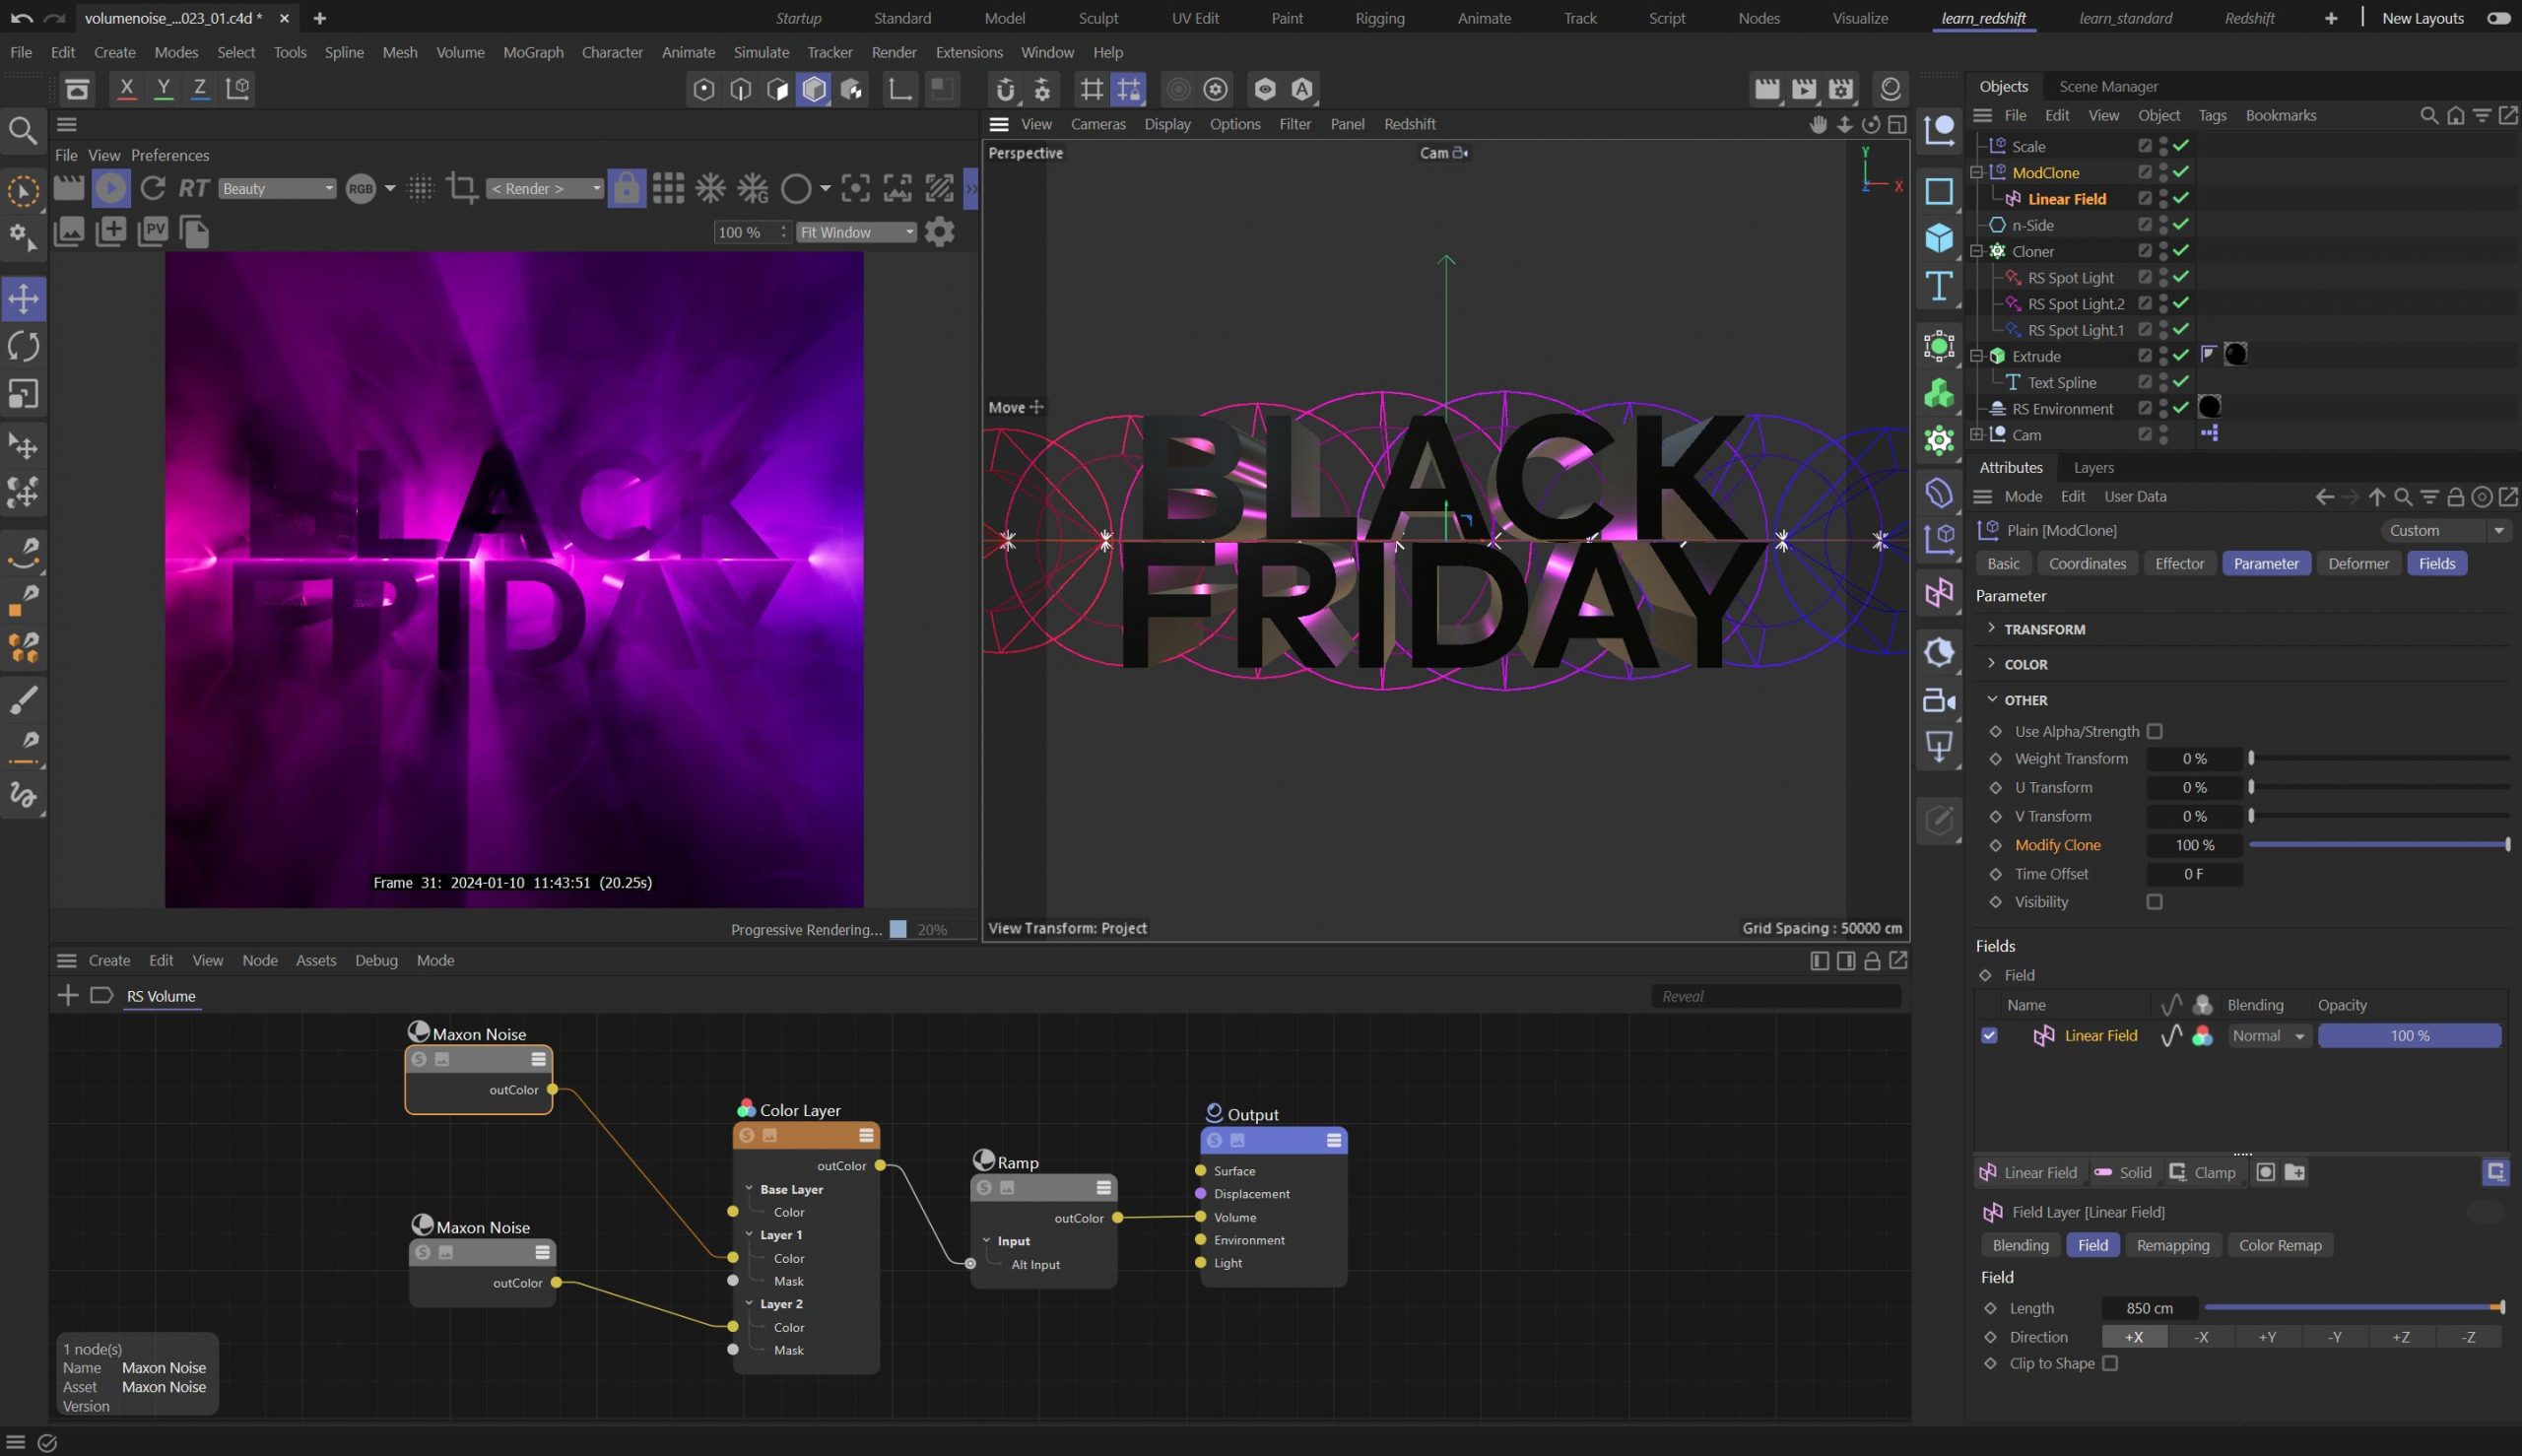
What you might find useful in this scene is the use of the Blend feature in the Cloner Object. There are three Spotlights as children of the Cloner, and each of these has it’s own unique settings, only colour and cone angle vary, but it could be any parameter on the light or object that you are cloning. These lights are cloned along the N-Side Spline, which is essentially a straight line. This allows you to animate the Offset parameter on the Cloner and easily create a loop.
There are two Plain Effectors and a Linear Field, one Effector uses the Modify Clone parameter and this combined with the Linear Field blends between the three spotlights. The other Effector uses the same Linear Field, this is adjusted using a Curve Layer to essentially scale the lights at the beginning and end of the spline, so they disappear gracefully in the render, rather than just switch off.
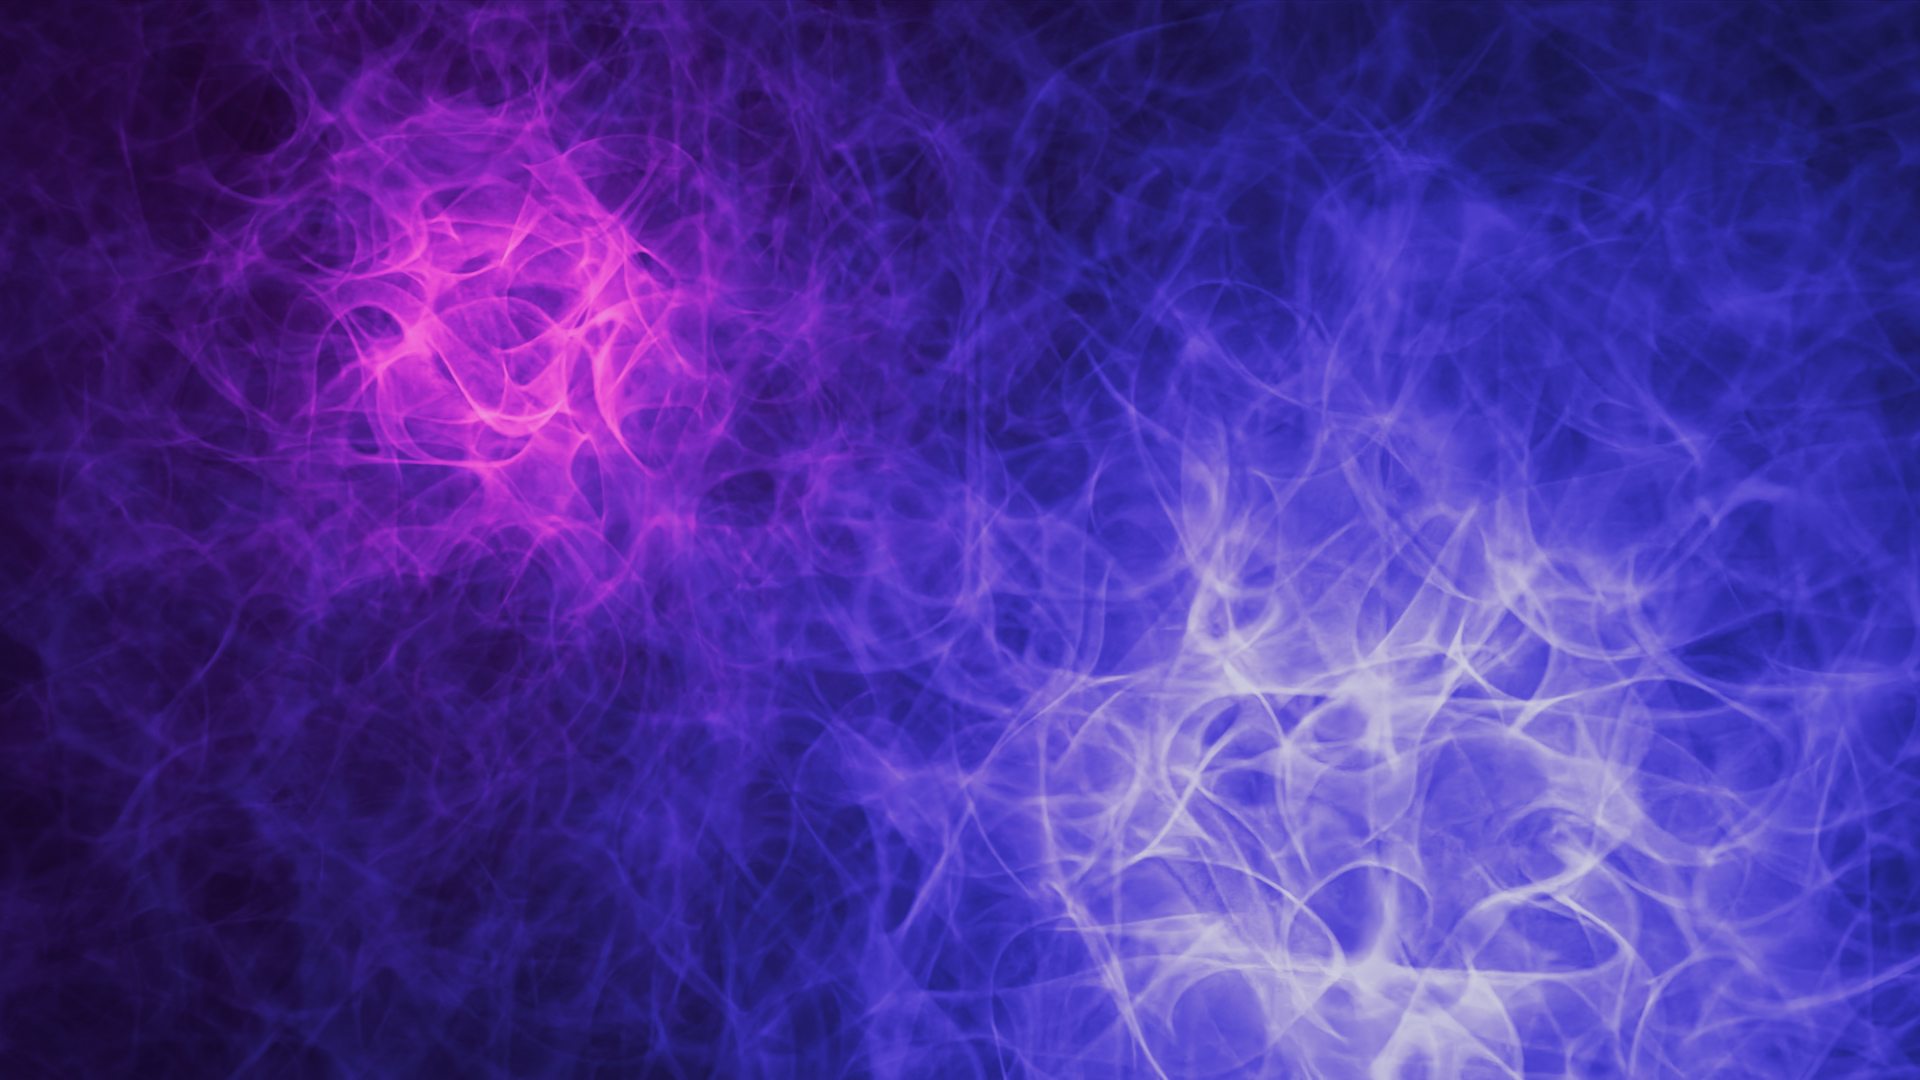
The lights are all set to be Volumetric and there’s also the required RS Environment, this uses an RS Volume Shader with some Maxon Noise. That’s pretty much it, nice and simple.
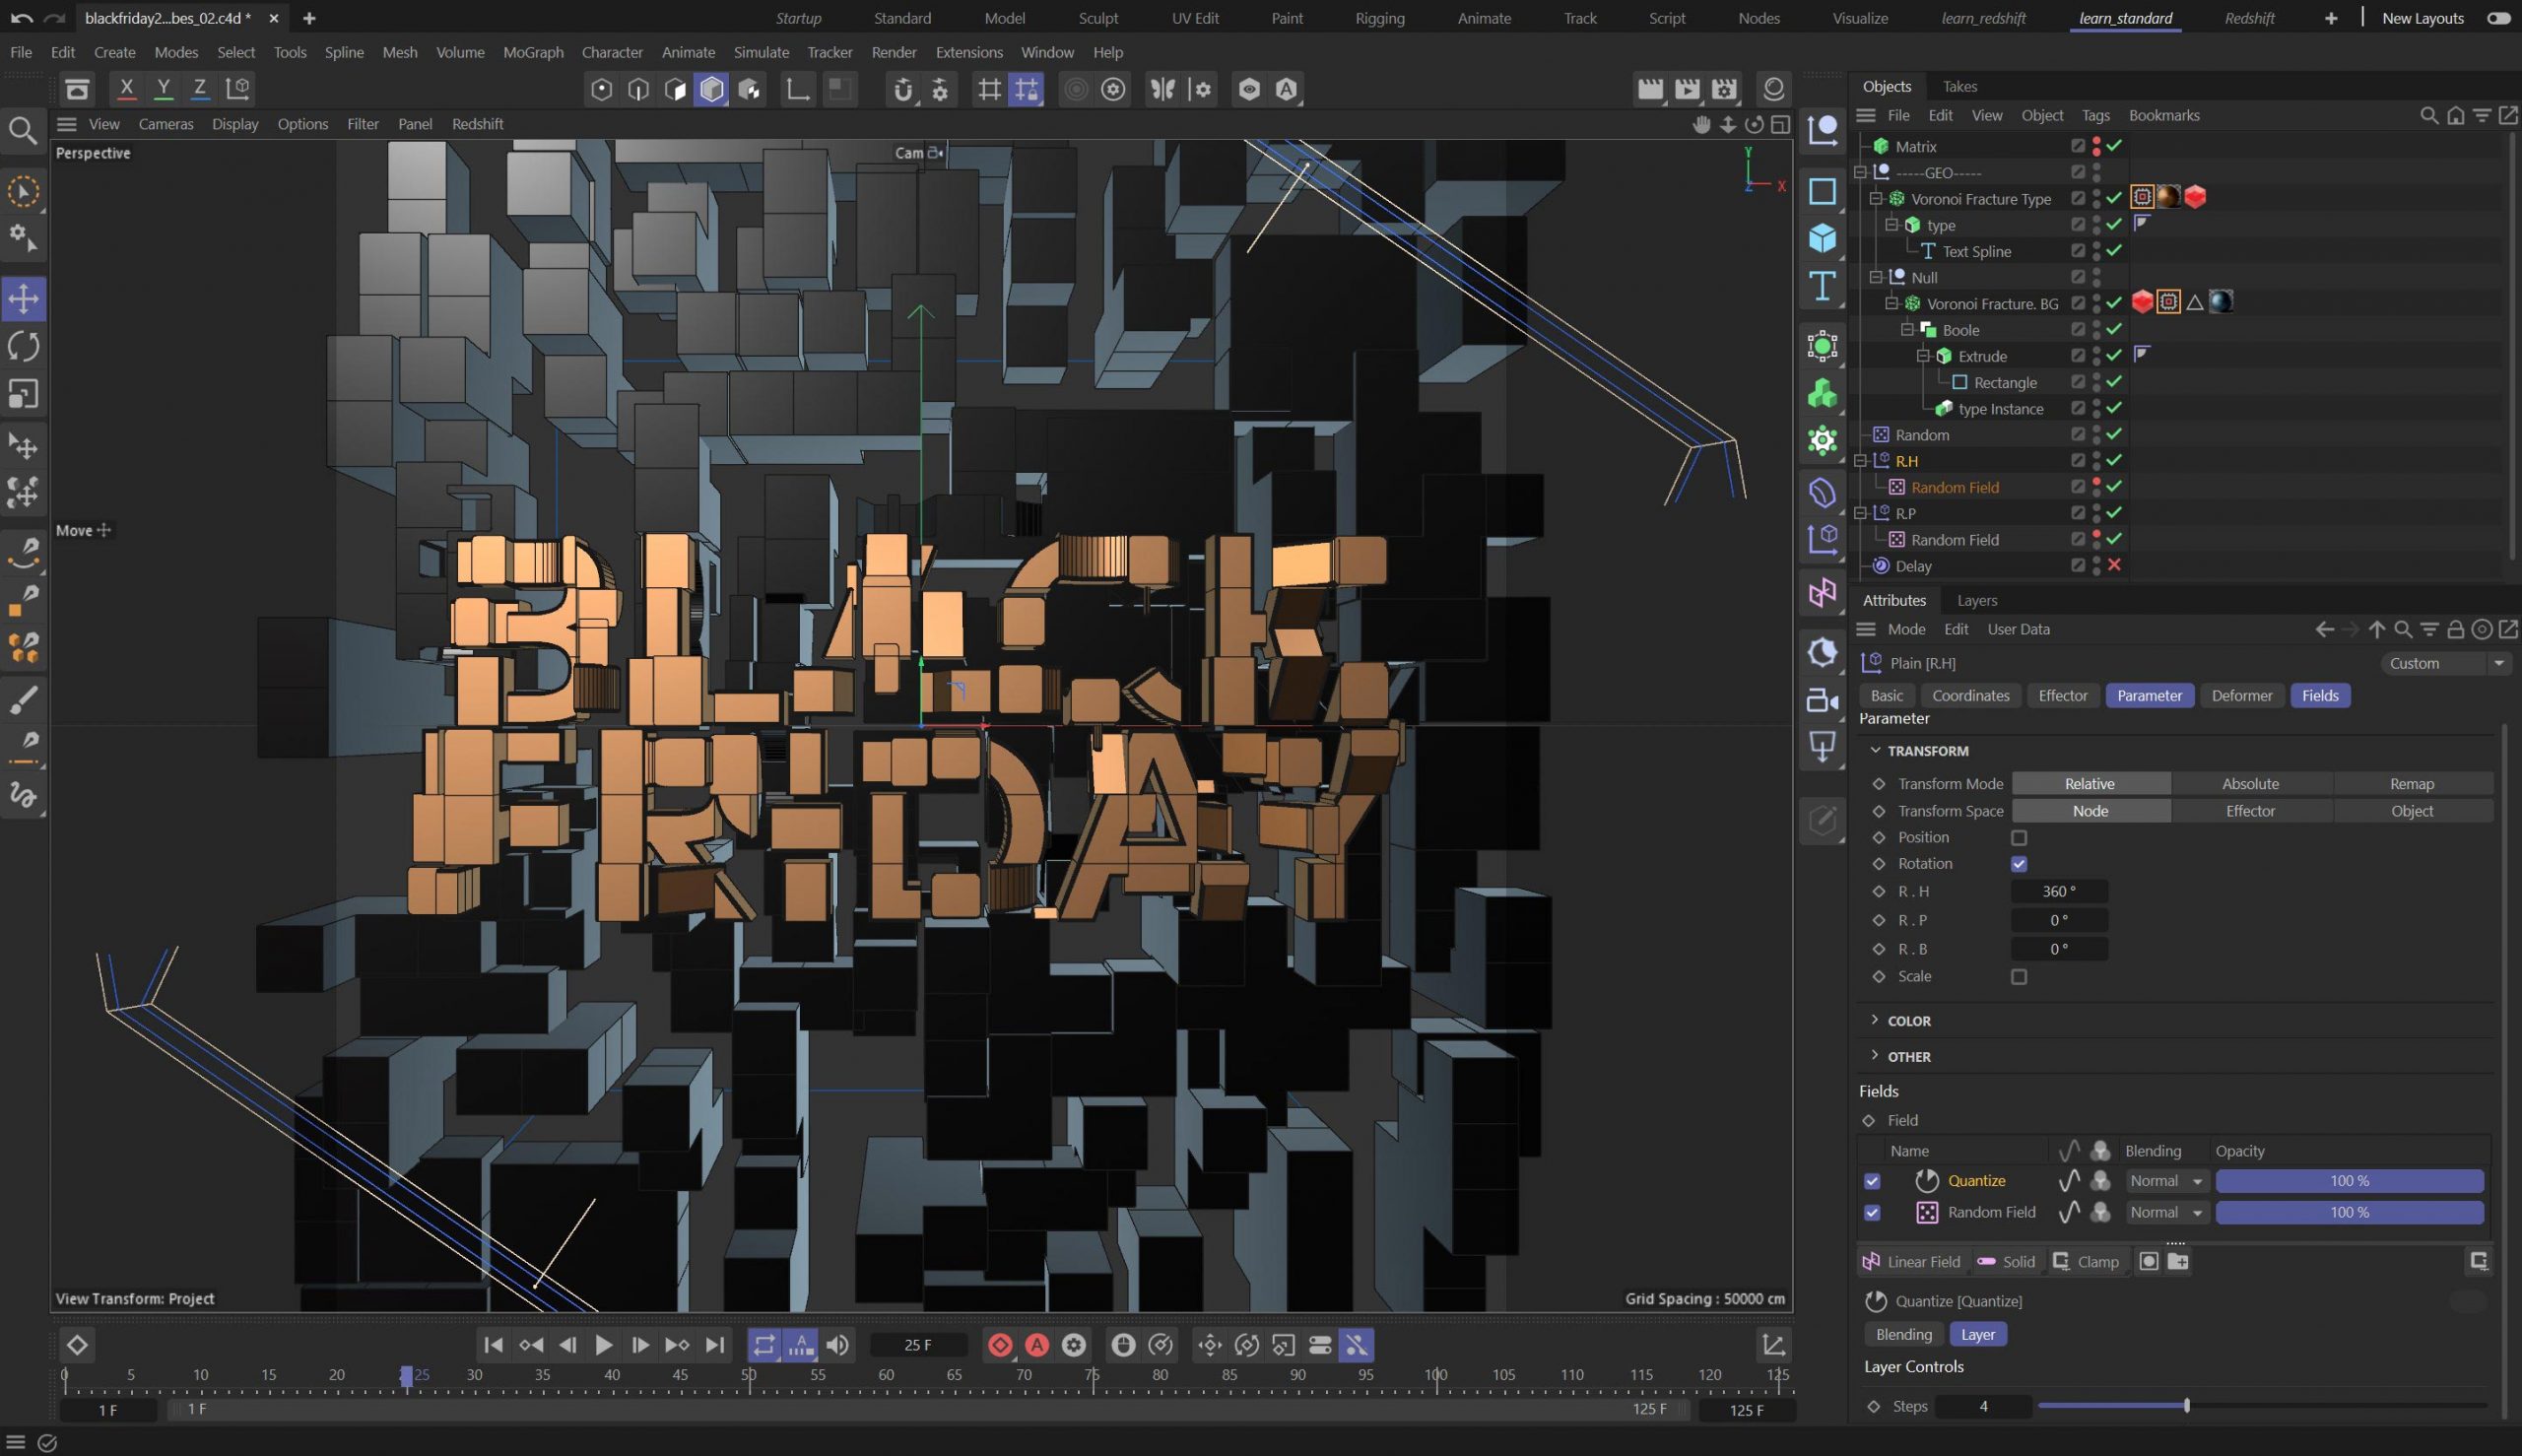
Voronoi Cubes
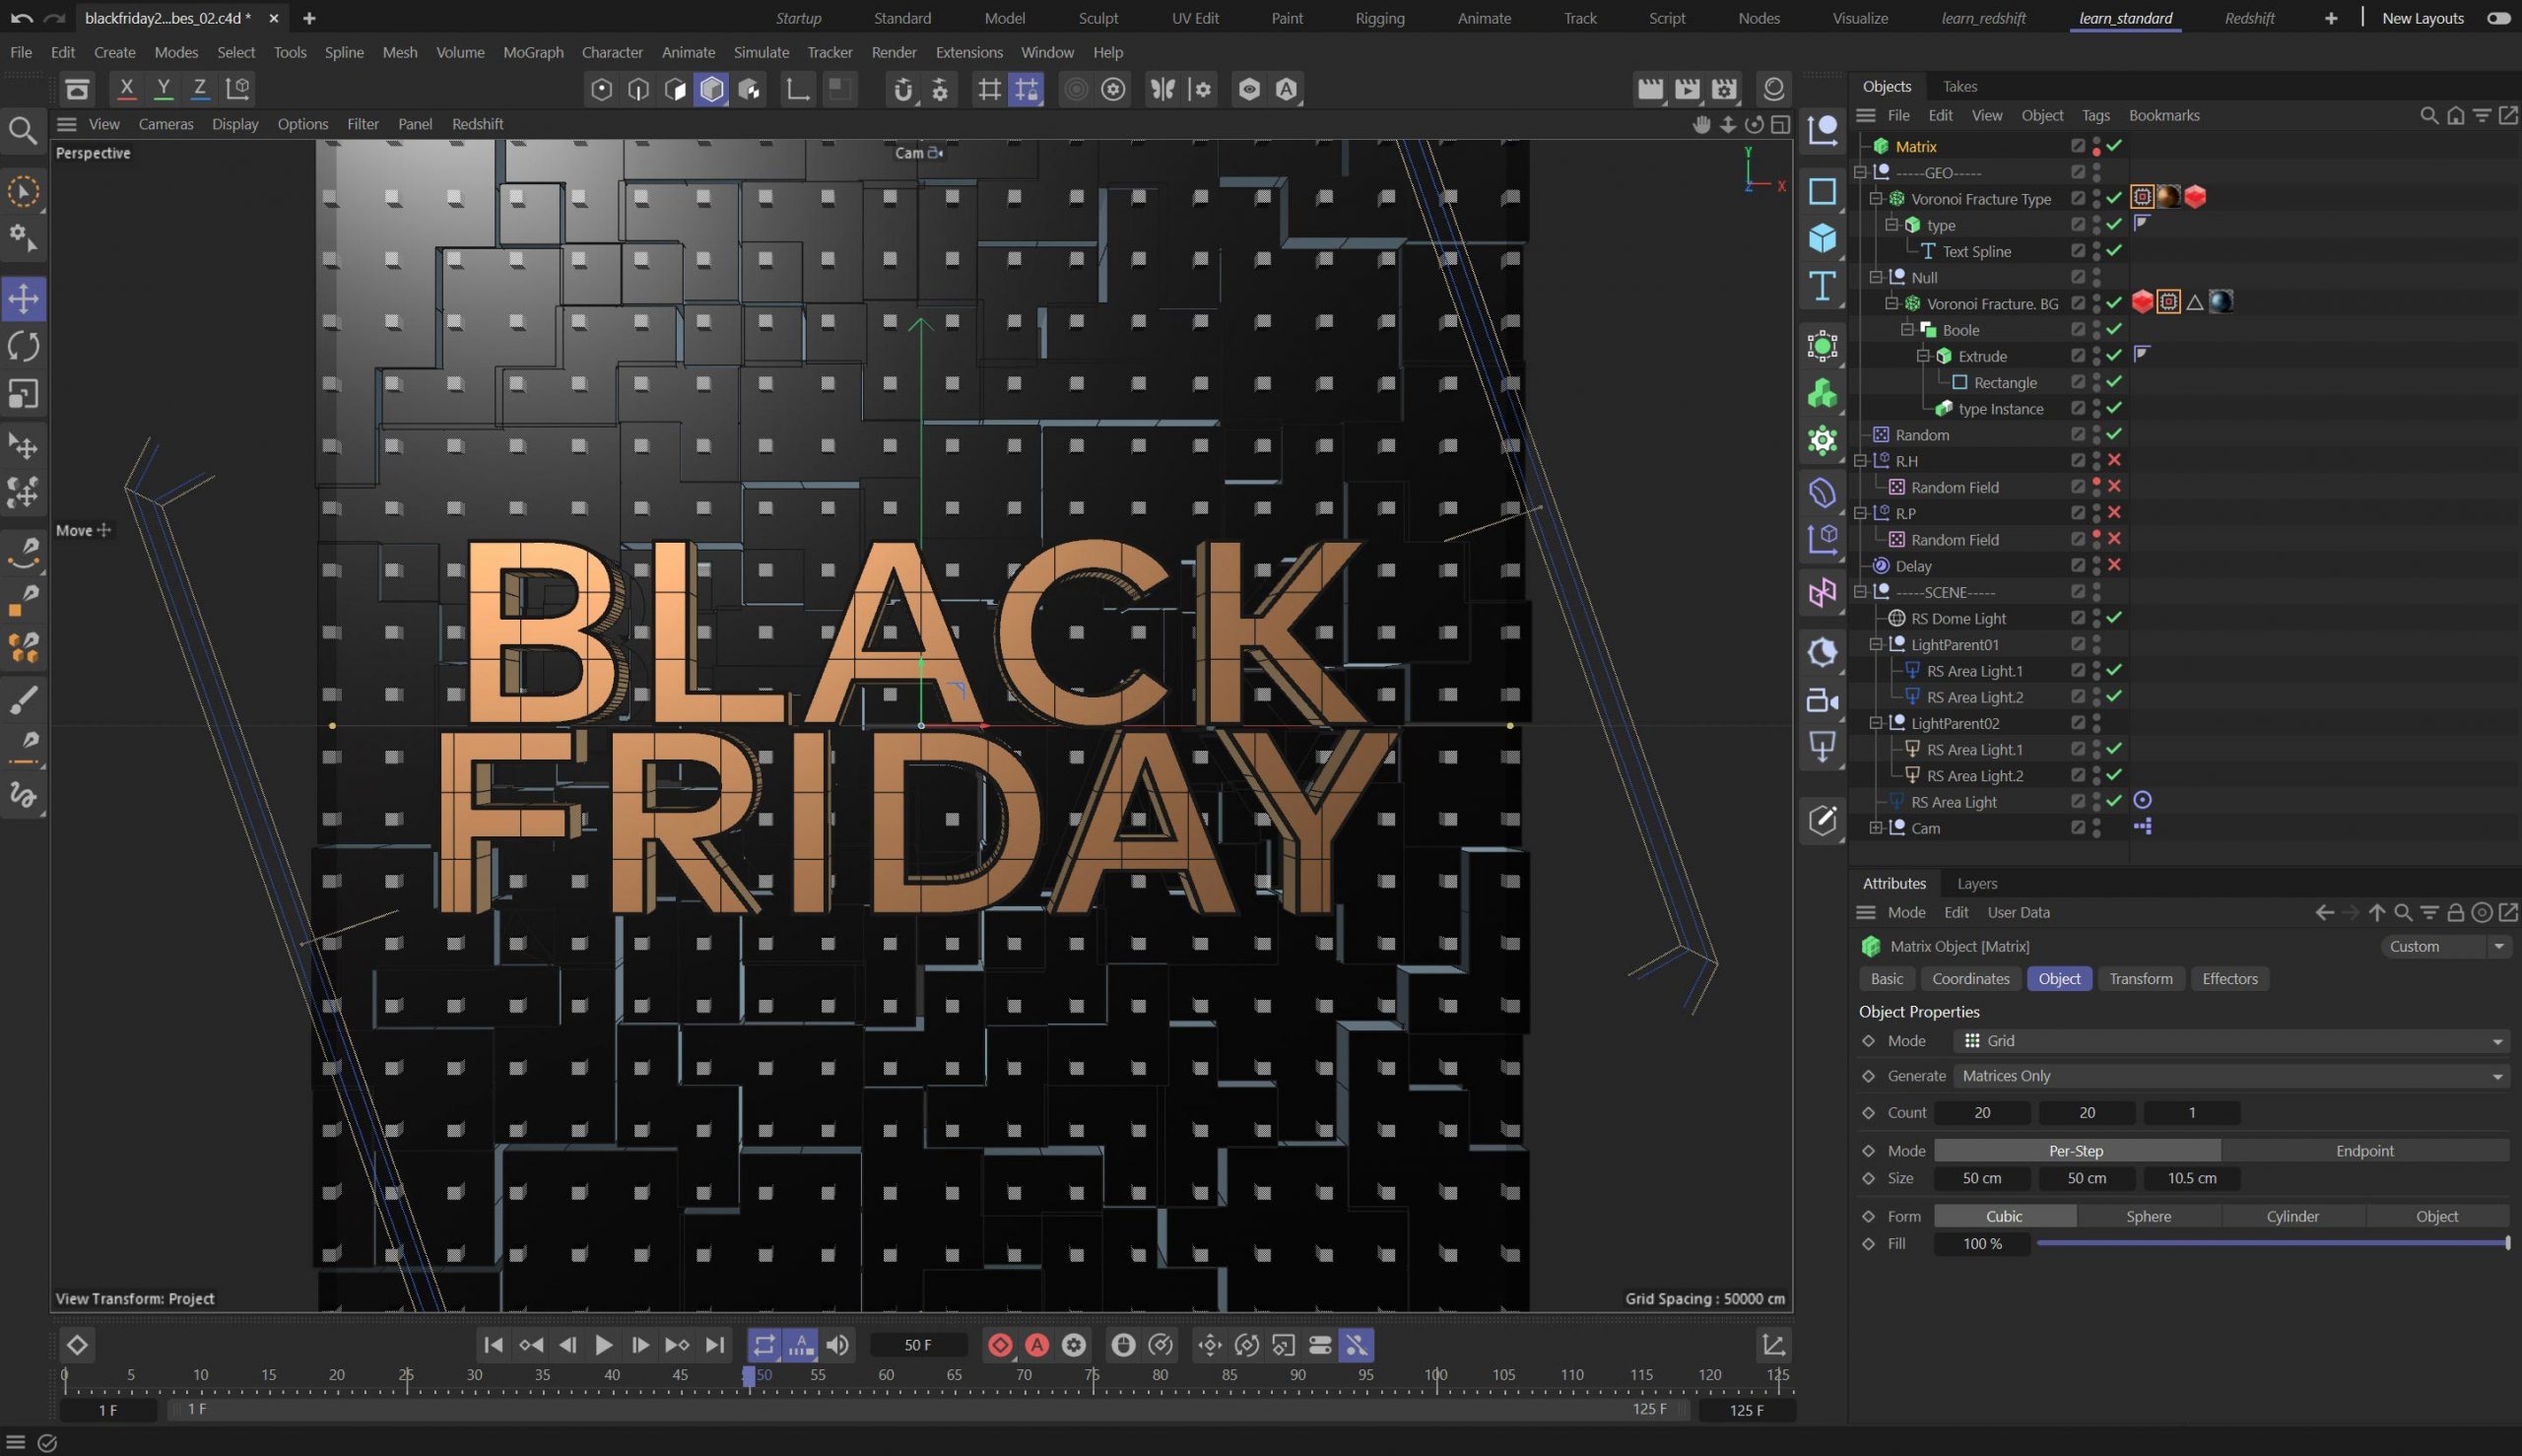
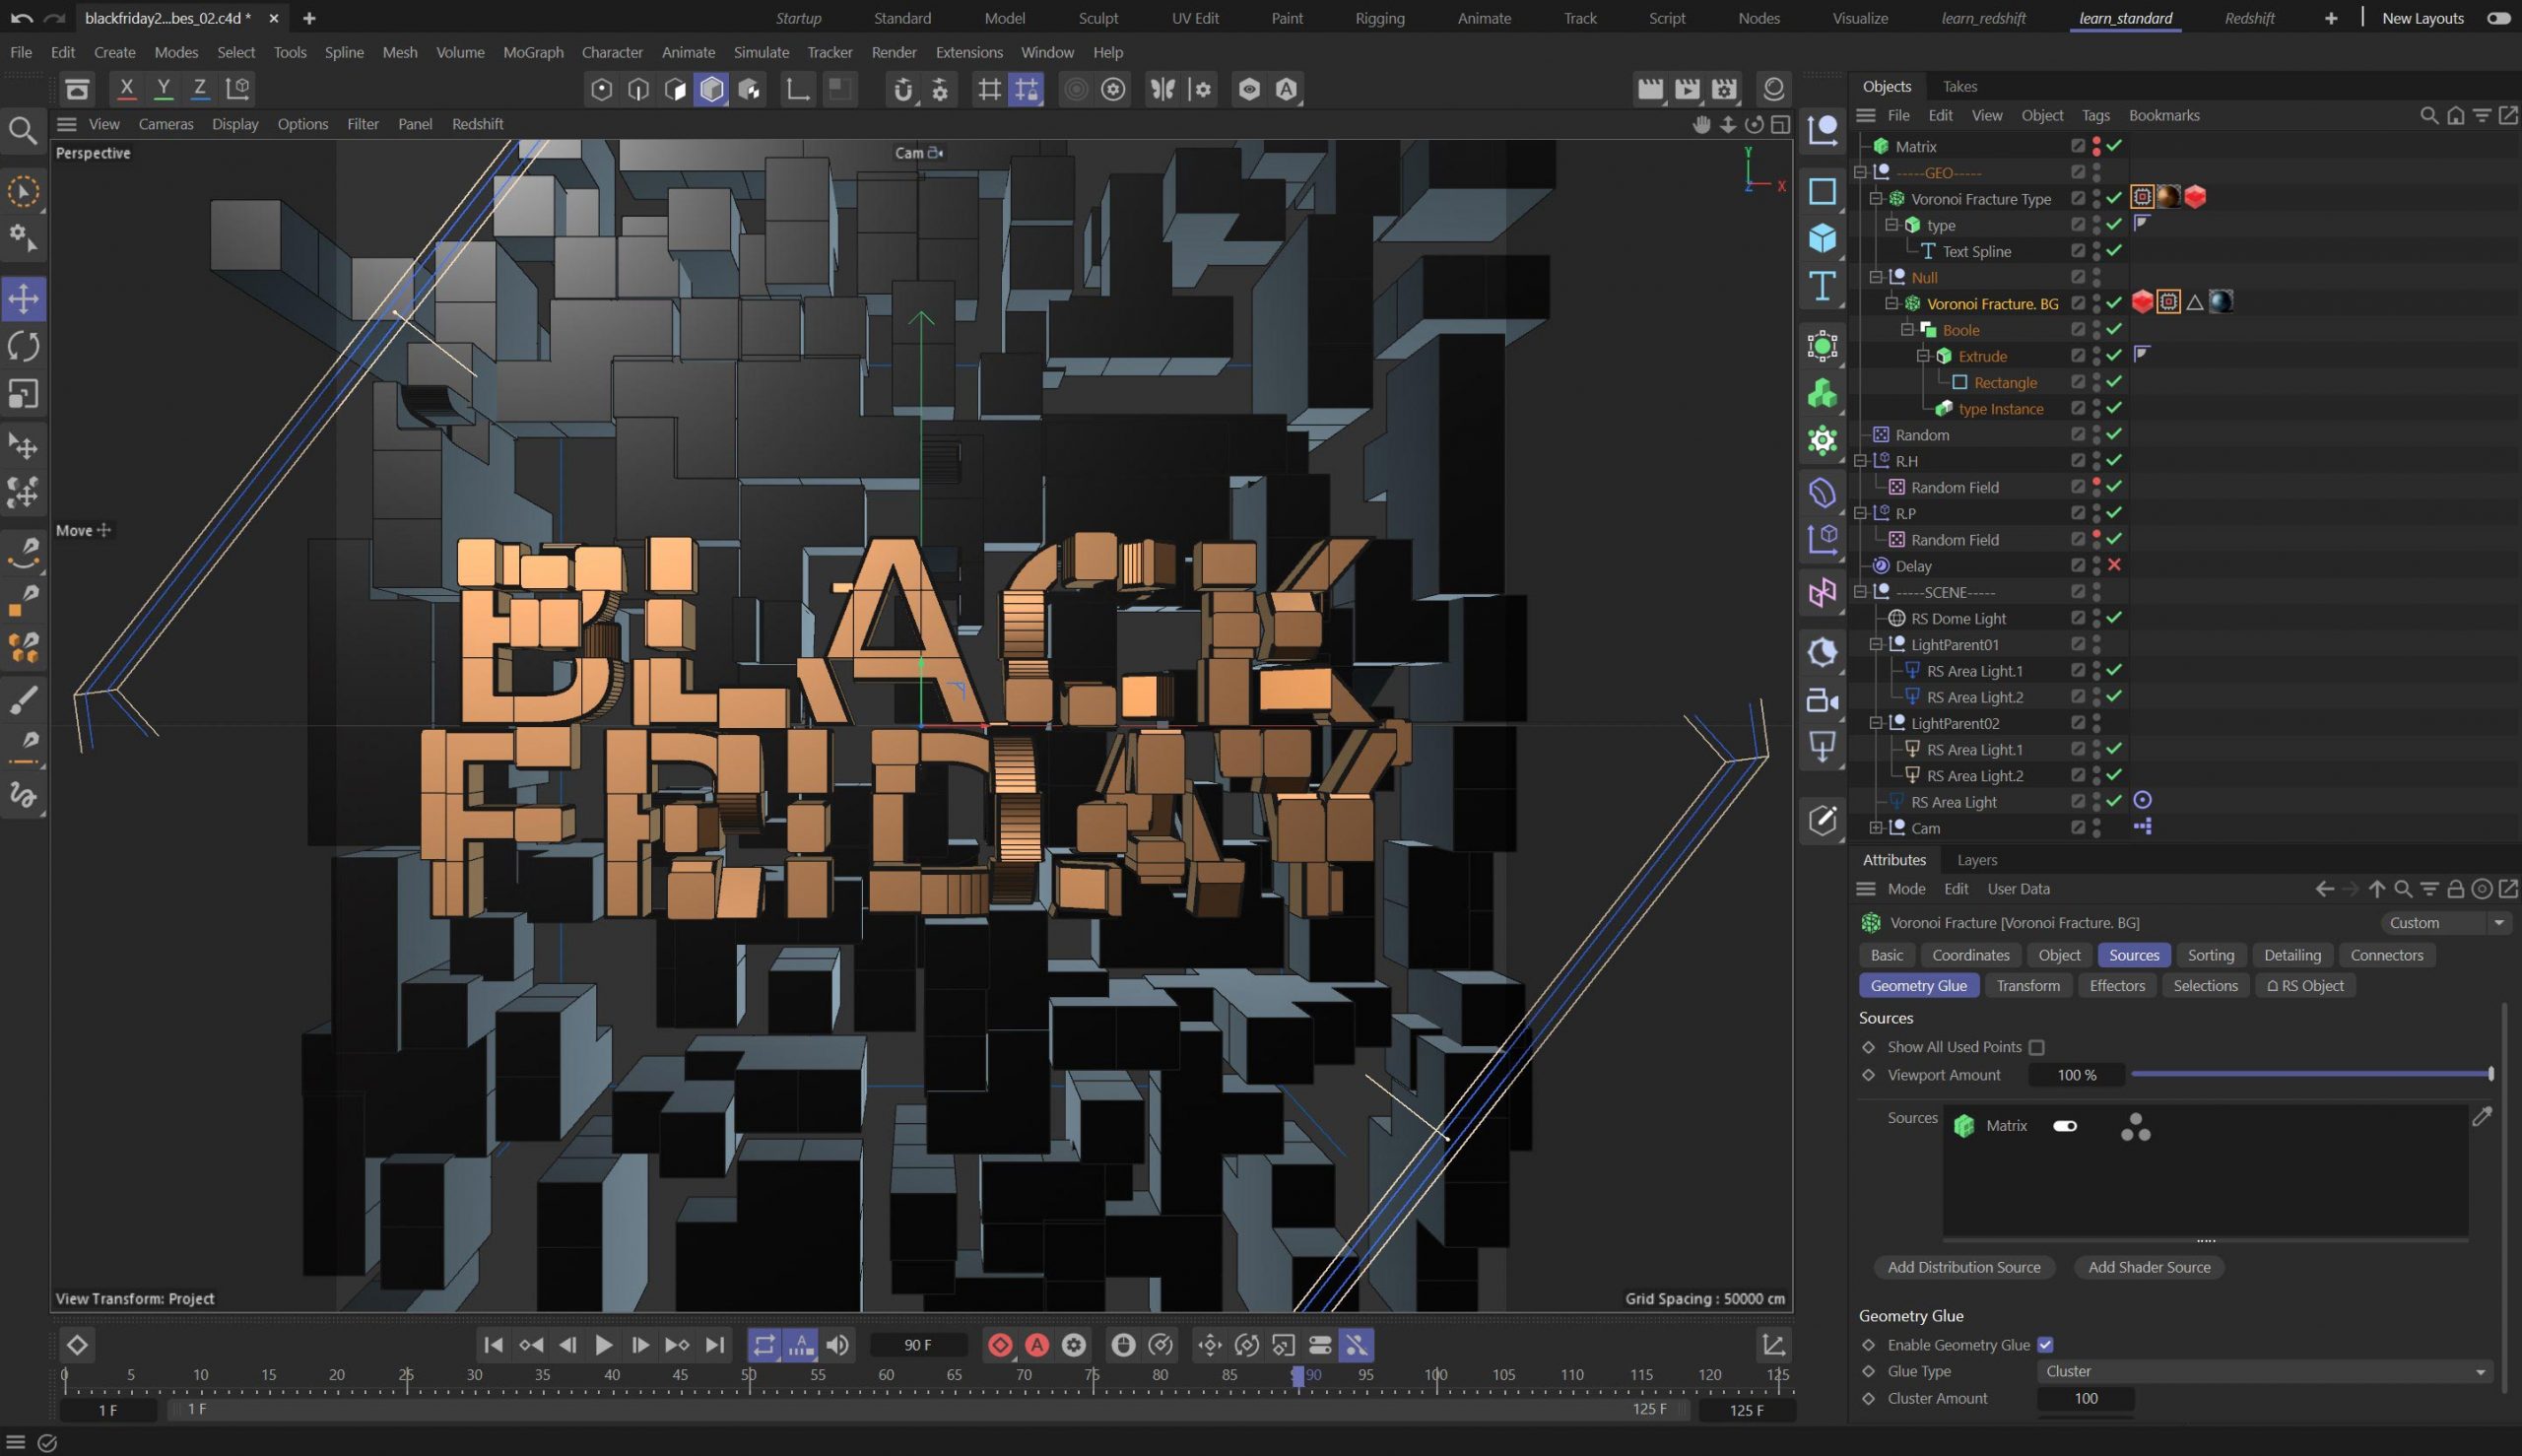
This set up uses a combination of tricks to create the effect. We start with a Matrix object which is used as the source for two Voronoi Fracture objects. The Matrix is a grid array and this results in very geometric fracture with each piece more or less a square. The Background has the type subtracted using the Boole Object, this creates more interesting shapes and a relationship between foreground and background. The background Voronoi Object has the Geometry Glue feature enabled, this creates clusters of geometric shapes.
The animation is created using two Plain Effectors. These are set to rotate the Heading and Pitch 360 degrees, the rotation value is then controlled by the Random Fields. Each Random Field uses the same settings with a different Seed value, this is then Quantised into four steps with a resulting rotation value of 0, 90, 180 or 360. As the Random Field animates the values change causing the pieces to jump between each rotation value.
The addition of the Delay Effector uses the Blend Mode which when set to relatively high values will create a very smooth blend between each rotation value, causing the shapes to ease into each rotation. There is a small hack to create the loop where the Delay strength is animated from 0-85%, without this the Delay Effector will cause a jump, it’s not perfect this way, but you can get away with it!
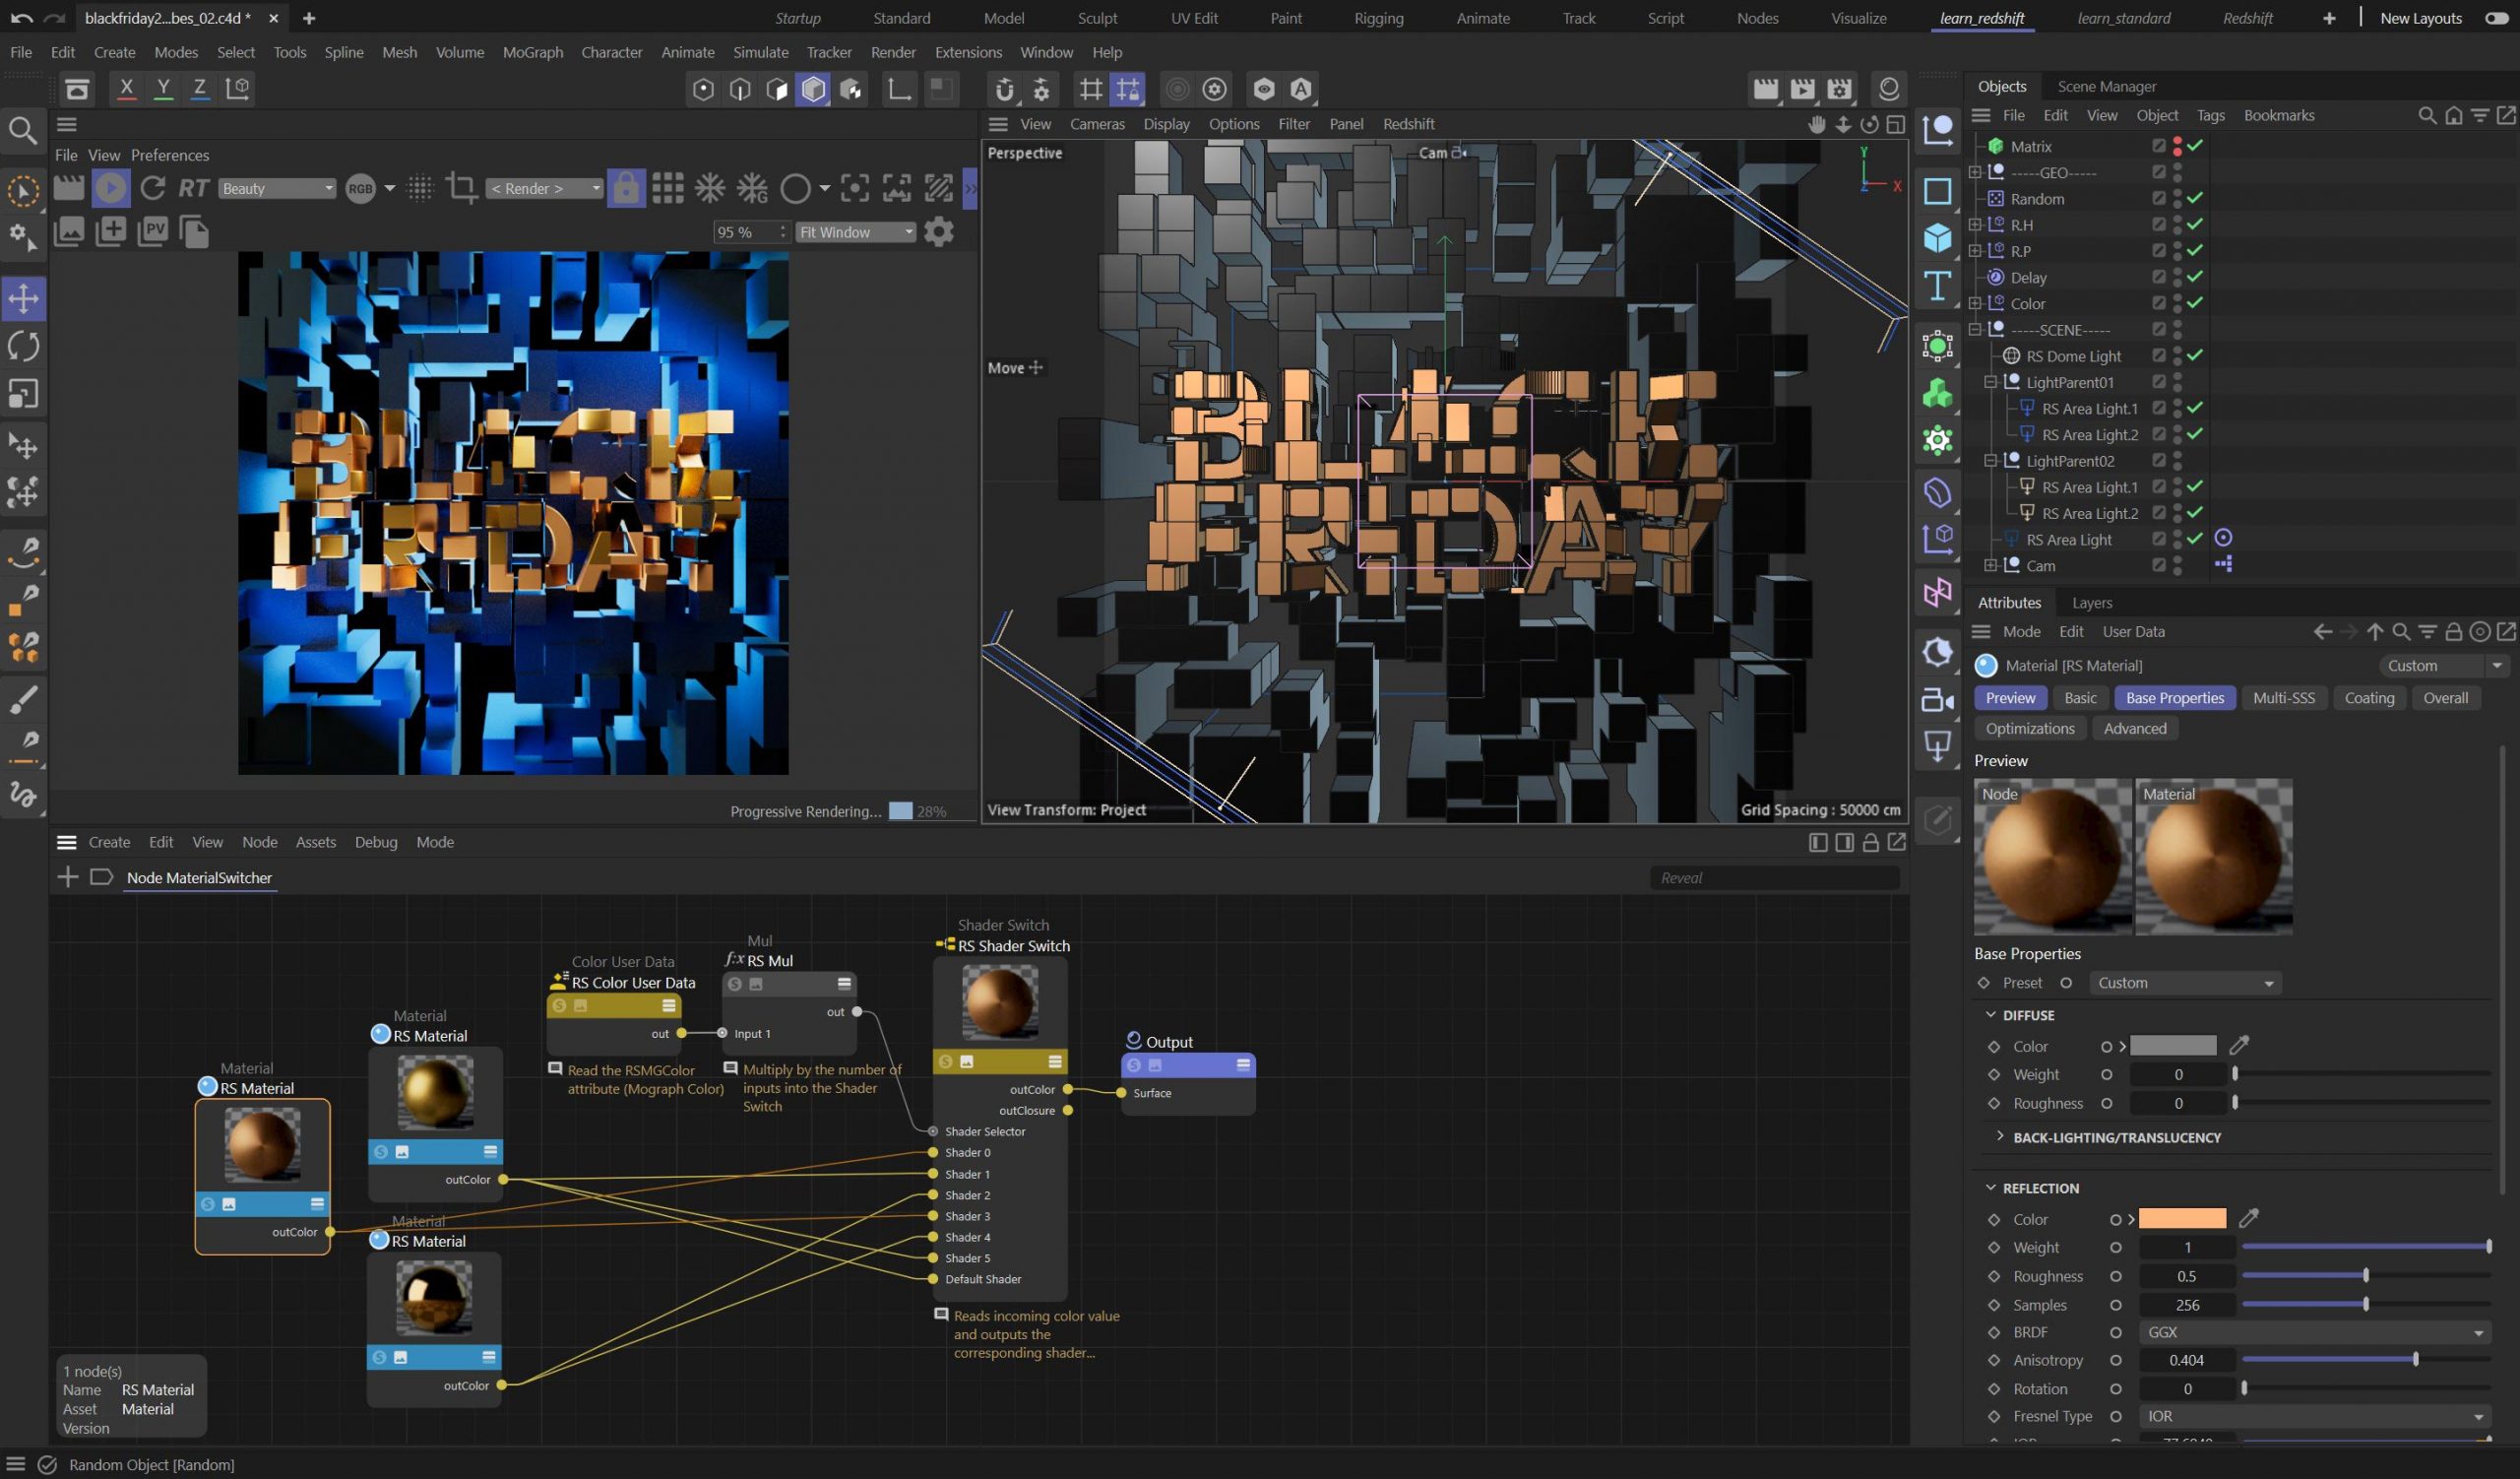
The material for the background uses a shiny Coat with a highly rough Reflection value. The type uses a simple Multishader setup which takes the MGColor attribute and then chooses a Material via the RS Shader Switch. There is a more detailed tutorial on building this set up here.
The lighting is created using long area lights which are grouped under a null. The null is animated so that it rotates around and loops perfectly, this gives a nice flow of light across the surface for another layer of interest.
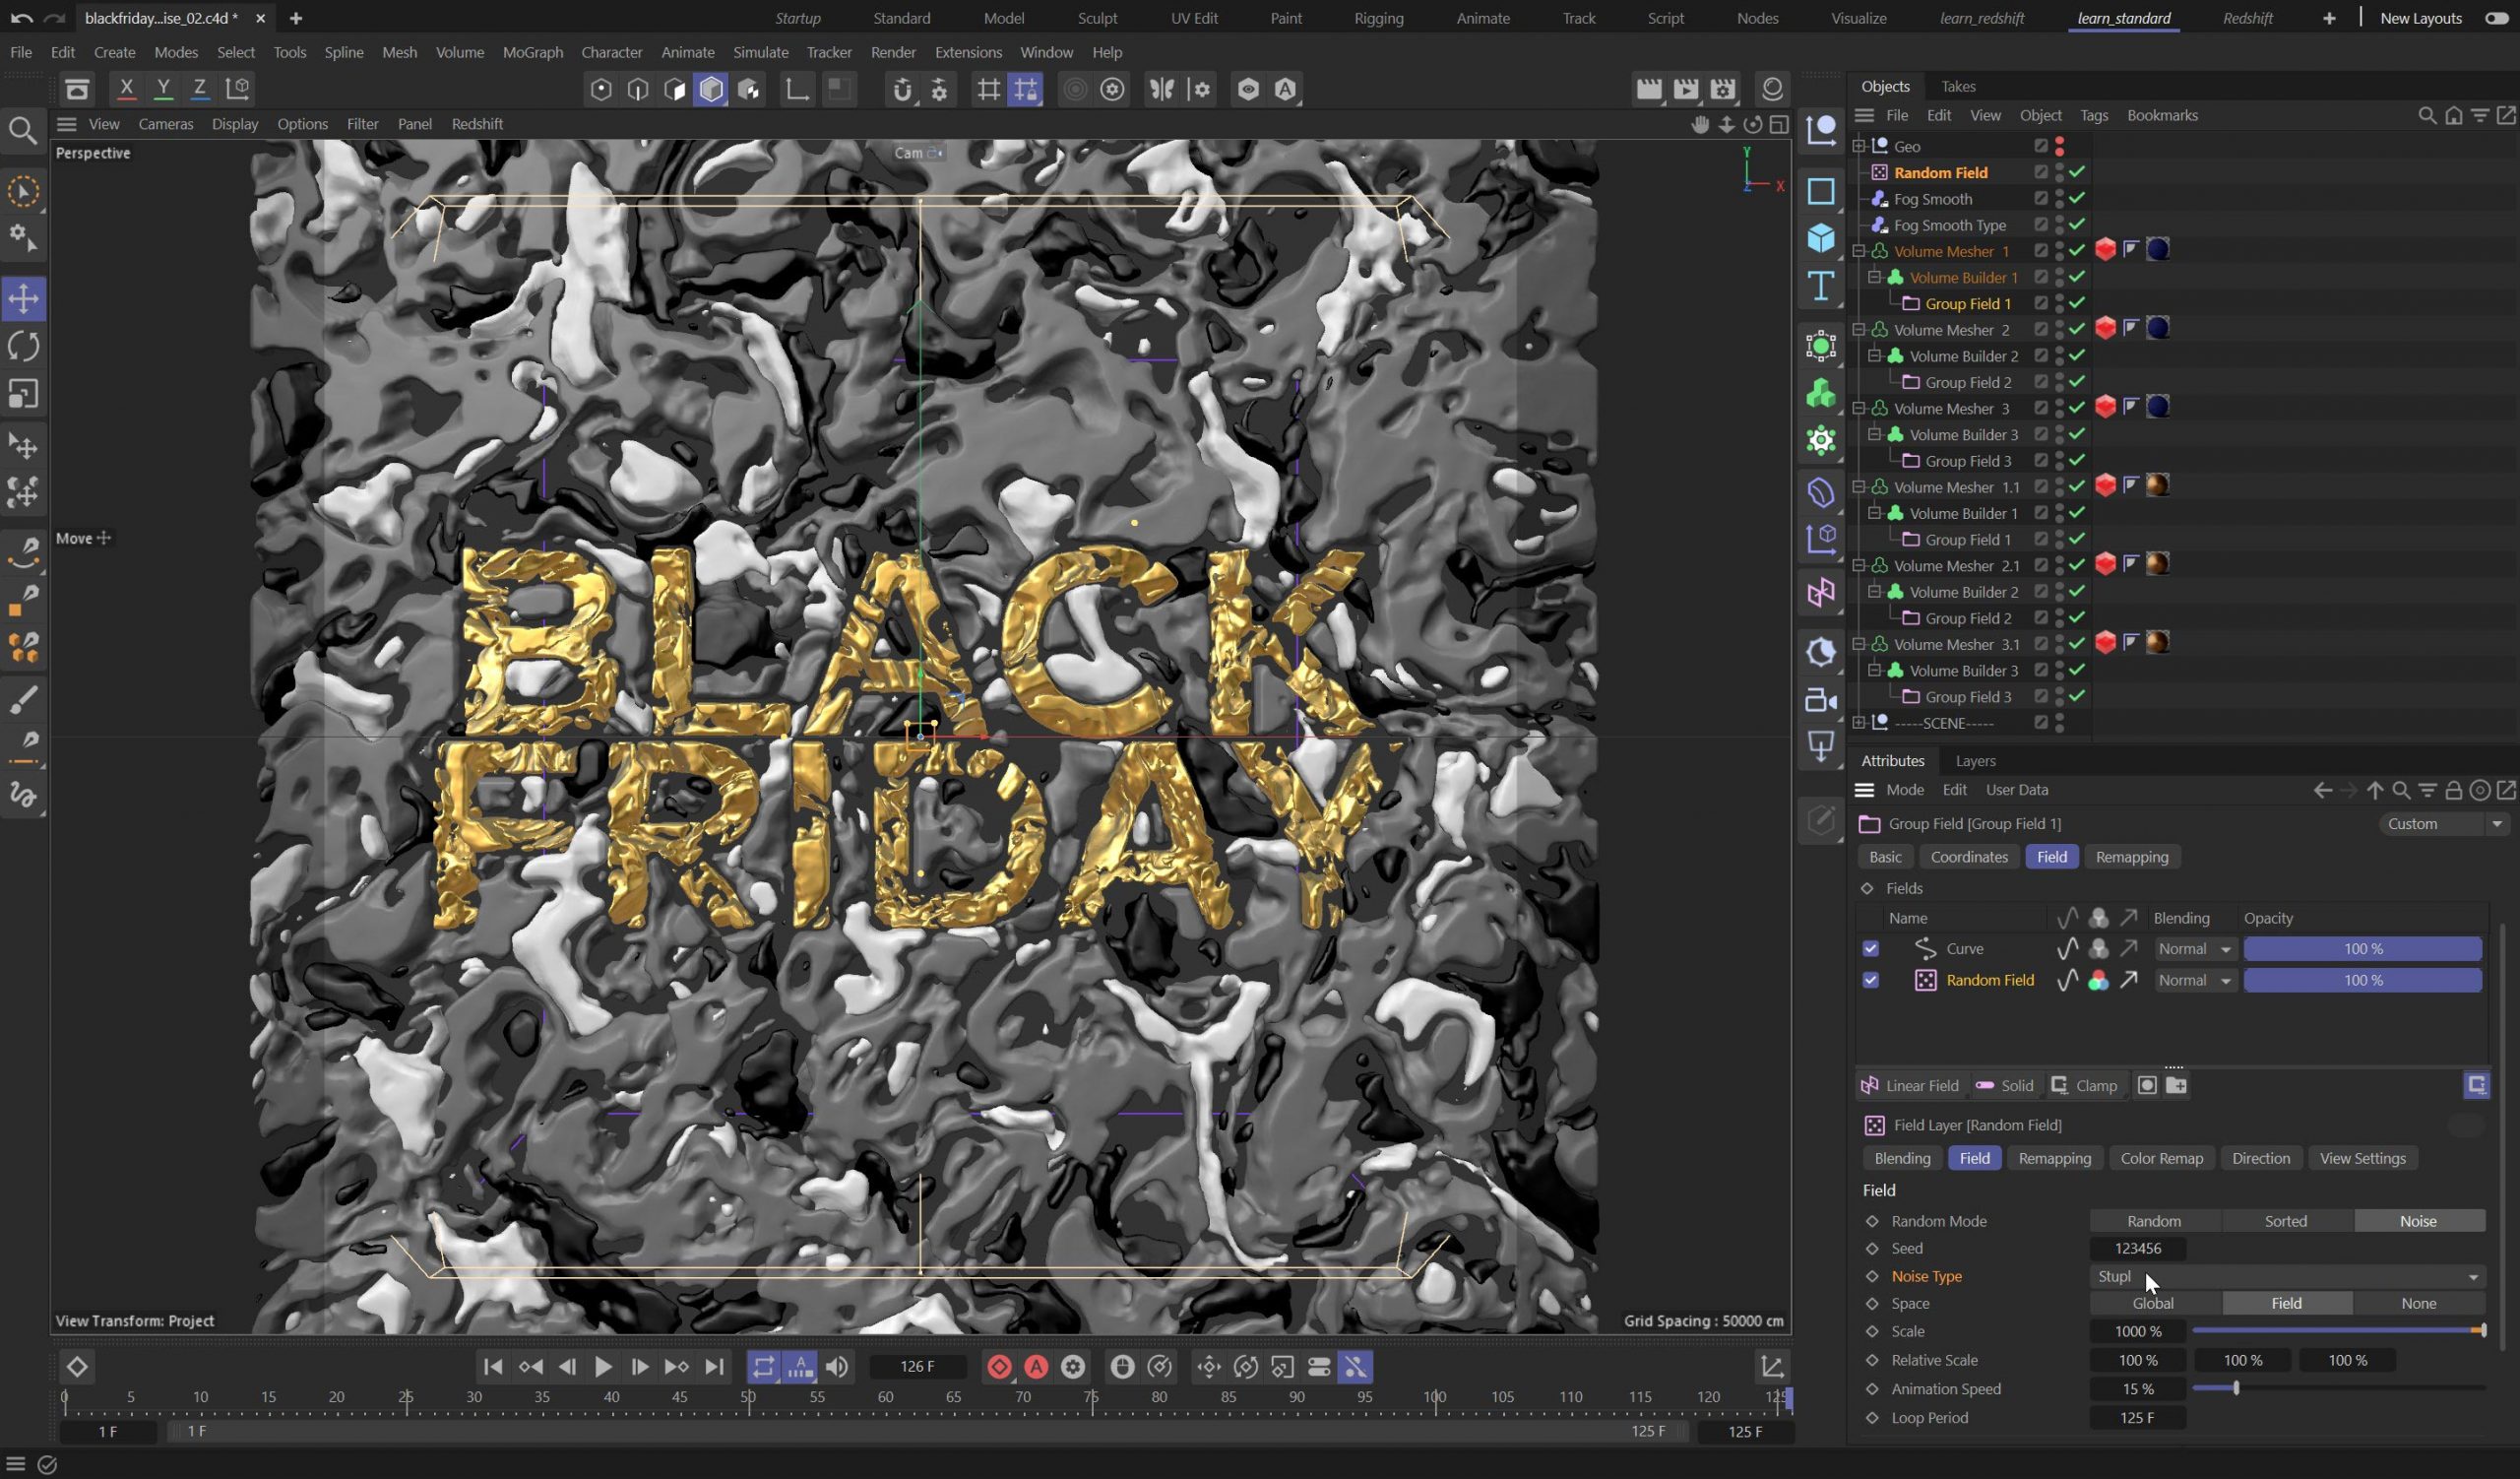
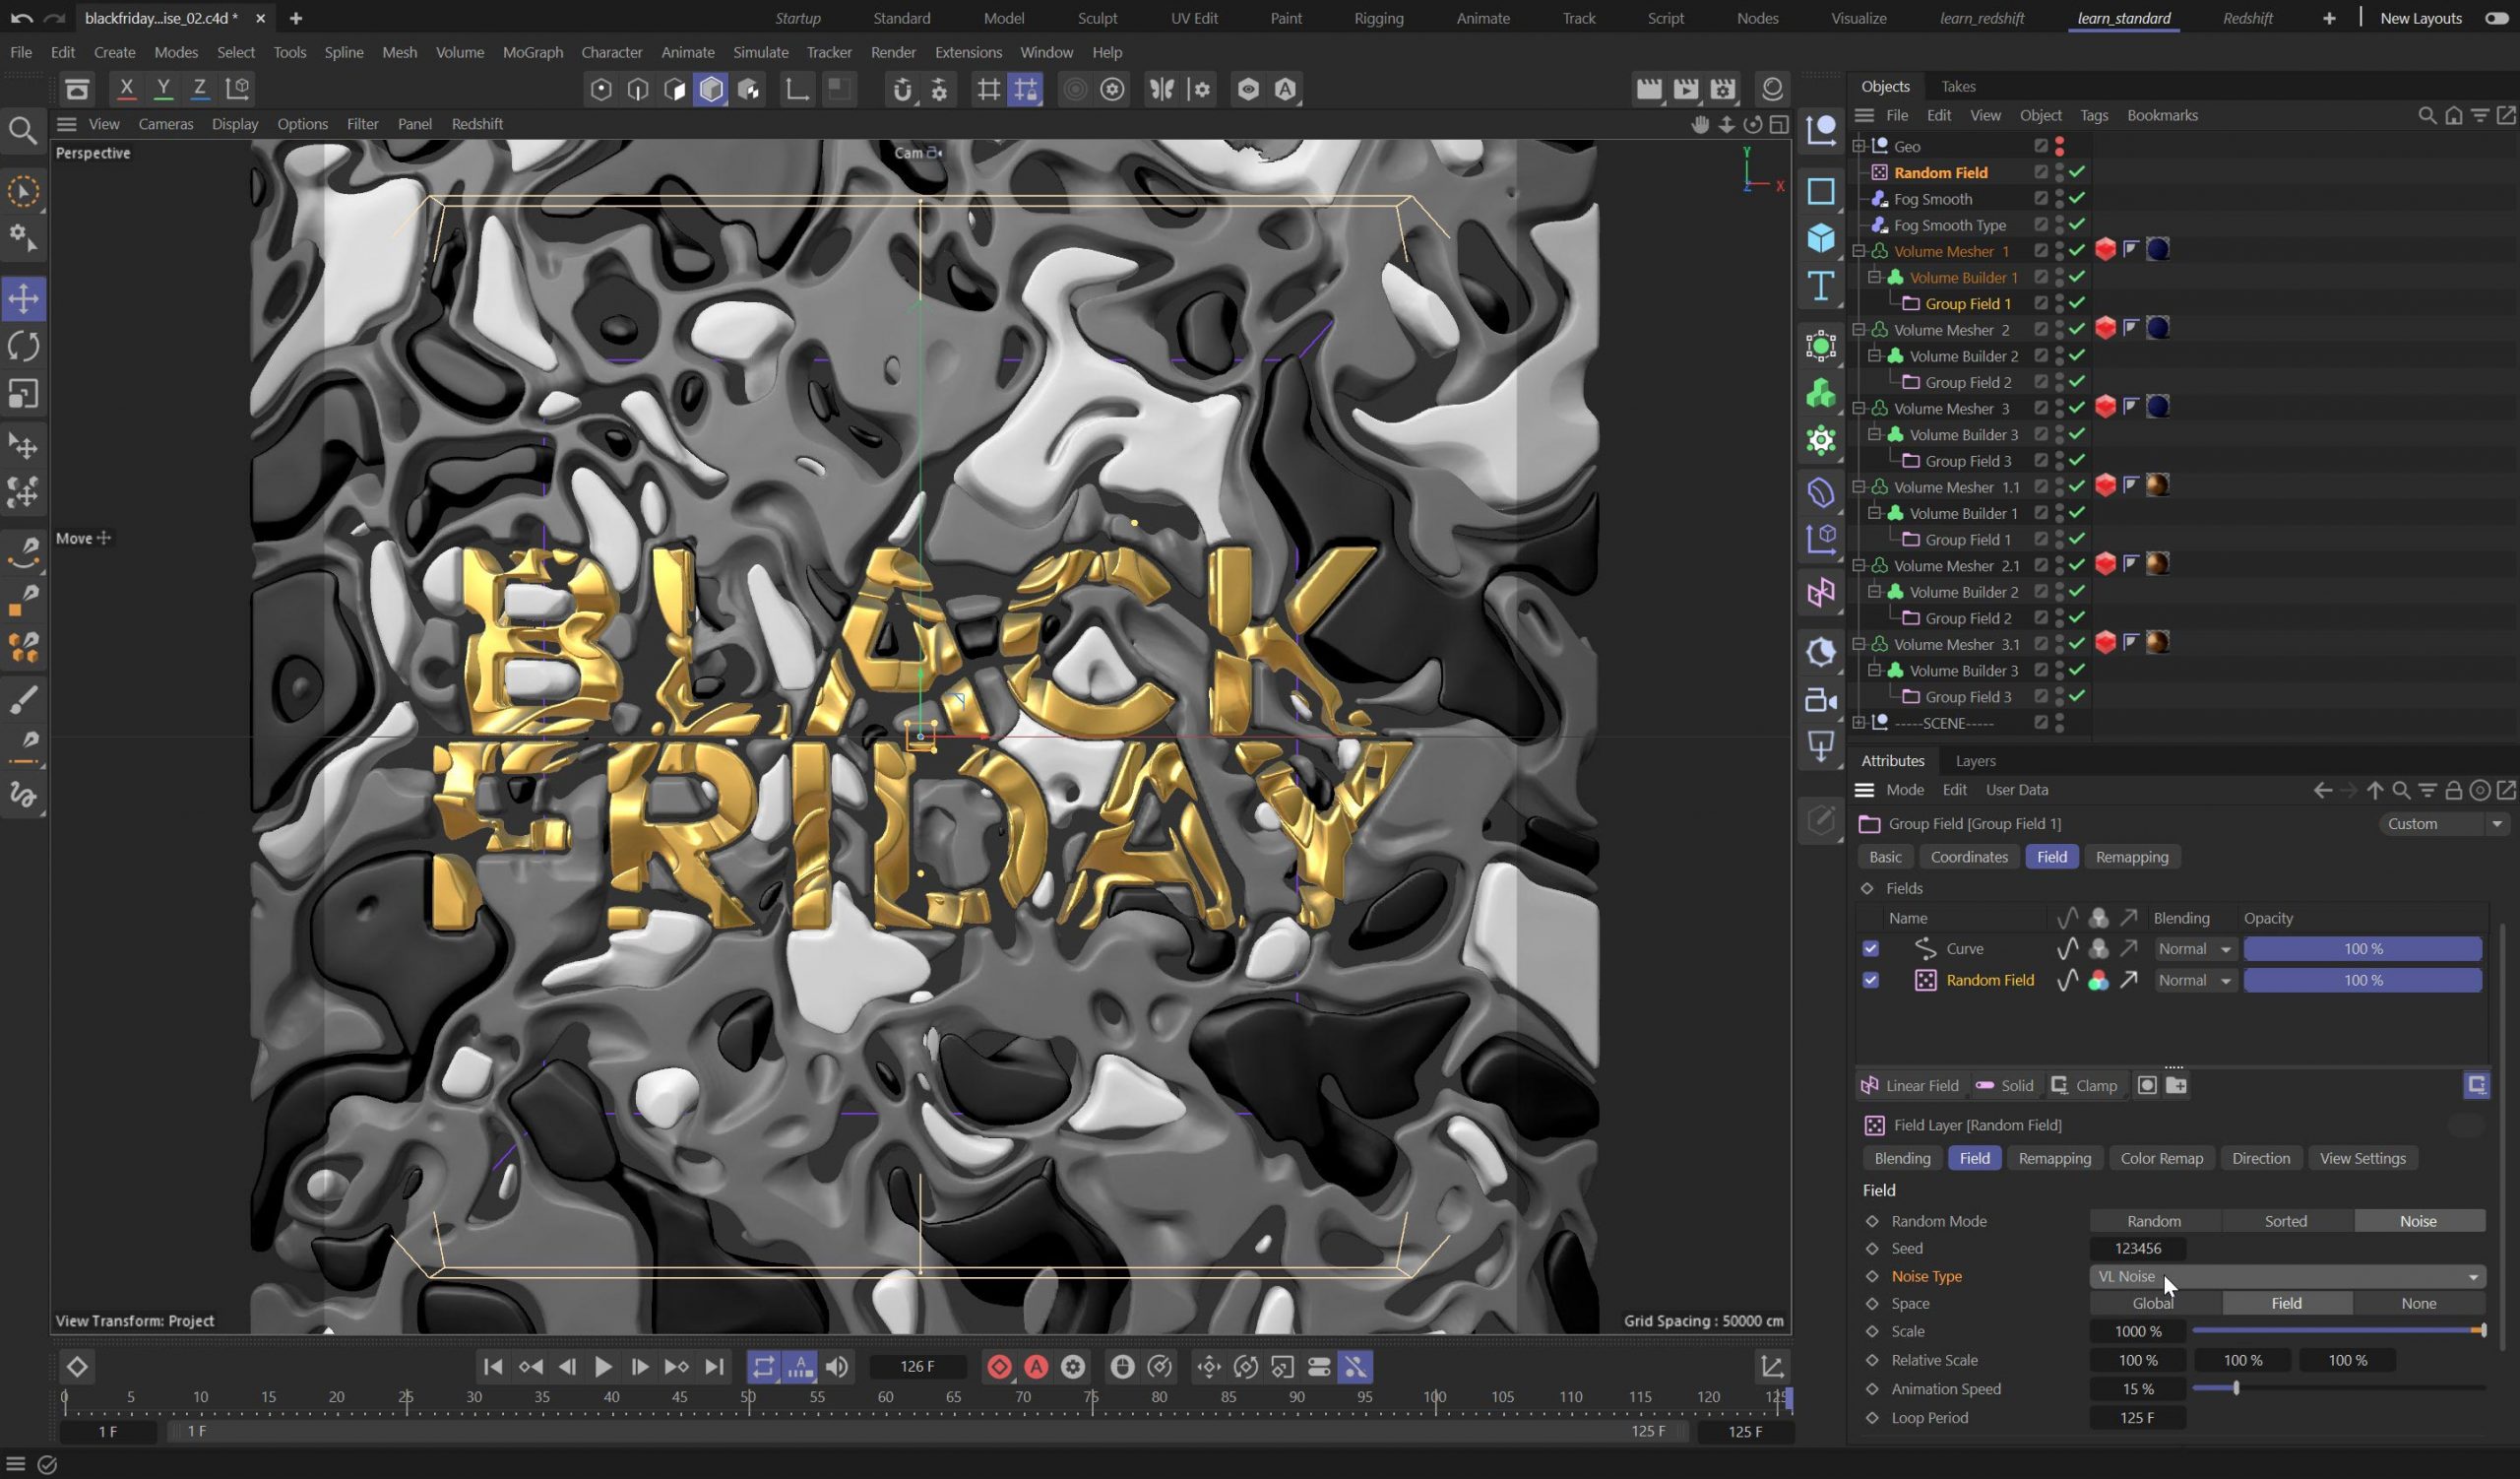
This example uses the wonderful Volume Builder in combination with a Random Field. There are multiple Volume Builder Objects generating Fog Volumes for both the background and the type itself. The scene is very easy to change as each Volume Builder is using a Group Field, this allows you to use the same random field in each Volume, but you can then manipulate the values so each object is unique. This is done by using a Curve Field Layer above the Random Field and clamping the range to only a section of the full value.
If you offset this range of values using a new Curve Layer for each Volume Builder’s Group Field, you can create multiple layers of noise that all adapt and adjust to the surround shapes. Simply change the Random Field noise type and see all the Volume Builders update together. You can further adjust how closely the Volumes combine by changing the Voxel Range Threshold on each Volume Mesher, this adjusts the range of values used to create the geometry.
The Volumes are further manipulated by using a Smooth Filter, this is similar to a blur filter in a 2D application, but the Smooth Filter is smoothing out the values in 3D as we are working with Voxels. The project uses similar lighting and materials to the Voronoi Cubes project, however the Material for the background uses the Mograph Color attribute to drive Sub-surface scattering as well as diffuse colour.
This project demonstrates how useful it can be to use the Group Field. You can easily convert any Field setup you have made into a Group Field by right clicking on the Fields list and choosing the command ‘Group Field from Selection’ from the pop-up.
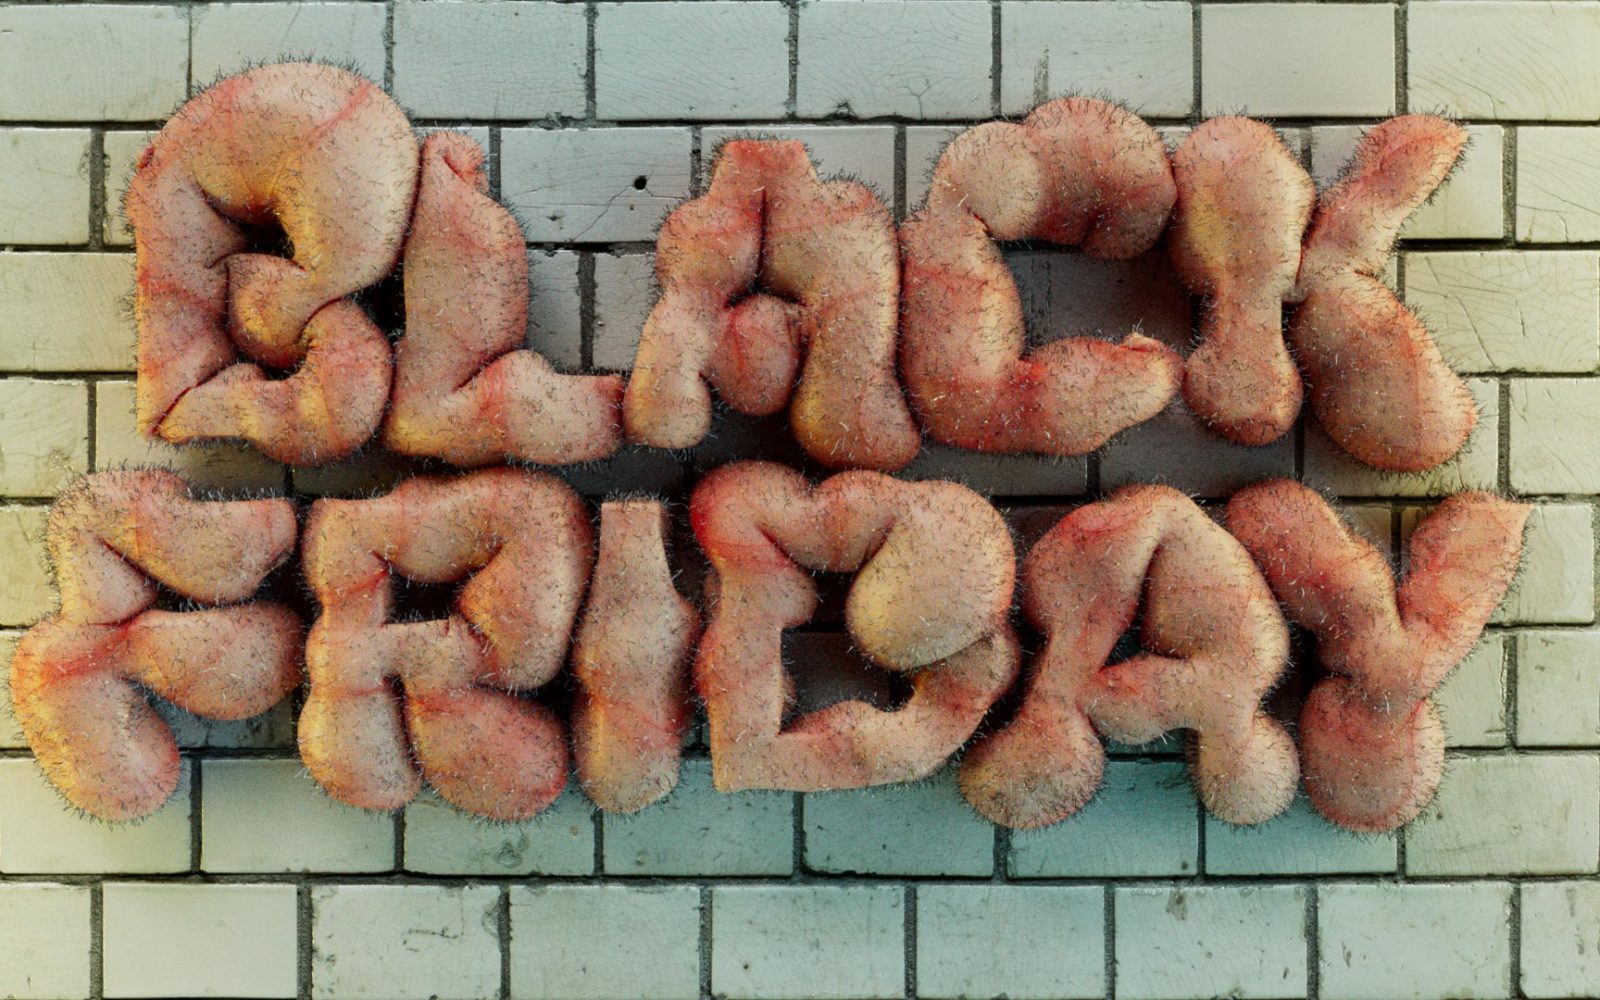
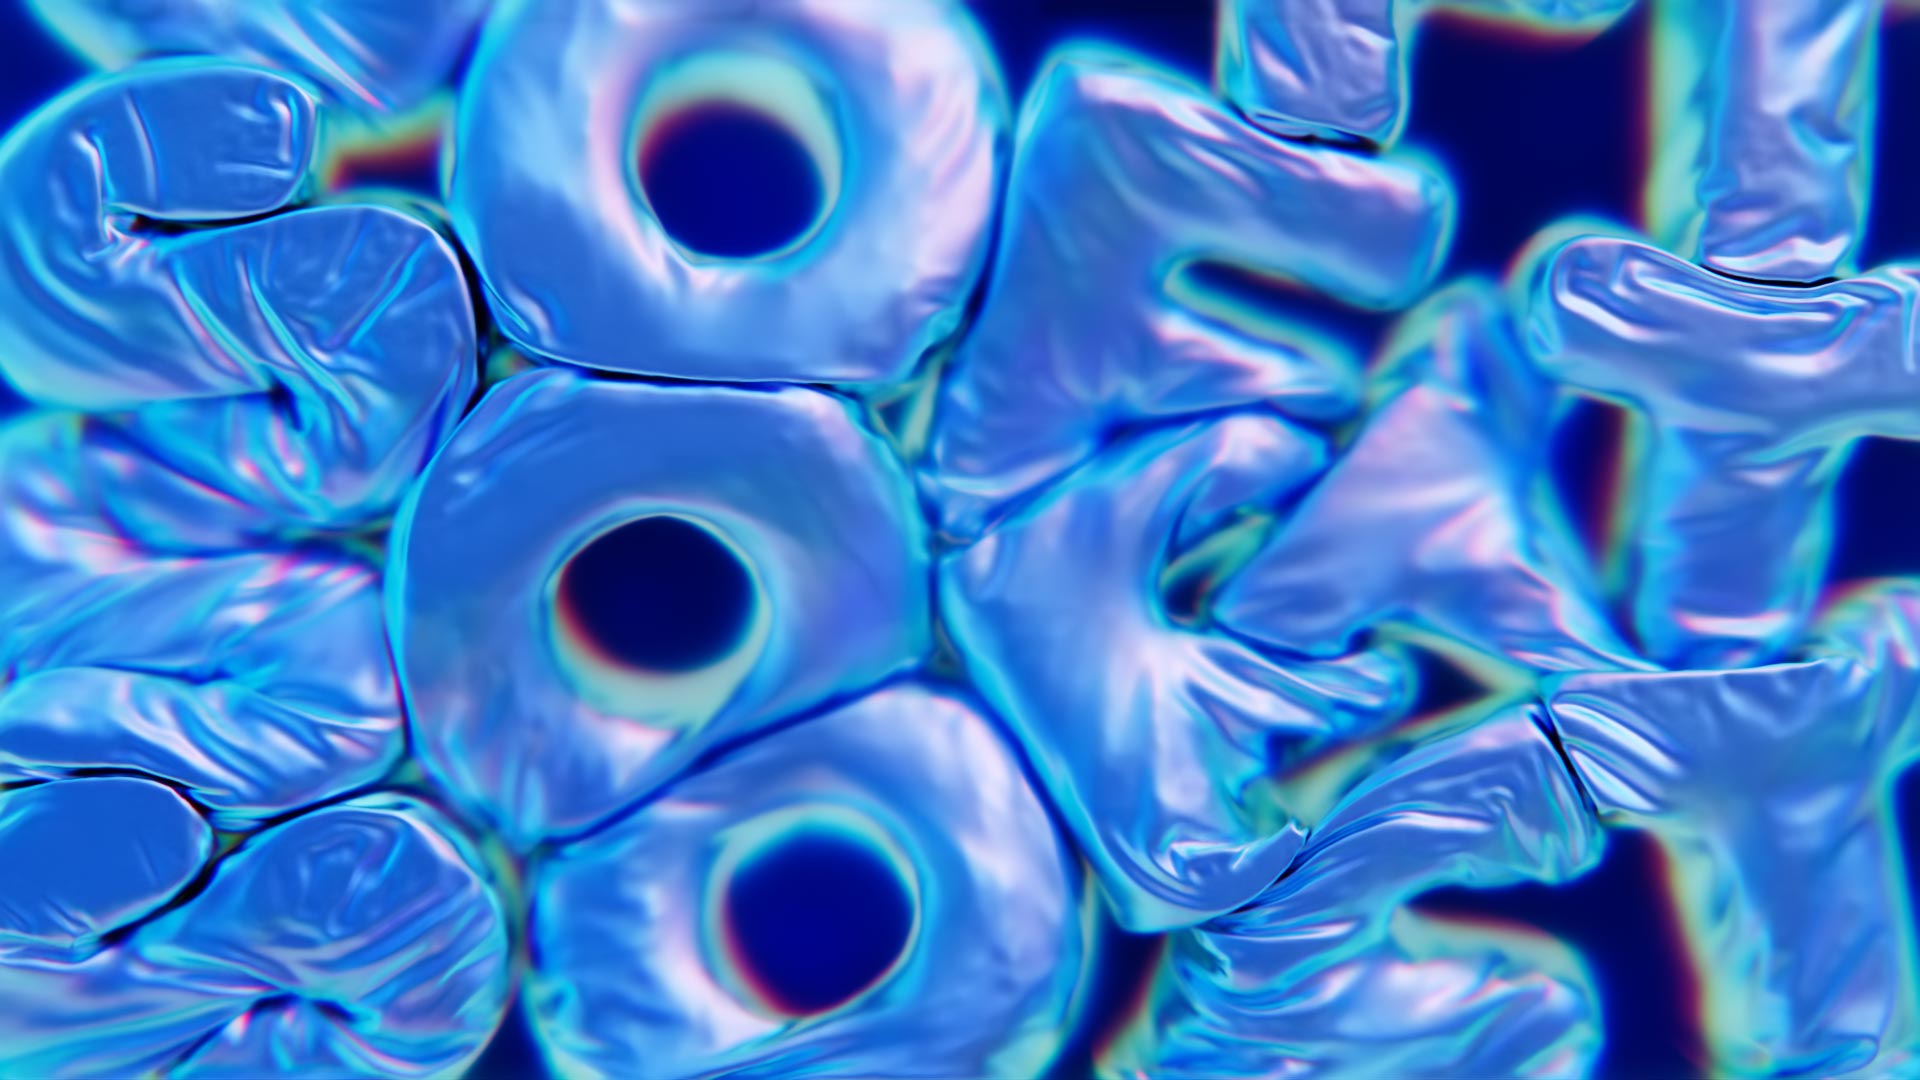
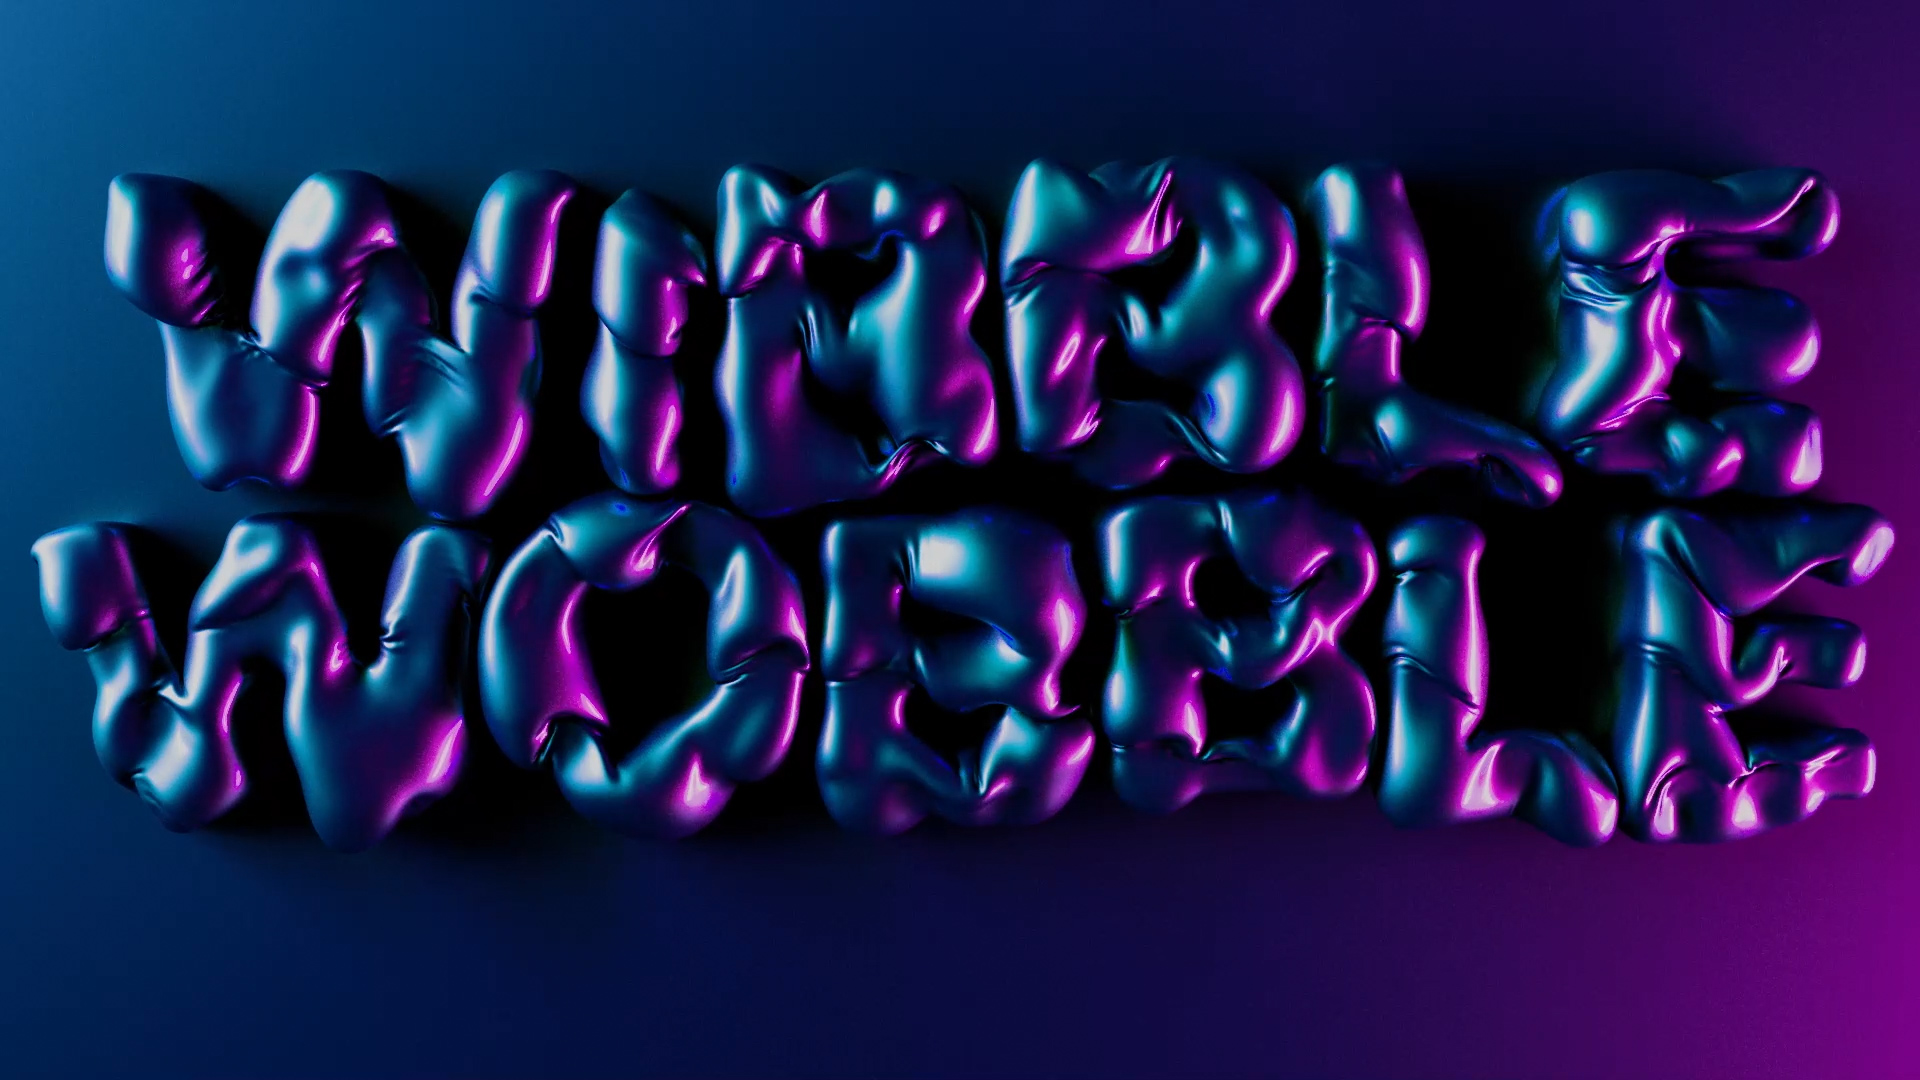
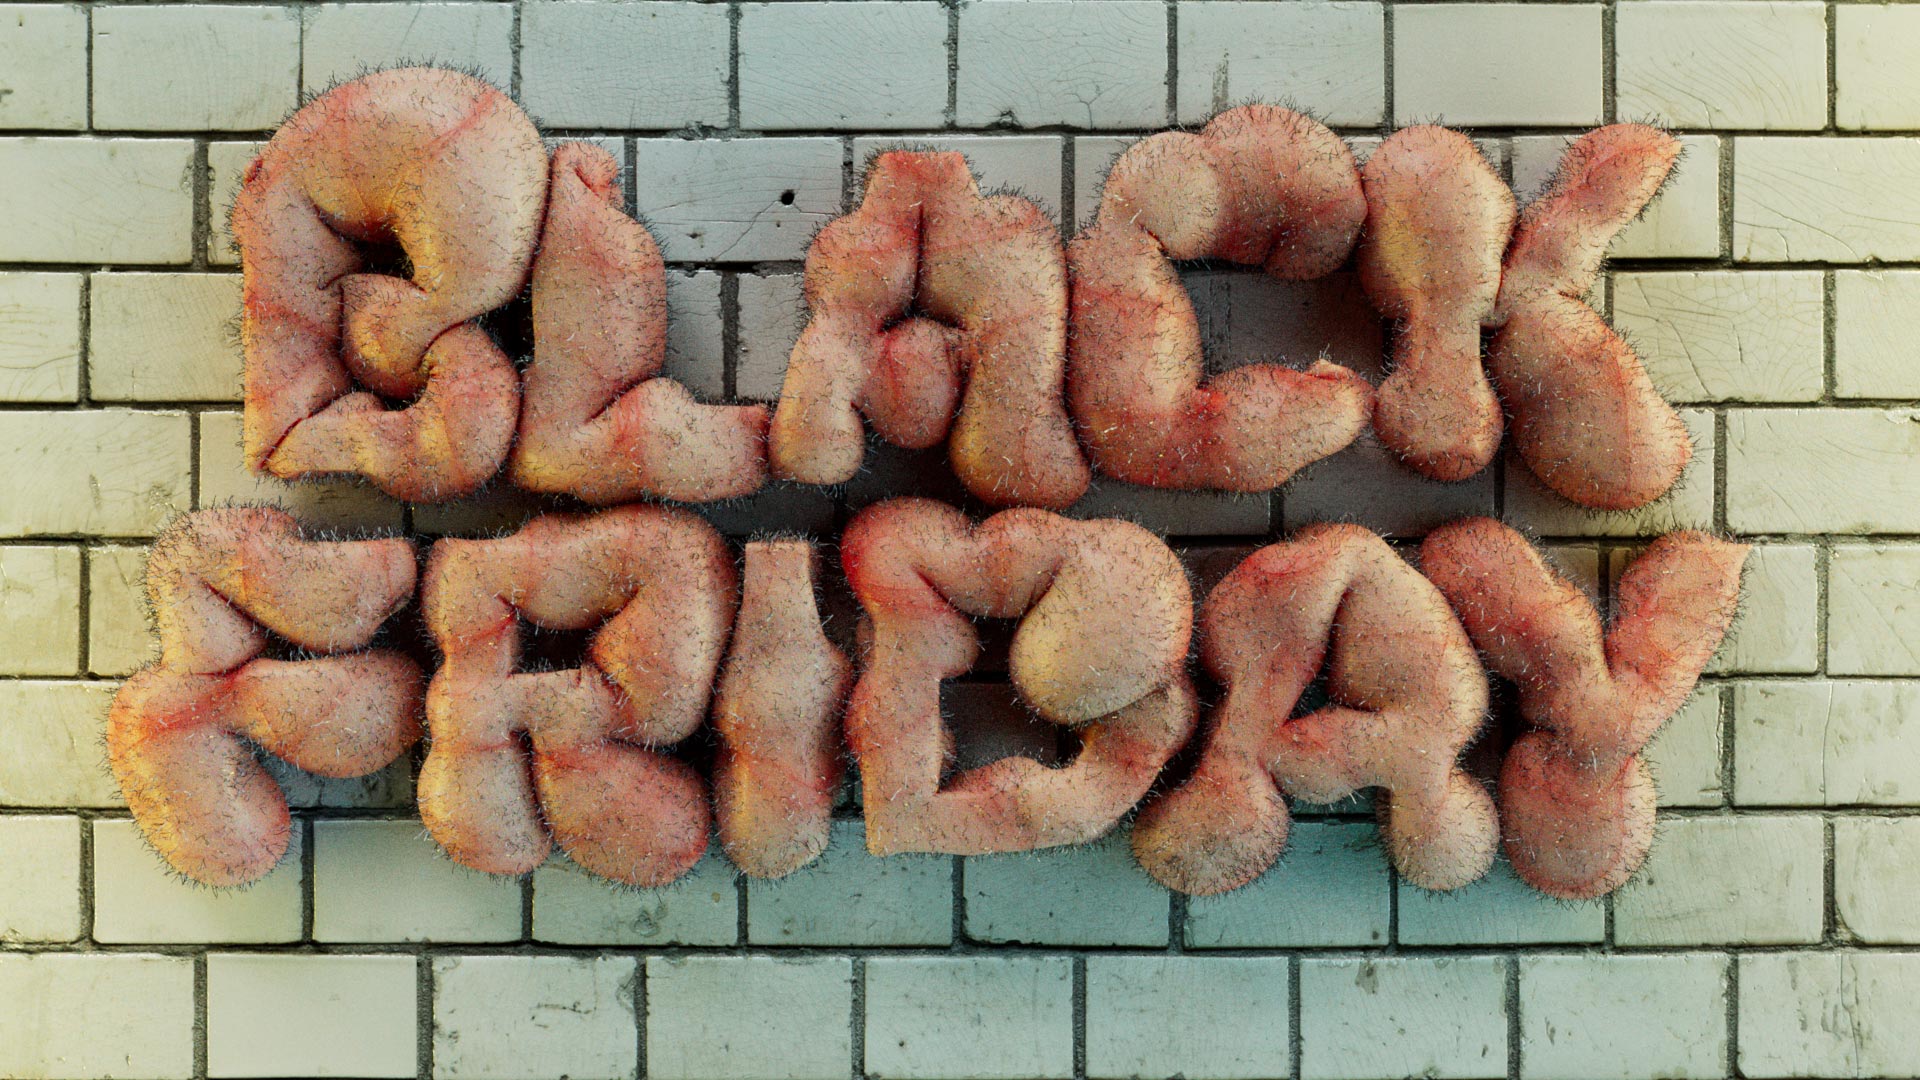
Looping Flesh
Ok, I’m not sure what made me decide this was a good idea, but here it is anyway.. This scene actually uses the Looping Cloth trick from one of our older tutorials. You can watch this by clicking on the link below.
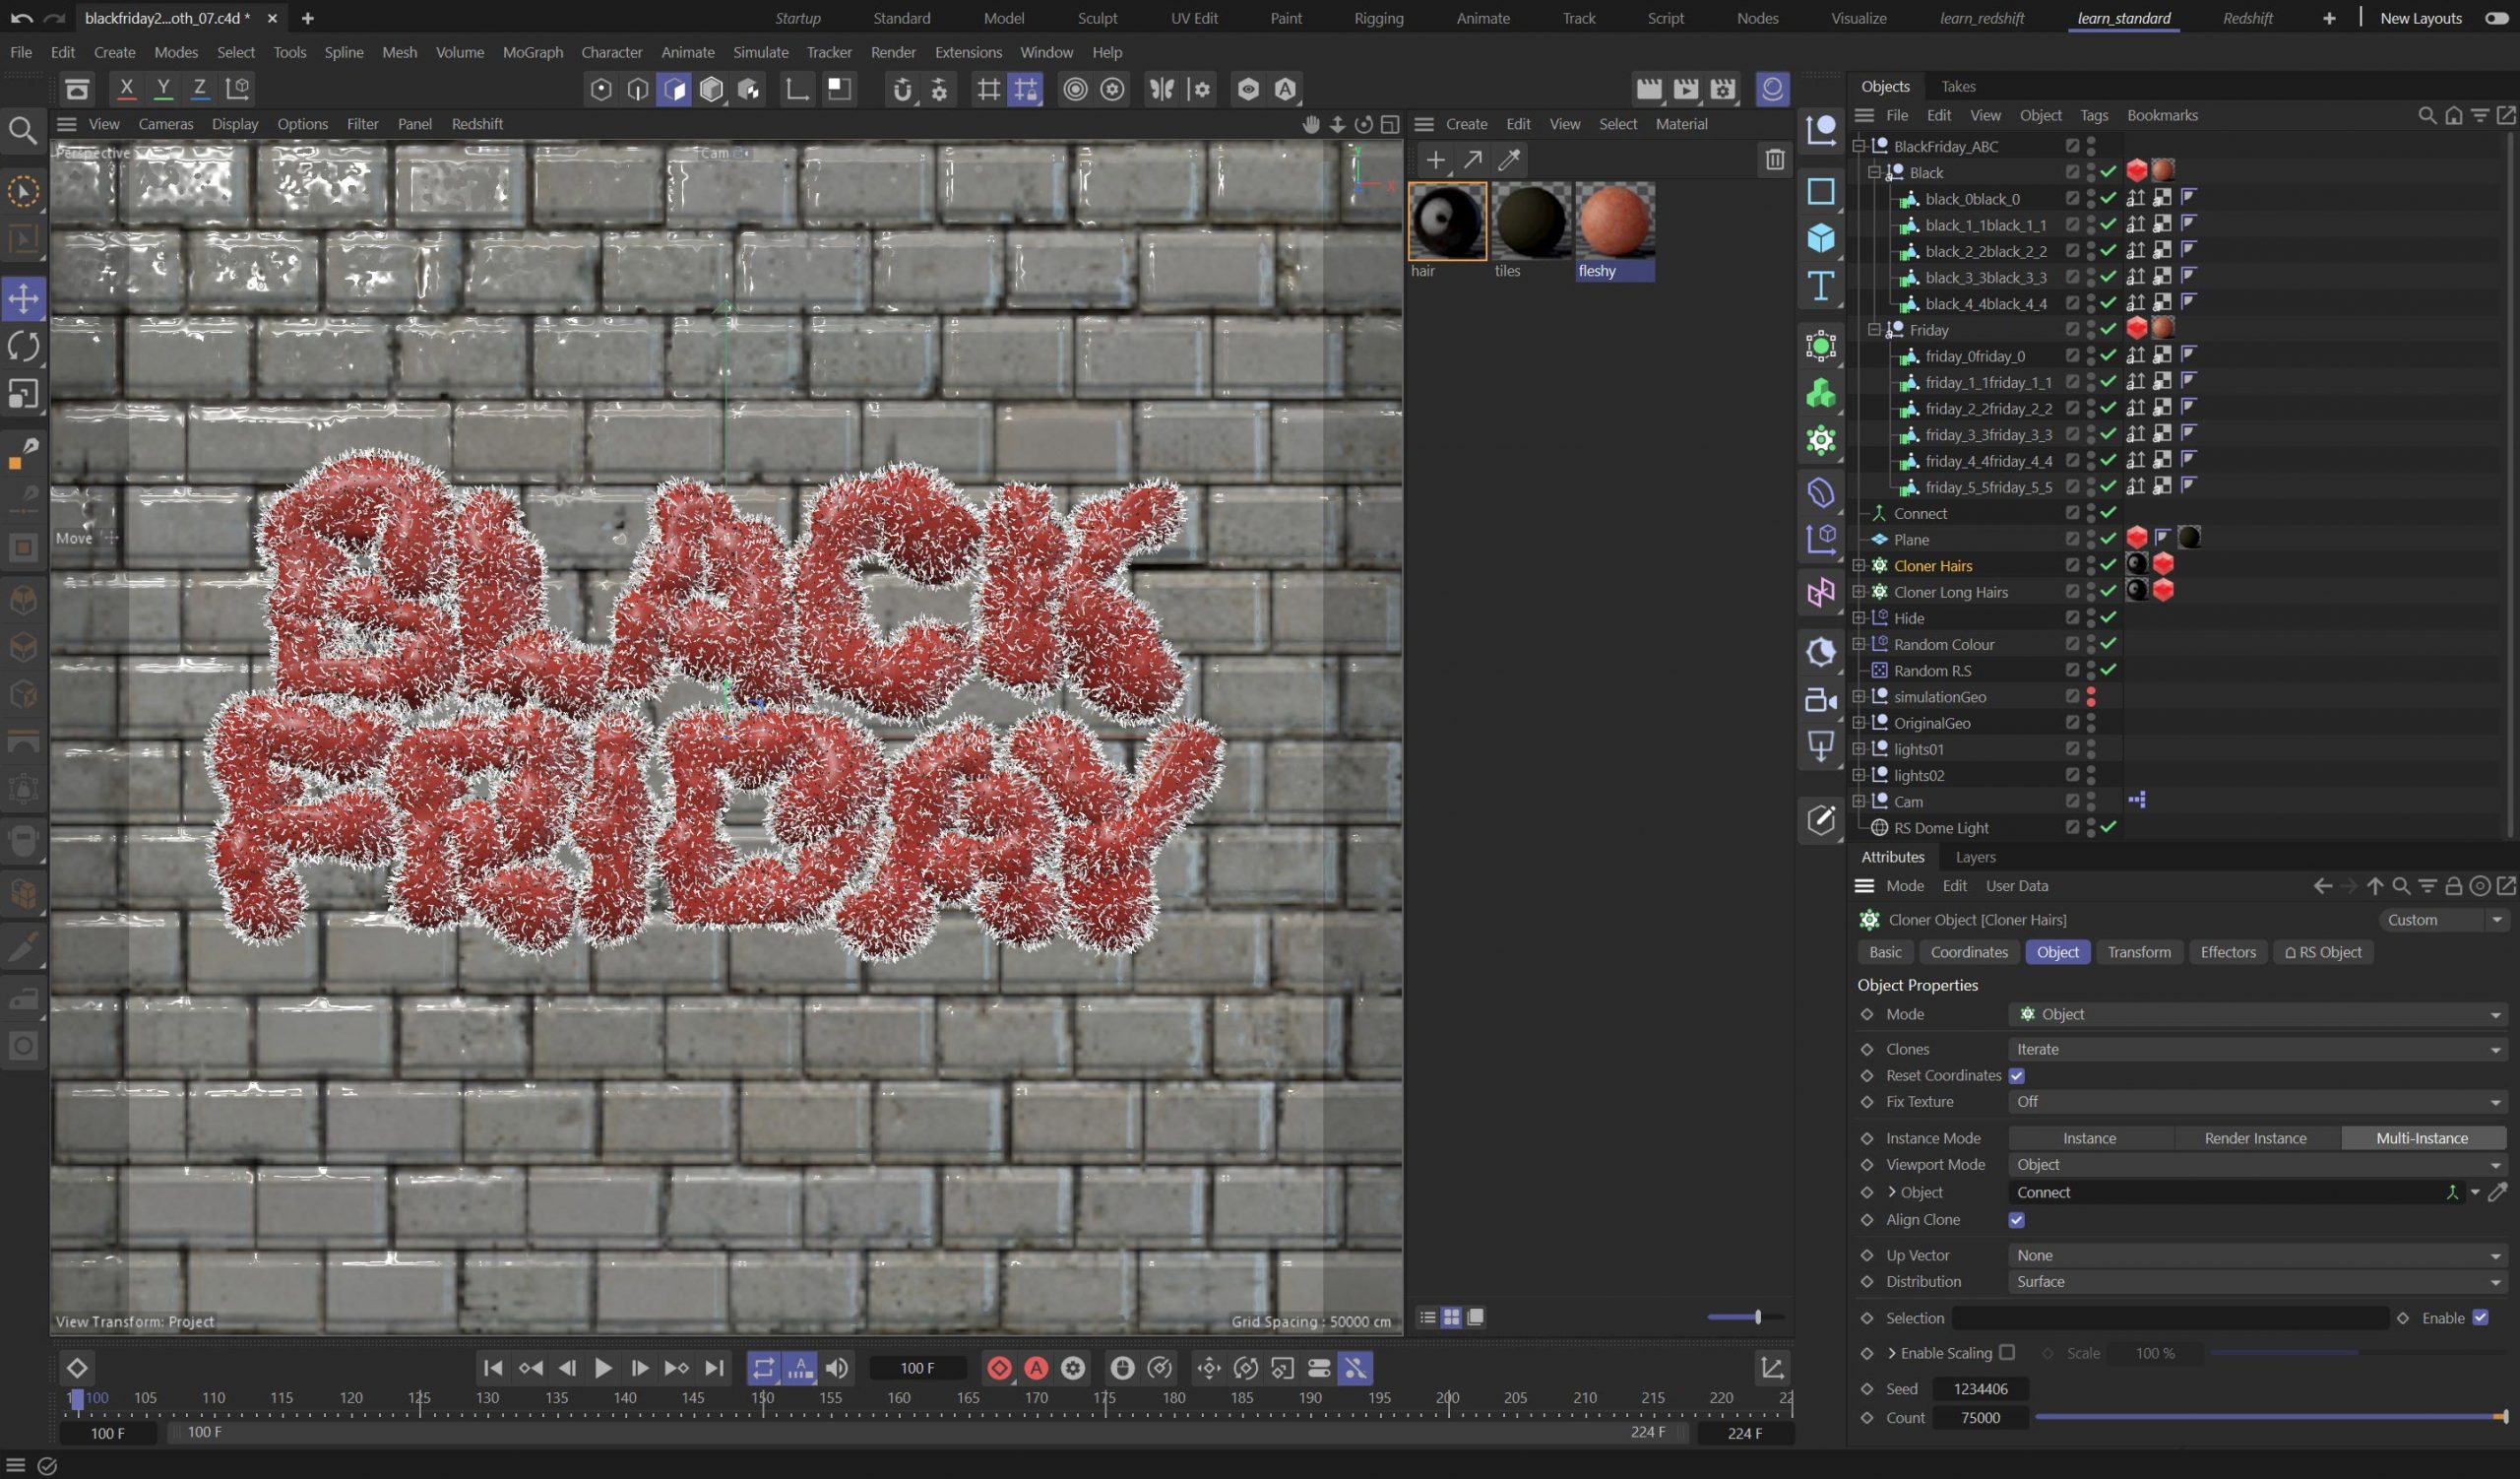
The biggest difference between this project and the tutorial linked below is that this had the addition of small curly hairs and the material has been made to look somewhat fleshy. The original is far more fun and bouncy!
The hair on the objects are actually small splines that have been cloned onto the surface as multi-instances. These use a lot less memory and allow you to clone literally hundreds of thousands of objects. These are rendered using the Redshift Render Tag which allows you to render splines (hurrah!).
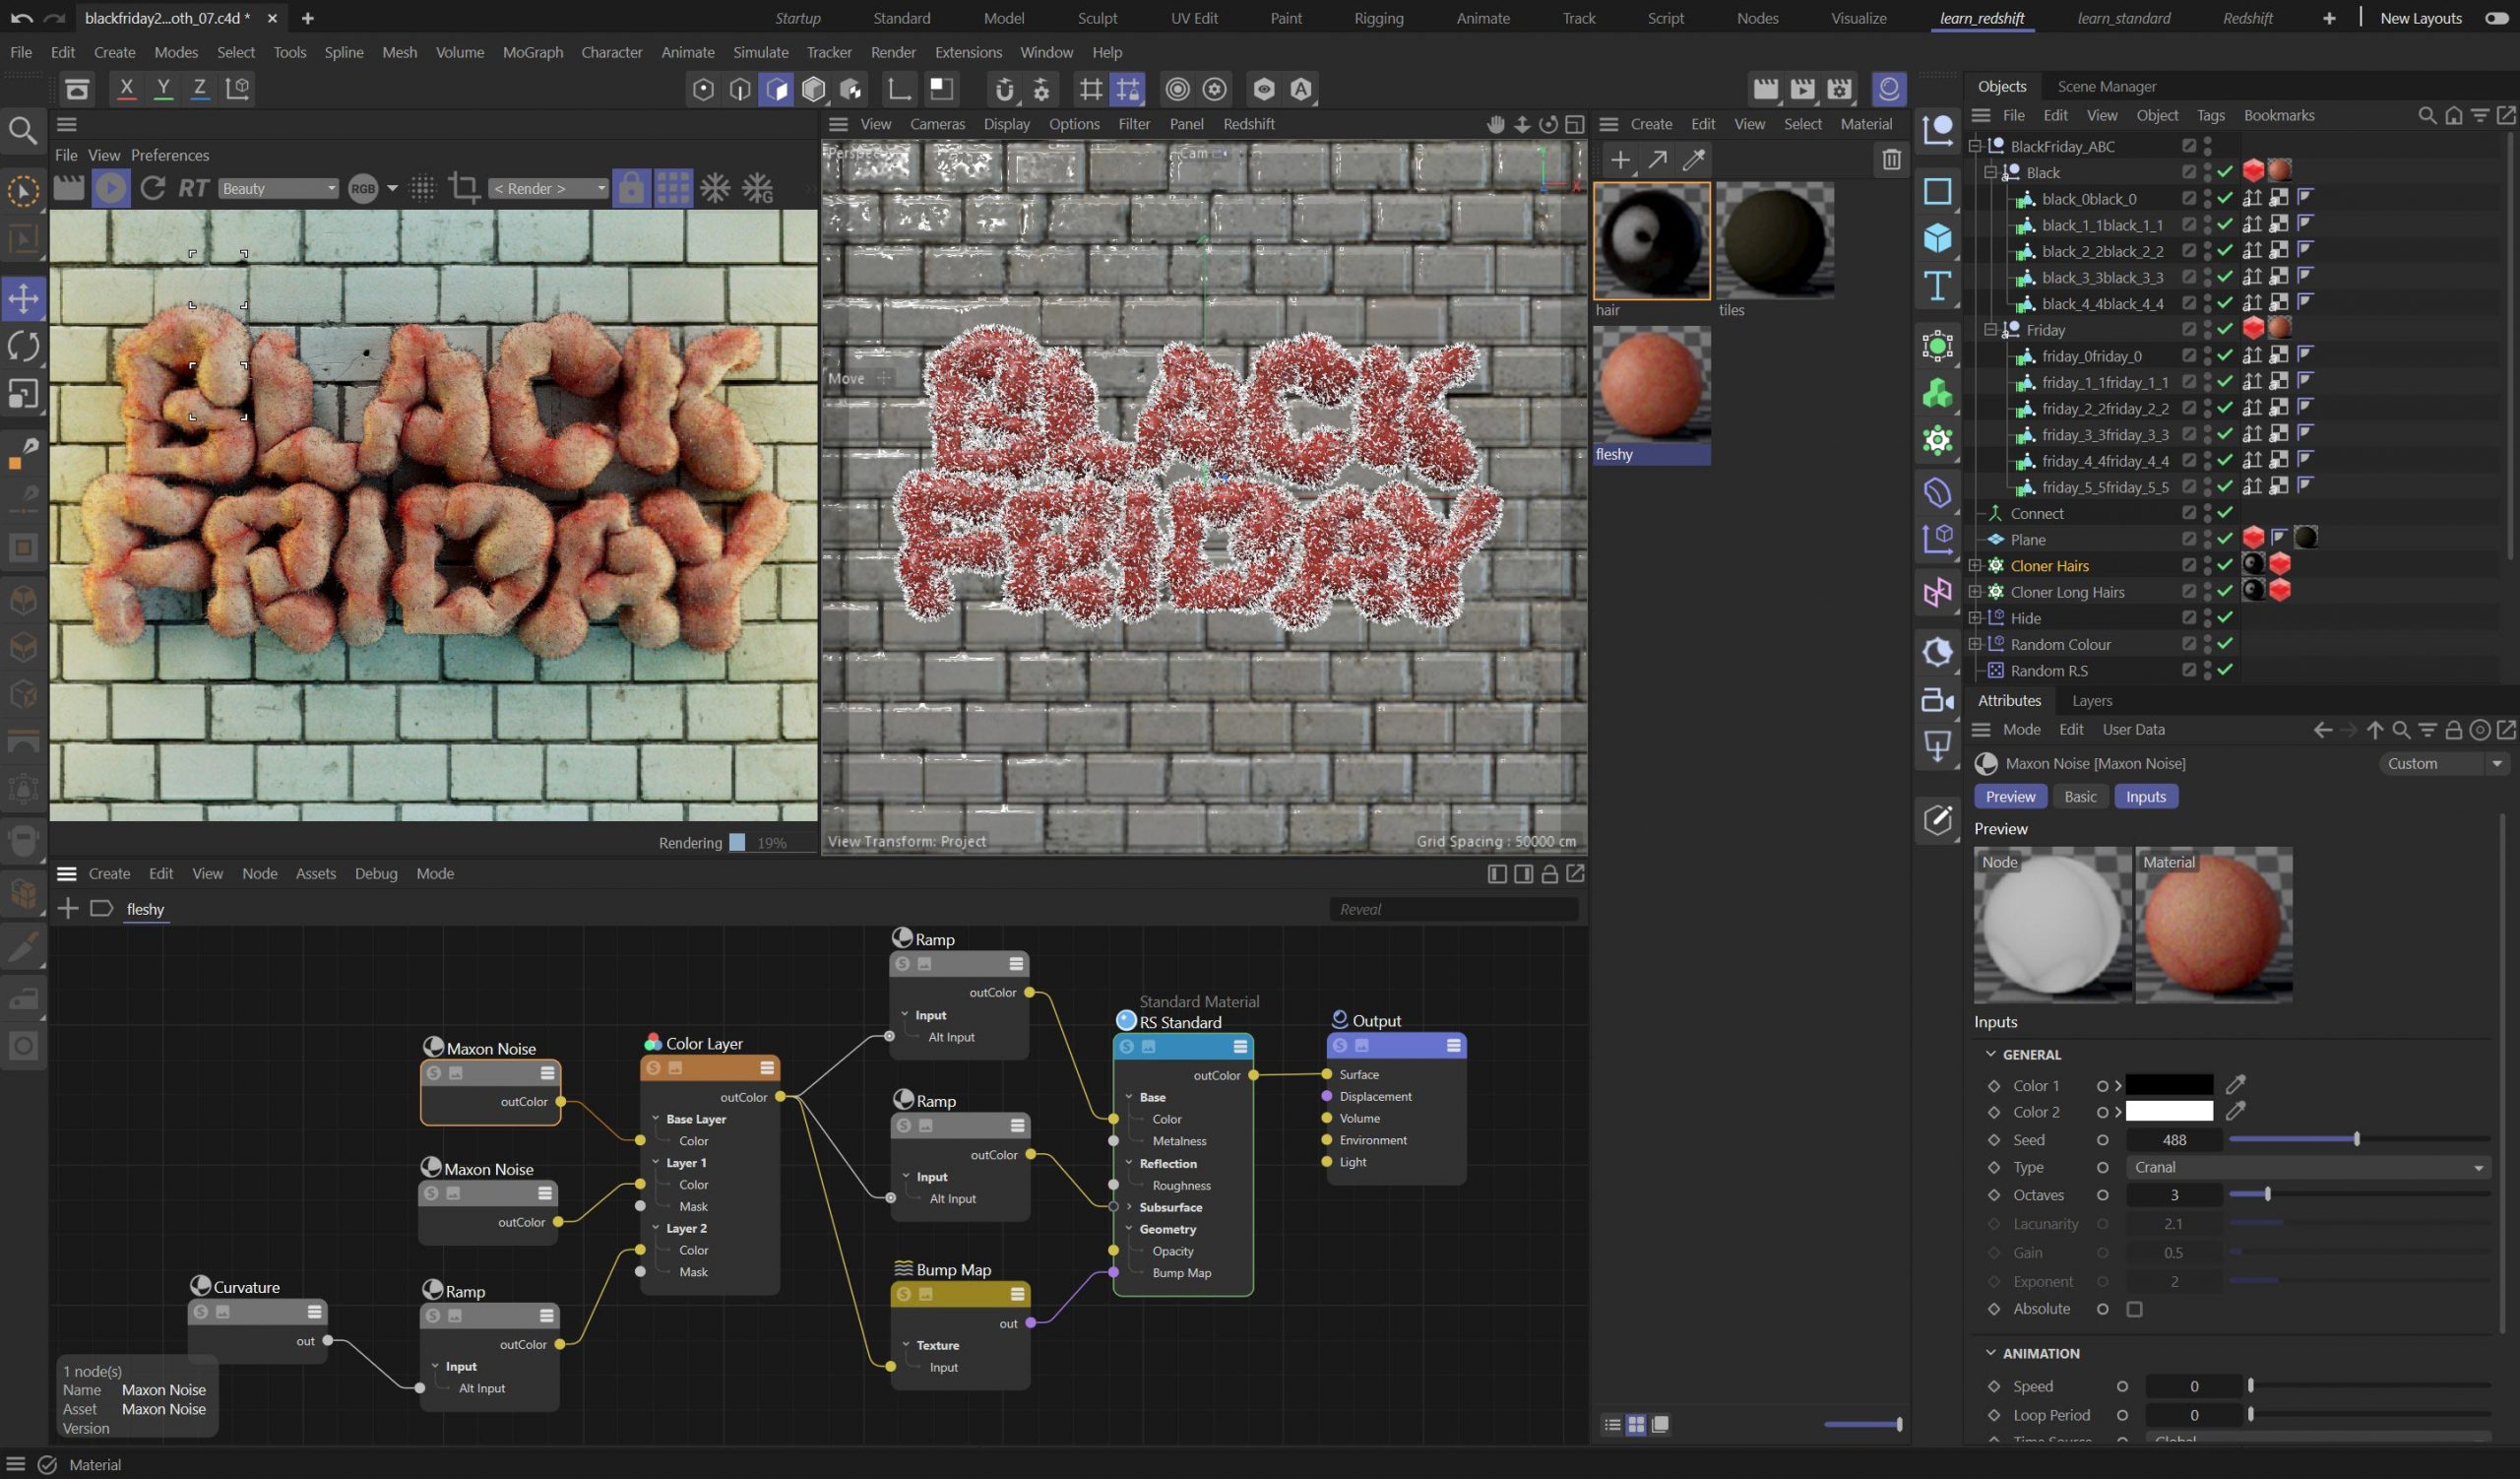
The material used on the type uses Sub-Surface Scattering to create a skin like result. By using Maxon Noise with Cranal as the noise type, you can create a basic vein type result. It is not realisitc but enough to give the impression of organic flesh.
Note that with this file there are several steps involved in making the final result. First the Type is made using the Remesh Object. This is then simulated and saved as Alembic. The C4D project file has all the steps included, but the Alembic file IS NOT included as it is a huge file, around 1.4Gb. You can easily follow the tutorial above and then re-simulate your own type if you want to?
Please note: The project files are created with Cinema 4D 2023.2 and Redshift 3.5, there is no guarantee they will work in the version of Cinema 4D you are using. We accept no responsibility of you using these files. You do so at your own risk!
The Type Spline used in these scenes has been left as a parametric spline, so you can change the type easily. We used Mark Pro as the font, this is a commercial Font, so if you do not hold a license and you change the Type object, it will revert to the C4D default font.
Feel free to use any font or vector artwork you wish, it should work fine. I hope you find these useful!