learn. Intro to Character Rigging in C4D
$45.00
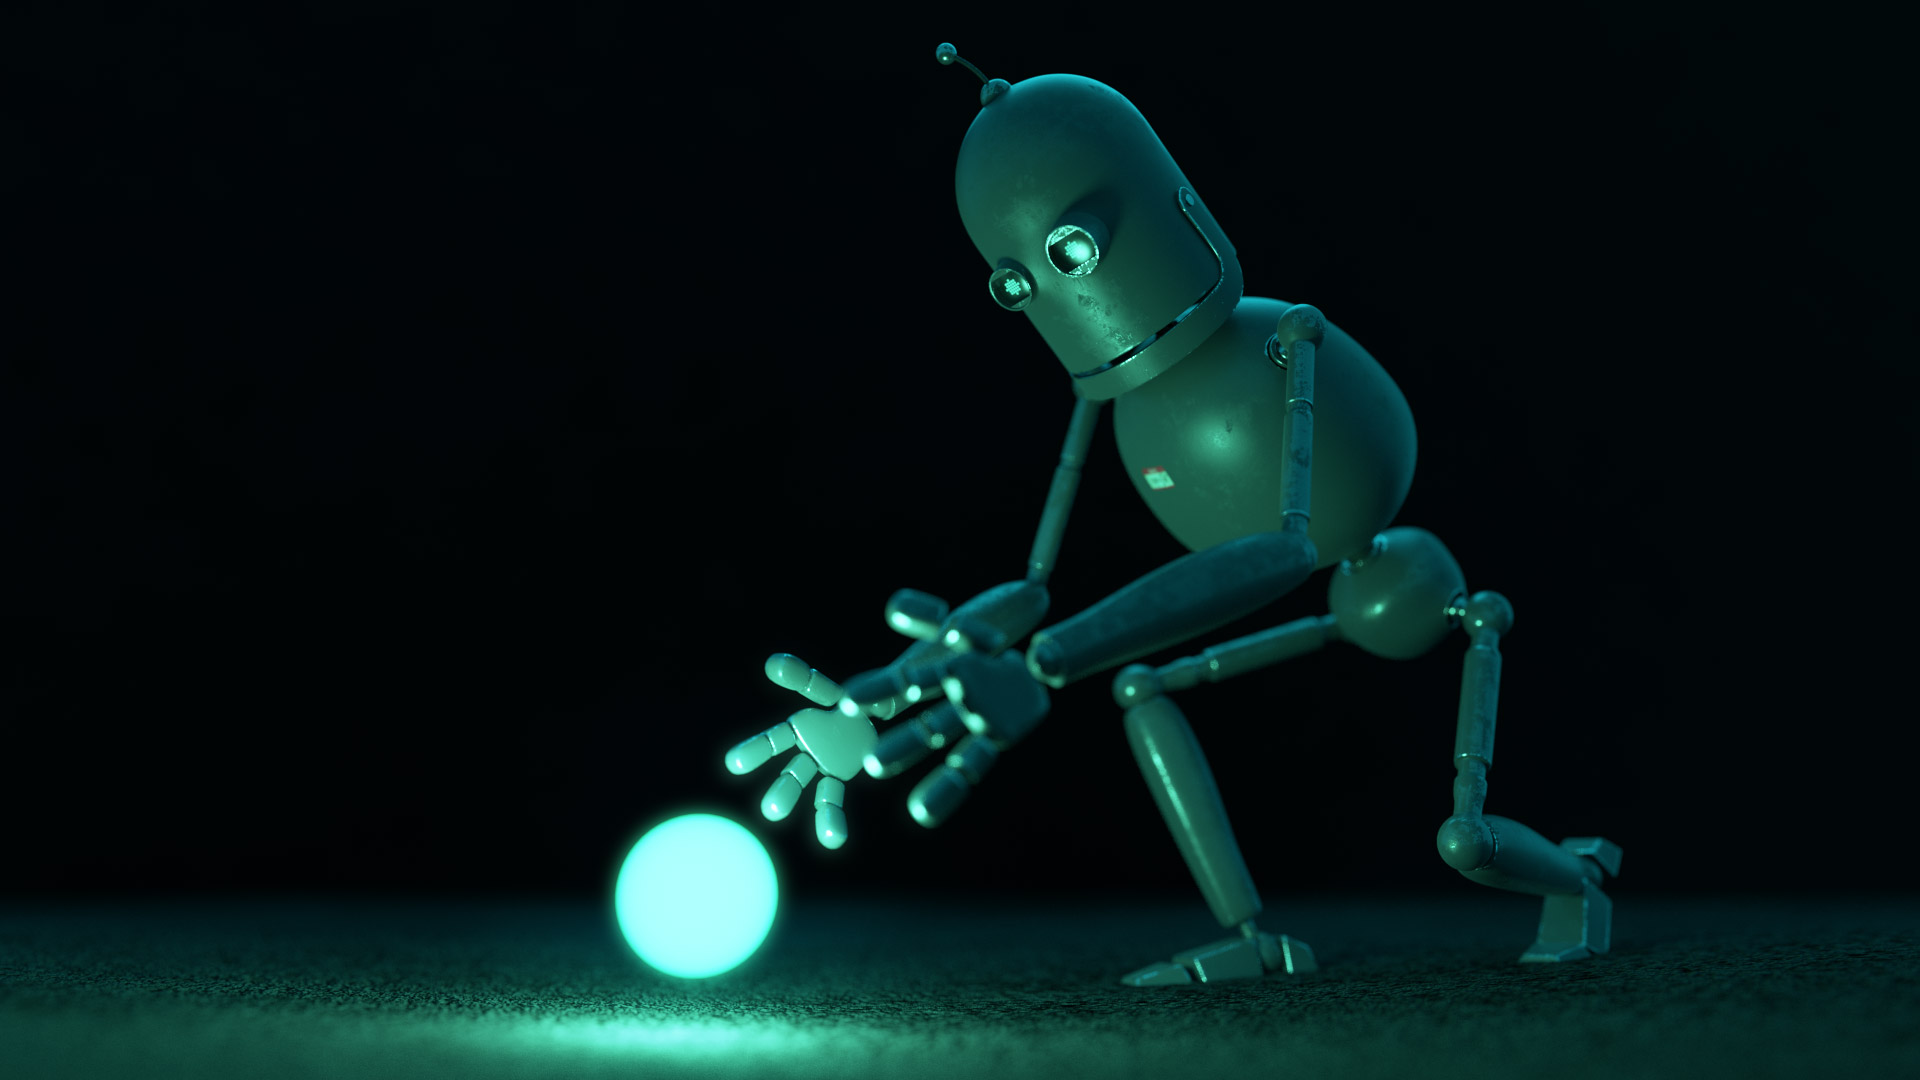
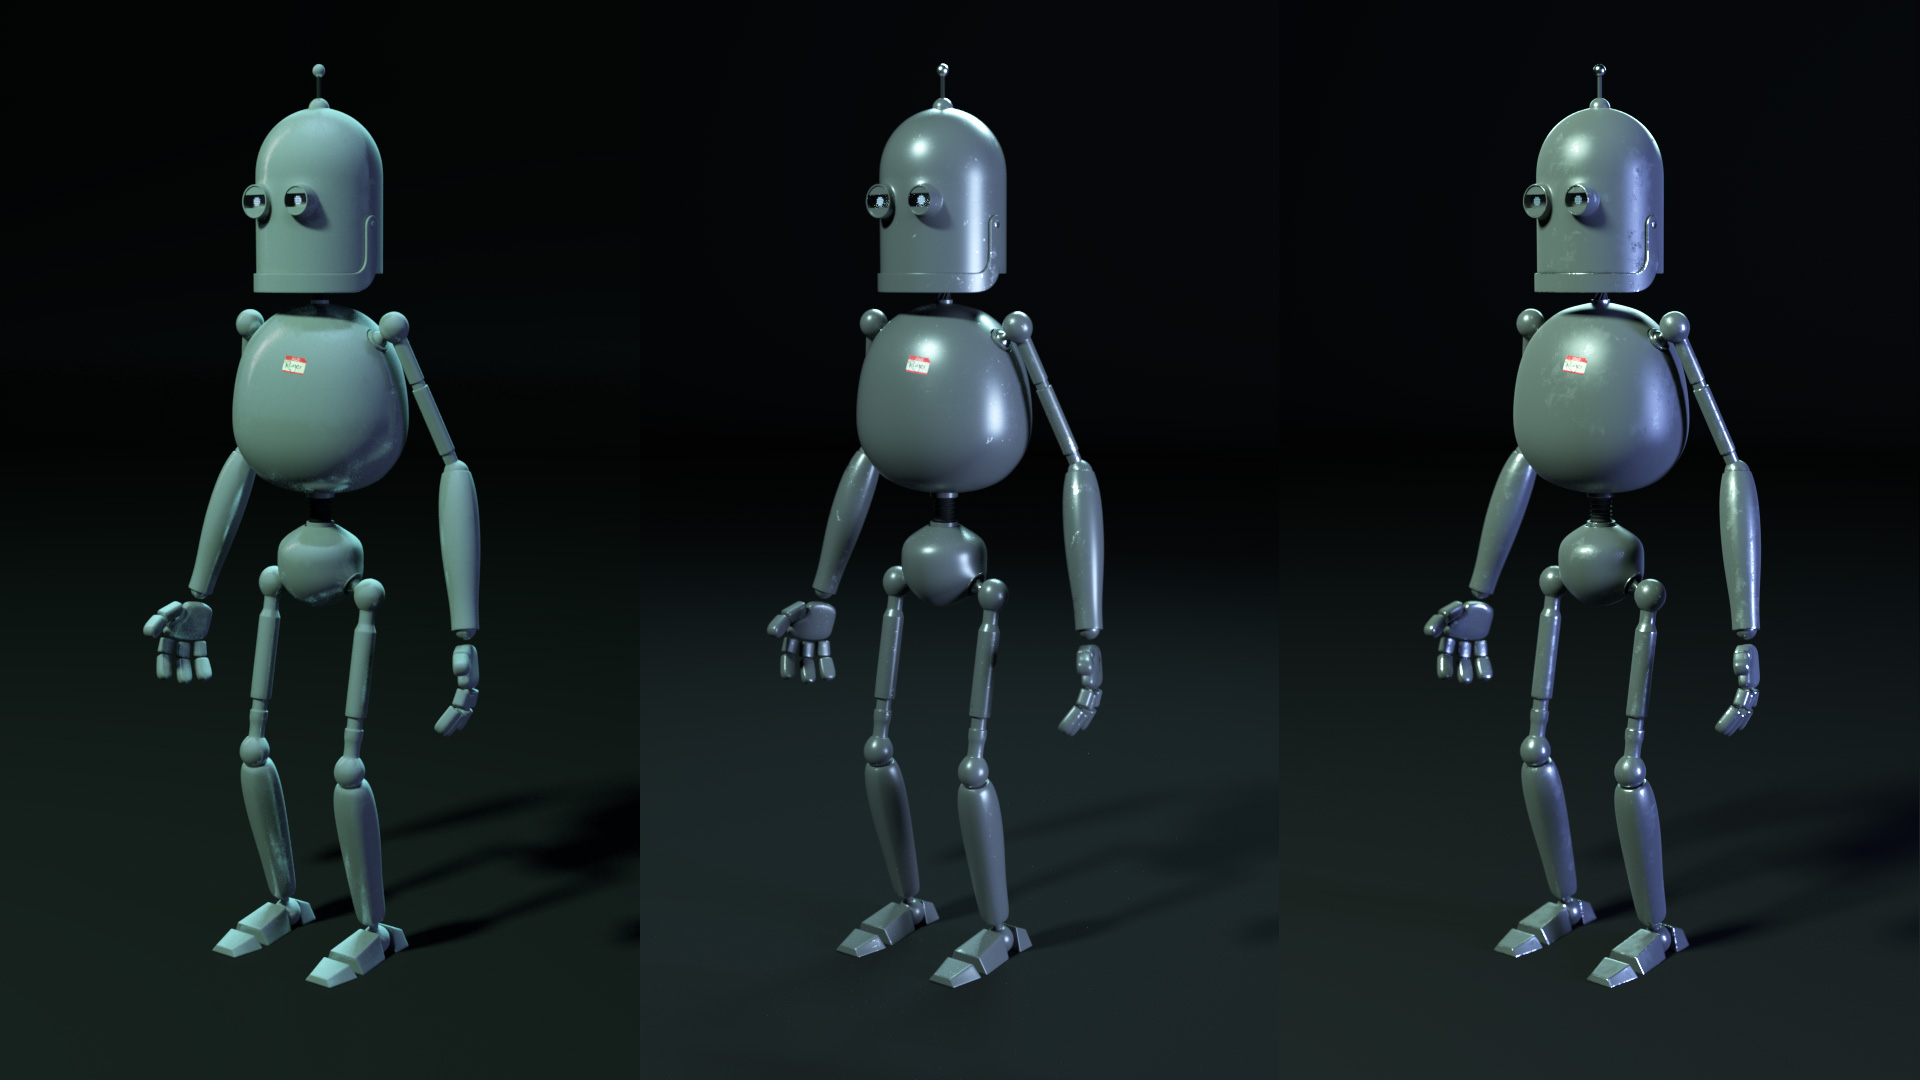
Aimed at users new to rigging, this course will introduce you to character rigging in Cinema 4D. We take you step by step through the process of building a complete character rig. We supply both the base mesh and the final rigged character textured and lit for Cinema 4D’s Physical Renderer, Octane and Redshift Renderers, so you can dive into the rig immediately if you prefer.
The rig itself is primarily a rigid biped using inverse kinematics for the arms and legs. The neck and spine use an alternative approach for rigging by constraining spline vertices to objects. We also introduce the joint tool and weighting for more organic rigging and deformation in other areas of the character.
Along with building the main rig controls, we explore many other fundamentals which will benefit all your work, including constraints, weighting, joints, deformers and xpresso, all essential components when building a solid rig.
Training Summary
C4D character rigging with expert tuition
13 chapters over 3 hours
Fundamental rigging techniques
Full completed rig supplied
Octane, Redshift and Physical material setups
Recommended requirements
Cinema 4D R20 and above
Cinema 4D Studio if you are using a version older than R20, most techniques will still be applicable in older versions.
Aimed at beginners to character rigging.
Some knowledge of Cinema 4D is required.
Duration: 01 min
In this chapter we introduce the training and discuss the contents of the tutorials.
Duration: 19:45 mins
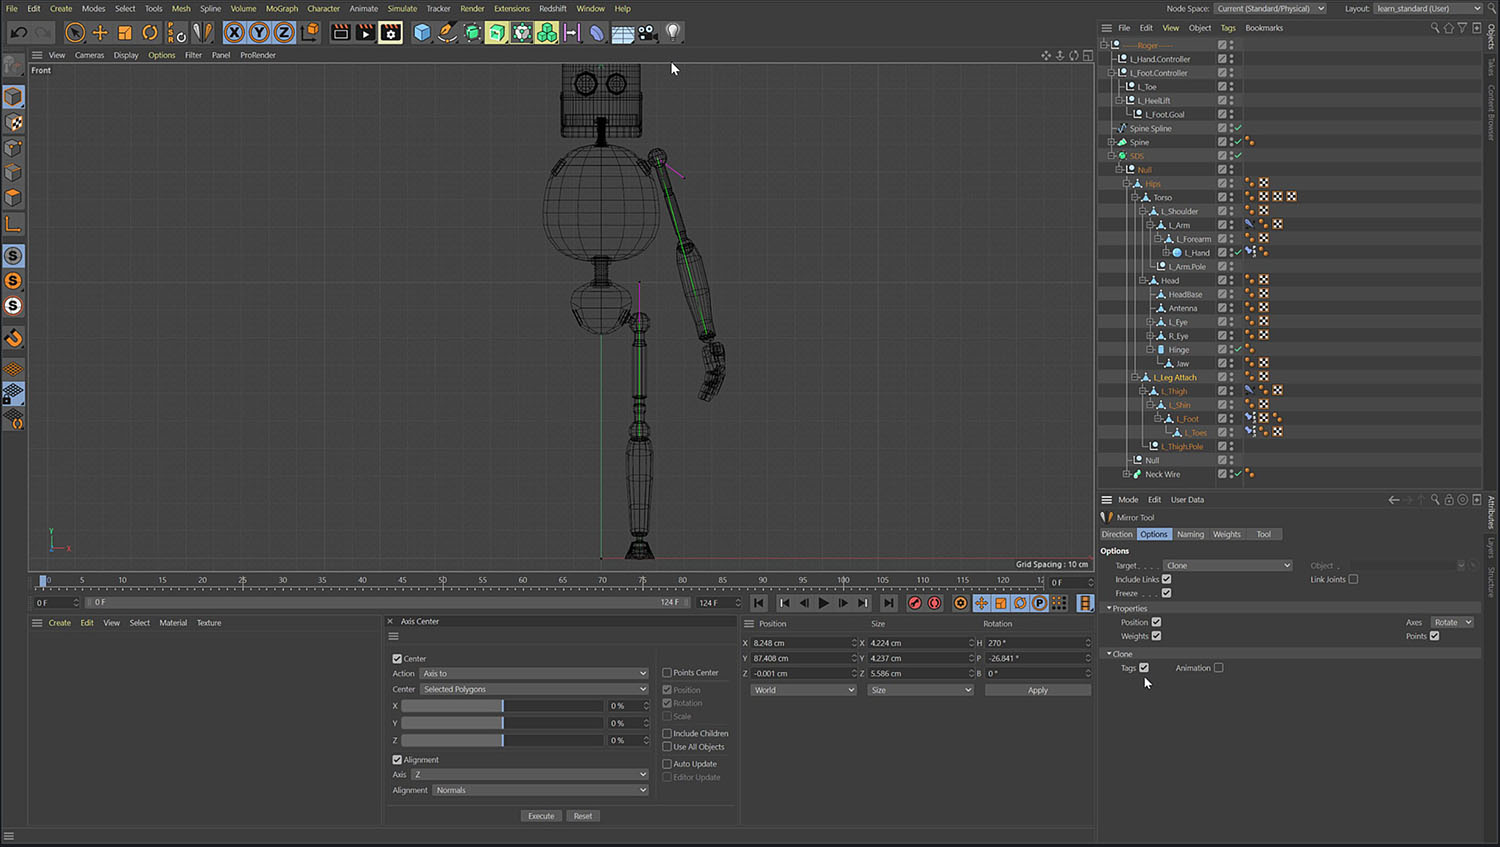
In this chapter we prepare the model for rigging by adjusting the objects axis and reordering the object hierarchy so it is structured correctly for the rig.

Duration: 19:45 mins
In this section we create an Inverse Kinematic setup for the legs. Using the Cinema 4D IK tag to create a goal, we then add pole vectors to help avoid flipping and also to align the knee when posing the character.
Duration: 05:30 mins
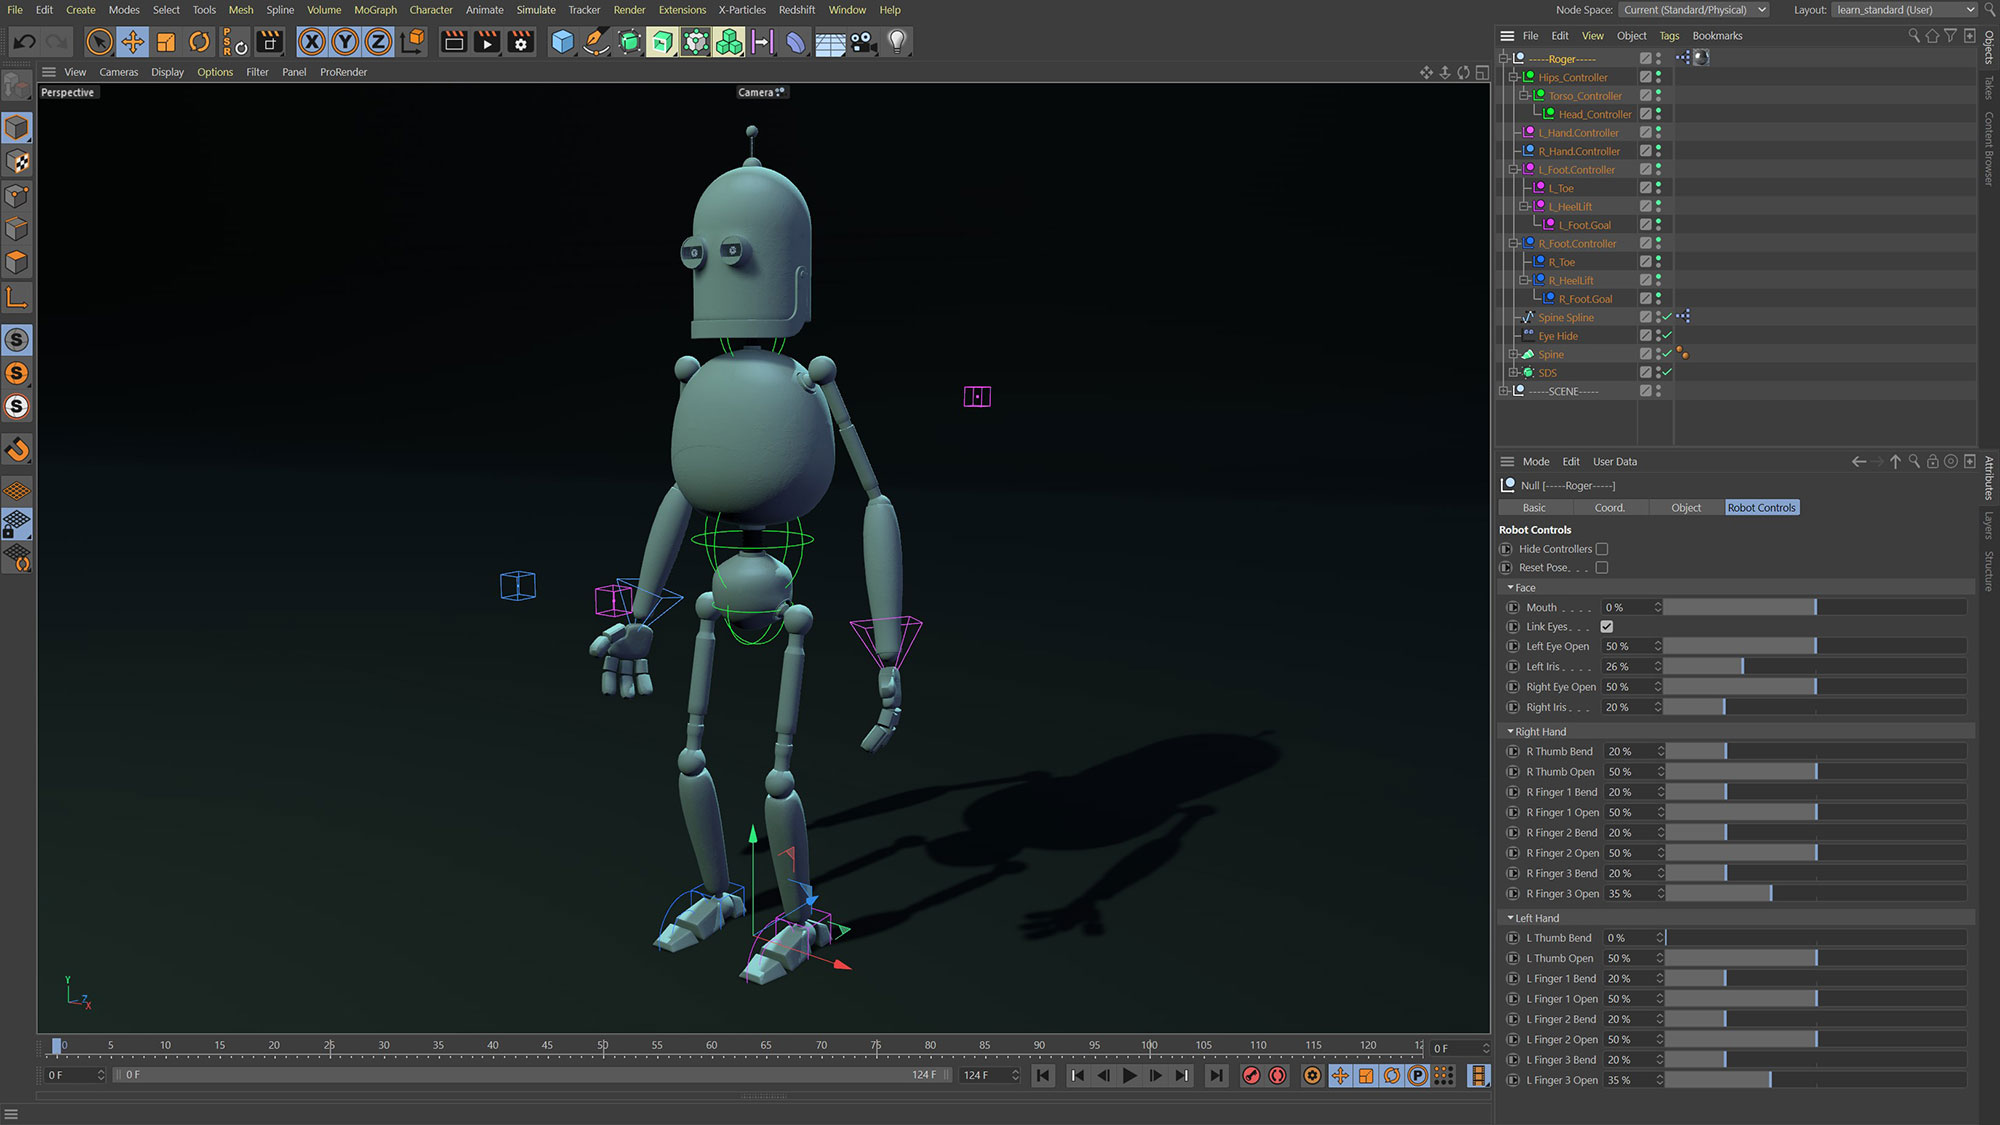
Continuing with the leg rig, we create additional controllers for the feet. We nest several nulls into the foot controller and link with constraints to allow both toe and heel lift.
Duration: 03:30 mins
The arm rig is created using Inverse Kinematics in a similar way to the leg. Using the IK tag and adding in a goal for the hand and pole vector to help align the elbows.
Duration: 05:45 mins
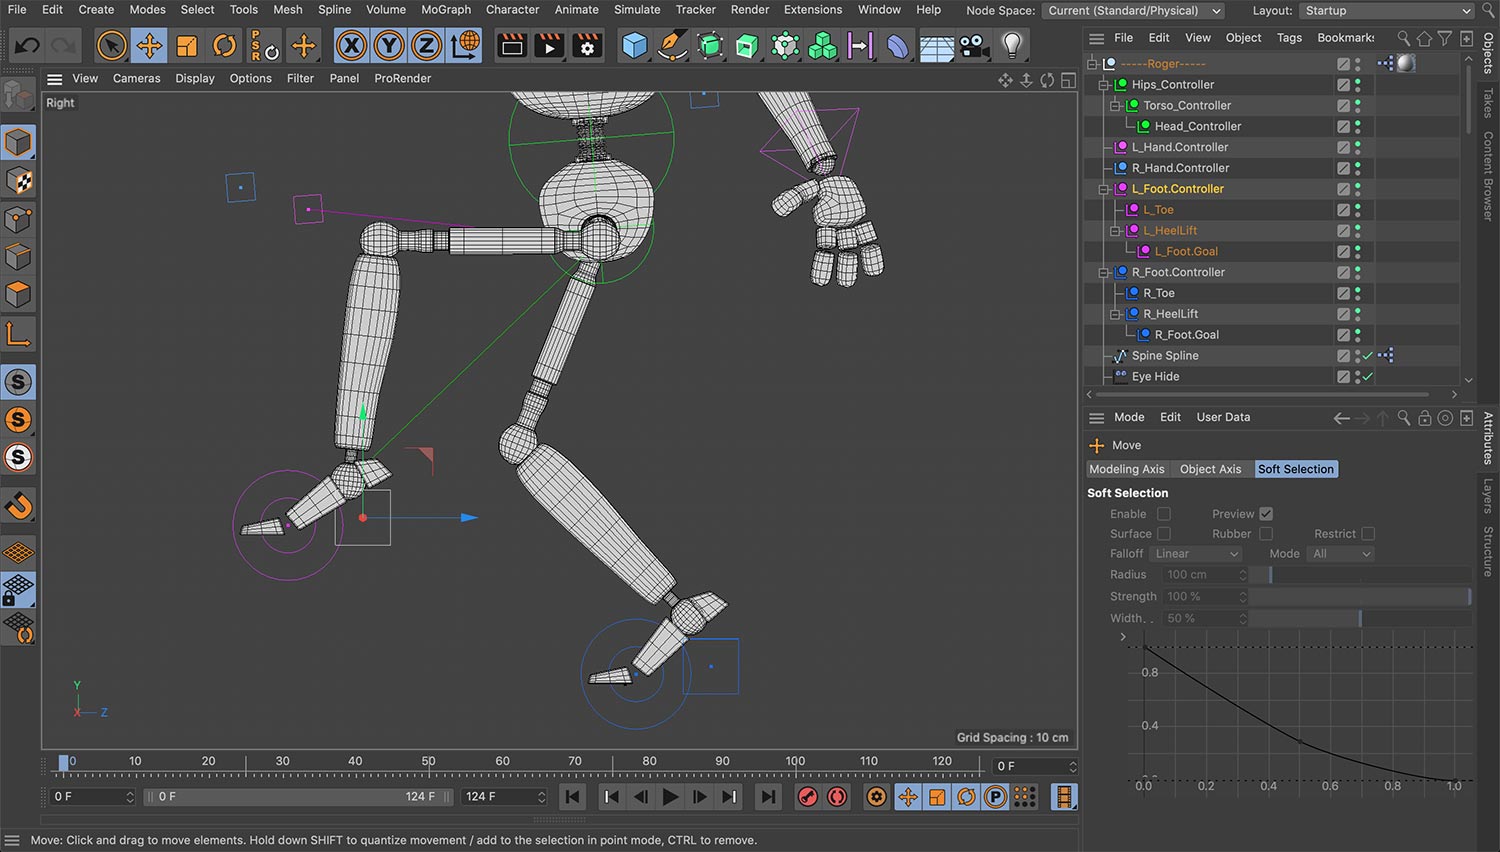
With both leg and arm rig in place, we duplicate and flip the IK rig to the other side of the character using the mirror tool. The result is then adjusted so that the additional foot controllers we created are functioning correctly on both sides of the rig.
Duration: 30:35 mins
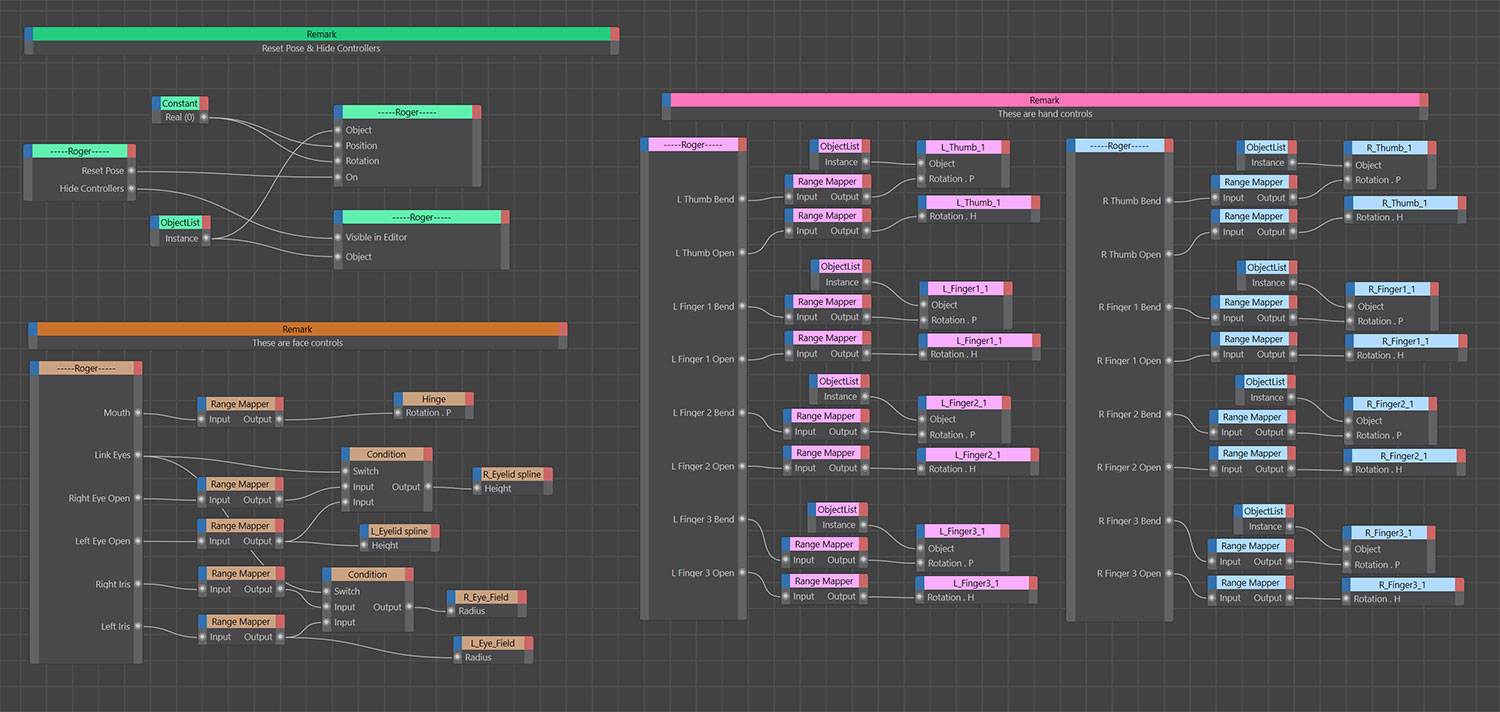
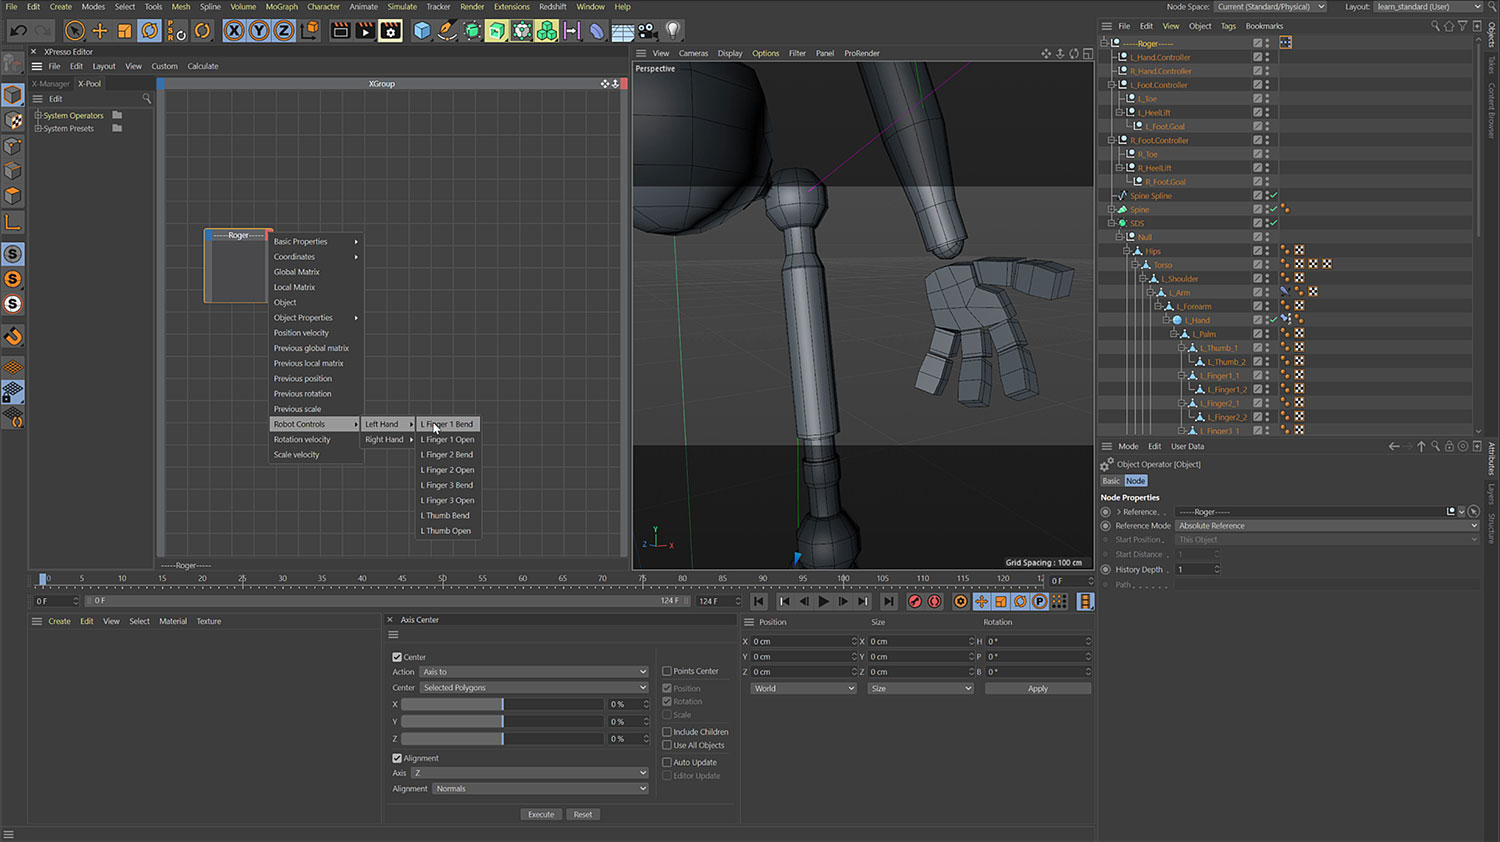
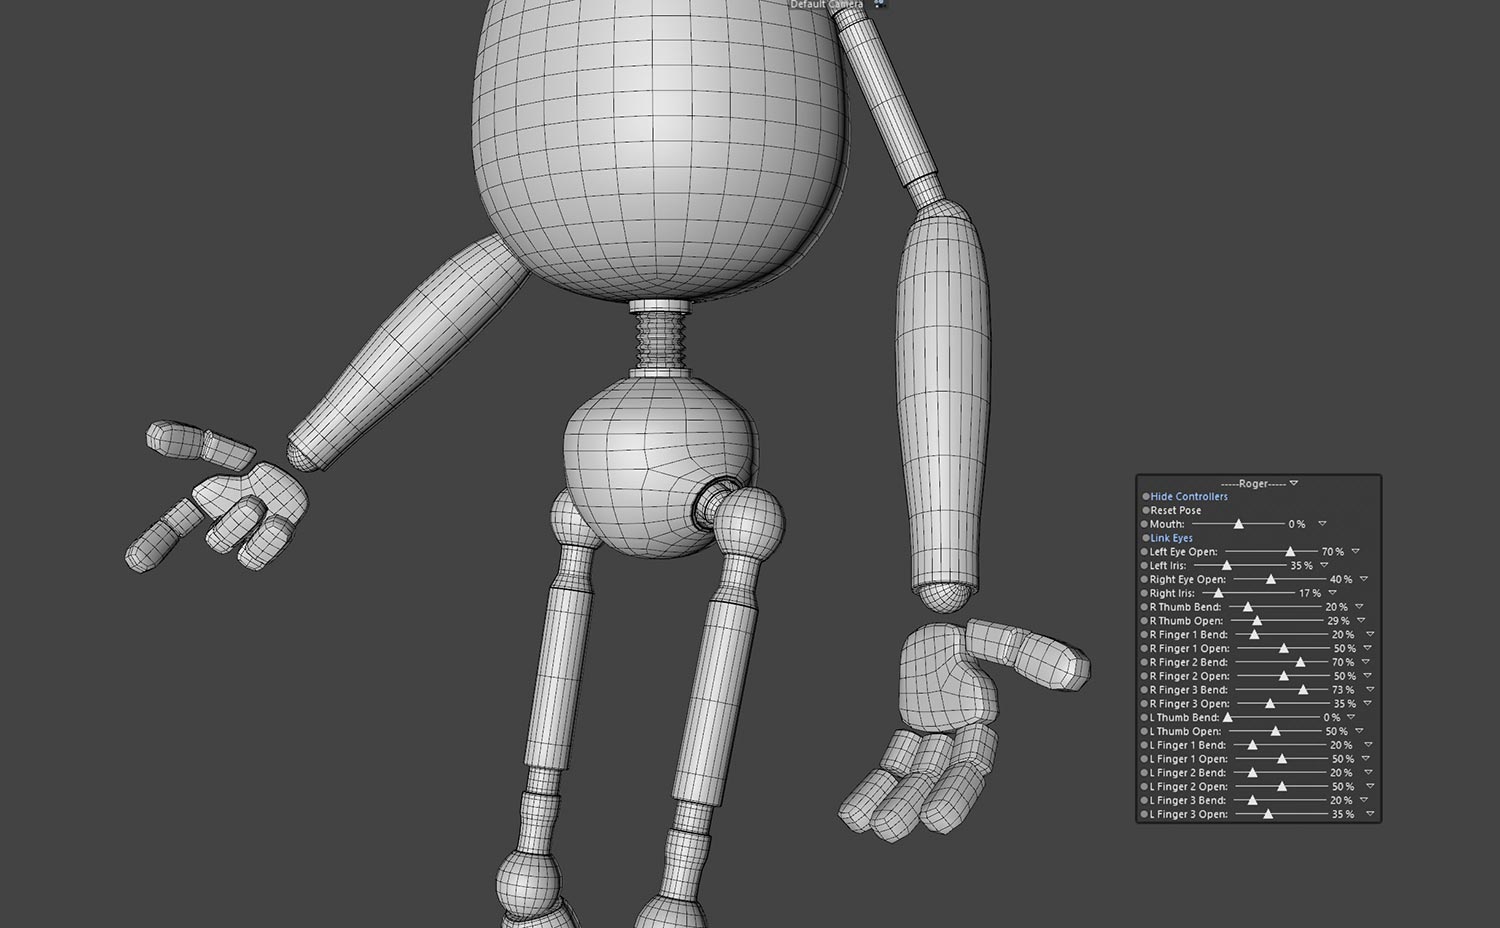
To rig the hand we introduce user data and set up sliders for each finger and thumb then link the sliders to the rotation of the fingers via Xpresso.
Duration: 22:30 mins
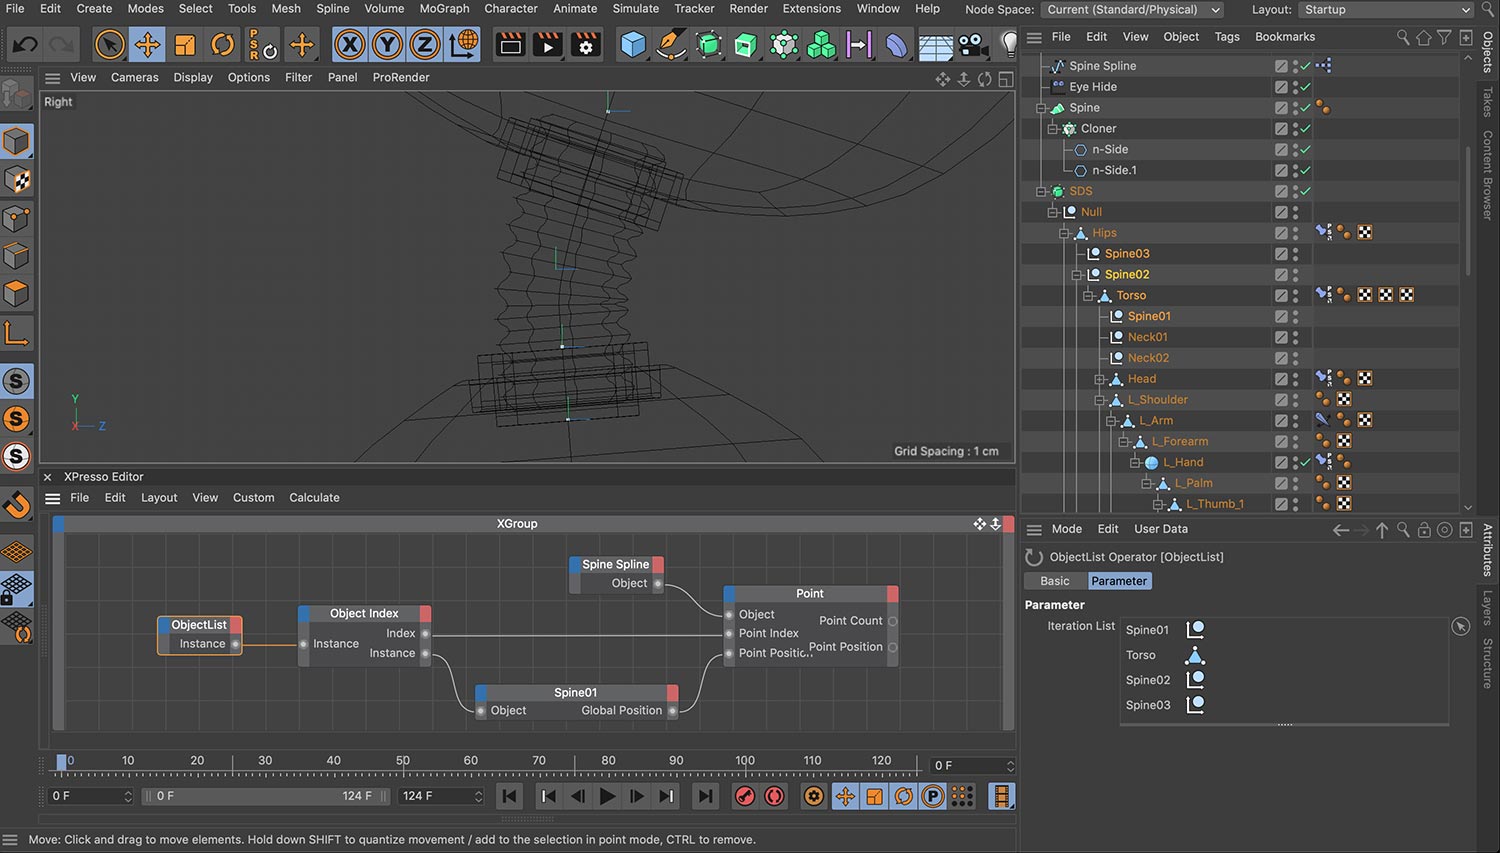
Both spine and neck require a custom setup to manipulate the splines which control the geometry they are modelled from. We link the position of objects within the rig to the vertices on the splines so that the spline will bend and move with the body parts. For the neck we add an additional expression to control the twist of the geometry based in the rotation of the head.
Duration: 12:00 mins
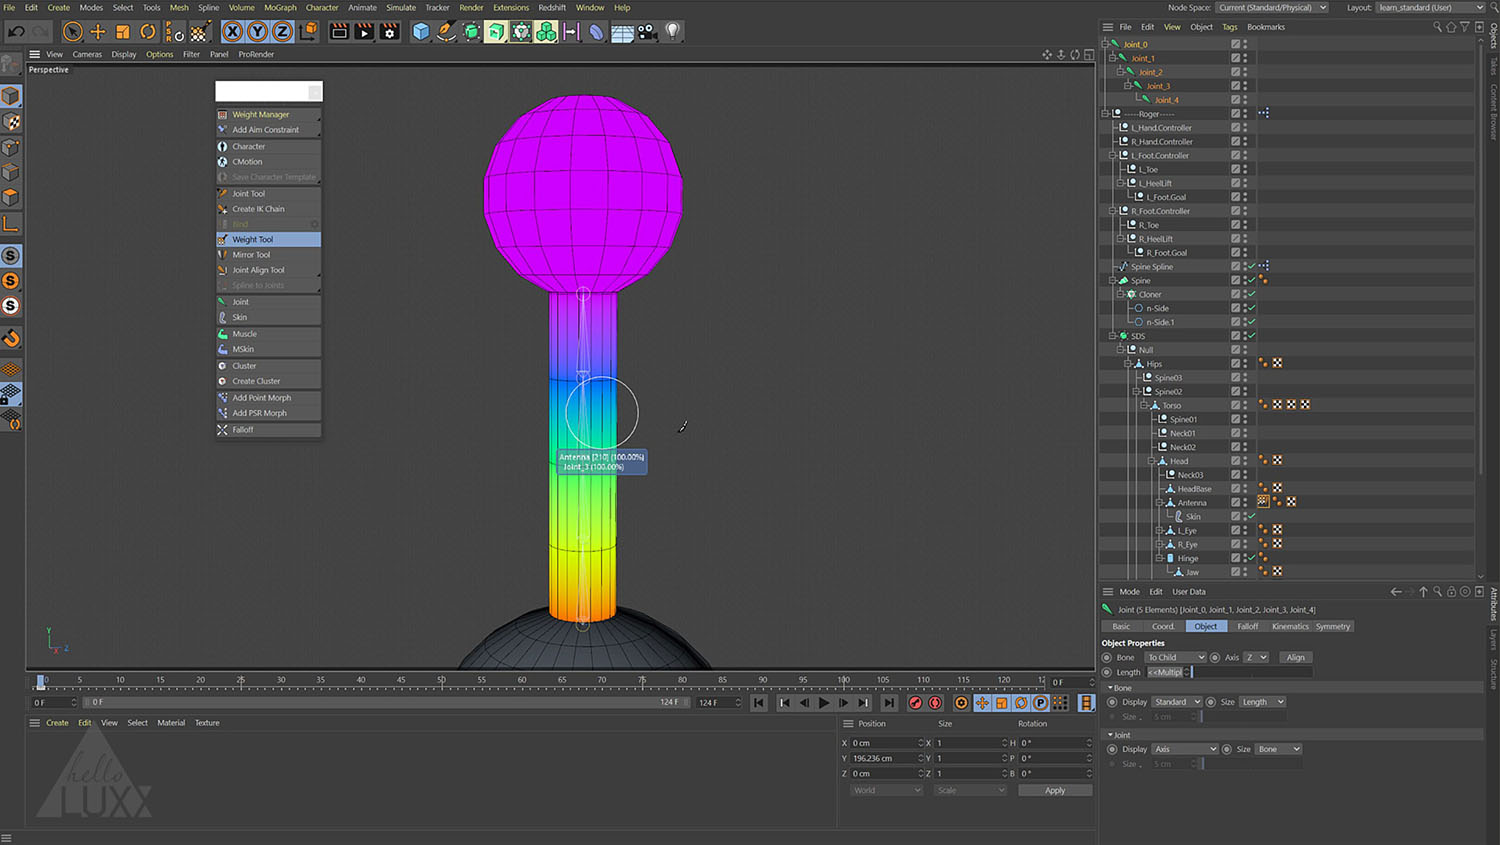
We create an auto-animating antenna using IK dynamics for the top of the robot’s head. We use the joint tool for creating the joint chain, then bind this to the mesh using the Skin deformer. Finally we adjust the weighting of the joints with the weight tool. This section offers a simple introduction to organic rigging techniques without the overhead of weighting a complete character.
Duration: 22:00 mins
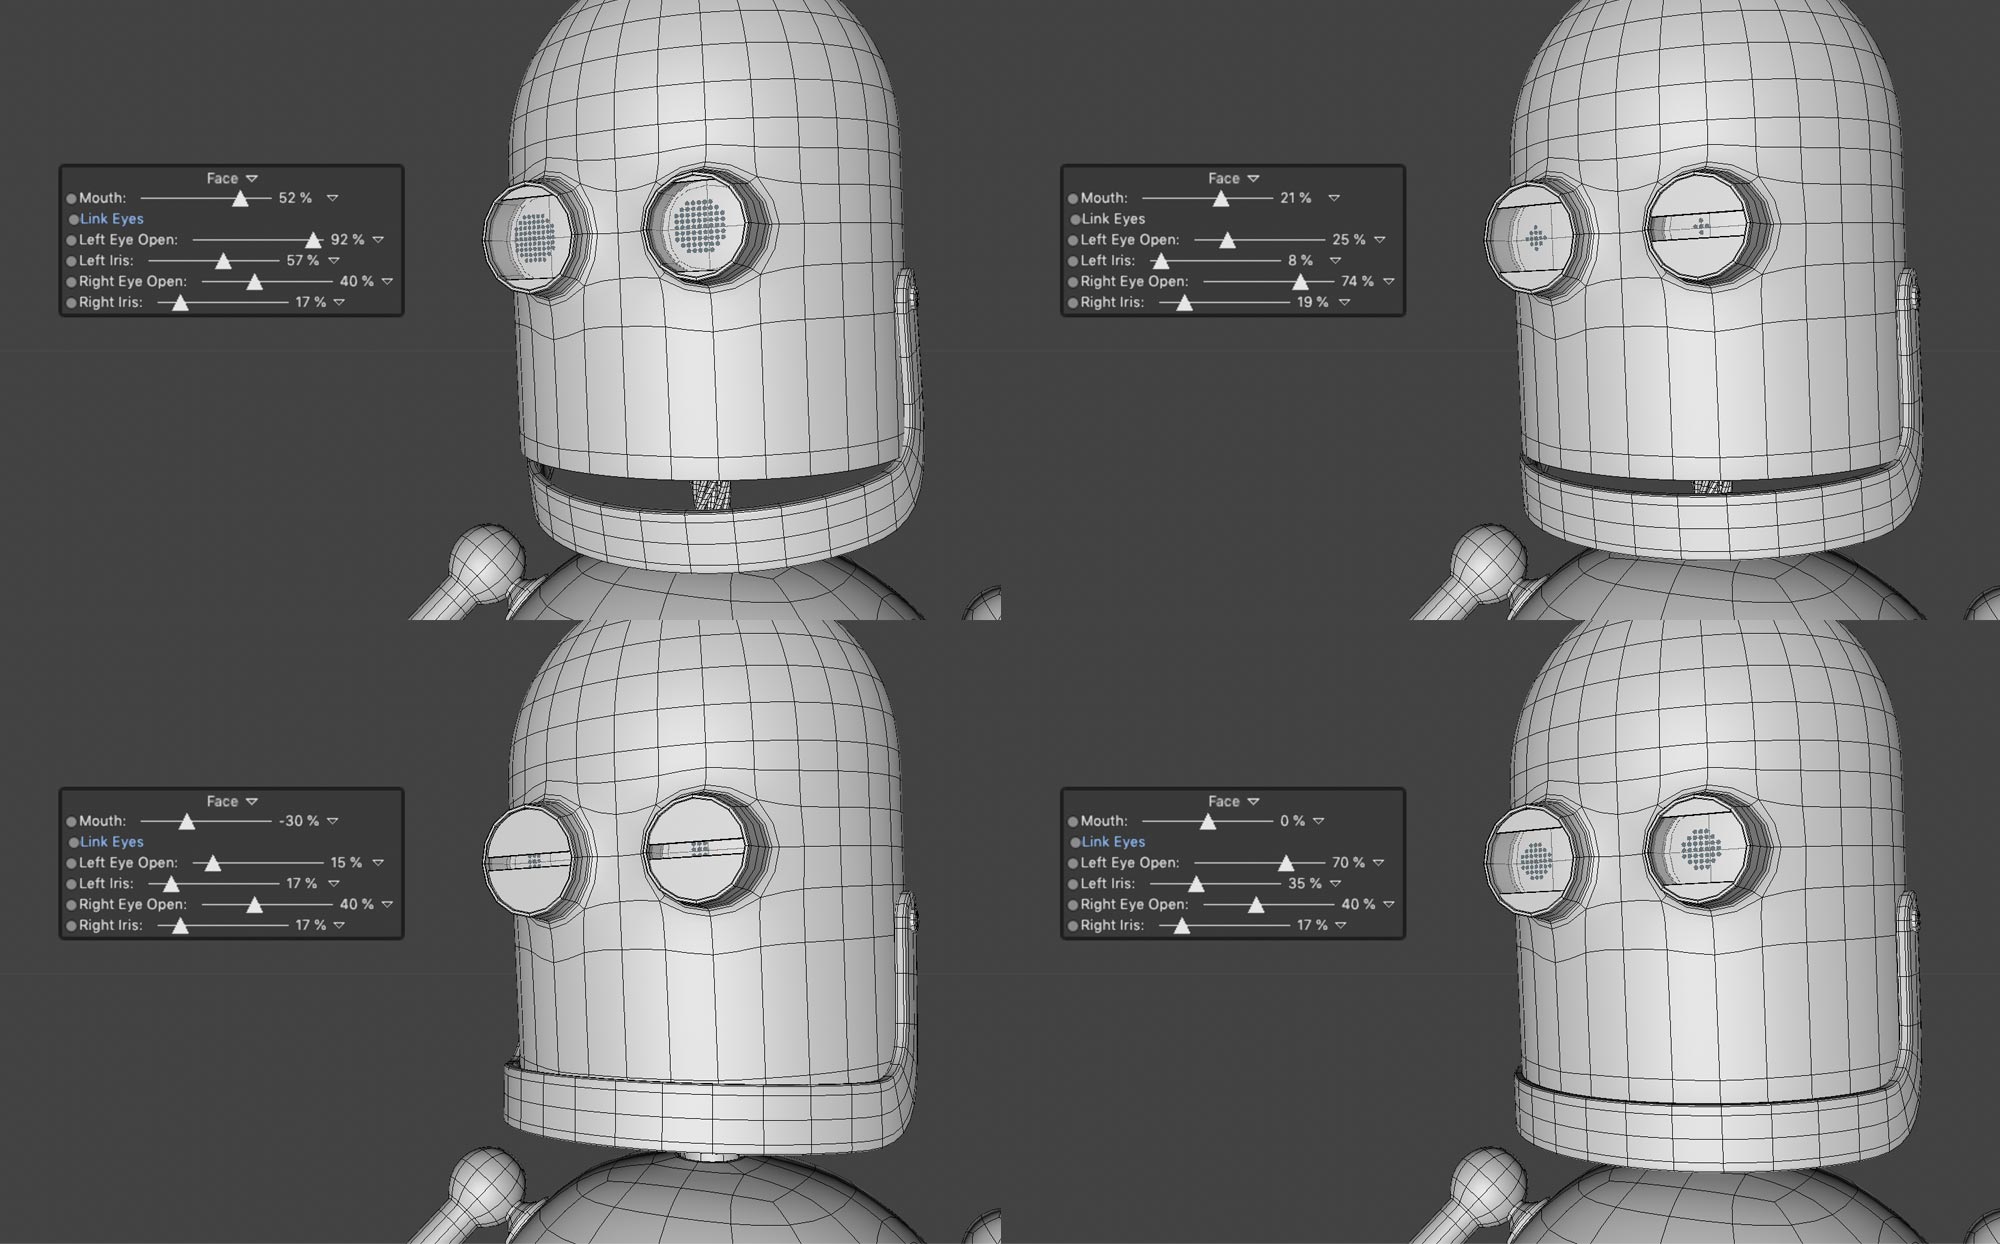
This chapter adds more control to the rig, using constraints we link the torso, spine and head to control nulls. The eyes are rigged to open and close and we use Mograph Fields to create digital irises. With additional user data we add sliders for the mouth and eyes, with a checkbox to enable individual or synchronised control over the eyes.
Duration: 17:30 mins
Before we finalise the rig, we take a look at two alternative methods of rigging the neck. We use IK Spline with joints and skin deformer to deform the neck geometry directly, then we adapt the setup using a more flexible approach by using the mesh deformer which allows us to keep the geometry procedural.

Duration: 15:00 mins
To finish up the rig, we create custom shapes and colours for our controllers, adding in a checkbox to hide all controllers with one click. The controller transformations are linked to a checkbox so that we can easily reset the pose.
Duration: 15:30 mins
In this bonus chapter, we discuss a few tips and alternative approaches for working with the rig. Tim shows you how to use Takes to create a library of poses and demonstrates how you can streamline your animation process by assigning keyframe selections to the appropriate object parameters.