Create a looping, inflating cloth simulation with Vellum in Houdini
Then render in Solaris using MaterialX and Karma
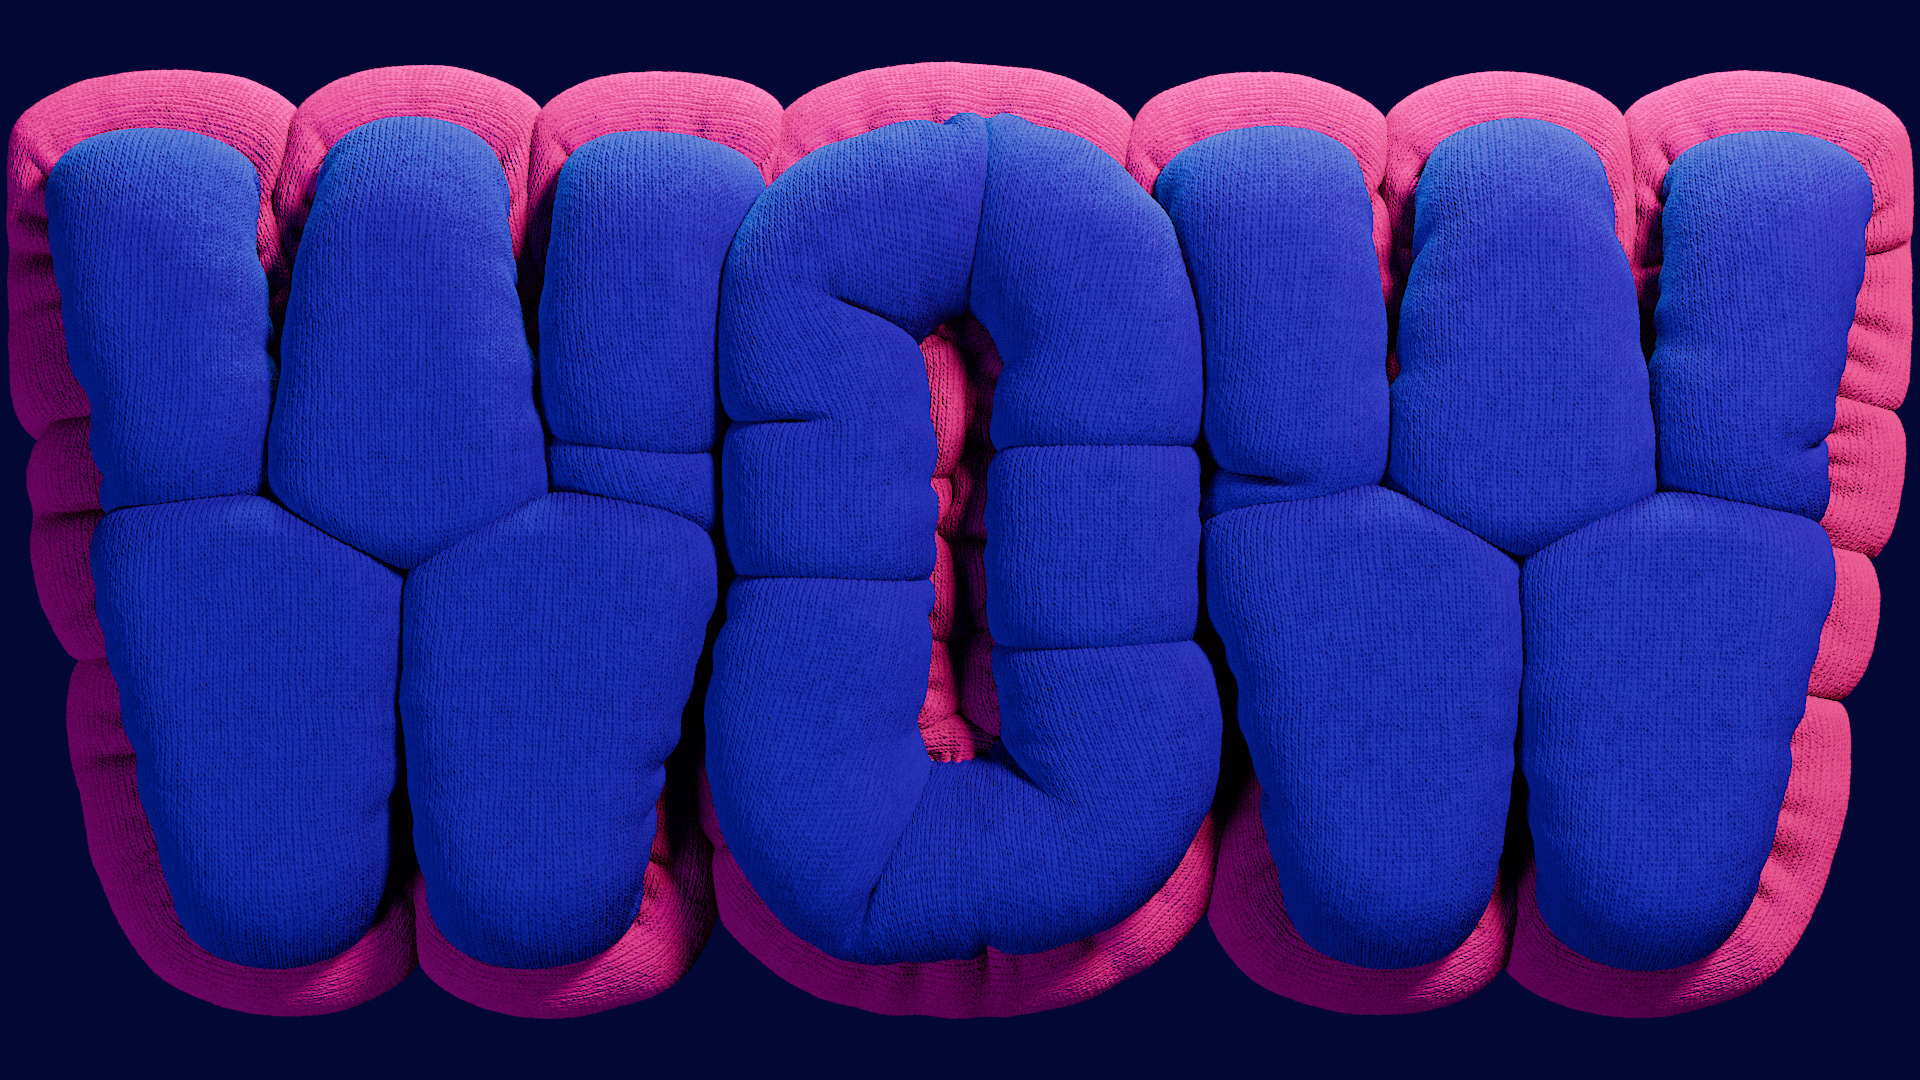
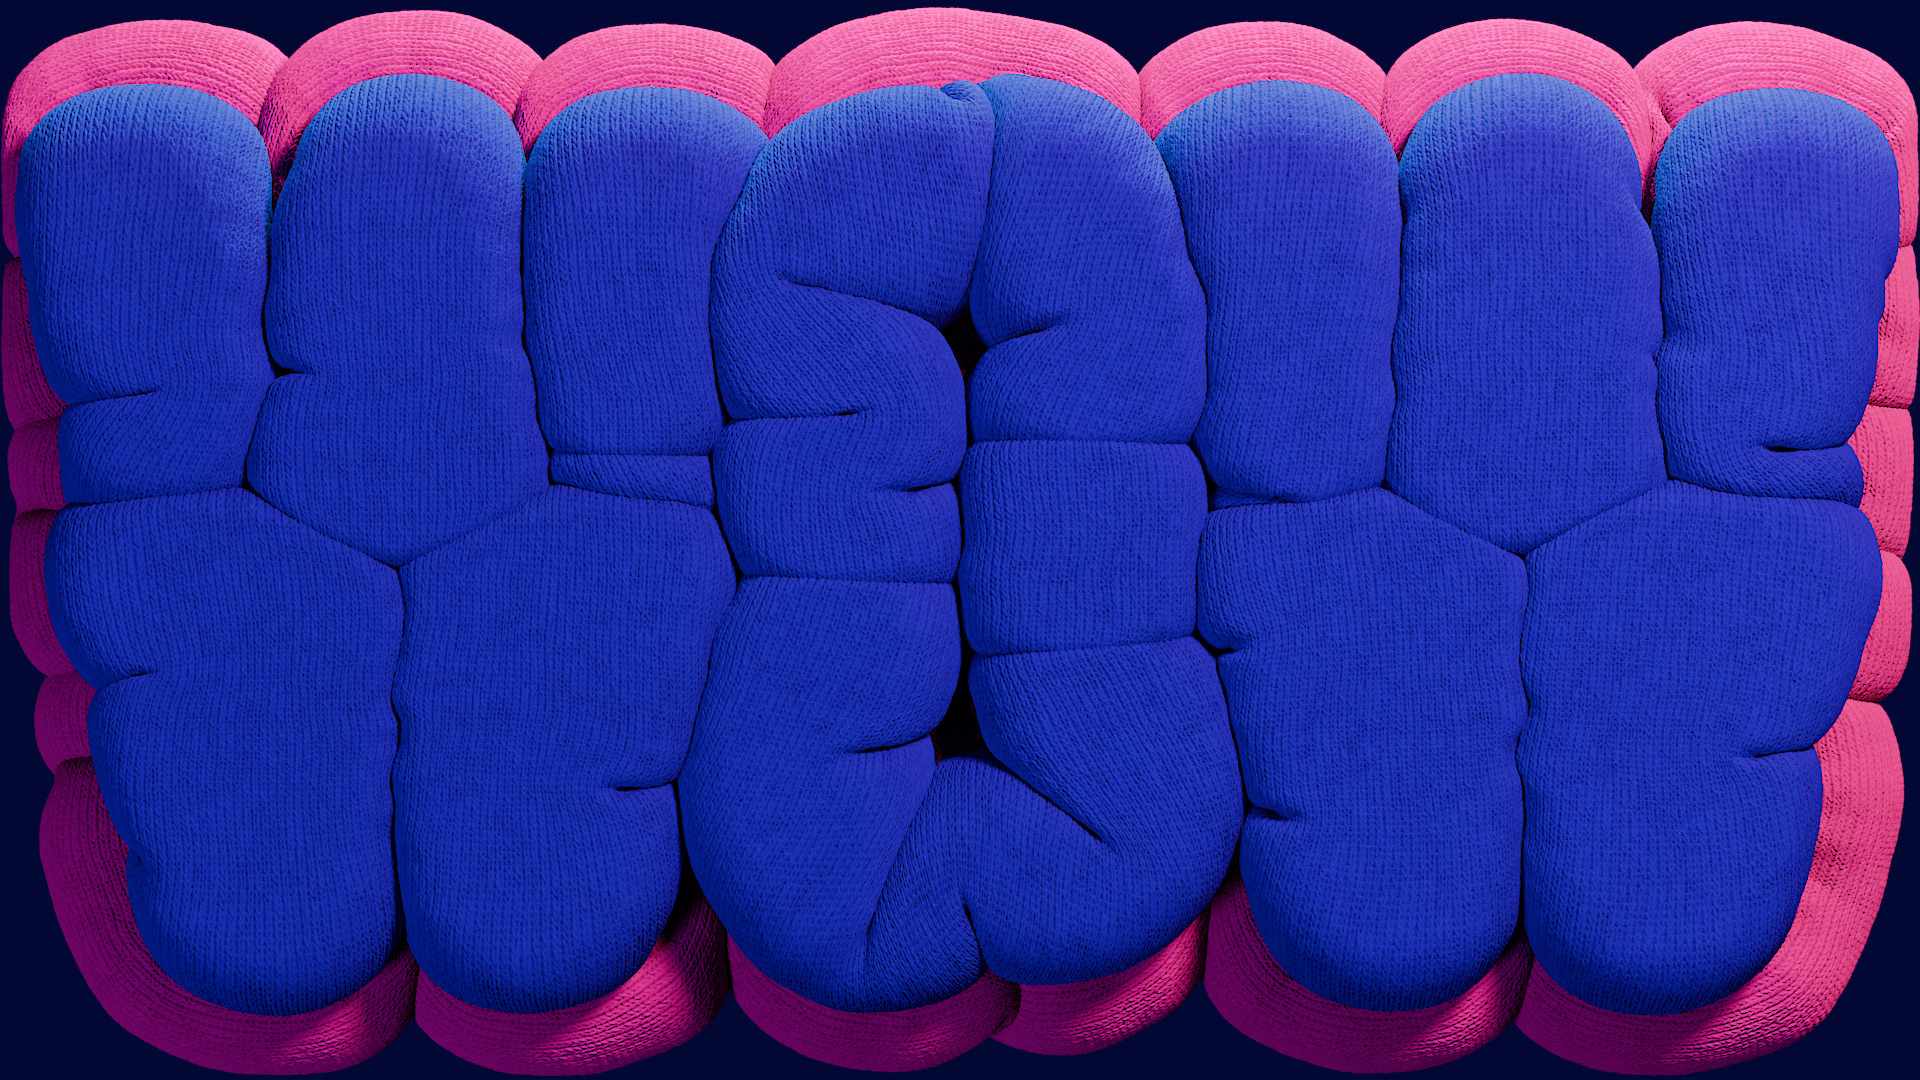
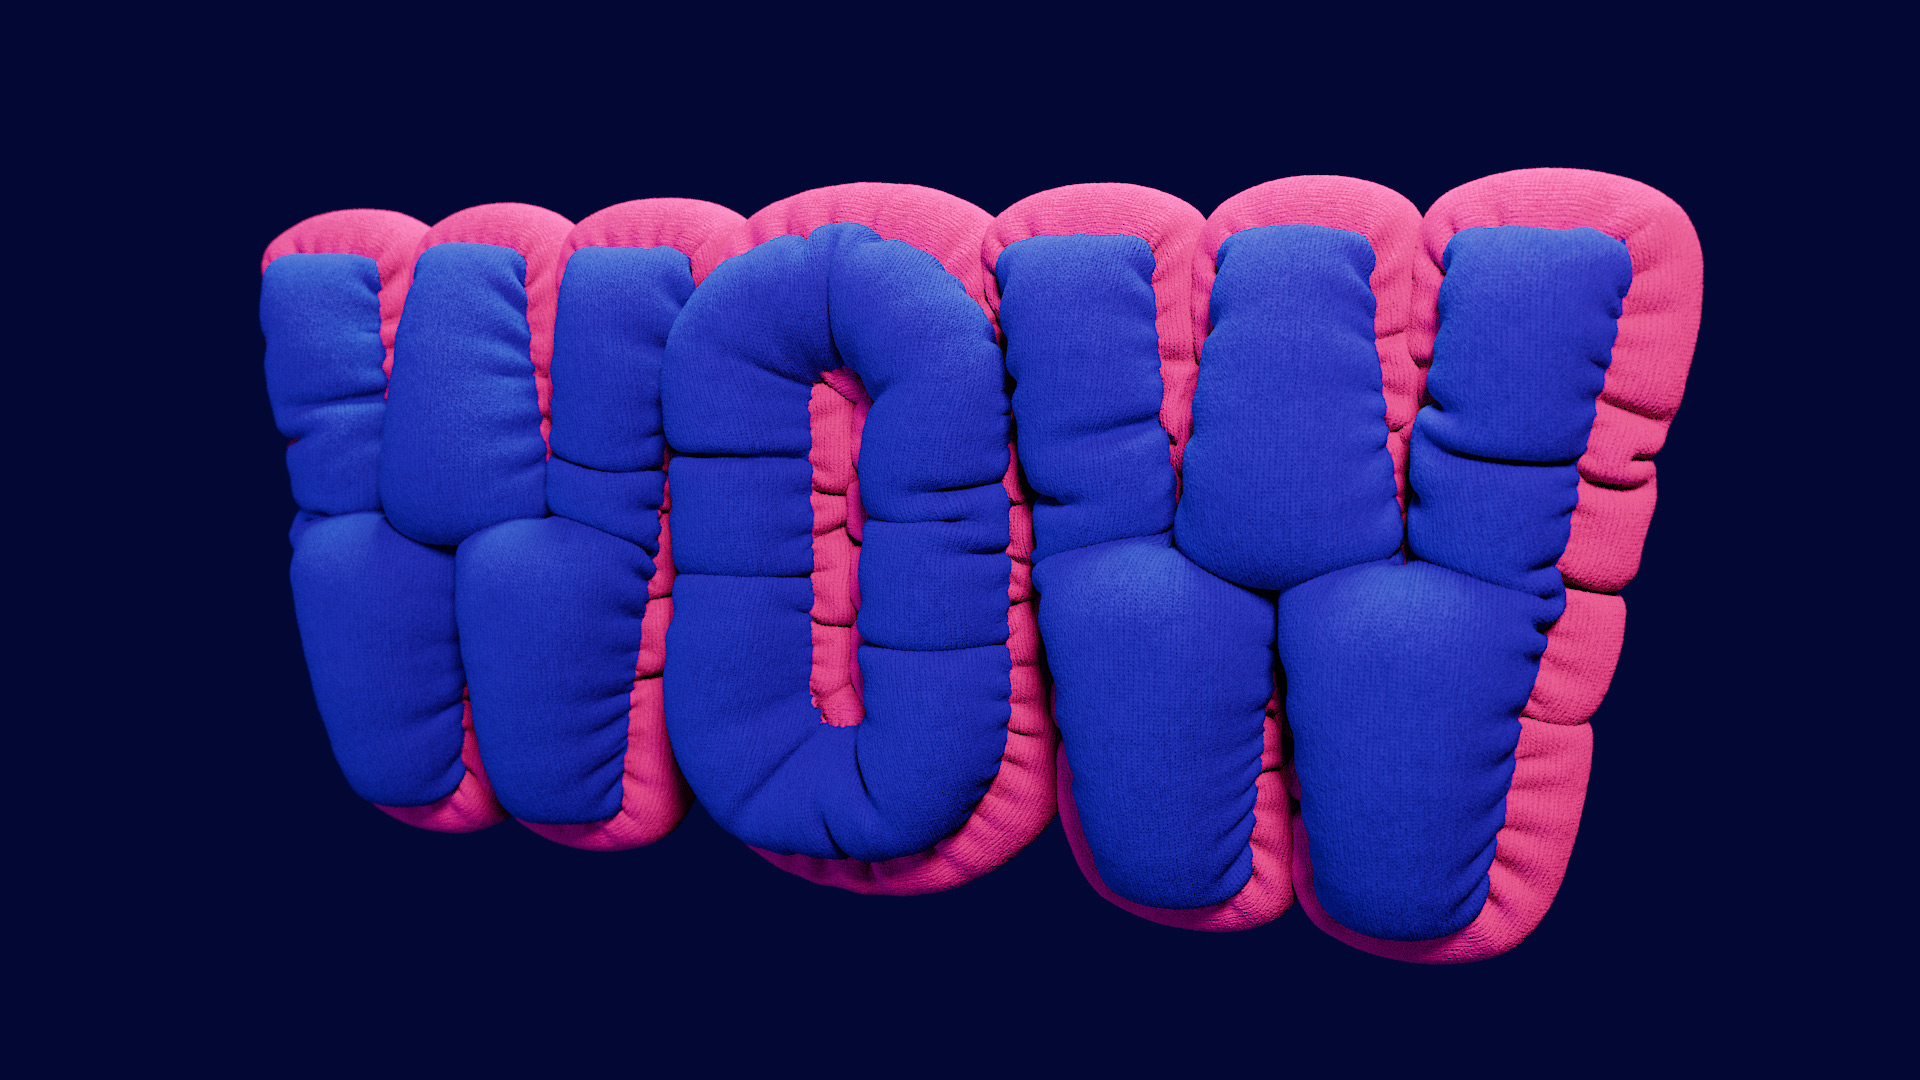
Create a looping, inflating text effect using Vellum cloth in Houdini.
Aimed at new users of Houdini and those wishing to dip their toes into the world of USD for the first time, this is a great place to start. Exploring SOPs for the model creation, before moving on to the world of Vellum and diving into DOPs to animate the cloth simulation. Materials, lighting and rendering will all be completed in Solaris, Houdini’s USD environment. This training starts with the very basics and takes you step by step from importing your simulation through material creation, lighting, rendering and output.
Tim looks at many important workflow strategies, such as optimising your scene, creating and manipulating attributes and groups, caching data to disk and building adaptable procedural networks.
Training Summary
Aimed at new users of Houdini
Explore SOPS, DOPS & LOPS
Looping Vellum Simulations
Optimising & Caching
Working with MaterialX
Karma Lighting & Rendering
hiplc project file included with all caches
Min requirements Houdini 20.5
Created in Houdini Indie 20.5.410
Basic knowledge of Houdini required

Chapter 1 : Preparing the model in SOPS
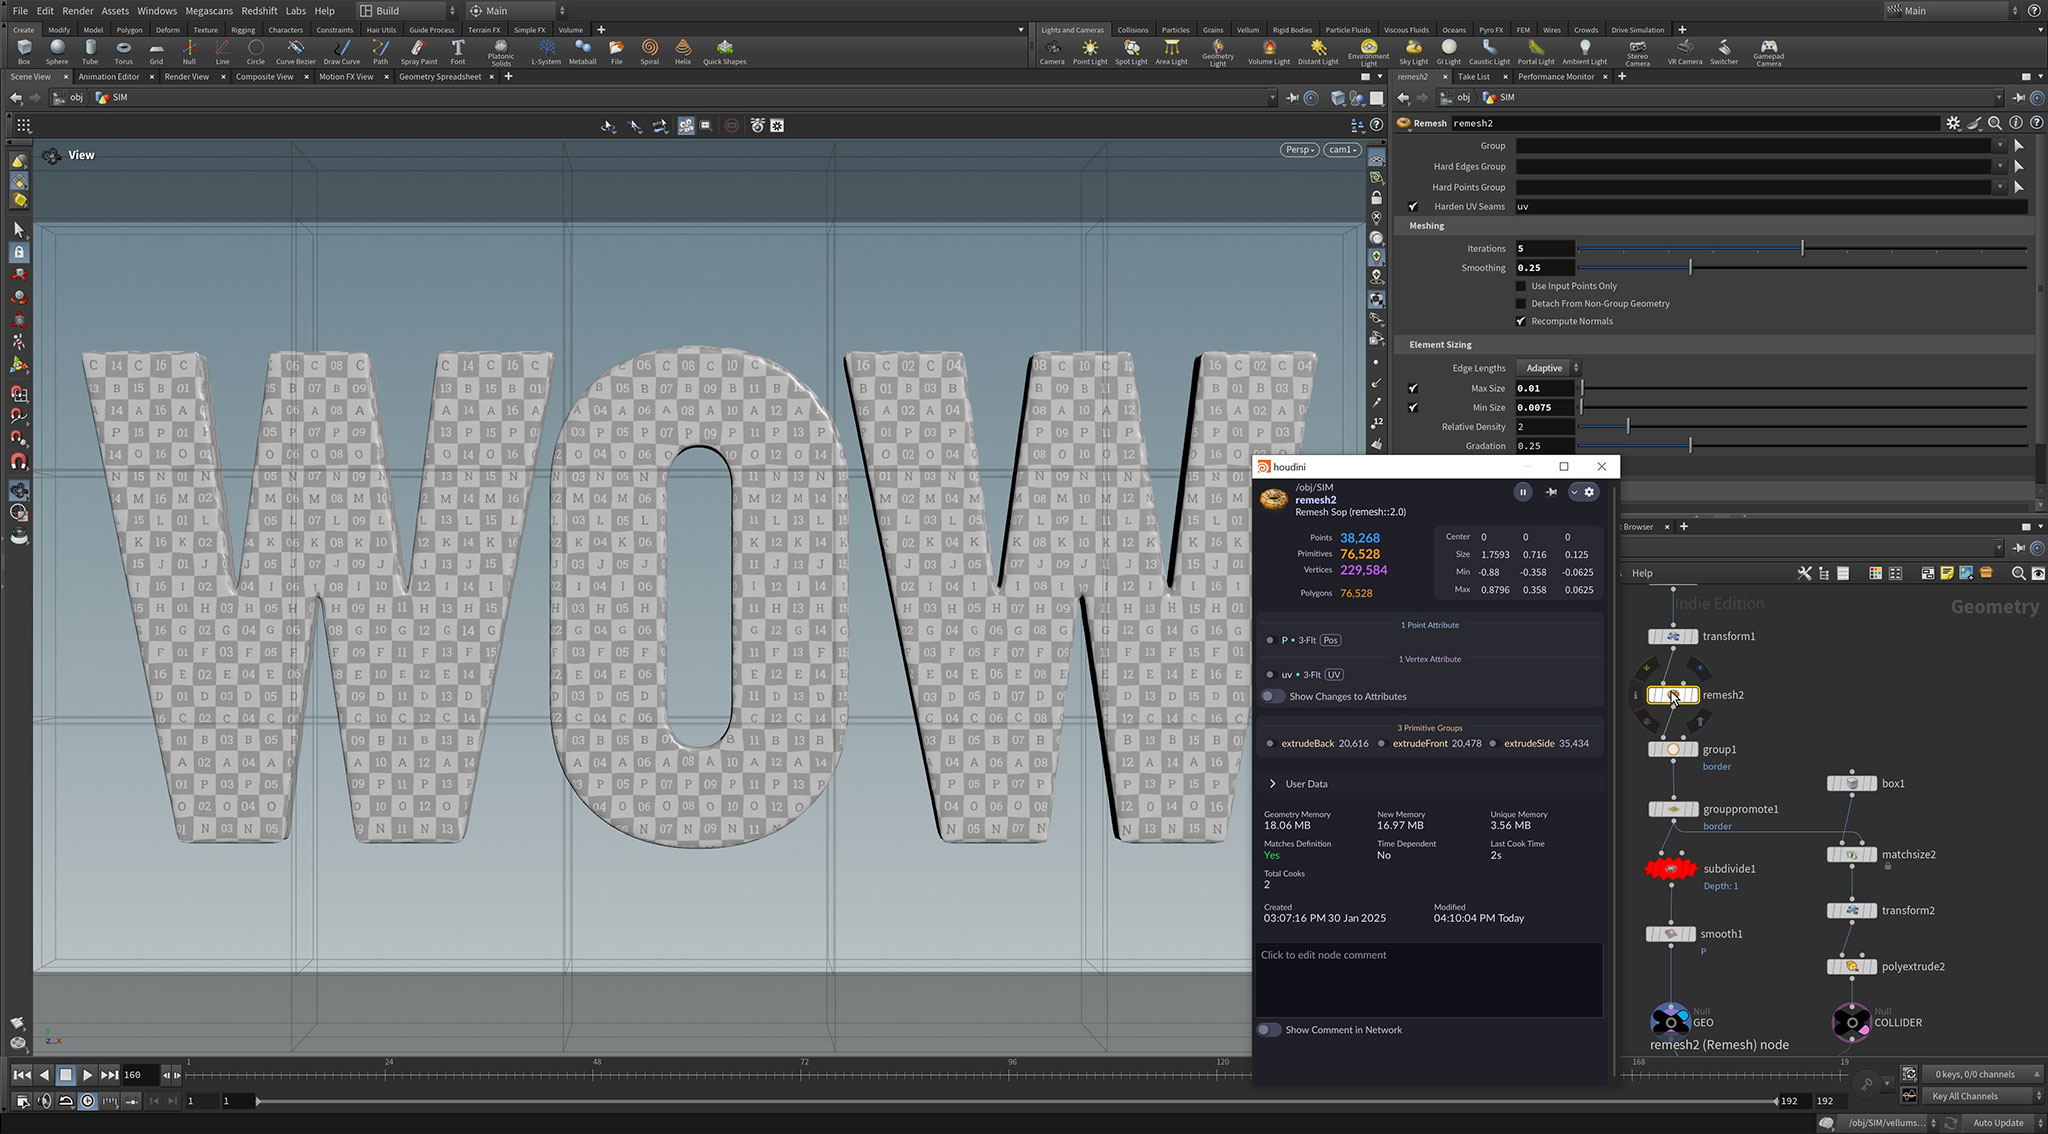
Starting out in the obj context working with Houdini’s surface operators (SOPS) this chapter takes you through the process of preparing the model for the vellum simulation.
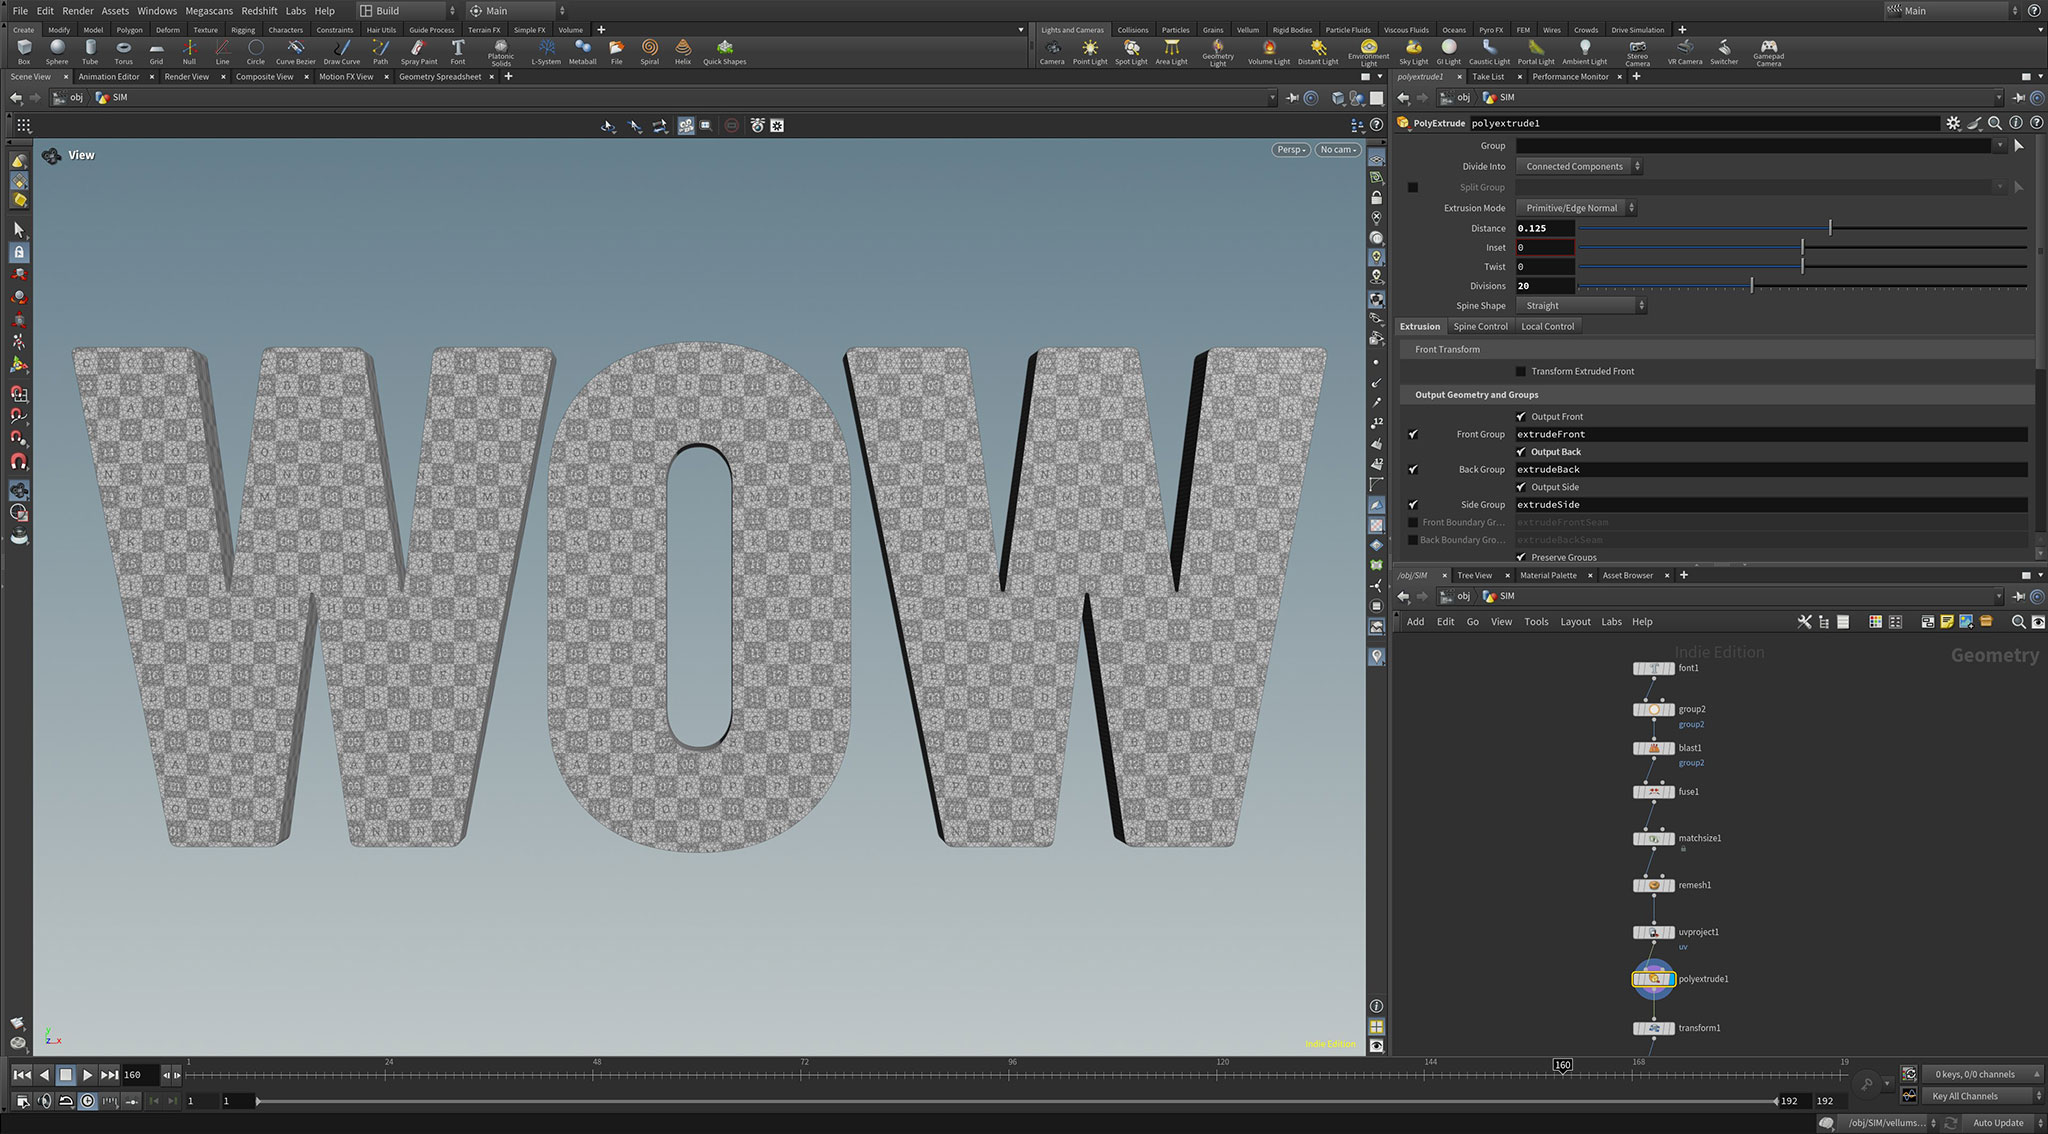
In this example we start with a font, however this technique can be adapted to many other 2D vector shapes or existing 3D models. The font is cleaned up, we create UVs for texturing, extruding the shape into a 3D object, creating attributes and groups along the way. The topology is remeshed and subdivided maintaining it’s structure and attributes so that it is ready for a detailed Vellum simulation.
Next we add collision geometry matching the size to the incoming text geometry and then adjusting the boundaries to suit the shot. Once this is complete we will have our Simulation Geometry and Collision Geometry ready to go, all created completely procedurally and easily adaptable.
Chapter 2: Vellum Cloth Simulation
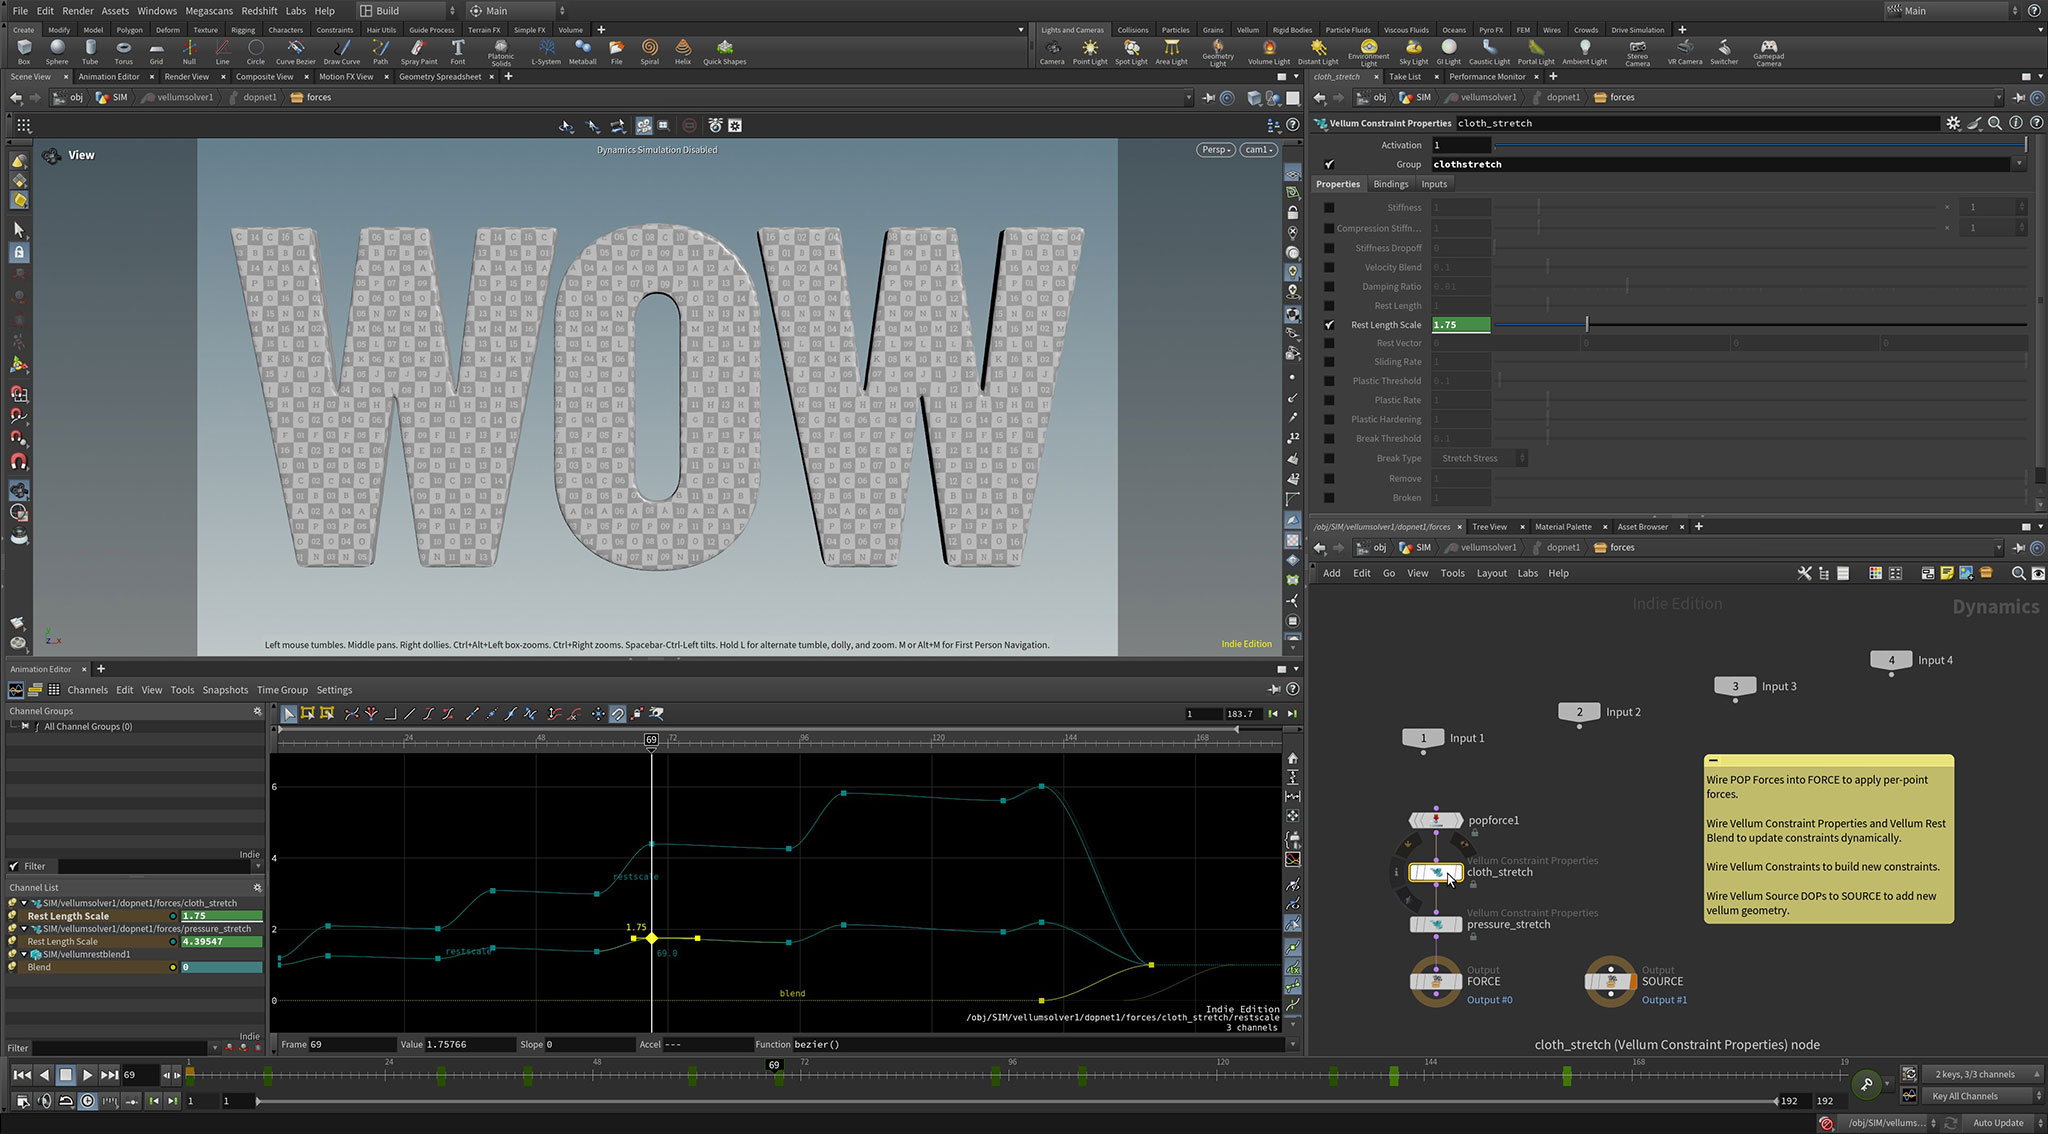
In this chapter the incoming geometry is configured for a vellum simulation. Starting with the Vellum Cloth Constraint and then adding further constraints such as Pin To Target, Pressure and Shape Match we configure the basic simulation parameters.
To drive the vellum sim you’ll need a Vellum Solver, which we will explore, adjust and then dive inside, to explore some Dynamic Operators (DOPs). Adding in Vellum Constraint Properties will allow the animation of constraints which is not possible directly in SOPS as they must be part of the solver calculation. We can also add in POP Forces here, which work fine with Vellum simulations and open a world of opportunity.
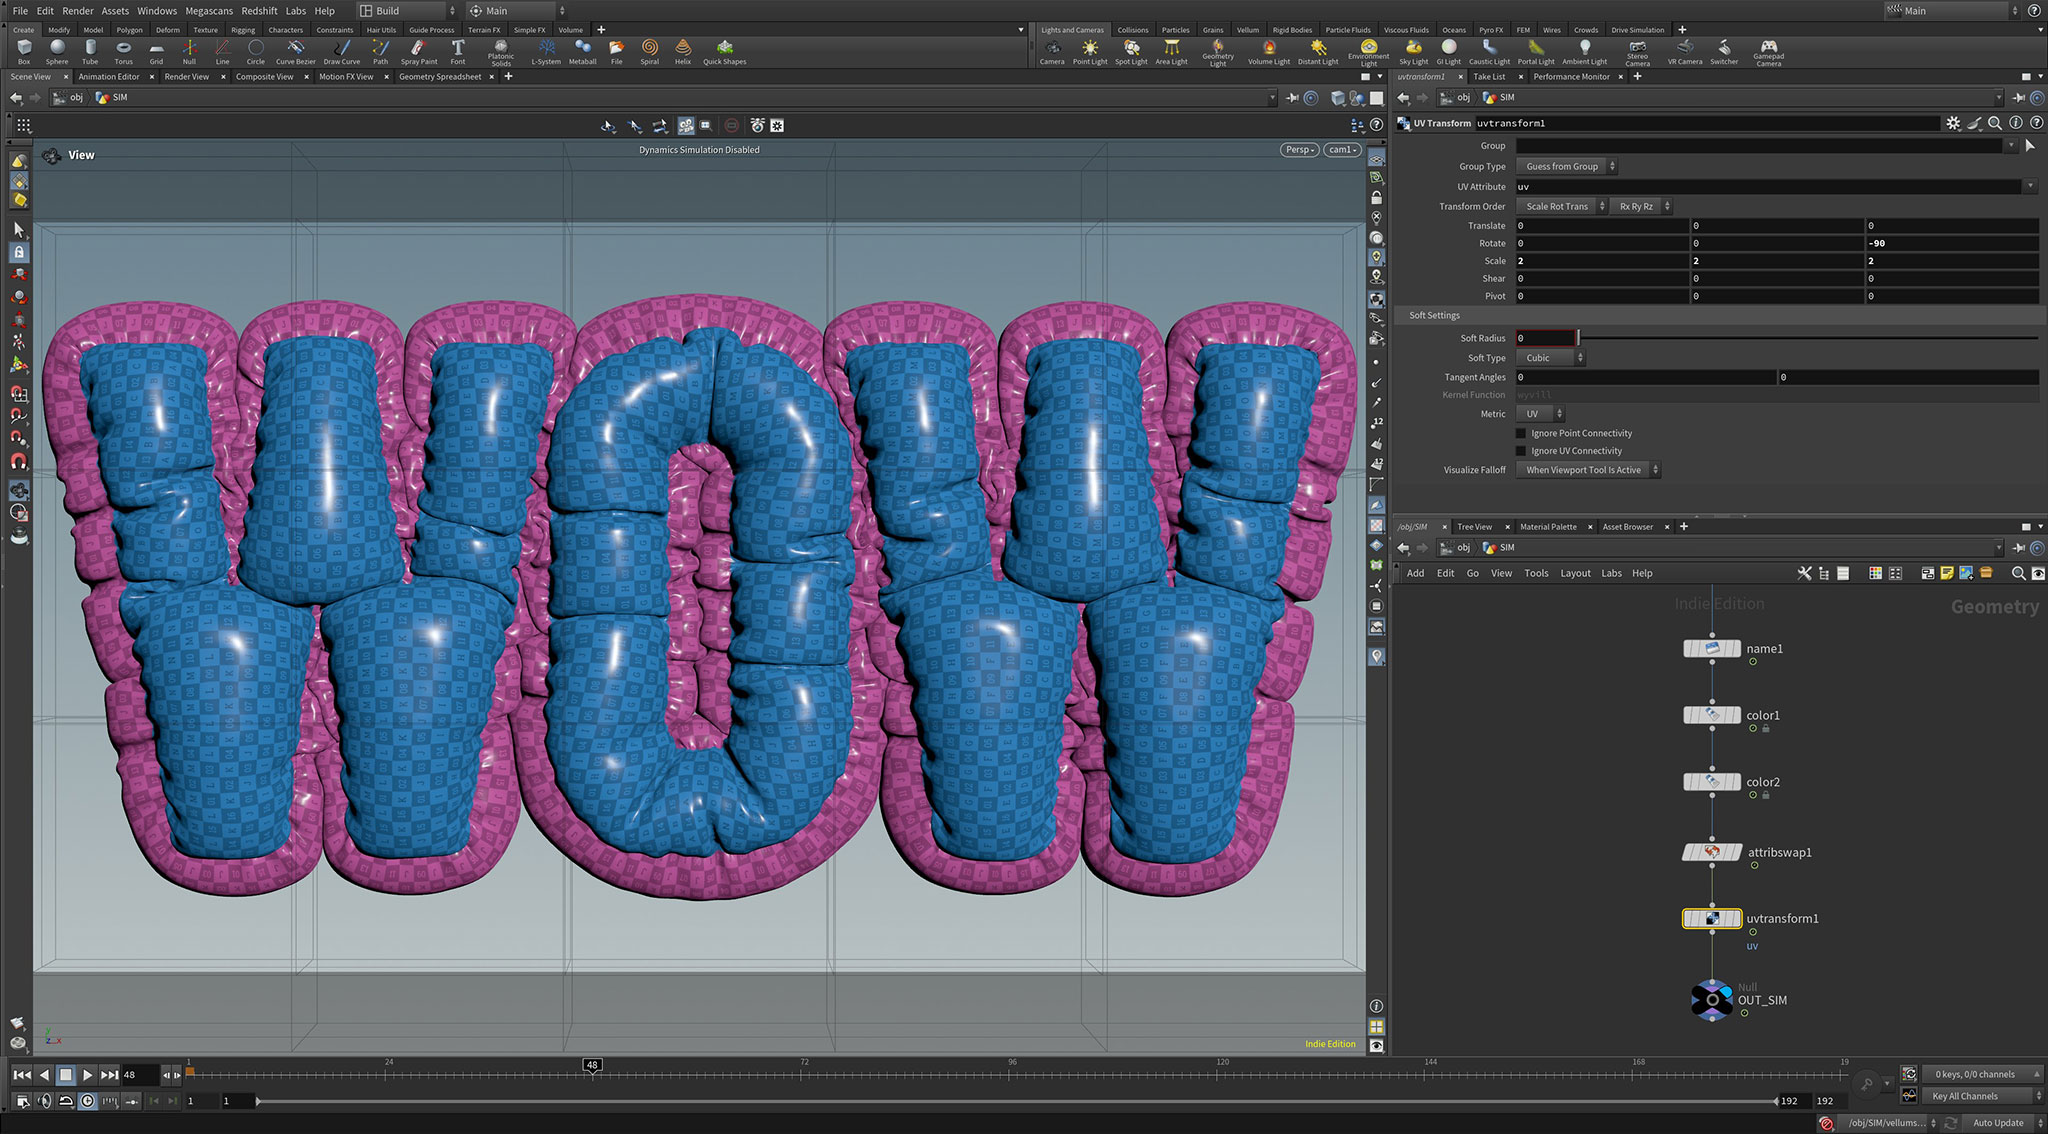
Creating the simulation optimally is important as the solver can become slow with very heavy geometry, so we will start of with a very light single letter to get the basic setup working and then increase the geometry detail as we progress through iterations.
Learn how to clean up un-needed attributes and groups before writing the simulation to disk with File Cache. Then using this cache we will create a seamless loop from the animation. Finally we define some colour attributes for use with Karma and the scene is ready for Solaris.
Chapter 3: Materials, Lights and Rendering with Karma
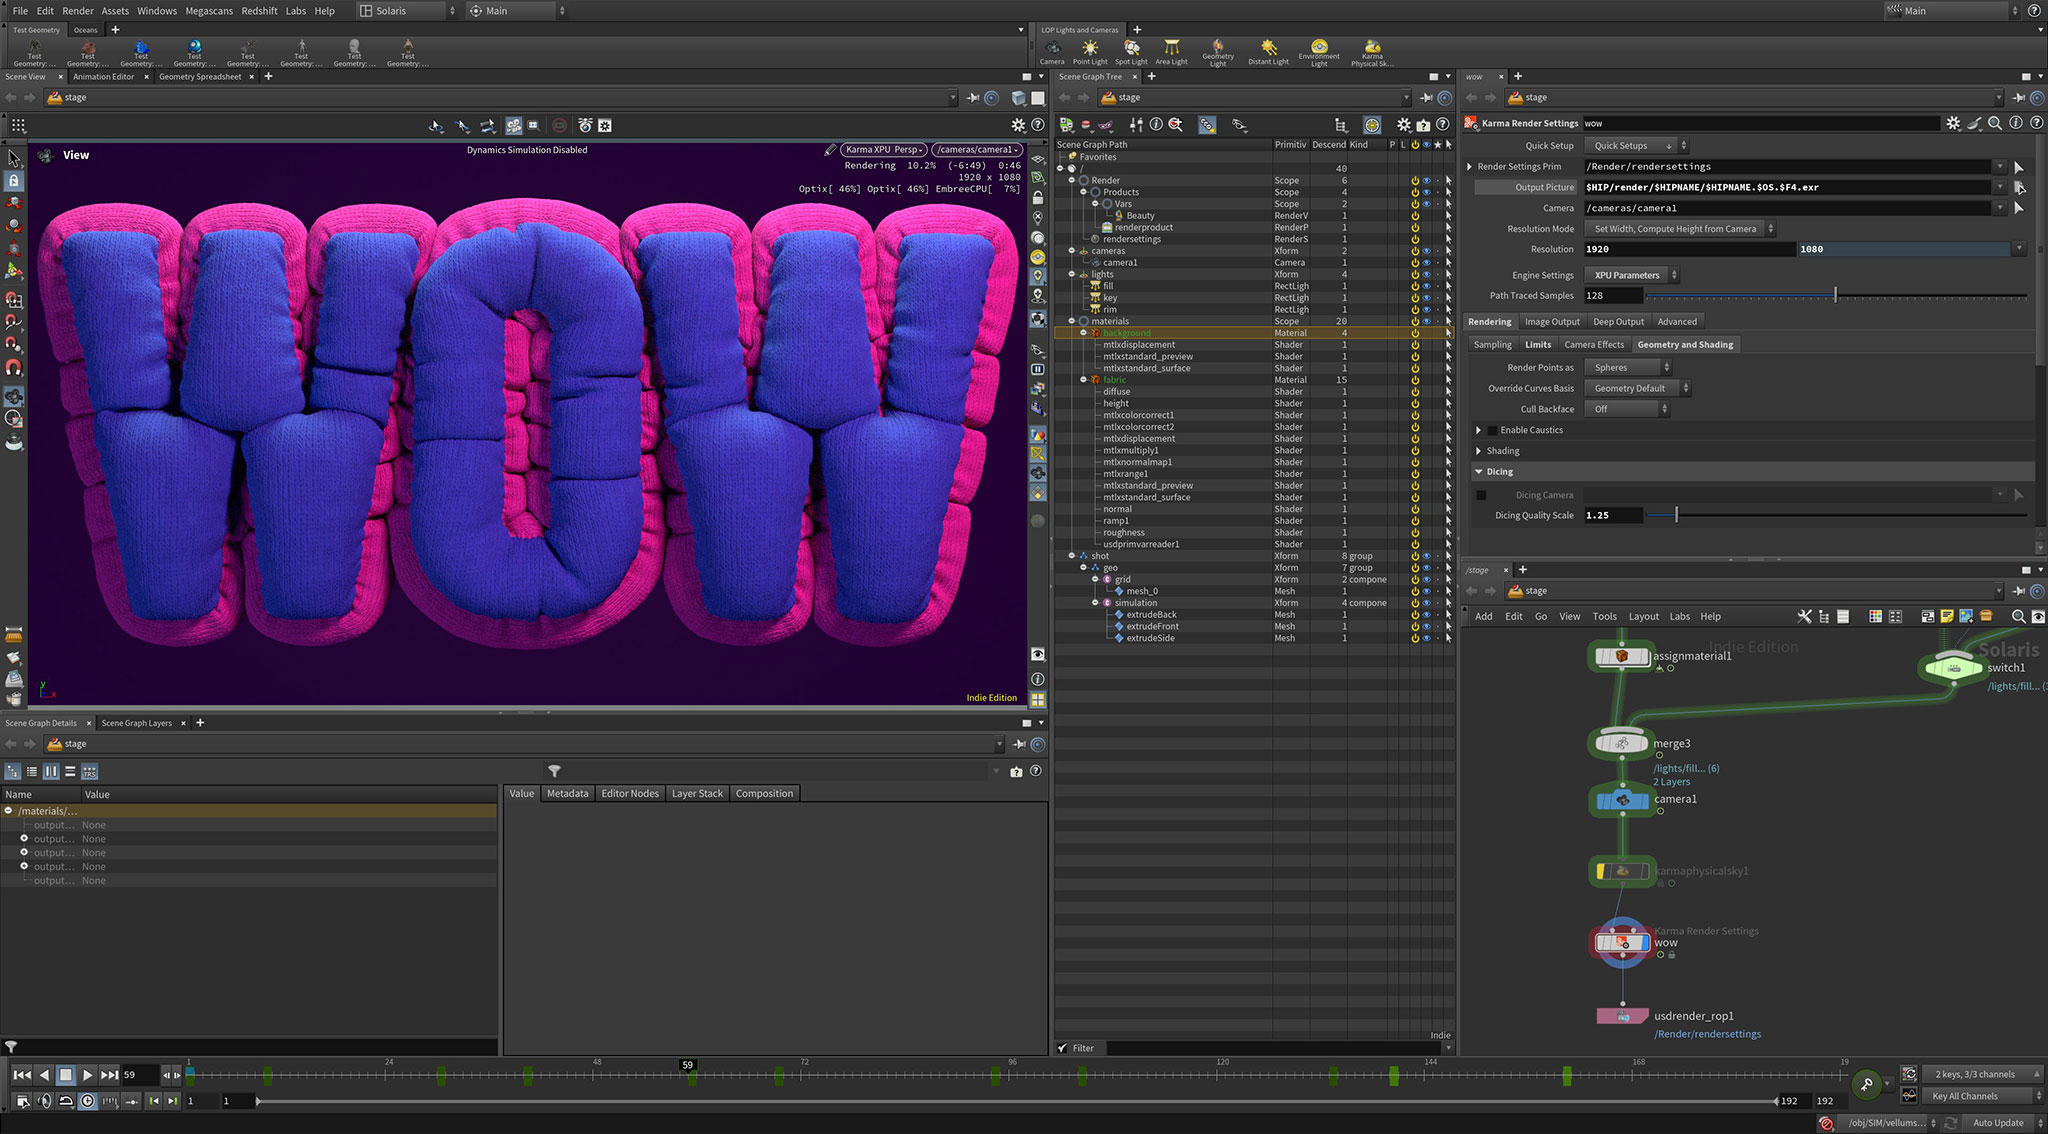
This chapter will introduce you to working in Houdini’s USD environment, Solaris. Switching over to the Stage context, start by importing the simulation from SOPs and creating some simple geo directly using SOP Create. This geometry is organised in the scene graph as we create it, so that the project structure is logical and easy to follow.
Inside materialX, we import attributes from SOPs and combine this with PBR texture maps to build a fabric material which is assigned to our simulation geometry, demonstrating the options to use existing groups for selective materials.
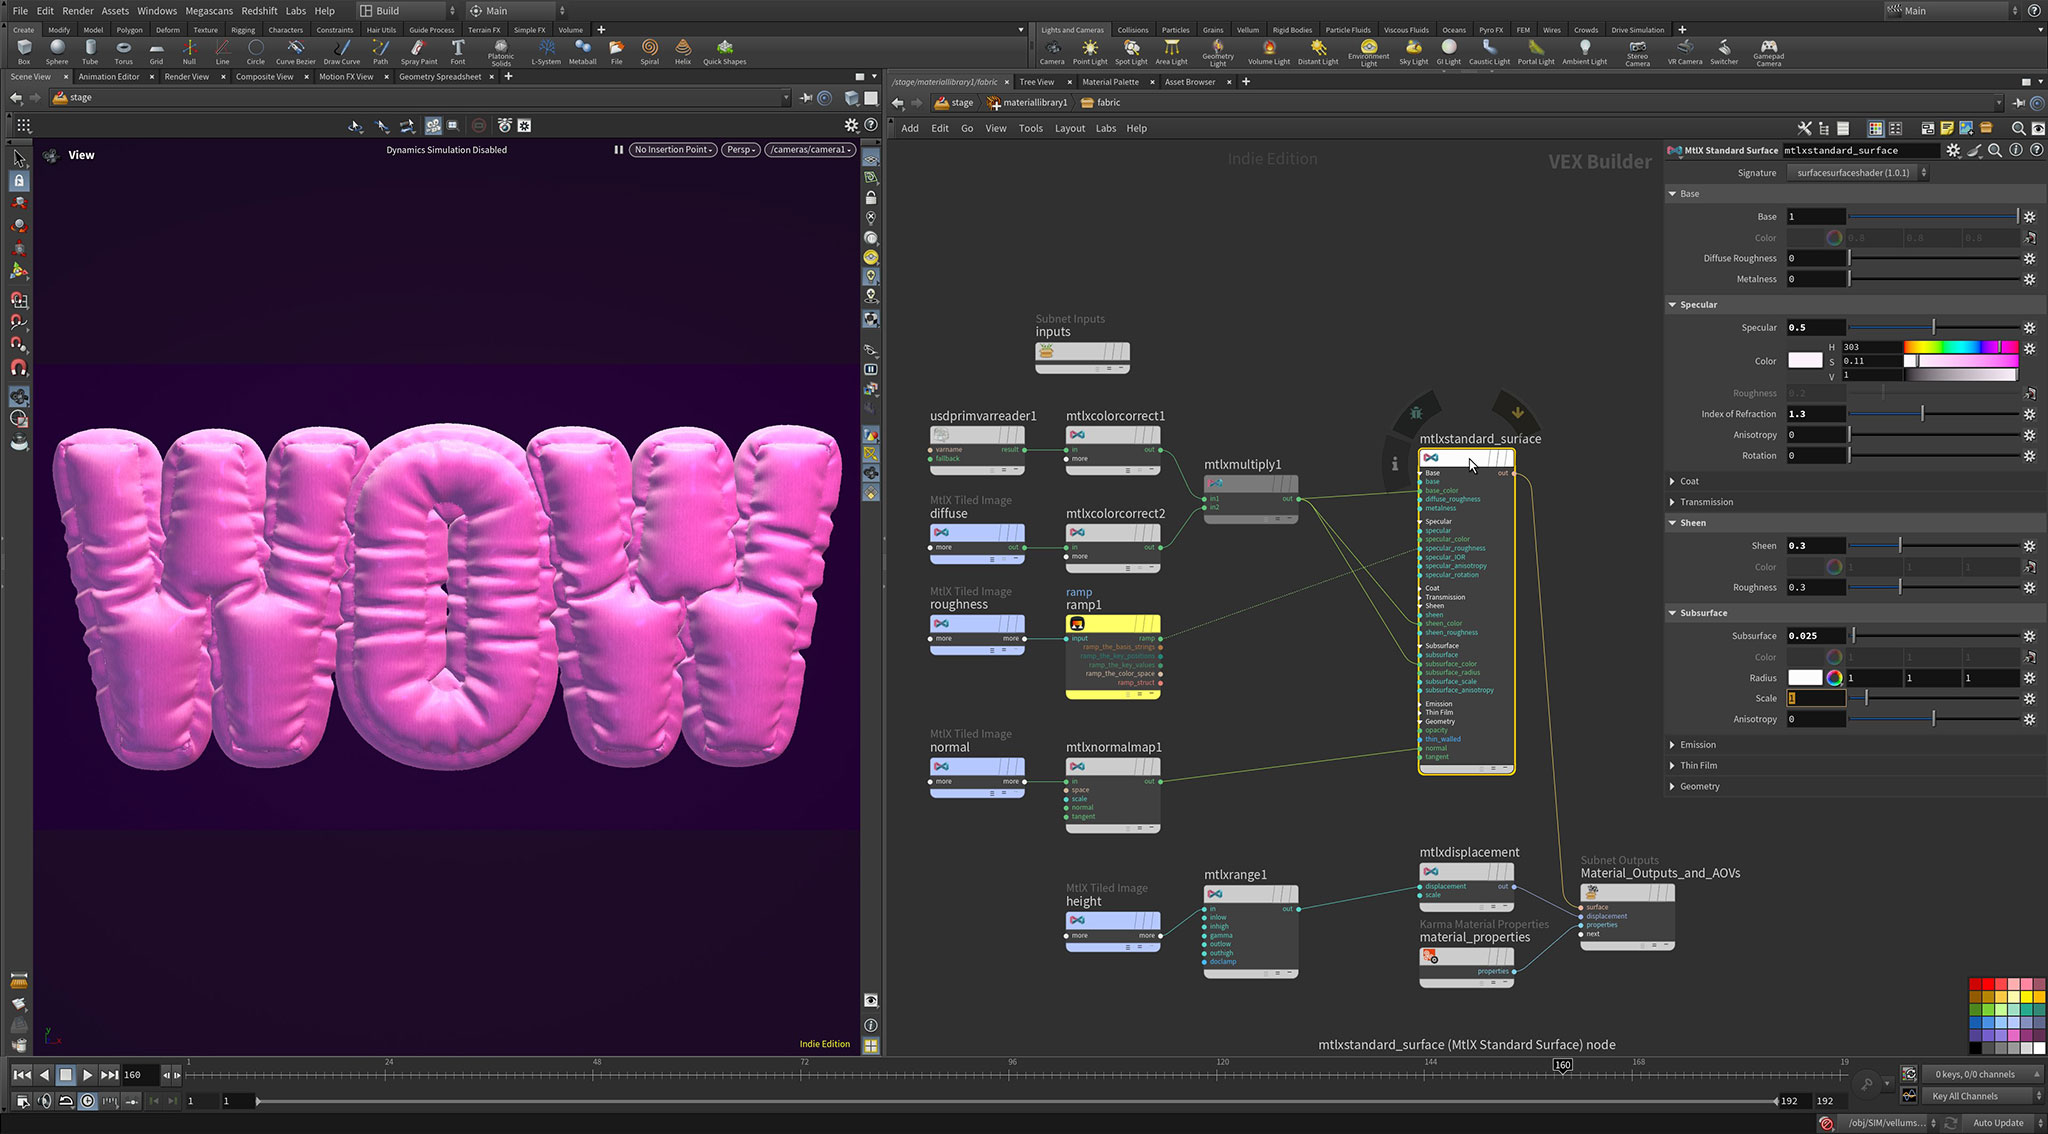
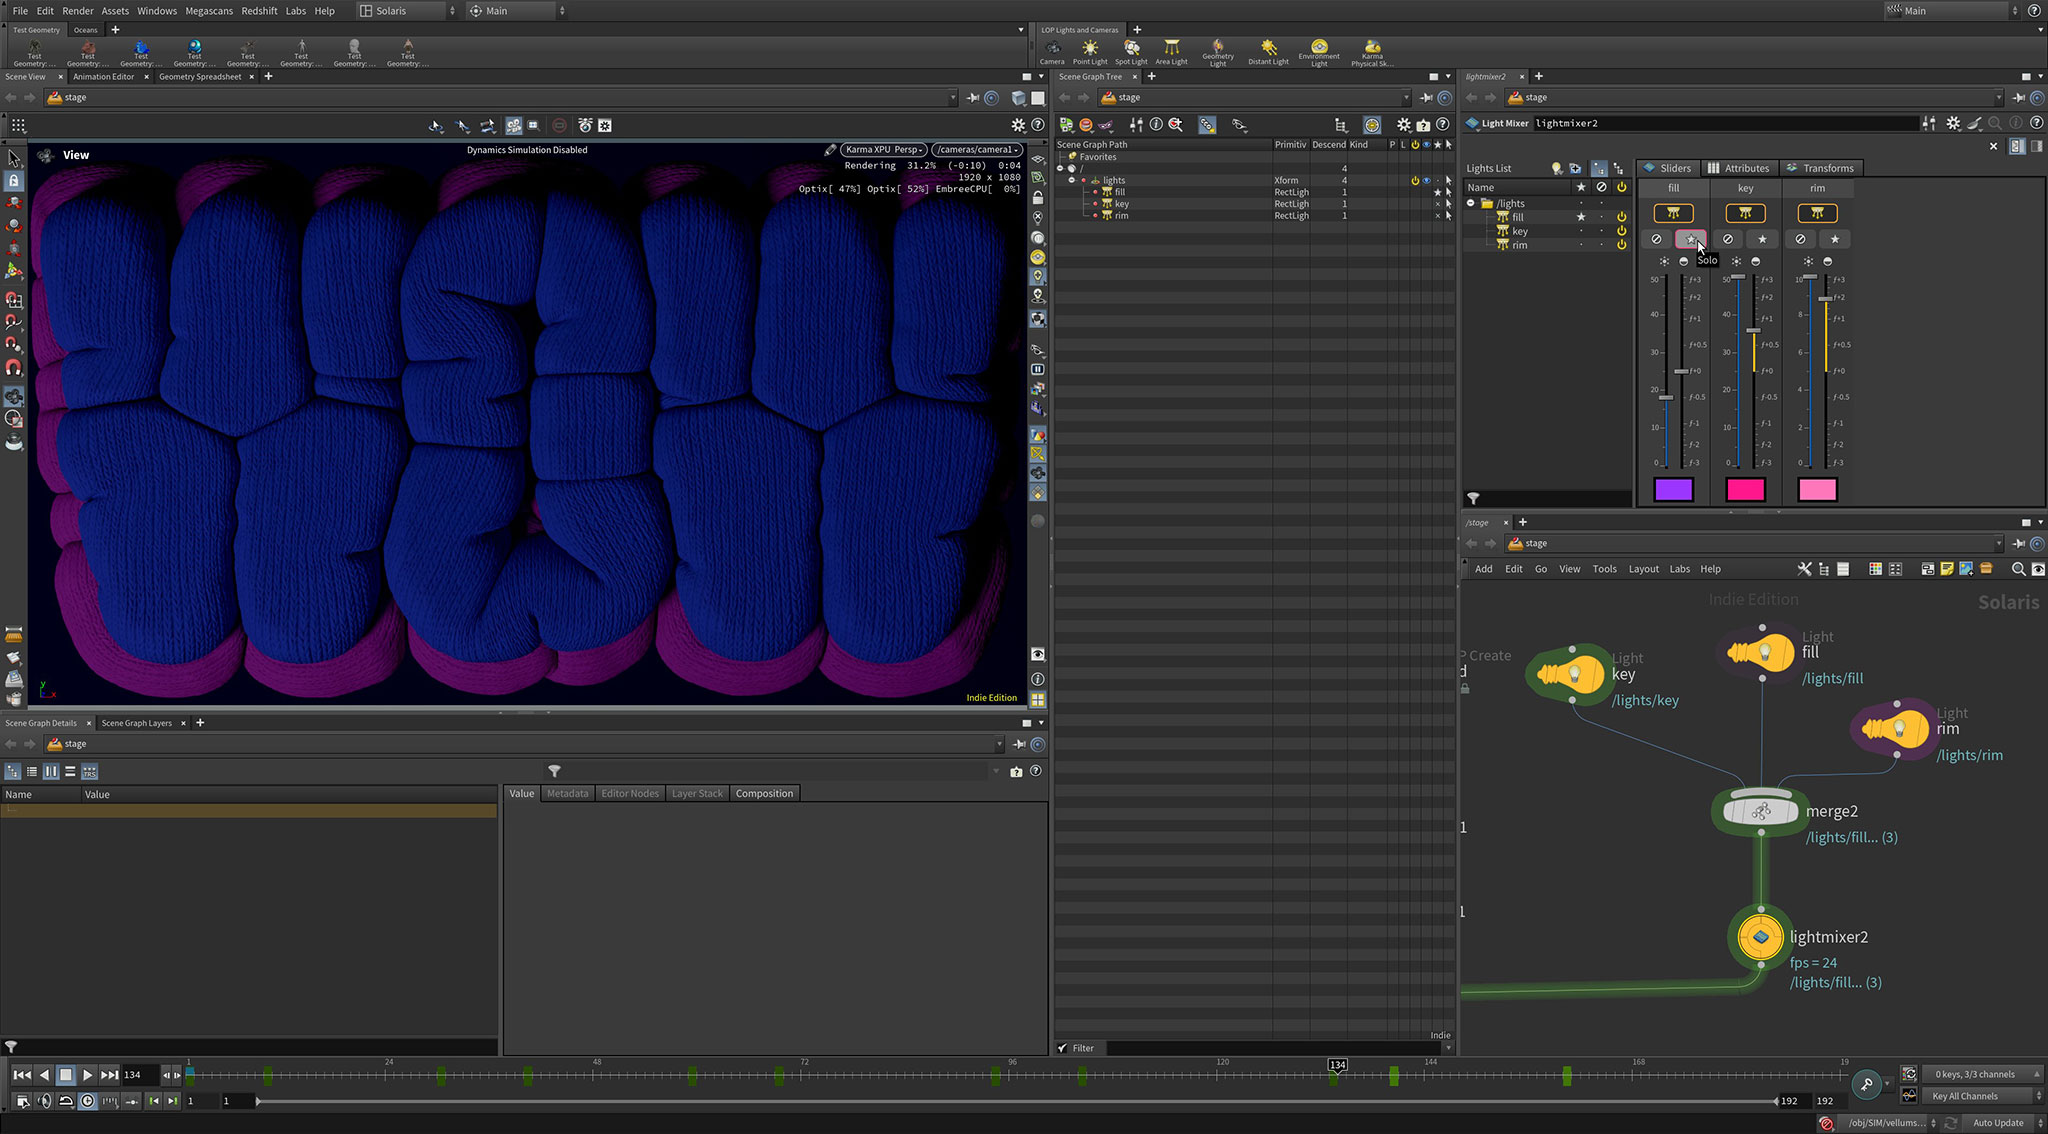
To see the result we quickly light the scene with Karma Physical Sky, then add in a camera and configure the render settings for KarmaXPU. Moving on we create a simple three point light setup, demonstrating the excellent lighting tools available. Finally we look at working with the light mixer to explore creative lighting options in a procedural way.
The result is rendered out using the USD Render ROP and the project is complete!
