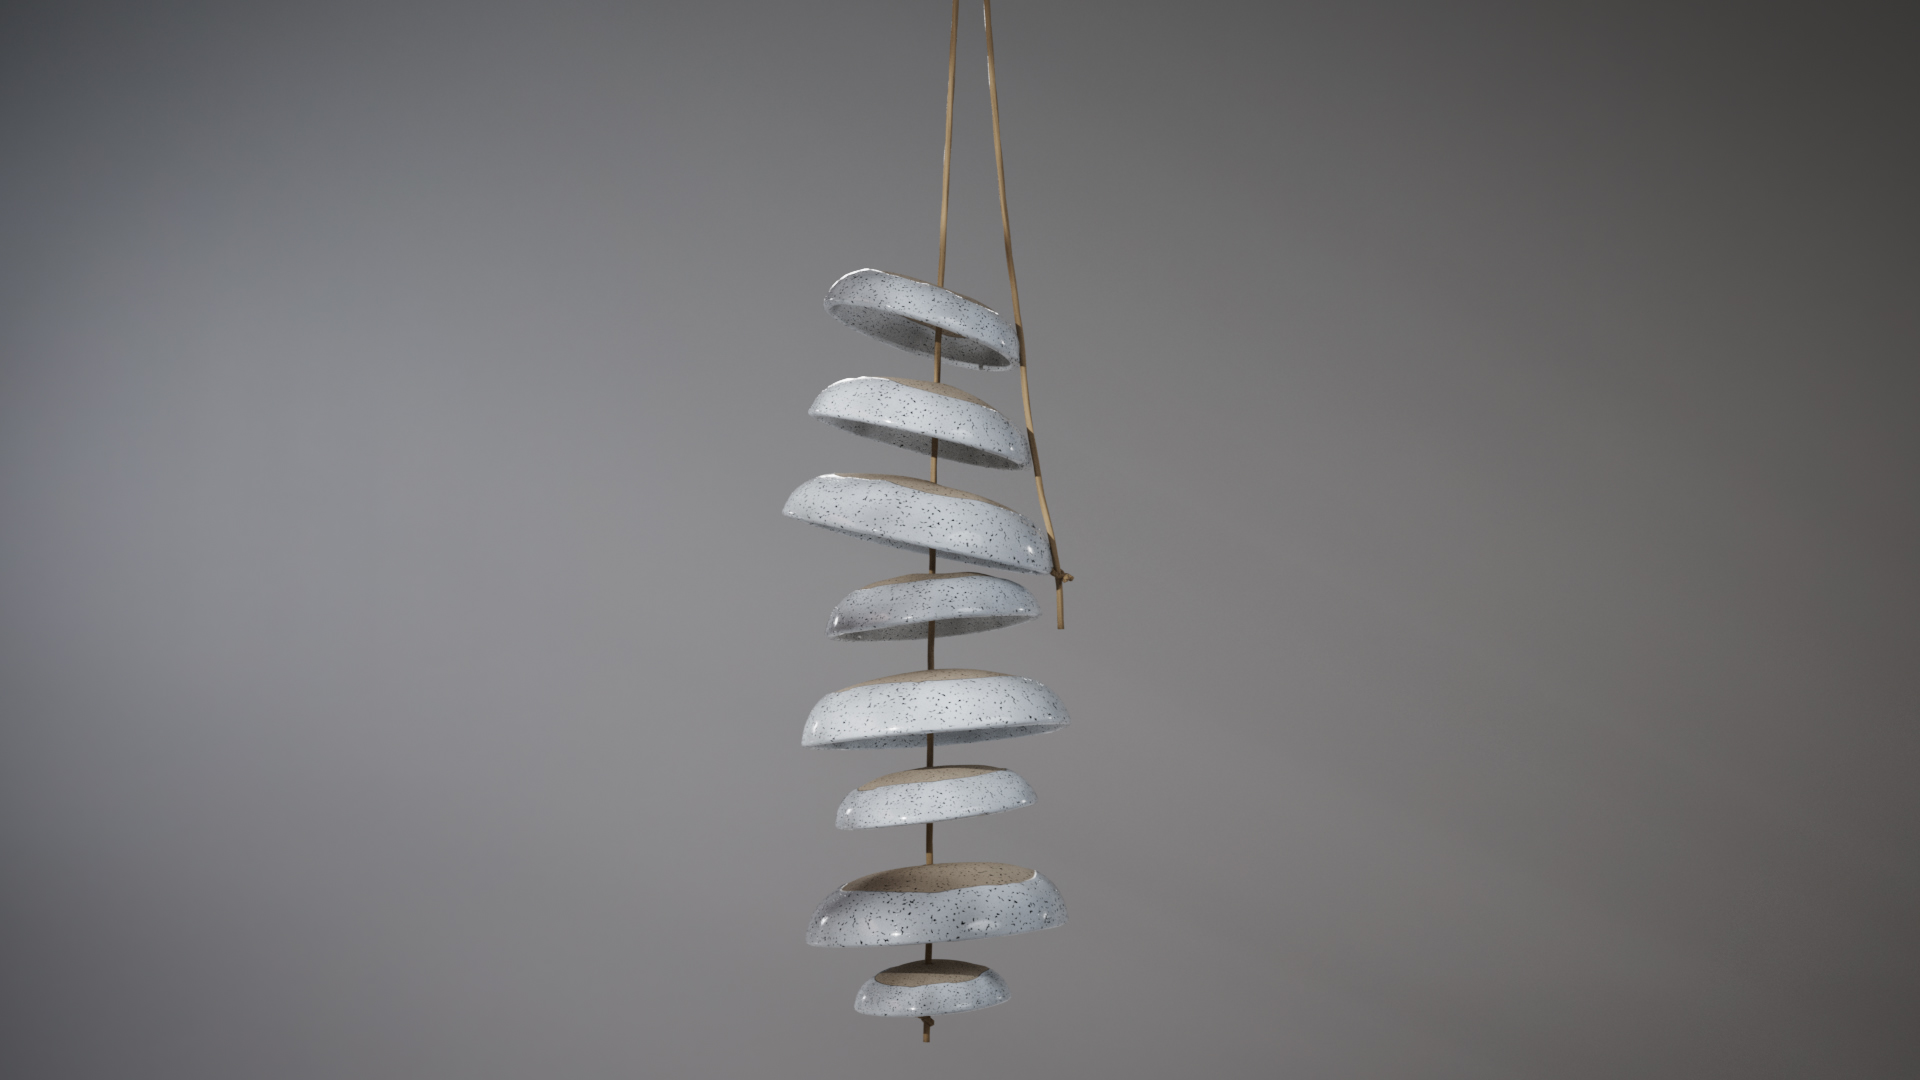
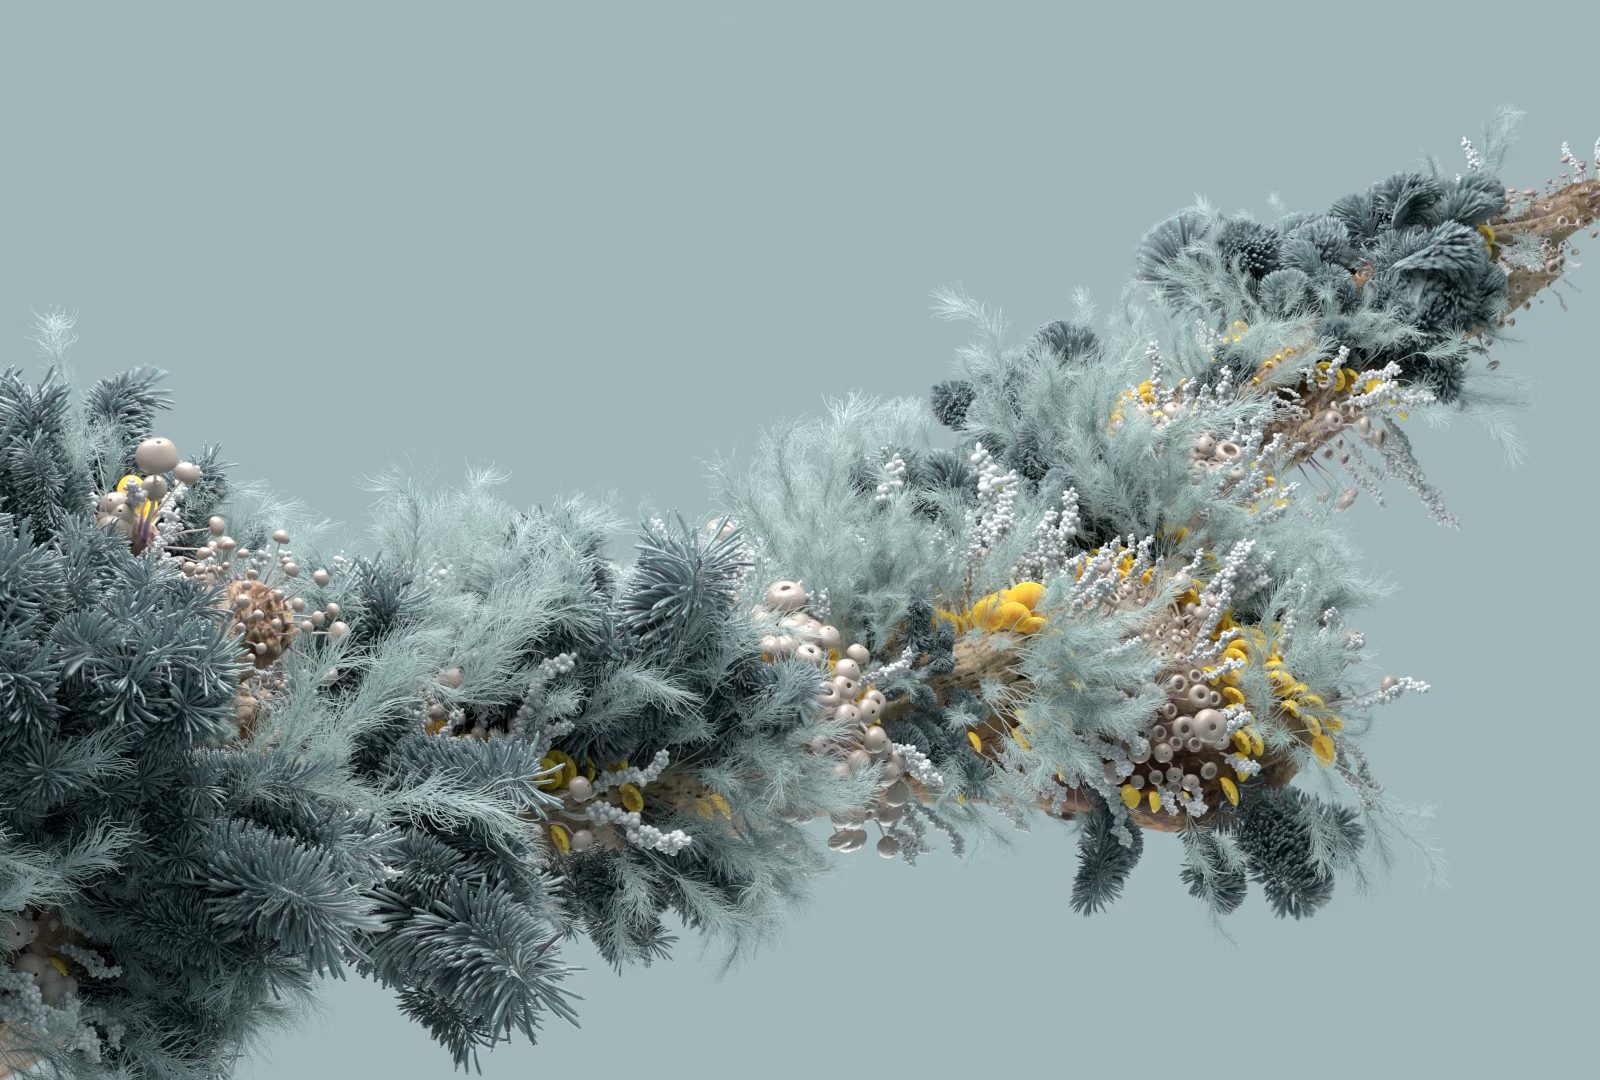
Houdini Windchimes: Collisions to MIDI
$45.00

This is a long form, project based, course that covers modeling, vellum simulation and troubleshooting, post simulation processing, building a system for collision detection, MIDI creation in CHOPs, lighting, texturing and rendering (Redshift). We’ll also look at bringing our exported MIDI files into Reaper, a minimal audio editing program, and creating windchime sounds with a VST. A trial version of Reaper is freely available, and the VST is free as well.
The course is geared toward newer Houdini users, and a basic level of knowledge of Houdini is needed to follow along easily, but I go at a slow enough pace that someone just beginning in Houdini can still follow along. The content is broken up into 6 chapters (21 videos) with several parts per chapter so more experienced users can skip lessons they’re already familiar with, focusing only on sections of interest.
Project files for each chapter are provided, and the final project file is clearly organized and commented and also includes geometry caches.
Training Summary
Geared towards newer Houdini users
Modelling the wind chimes
Vellum Simulations, Sim Post Processing
MIDI creation with CHOPs
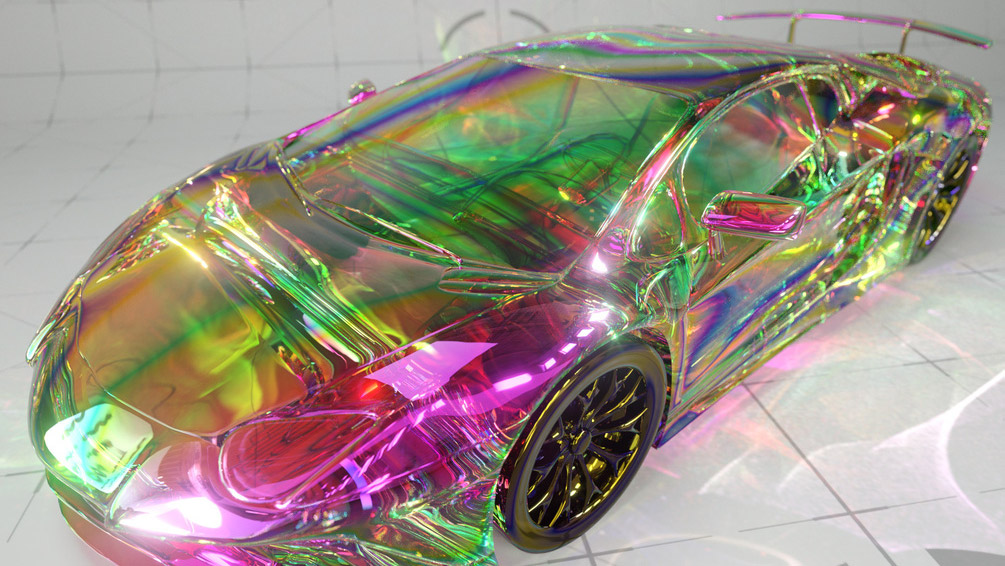
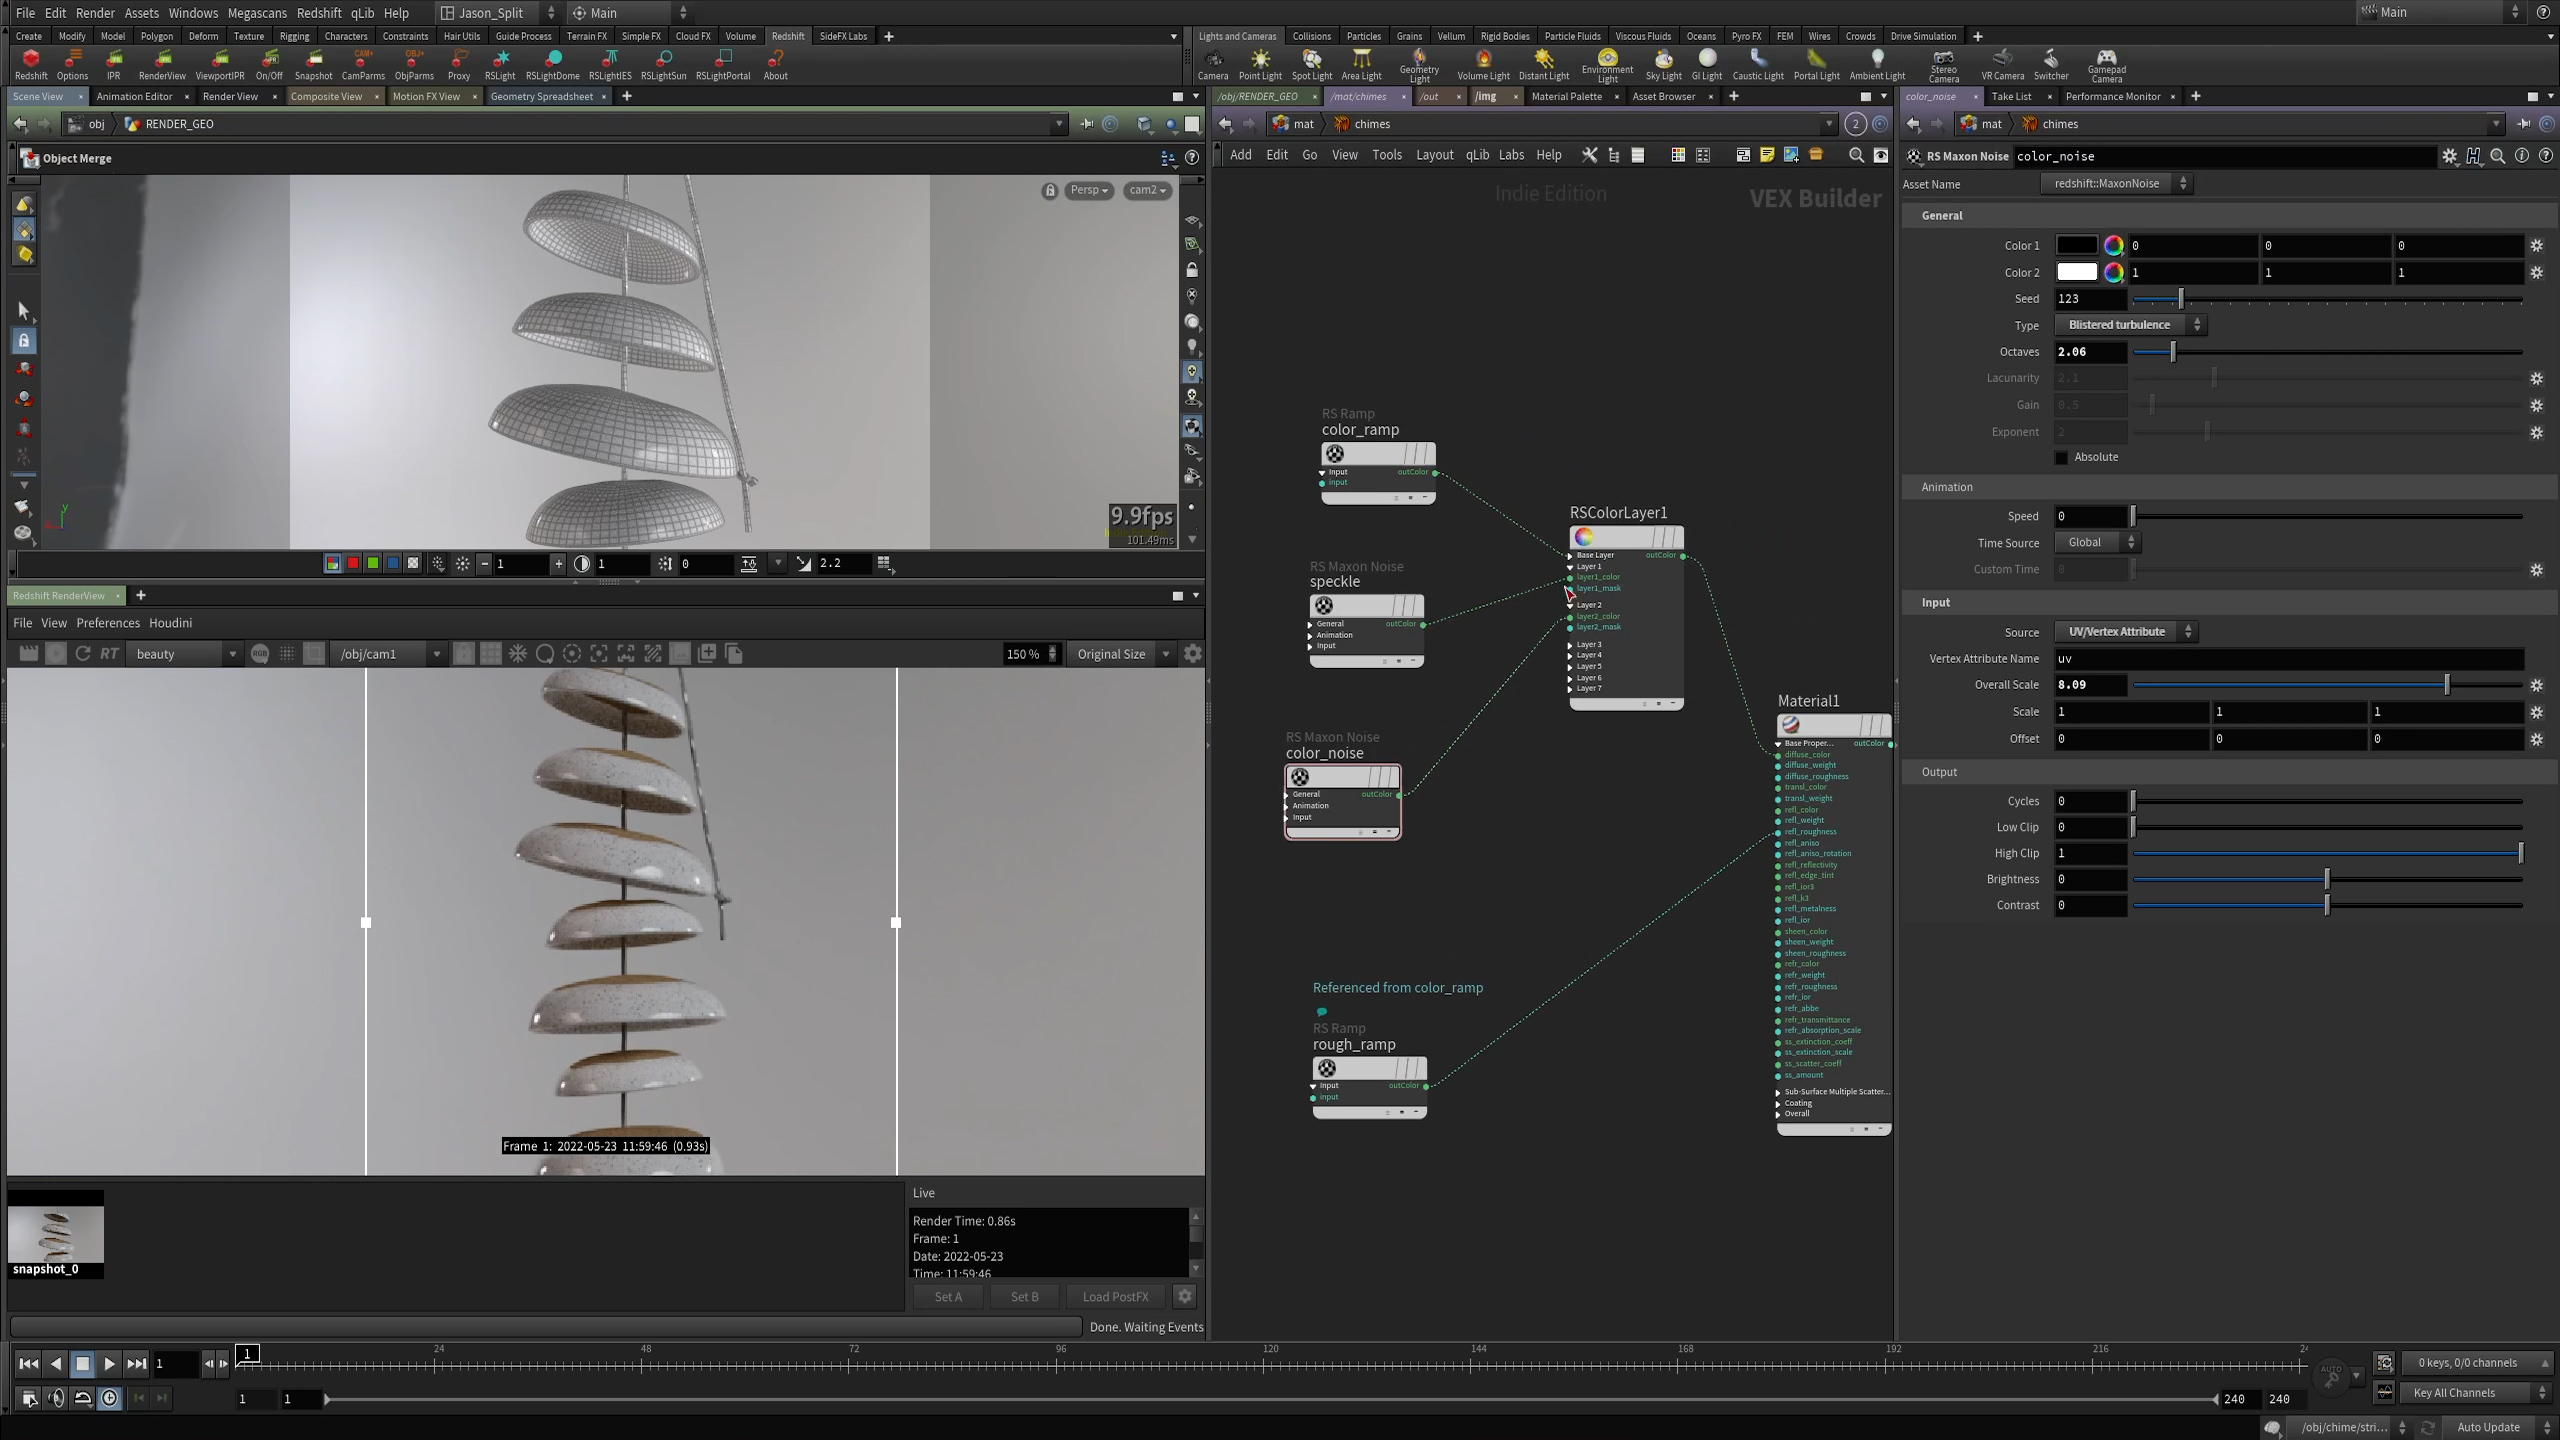
Light, texture & render with Redshift
21 videos over 6 chapters
All project files included
Recommended requirements
Houdini 19+
Redshift 3 and above
Reaper Demo or audio software with VST support
Bell Chime VST from Miscellania
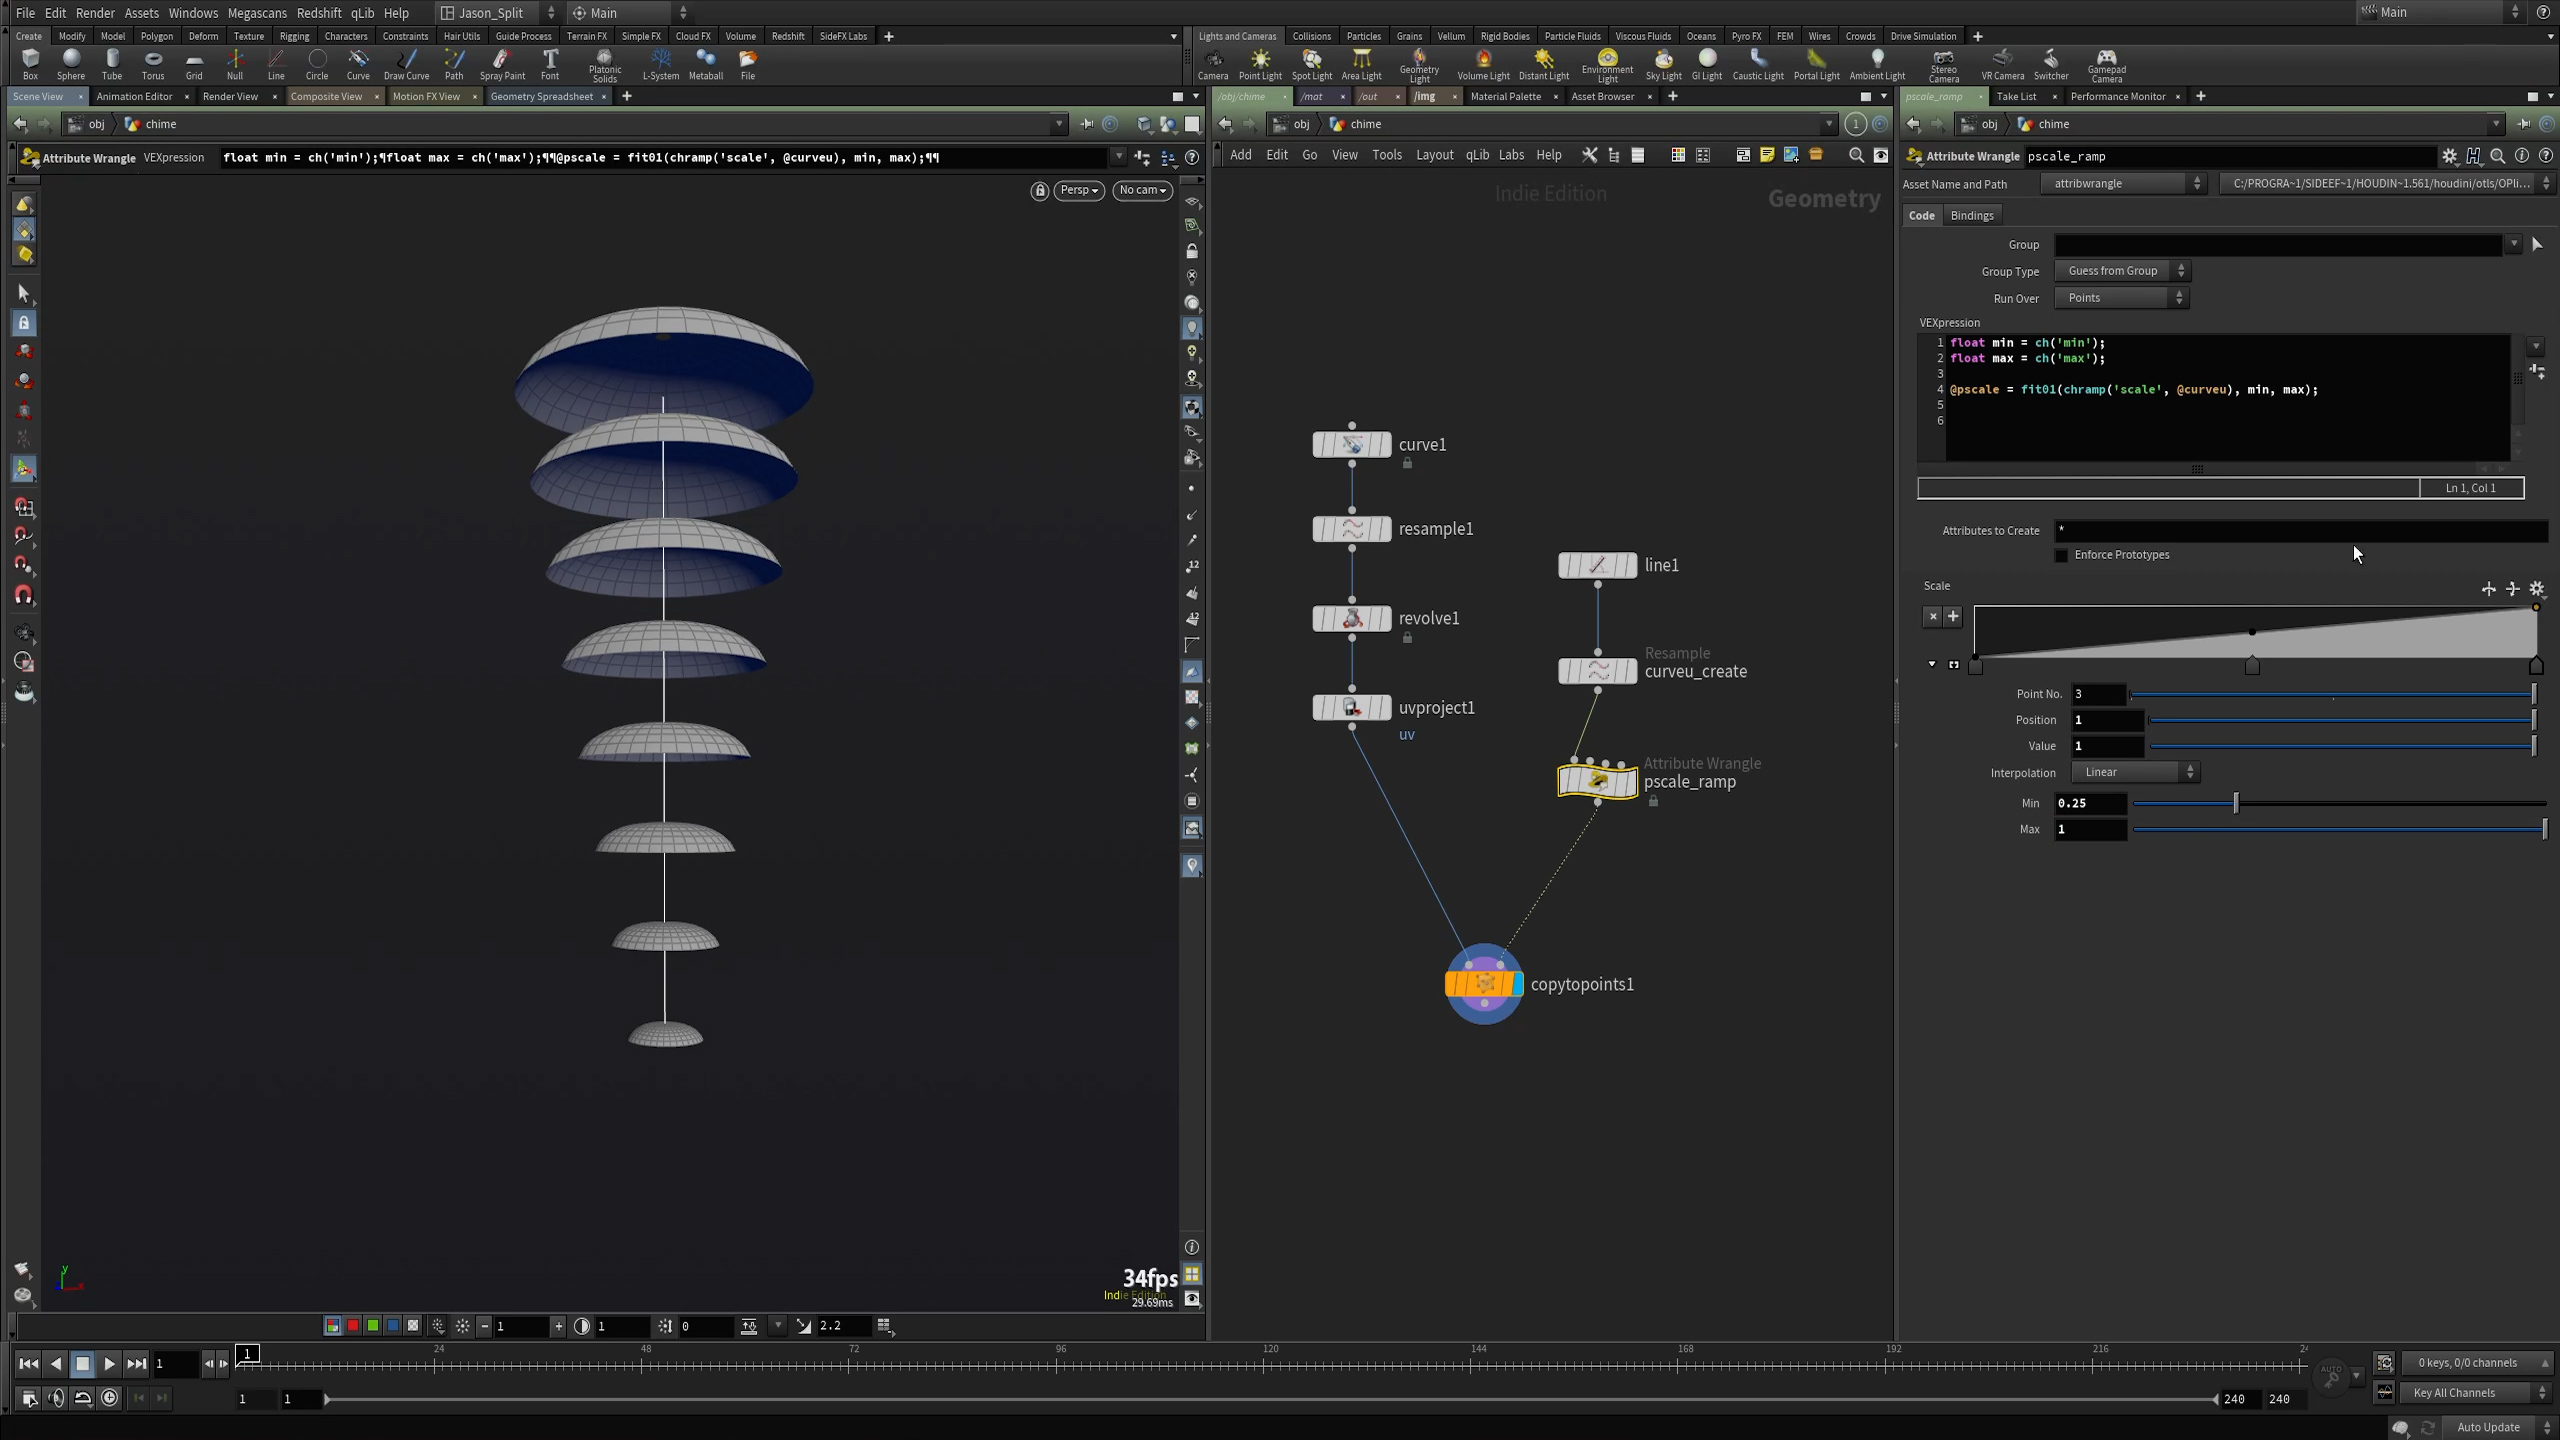
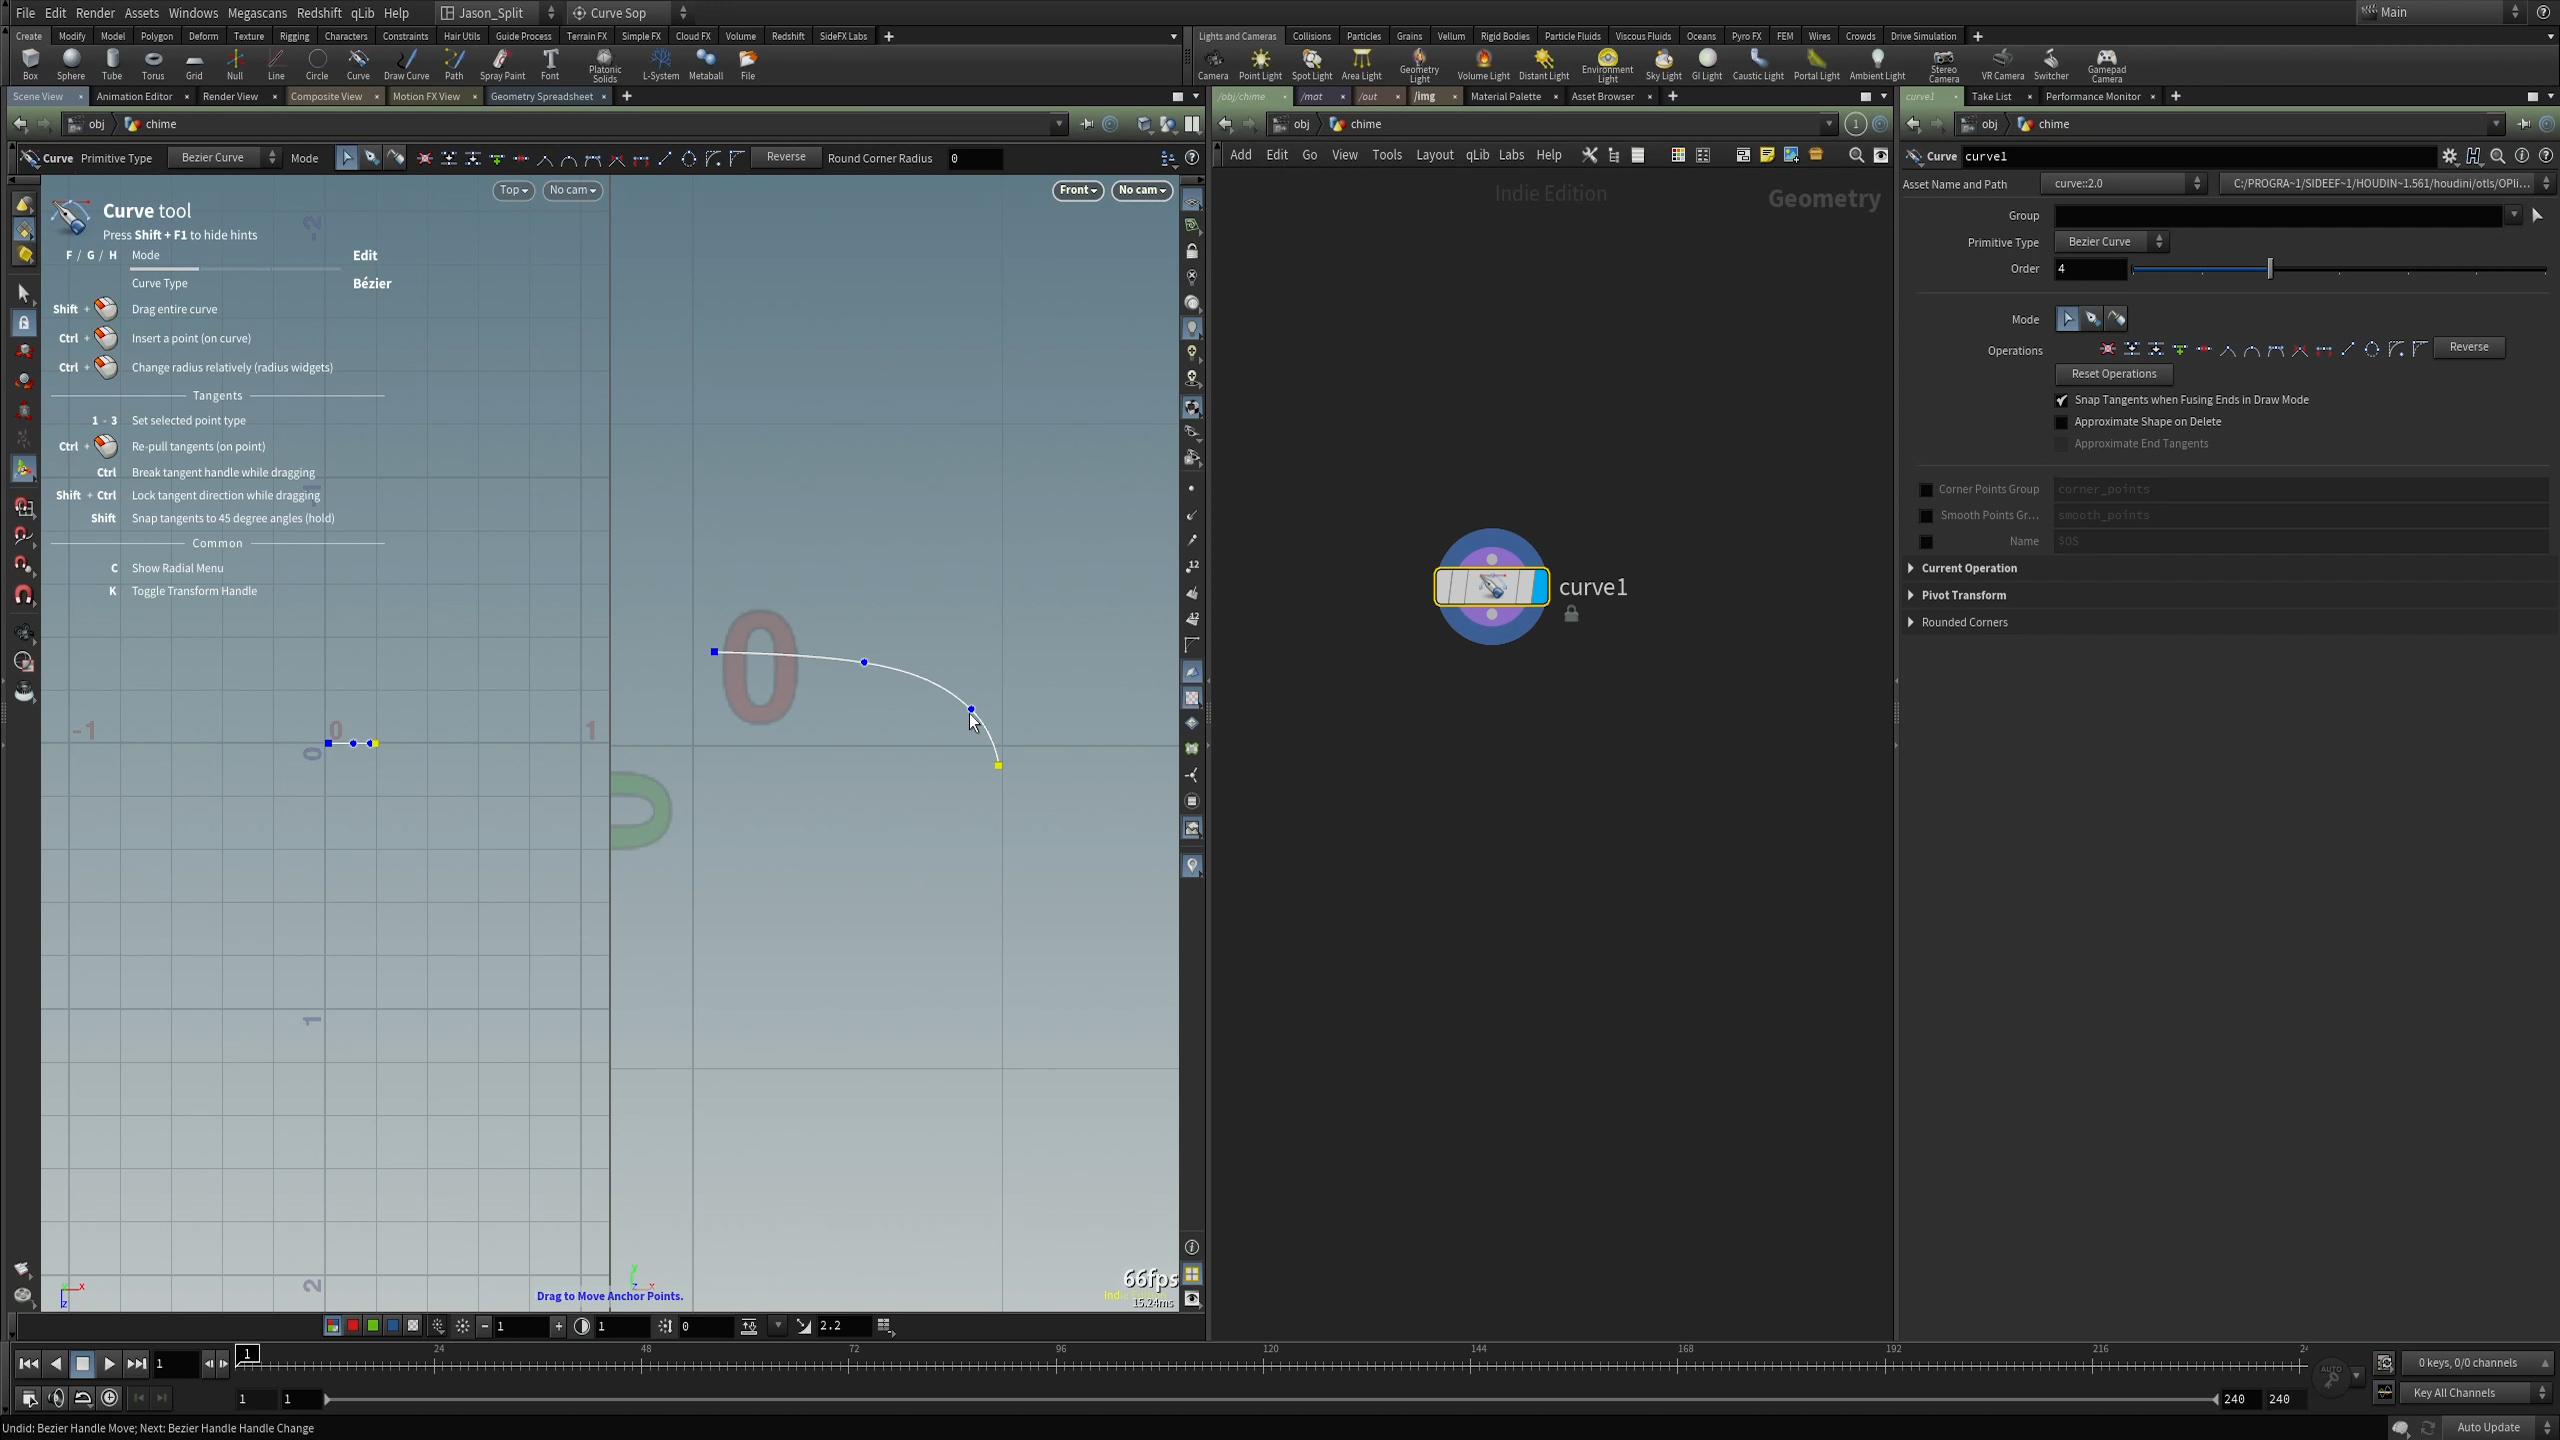
Part 1 – Modeling the Chimes
Model the basic chime shape using the Curve SOP and duplicate and randomize the shape.
Part 2 – Modeling the String
Using the Vellum Drape node we’ll set up the initial shape of our string.
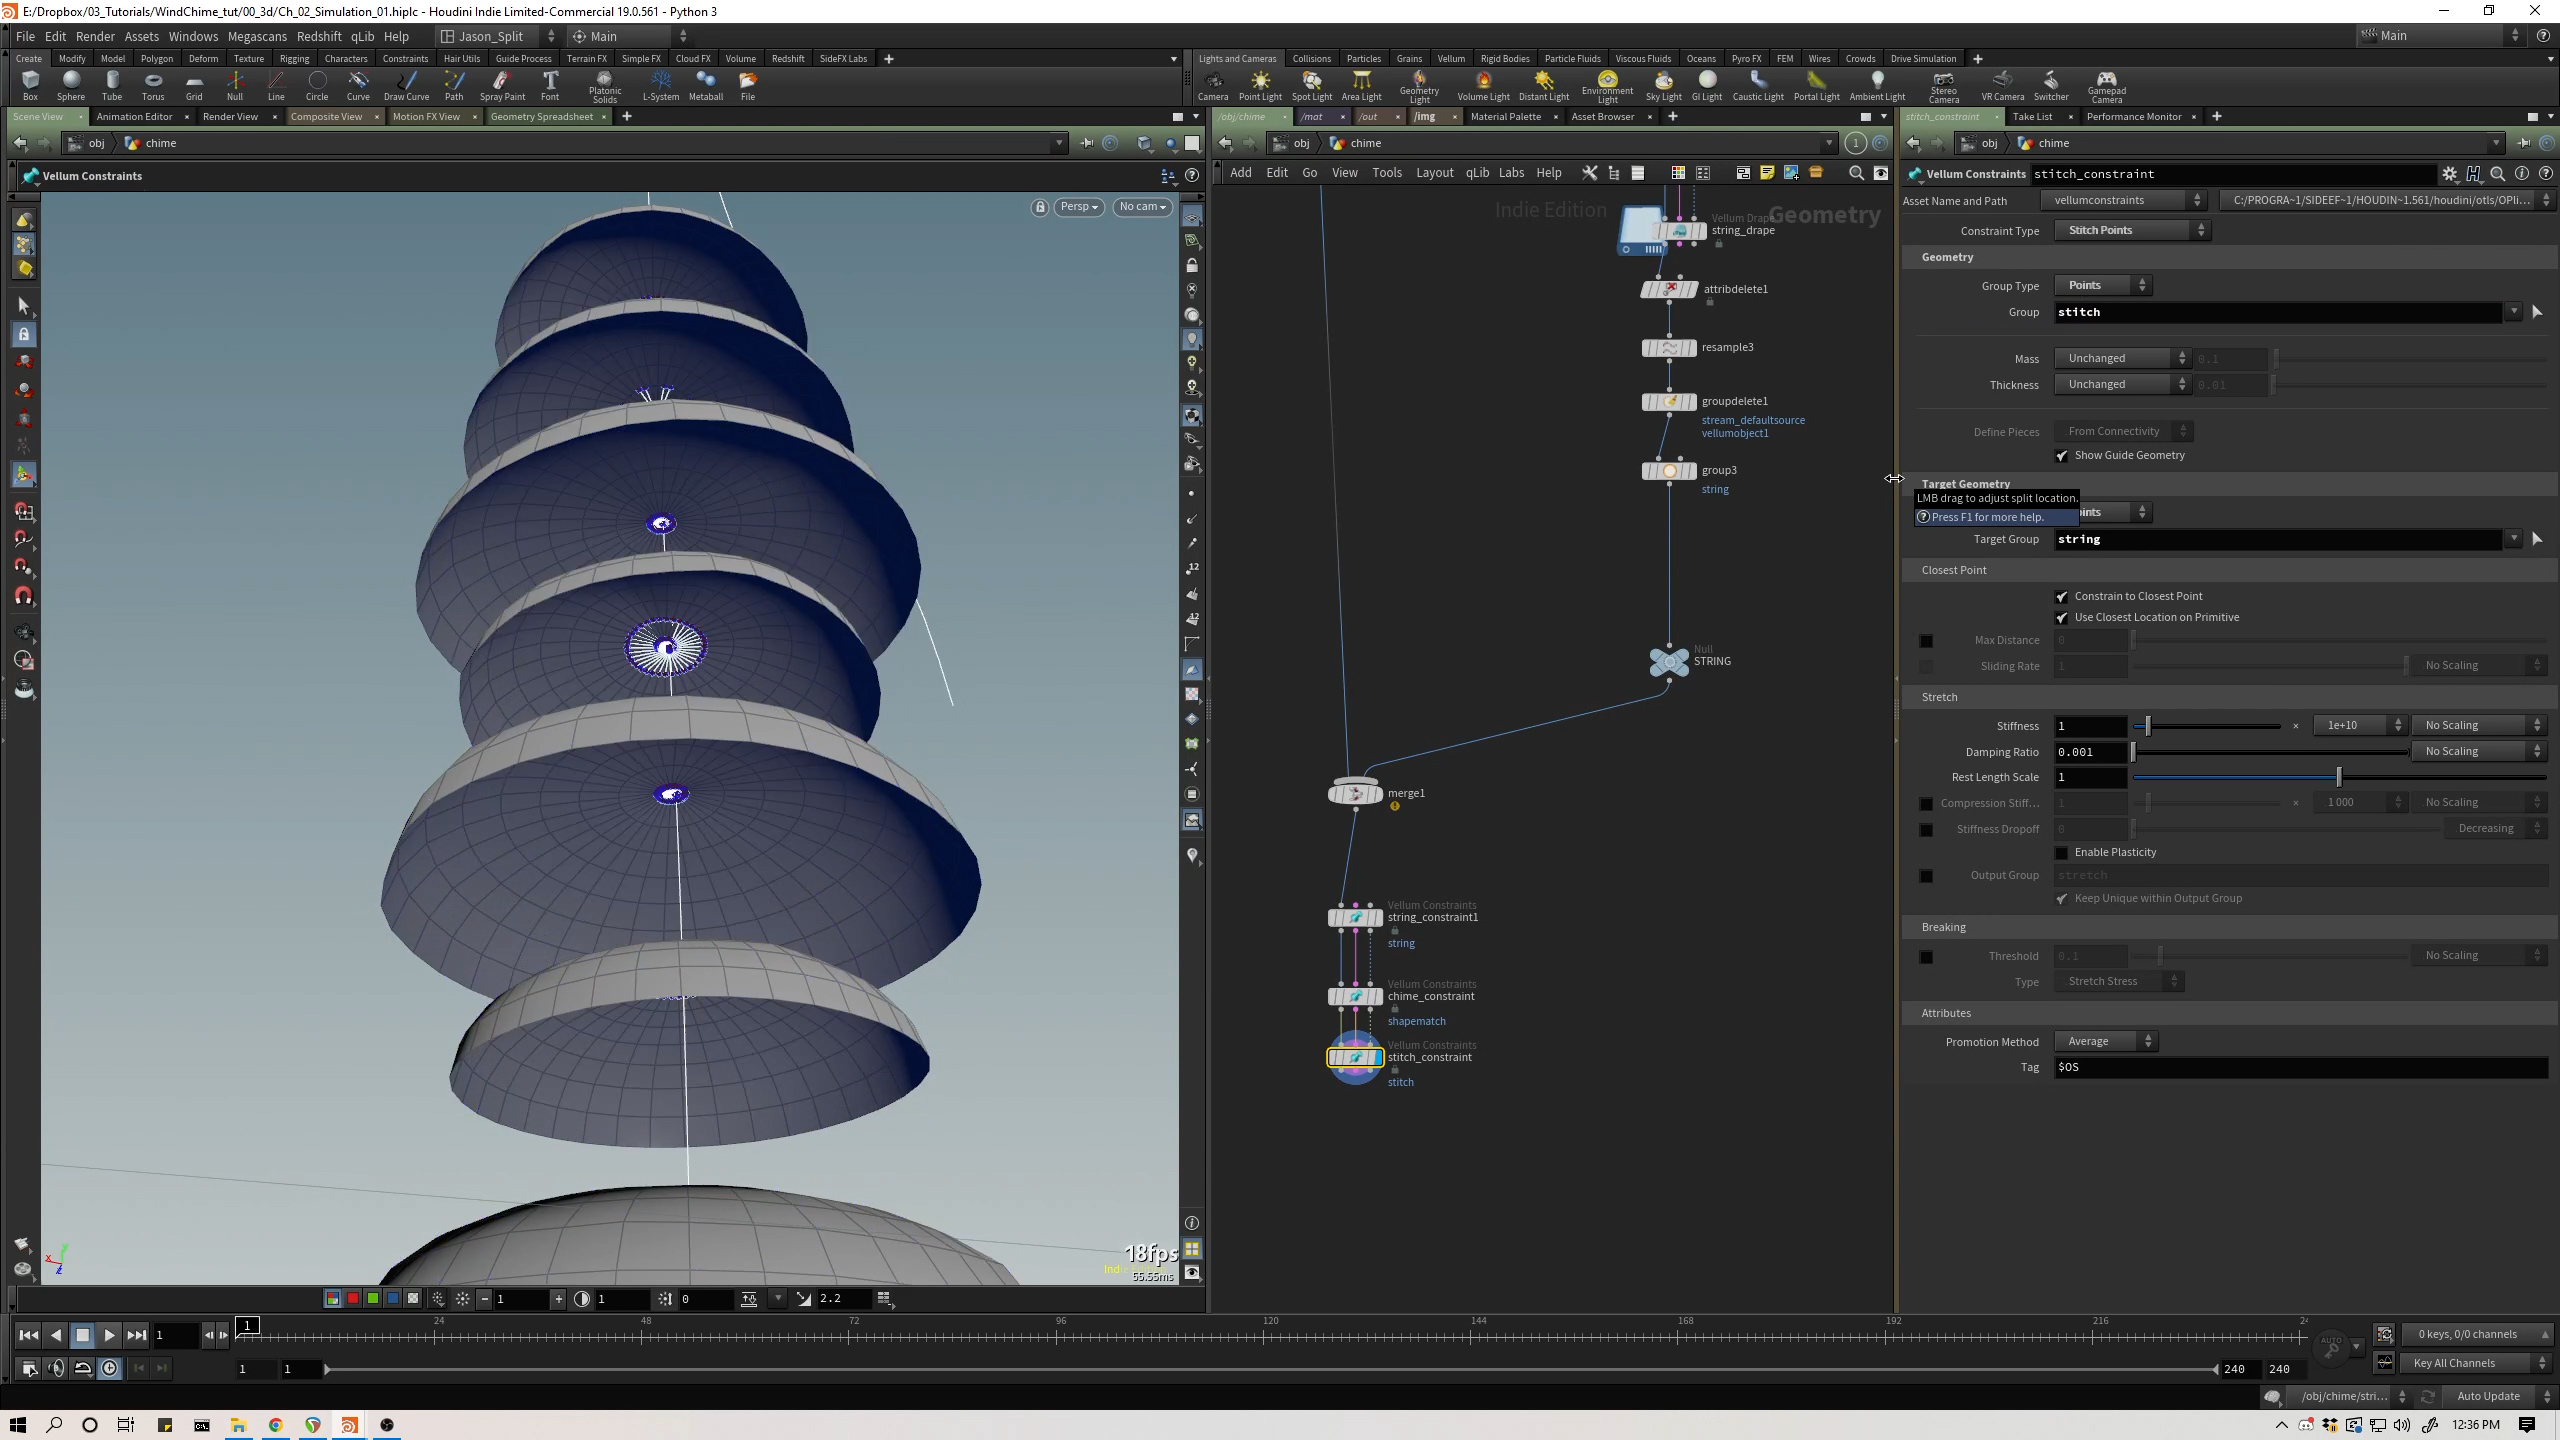
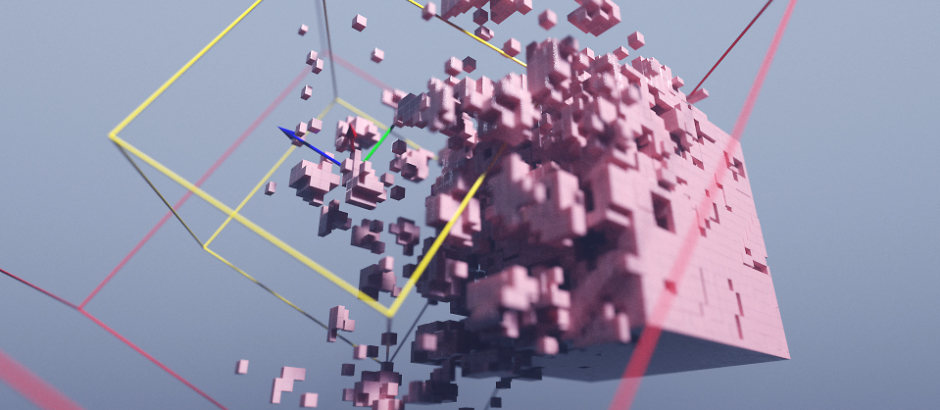
Part 1 – Vellum Constraints
We set up three different types of constraints, string constraints for the string, shape match constraints for the rigid ceramic pieces, and stitch constraints to attach the ceramic chimes to the string.
Part 2 – Vellum Solver and Troubleshooting
We set up our initial sim and take a look at how to dial in the settings on the Vellum Solver for nice, stable results.
Part 3 – Adding Wind
Using a POP Wind inside the vellum solver we’ll add some wind to drive our simulation.
Part 4 – Supplemental Troubleshooting
We’ll take a look at more common issues with Vellum sims and some techniques to address them.

Part 1 – Creating High Res Chime Geo
Rather than render low res simulation geometry we’ll create high res final geo using the PolyExtrude SOP and Mountain SOP for subtle randomized detail for our ceramic pieces.
Part 2 – Matching High Res to Low Res Sim, Point Deform
We’ll look at using the Point Deform SOP to match our newly created high resolution geometry to our low resolution simulation geometry.
Part 3 – Sweep the String and Knots
We’ll create the needed attributes on the string to get a nice, consistent sweep with no flipping. We’ll also add knots on the string where appropriate and use some SOP level tricks to ensure that they deform along with the moving chimes.
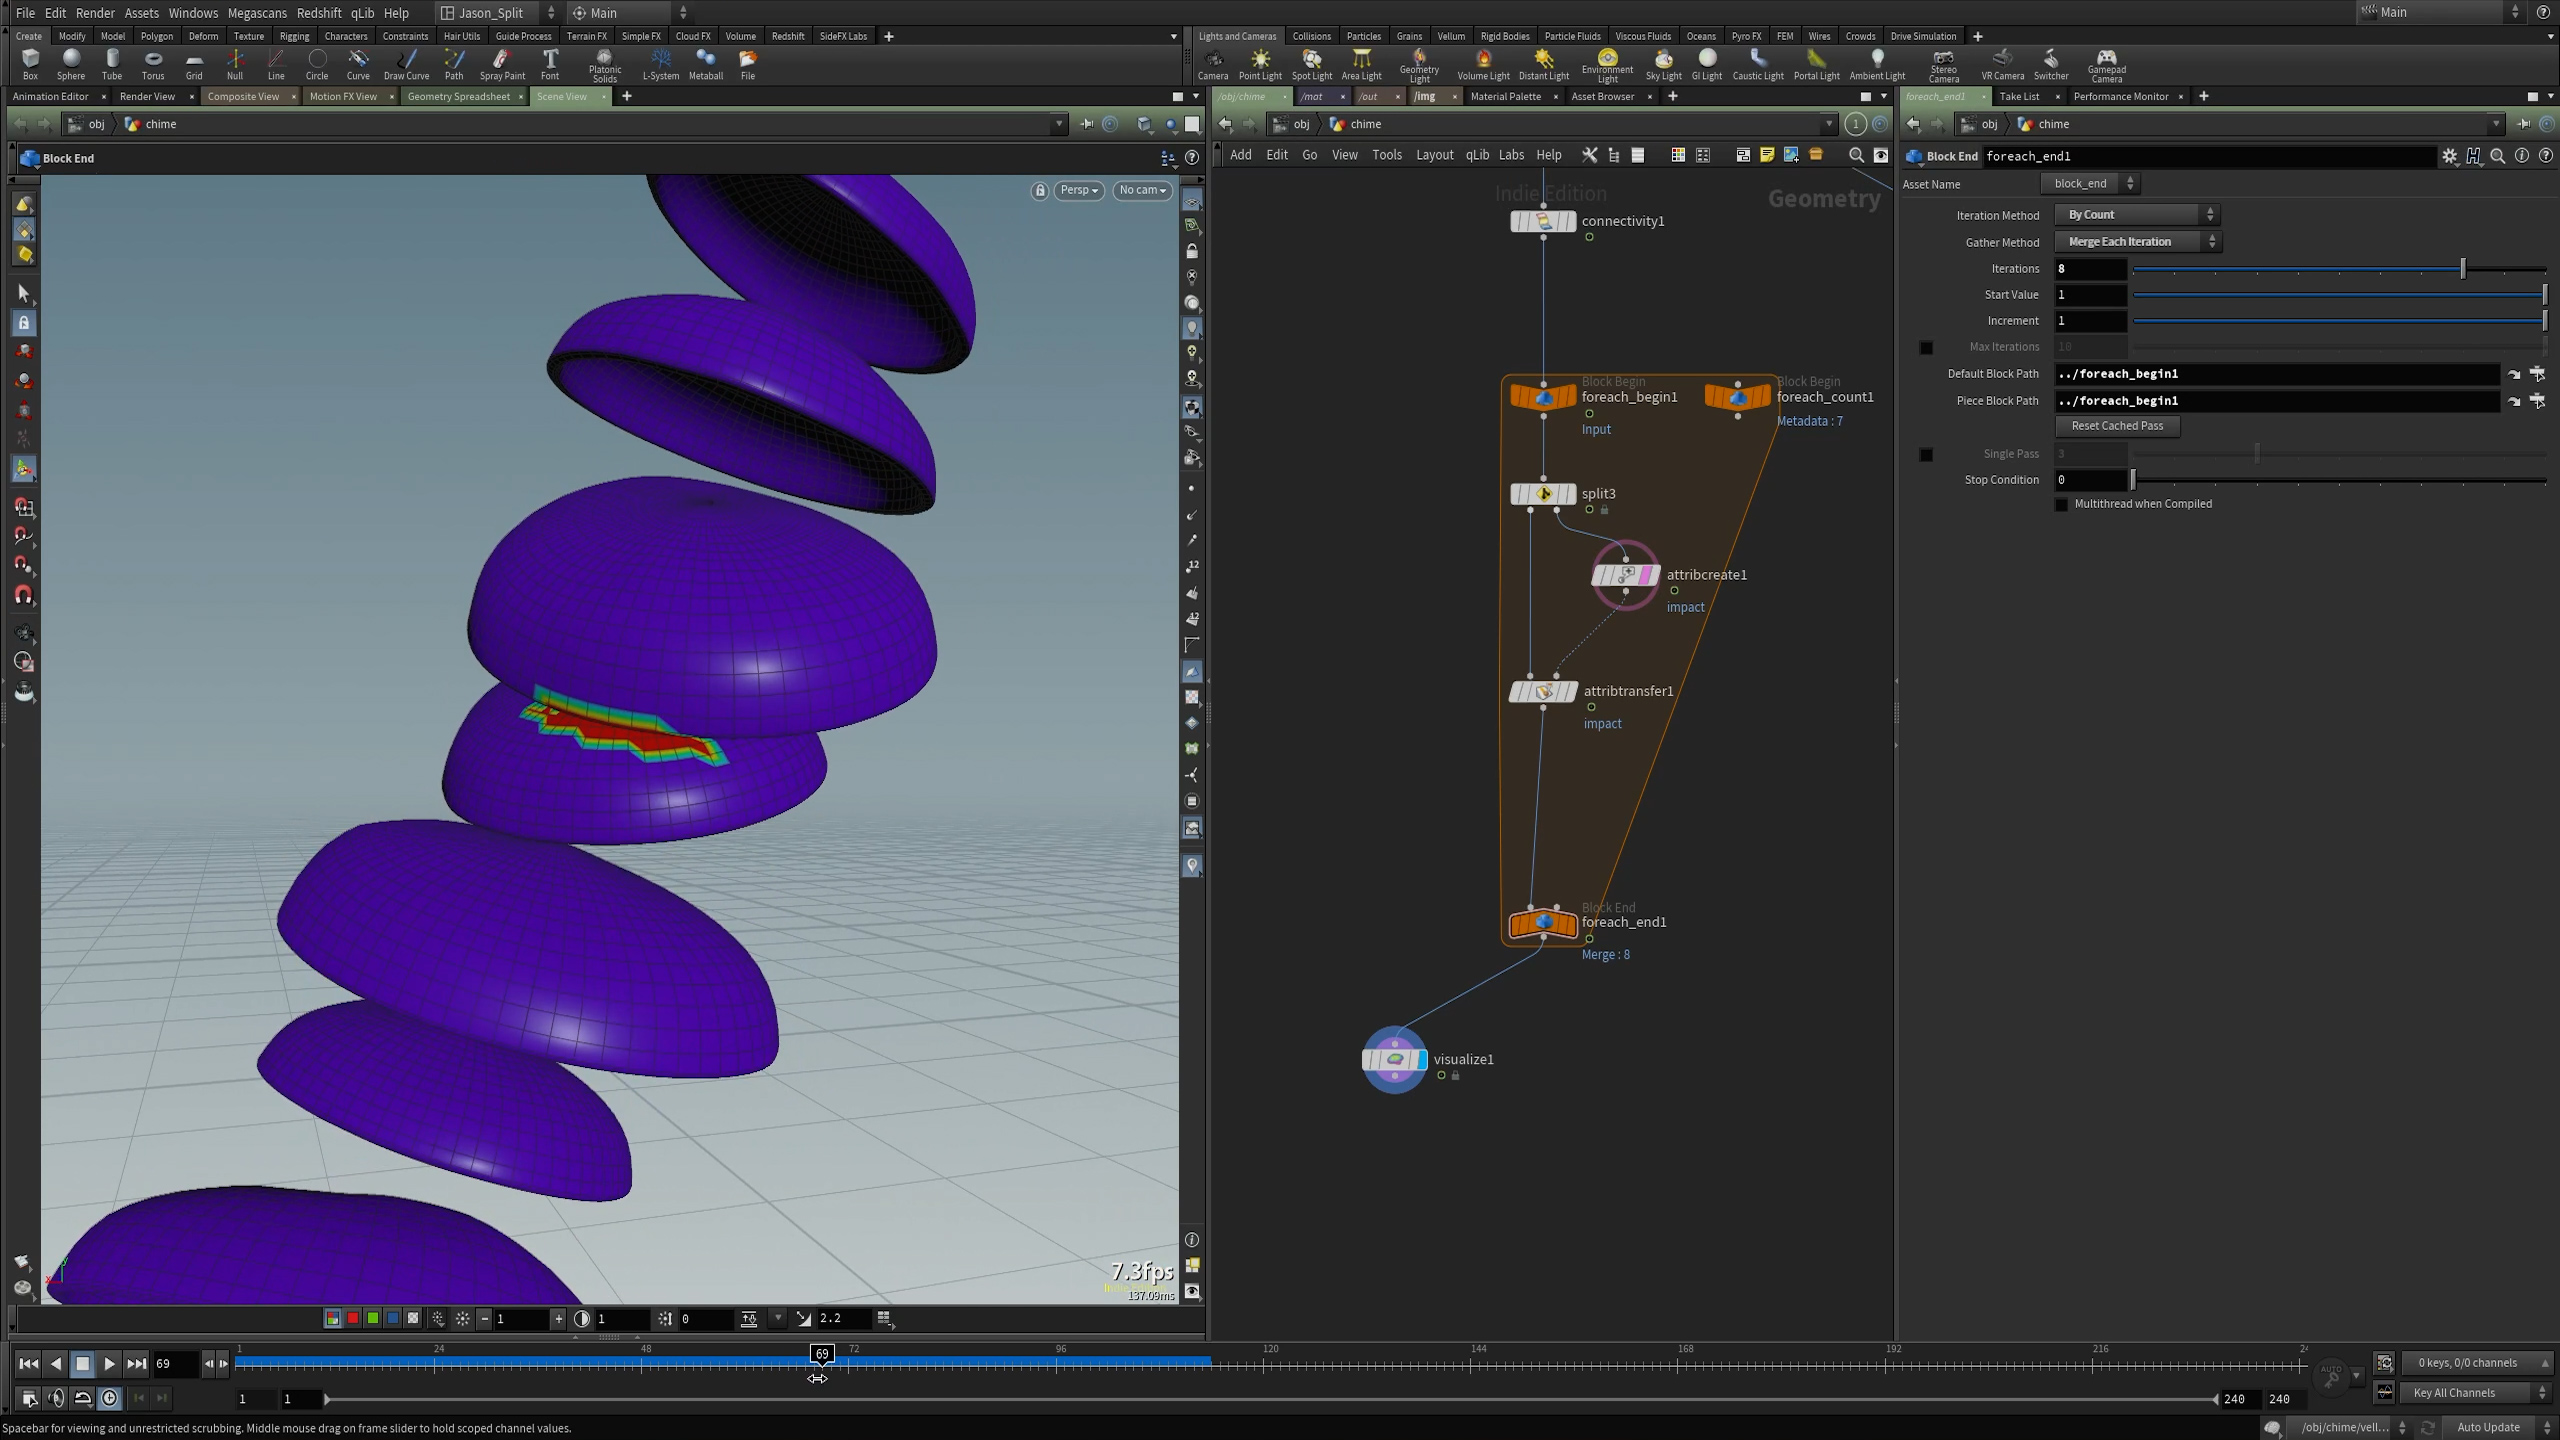
Since the Vellum solver doesn’t have an inbuilt method for outputting collision attributes, we’ll create our own system using a For Each Loop and an Attribute Transfer.
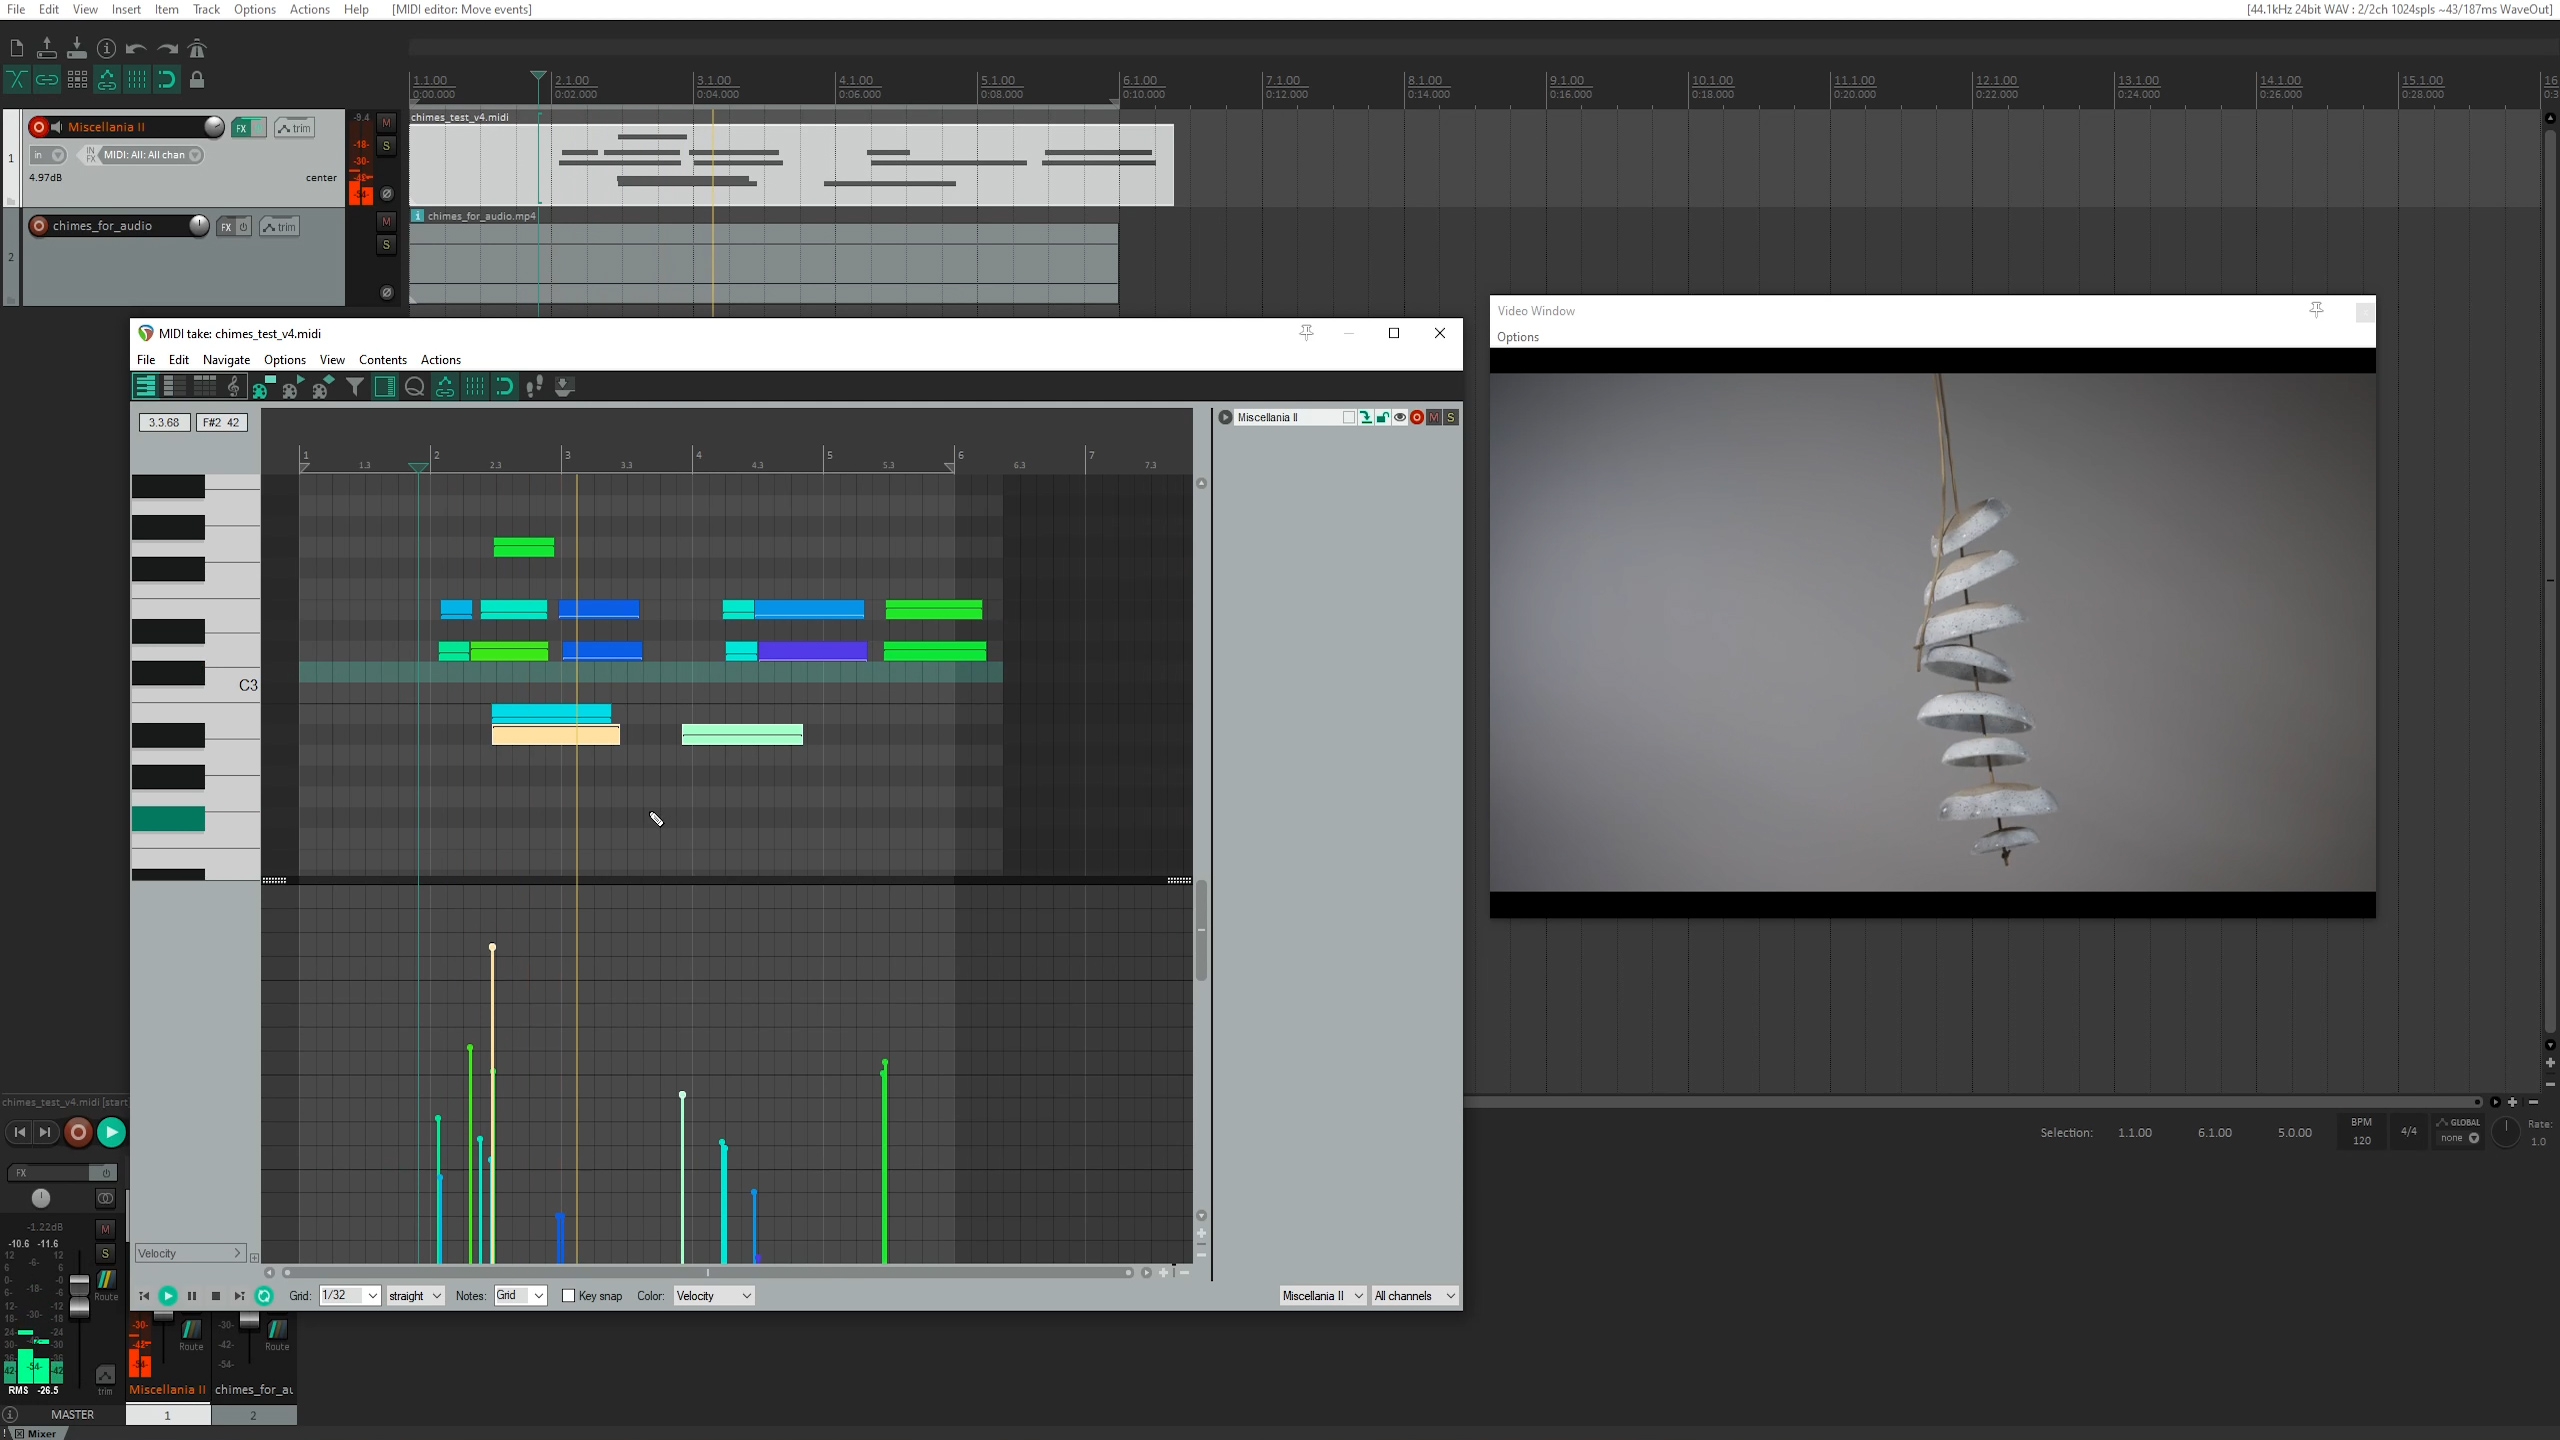
Part 0 – Brief Intro to Reaper and VST
I’ll briefly explain why I chose Reaper as our audio editing software, and show how to install the VST (virtual instrument) we’ll use to create our chime sounds.
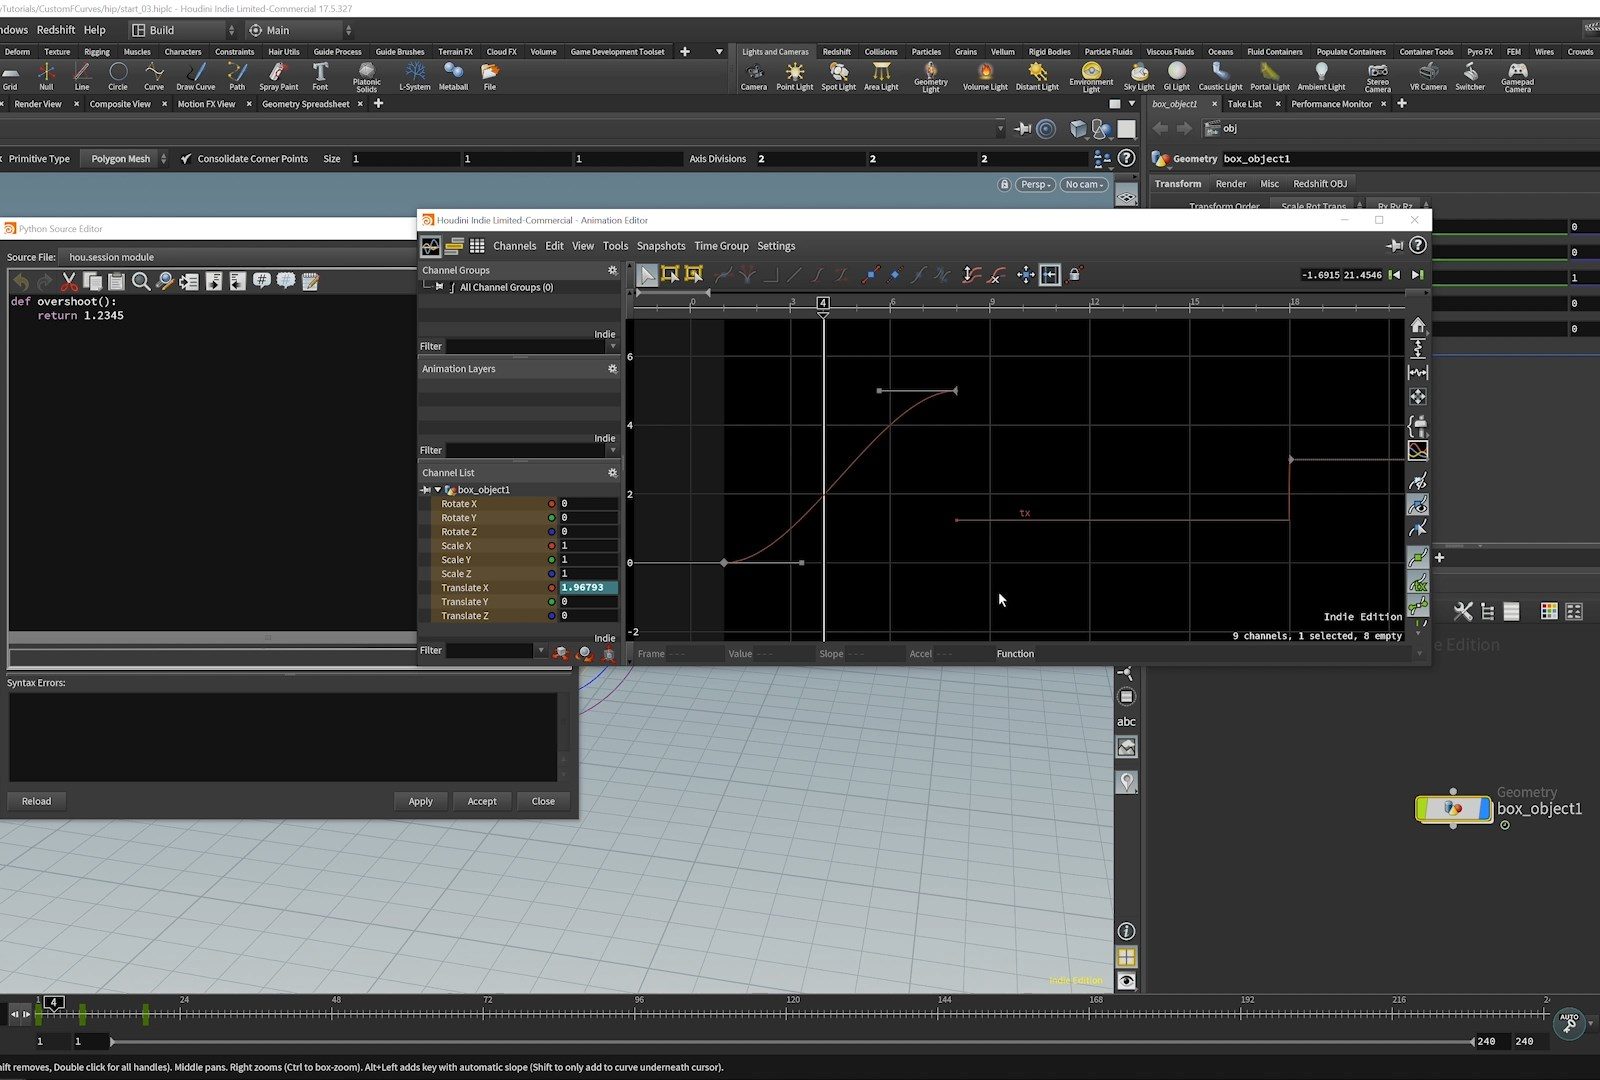
Part 1 – CHOPs Intro
I’ll discuss what type of info we’ll need to generate by looking at the type of data Reaper expects to see in a MIDI file. I also talk about some general info on CHOPs and how to prep your geometry for better performance in CHOPs.
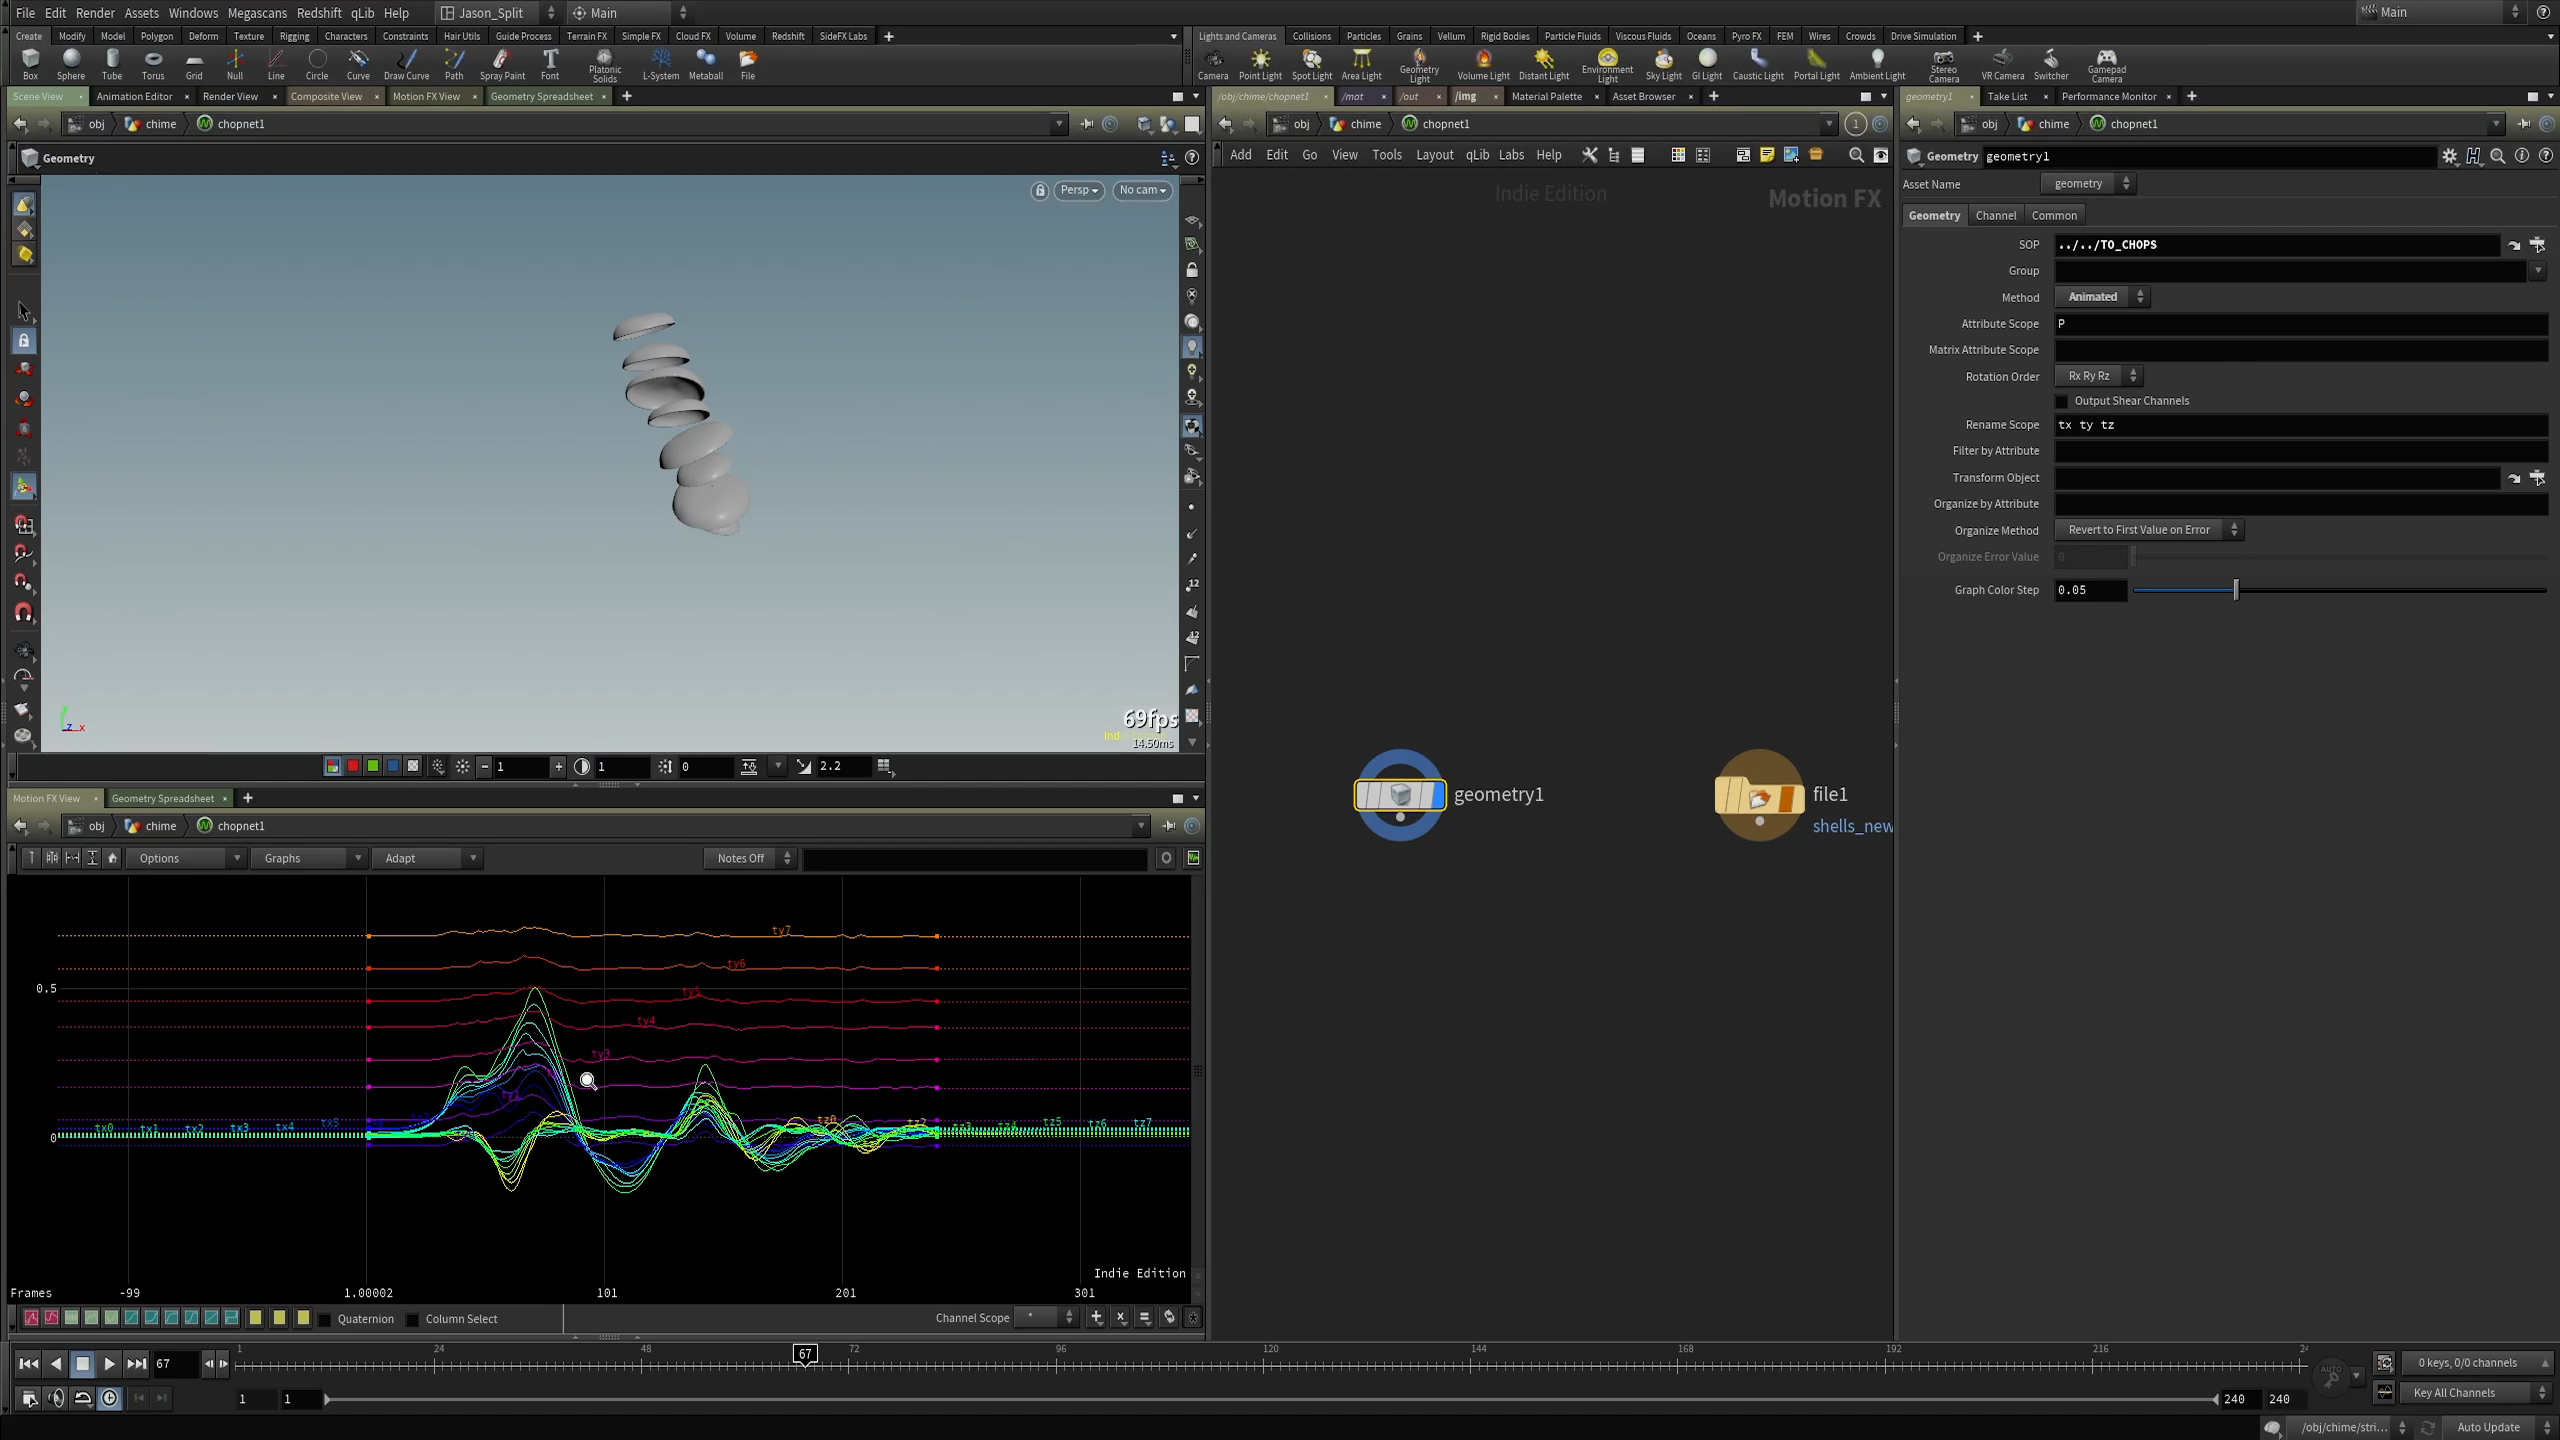
Part 2 – Creating MIDI Channels
We create the attributes we’ll need for our MIDI file in SOPs, then bring those into CHOPs to create and export channel data via MIDI.
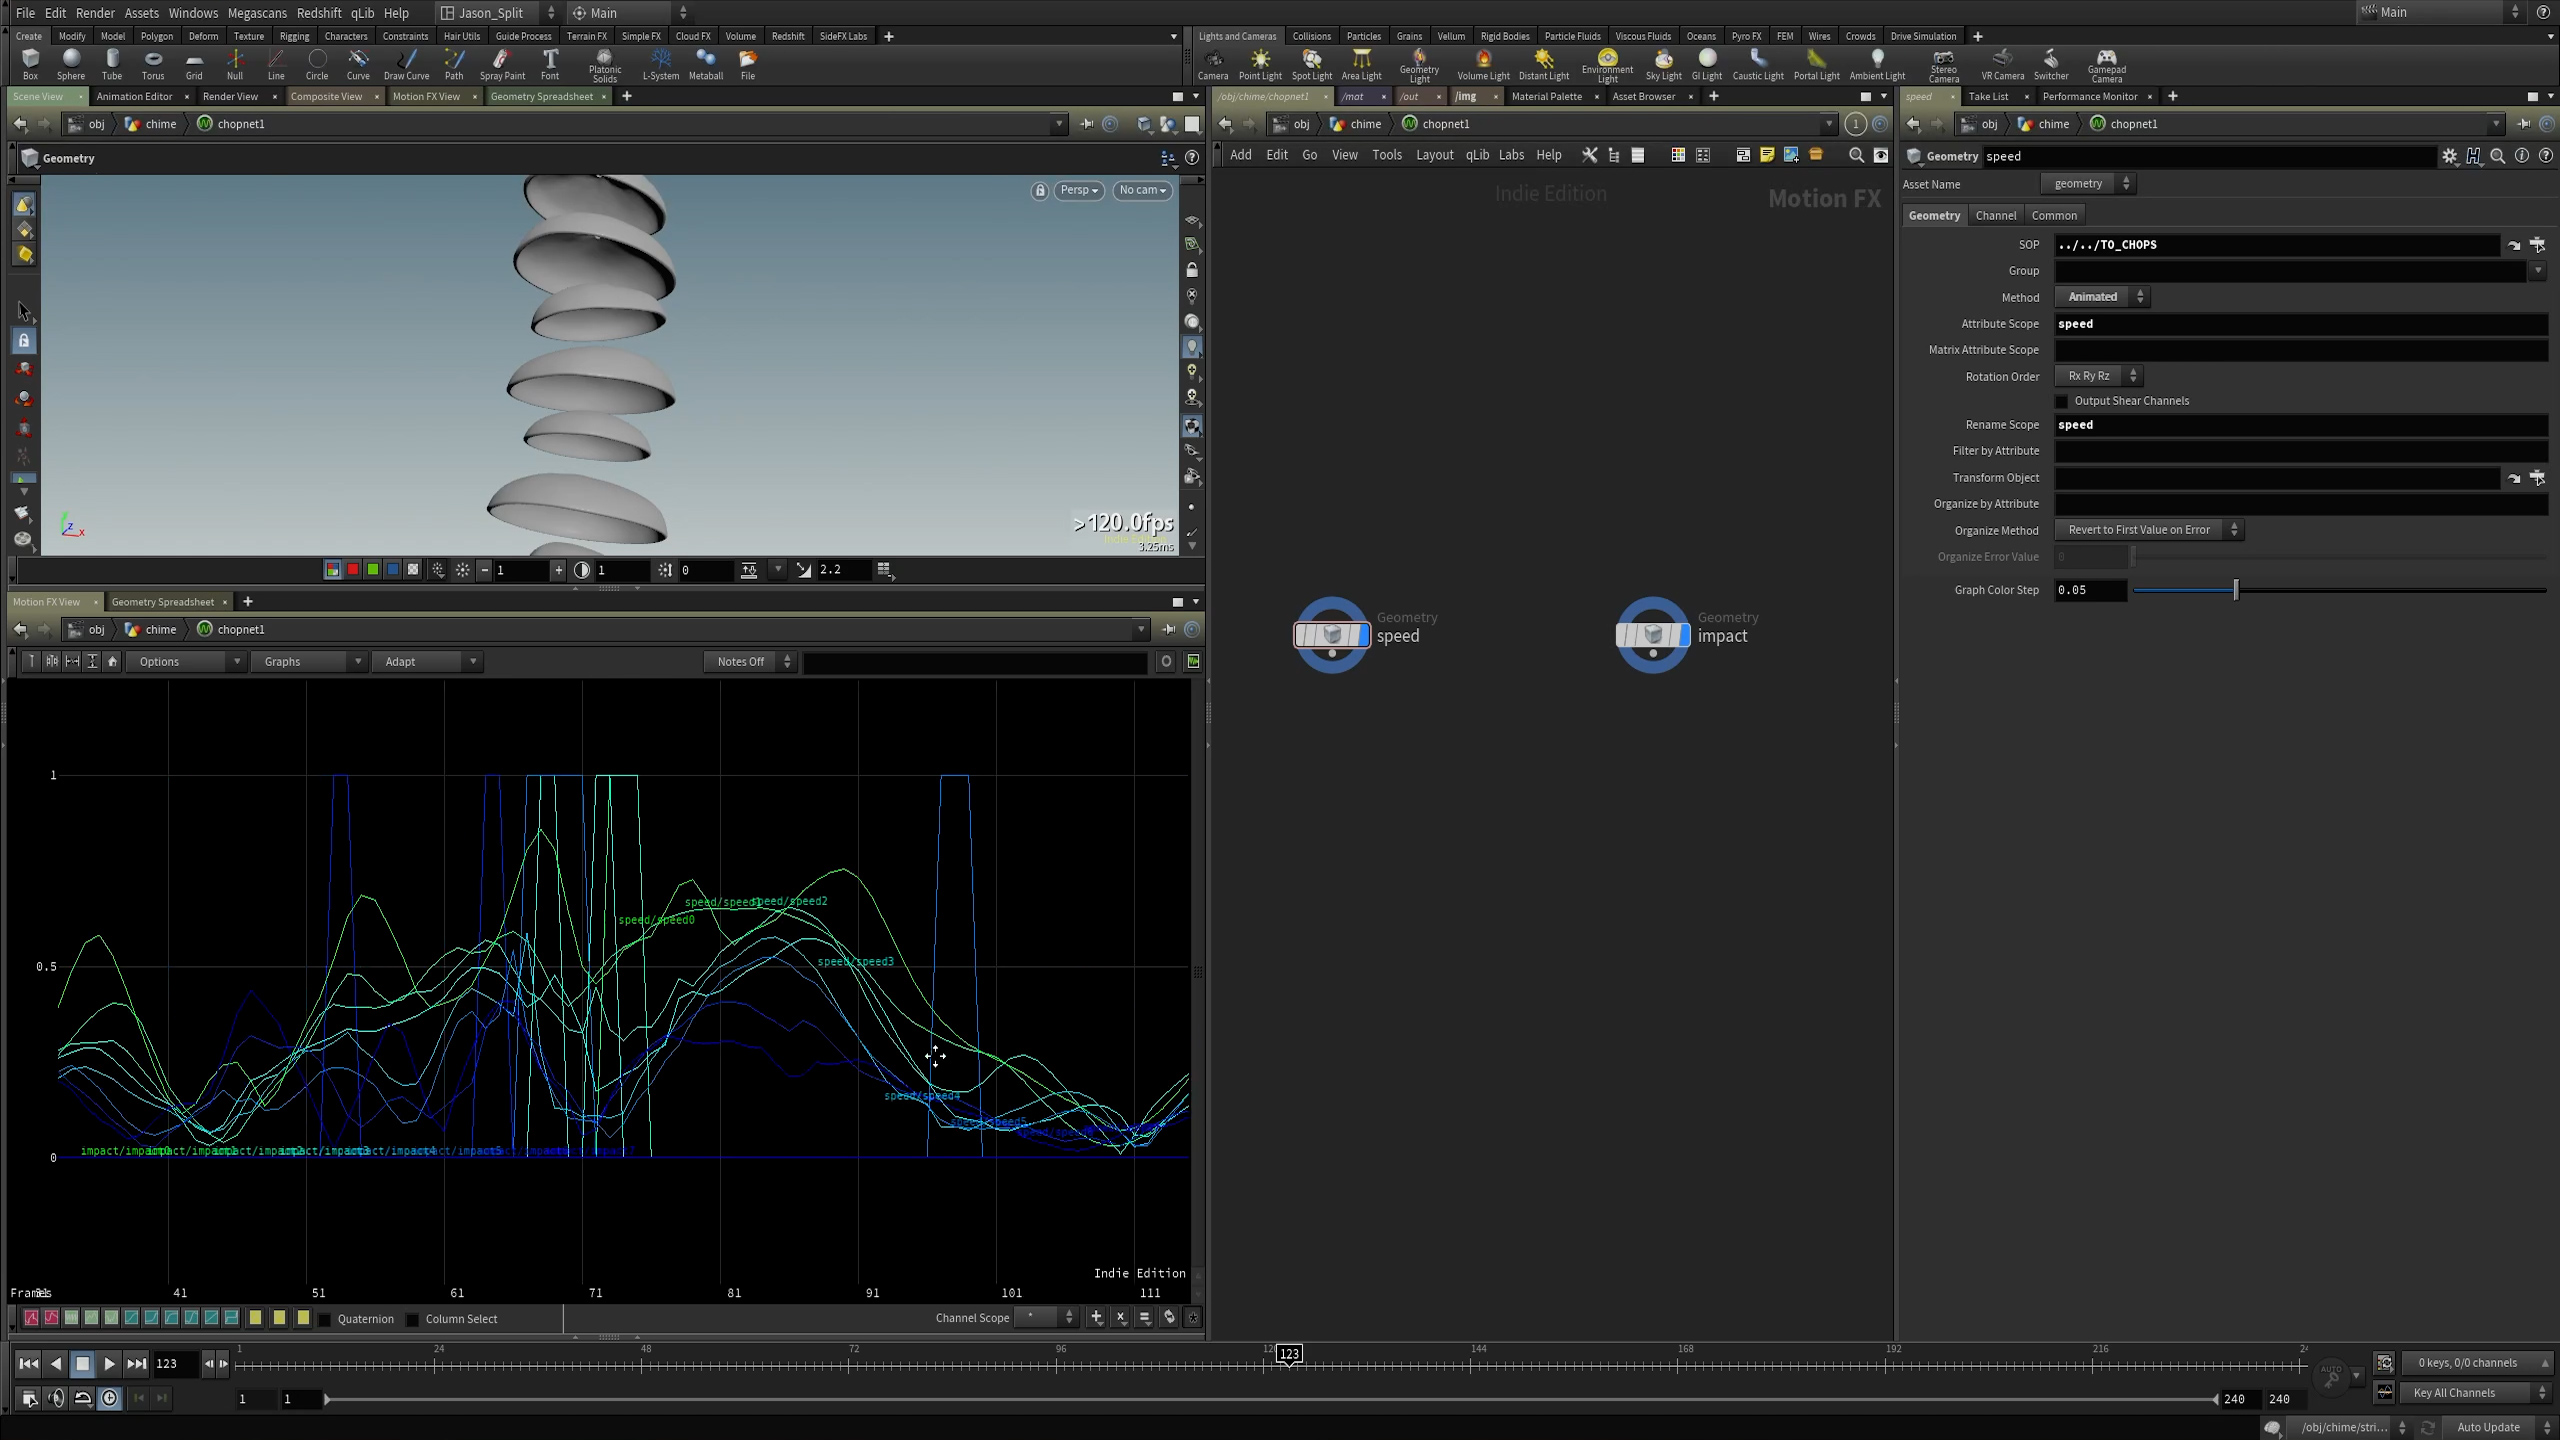
Part 3 – Refining MIDI Data
We’ll look at further processing our collision and velocity data in CHOPs for more reliable and accurate MIDI channels.
Part 4 – Longer Note Duration via SOP Solver
As an exercise I show how you can control the duration of your notes by modifying our collision duration with a SOP Solver before sending that data into CHOPs.
Part 1 – Basic Setup
We’ll set up our base render settings, lights and materials.
Part 2 – UV Adjustments
I further refine our UVs after seeing a bit of texture distortion. In this I show how even fundamental changes like this can be made on the fly without the need to re-simulate anything in the scene.
Part 3 – Final Textures
Further texture adjustments.
Part 4 – Lighting
Here’s we’ll take a look at setting up spot lights with a GOBO created directly in COPs (Compositing Operators) and I’ll show how to get this to update live in the Redshift Render Viewer.
Part 5 – Final Render Settings
I’ll take a look at how I typically dial in my render settings to get faster renders without sacrificing quality.
Part 6 – Final Looks and Audio Tweaks
We’ll take our final render into Fusion, AE, and Premiere where I show a couple gotchas on color management. We also take our final render into Reaper for final looks against the audio, and I couldn’t help myself from making a few final audio adjustments.