Redshift Essential Materials : Houdini
$55.00
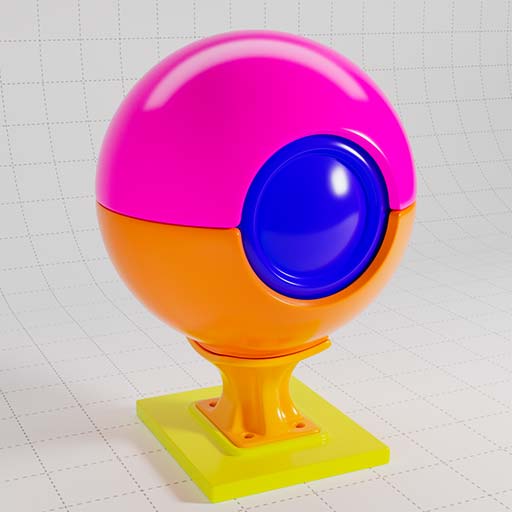
Redshift Essential Materials is a set of Houdini presets which have been built as an introduction to the most useful Redshift parameters, features and nodes.
This is an essential library of resources when building your Redshift scenes.

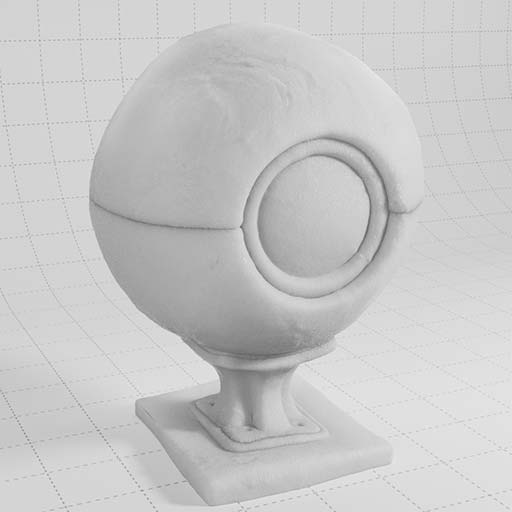
A collection of 70 pre-build setups for Houdini which demonstrate Redshift’s most important and useful nodes. Each material includes remarks in the network to explain the nodes. This library is a great way to learn how particular nodes work in combination with objects in your scene, as many of these examples require the use of the Redshift options available on your geo nodes.
Create dispersion, absorption and sub-surface scattering. Add wear and tear to edges, or dust settling on the top of the surface. Explore world, camera and object space as falloff types.
Create random coloured objects using only one Redshift material and define the range of colours using attributes which can be remapped in the material. Using the Shader Switch to combine multiple textures in one material channel and a Material Switch example, so you can apply different materials to your instanced objects.
Each material comes with a supporting Houdini network so you can see how any particular setup is built. This includes example networks for creating volumes, hair, particles, curves, as well as working with instances and manipulating attributes to use with your Redshift shaders.
We also include AOV examples, such as puzzle mattes from objects or materials, creating mattes from textures and shaders using custom AOVs, and global AO & UVW passes.
Product Summary
70 Redshift materials with notes
Houdini project files for each setup
Supplied as .hiplc (Houdini Indie) file format
Dispersion, Absorption and SSS effects
Wear & tear, dust & surface techniques
UV projection, normals, camera, object & world space
Using attributes in materials
Render points, splines, particles & hair
Create wireframes and sprites
Render Volumes & OpenVDB files
Example scenes for Utility AOVs
Recommended requirements
Houdini 19.5
Redshift 3.5.06 and above
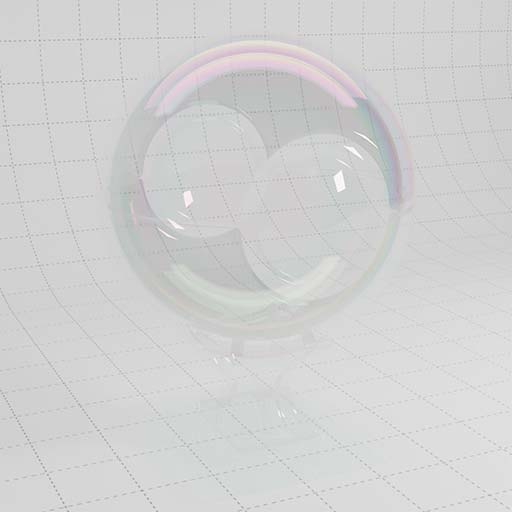
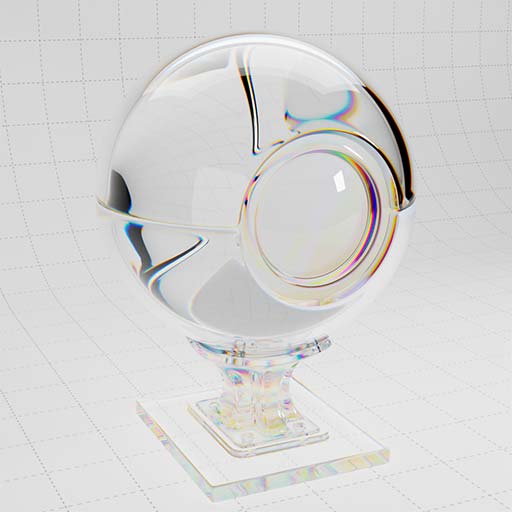
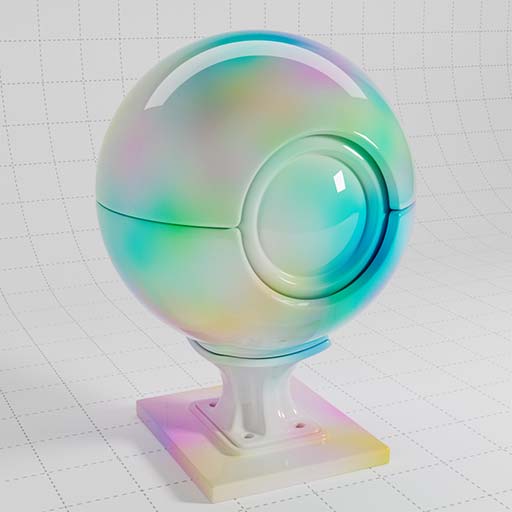
This uses the Thin Wall feature so the rays pass through with no refraction, combined with the Thin Film parameter to add the rainbow interference often seen on soap bubbles and oily surfaces.
This uses the Thin Wall feature so the rays pass through with no refraction, combined with roughness for a thin frosted glass result.
An example of using colored Transmission and a low depth value to create a very opaque rubbery result.
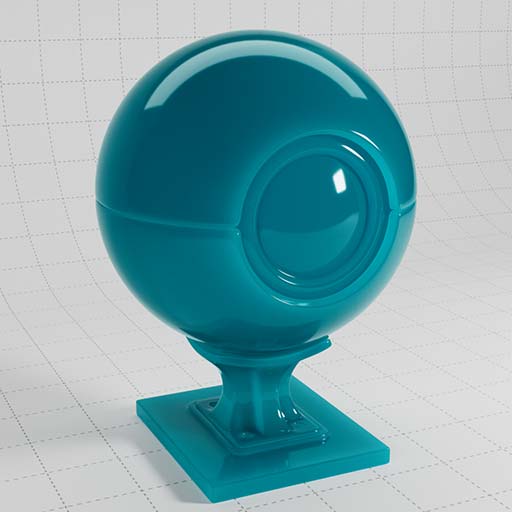
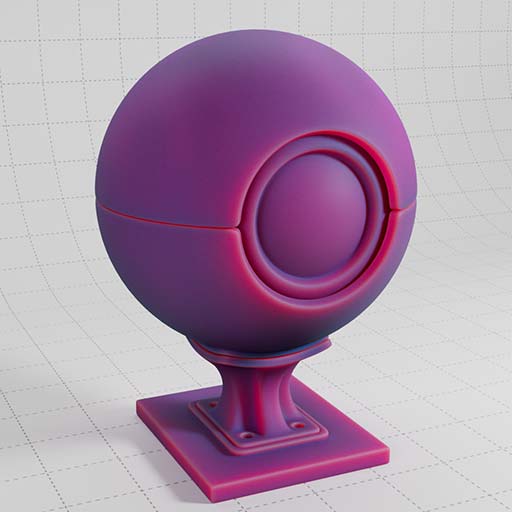
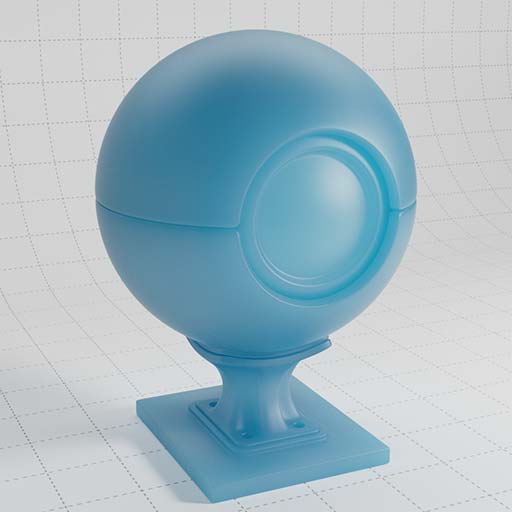
Using a combination of colored Transmission with Scattering at a low Depth value results in this translucent plastic material.
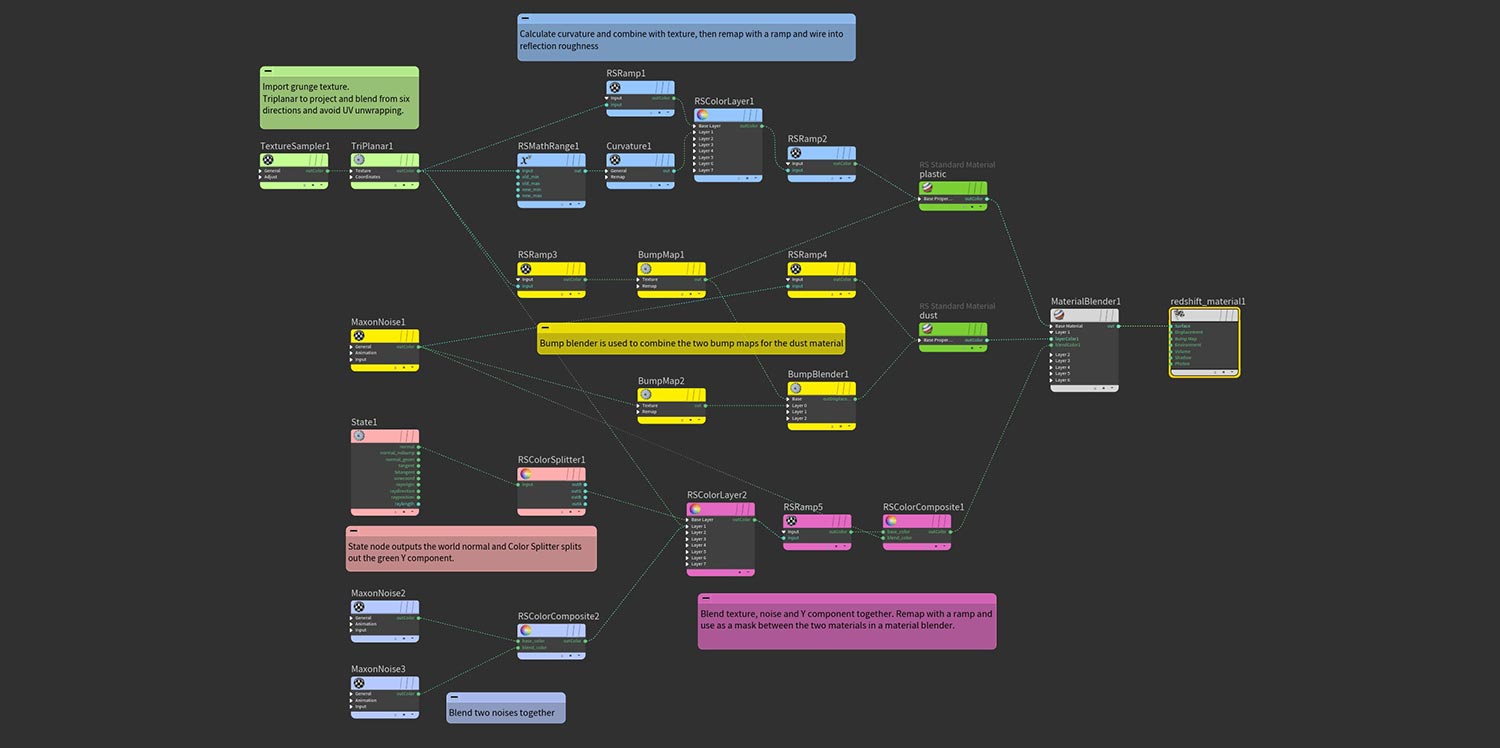
The same material as above, but this version has the addition of a dust layer and surface damage and imperfections.
The grunge map is piped through the TriPlanar node which allows you to project up to six shaders from six directions and blend the seams. Often with this type of usage it avoids UV unwrapping (hurrah!).
An example of using colored Transmission combined with the Extra Roughness parameter, to create this internal frosting effect.
This is the same as the material above, but this has additional surface imperfections created by combining several noise shaders with blend modes.
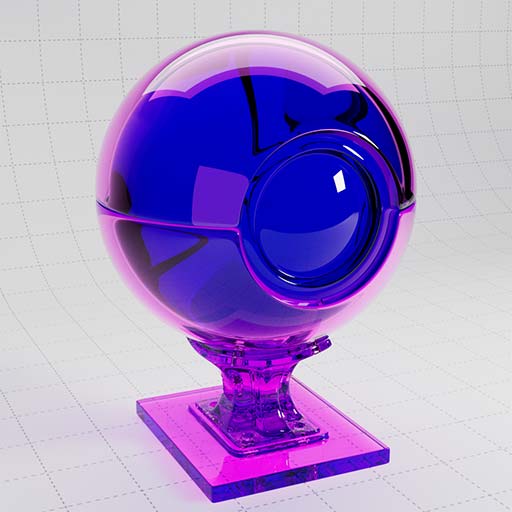
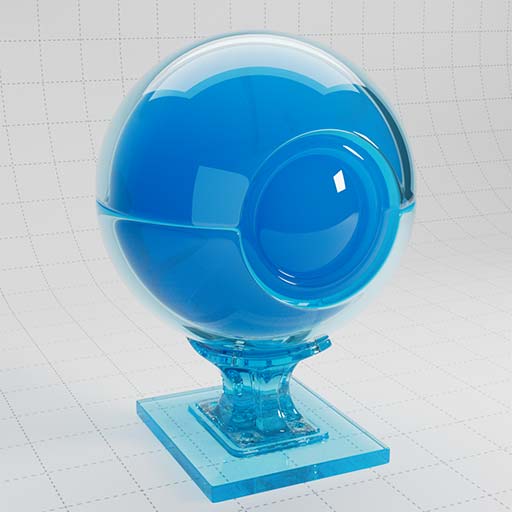
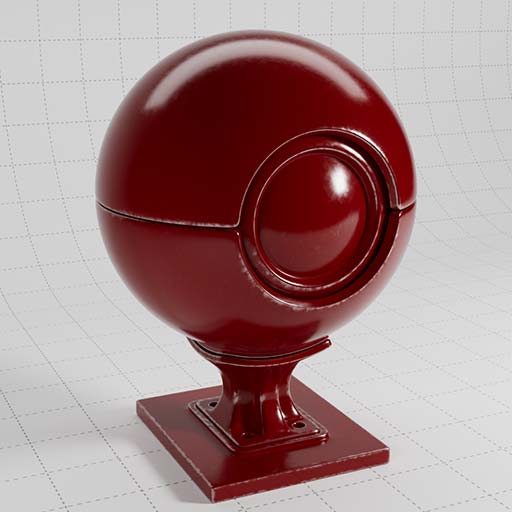
This example uses color for both Reflection and Transmission. Transmission Depth defines how far into the object before the color is reached. Therefore you should adjust the Depth parameter depending on the size of the object.
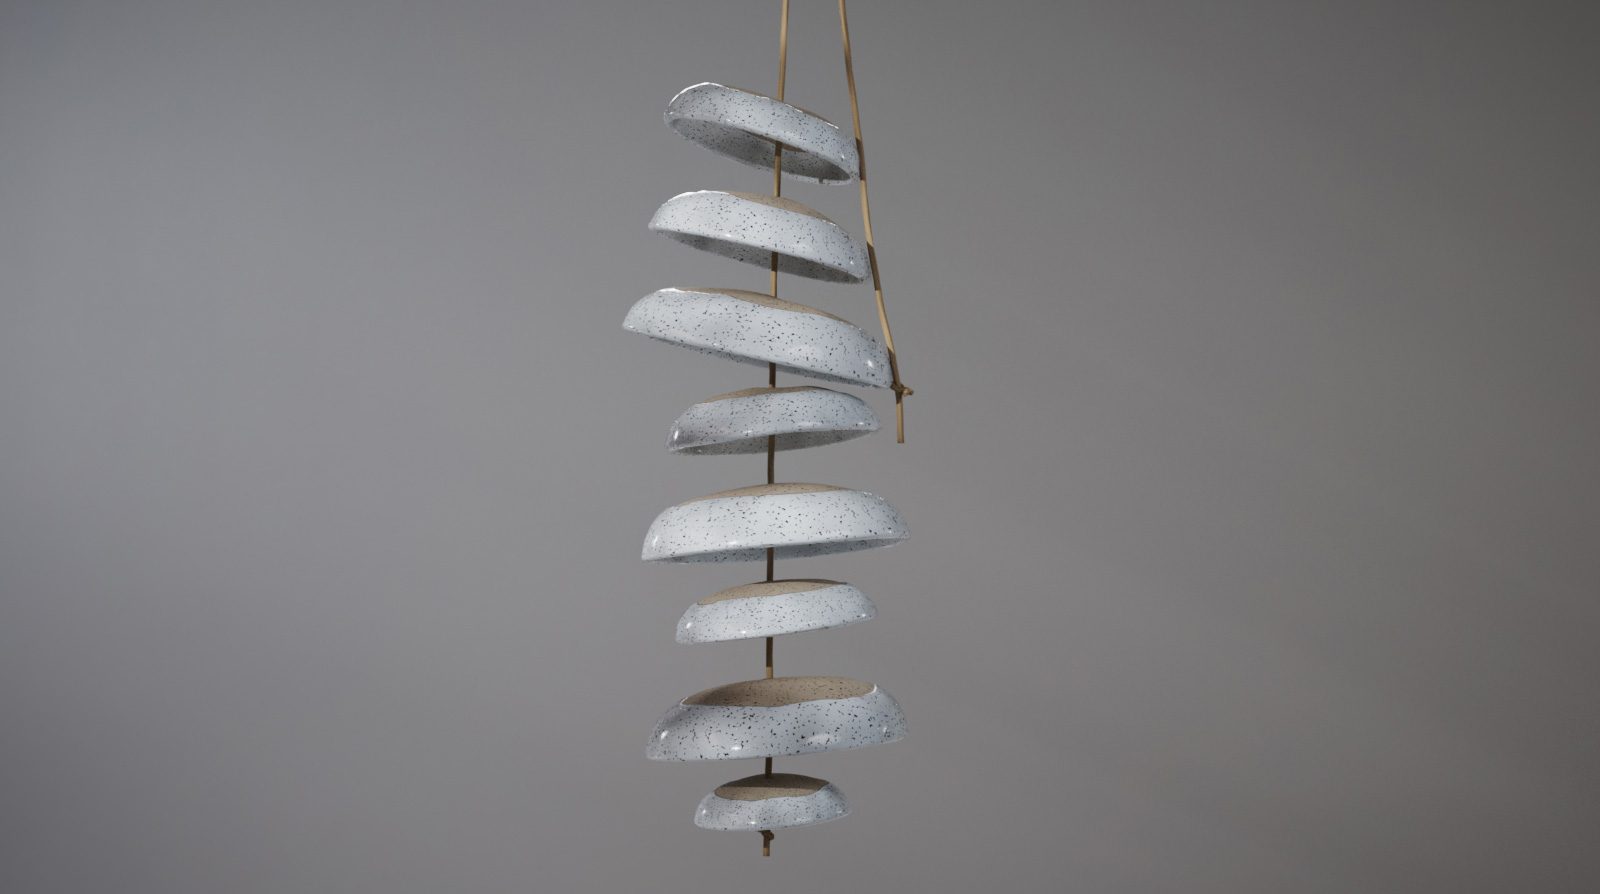
By enabling both the Thin Wall and Subsurface parameters, you can create a quick translucency effect. This is particularly useful for 2D elements in your scenes such as blades of grass, leaves, sheets of paper, etc.
An example of using a combination of colors for Reflection and Subsurface Scattering effects.
This uses a combination of noises which are remapped and used for the material diffuse, subsurface and roughness parameters, resulting in this translucent material.
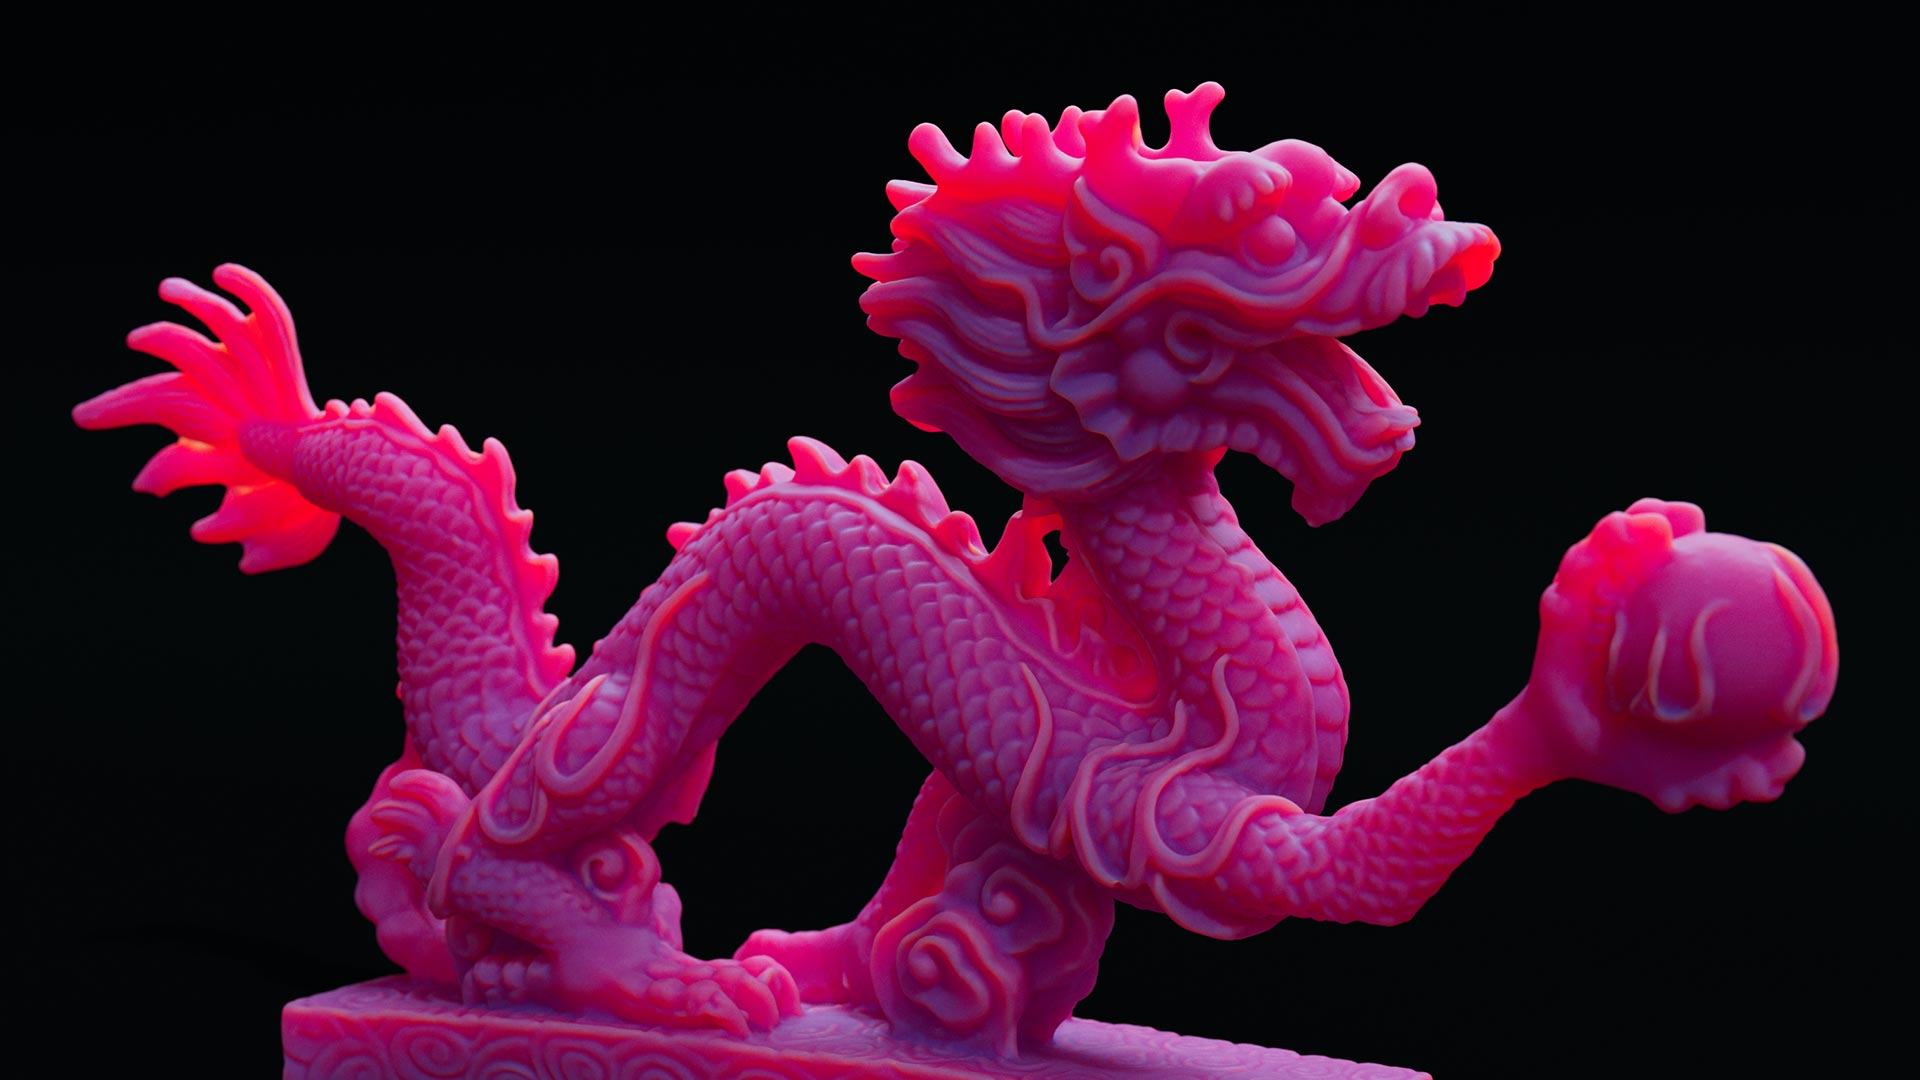
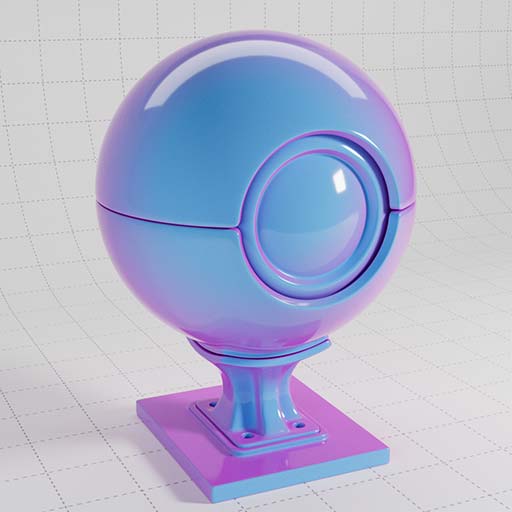
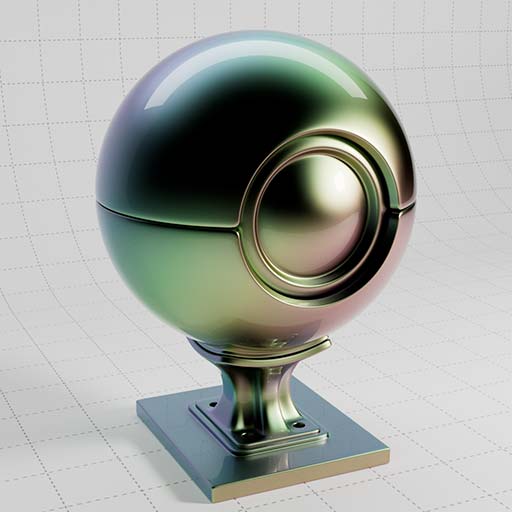
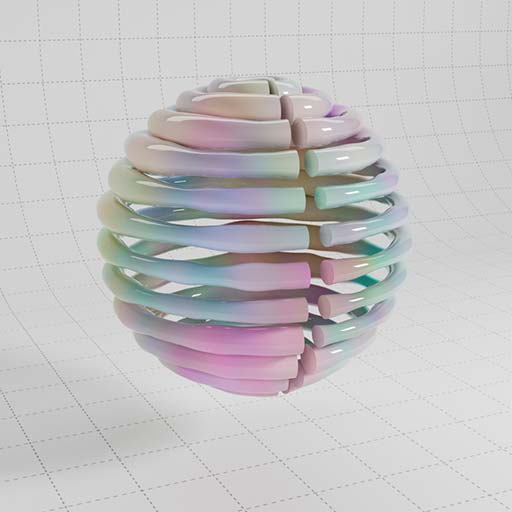
This material uses a high IOR for reflection to simulate a metallic surface. Combined with Thin Film to create an iridescent effect
Using high IOR for reflection combined with a high anisotropy value to create non-uniform reflections which result in a brushed material surface.
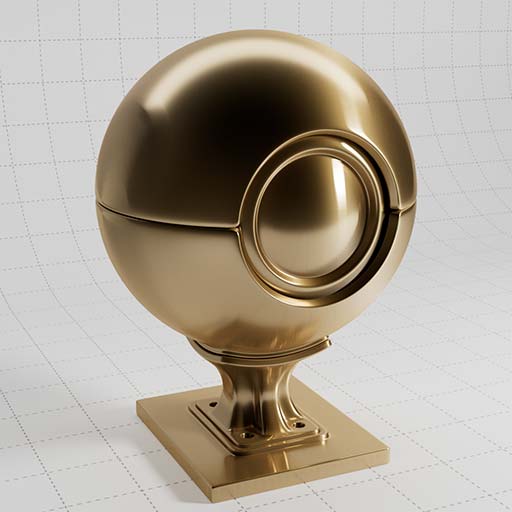
Using high IOR and color for reflection and coating results in this layered glossy gold material.
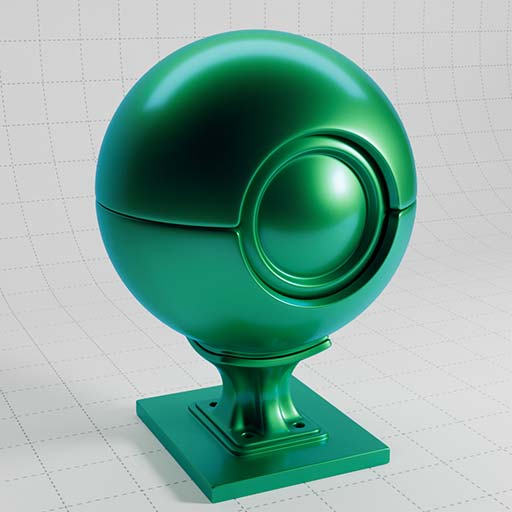
Also using a high anisotropy value to create non-uniform reflections which result in a brushed material surface.
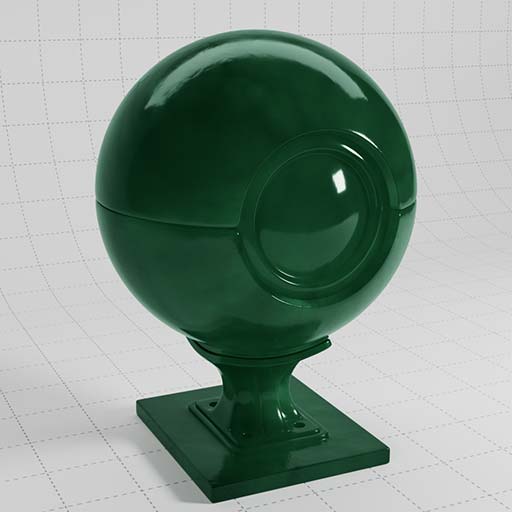
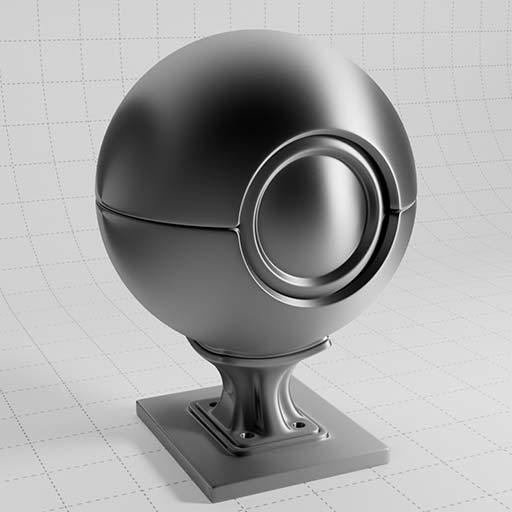
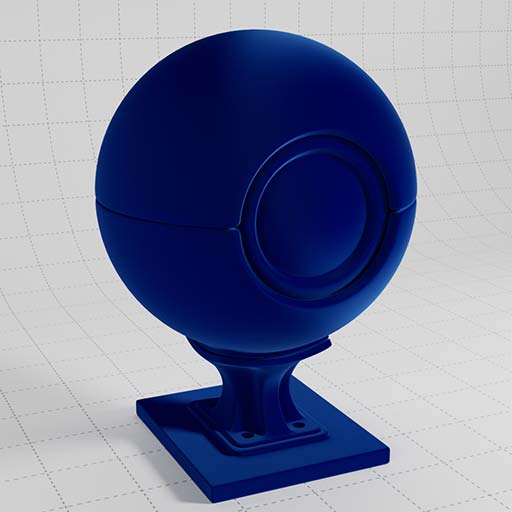
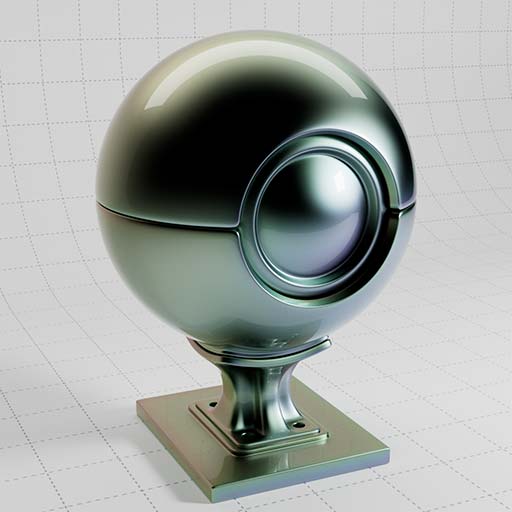
Set a dark base color and a lighter reflection color. Use a high IOR and roughness to create the base coat, then add another layer of reflection using the Coat parameters.
Set a dark base color and a lighter reflection color. Use a high IOR and roughness to create the base coat, then add another layer of reflection under the Coat parameters.
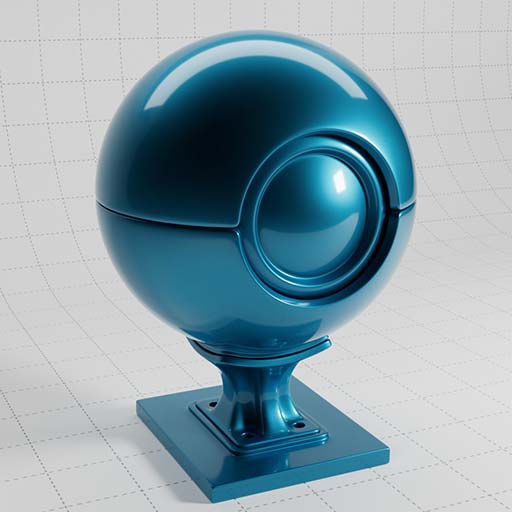
This example uses a slightly different hue for the coat.
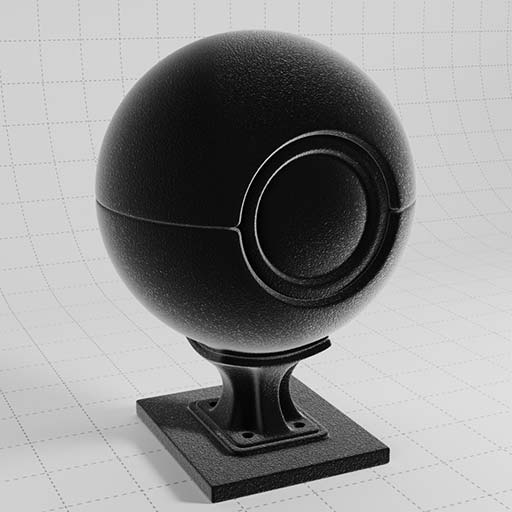
Sheen can be used to simulate a soft backscatter effect for fabric materials.
Sheen can be used to simulate a fake microscopic look when combined with fresnel and noise for bump.
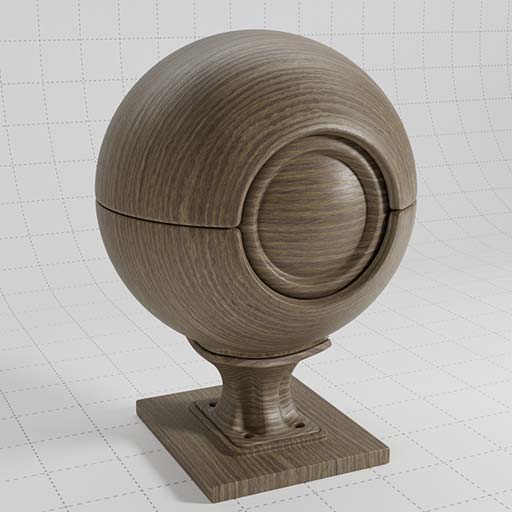
A example of a material using bitmaps for diffuse color, roughness and normal maps.
Oak textures created in Substance Designer and supplied as 4K files.
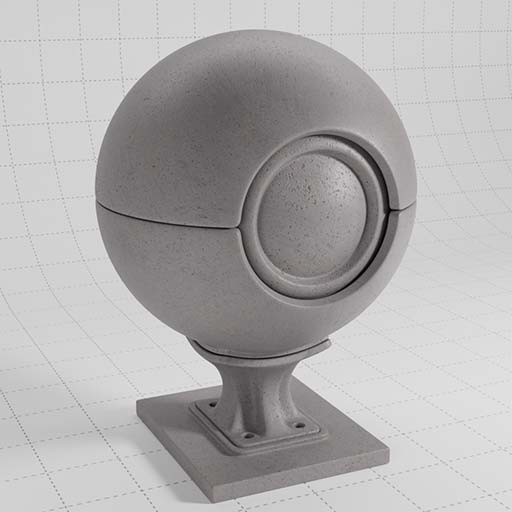
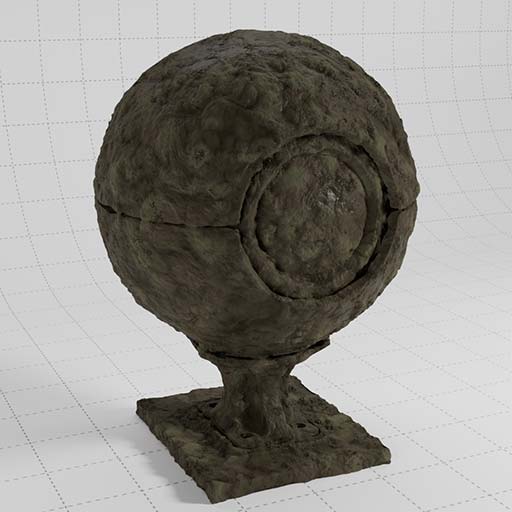
A example of a material using bitmaps for diffuse color, roughness and normal maps.
Concrete textures created in Substance Designer and supplied as 4K files.
Simple example of using Dispersion in a glass material to create the beautiful rainbow effects that we all love.
This material using single scattering and absorption.
Single scattering refers to a single ray that enters into the volume then bounces out again somewhere else (unlike multiple scattering).
Absorption allows you to control the density or opacity of the material based on the thickness of the object. Thinner areas will appear more transparent and thicker areas more opaque.
This material using single scattering and extinction.
The Extinction coefficient determines how far into the object the light ray can travel before the value becomes ‘extinct’.
When using Extinction with colour, be sure to select the opposite desired hue (+180) to achieve the colour you require as the colour you choose becomes extinct and the opposite hue is bounced back to the camera.
The parameters for controlling this effect are in the Refraction / Sub-Surface section of the RS Material. Adjust the Absorption and Scatter Scale to change the result.
Absorption Scale allows you to control the density or opacity of the material based on the thickness of the object. Thinner areas will appear more transparent and thicker areas more opaque.
This uses multiple scattering, which refers to the light rays scattering within the volume in multiple directions. As the rays bounce around they exit at multiple points on the surface to create a soft sub-surface scattering effect.
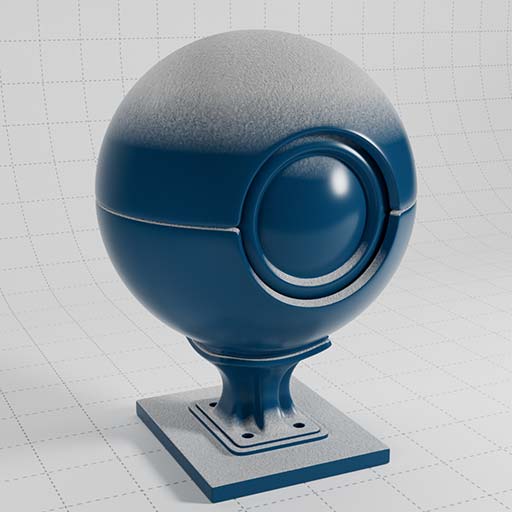
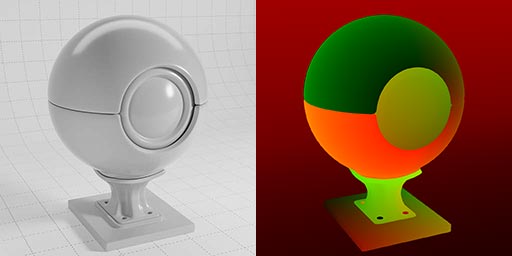
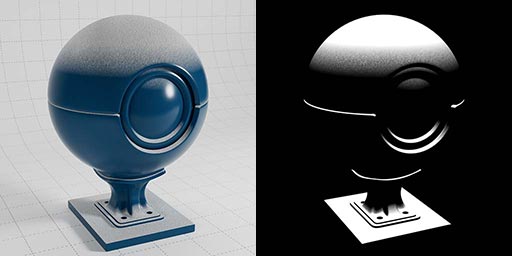
This shader setup uses the world normals and splits this out into the green (Y axis) component which is then used to mask between two materials.
In this example we create dust, but it could be snow or you could use an alternative axis, or combine two, or invert the ramp and use it for rust underneath.
There are so many uses for this simple setup where you define a falloff direction.
Similar to the falloff example, this also uses the normals, but this time in camera space which creates an effect based on the angle of the objects surface in relation to the camera, similar to using a Fresnel shader, but in this example we use a Vector Change Range to remap the values to positive only.
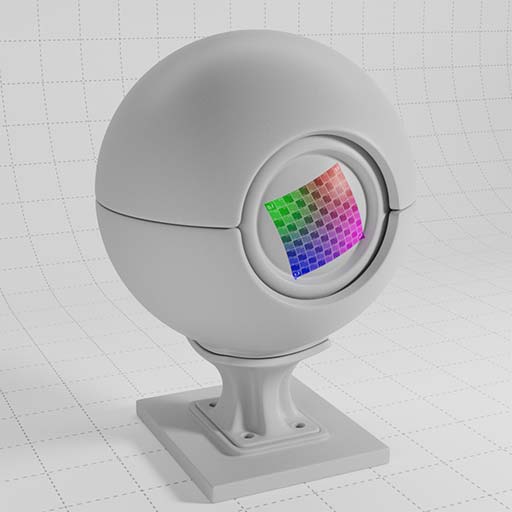
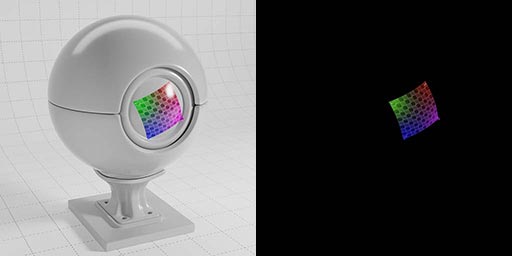
Simple example of how to set up a Camera Map node with Redshift.
For this example, we used our hero camera to project the texture, which gives this frontal projection, but you can use any camera in your scene to project from.
This node allows you to reproject your material using alternative projections such as cubic, spherical, flat, etc.
This is very handy for quickly applying decals to specific areas without the need to change your UV map for one specific part of your material.
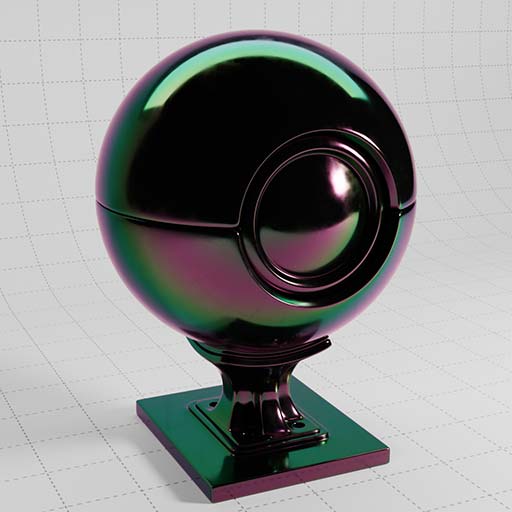
This uses the State node to output the normals which is then remapped using a Ramp to create an alternative iridescent effect.
This uses the AO node to output the object’s bent normals in world space, this is then remapped using a Ramp node to create this iridescent effect.
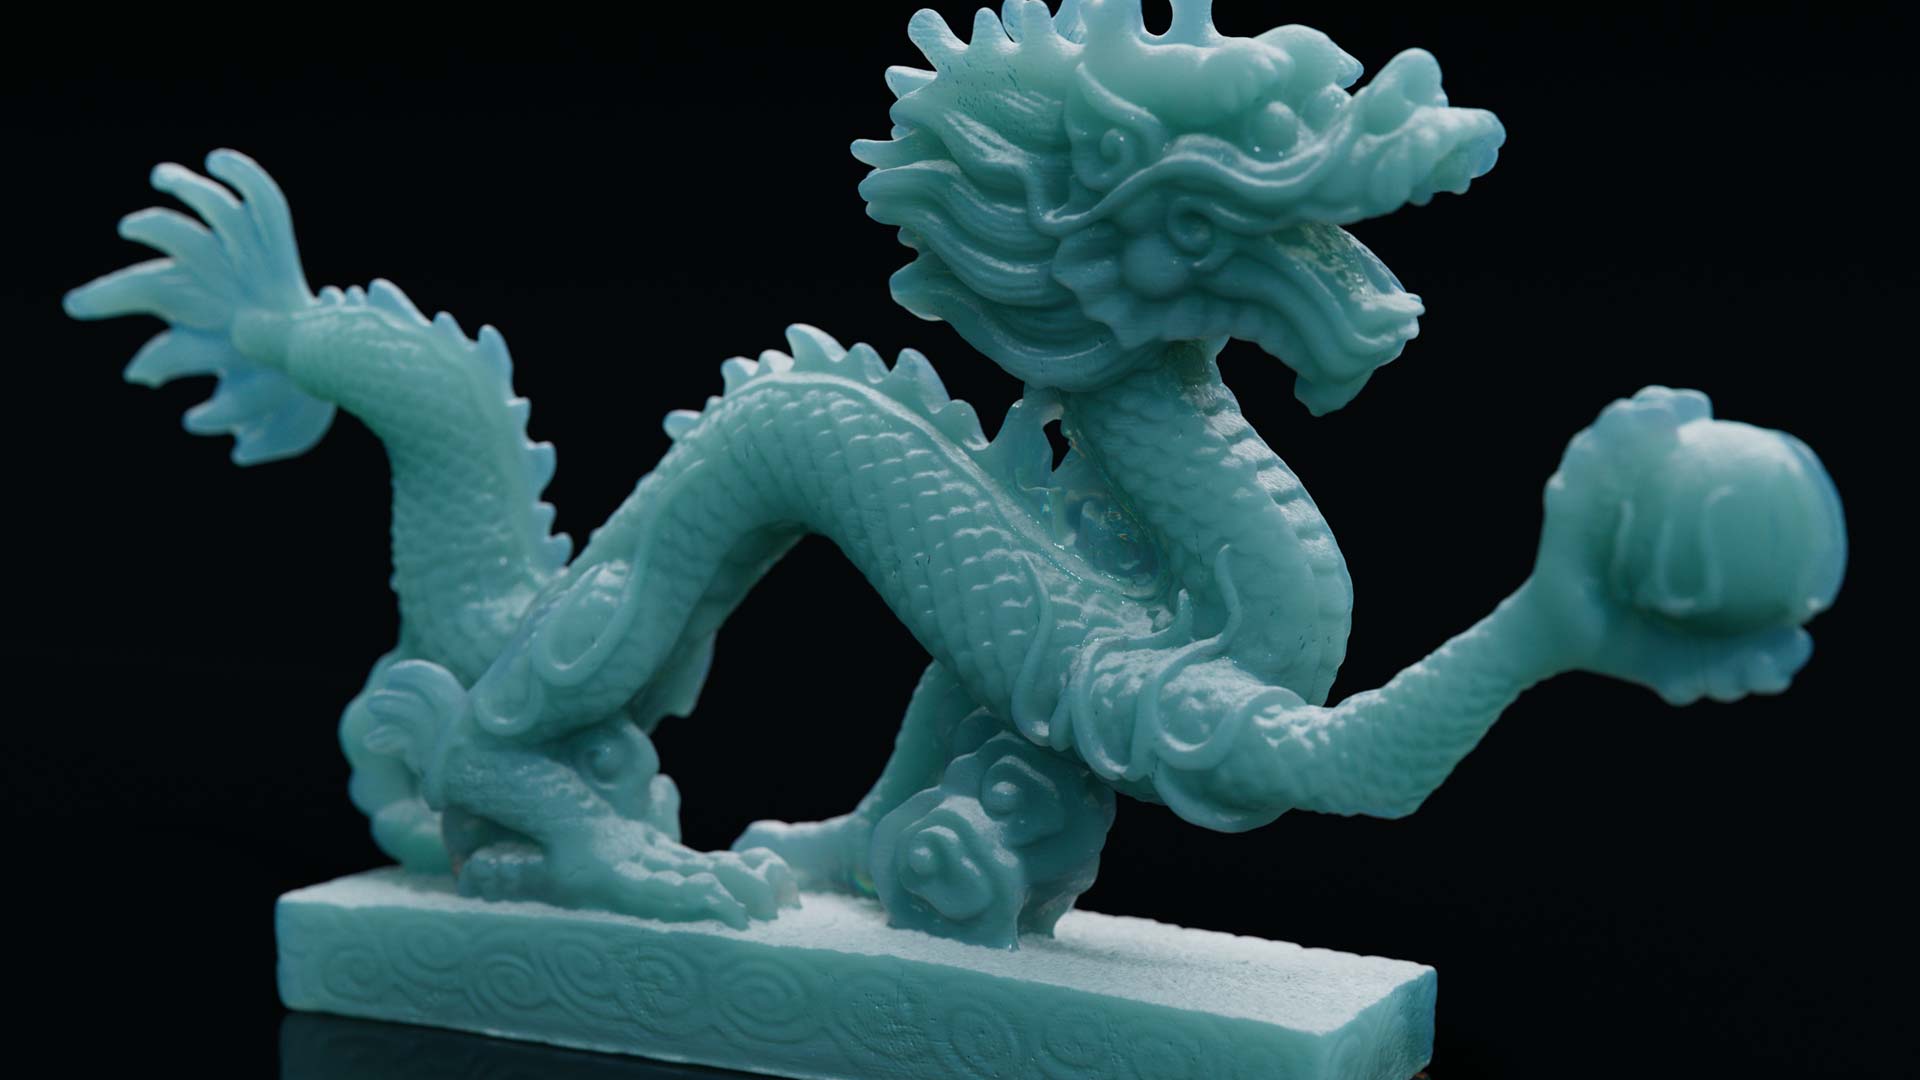
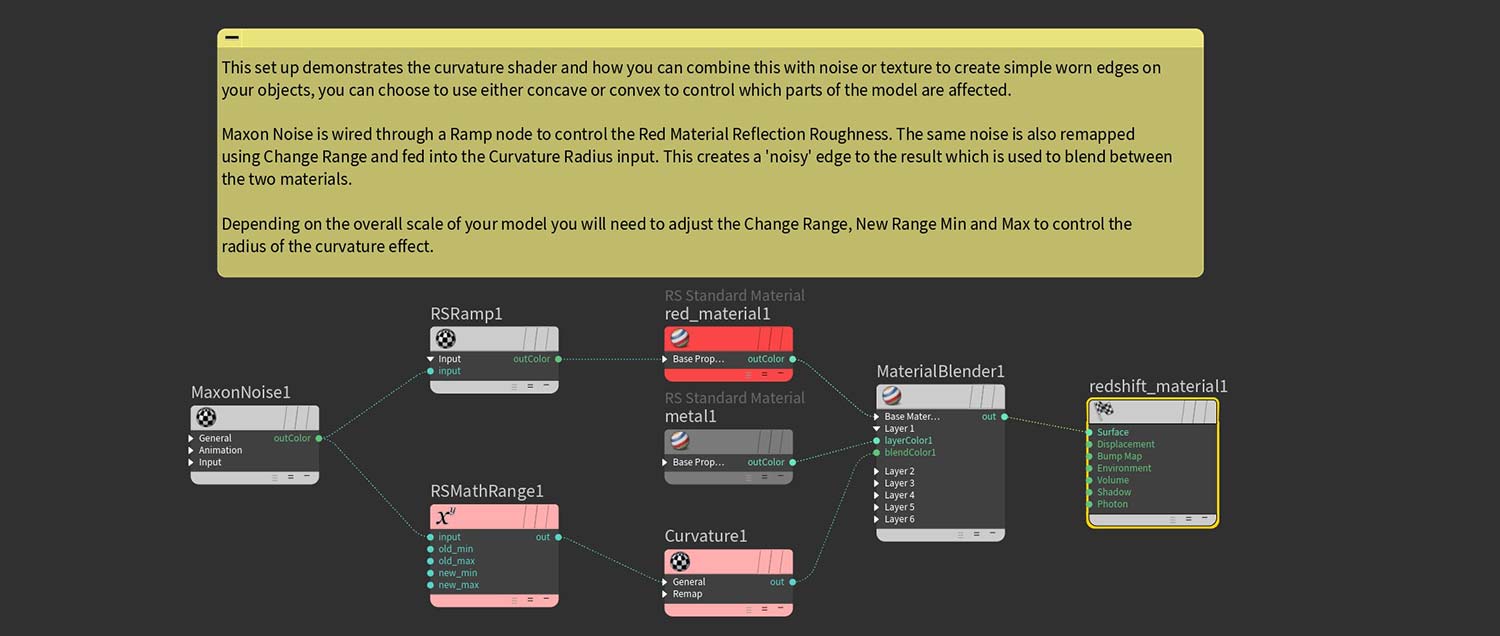
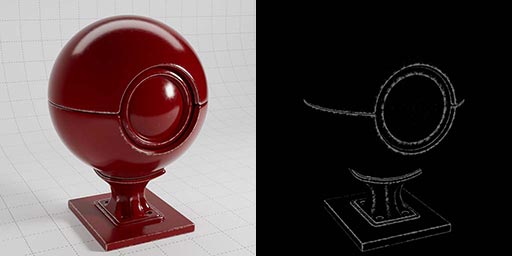
This set up demonstrates the Curvature node and how you can combine this with Noise or Texture to create simple worn edges on your objects.
You can choose to use either concave or convex to control which parts of the model are affected. In this example the Curvature node is using Convex mode, this is applied as a mask between two materials.
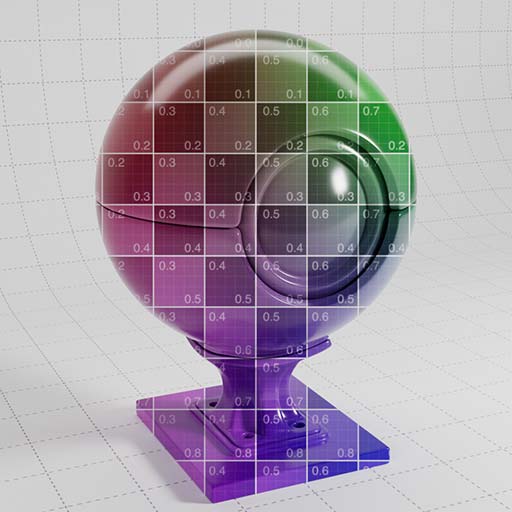
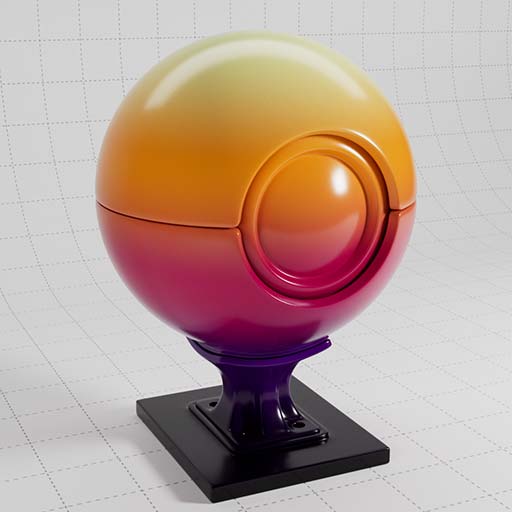
Here we define the vertex color using bounding box. The green Y axis drives a greyscale ramp which can then be remapped in the material.
RS Vertex Attribute node reads the Cd attribute and then this is wired directly into the base color.
In this example the Cd attribute has been randomised with Noise.
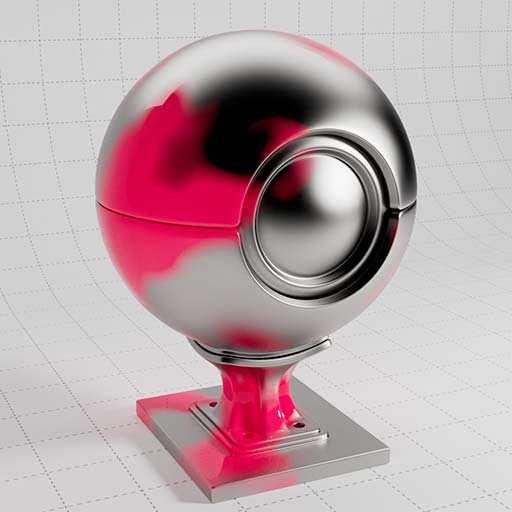
RS Vertex Attribute node reads a custom attribute called ‘custom_mask’, this is used as a mask in a Material Blender to blend between the Iron and Pink materials.
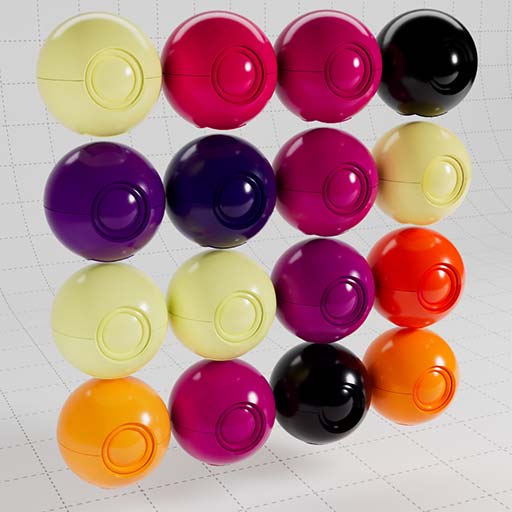
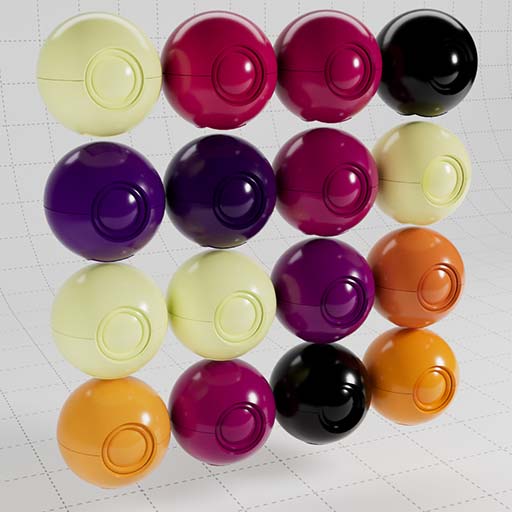
In this scene the shaderball is split into its connected components, each is placed into the class integer attribute.
The color is read using the RS Color User Data and then remapped with a Ramp. The result is a unique color for each connected piece of geometry.
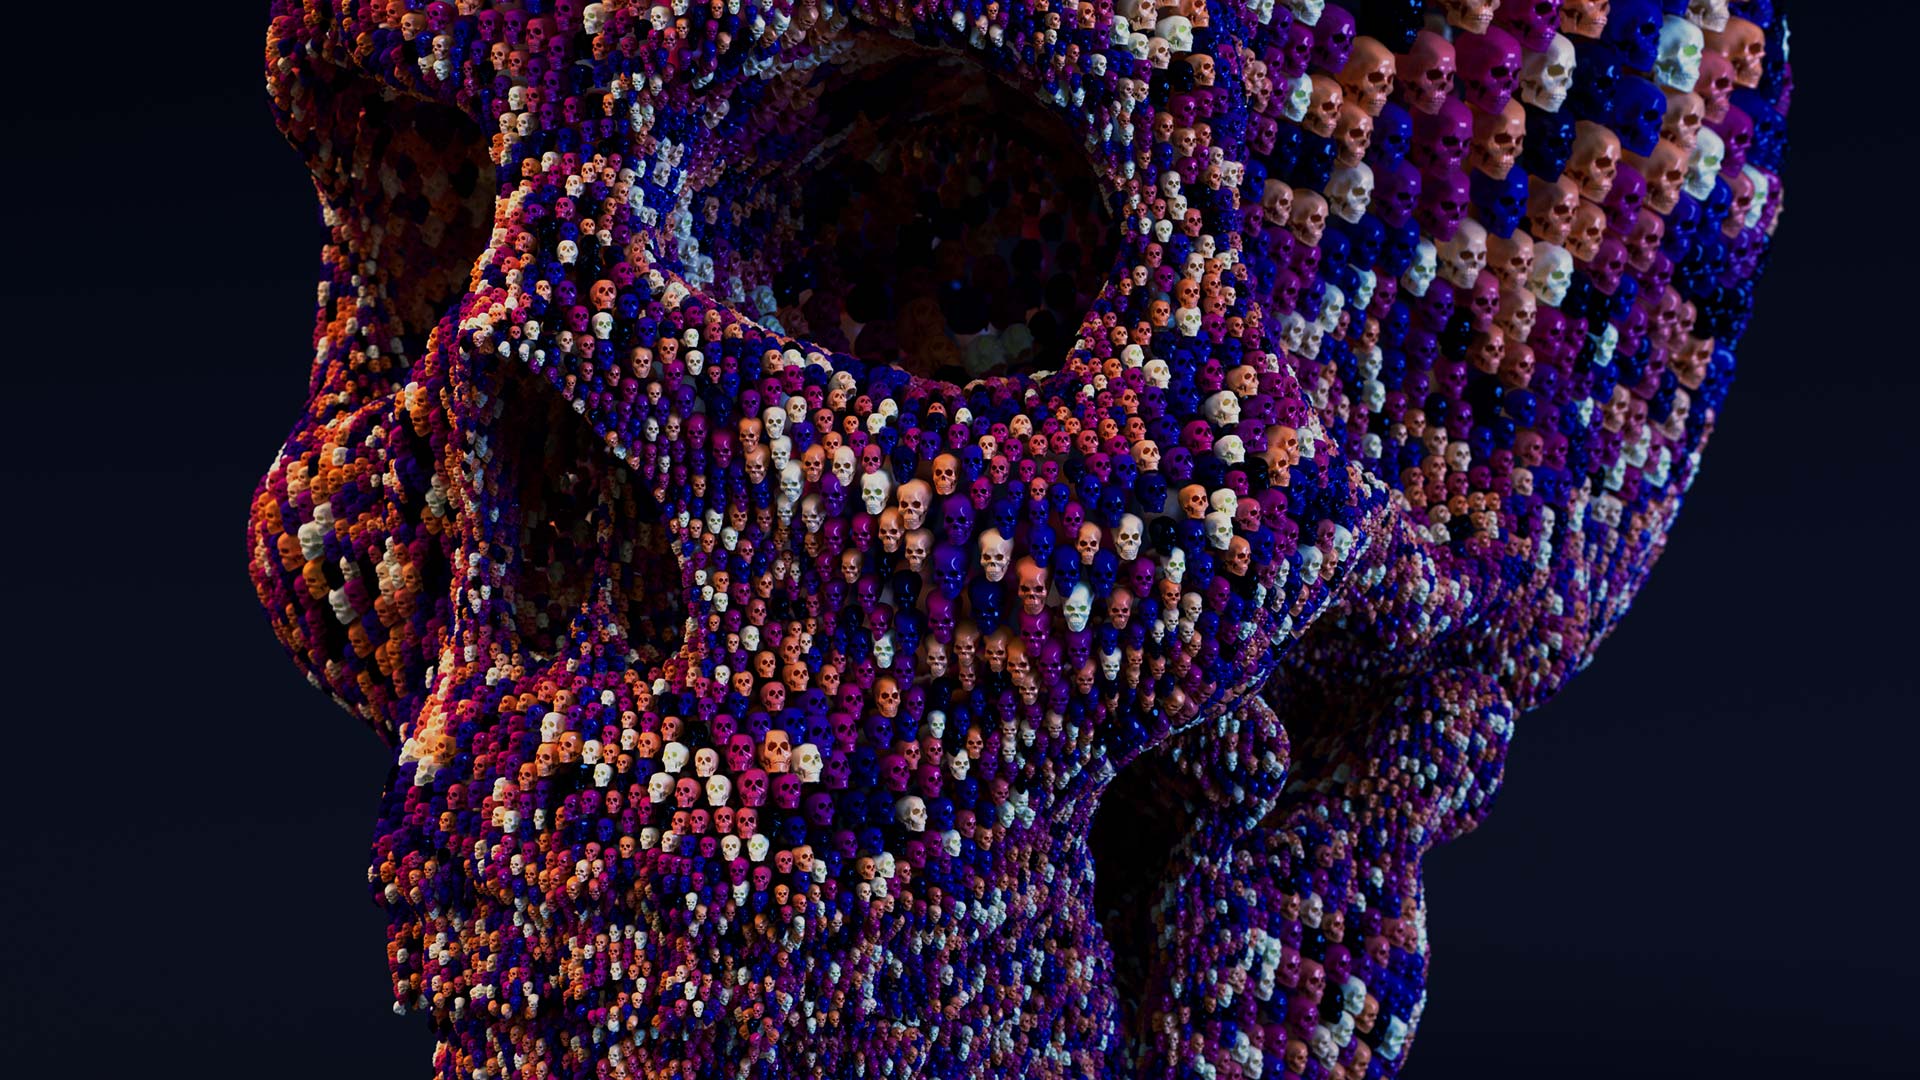
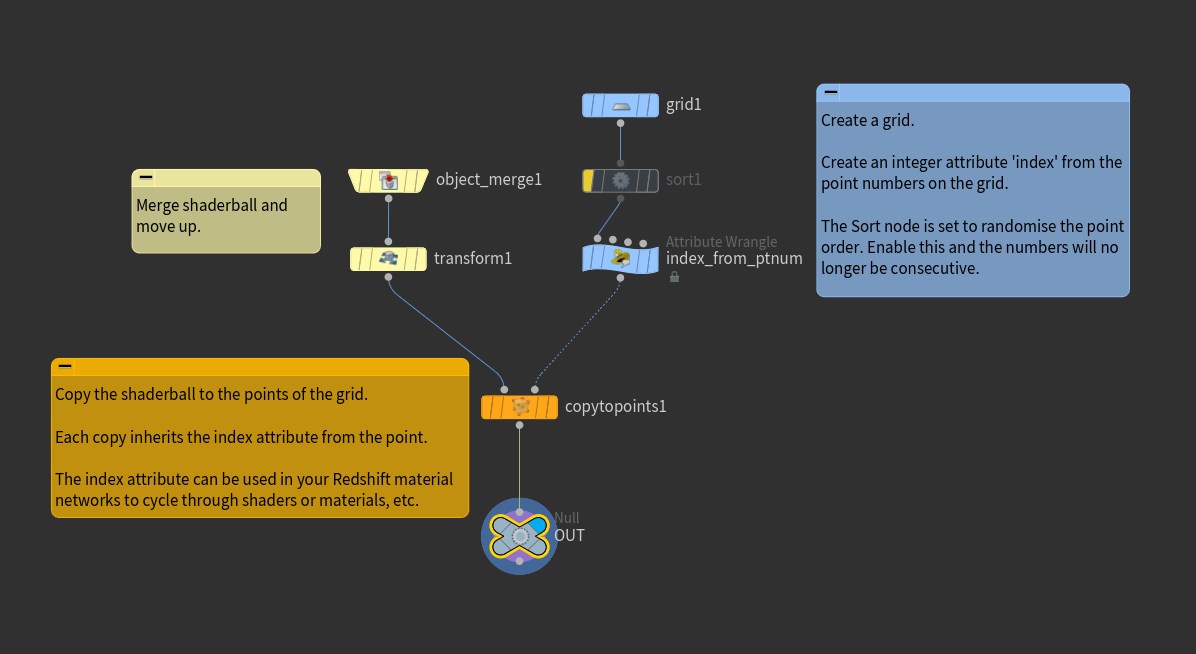
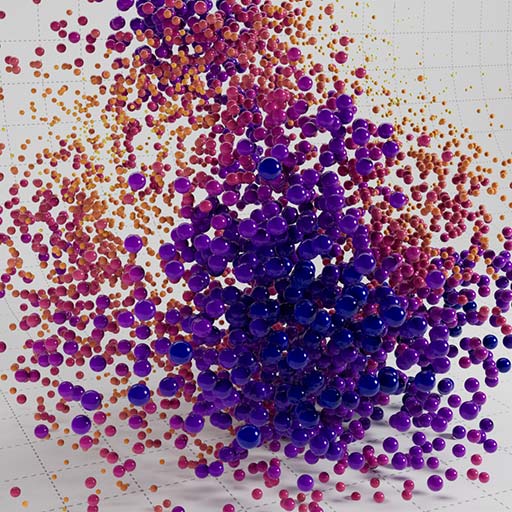
In this example we create random color values on a grid of points, then use copy to points to create an array of objects. The RS Color User Data reads the Cd attribute and in this example is wired into the diffuse color.
Similar to the material and setup above, this example creates random greyscale values on the grid of points, which are then remapped with a color ramp in the material.
The Shader Switch allows you to combine multiple textures or shaders into one material channel and then use various attributes to decide which texture is used.
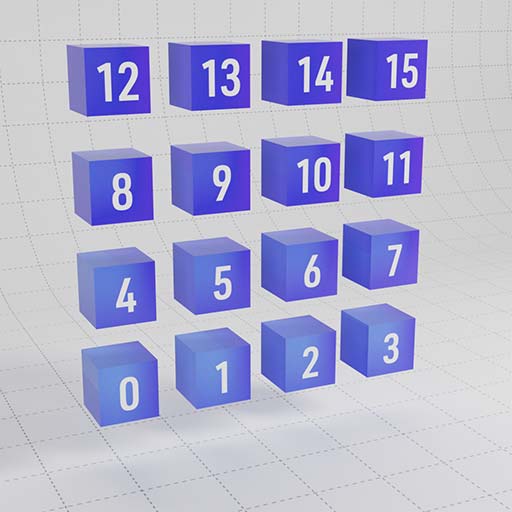
One example might be to create a pack of playing cards with only one material and 52 images. In this setup we have used an index attribute to iterate through the textures consecutively.
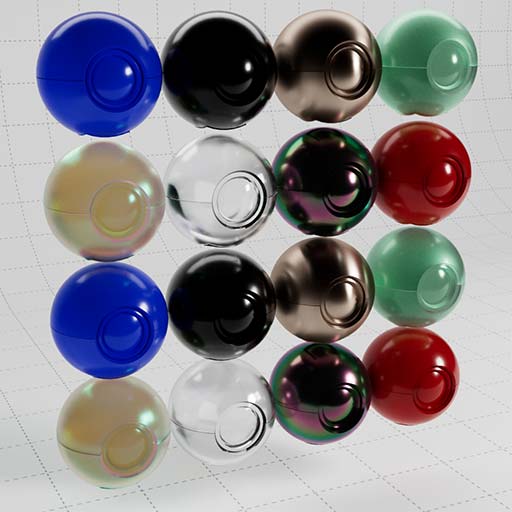
Similar setup to the Shader Switcher, but this time we use it to switch between multiple materials, rather than driving the channels of an individual material.
In this scene we have glass, metals, plastics, all controlled via attributes. This uses the index attribute, but the shader switch can easily be driven by other attributes such as color.
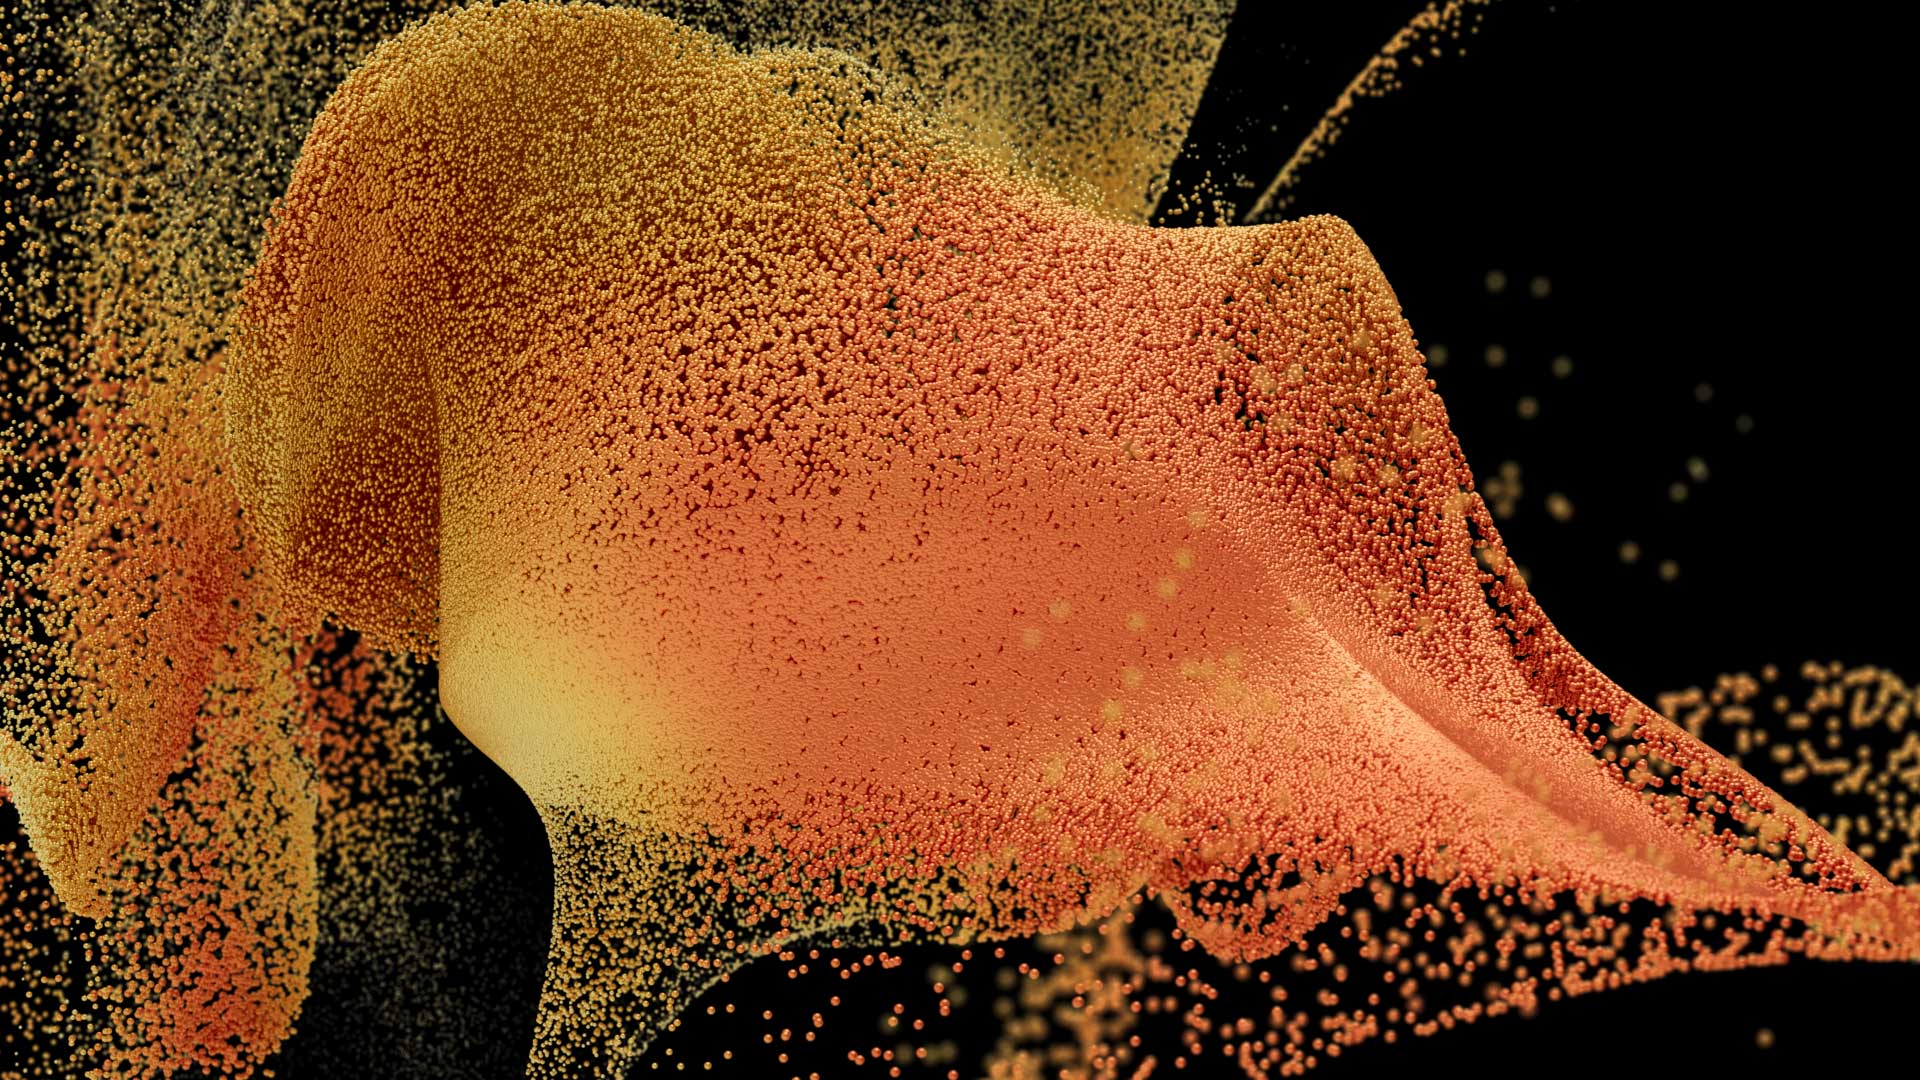
The RS Point Attribute node allows you to read color and scalar values from points or particles. In this simple example we read the color (Cd) attribute and wire it into the base color.
When rendering points or particles with Redshift you must enable the ‘Render Object as Particles’ checkbox on your Geo Node under Redshift OBJ / Particles
You can also control the particle scale in this tab.
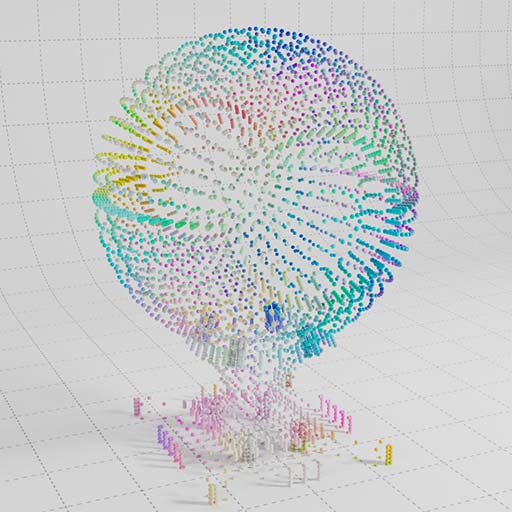
The particle age is normalized and written to an attribute. The RS Point Attribute can read the age attribute and then remap this with a ramp to control color over the life of a particle.
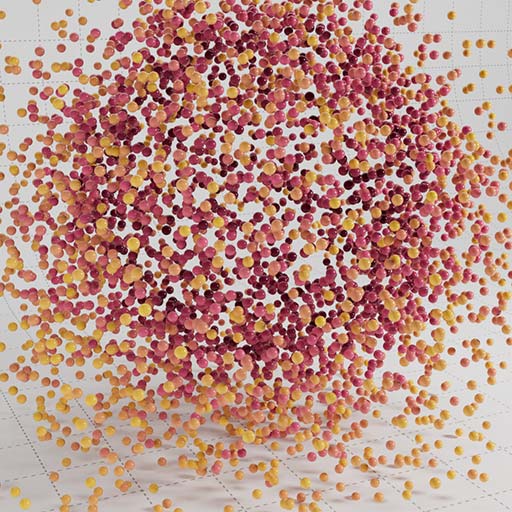
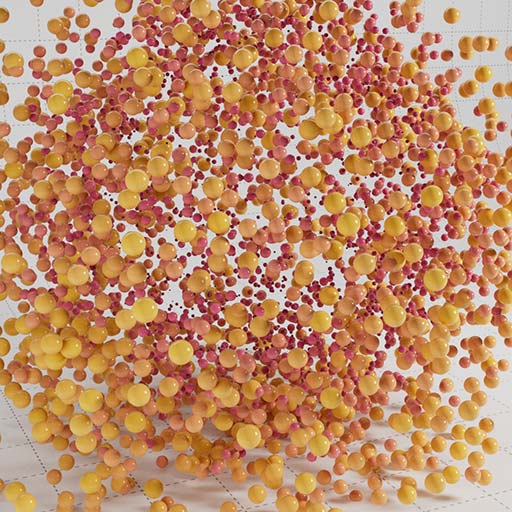
In this example the pscale attribute is created and randomised with Attribute Adjust Float, then the Cd attribute is set from the pscale values.
Once remapped in the material, the result is that the color will change based on the particle scale.
The particle age is normalized and written to an attribute. This is then remapped to the pscale values and this results in particle scale over life. The pscale value is remapped to the Cd attribute to control color over life.
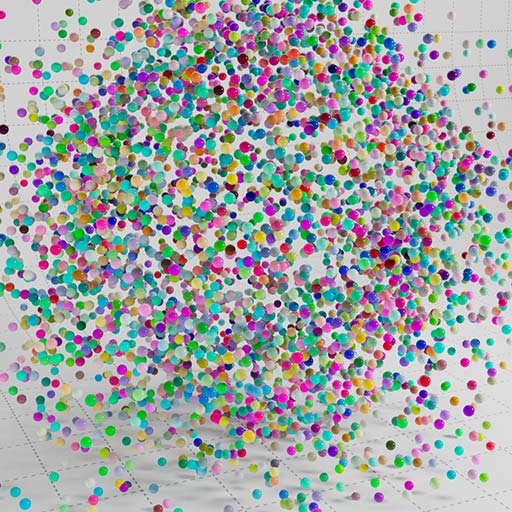
The Cd attribute is created based on random point numbers. This Cd attribute is wired into the material base color.
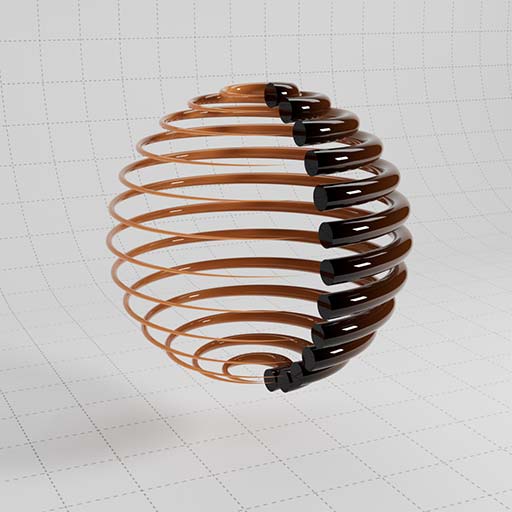
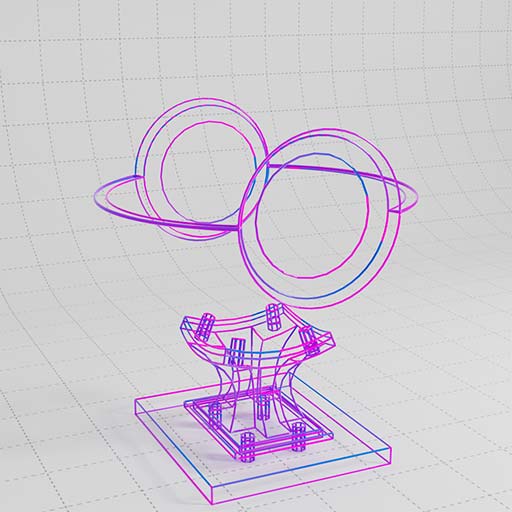
It is possible to render curves directly with Redshift without the need for polygonal geometry in your scene.
Enable ‘Render Objects as Strands’, which is found under the Redshift / Strand Tab on your Obj Geometry nodes.
This example uses the RS Point Attribute to read the color and apply it to the curves.
RS Strand rendered as a cylinder.
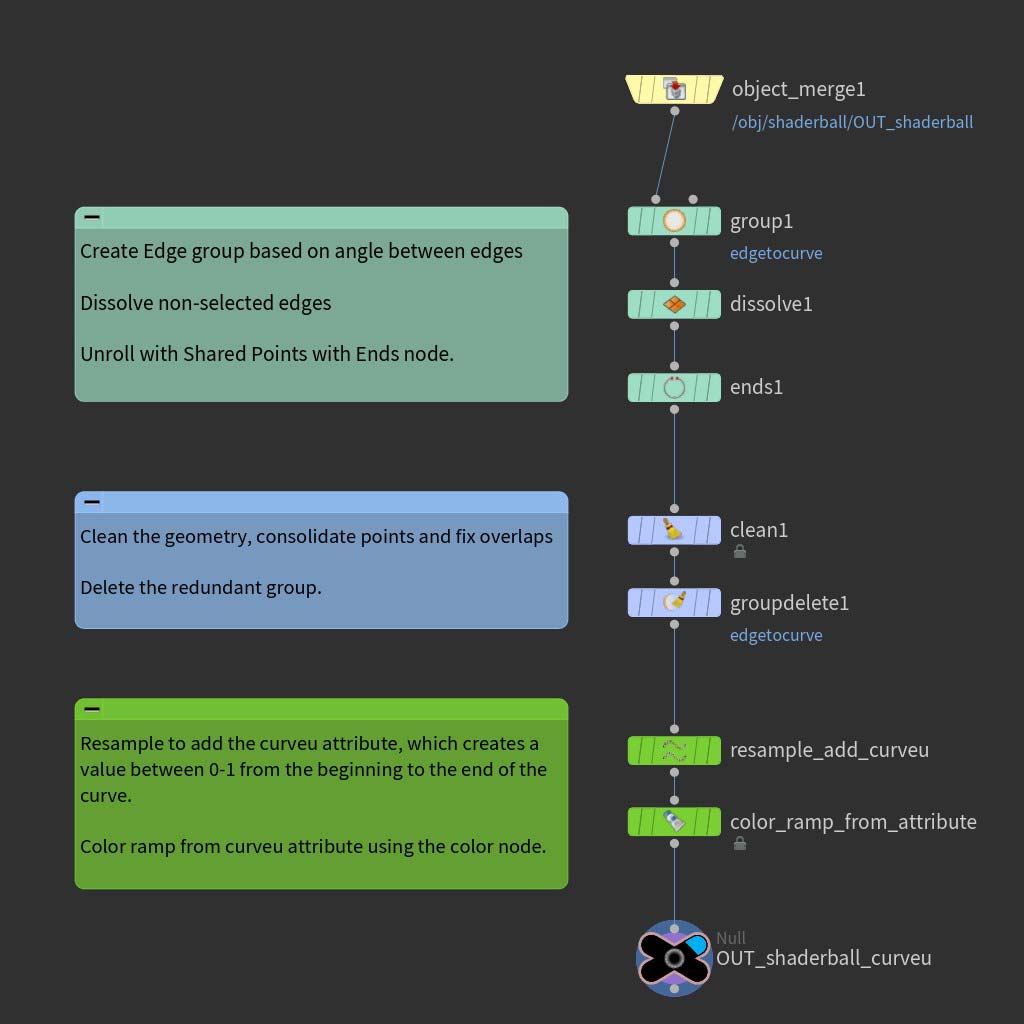
In this example the RS Point Attribute uses the curveu attribute which is a value from 0-1 along each curve. This allows you to map a gradient along each curve.
RS Strand rendered as a cone.
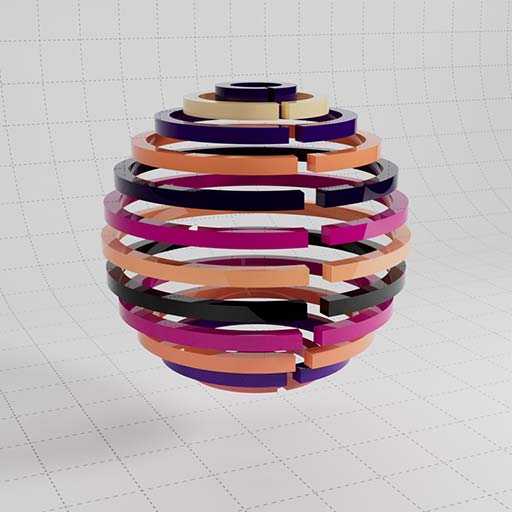
This example creates a random color value on each curve primitive. This is then promoted from prims to points and applied to the curve using the RS Point Attribute after remapping the color.
The result is that each curve primitive is rendered with one solid color.
RS Strand rendered as a box.
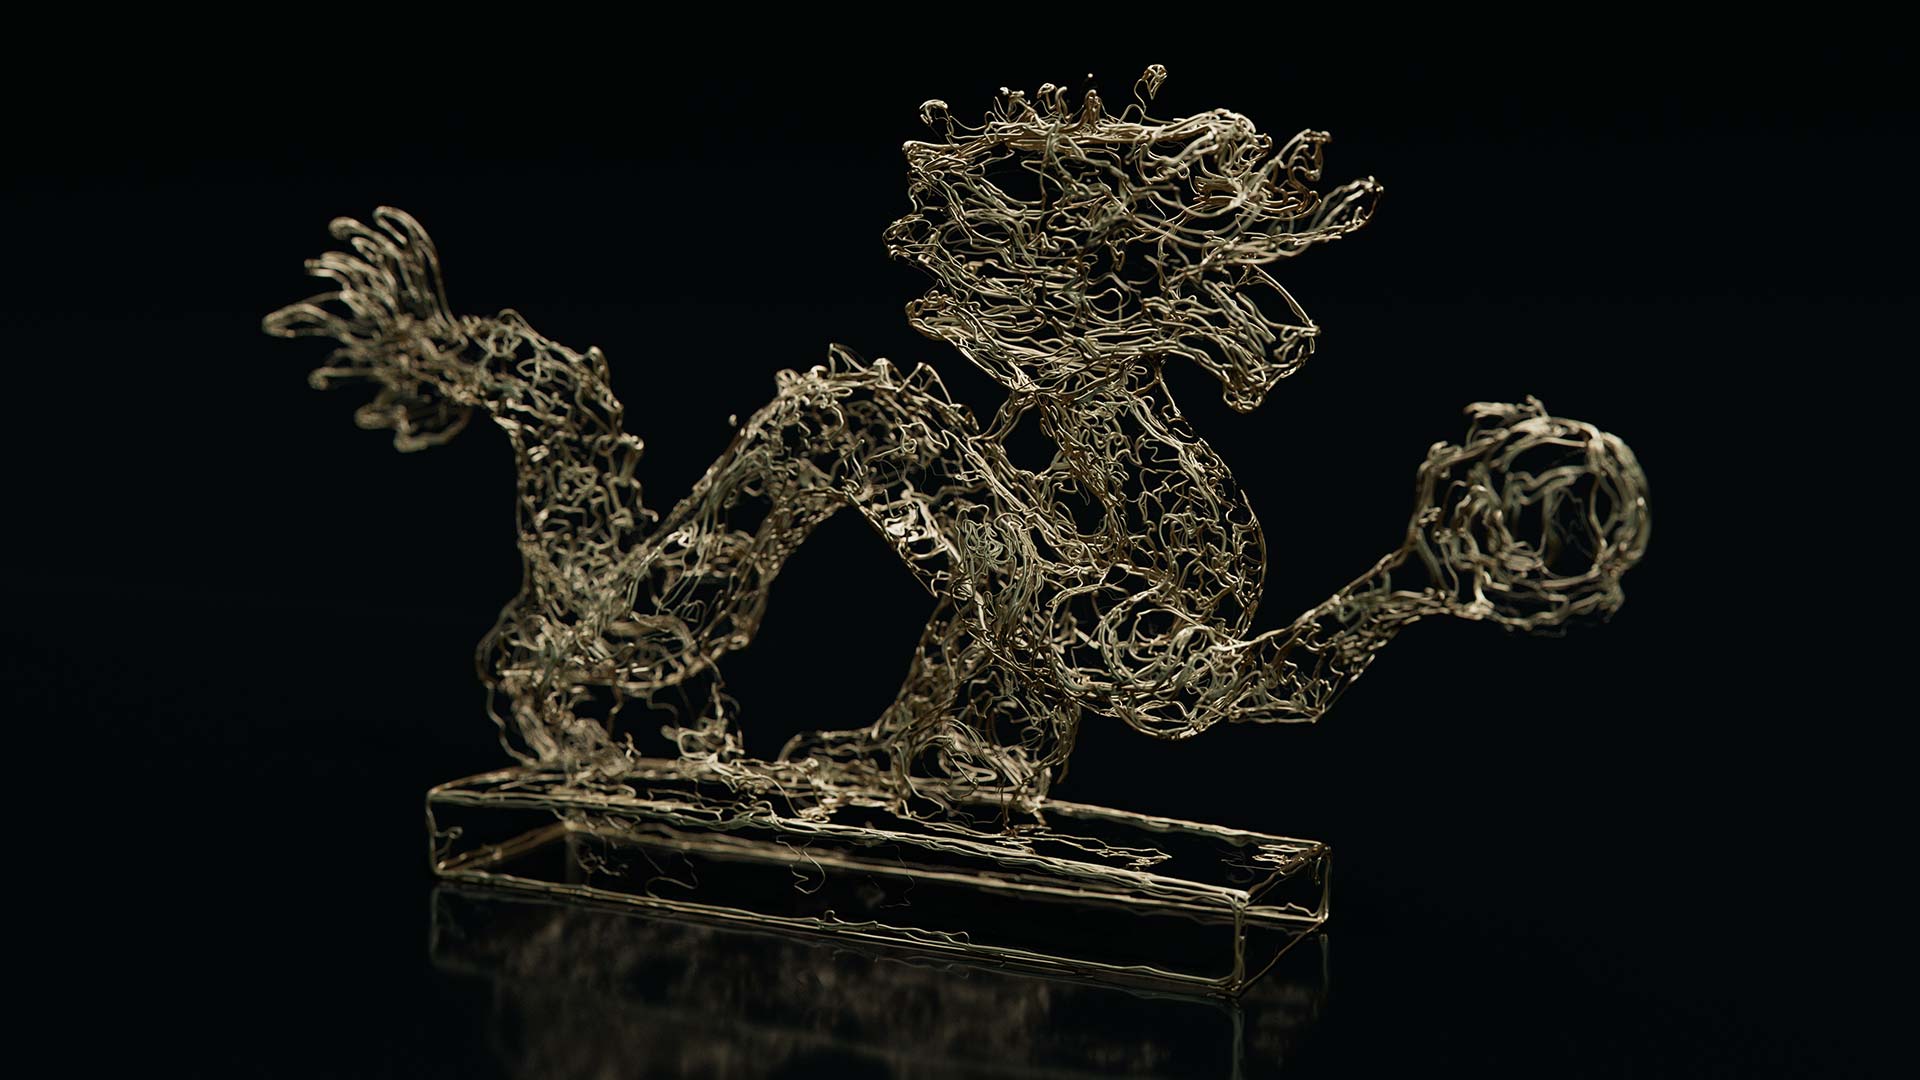
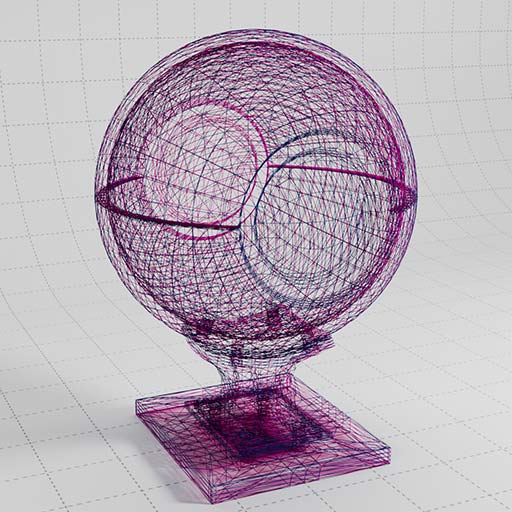
Quick solution for rendering the edges of objects, try using this in the opacity for some hollow wireframe renders.

This node allows you to define different colours for the front and back of surfaces, this can be in camera space, reflections, refractions and GI. For example you could make a two way mirror or apply a different texture to each side of a leaf.
In this example we have used it colour the wireframe surface a different colour based on whether the normal is facing camera or not.
This uses the RS Sprite node which is designed to handle scenes where you need lots of 2D sprites which can result in high ray depth, such as leaves on a tree.
This example also combines the Incadescent Node to make the Sprites illuminating with GI.
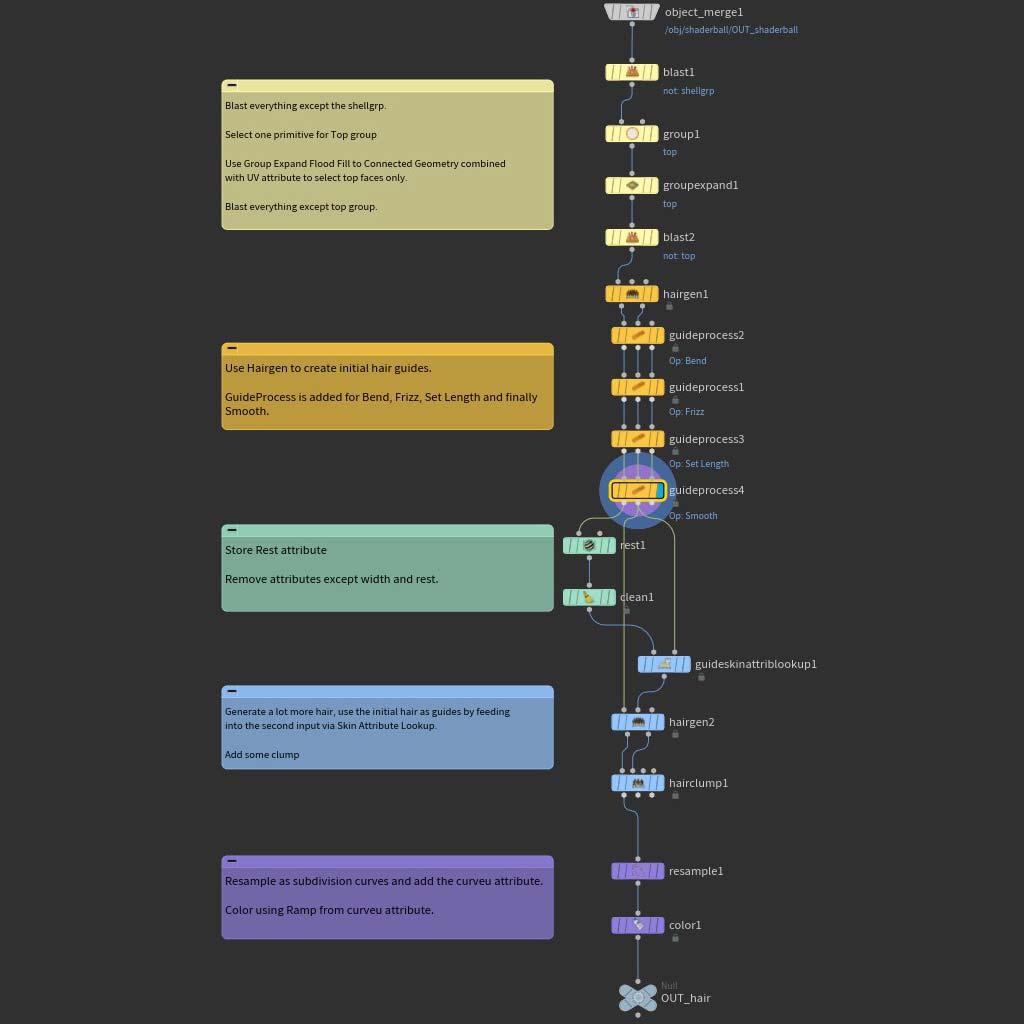
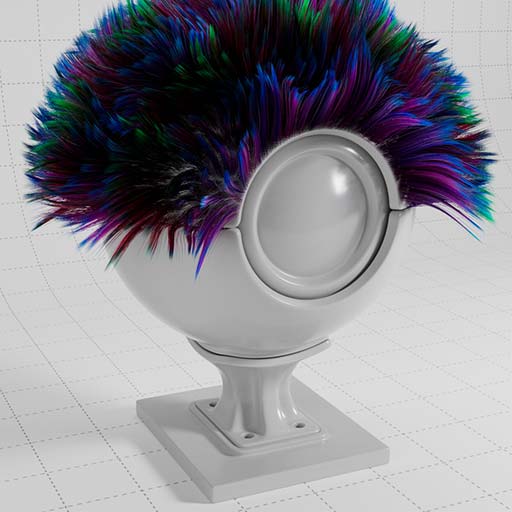
The Hair Position node outputs the position along the strand of hair, this is then remapped with a Ramp node and applied to the Hair.
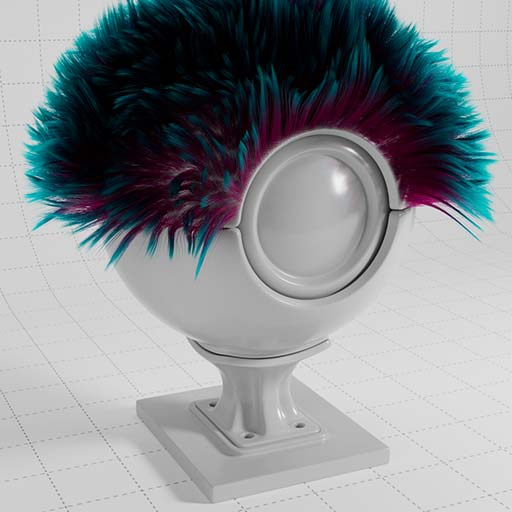
Hair Random for variation in Hue, Saturation and Value of each hair.
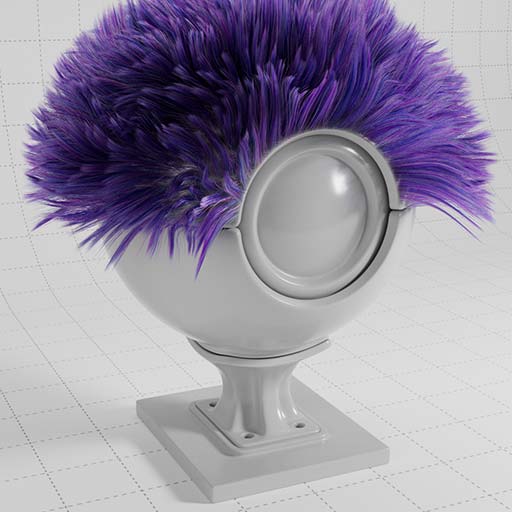
Using a bitmap and the objects UVs to define the hair color.

This is an example of how to combine the various hair nodes in one material. Here we have ramp along the hair with variation and also blended with a texture.
This example uses a combination of Maxon Noises to define both Base Color and Displacement.
To use Displacement with Redshift, you must enable this under the
Geometry / Redshift OBJ / Tessellation / Displacement tab.
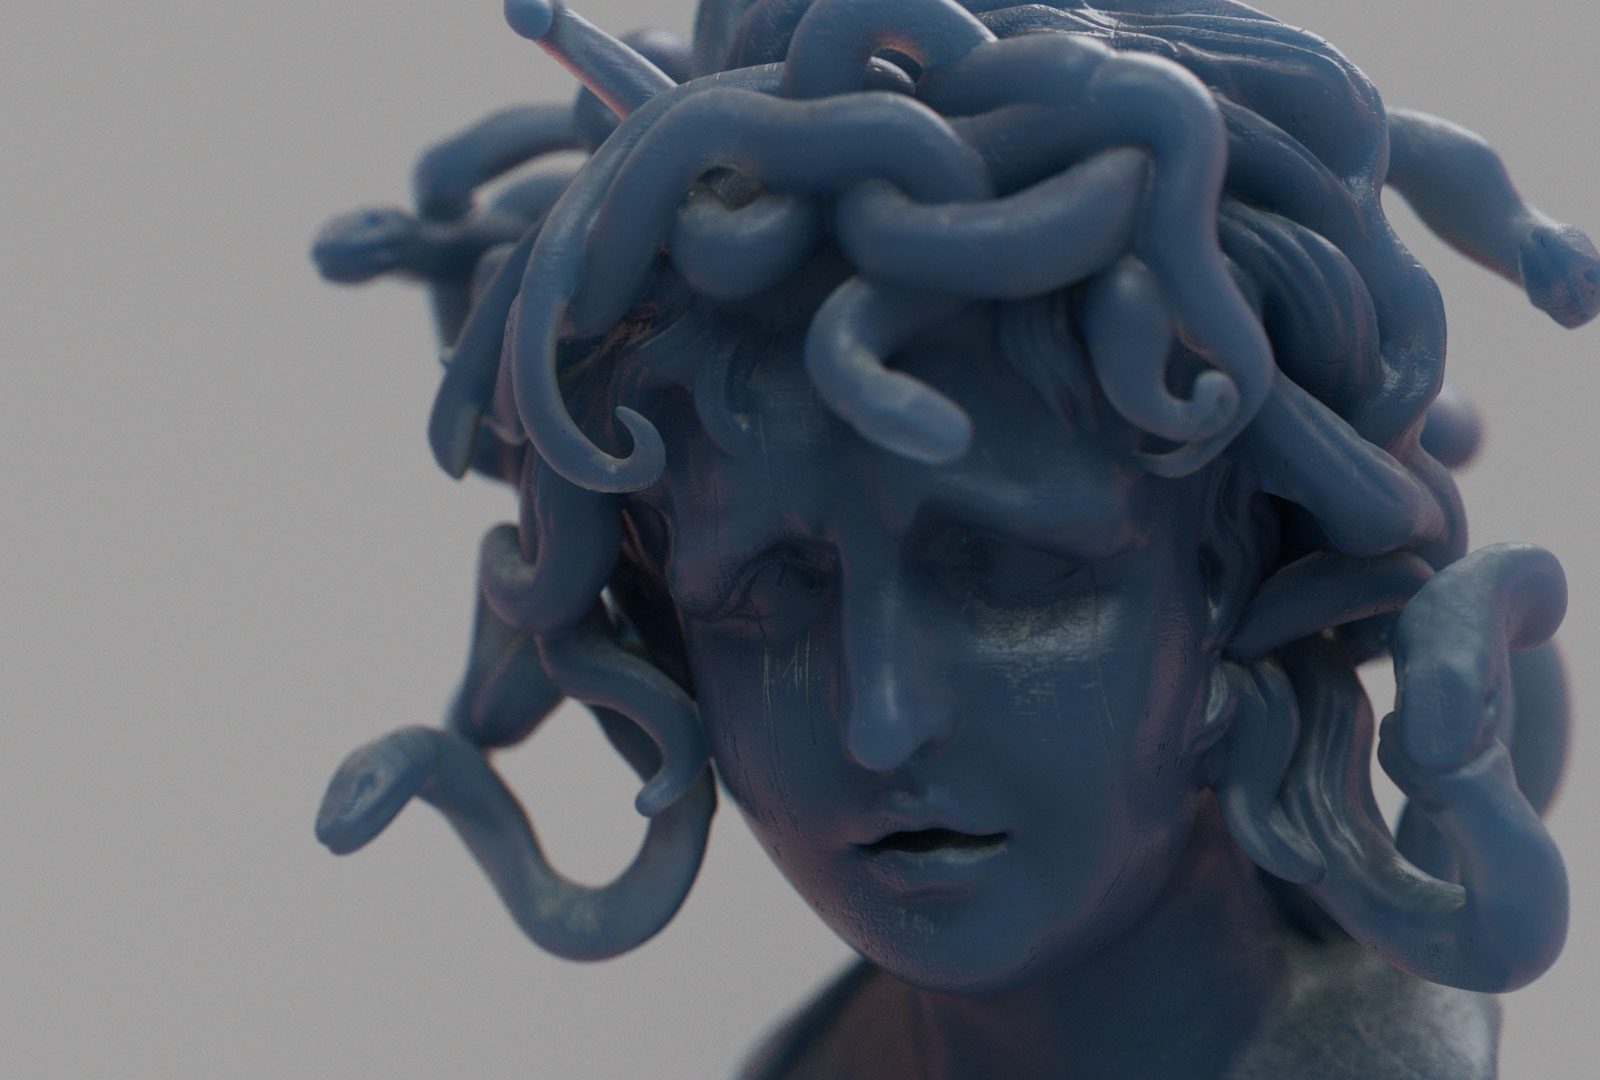
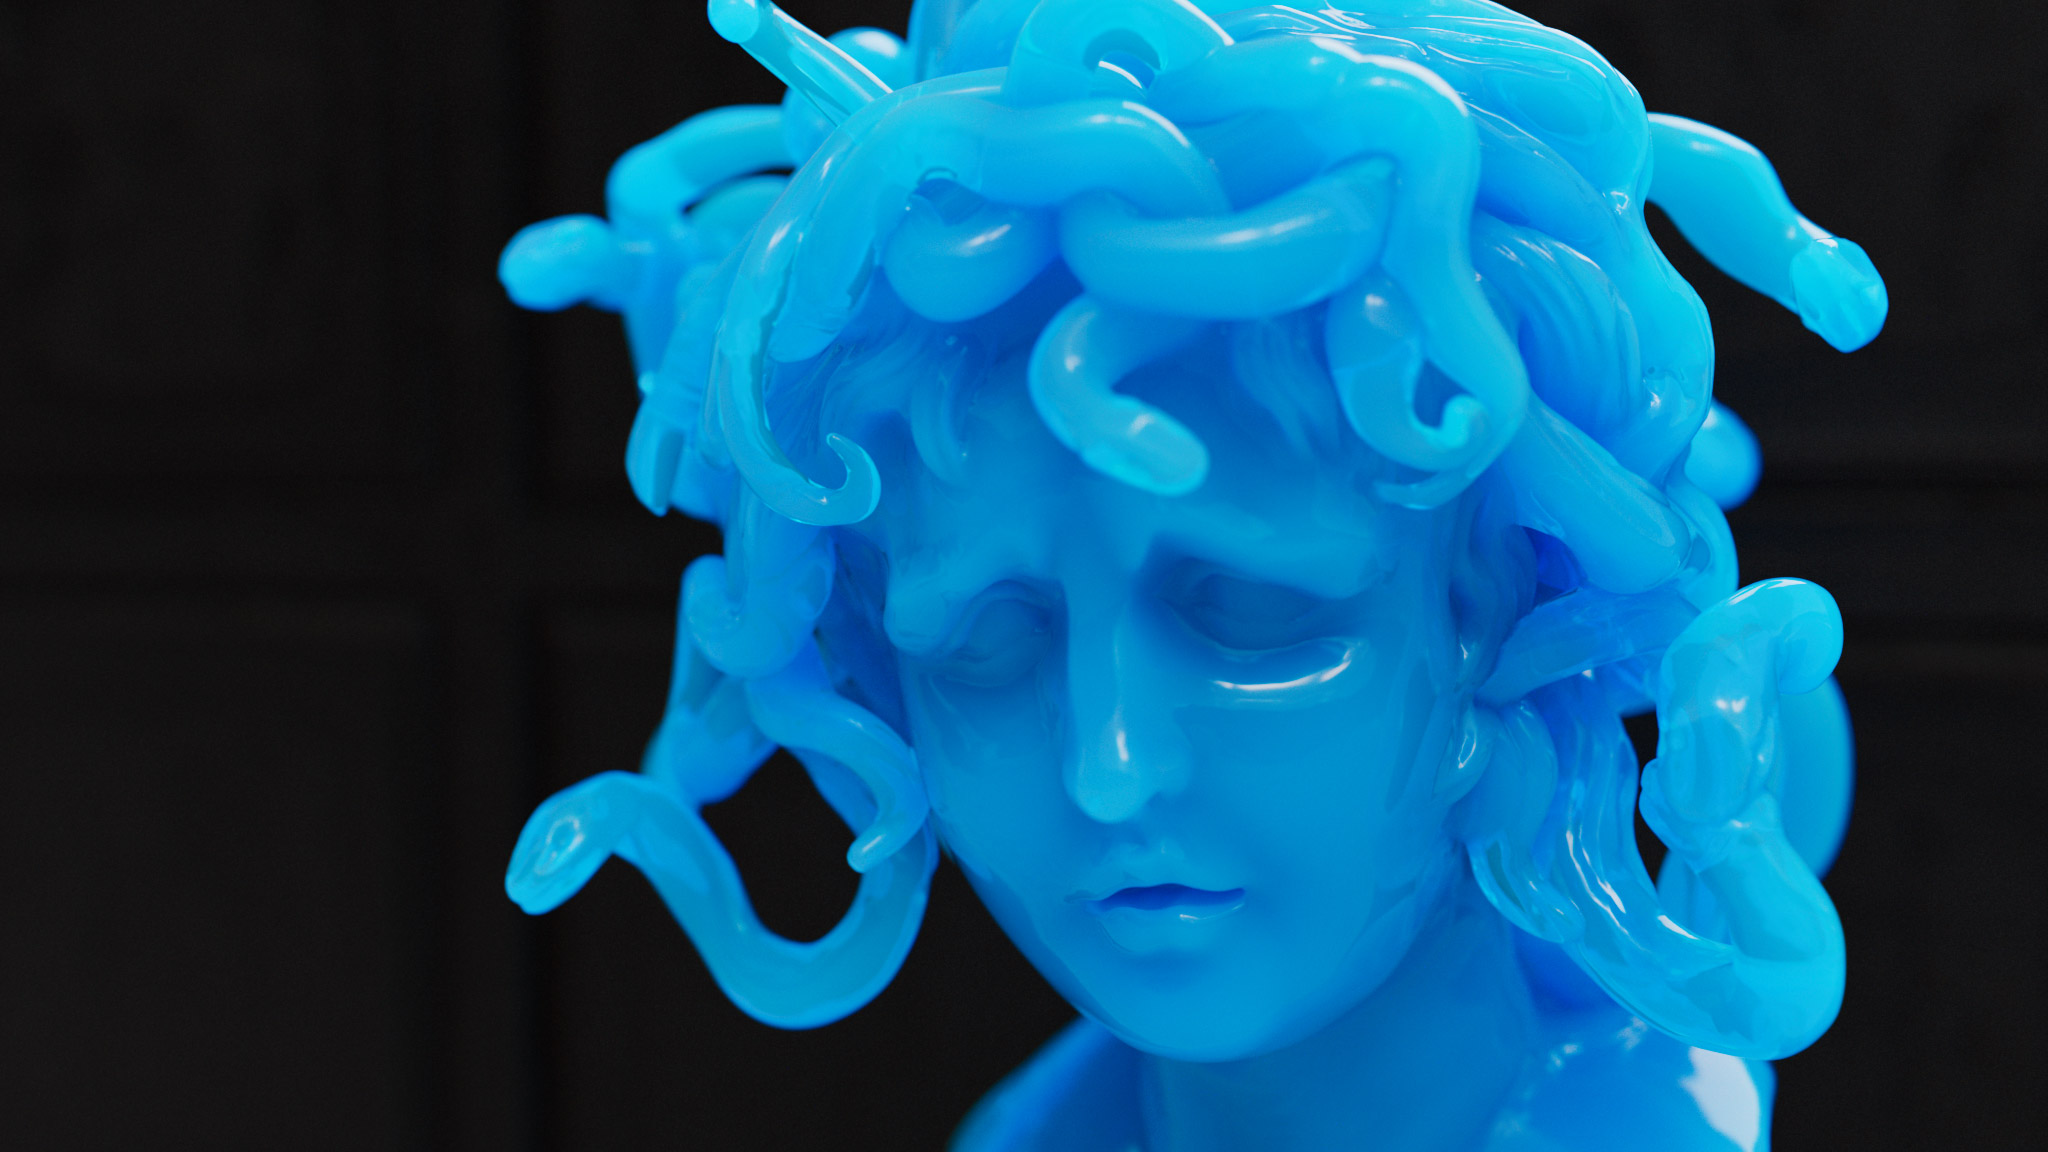
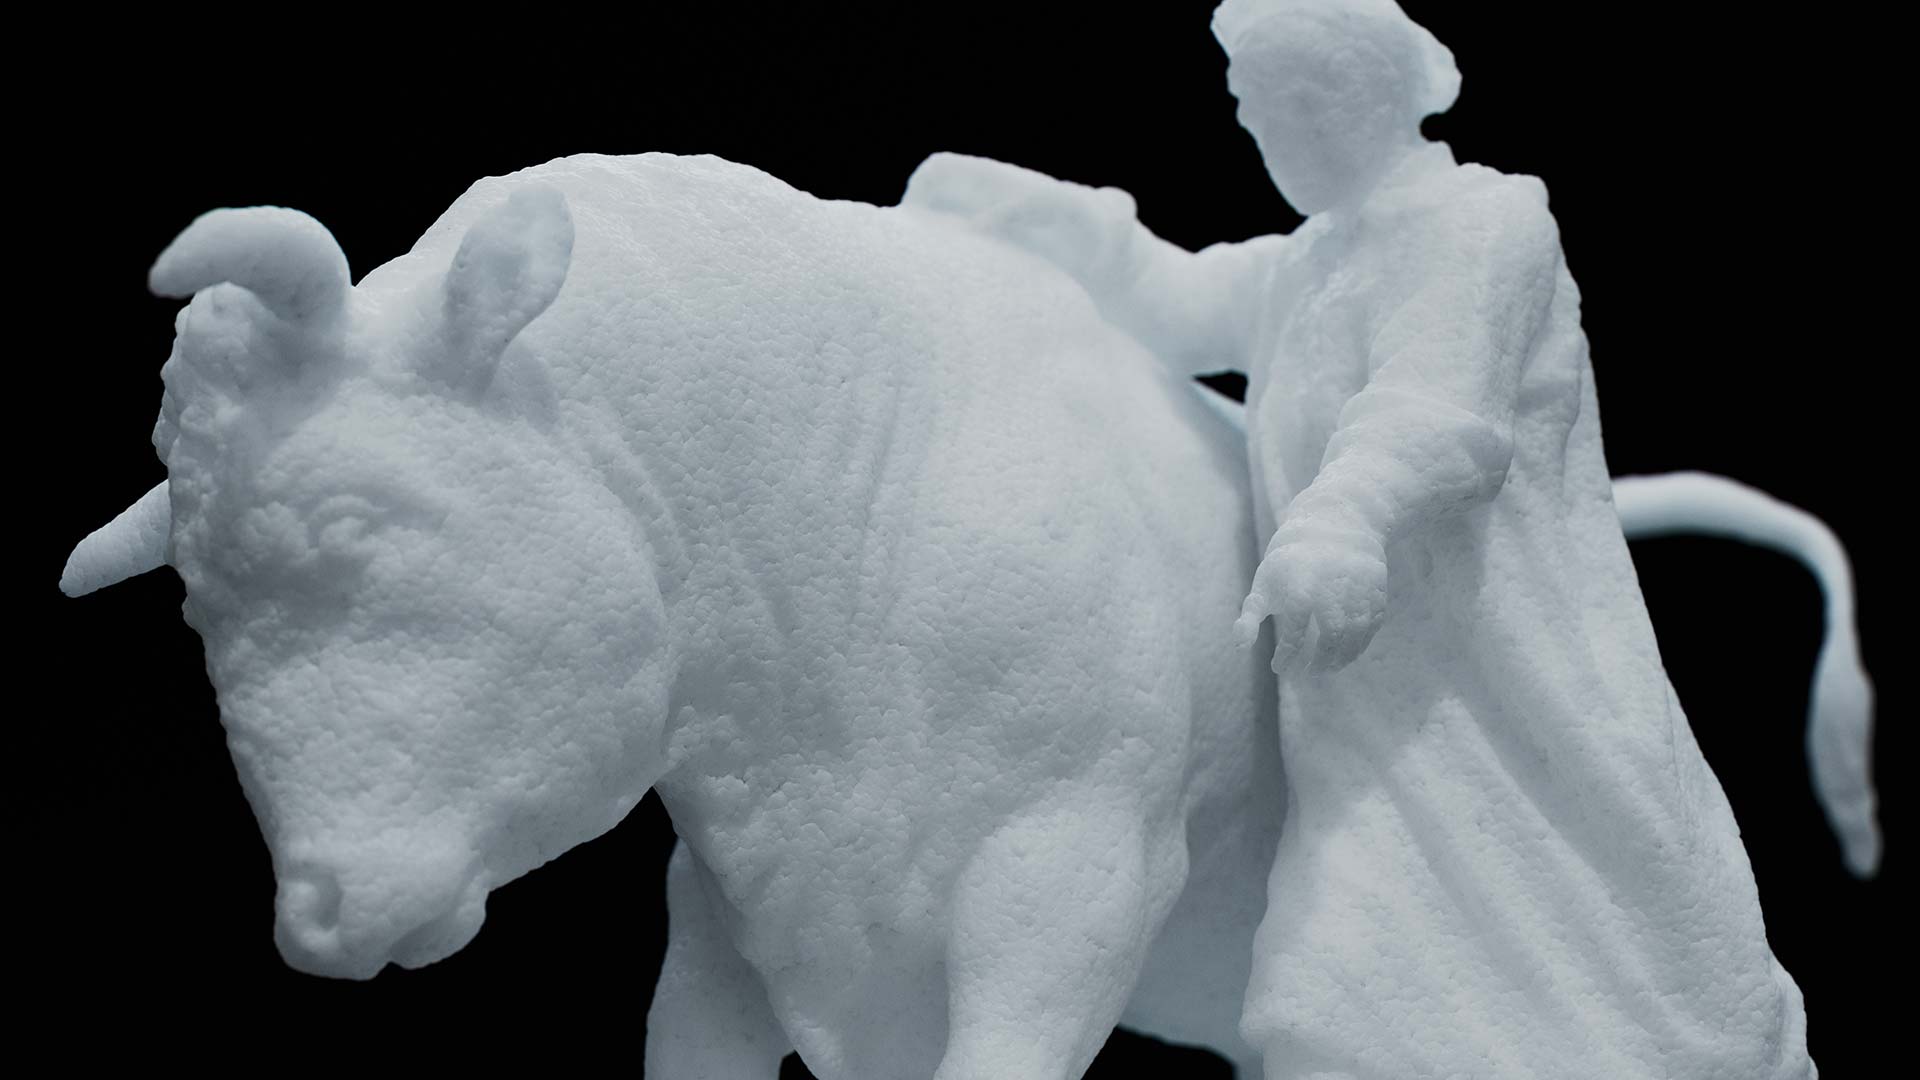
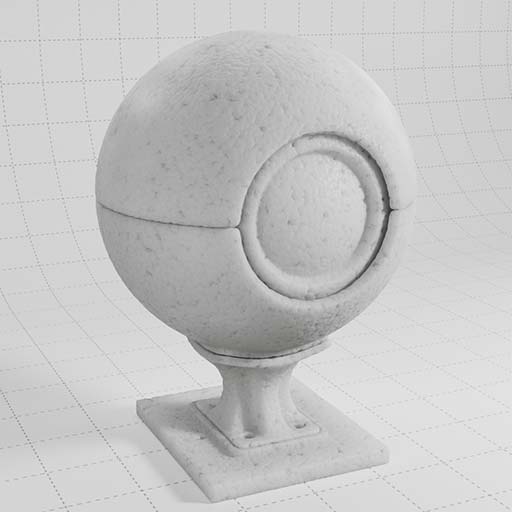
This example uses a combination of noises combined with subsurface scattering to create a polystyrene material.
To use Displacement with Redshift, you must enable this under the
Geometry / Redshift OBJ / Tessellation / Displacement tab.
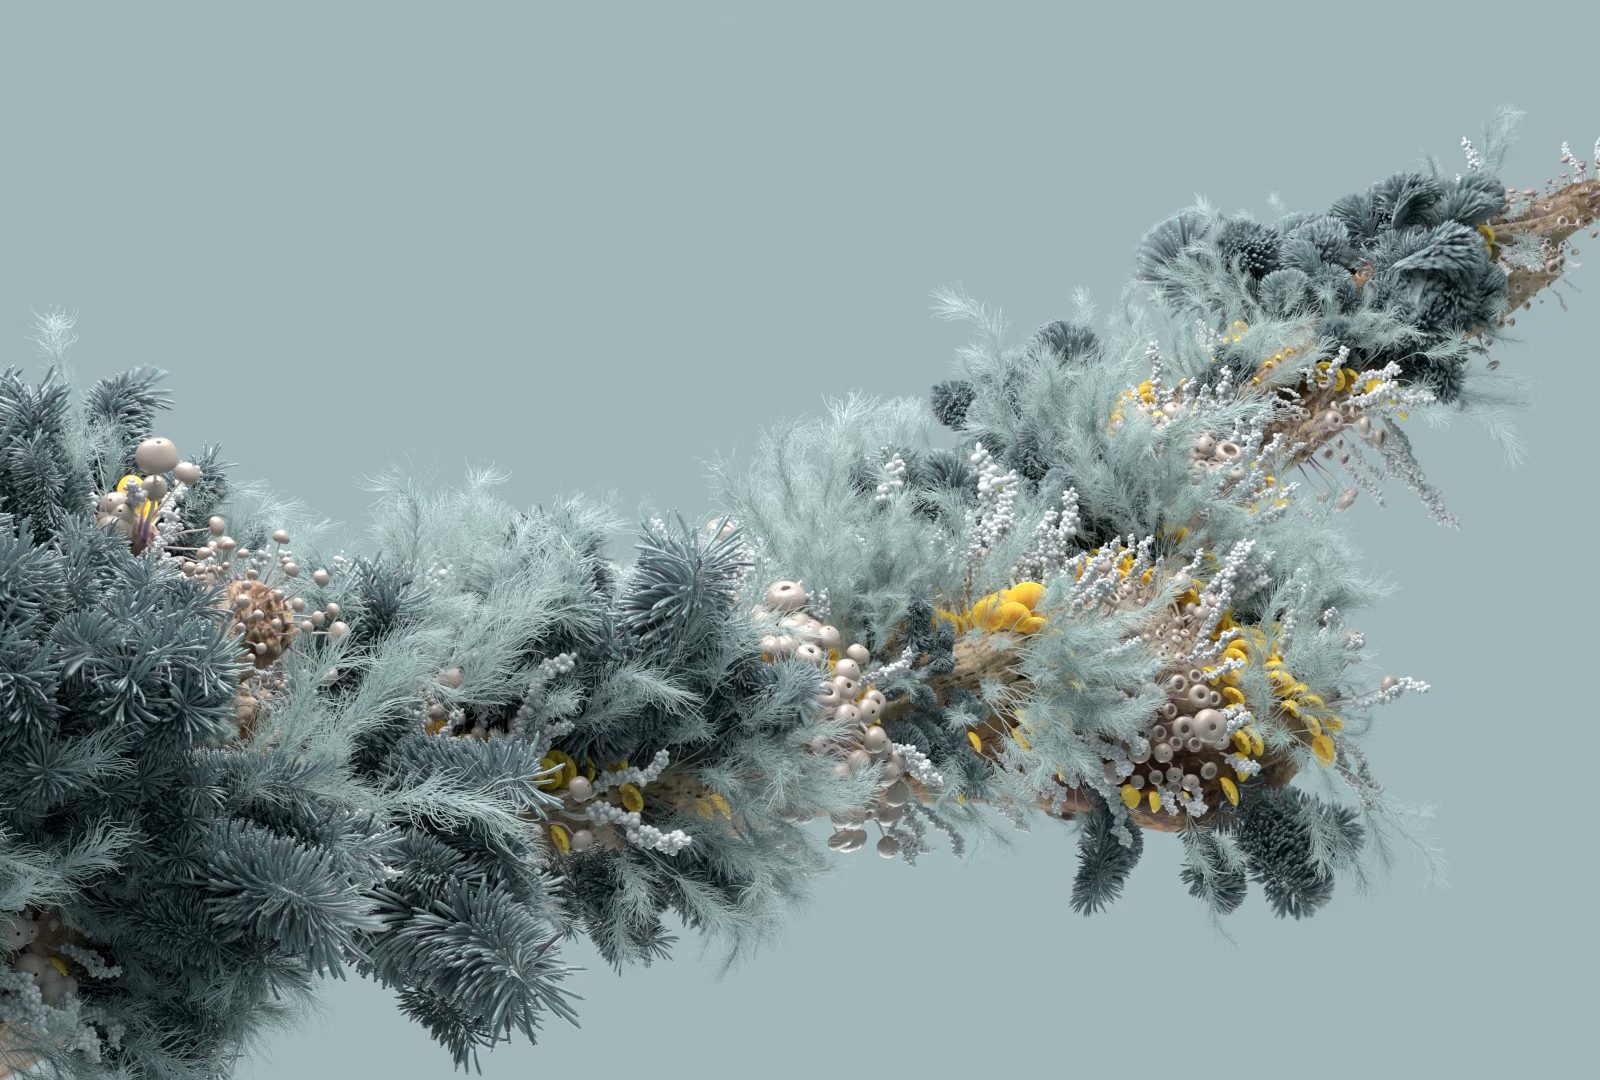
This example uses a combination of noises combined with subsurface scattering to create a ice / snow material.
To use Displacement with Redshift, you must enable this under the
Geometry / Redshift OBJ / Tessellation / Displacement tab.
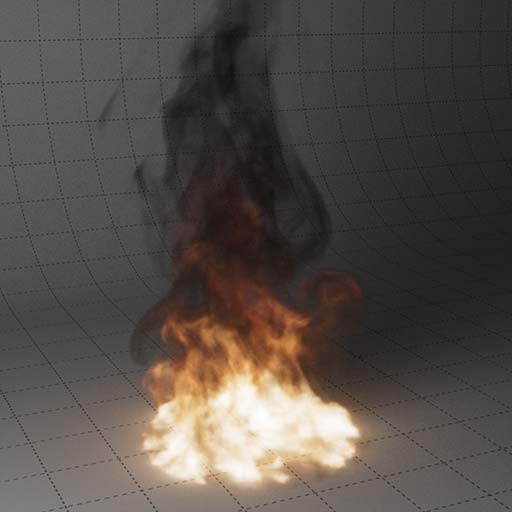
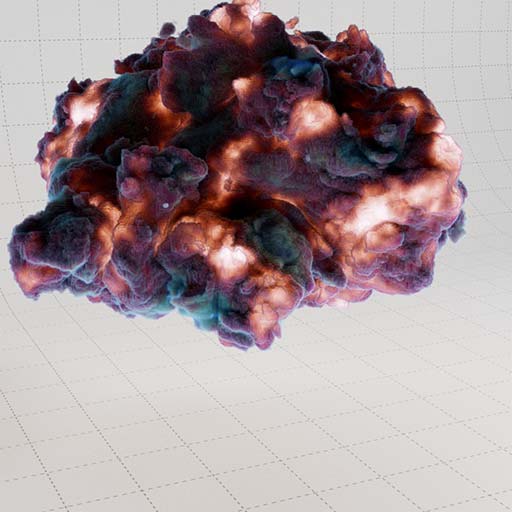
In the RS Volume Material, adjust the Scatter and Absorption Coefficient to control how thick or dense the volume is rendered.
Use the Emission parameters to control illumination within the volume. This example uses the temperature channel for Emission.
Emission values can be remapped with a ramp or using blackbody which is more physically accurate when rendering fire and pyro effects
This example reads the density channel. Adjust the Scatter and Absorption Coefficient to control how thick or dense the volume is rendered.
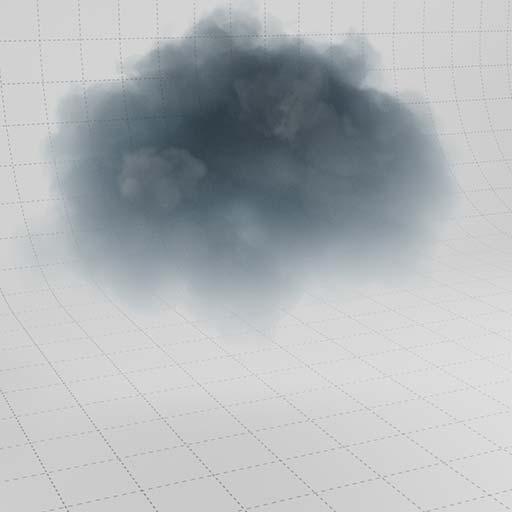
This is the same material as above, but in this example, the coefficient values are higher and they are remapped using a ramp.
This results in a denser cloud with variation in color based on the channel values.
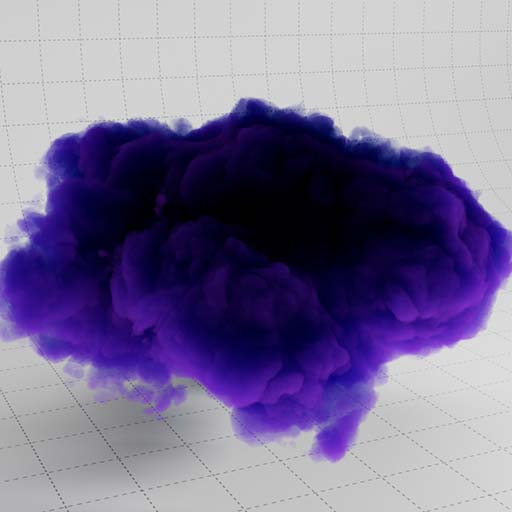
This material demonstrates how you can be more abstract with the Volume Material, using colored ramp for the scatter and absorption at high values creates a dense colorful result. This also uses Emission to create the glowing areas.
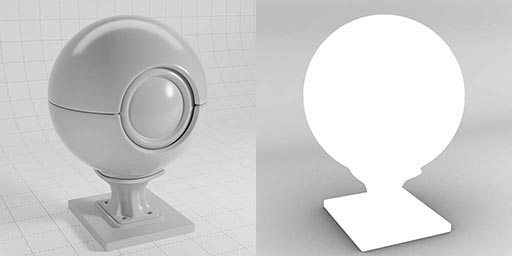
The RS AO node allows you to write out an ambient occlusion AOV for the whole scene.
The Store Color To AOV is used here to store white color in the AO_Pass AOV. This essentially excludes objects using this material from the AO_Pass.
Use the State node to output UVW to a custom AOV.
This example uses the UV projection material and then outputs two AOVs, one for the texture RGB and another for the texture alpha.
This example uses the Curvature material and adds an AOV output matte from the curvature node.
Here we use the falloff example and output an AOV of the falloff ramp as a greyscale matte.
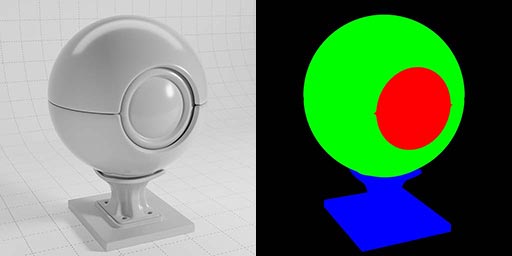
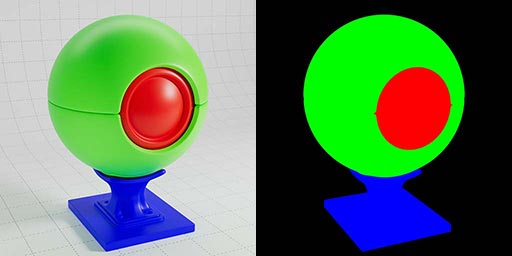
Here we split the object into three parts, each with a unique object id. These ids are output to the puzzlematte as RGB values allowing you to easily isolate specific objects in your scene using the RGB channels.
Here we used three materials, each with a unique material id. These image ids are output to the puzzlematte as RGB values allowing you to easily isolate specific materials in your scene using the RGB channels.
Learn how to create MIDI files from custom collision data in this Houdini training.
Modelling, simulation, collision detection, MIDI creation, plus lighting, texturing and rendering with Redshift.