learn. Cinema 4D In One Day
$95.00
learn. Cinema 4D In One Day is your gateway to mastering one of the world’s most powerful and popular 3D applications.
Originally released in 2014 – learn. Cinema 4D In One Day – was an instant international best seller. This new and fully revised edition has been 100% updated for Cinema 4D 2024.
Whether you are new to 3D or just new to Cinema 4D, this series is for you. Taught by industry veteran Tim Clapham, learn from real world experience, master the tools, the workflow and become instantly confident in C4D with this fast paced intensive training.
Tim is a multi-award winning motion designer and has been using Cinema 4D since the late 90’s. A Maxon Certified Master Trainer, creating content with C4D for over 20 years. Director at Luxx.tv, Tim has worked with global clients and collaborated with some of the industry’s finest creative studios.
Training Summary
learn. Cinema 4D from an industry leader
Maxon Authorised Master Trainer
Aimed at beginners or new users of C4D
26 chapters over 6 hours of training
Modelling, Mograph, Type, Xpresso, Rigging, Cameras, Animation, Lighting, Materials & Rendering in Redshift
Recommended requirements
Cinema 4D 2024+
Redshift 3.5 and above
Knowledge of 3D software is a plus but not a requirement
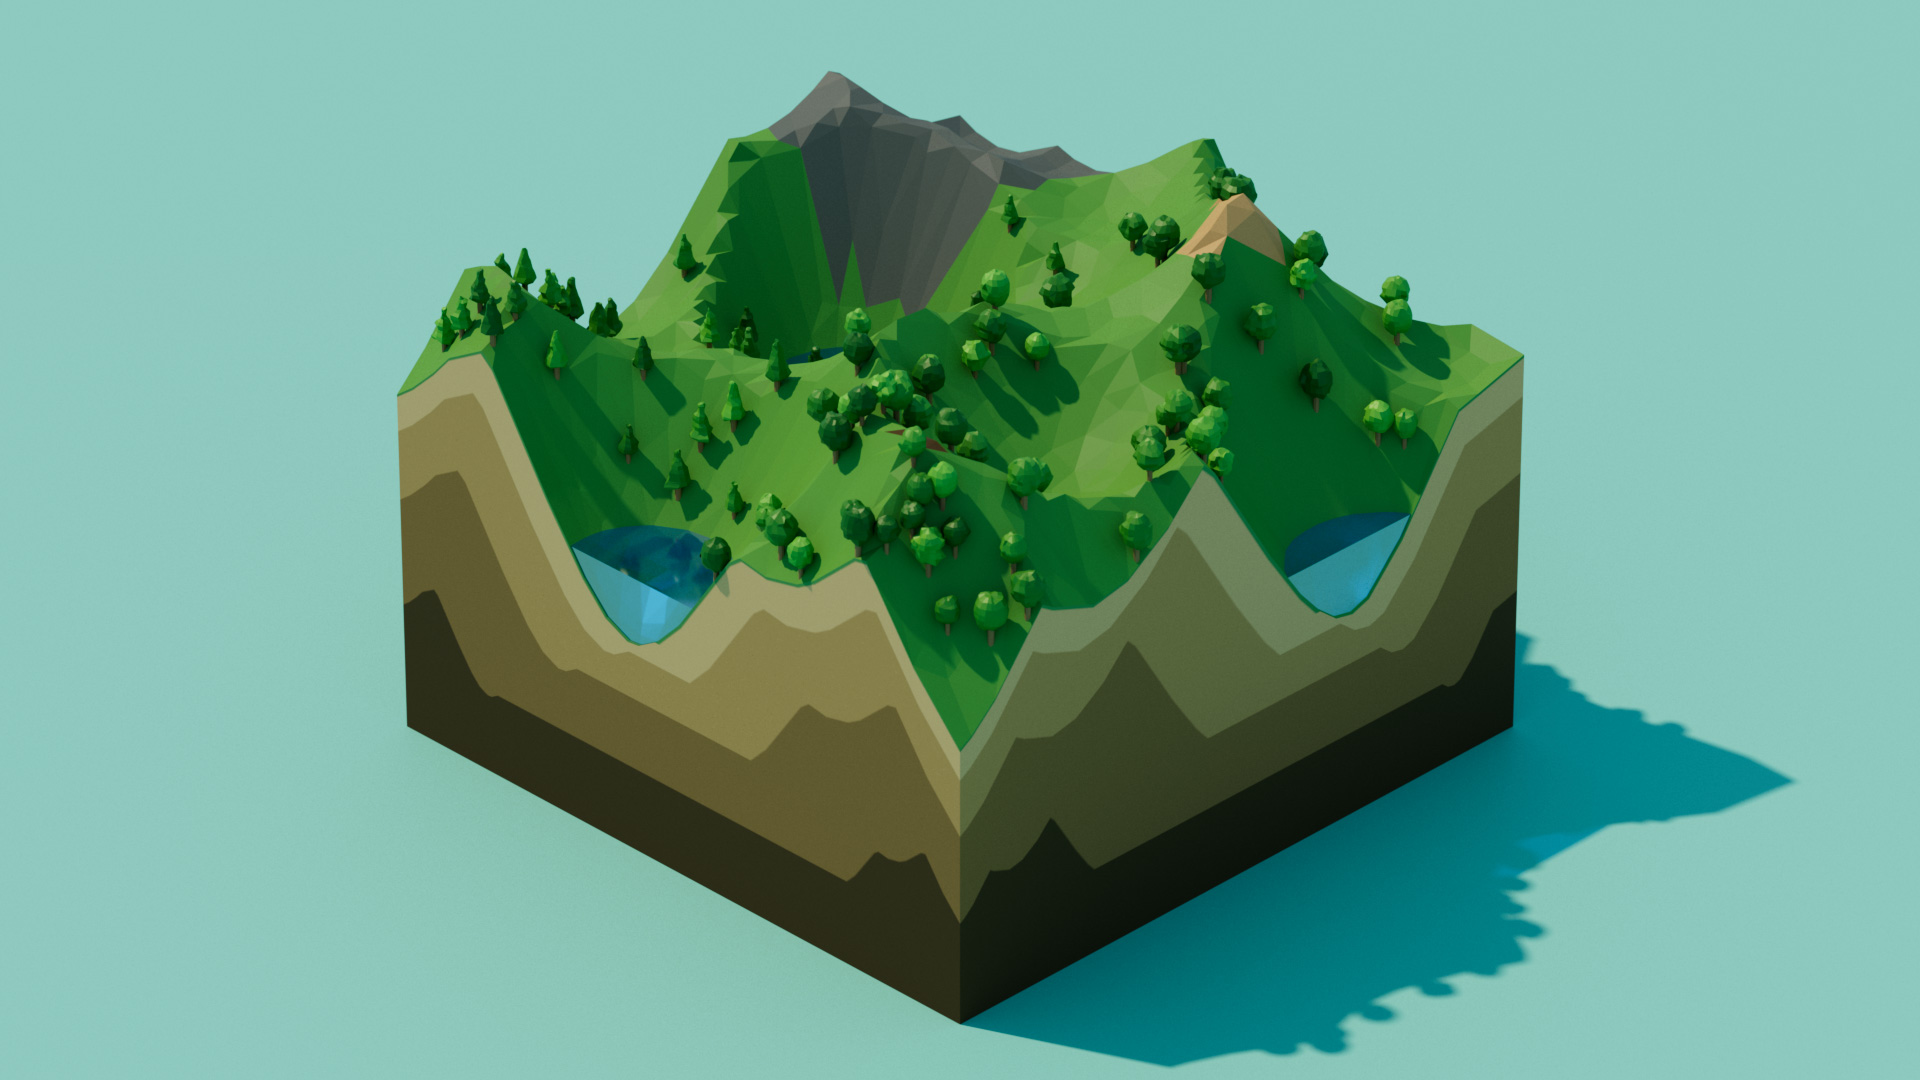
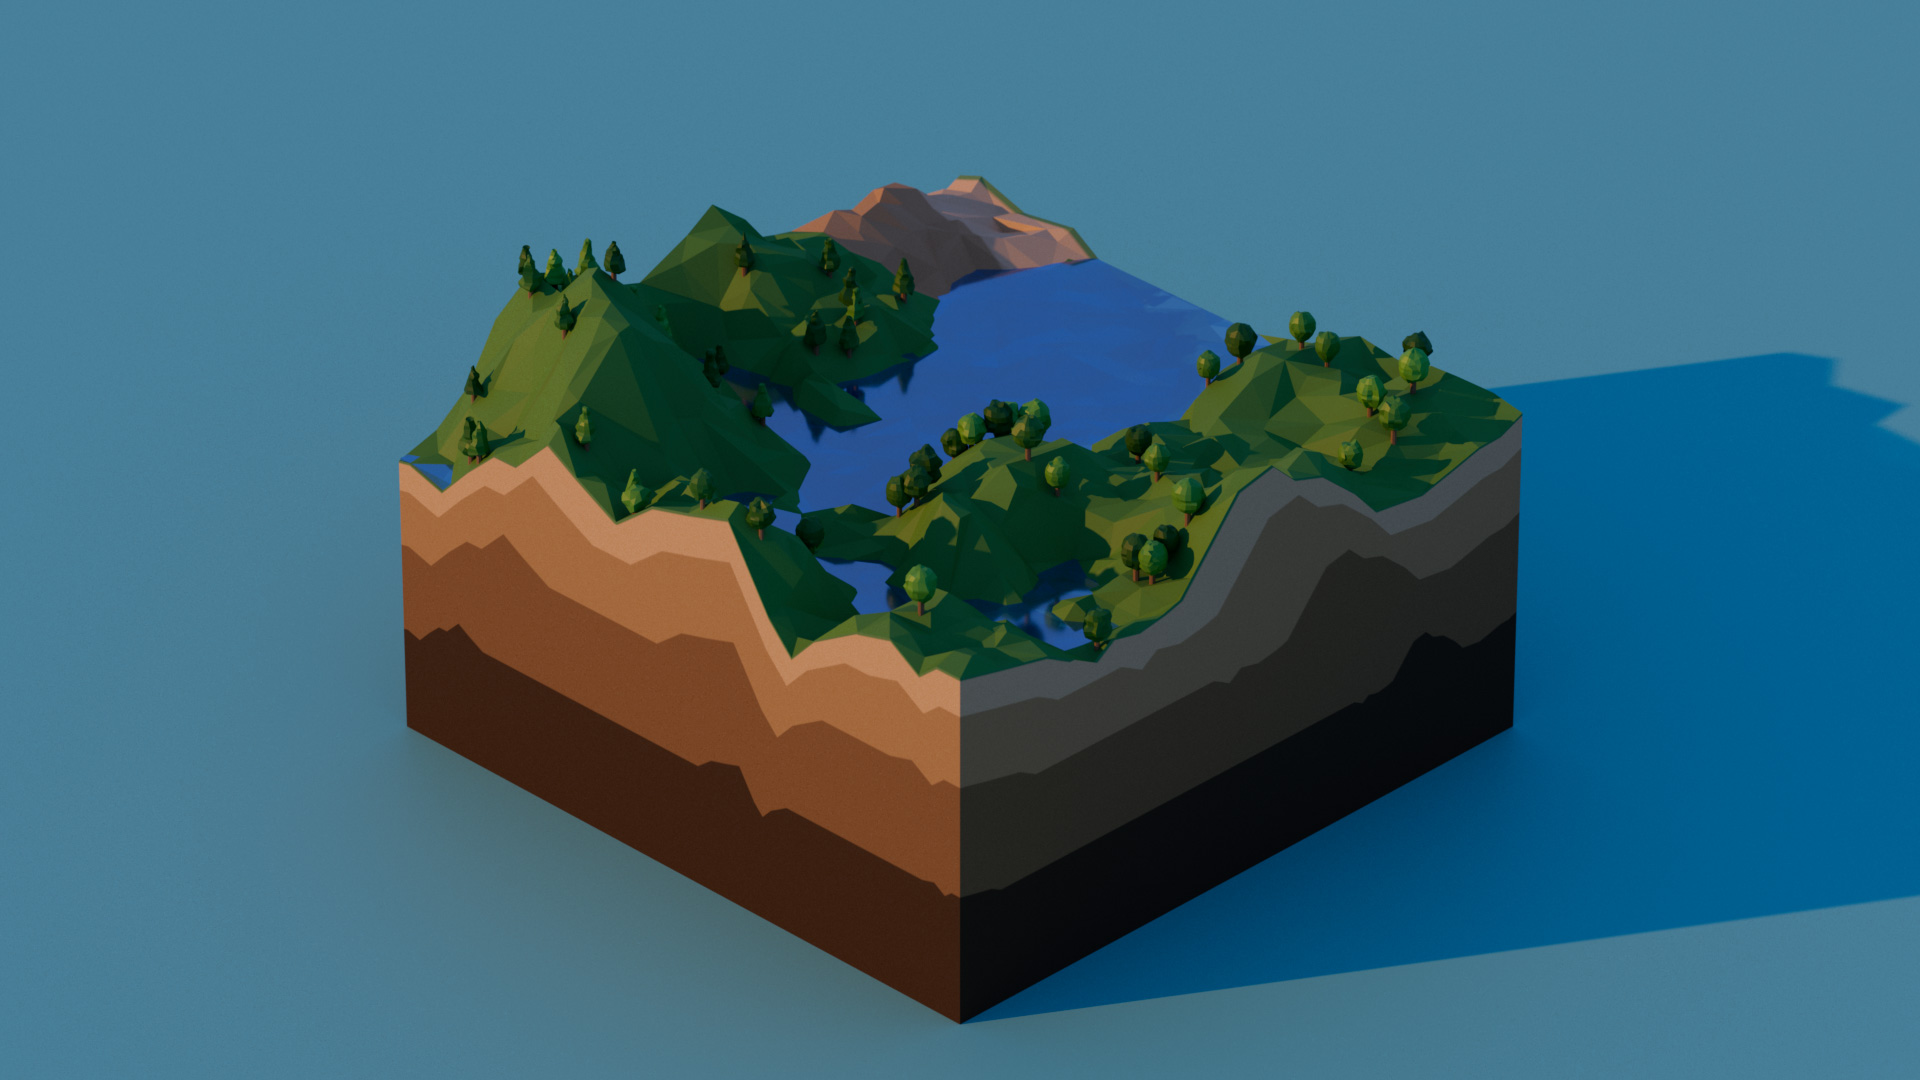
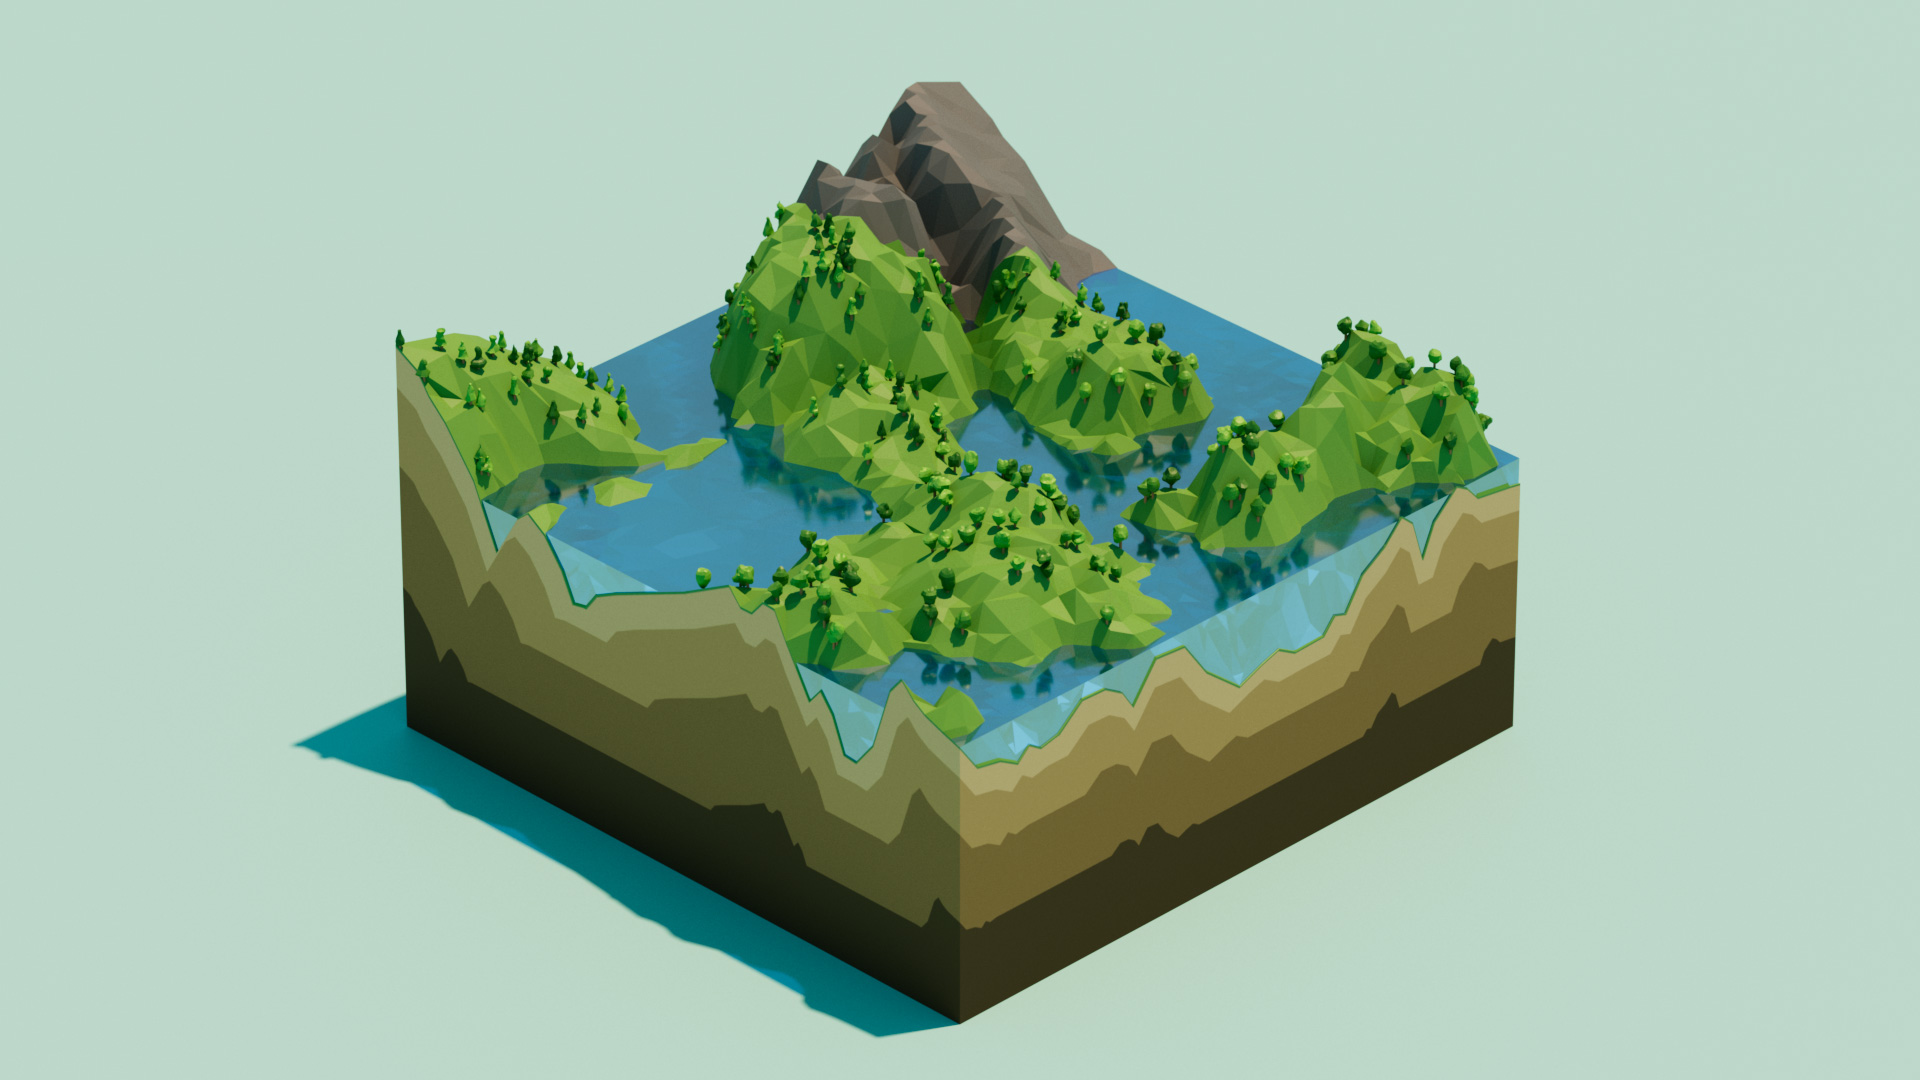
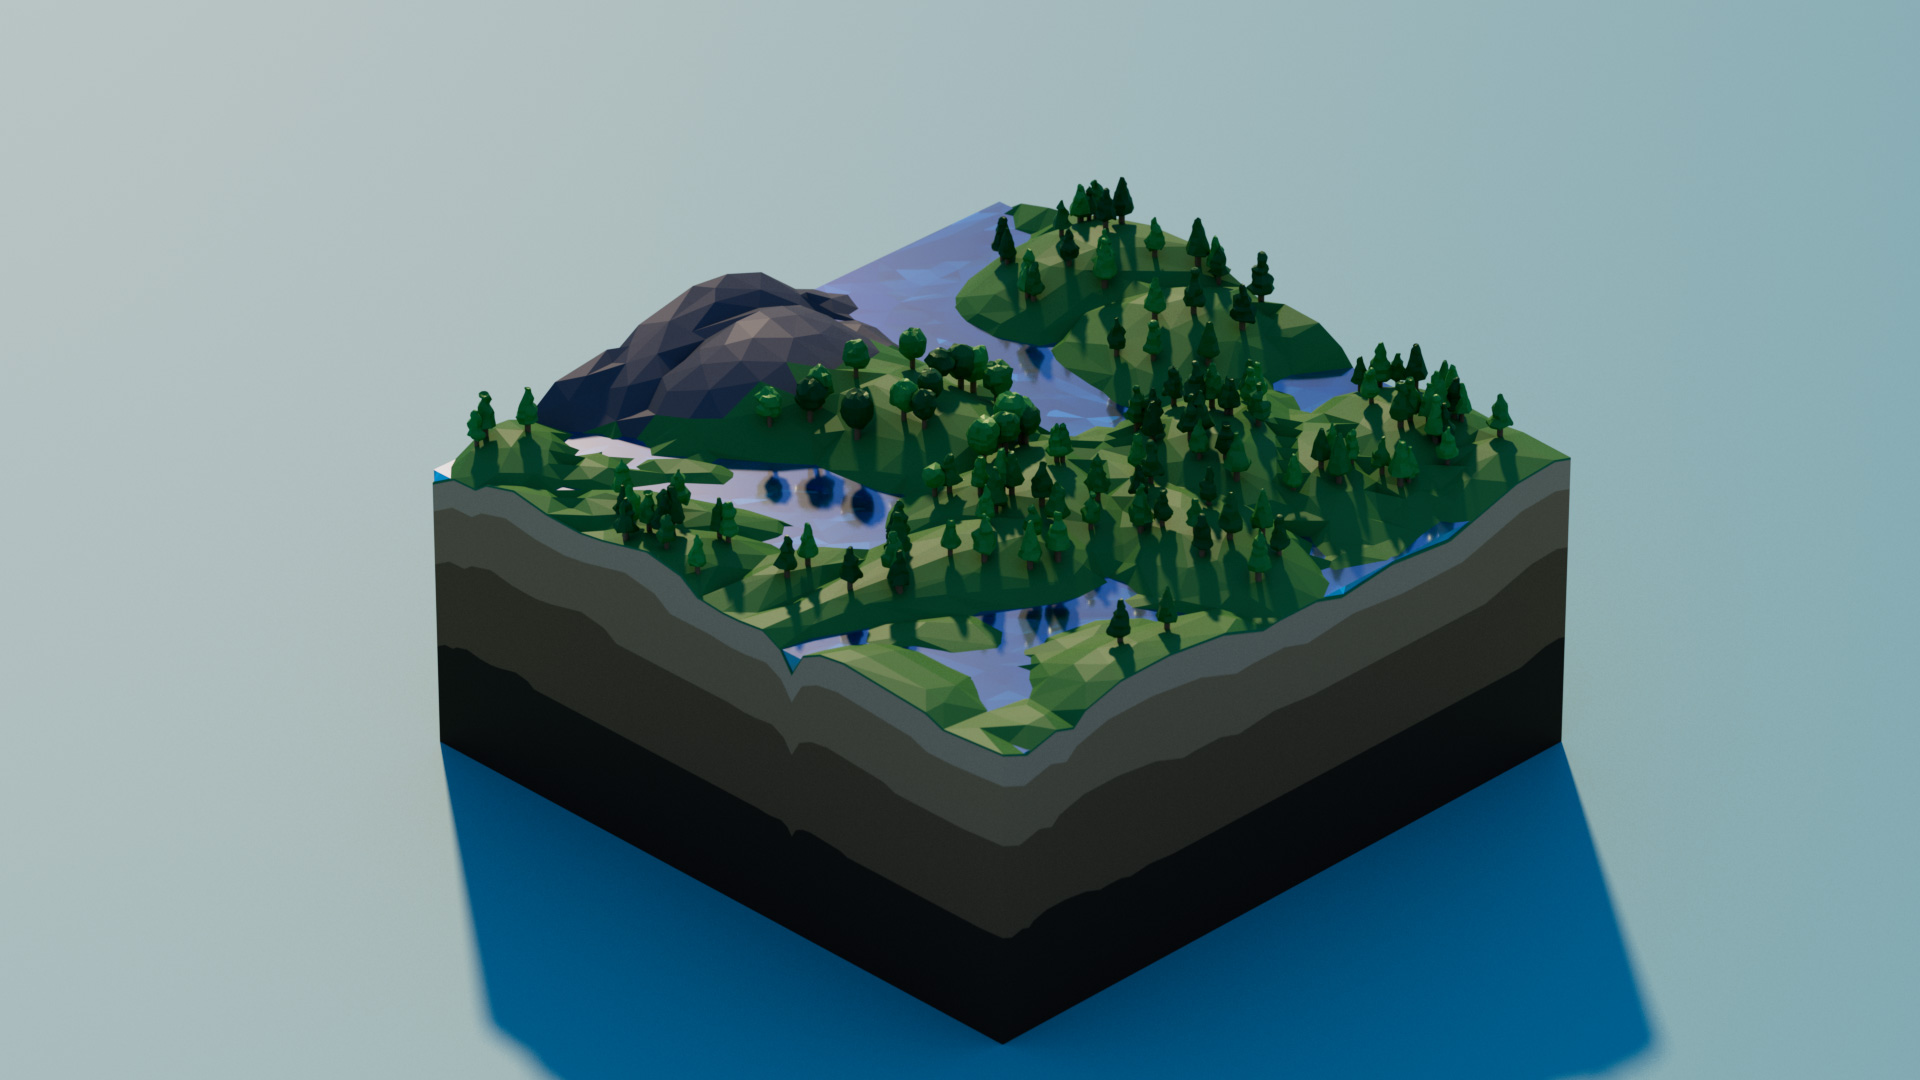
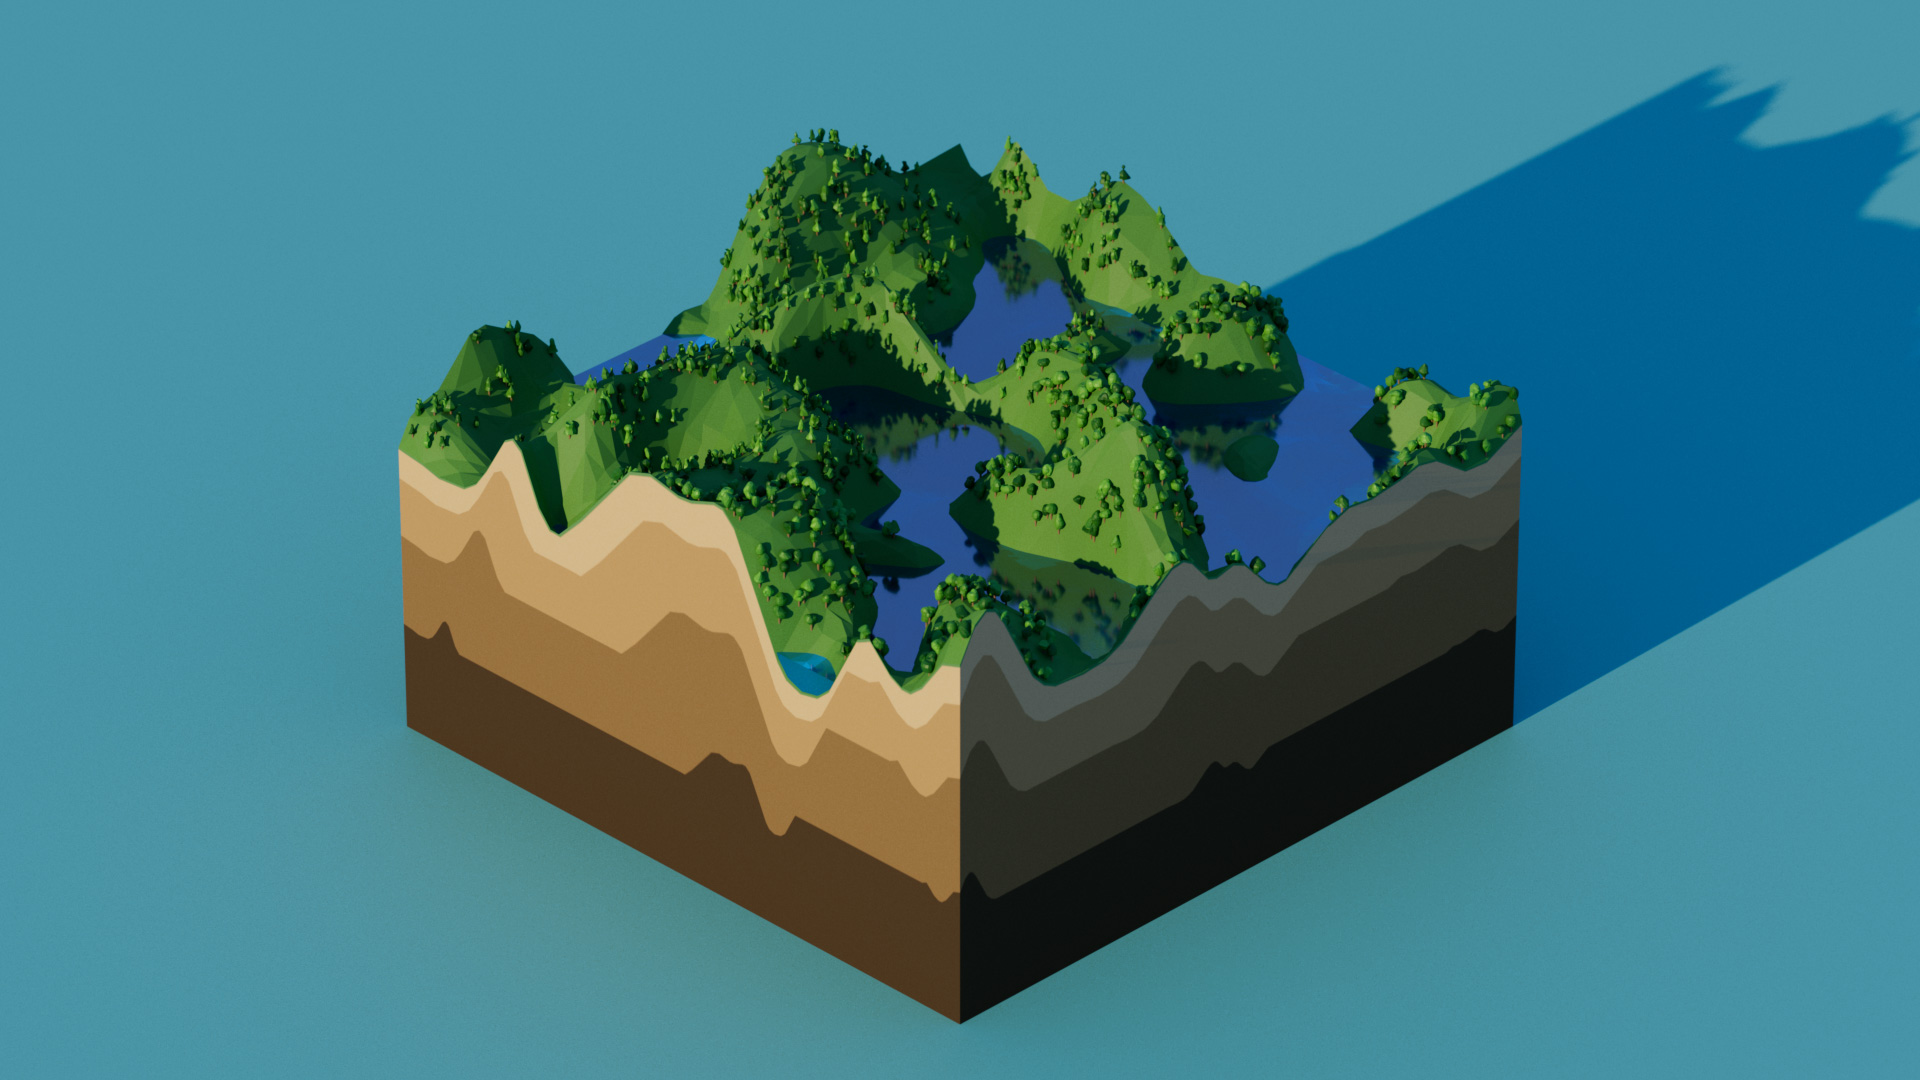
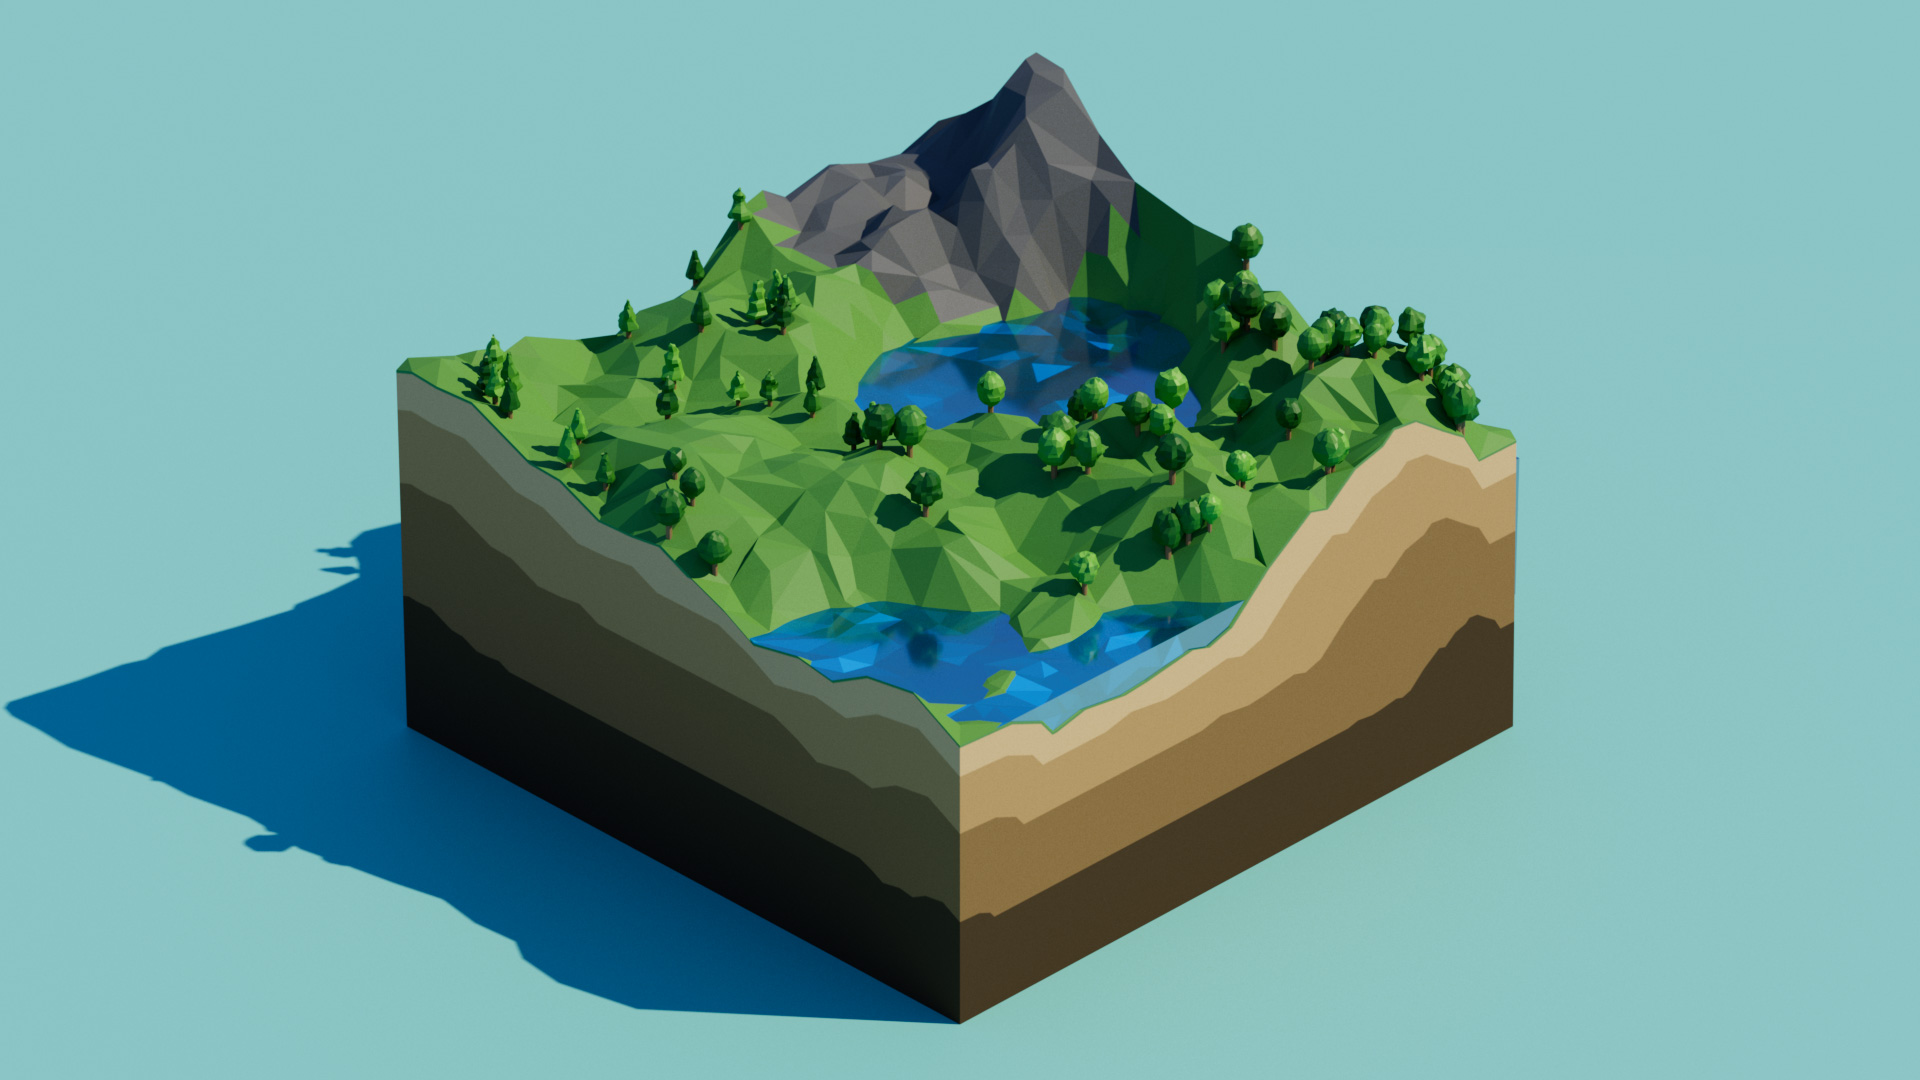
After a short introductory video, this is where the fun starts! Spread over three chapters, your first project will be to create a procedural low-poly landscape. By using a procedural approach, the landscape is driven using noise and can be easily changed and adapted. The examples above were created by changing the random function and adjusting the lighting, everything else happened automatically.
In the first section, we introduce you to working with and manipulating objects using the Object and Attribute Managers, exploring object hierarchies for generating and deforming geometry. You will build the terrain for the landscape using a simple Cube combined with displacement. This is combined with further Generator Objects to build the ‘Low-Poly’ look using a fully procedural approach.
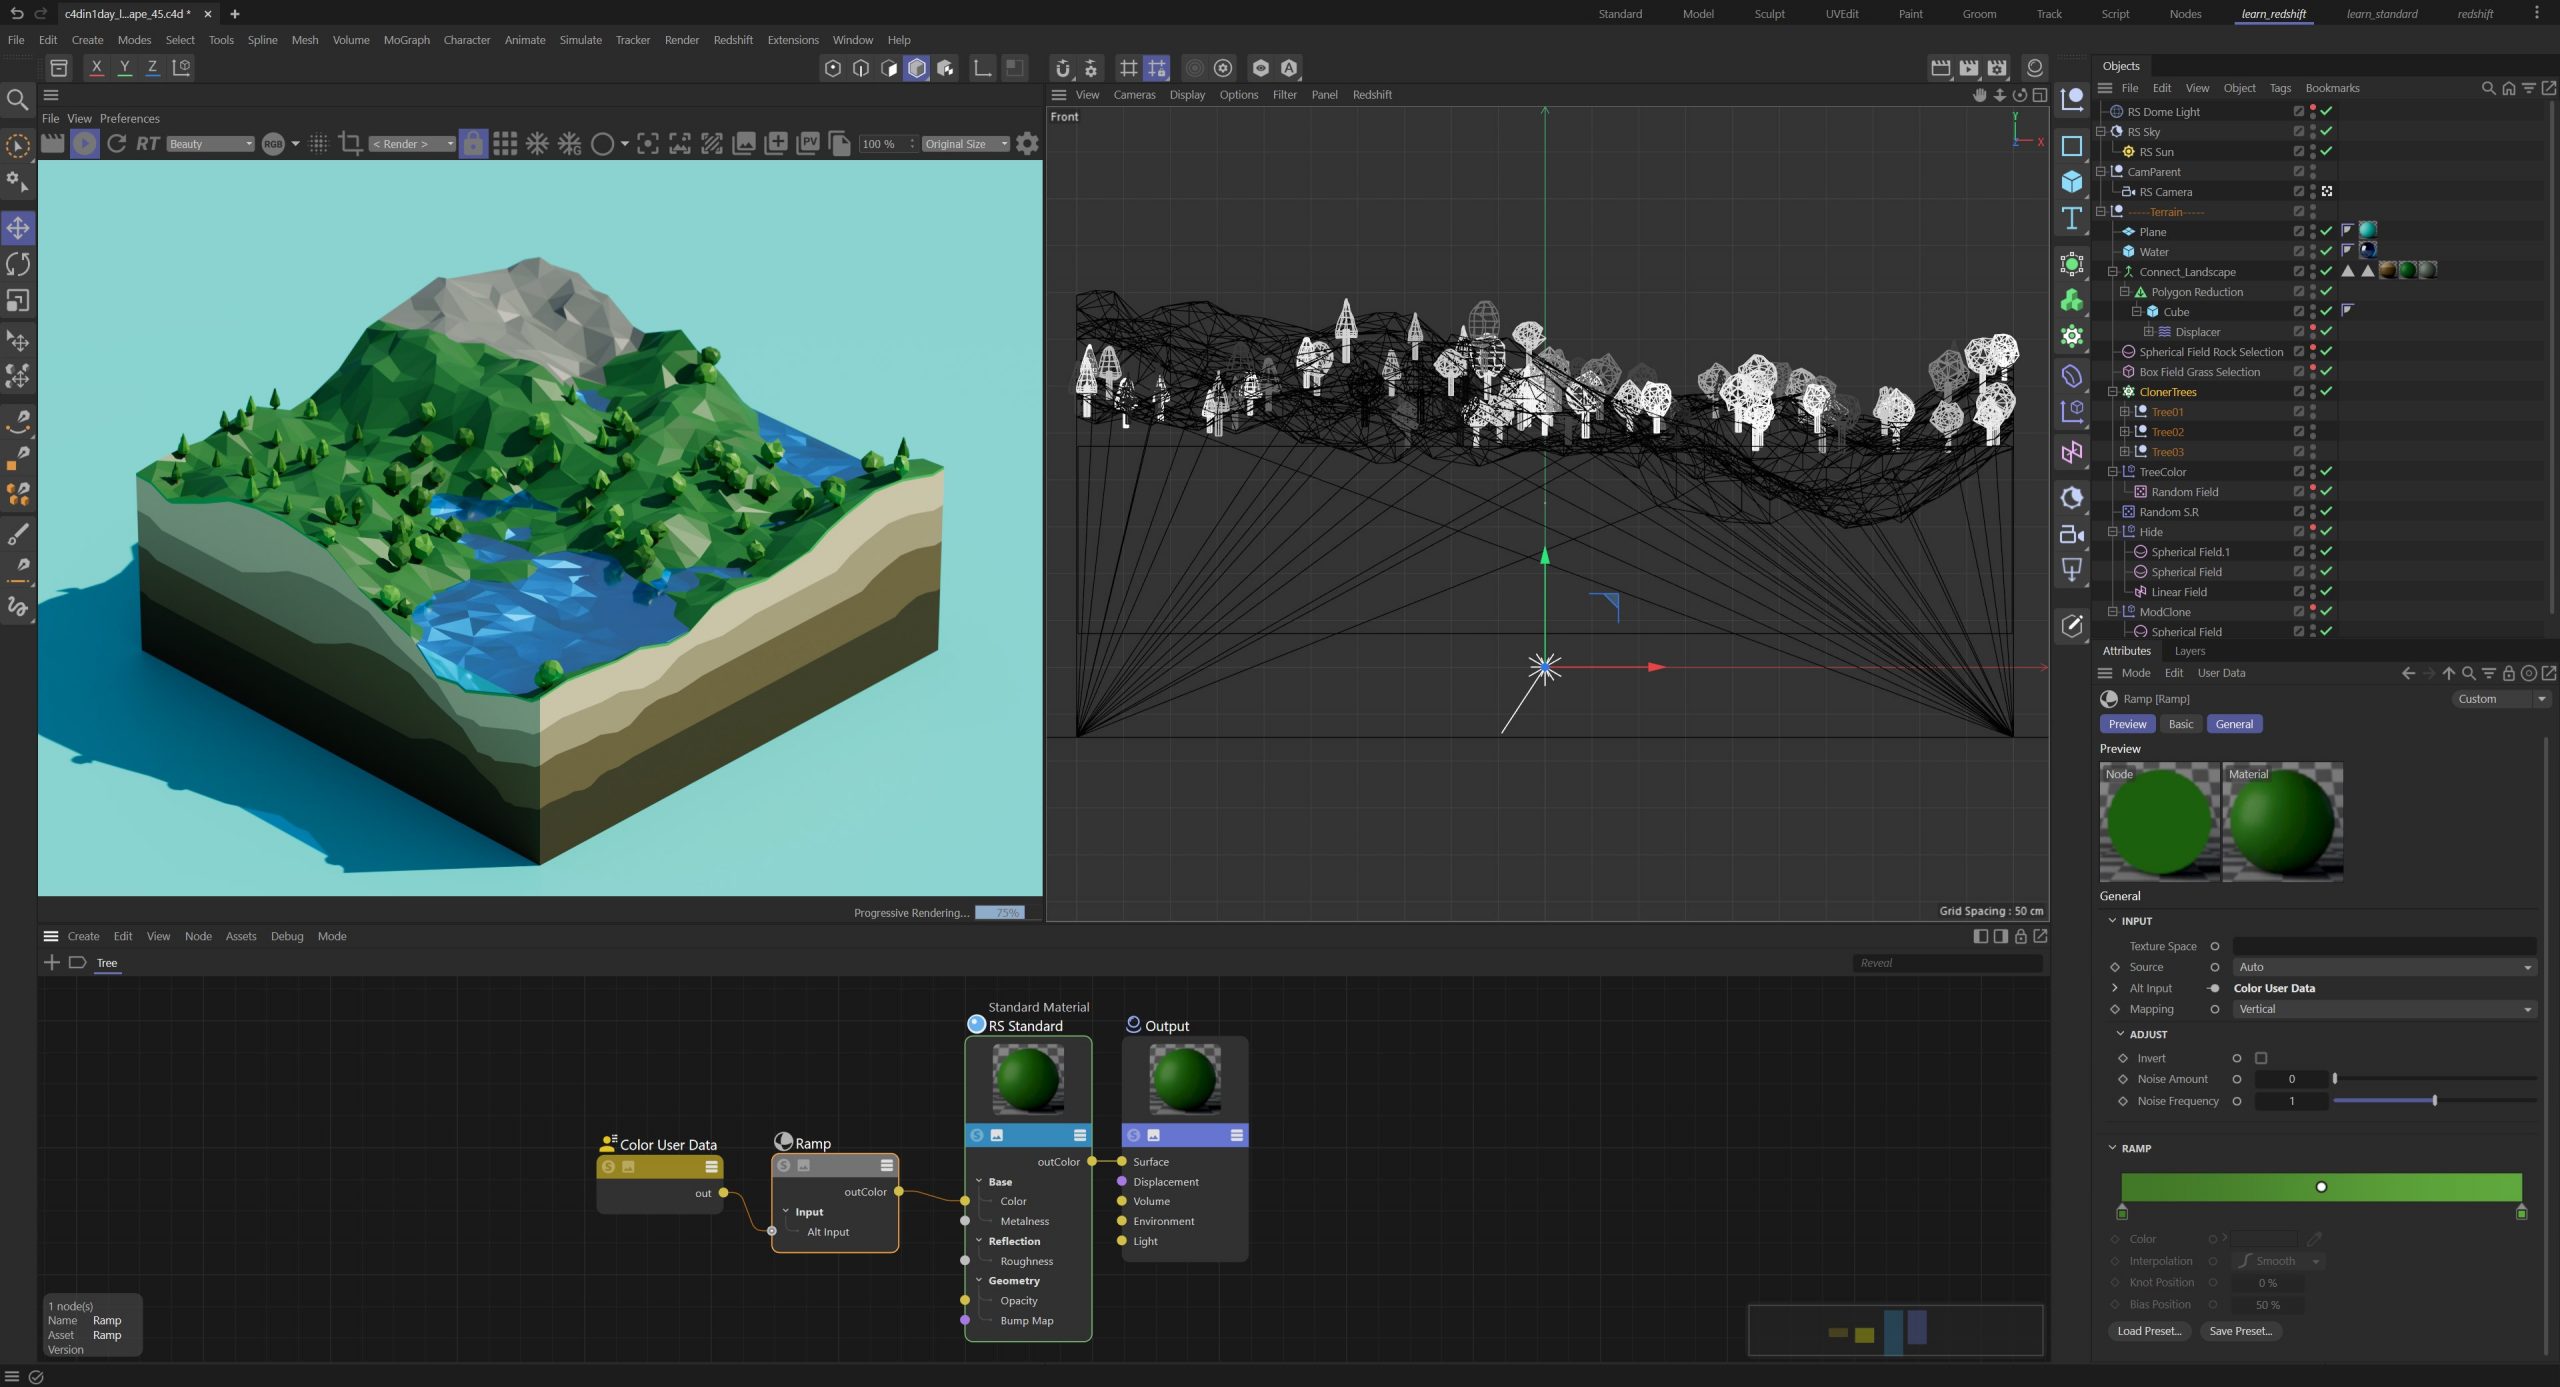

Explore some simple modelling with primitive shapes and build three trees, adding basic materials for the trunk and foliage. You then work with the Cinema 4D Mograph toolset, starting with the Cloner Object which allows you to distribute your trees across the landscape and restrict the scatter of the trees to specific areas, avoiding the sides of the object and the water.
Finally we prepare the landscape for rendering, adding in a Camera and lighting the scene. The materials we have created are refined and this will introduce you to working with the Material Node Editor, plus we take a peek into the Render Settings and output our final result to the C4D Picture Viewer.
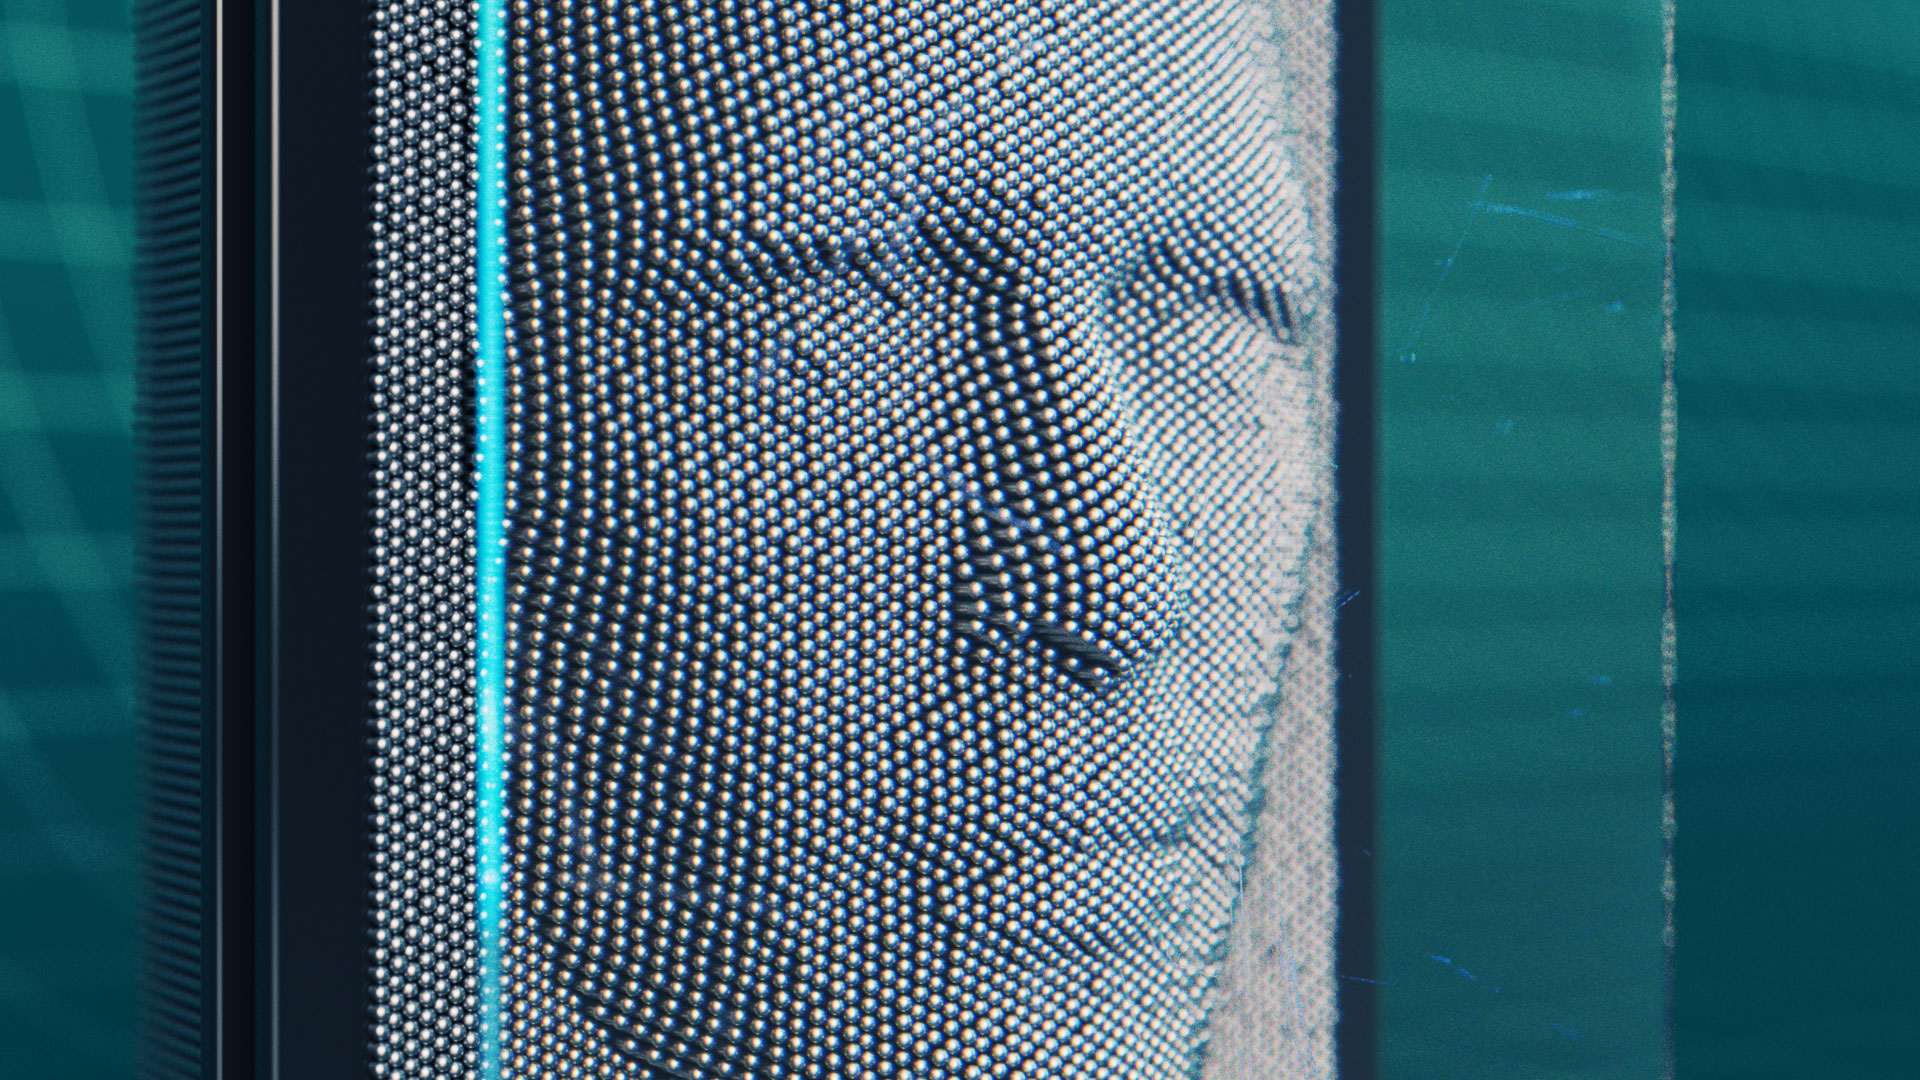
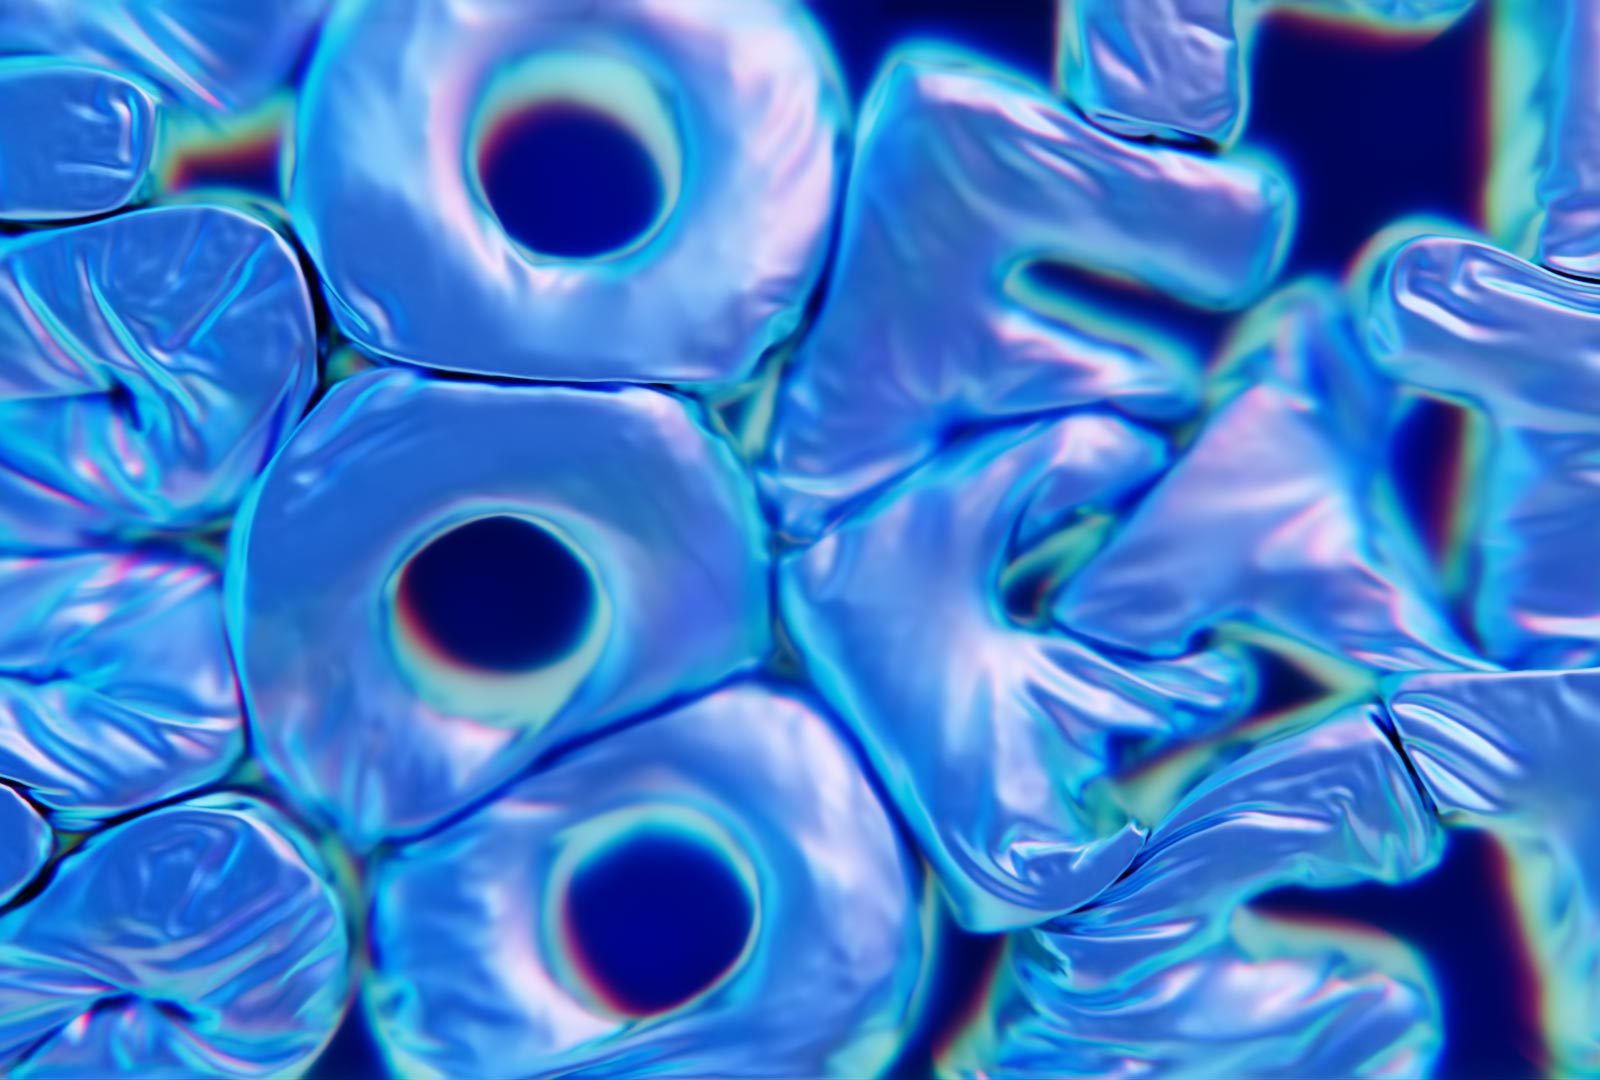
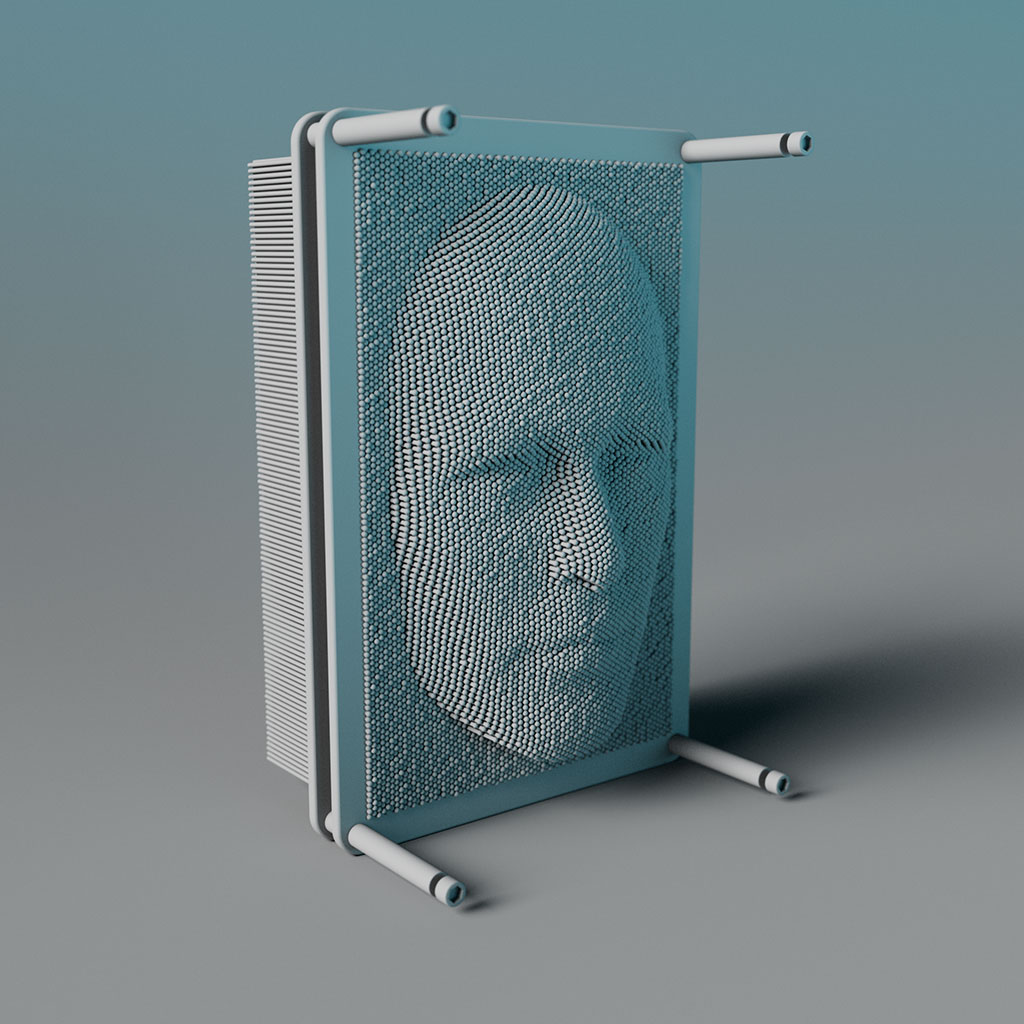
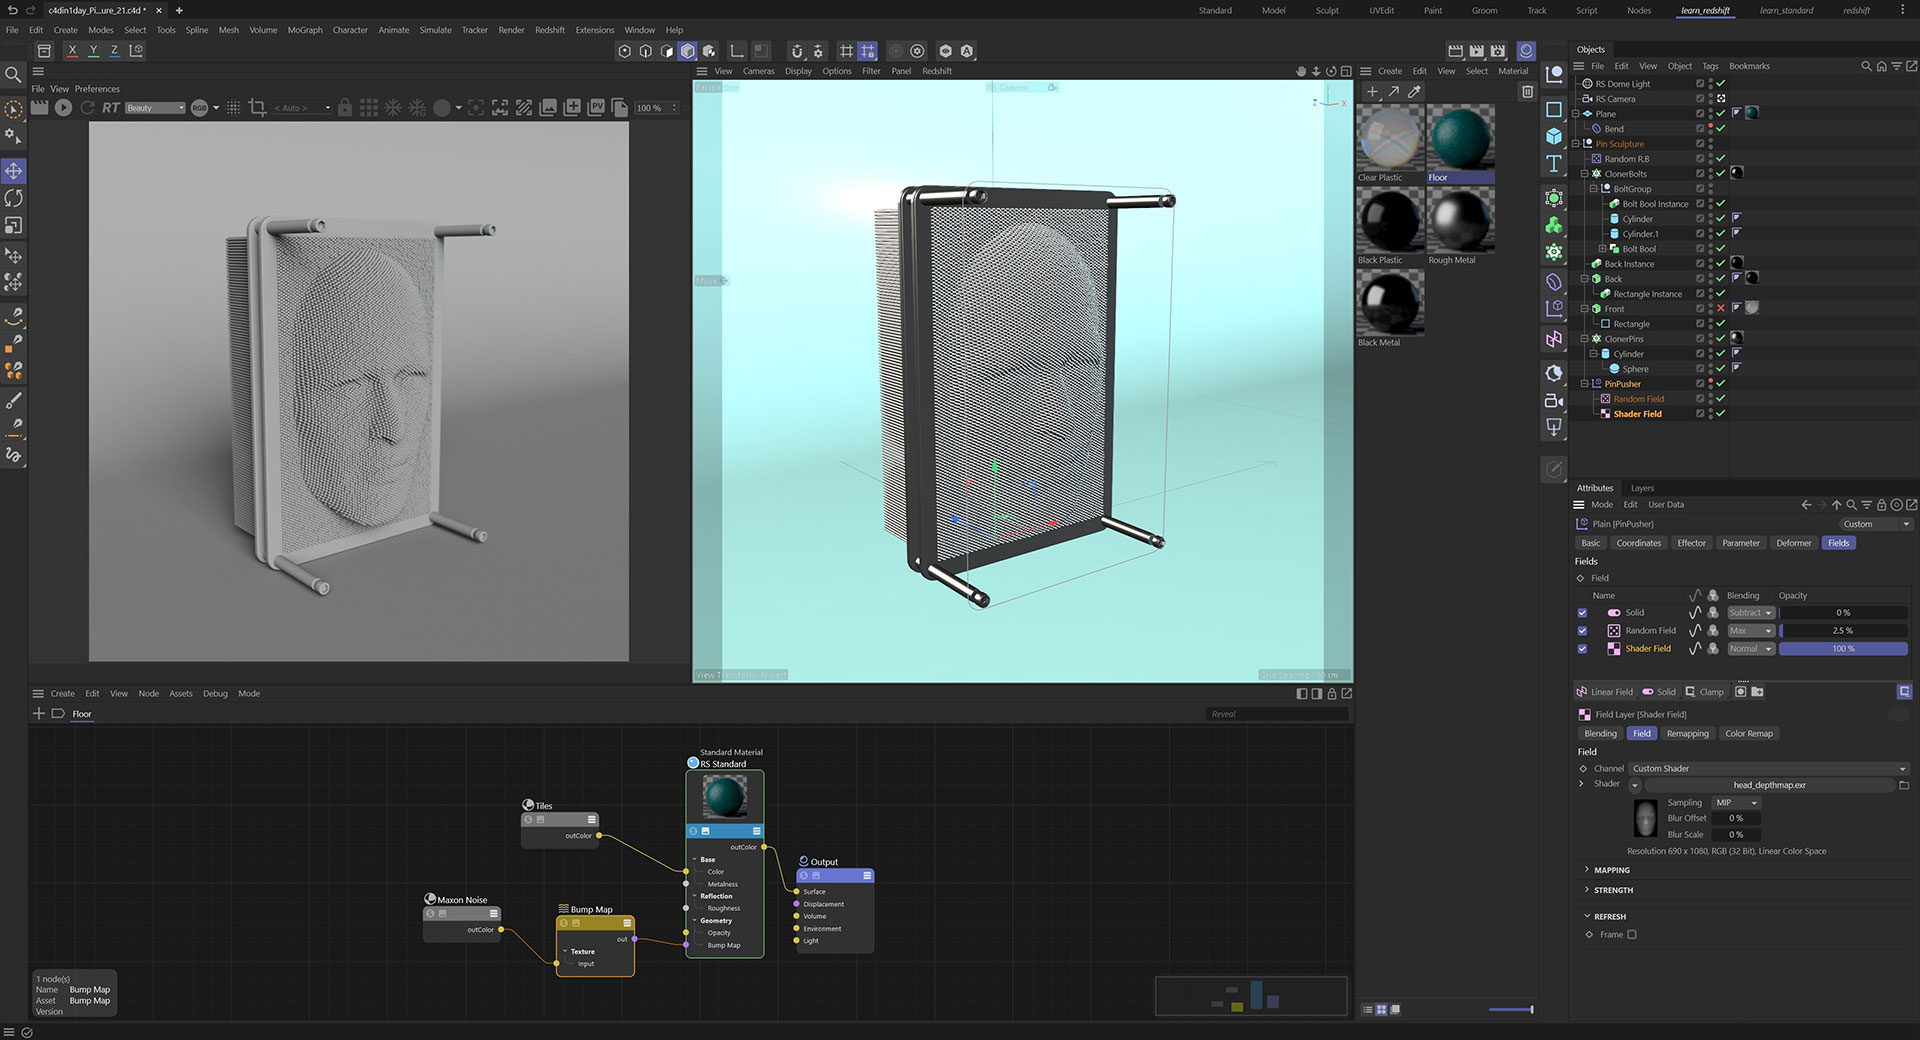
As you create this Pin Sculpture, you will discover new techniques for modelling. We explore the Cloner & Effectors further, as these are the perfect tools for creating this pin sculpture.
Primitives, Generators, Instances and the Bool object all contribute to making this sculpture. An organised collection of many pieces is the foundation for many 3D objects and scenes.
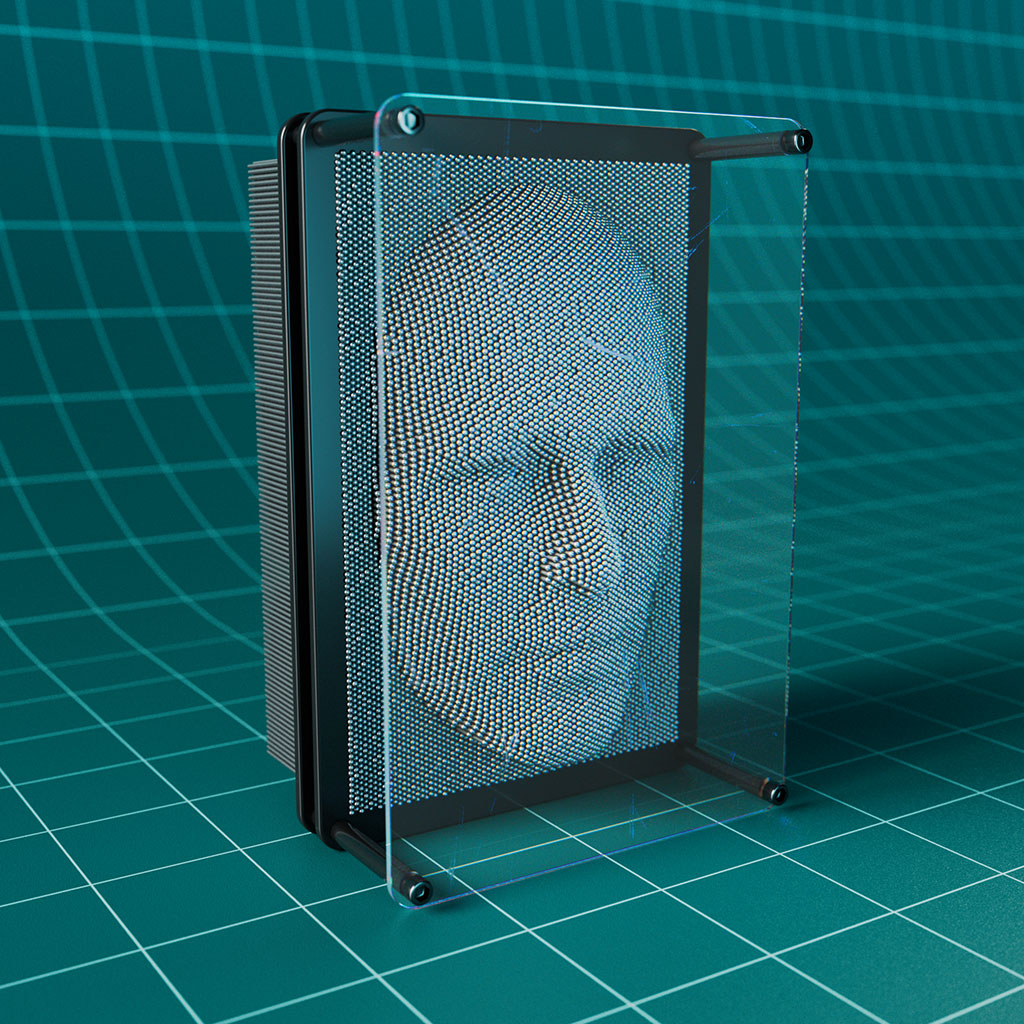
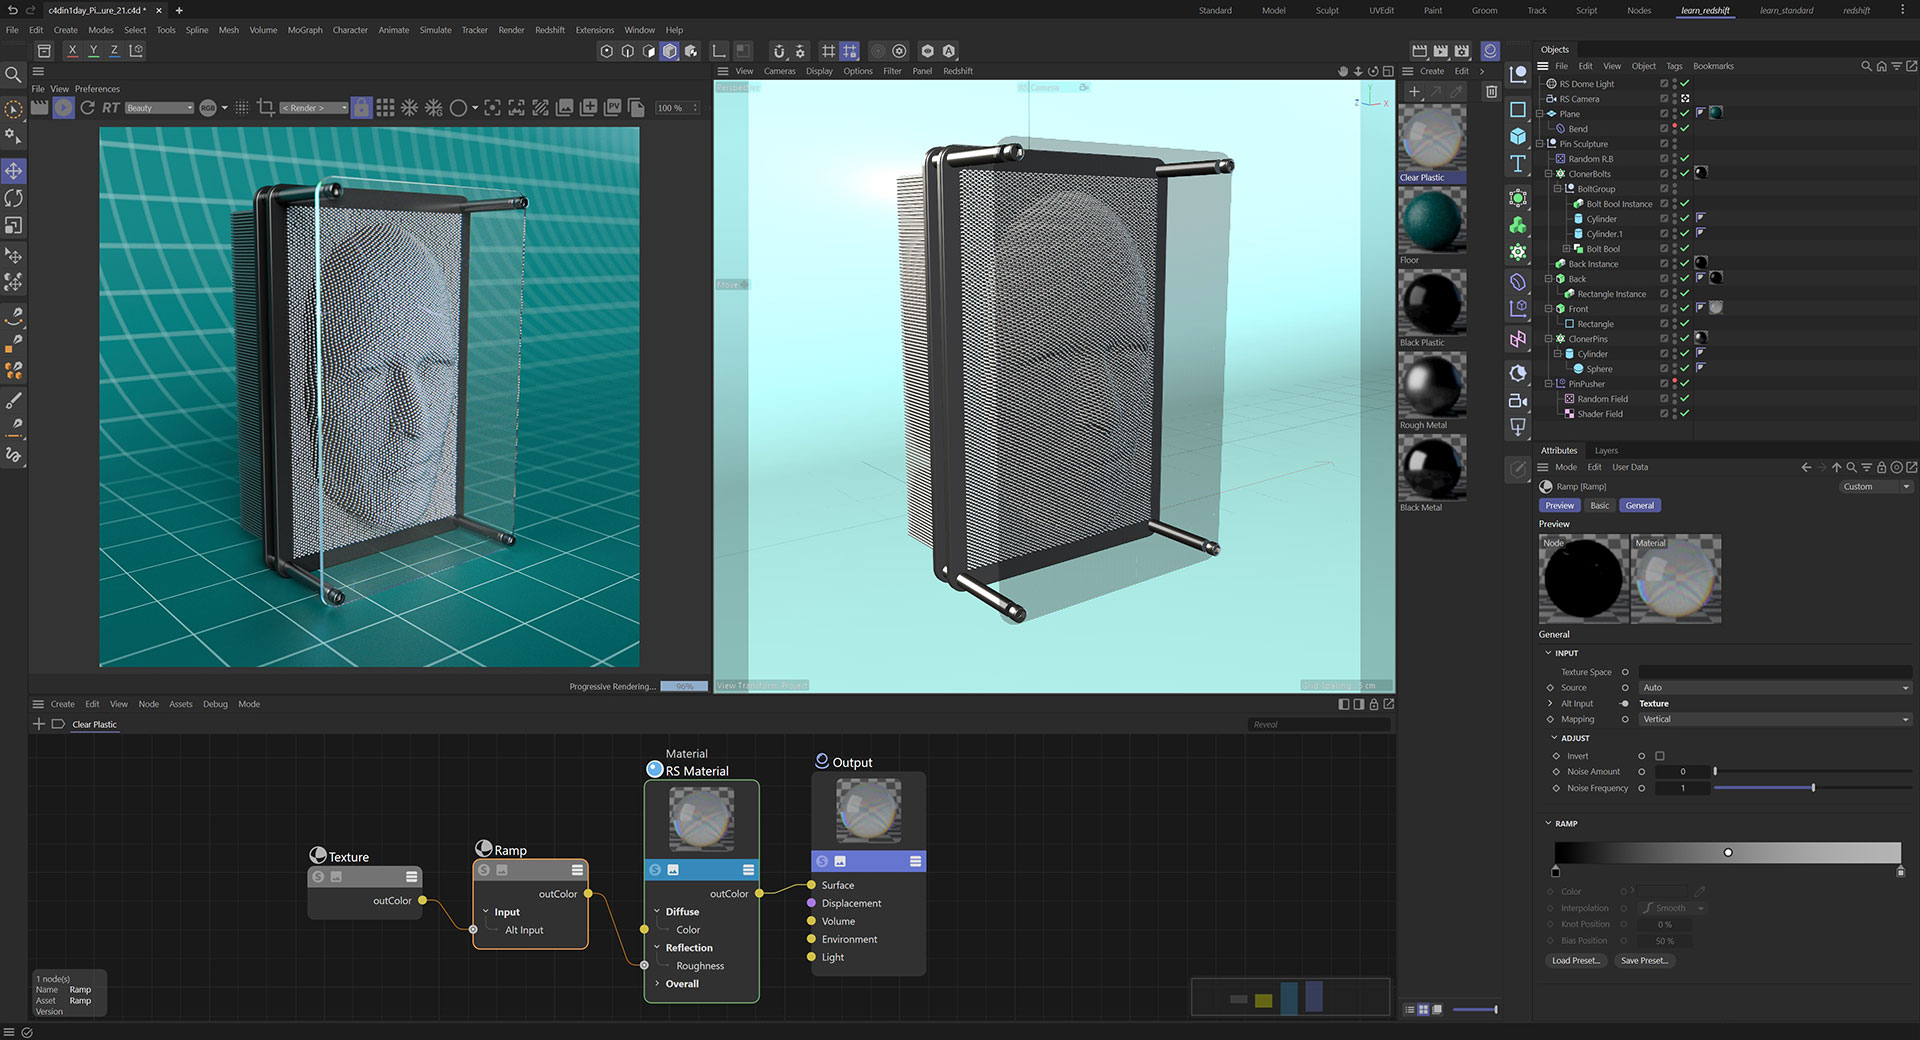
You will set up a simple environment, adding in a Redshift Camera and illuminating with an HDRI using the RS Dome Light.
We create materials for all of the elements in the scene and introduce some new nodes, further expanding your knowledge of Redshift’s texturing system as you create metal, plastic and transmissive materials.
The end result is rendered out as an sRGB PNG and also as a 32 bit half-float EXR with the Beauty pass. The renders are taken into After Effects to demonstrate 32 bit ACES workflow in comparison with the 16 bit PNG which has the colour ‘baked in’.
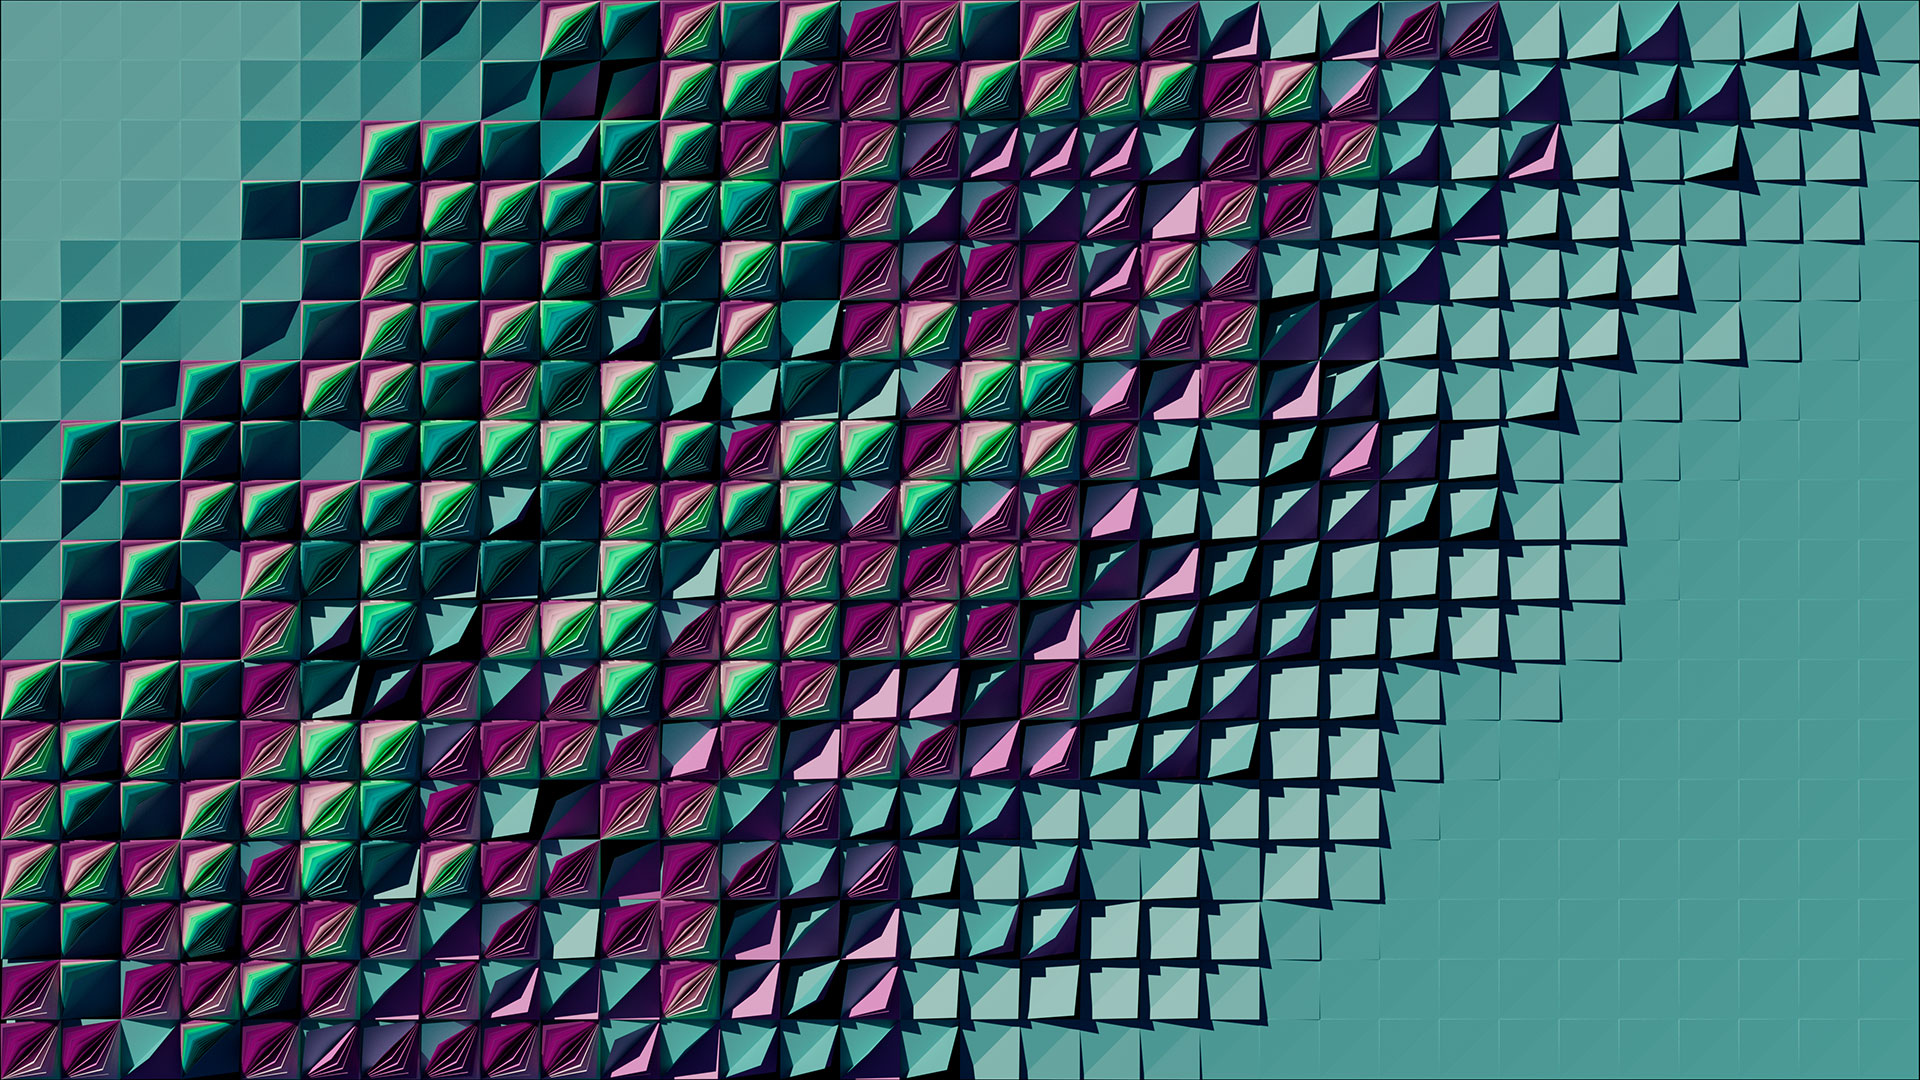

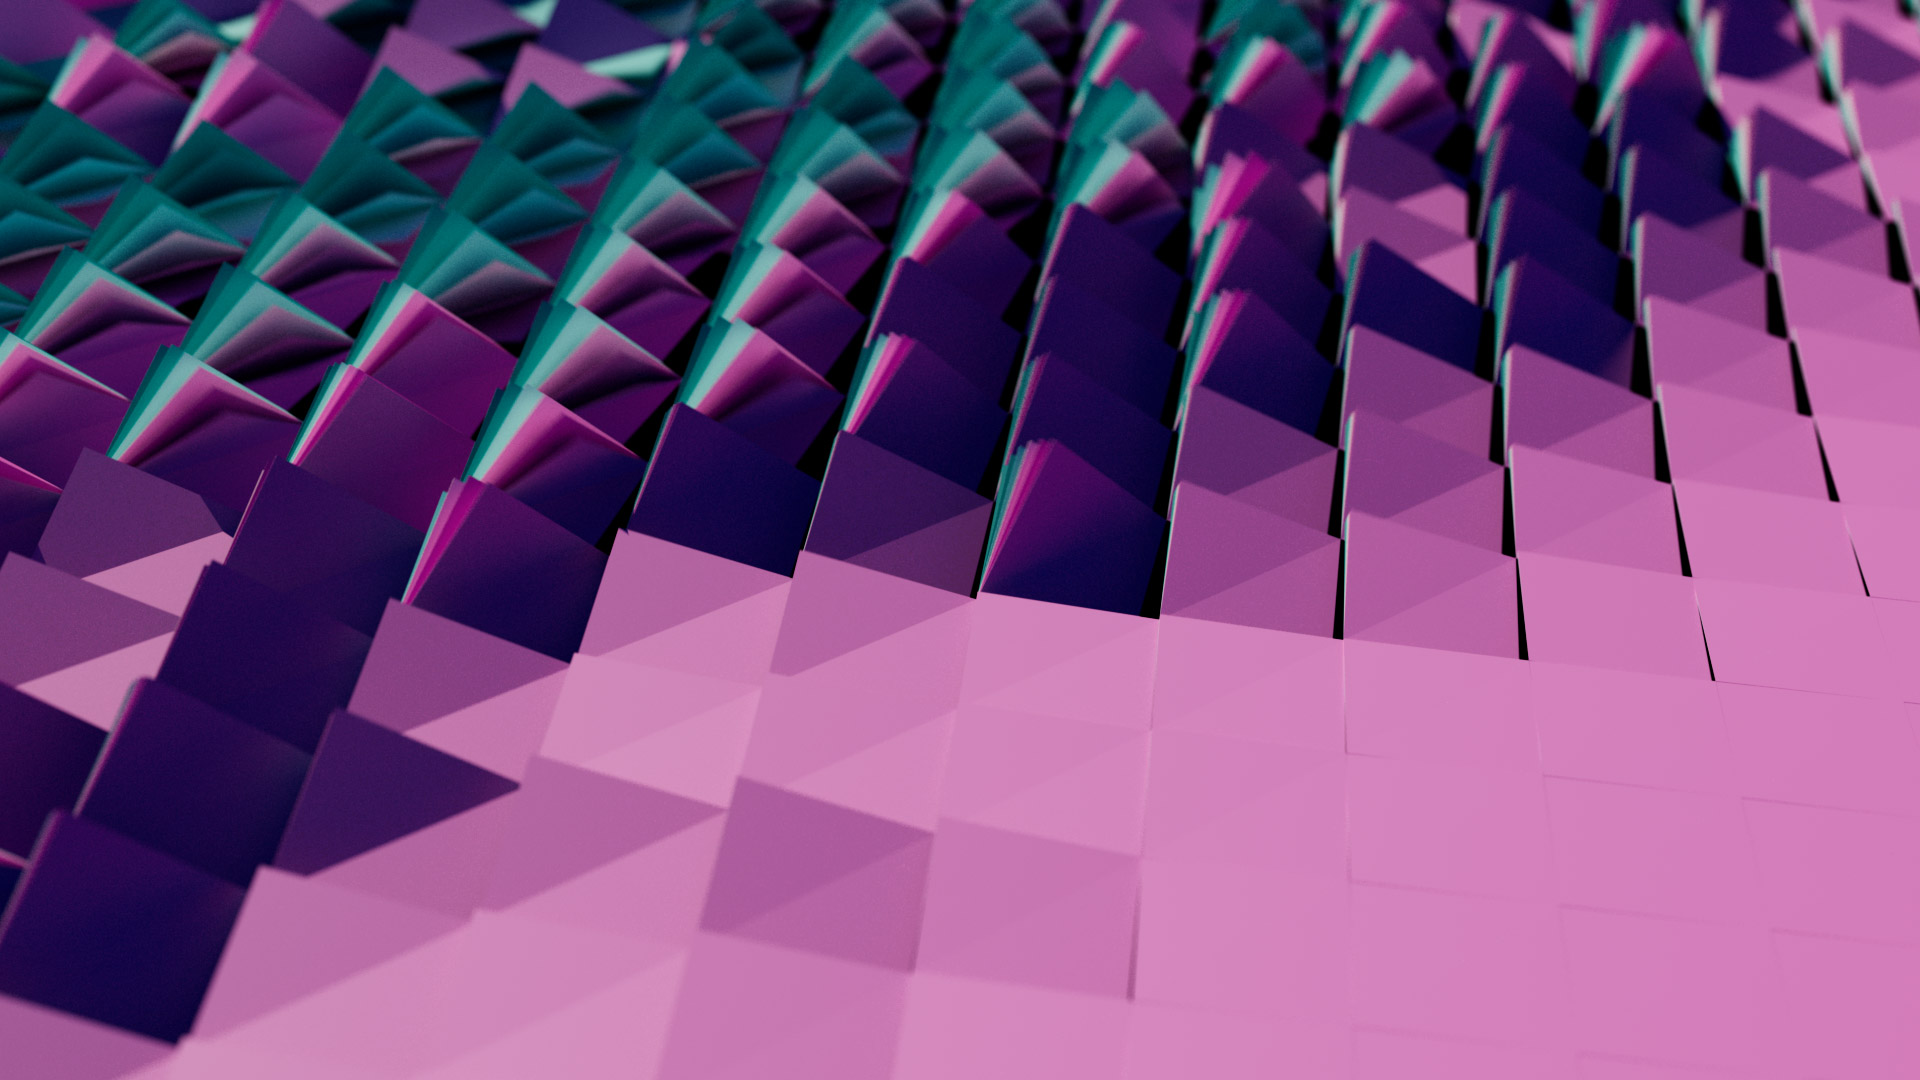
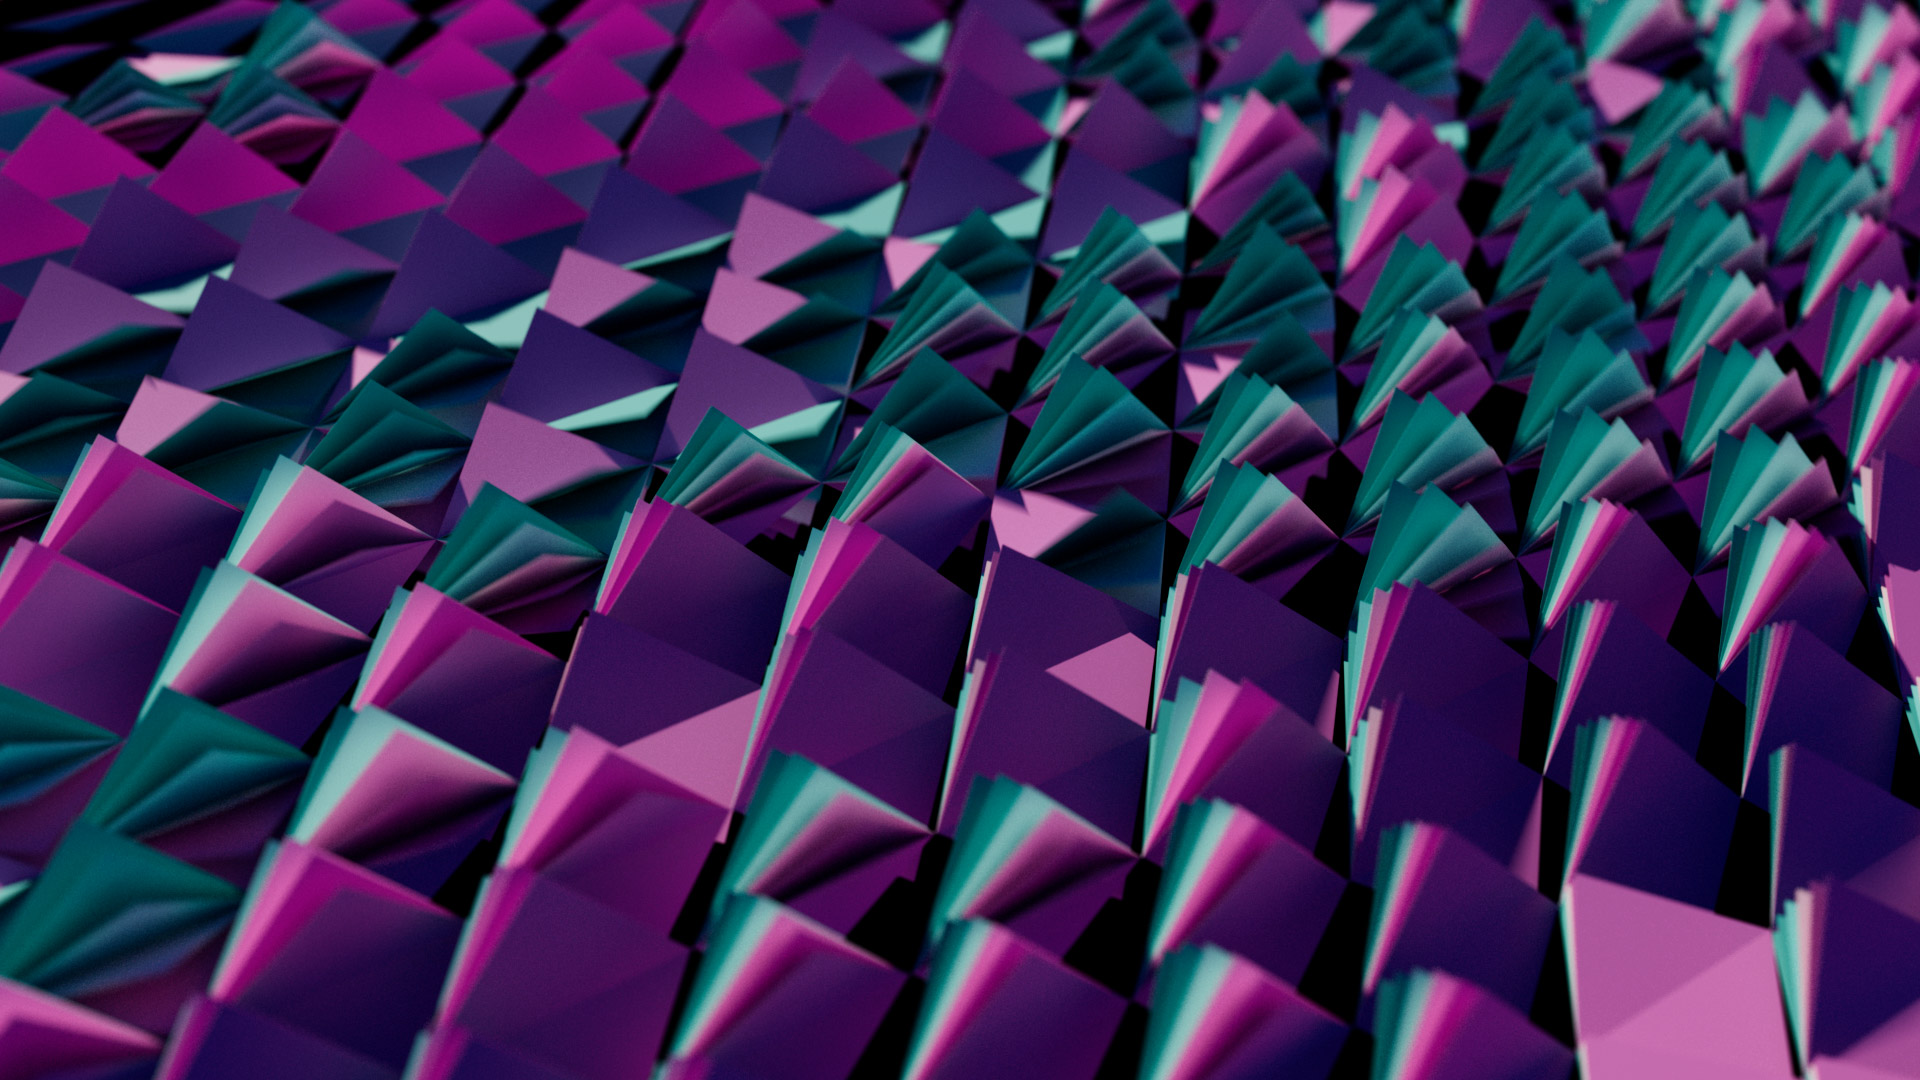
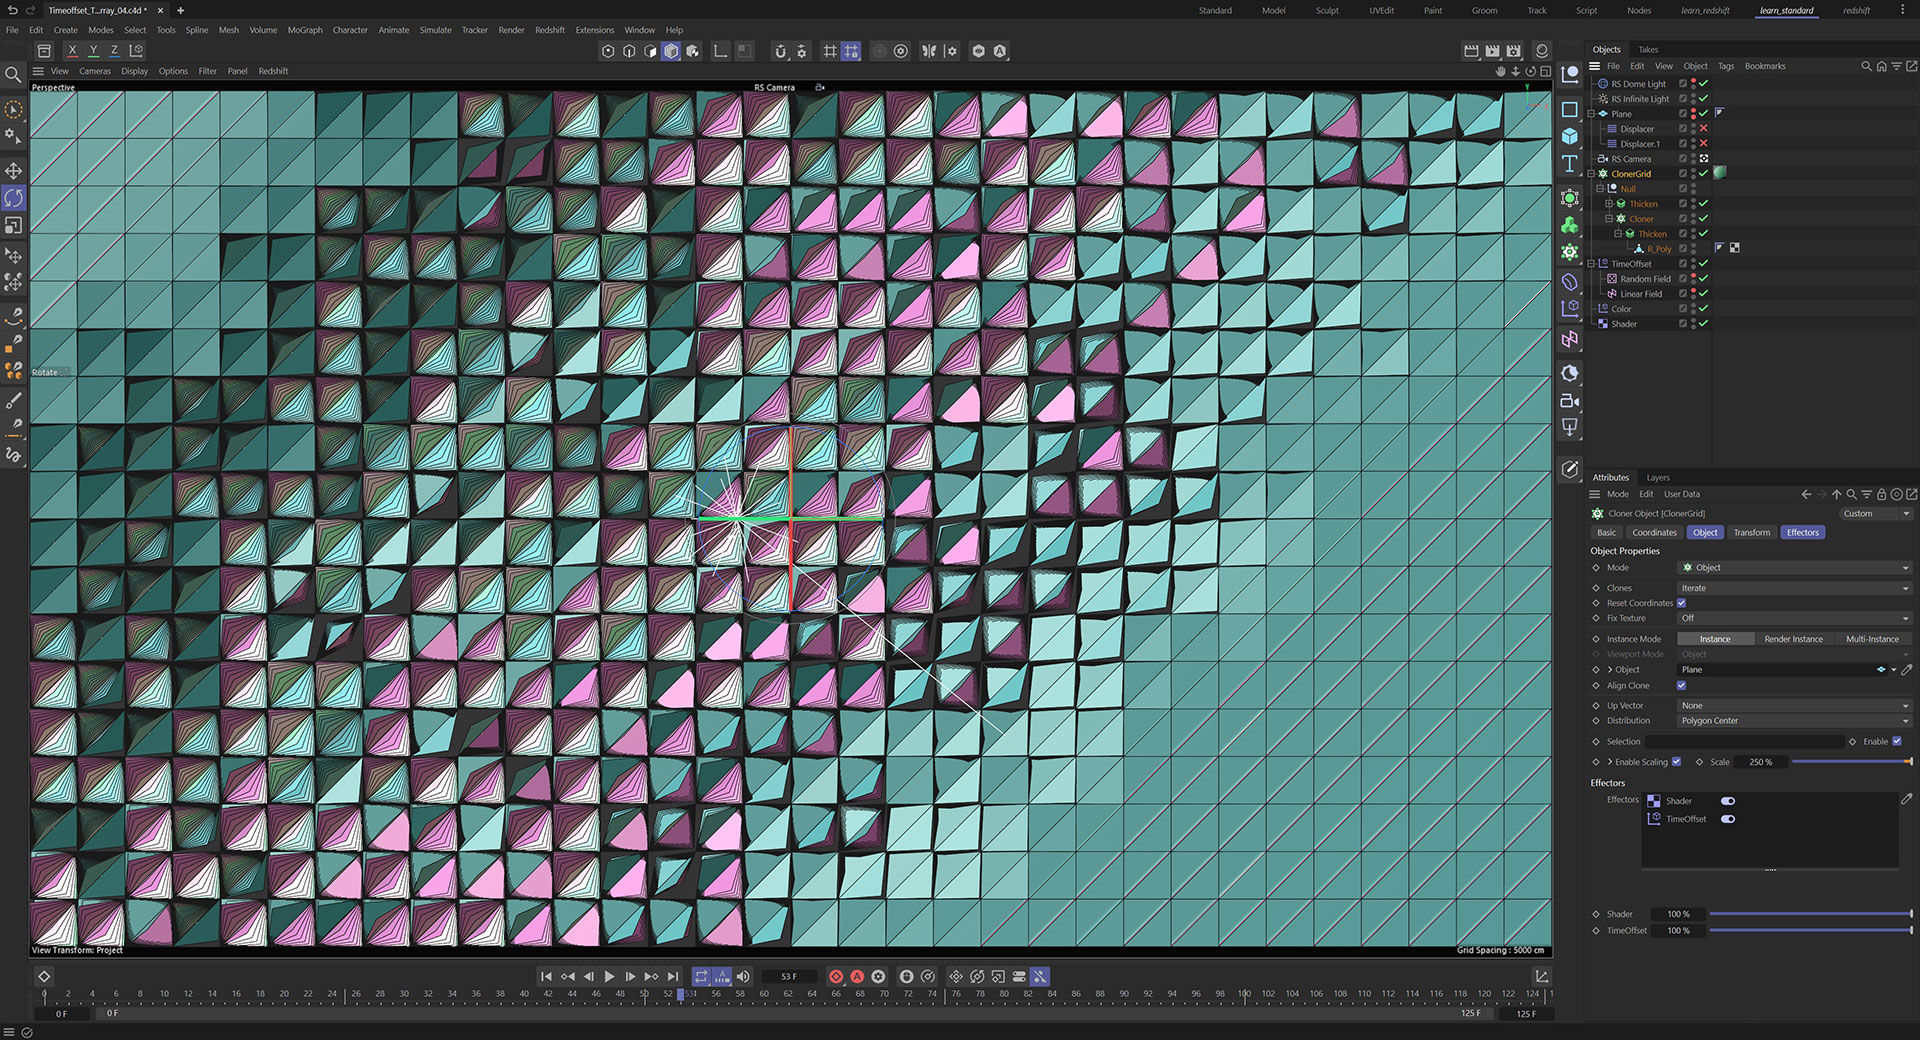
Continuing with the Mograph theme we create this array of animating triangles. The mograph toolset allows you to not only manipulate attributes such as Position, Scale and Rotation, but also Time. This tutorial introduces some simple animation and then by using Effectors and Fields, you will learn how to offset time so you can control the timing of multiple objects animating.
This is a super useful technique that can be applied to any cloned keyframe animation, offering a multitude of possibilities to your animation workflow.

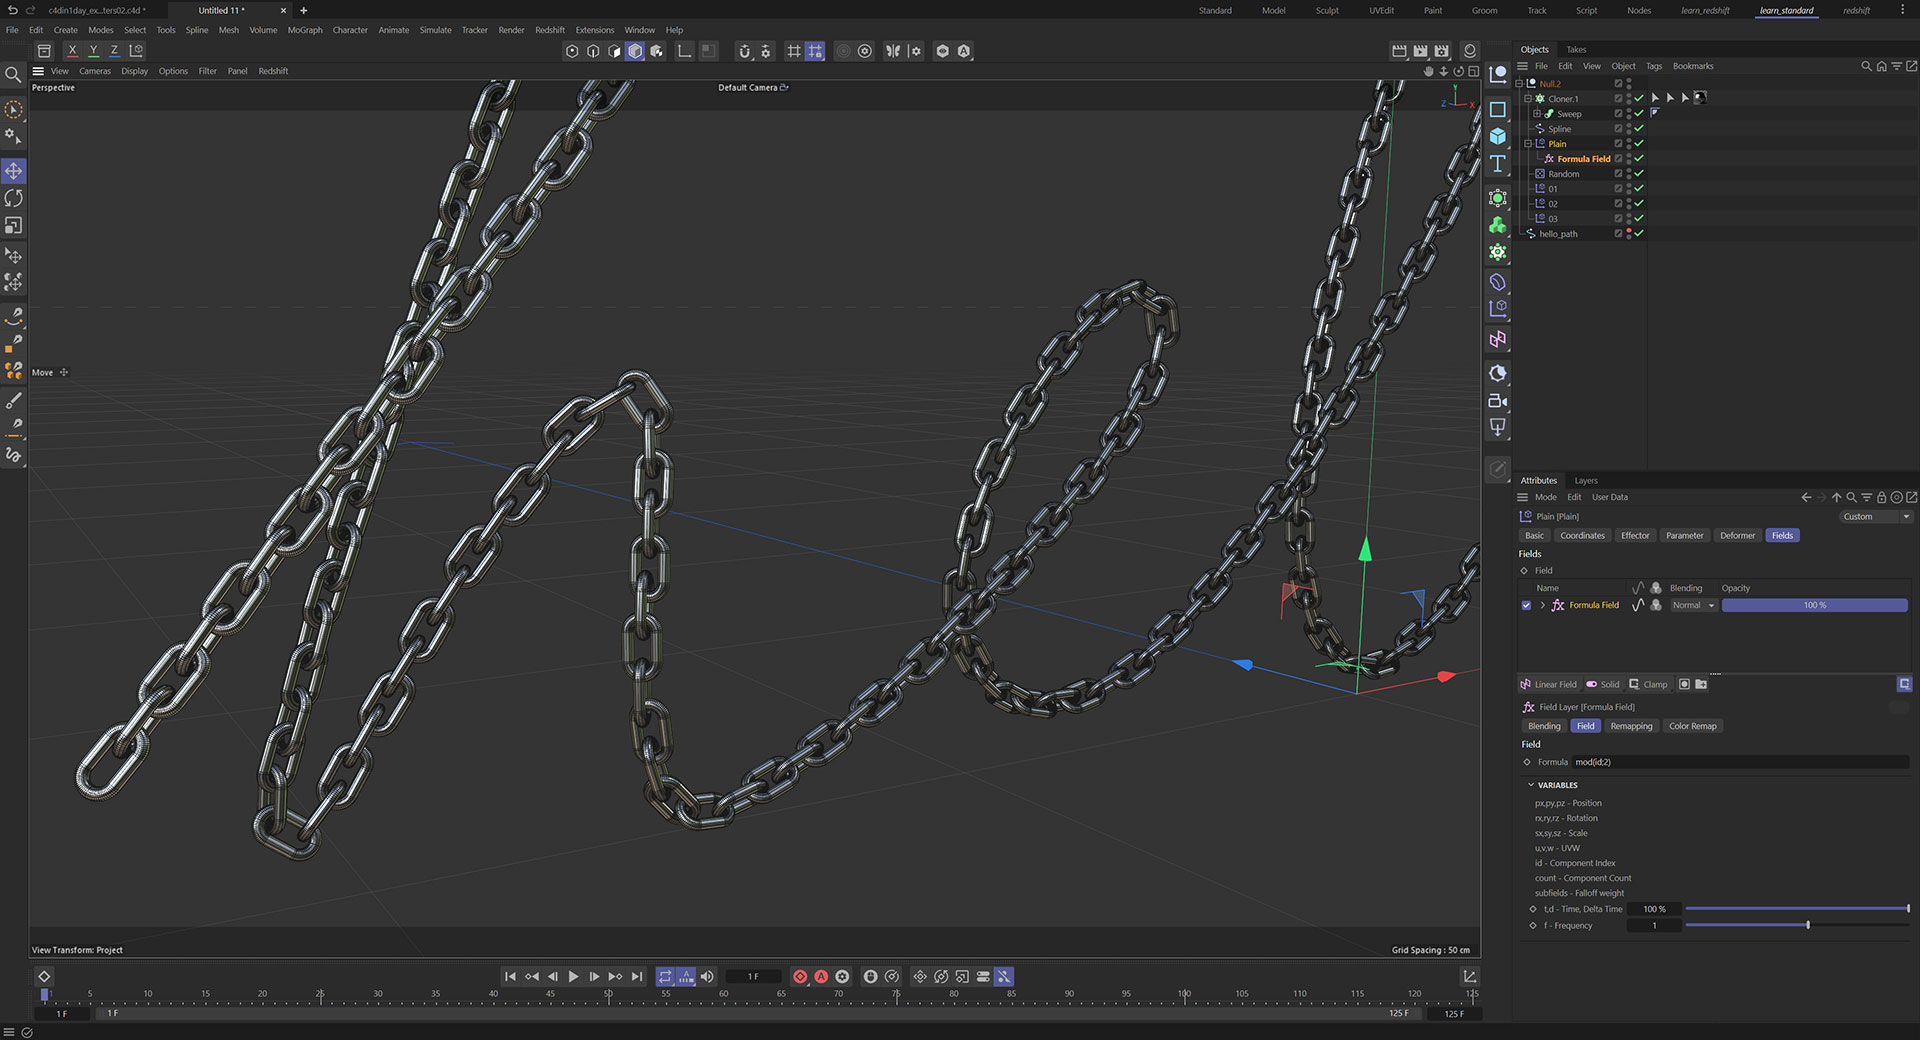
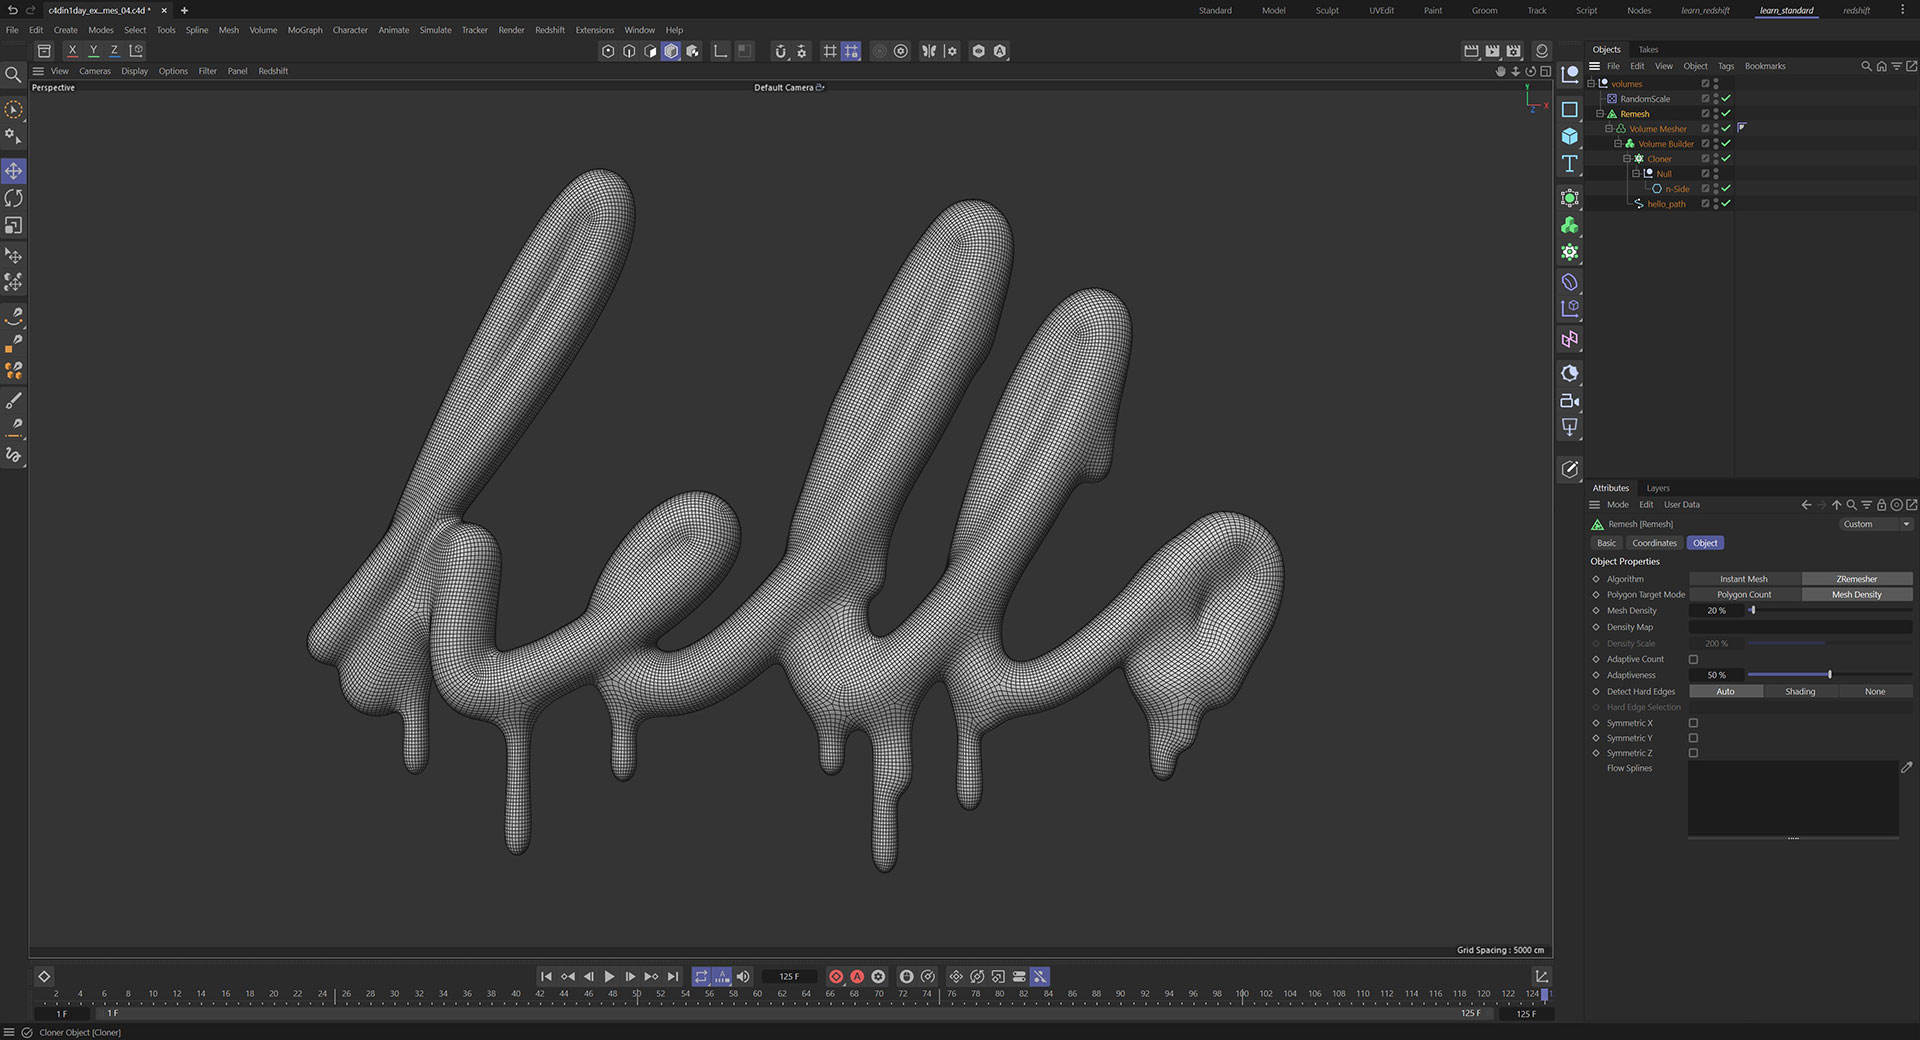
These four chapters introduce you to working with splines in Cinema 4D.
Created in a workshop style, we quickly cover the creation of splines using the tools available, looking at the range of parametric splines and importing artwork from Illustrator.
Splines can be used for building objects or to transport objects along. Tim shows you multiple examples including generating and manipulating geometry from splines, cloning and deforming along splines and using splines with the Volume Builder for some amazing results.
Splines are extremely versatile and an important part of your toolkit, this section is essential viewing.
Note: There is no rendering in this section, the renders below are to demonstrate the setups we will build.


Text is fully compliant with Effectors and Fields allowing you to manipulate and transform the type procedurally with all the power of the Mograph tools. This chapter introduces the tools and teaches you this quick and effective type reveal.
The flat toon style shading is all completed using Redshift and you will create this graphic result in the material node editor using the Ramp and Tiles nodes in combination with Emissive colour.

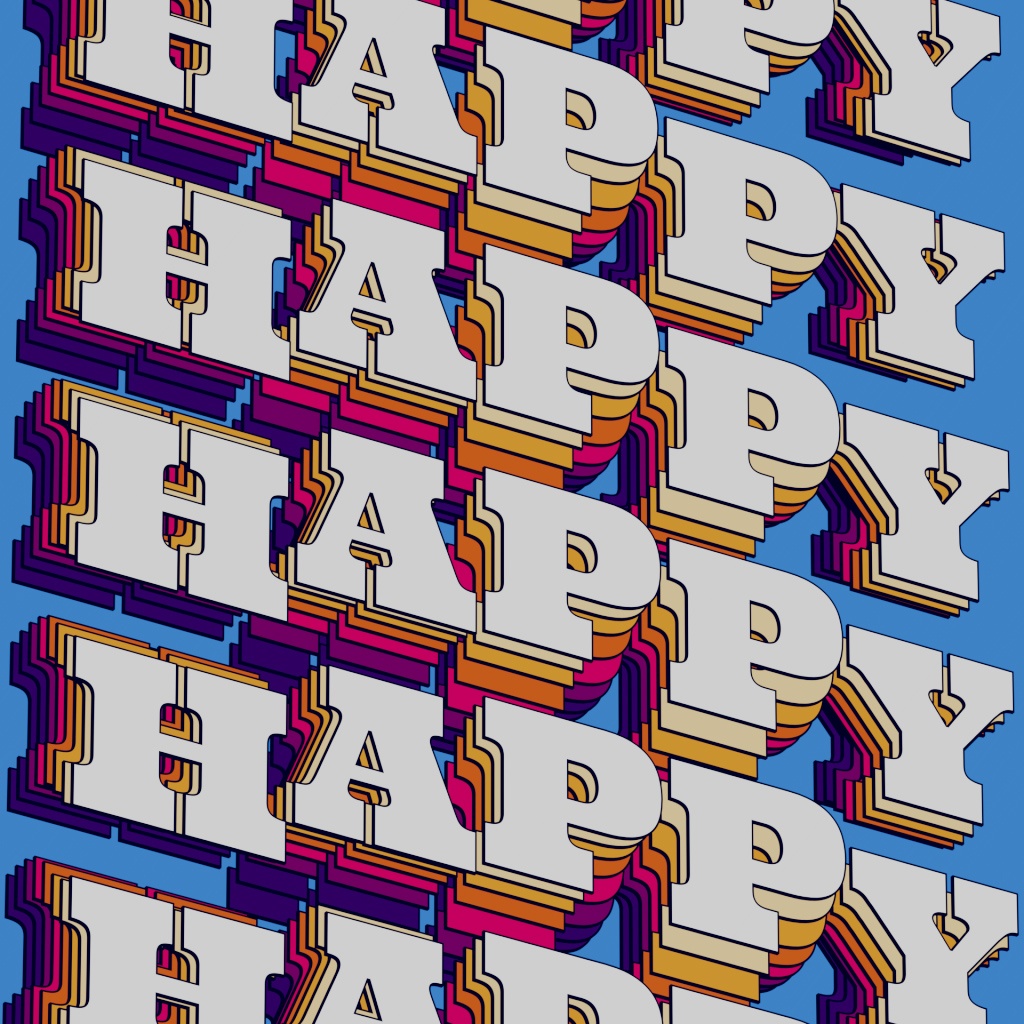
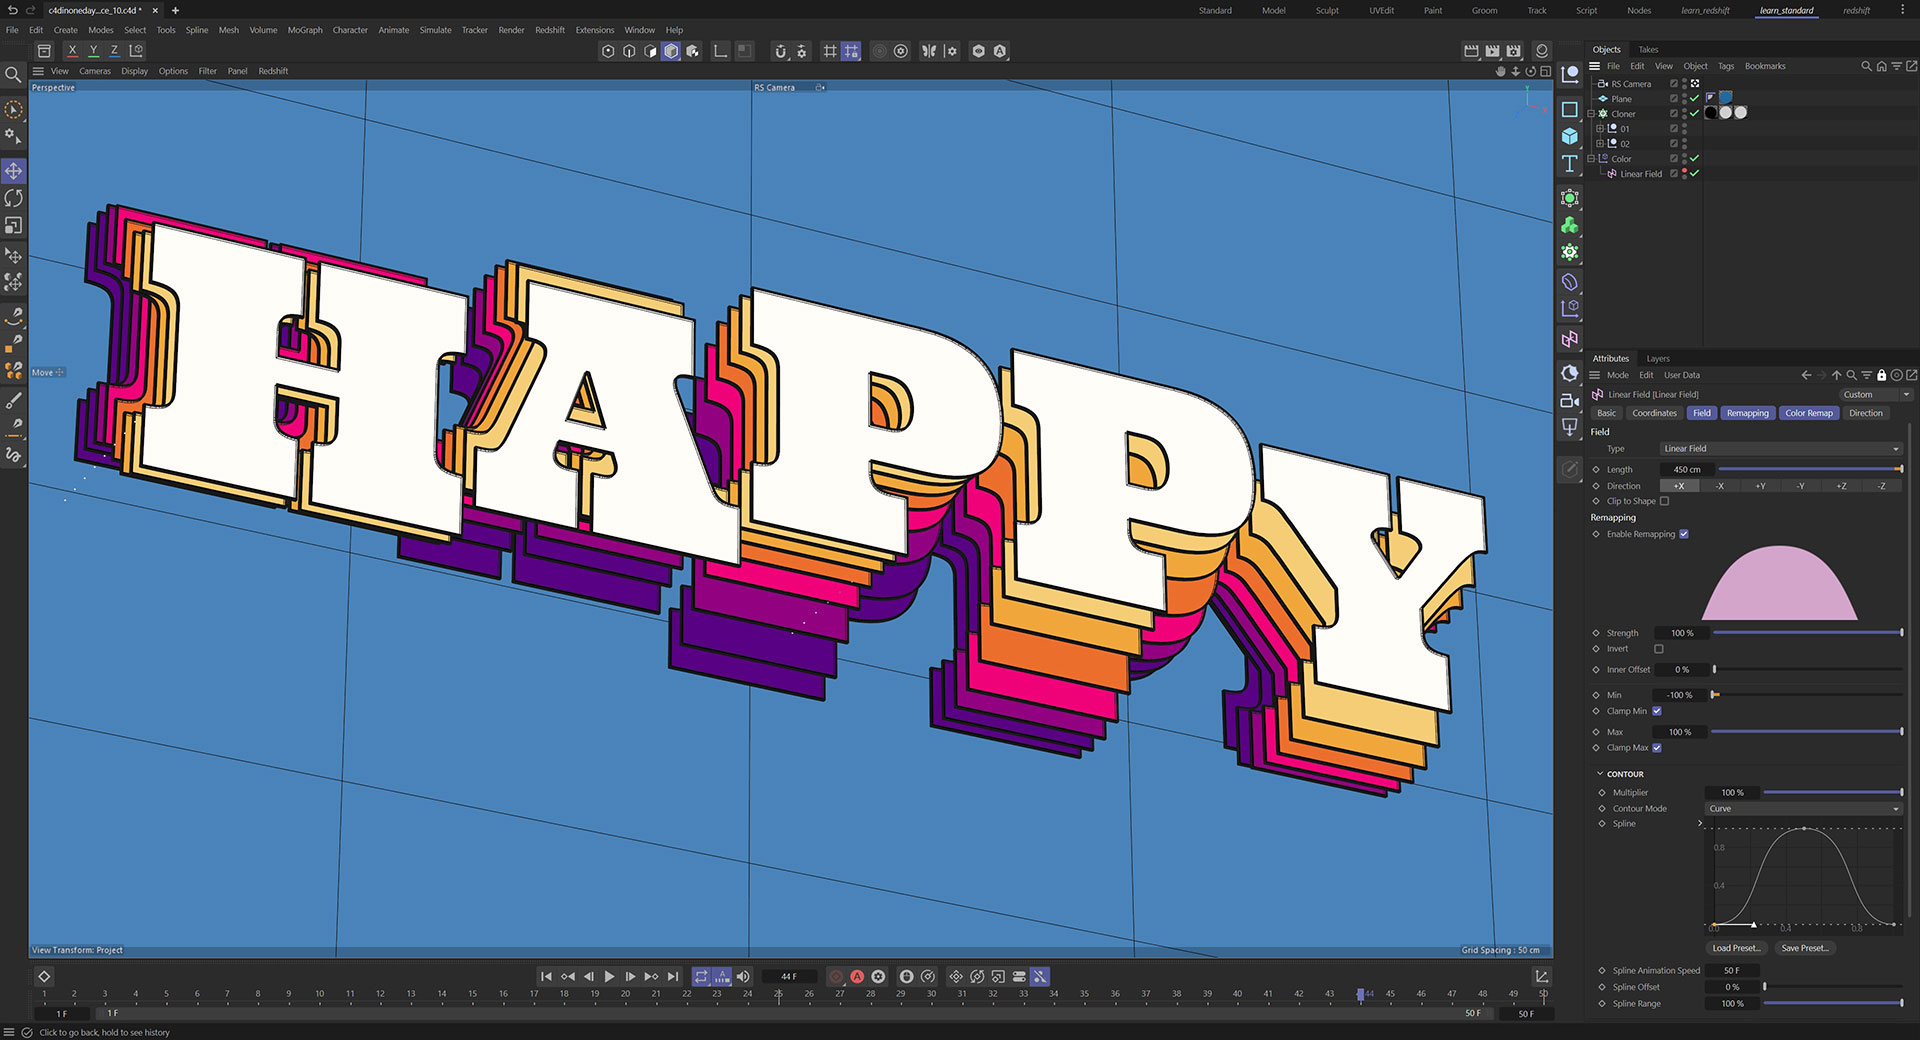
This is a super fun and versatile tutorial. You will use the Mograph Text object combined with a Plain Effector to move the letters one by one in a sine wave type of motion. Then using a Linear Field with animated Falloff the type will undulate creating a wave like motion.
Next we will combine the Text with other Mograph tools to Blend between two version of the same animation, but offsetting the time to create a mesmerising and fun rippling and looping text animation.
The result will be rendered using custom colour attributes we extract from the Mograph Fields in a flat vector style. Using this technique, renders are super fast and graphic.
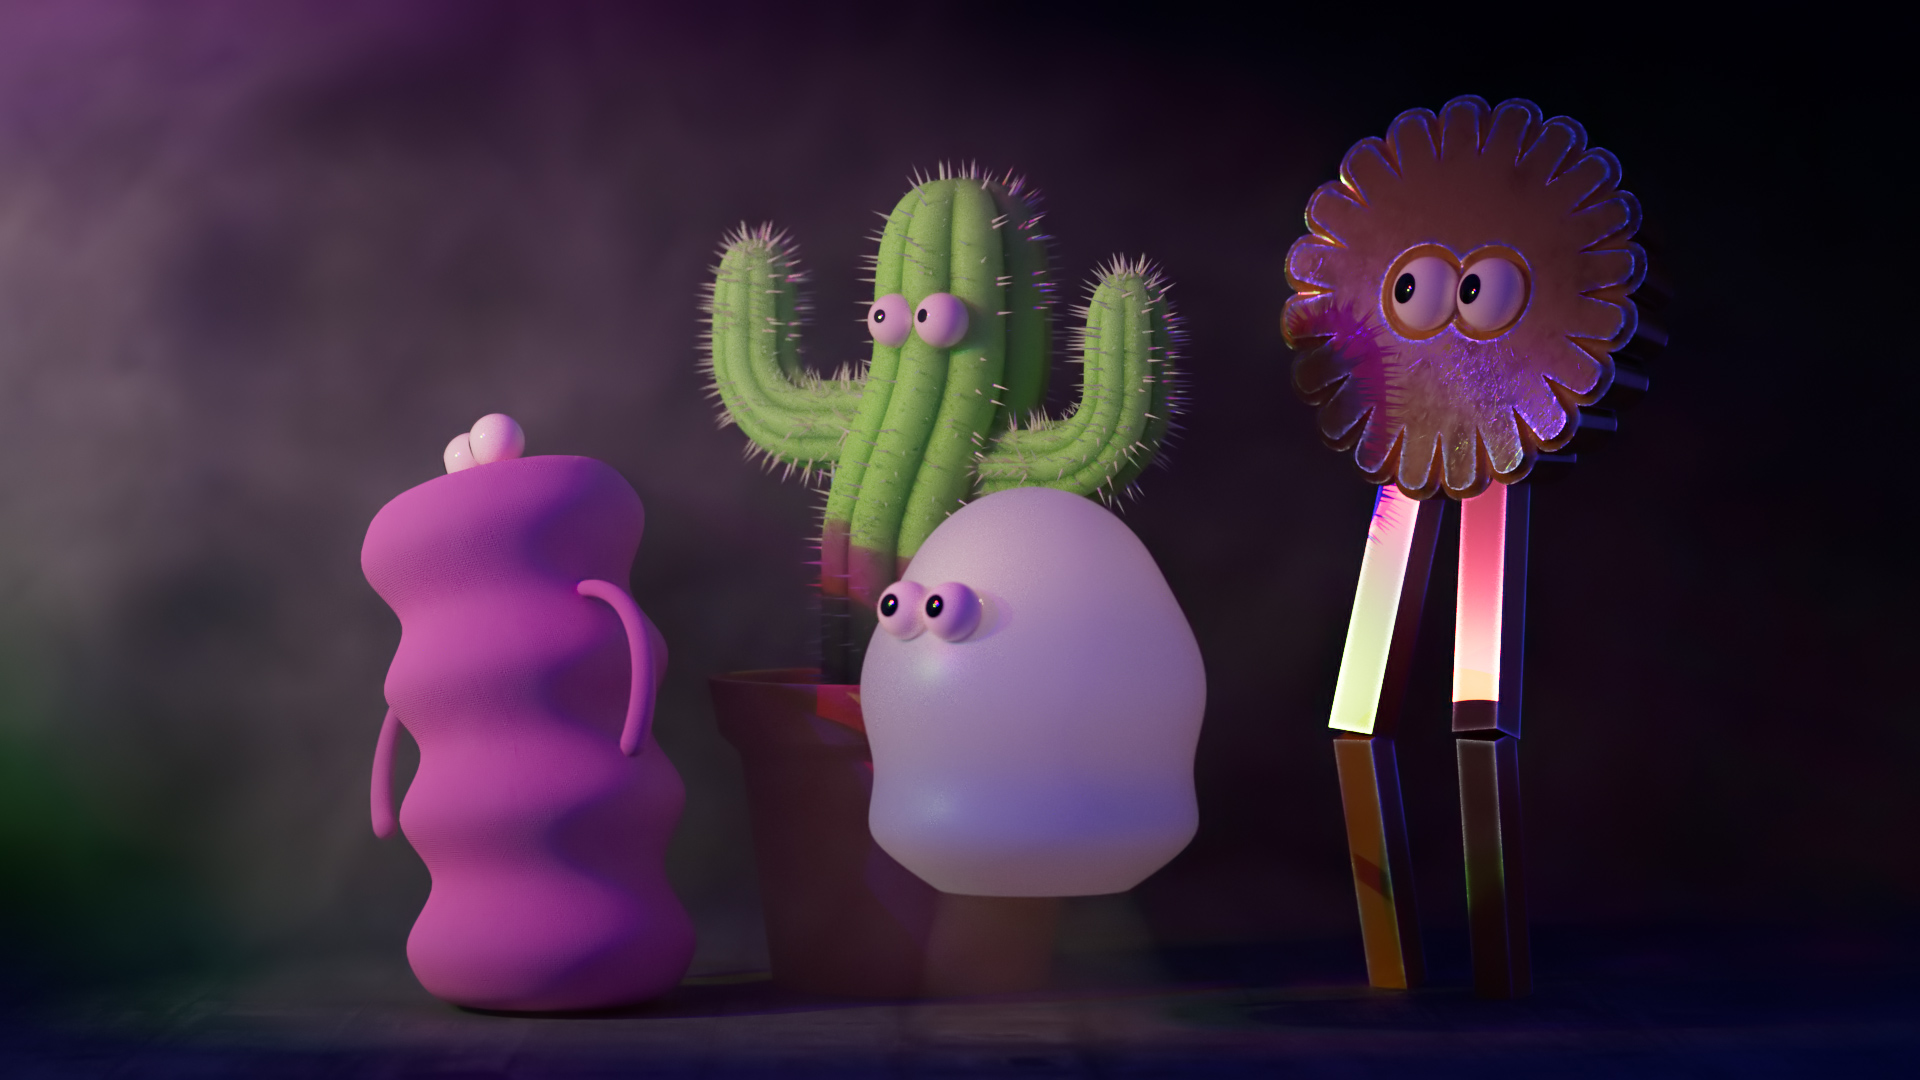
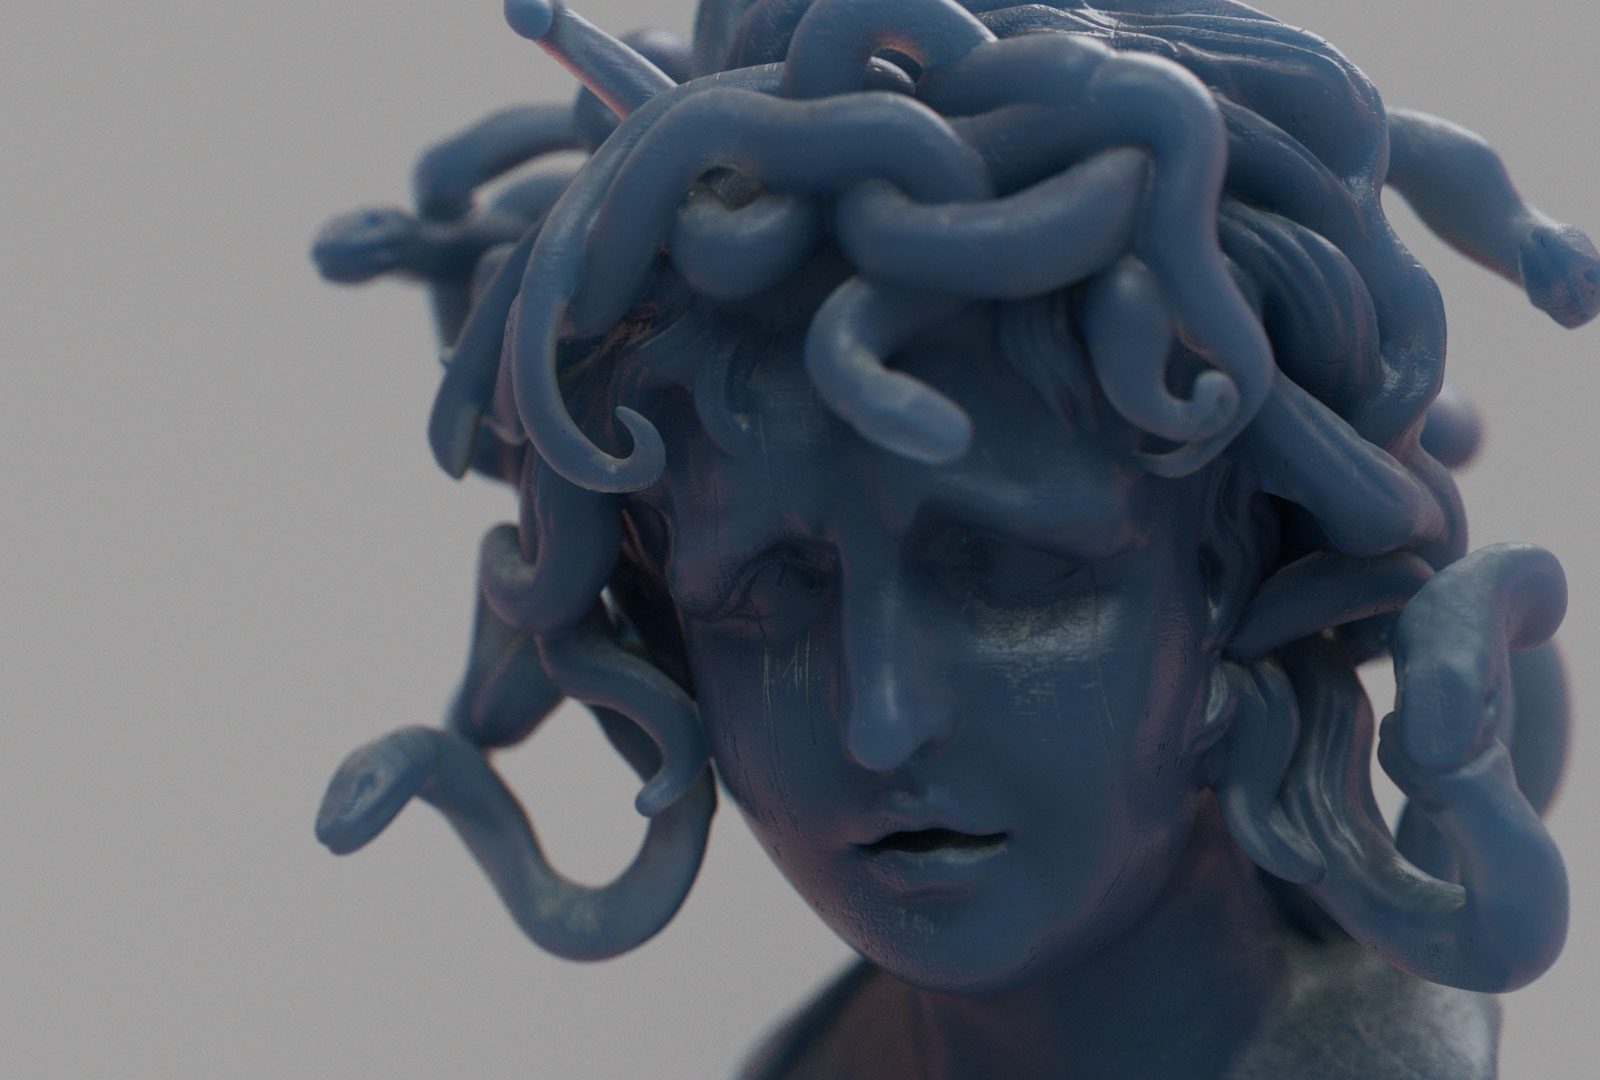
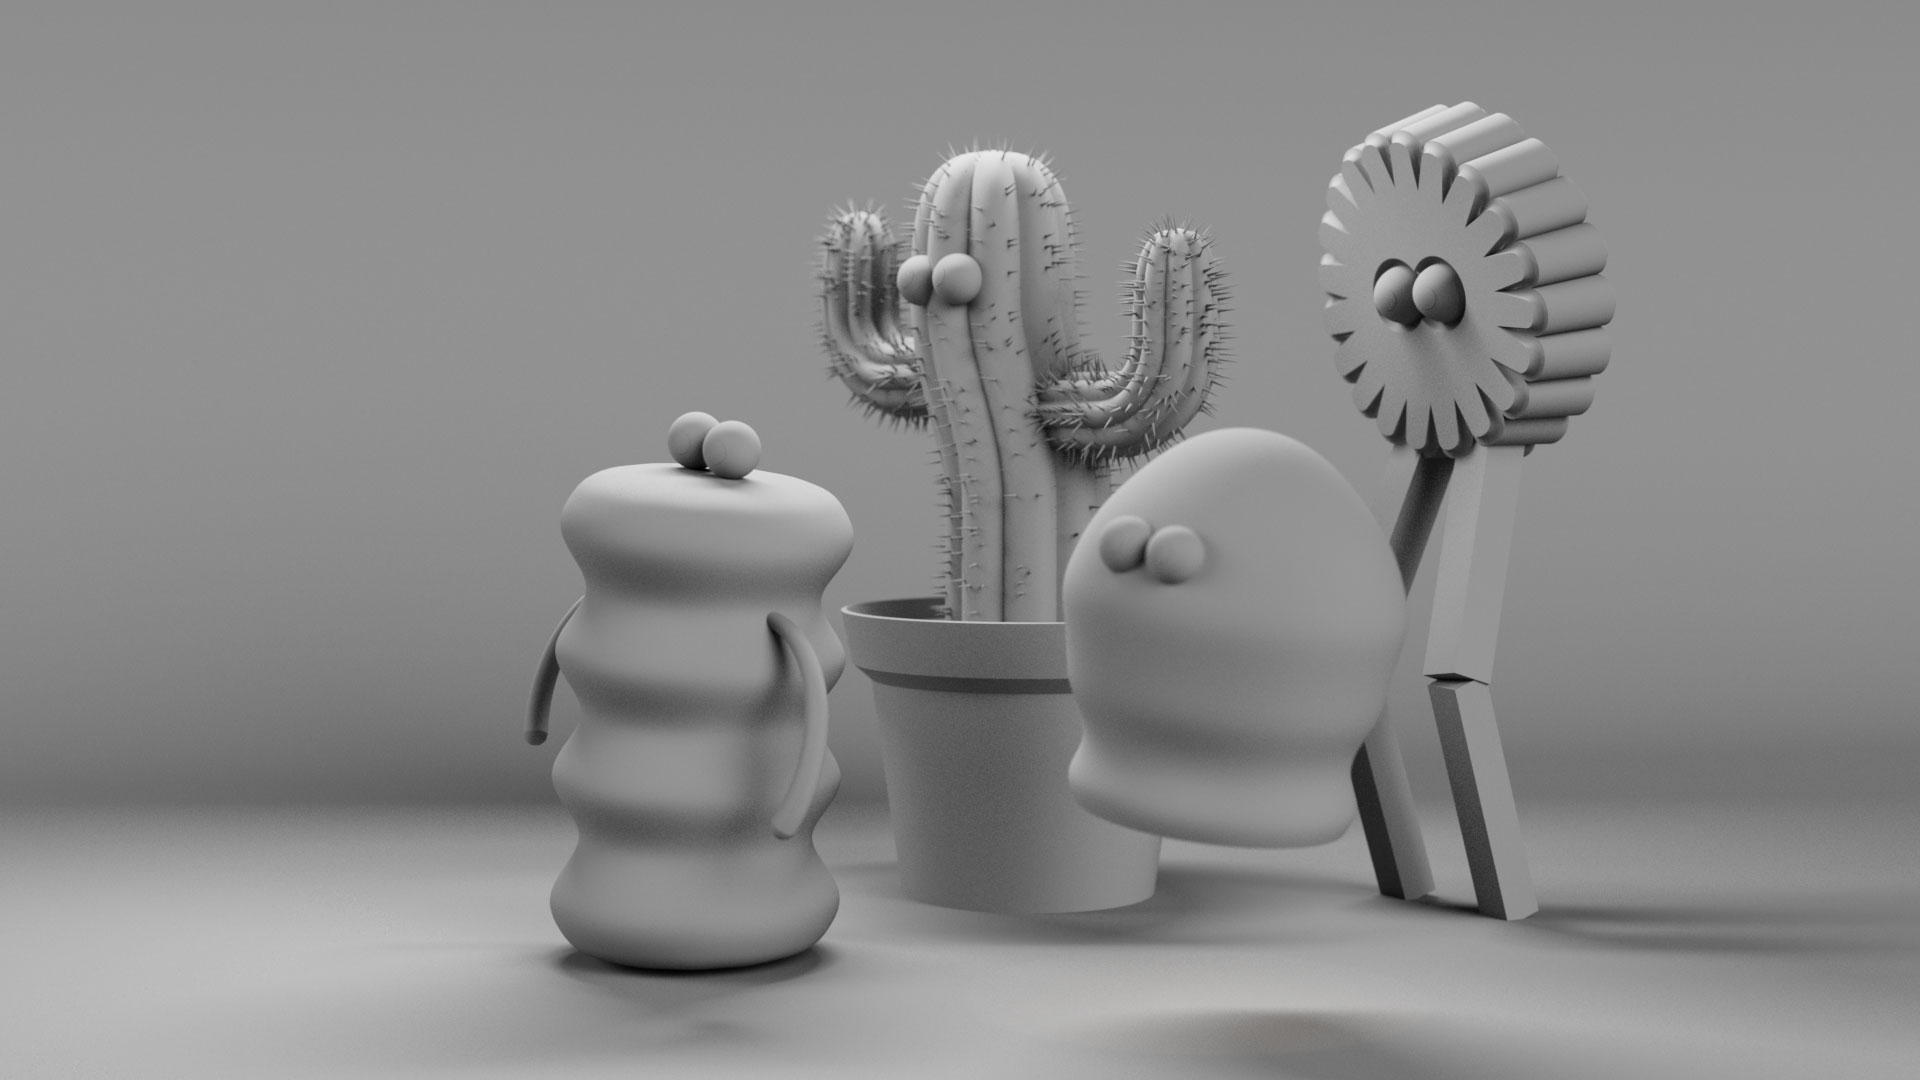
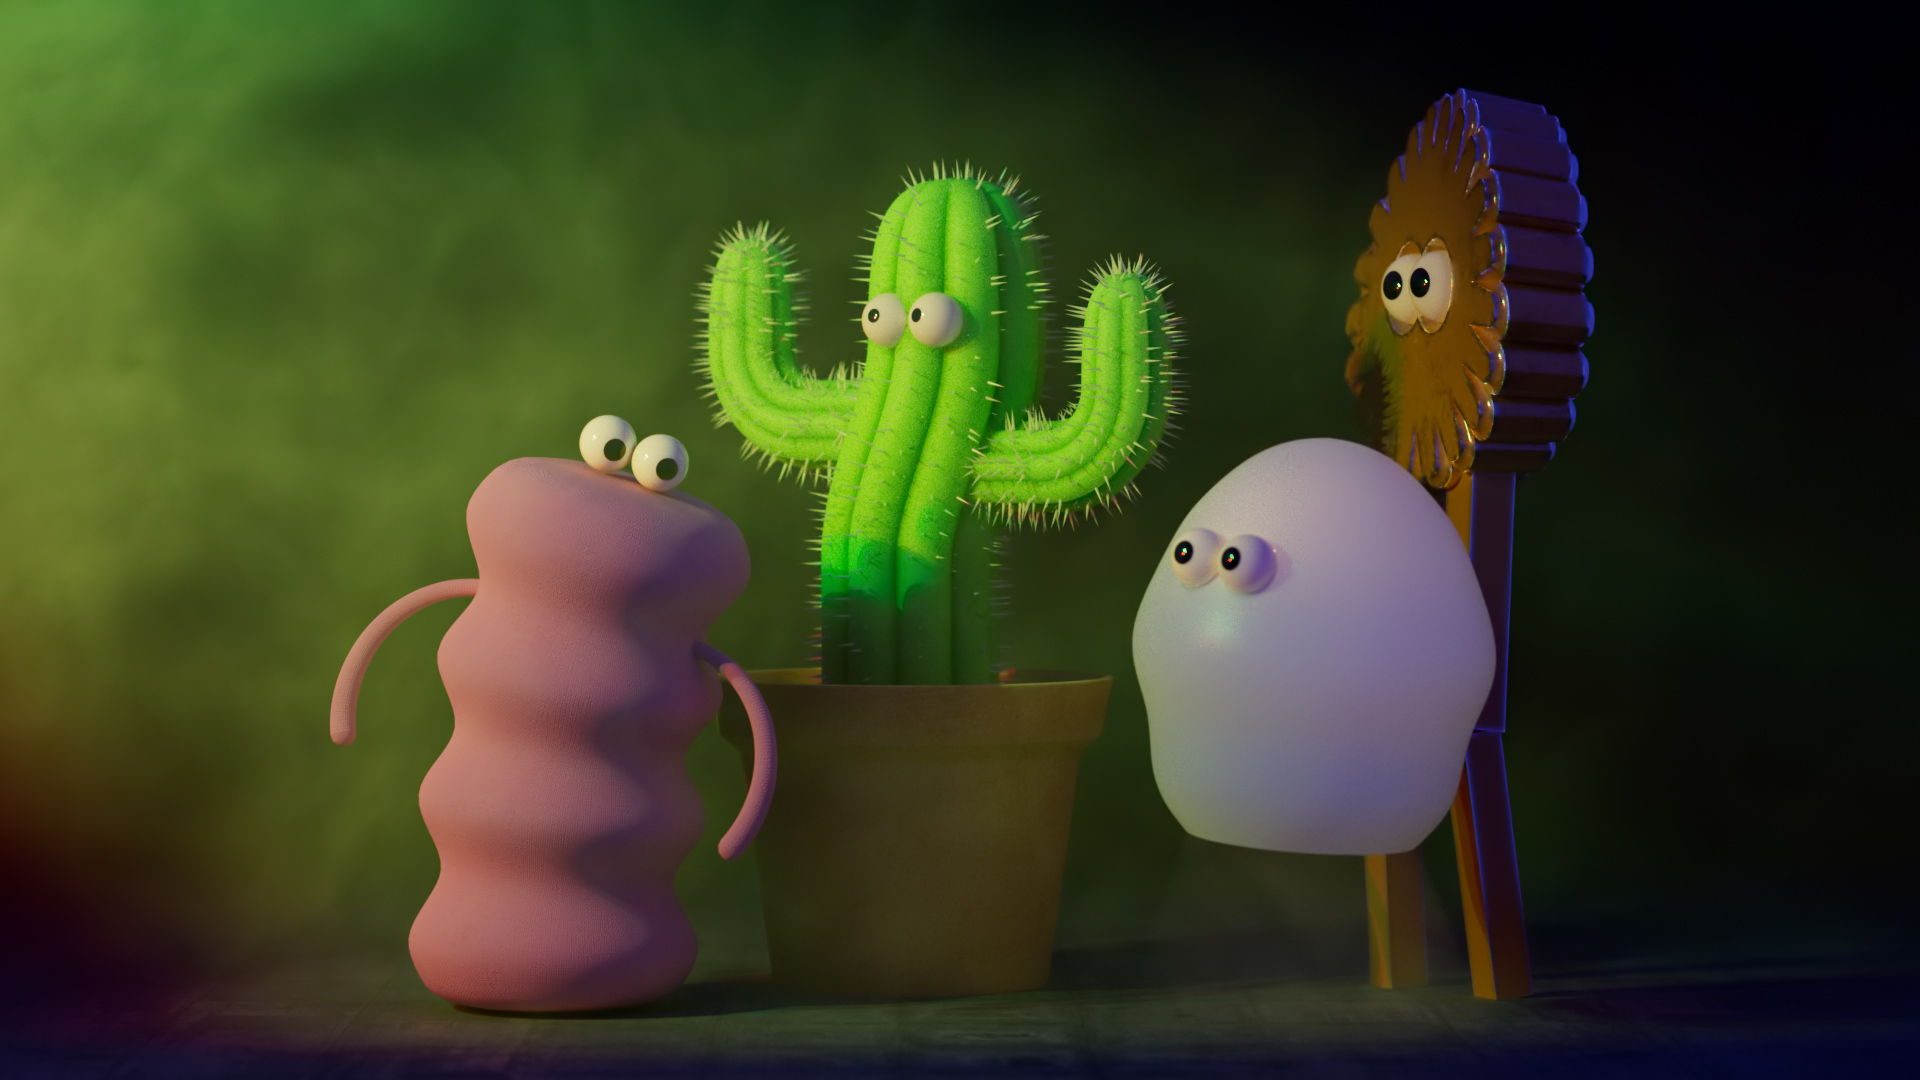
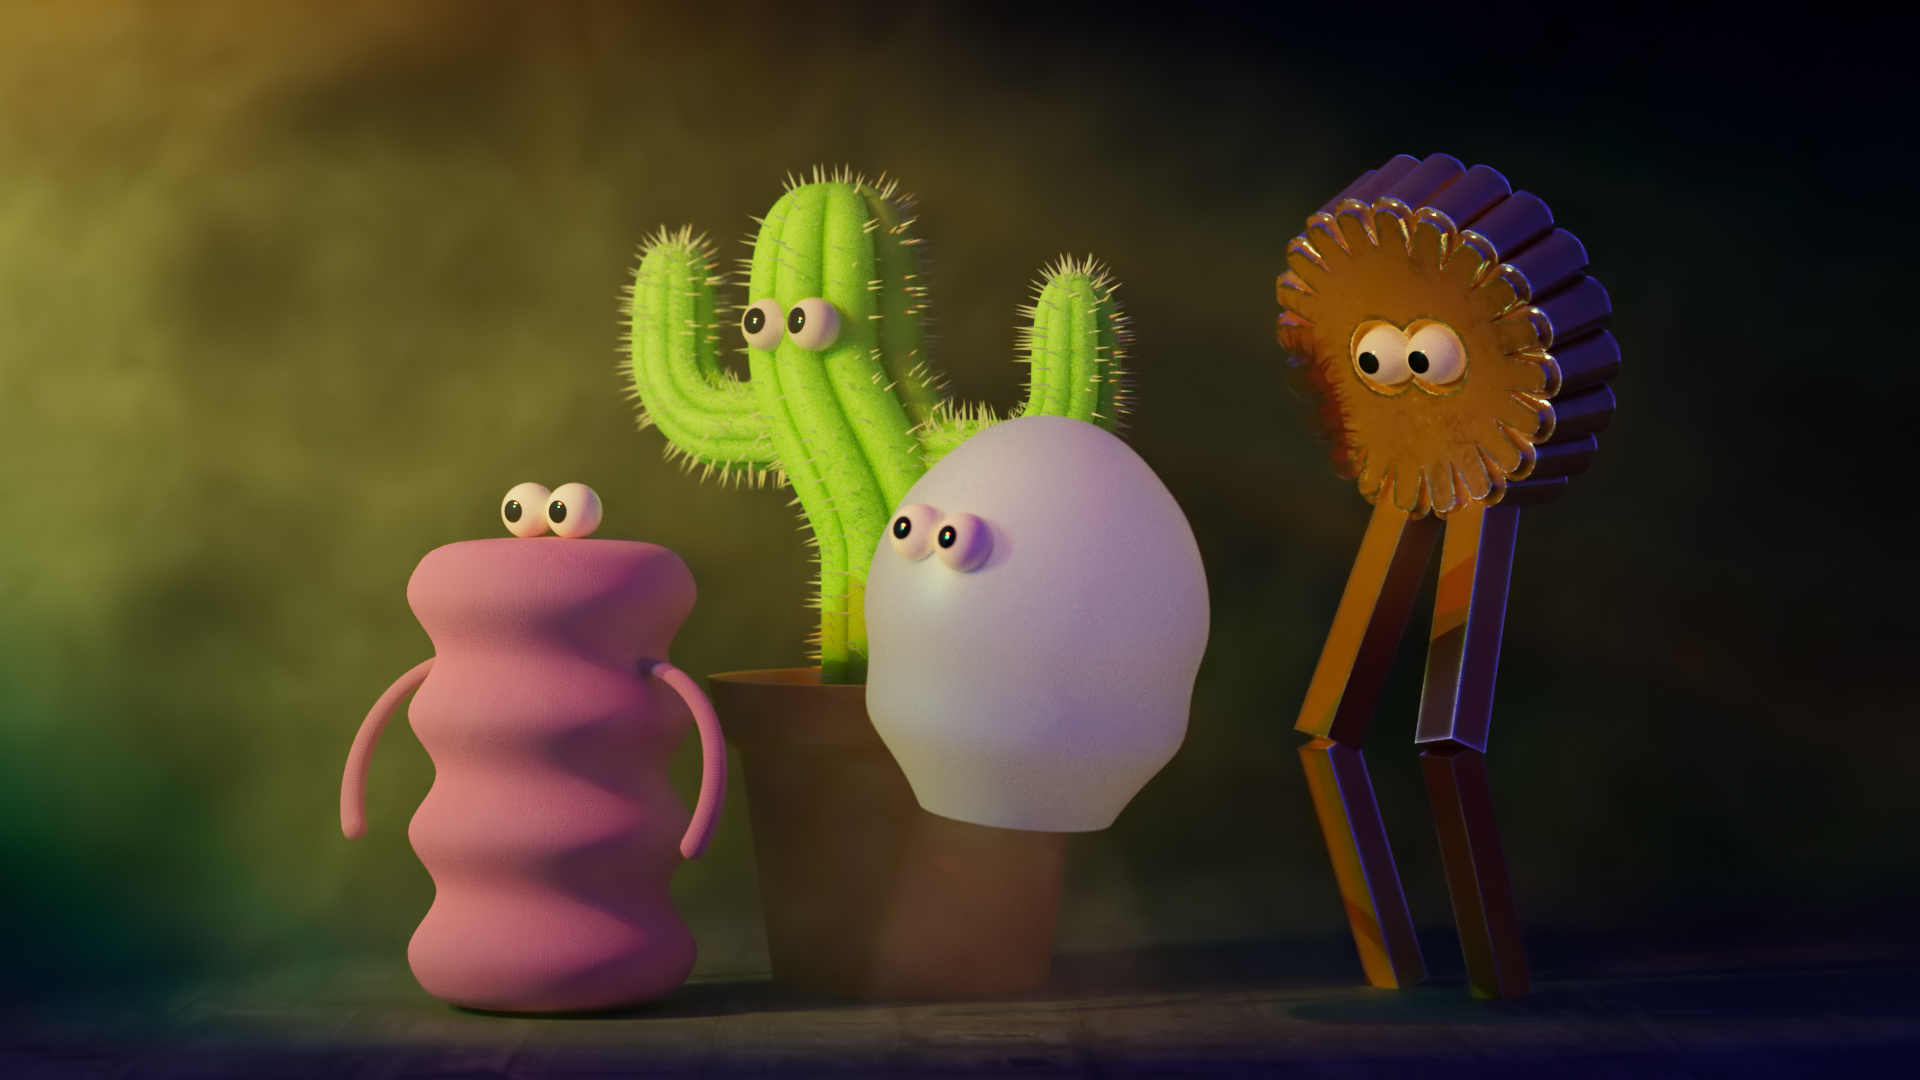
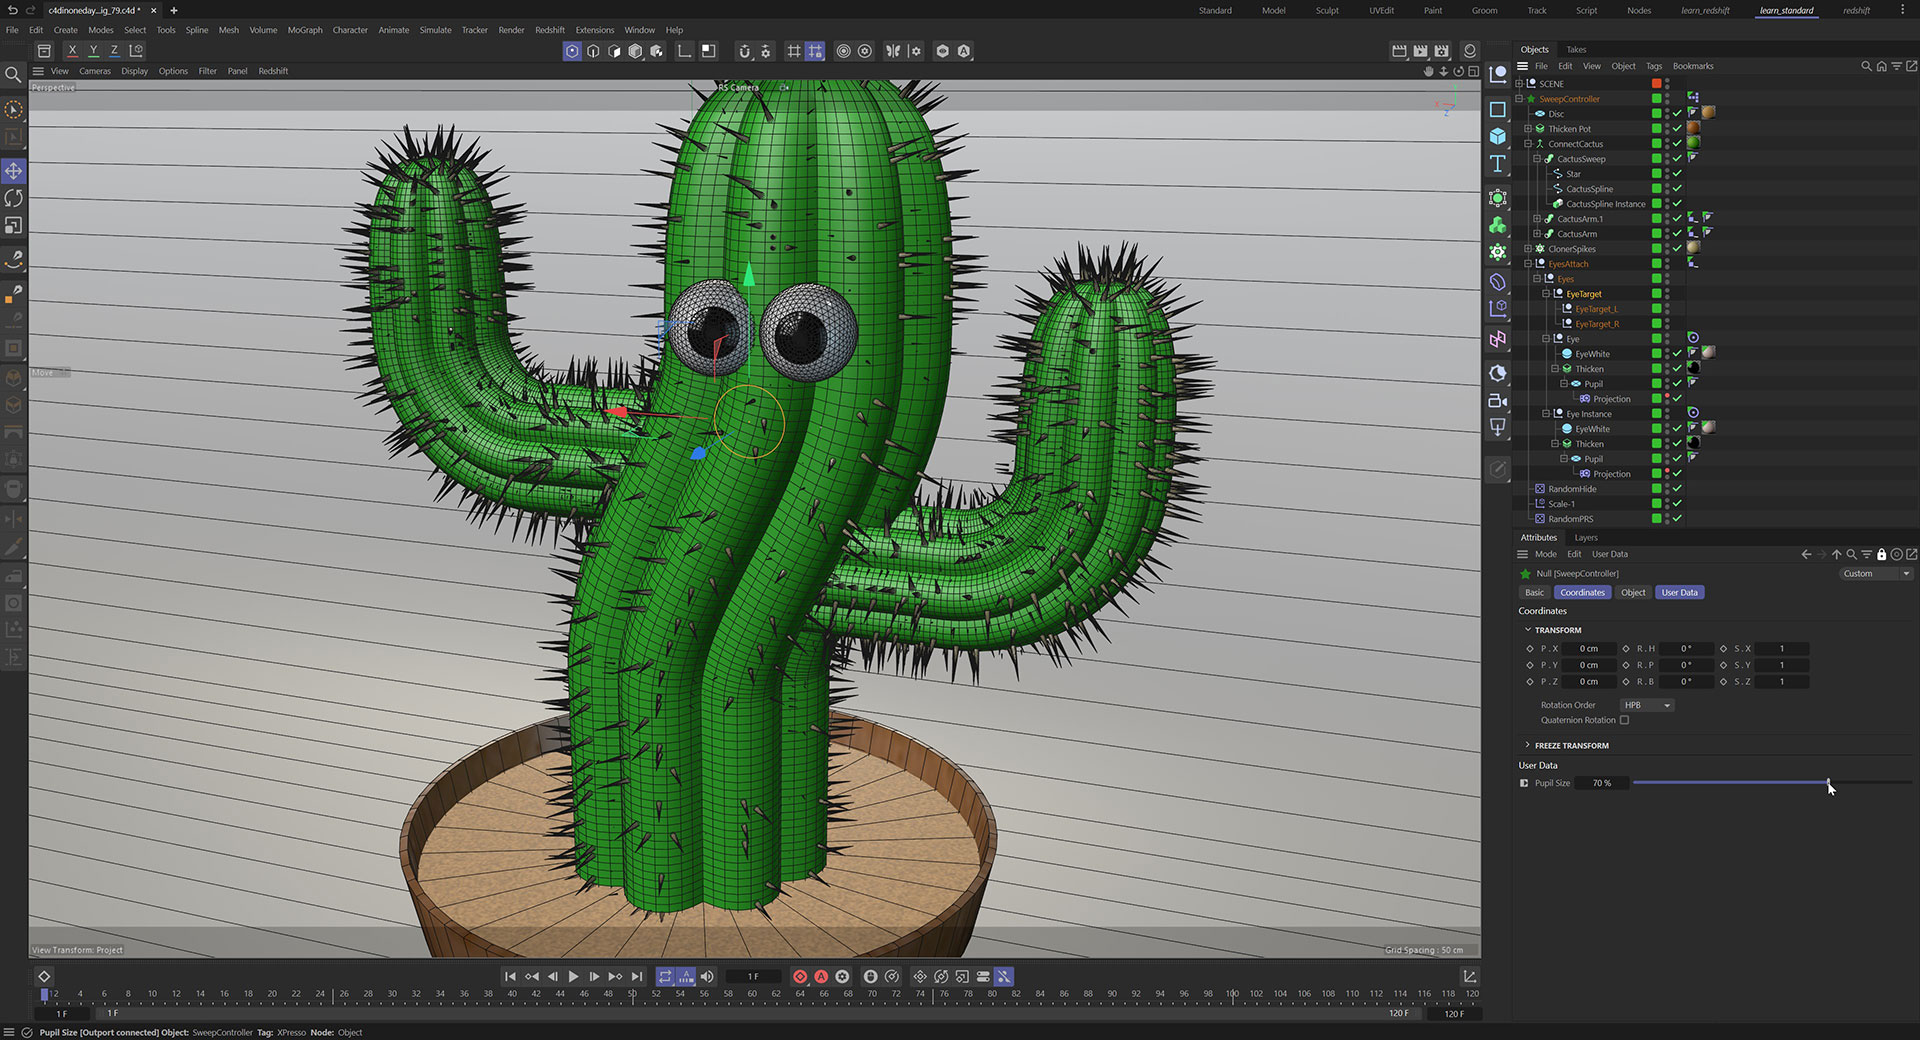
In the final part of the course, you will build this scene with four ‘characters’ dancing under a spotlight. Split into four main sections, modelling, texturing, then animation, staging and finally lighting and rendering the project.
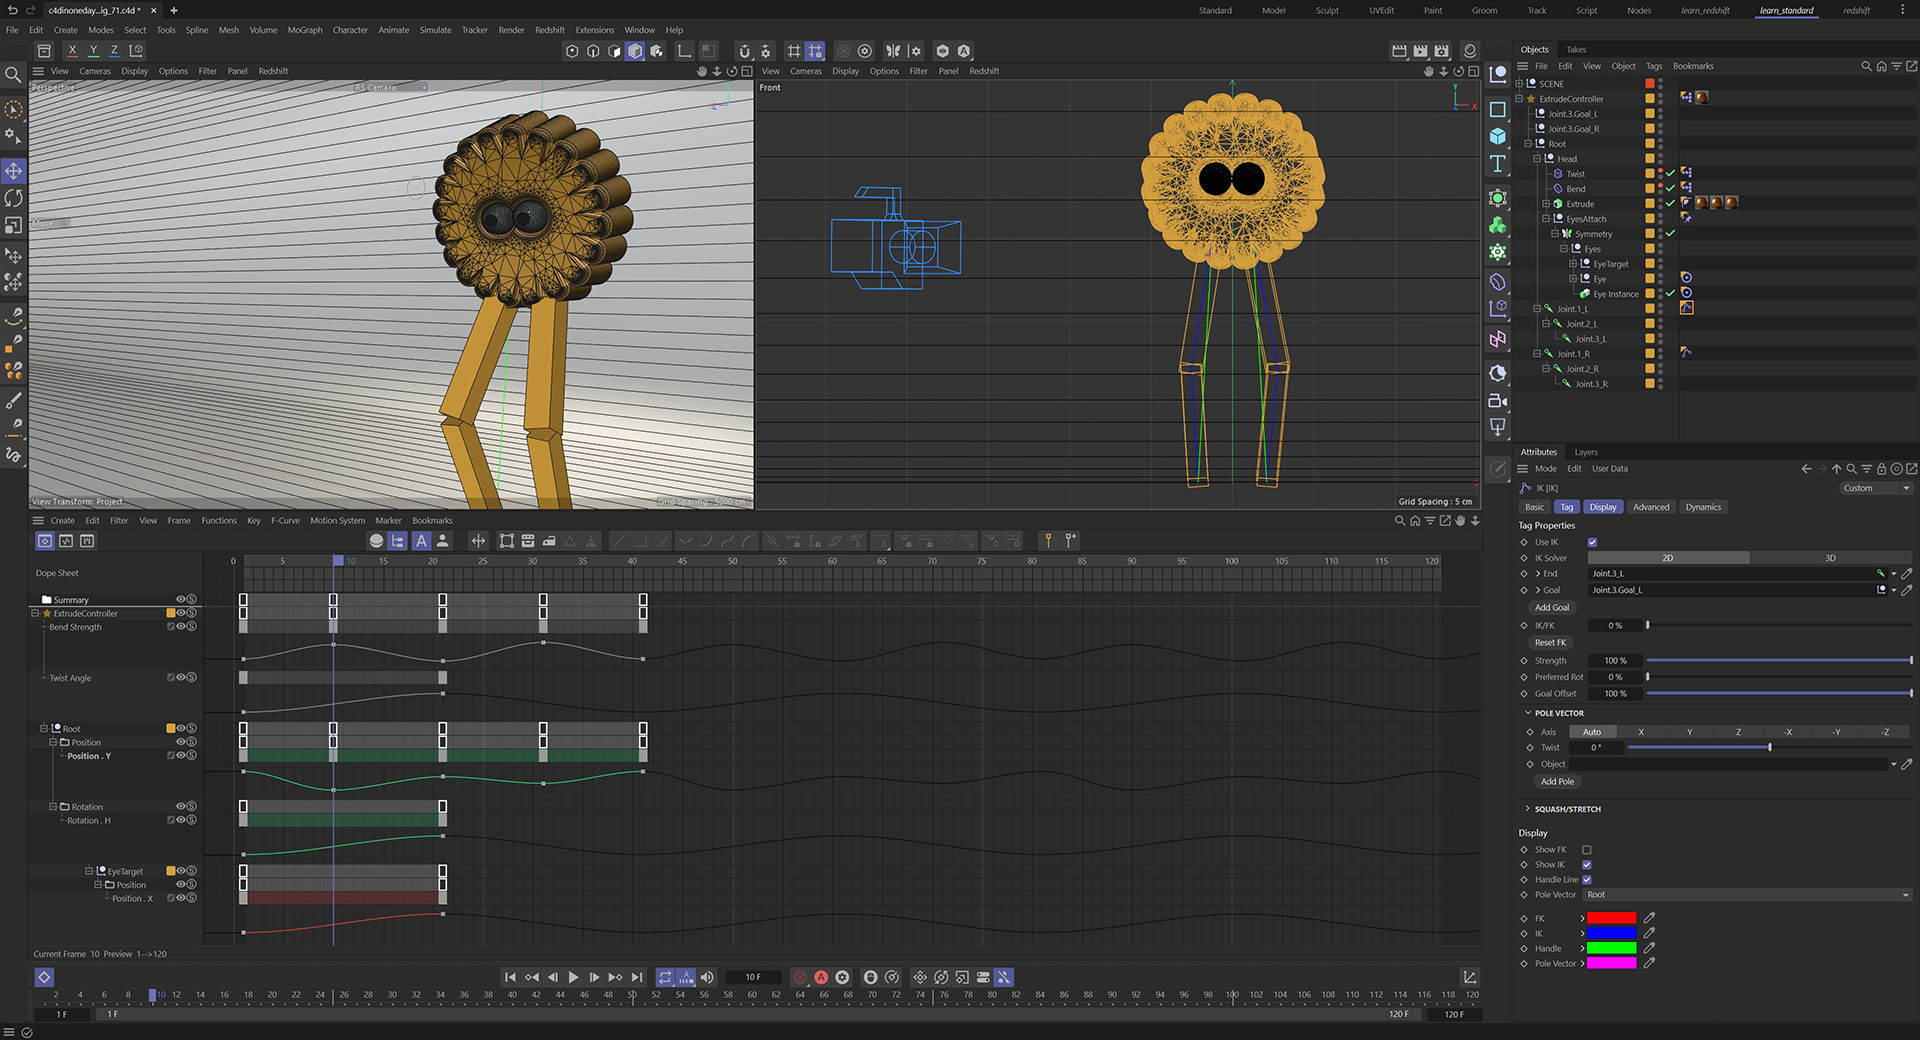
This project is not designed as a character animation course, it is a demonstration of taking a project from beginning to end in Cinema 4D. The tools you will learn are applicable to many aspects of 3D whether it is illustration, animation, motion graphics, visual effects or science visualisation. Throughout the tutorials you will learn many techniques such as modelling, deformation and rigging which will introduce you to the wider toolset of C4D. You will use deformers and constraints, pose morph and create a very basic IK leg rig.


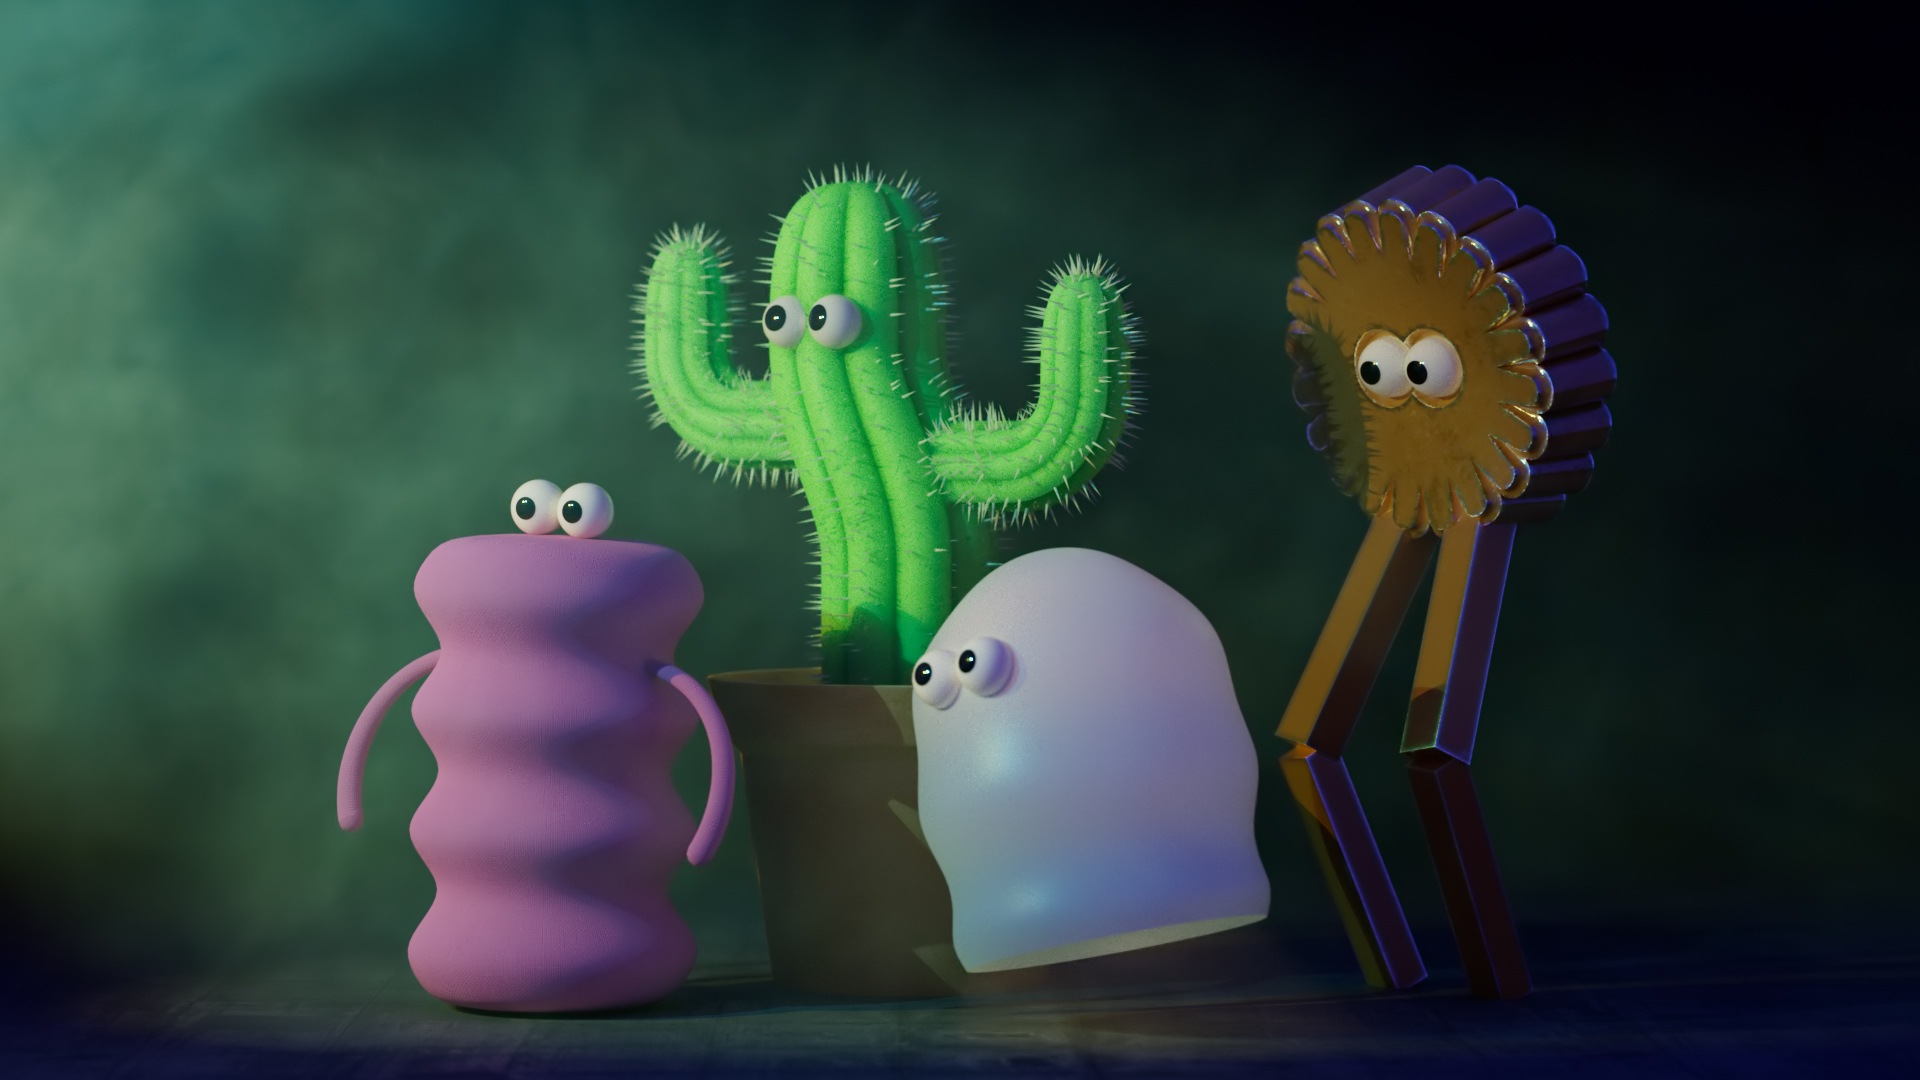
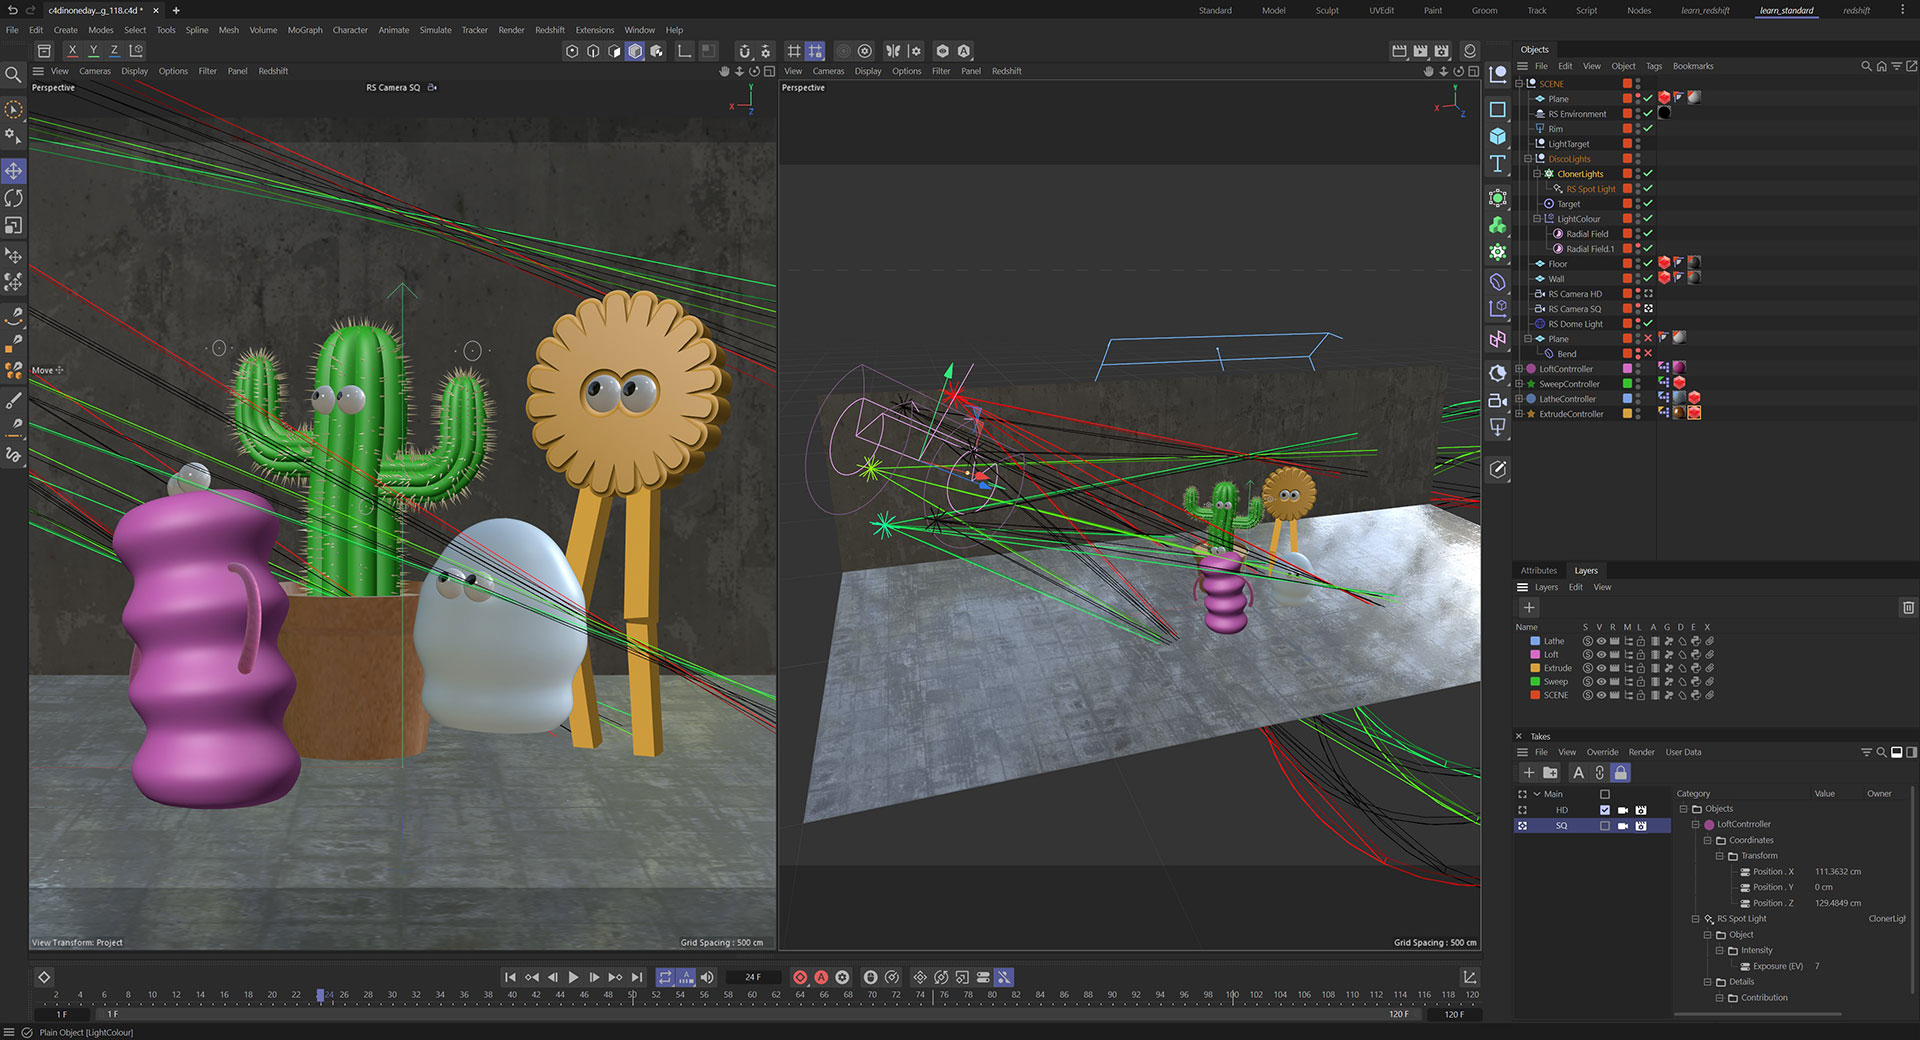
Create a looping animation for each character, manipulating the f-curves and adjusting the sequence attributes. The environment is built with a quick look at options available for material textures as we stage our group ready for lighting.
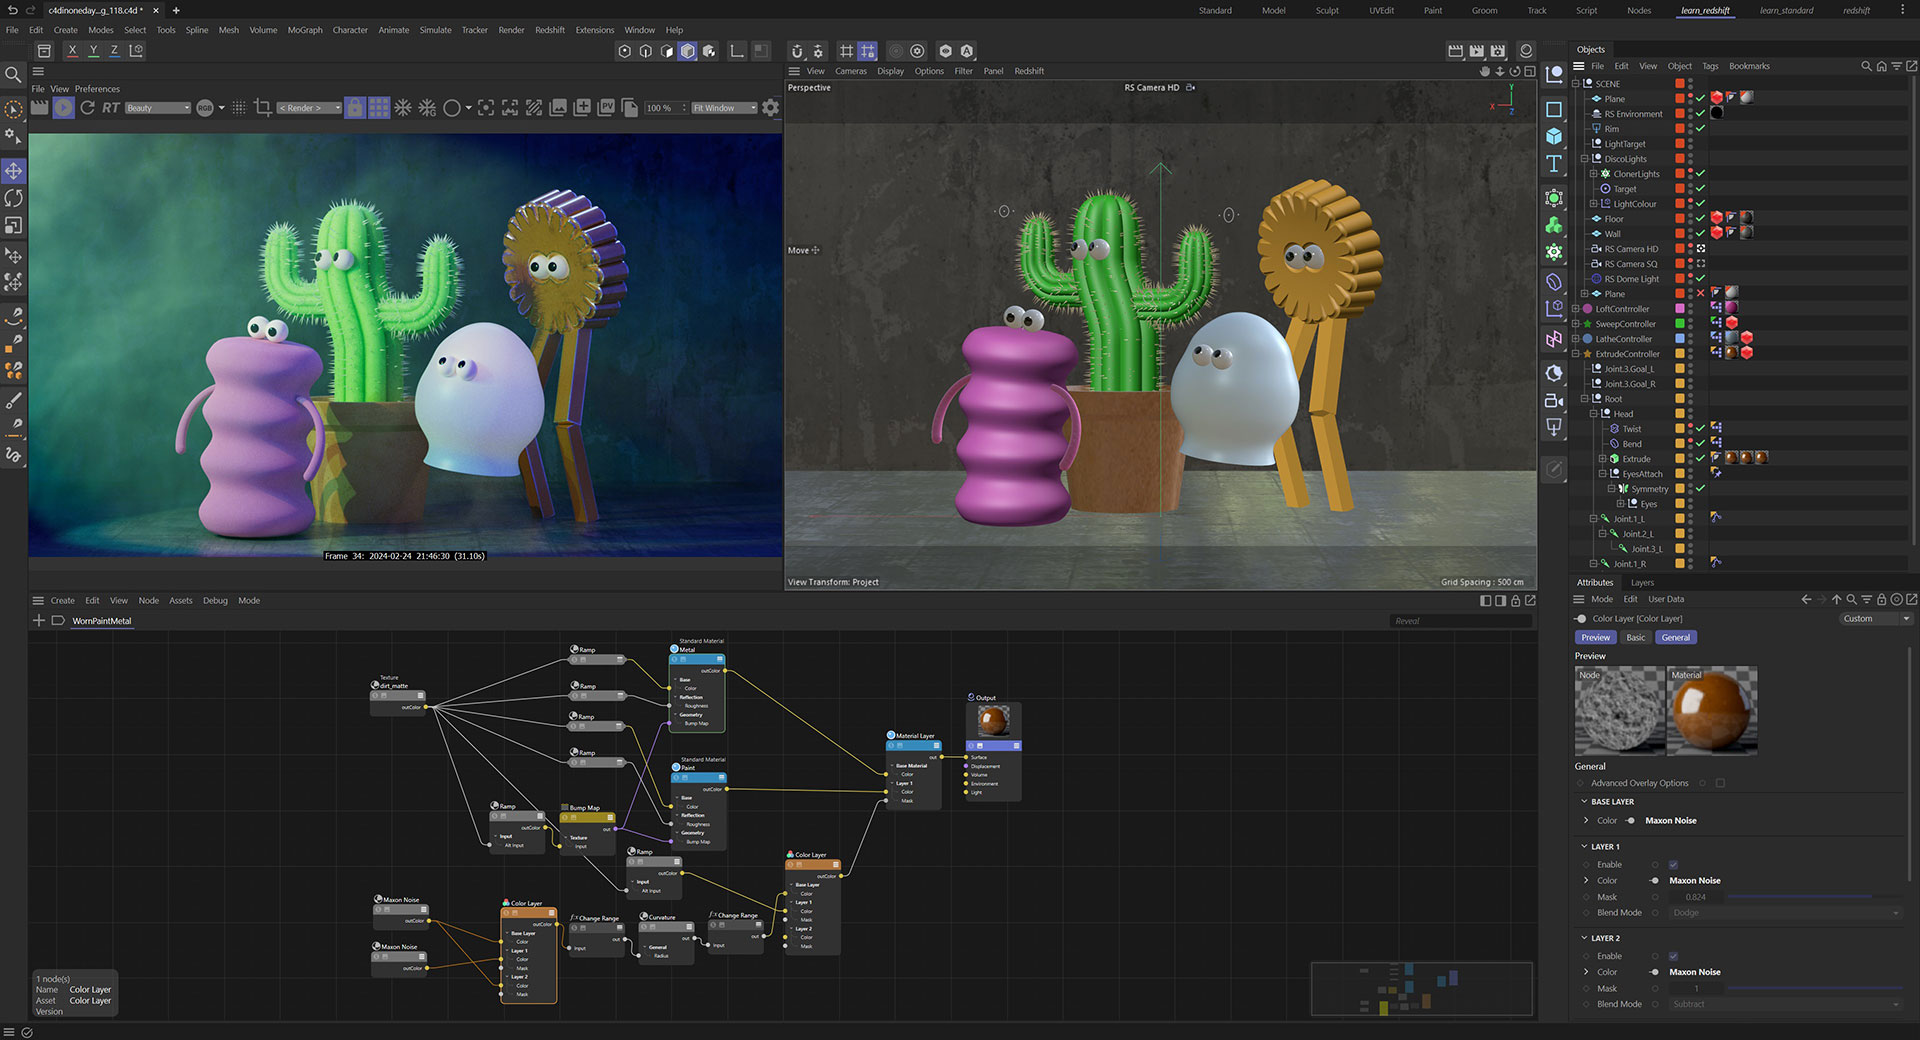
Each of our characters will have their own unique set of materials and this will allow you to explore more detailed setups in Redshift, including fabric, translucency, worn painted metal and sub-surface scattering. For lighting we will use a Cloner rig to animate the lights in a rhythmic way, keeping beat with our animation. Introducing the Redshift environment so we can add light scattering and create volumetric effects.
With more complex scenes things can get busy and Tim covers many workflow techniques which will streamline your process and maintain your sanity. You will work with layers and takes to facilitate multiple versioning and create multiple render settings with parent child relationships.
At the end of this project you will have created a looping animation from scratch, with all the animation timed and in sync with the lighting.


01 Before we start… (10 min)
02 Low Poly Landscape: Terrain Modelling (13 min)
03 Low Poly Landscape: Adding Trees (14 min)
04 Low Poly Landscape: Rendering (18 min)
05 Pin Sculpture: Modelling (17 min)
06 Pin Sculpture: Rendering (22 min)
07 Time Offset: Triangle Array (16 min)
08 Exploring Splines: Intro (8 min)
09 Exploring Splines: Sweep and Deform (13 min)
10 Exploring Splines: Objects on Splines (16 min)
11 Exploring Splines: Splines & Volumes (7 min)
12 Text: Intro to Mograph Text (17 min)
13 Text: Bouncy Loop (12 min)
14 Model, Rig, Animate: Eyes (9 min)
15 Model, Rig, Animate: Lathe (7 min)
16 Model, Rig, Animate: Loft (14 min)
17 Model, Rig, Animate: Extrude (15 min)
18 Model, Rig, Animate: Sweep (14 min)
19 Model, Rig, Animate: Eyes & Loft Material (10 min)
20 Model, Rig, Animate: Lathe Material (4 min)
21 Model, Rig, Animate: Sweep Material (16 min)
22 Model, Rig, Animate: Extrude Material (13 min)
23 Model, Rig, Animate: Animation (25 min)
24 Model, Rig, Animate: Staging (16 min)
25 Model, Rig, Animate: Lighting (25 min)
26 Model, Rig, Animate: Rendering (20 min)