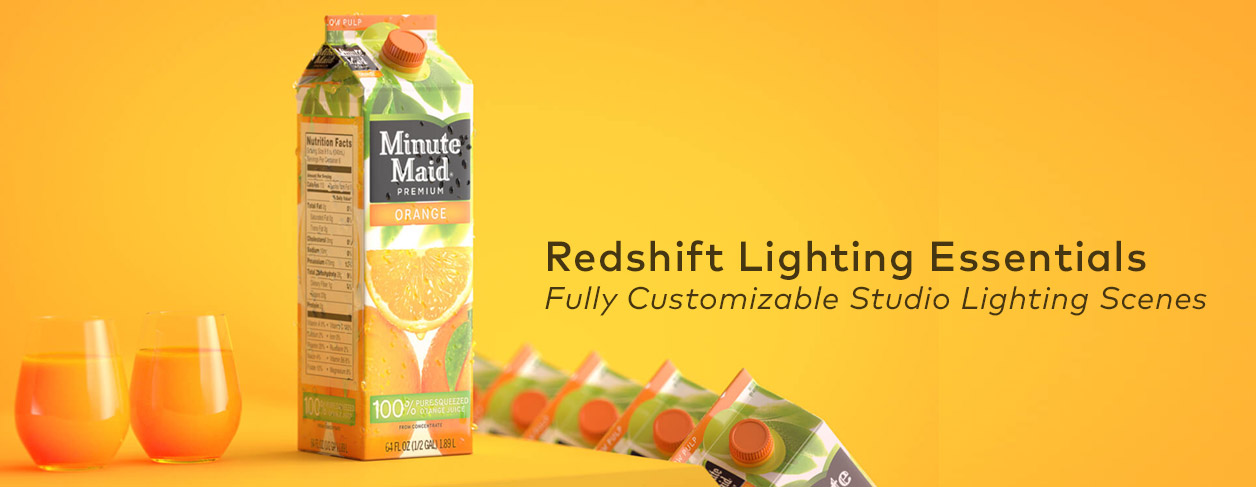
In this tutorial, Tim shares ten tips which explore basic lighting concepts and how we can implement these in our CG set ups. This tutorial was originally published in 2015 and the main renderer focused on was the Cinema 4D Physical Renderer. Since then, the landscape has changed considerably and we have many more render engines to choose from, they are generally faster and offer more features that Physical, which is now outdated.
For this tutorial we decided to use Redshift, but the intention is to be as generic as possible. Most, if not all of these techniques can be applied to virtually any modern renderer, it doesn’t matter if you use Redshift, Octane, Arnold, Corona, Vray, etc. you should be able to adapt these principles to your package.
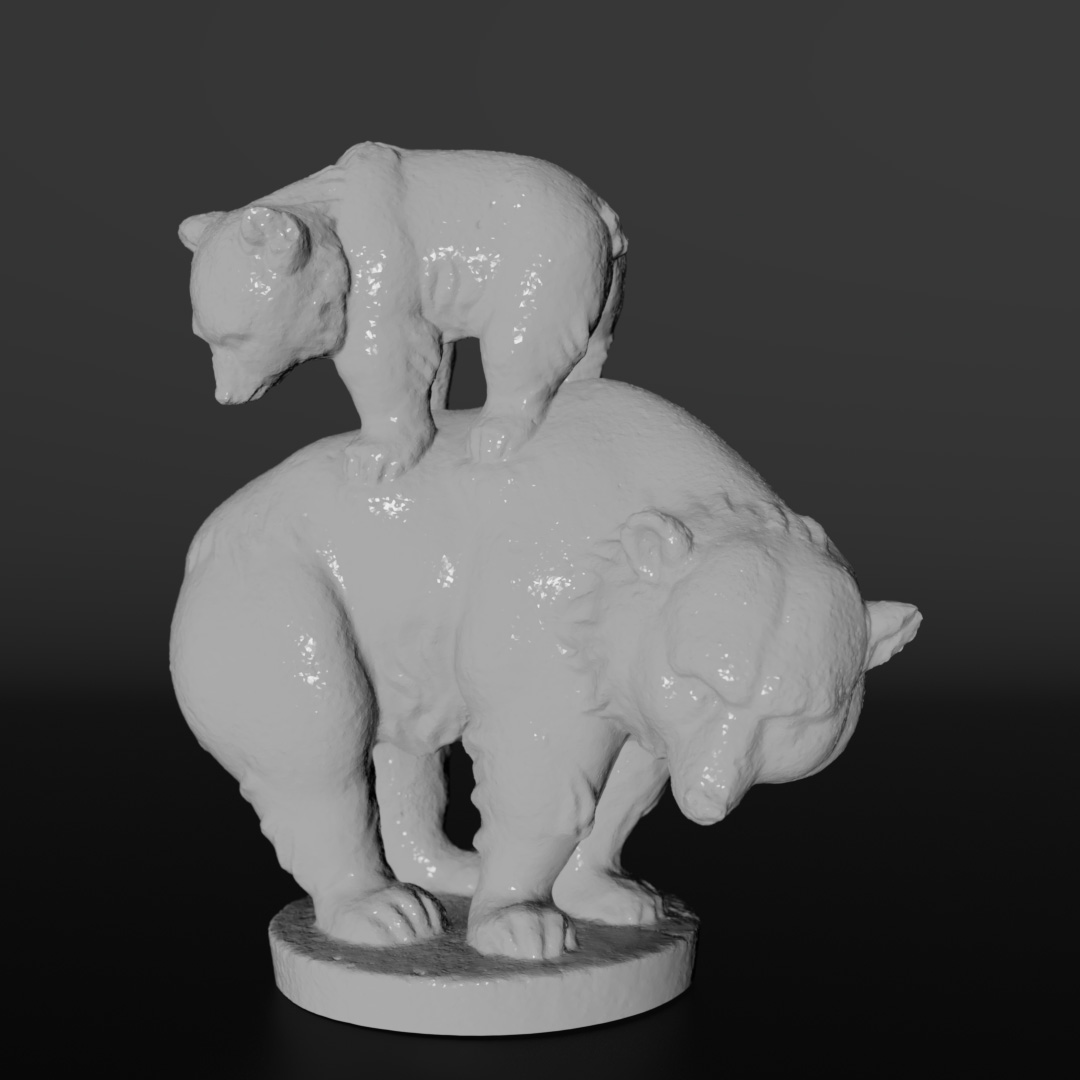
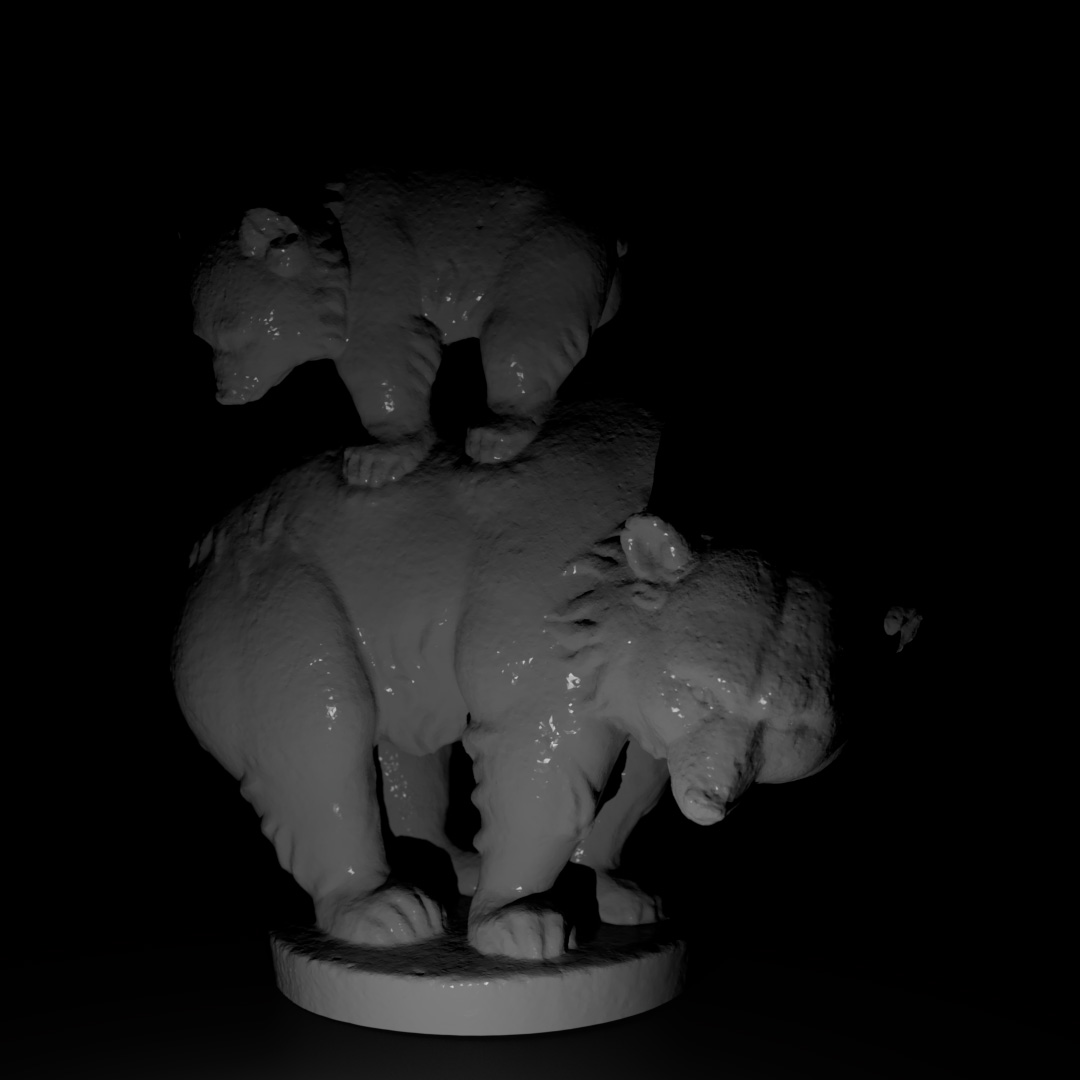
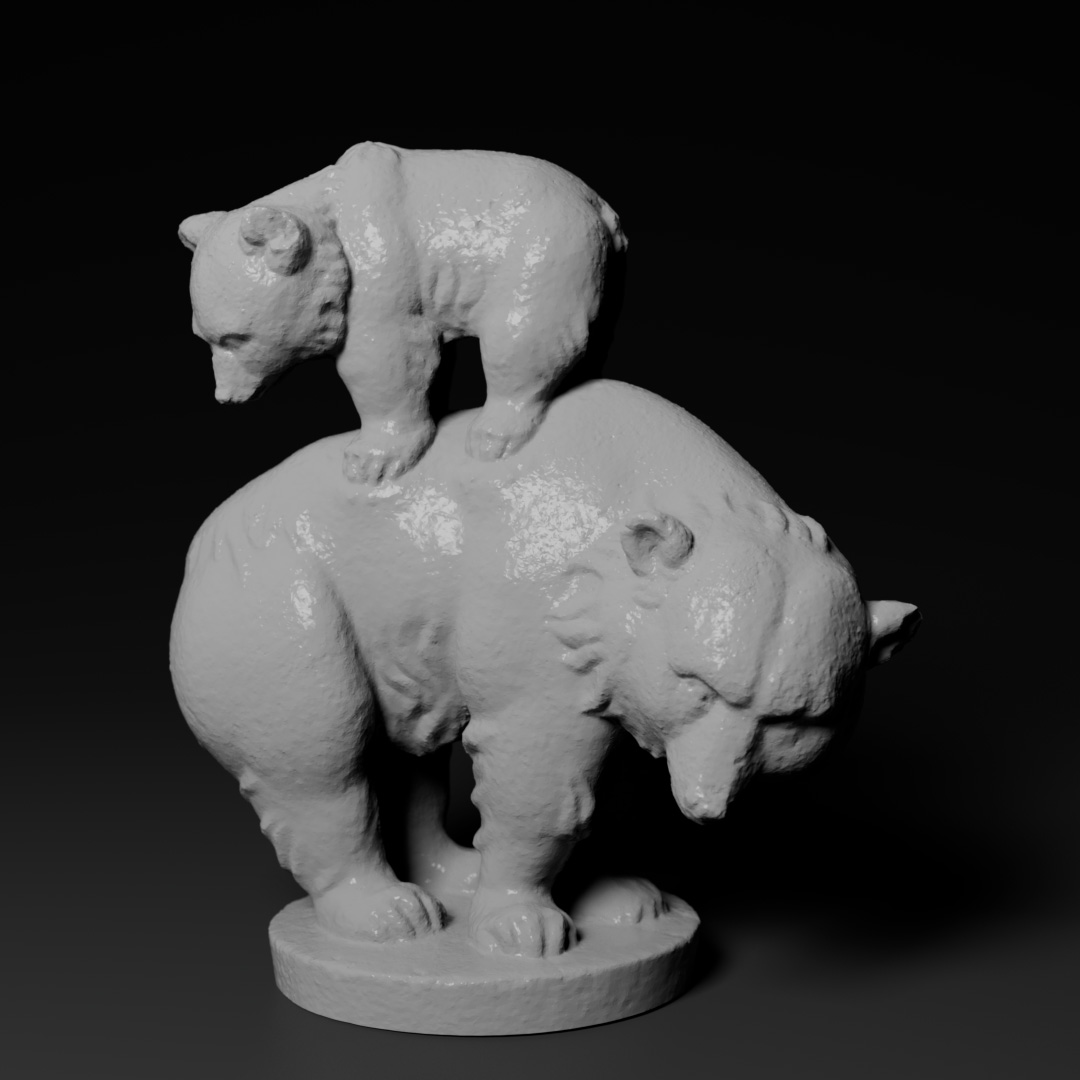
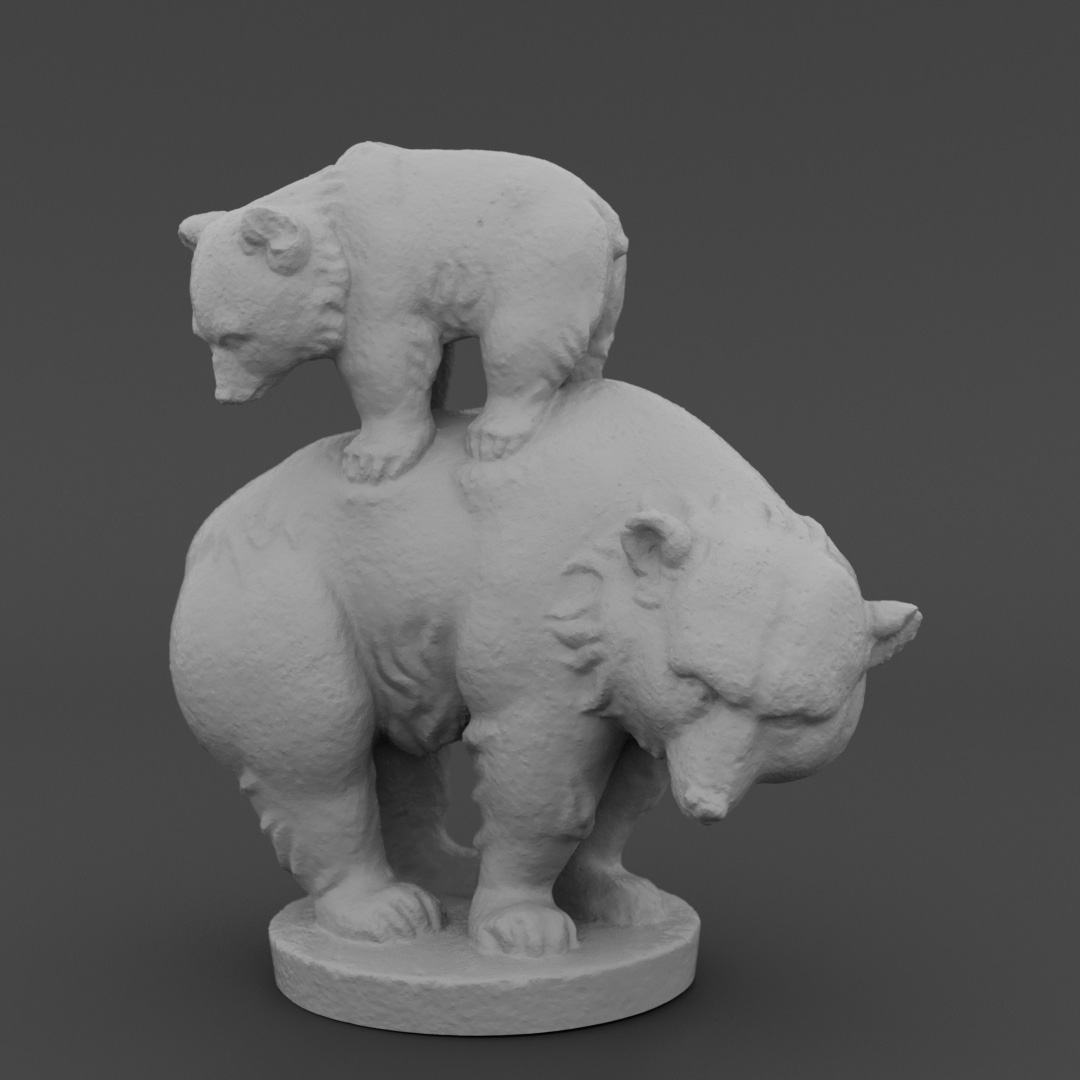
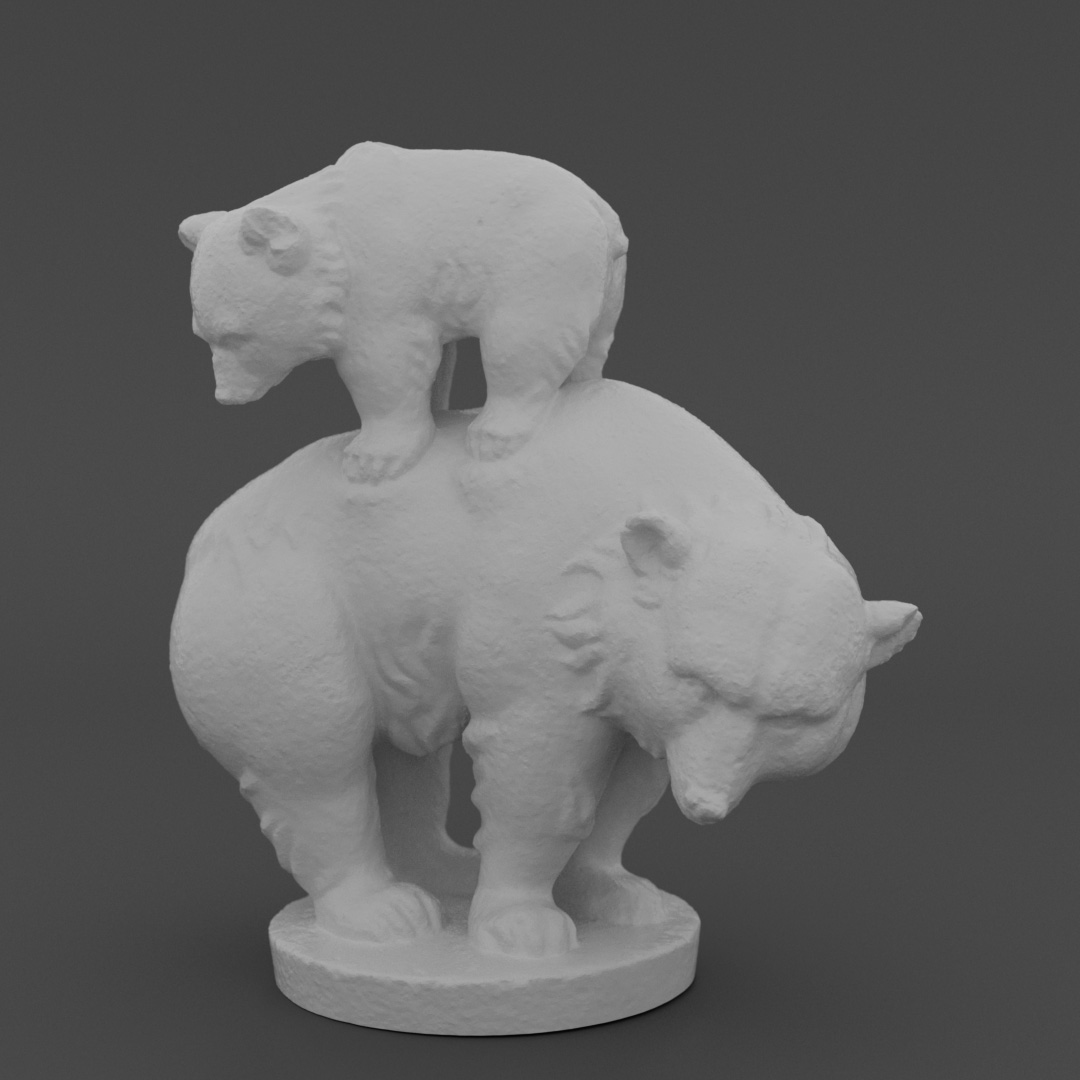
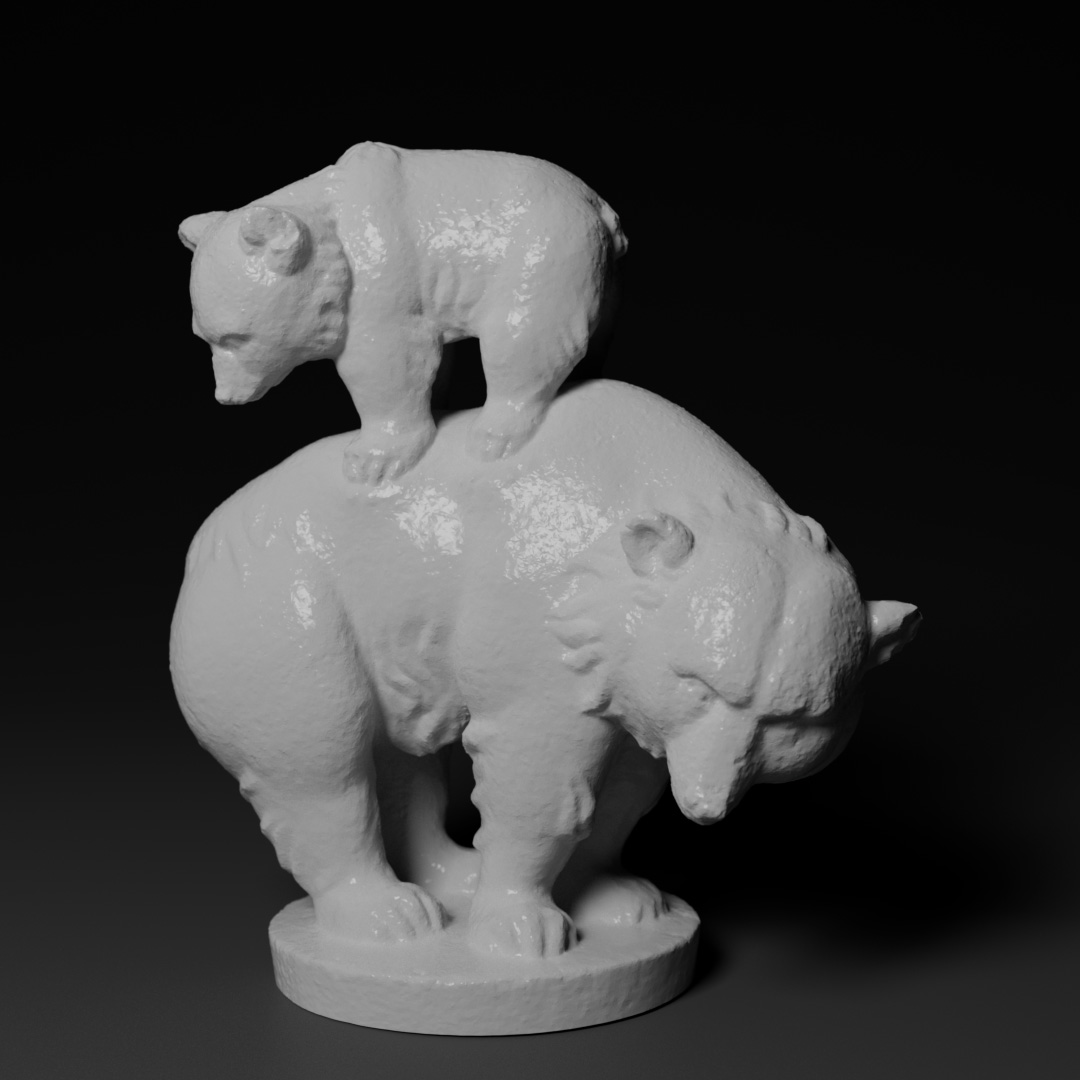
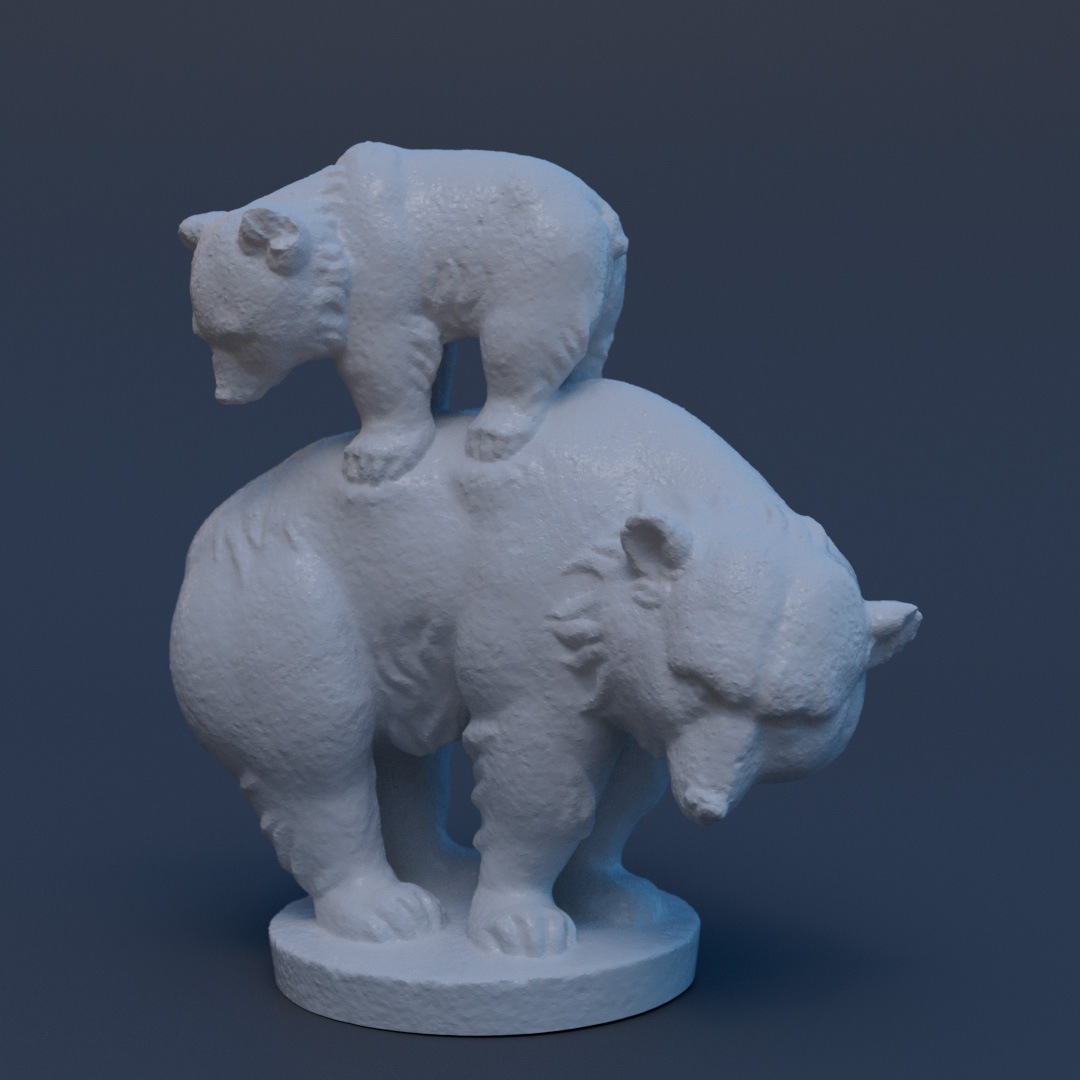
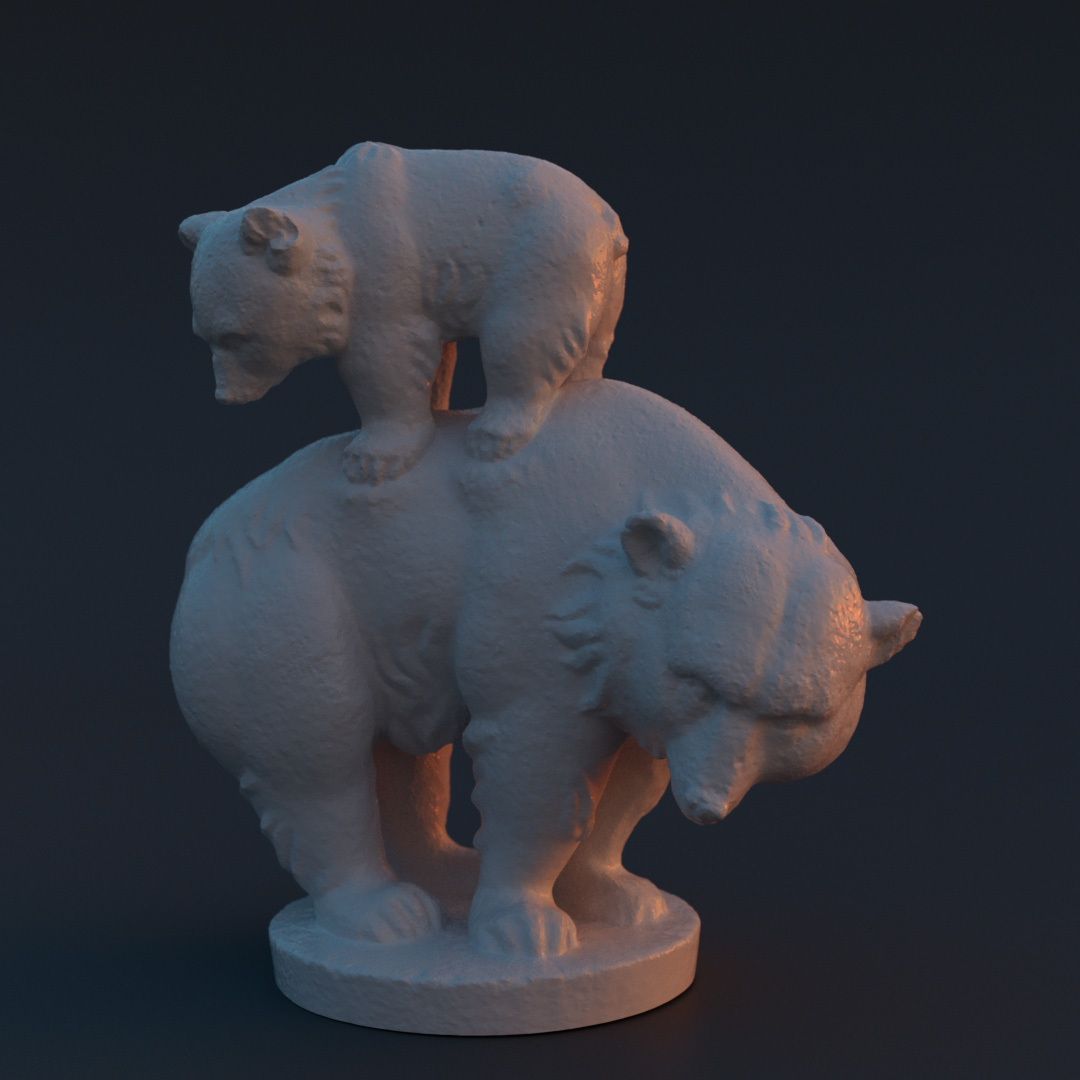
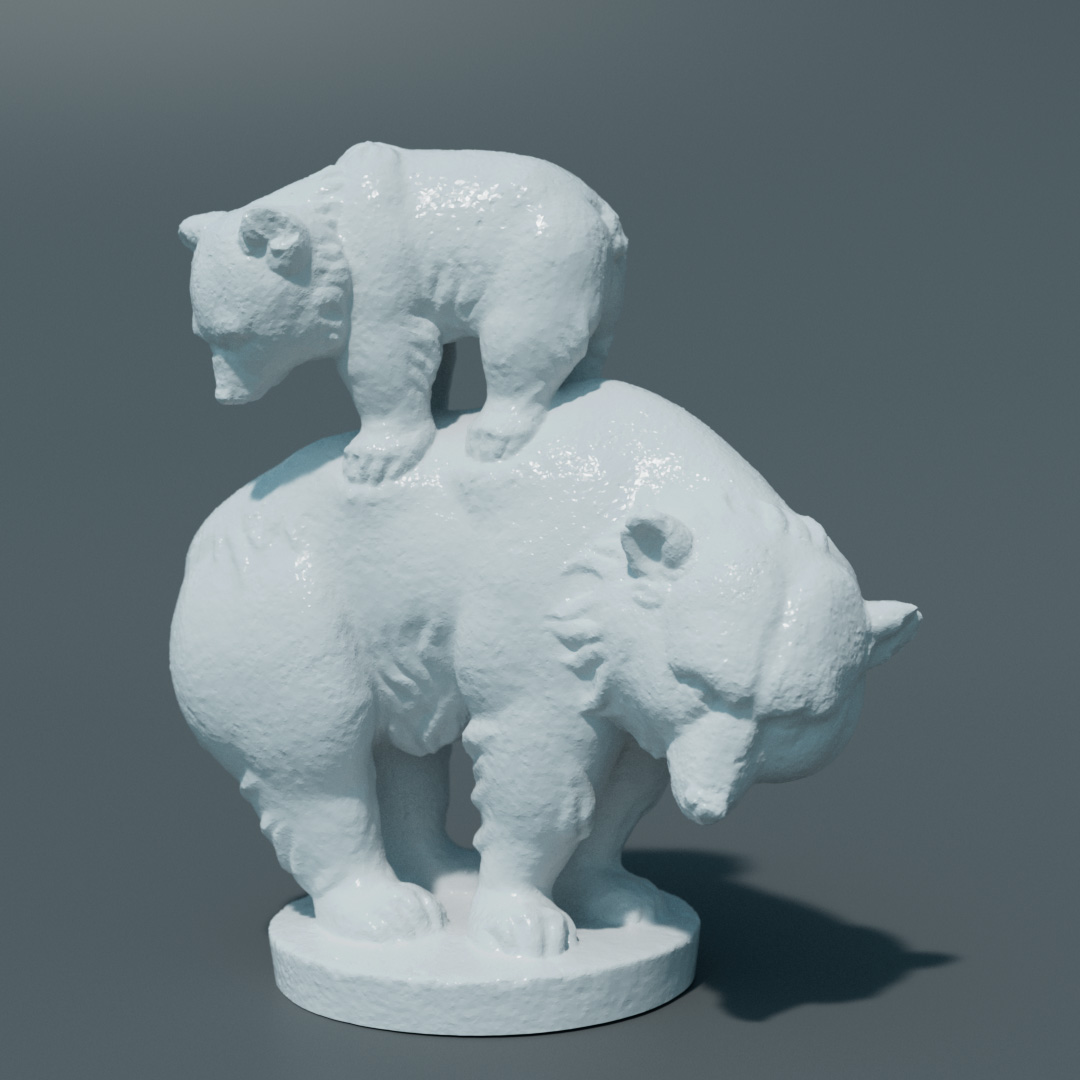
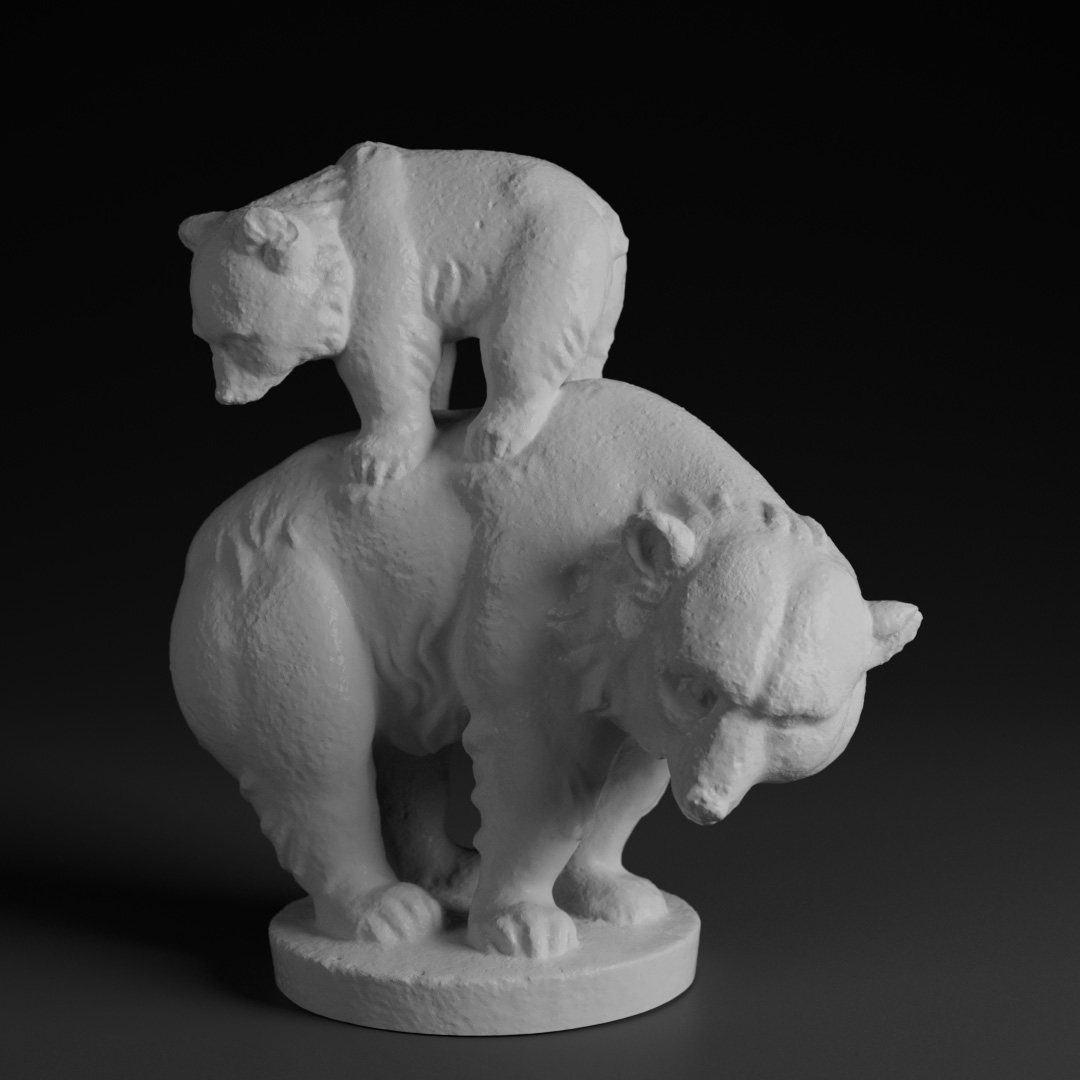
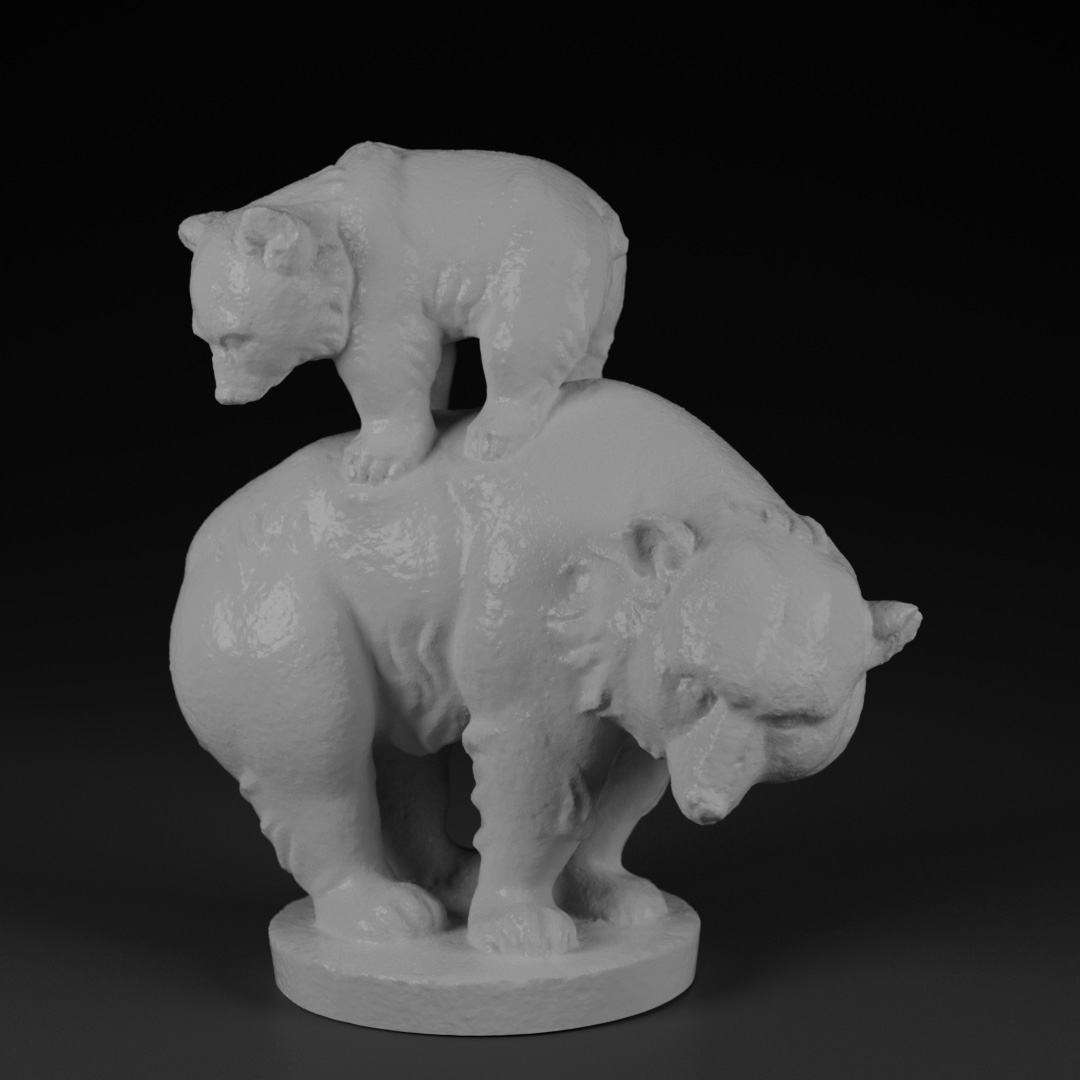
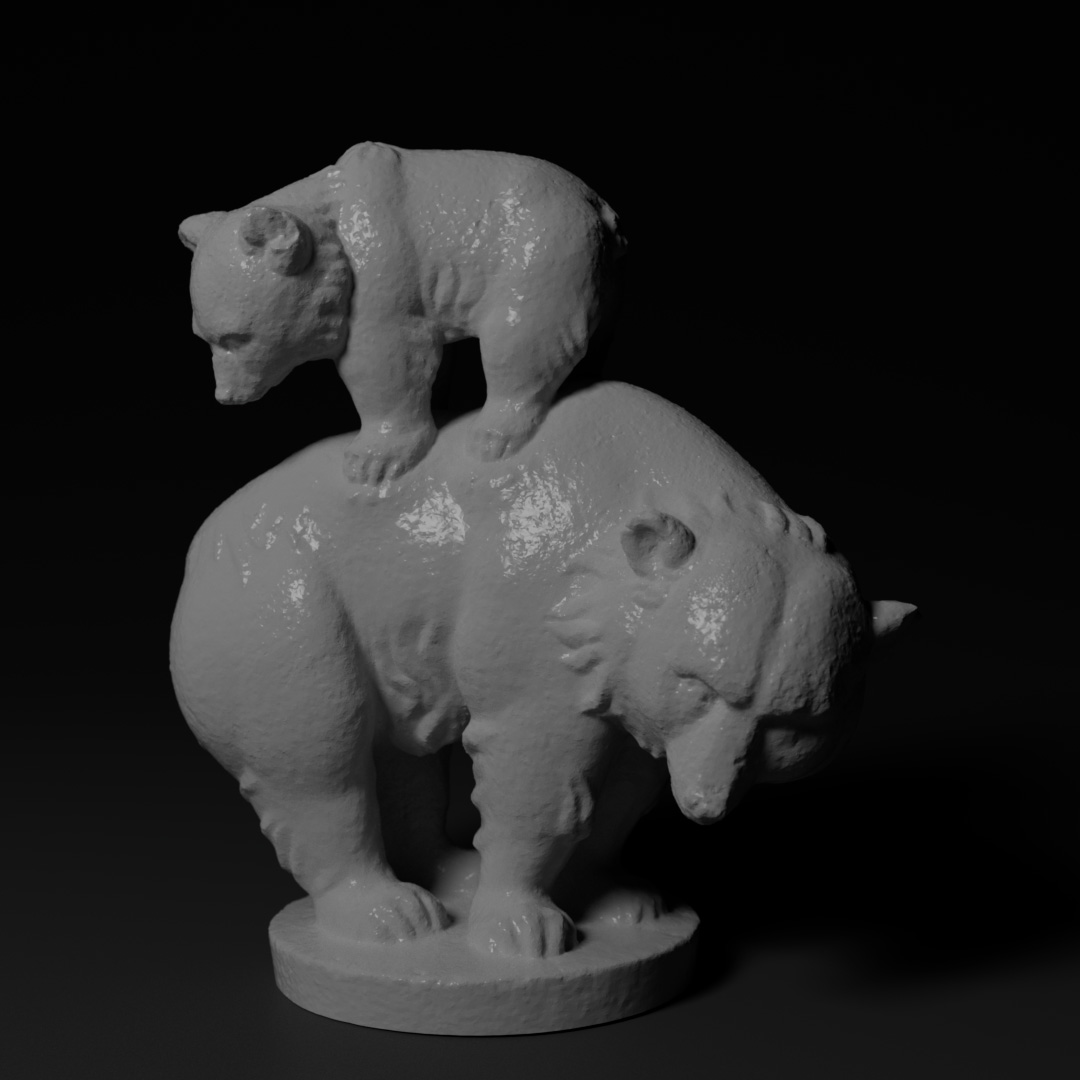
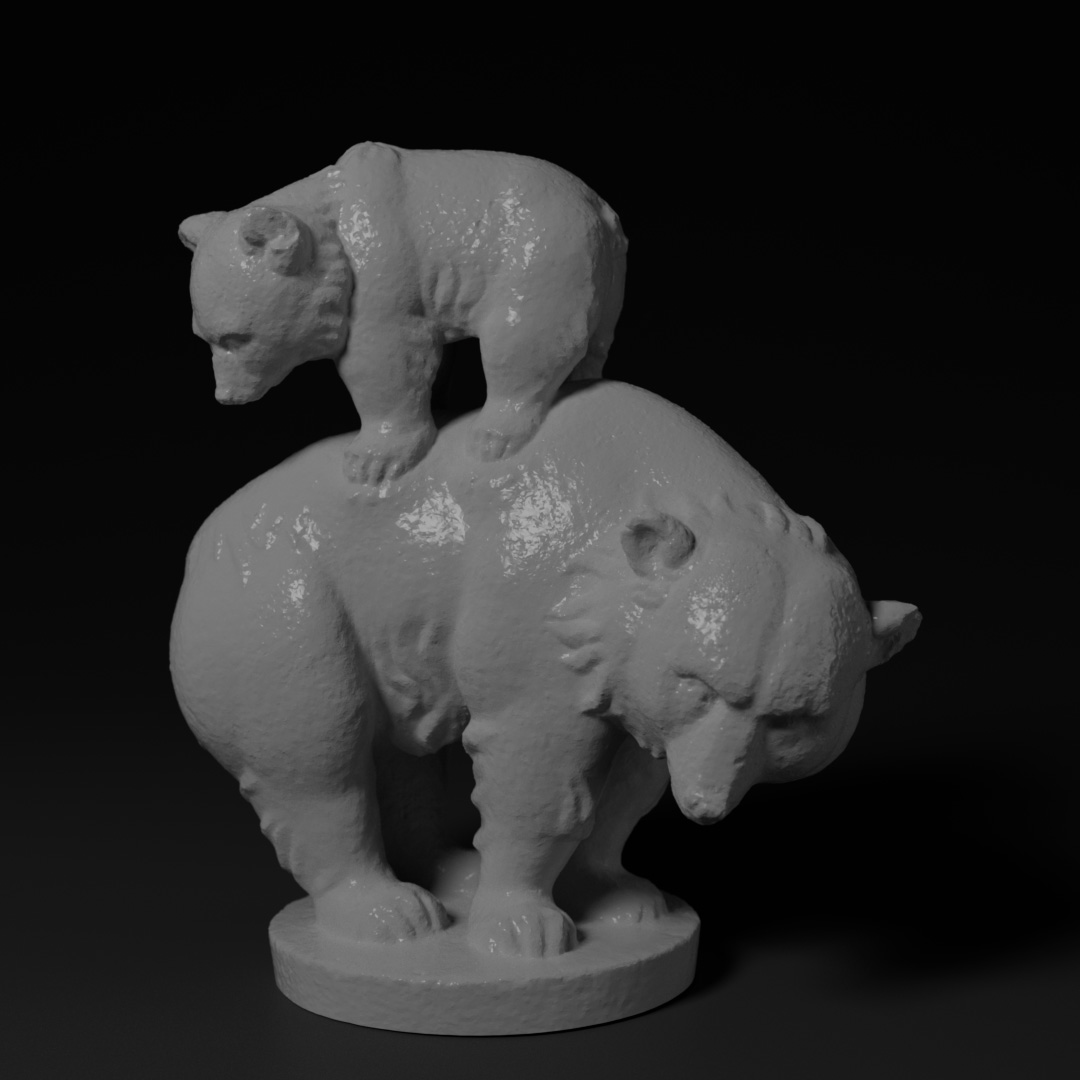
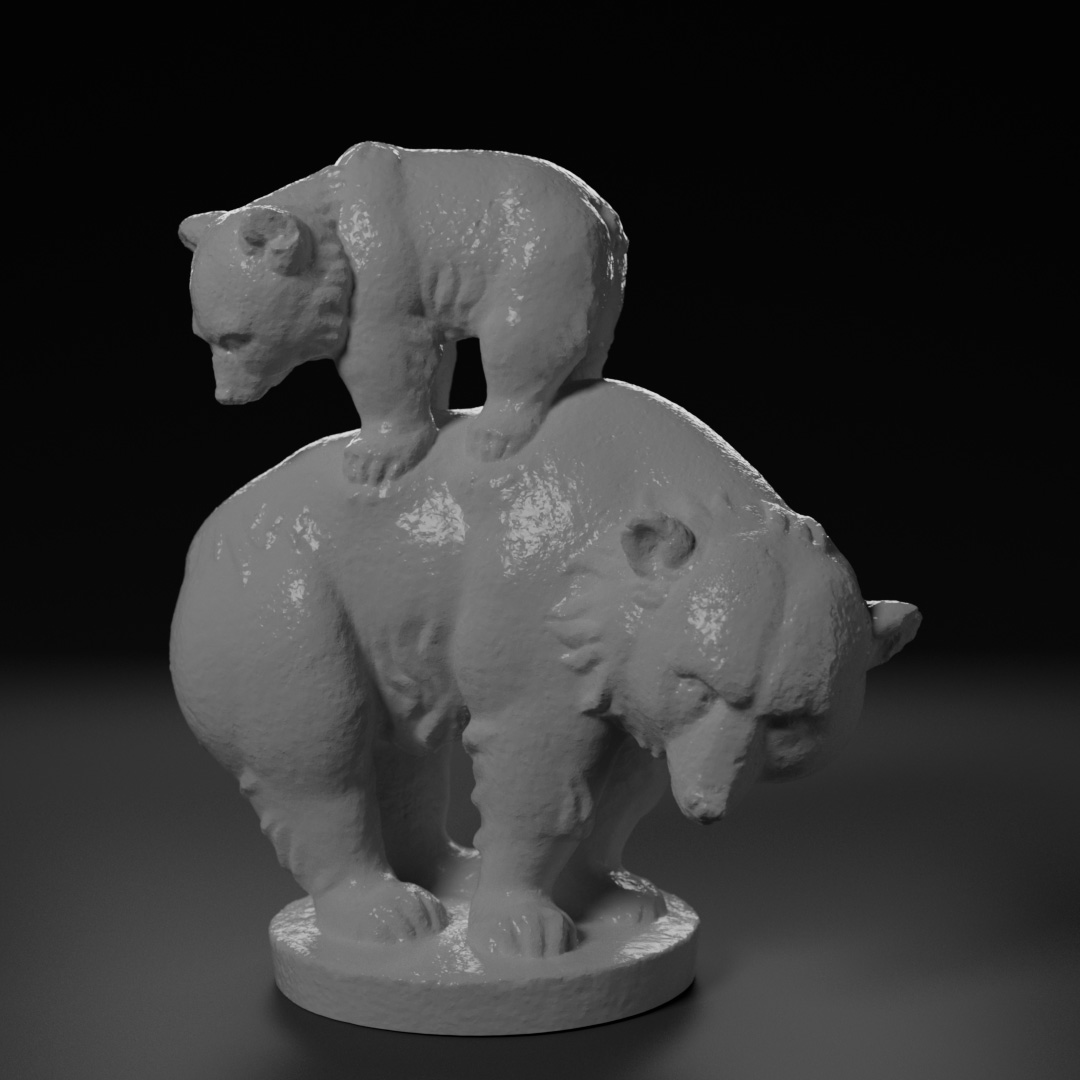
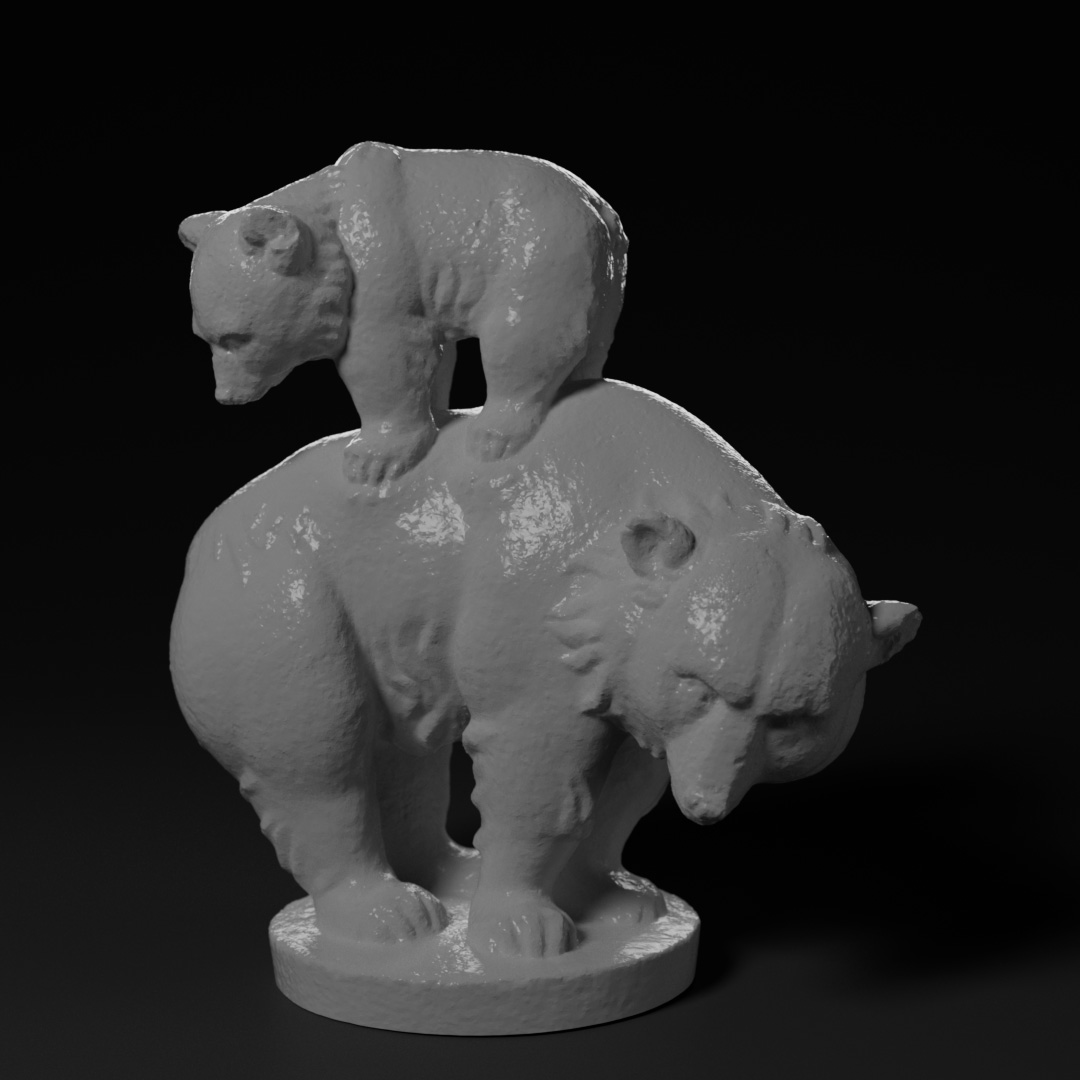
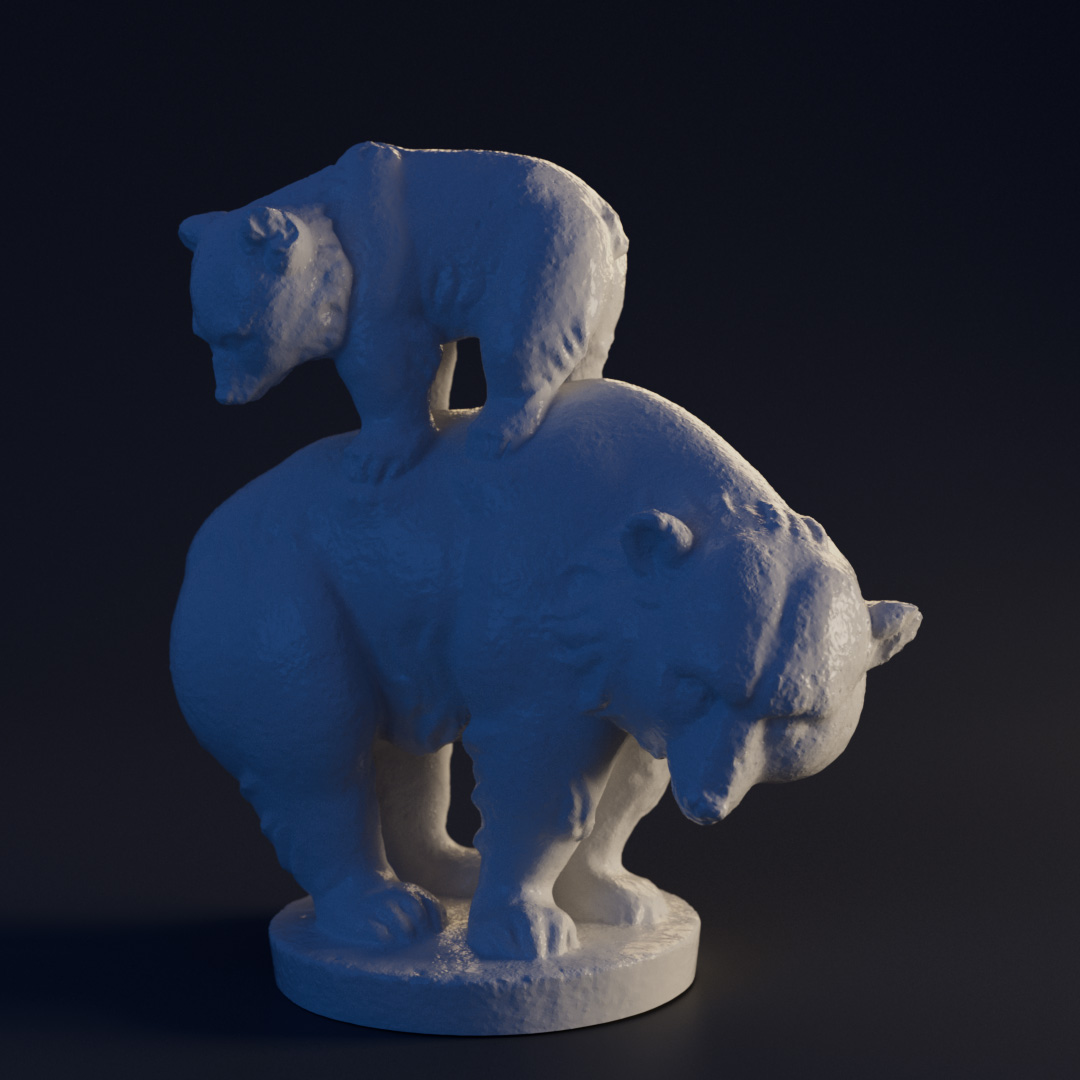
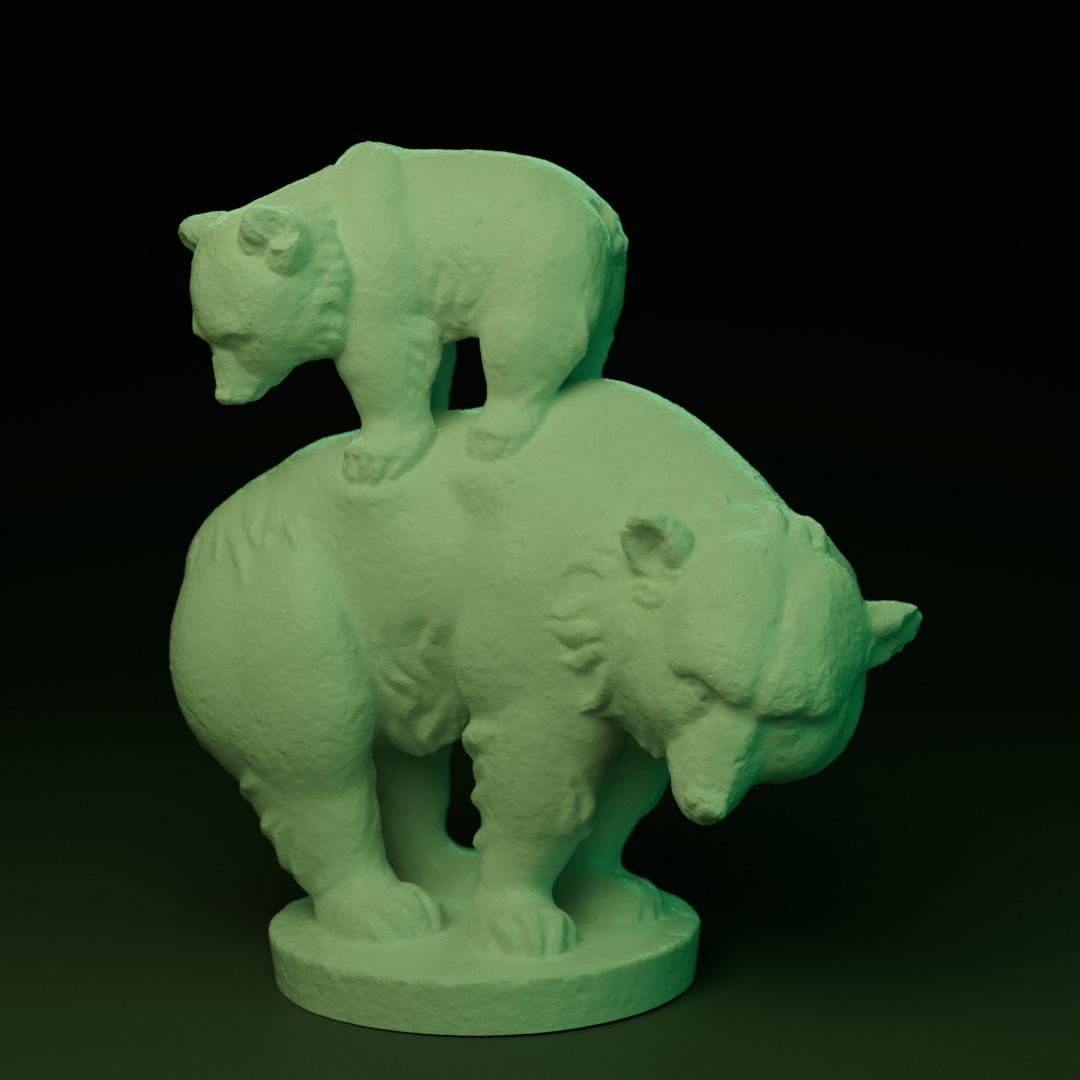
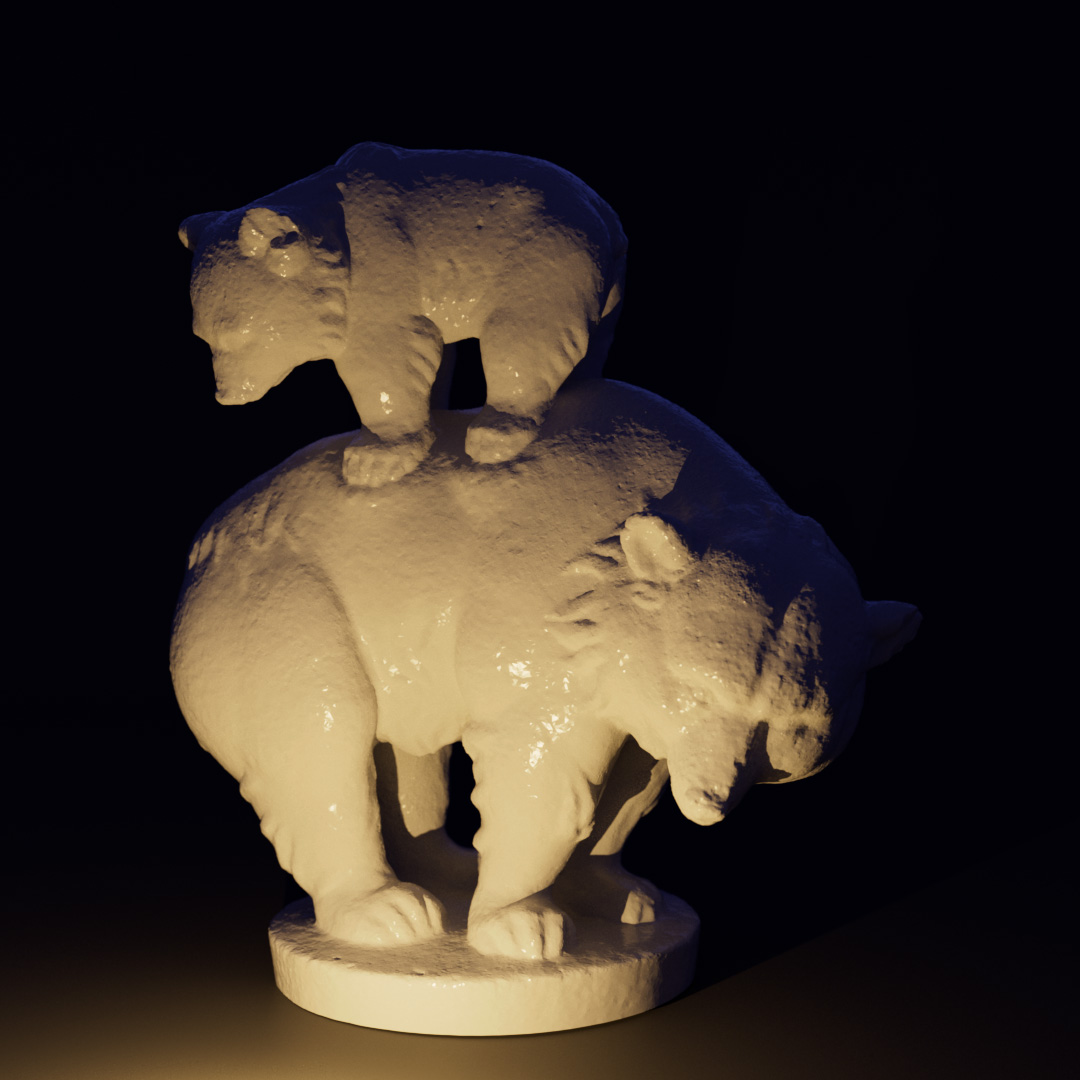
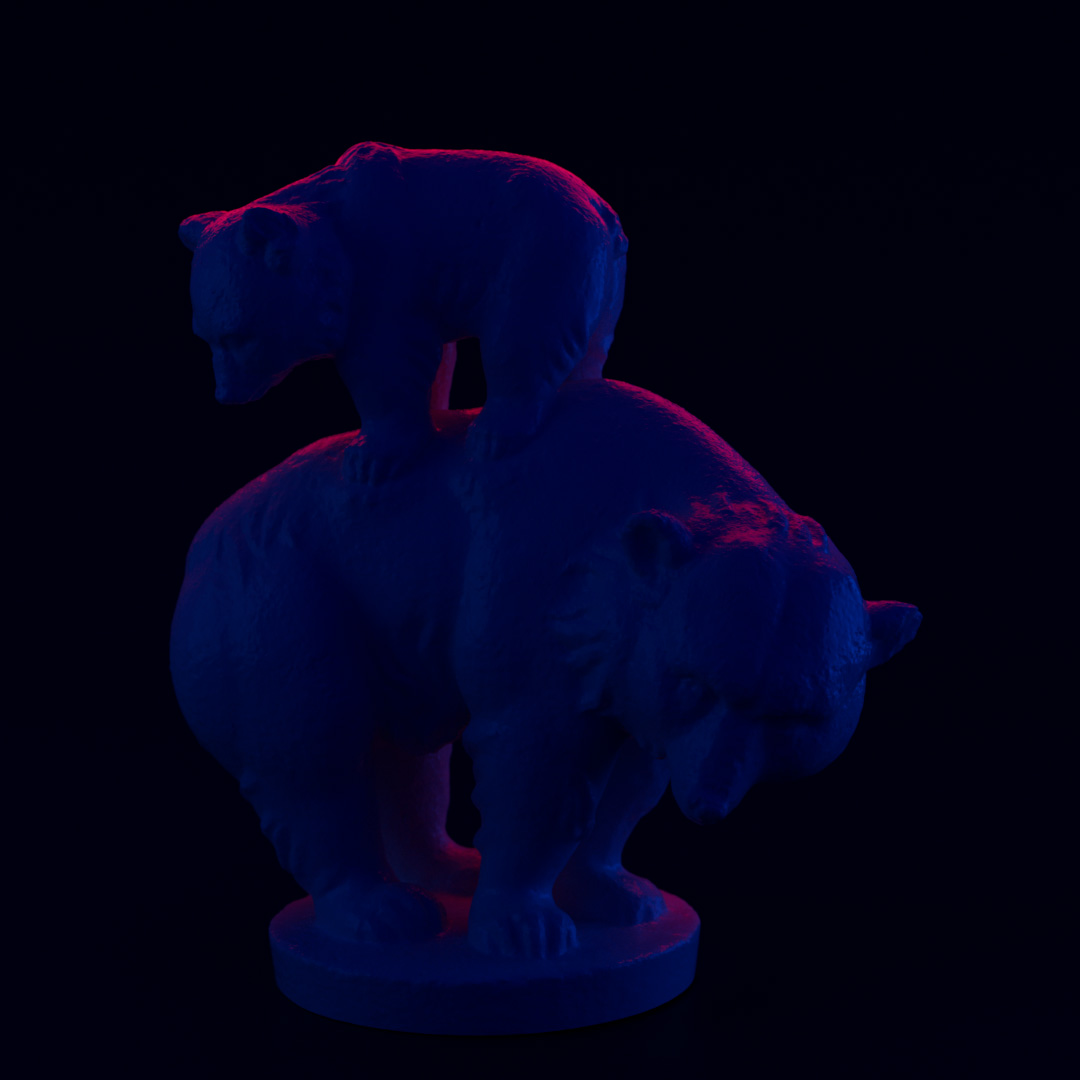
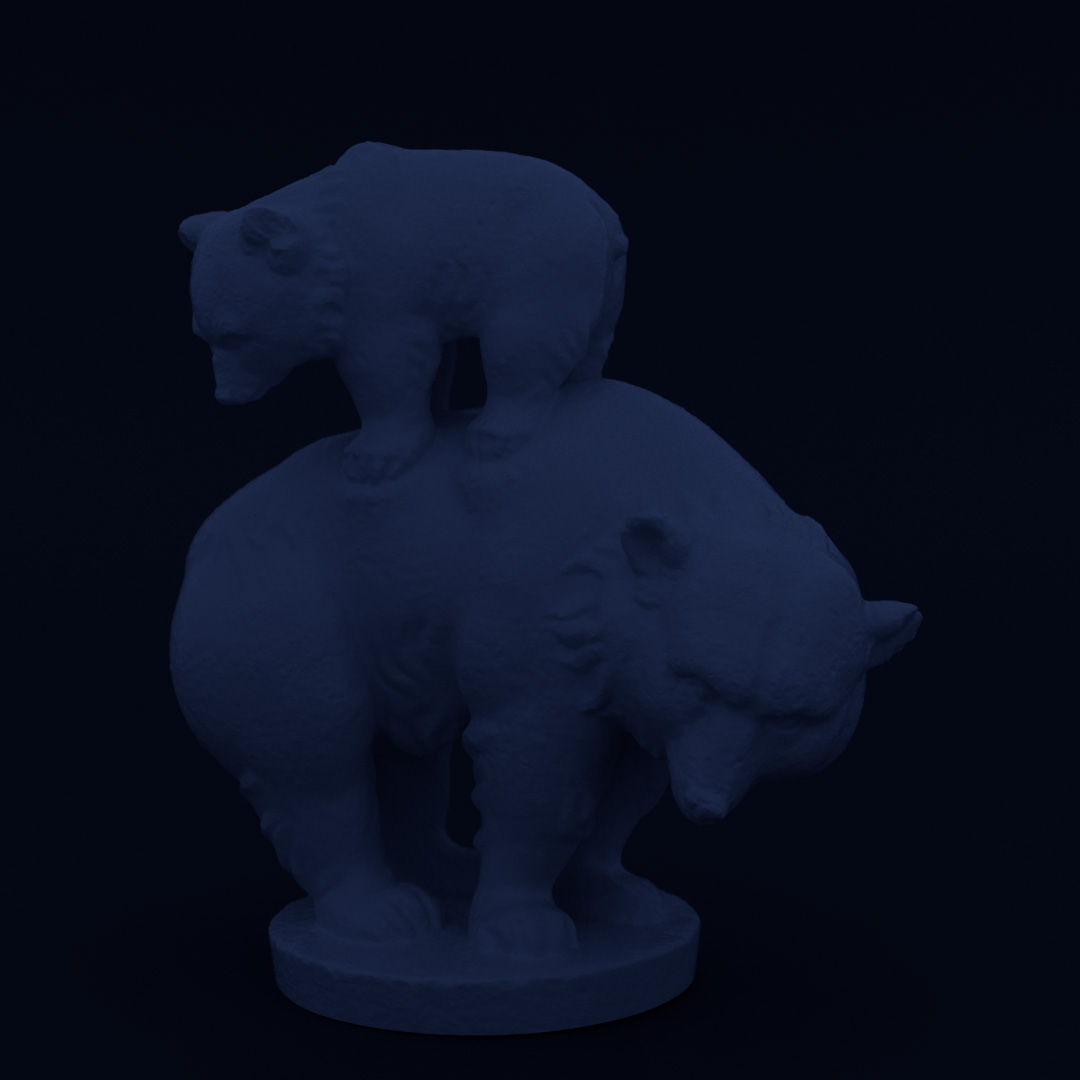
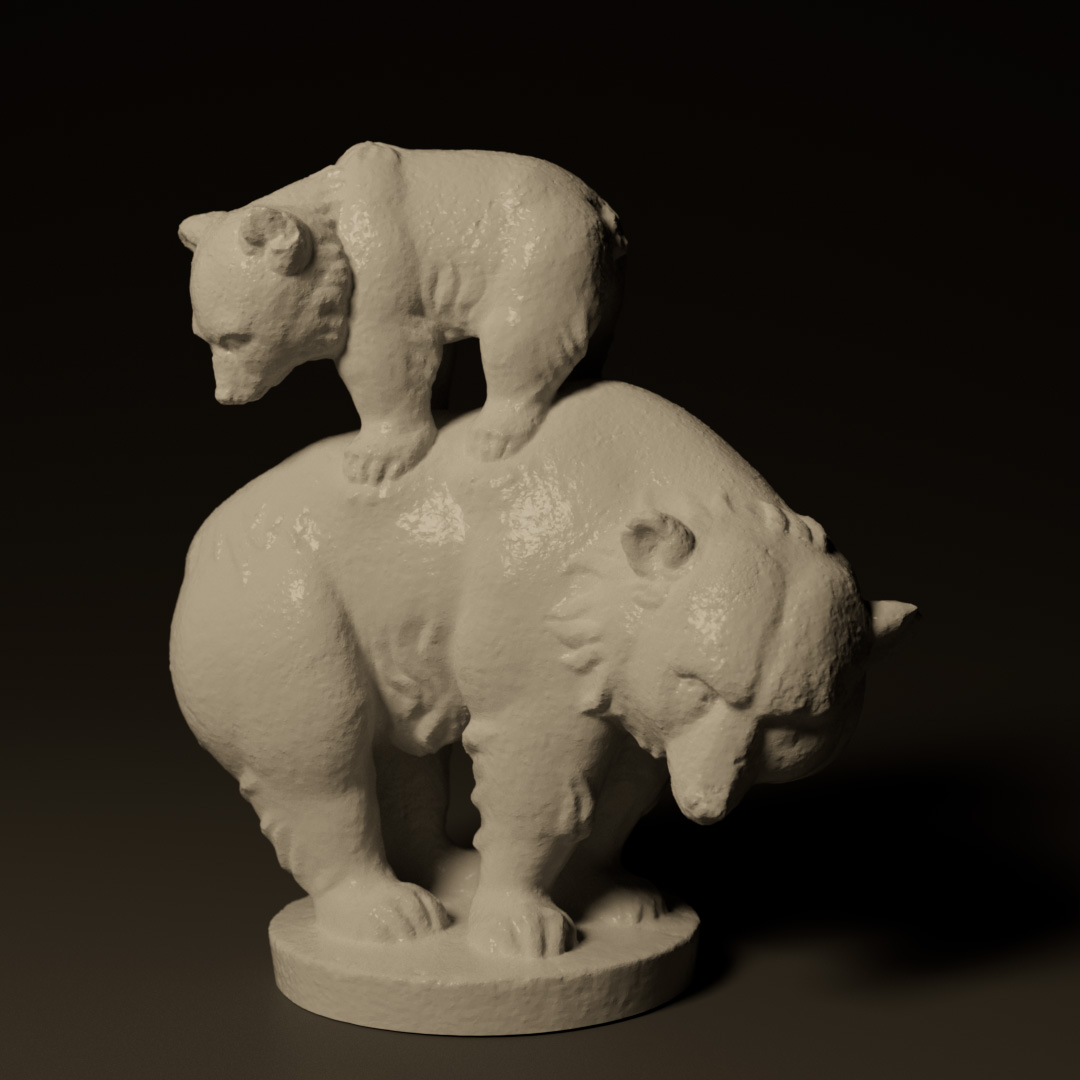
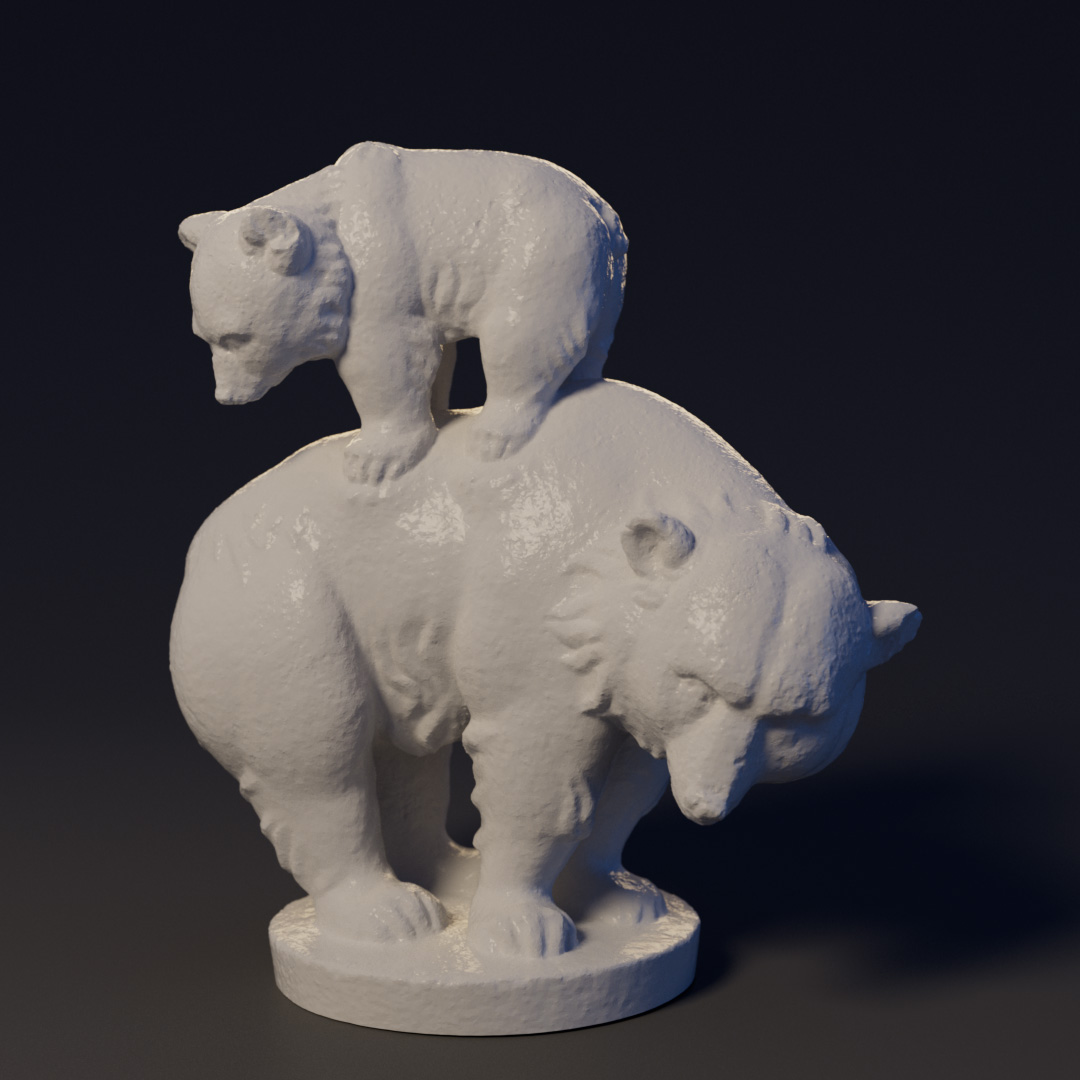
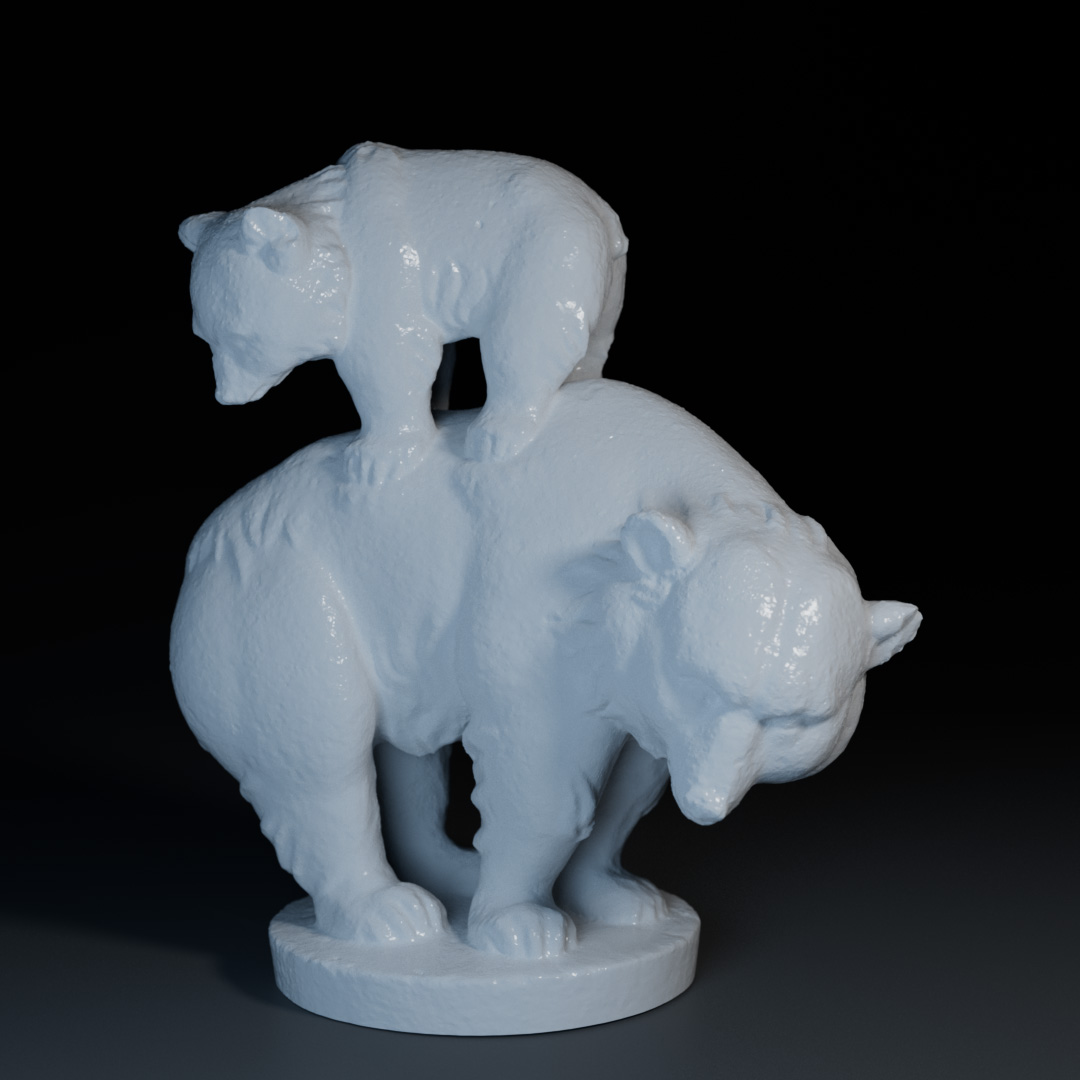
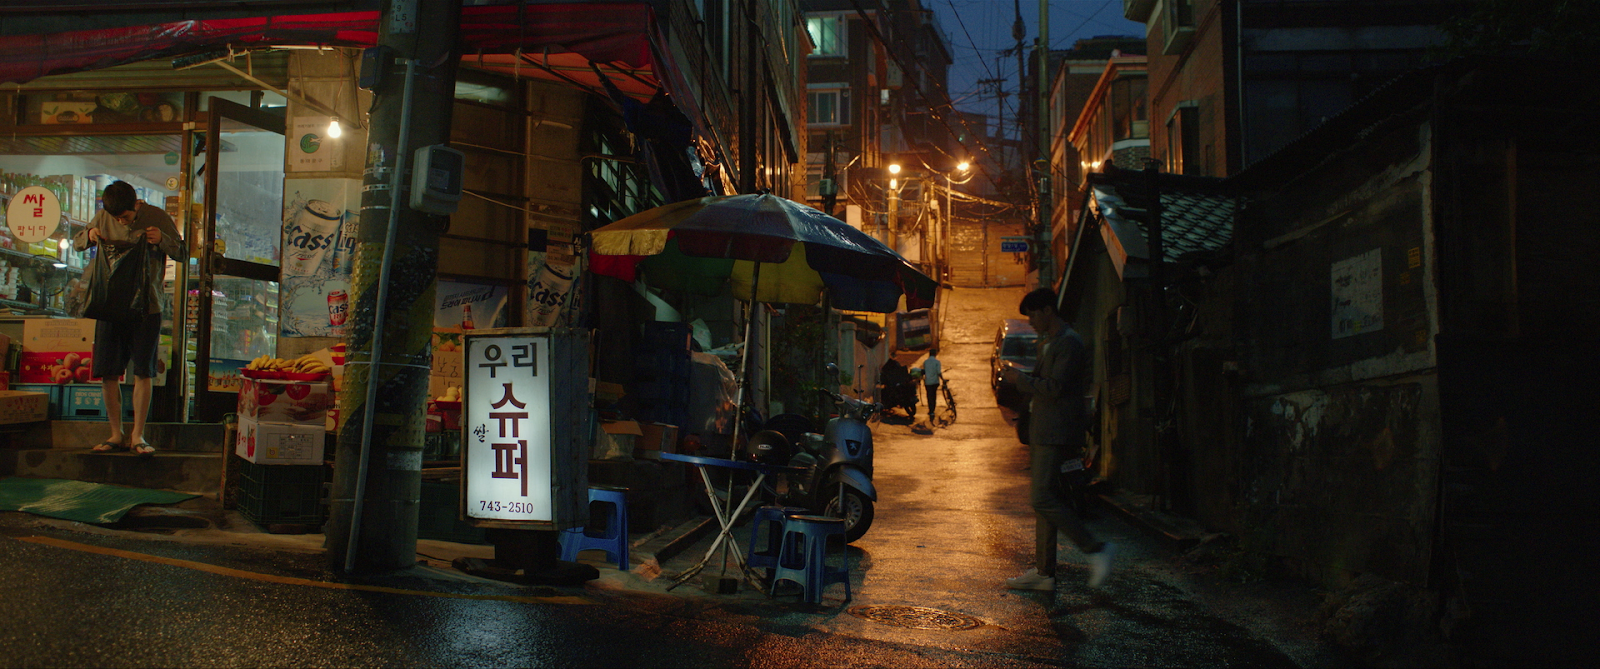
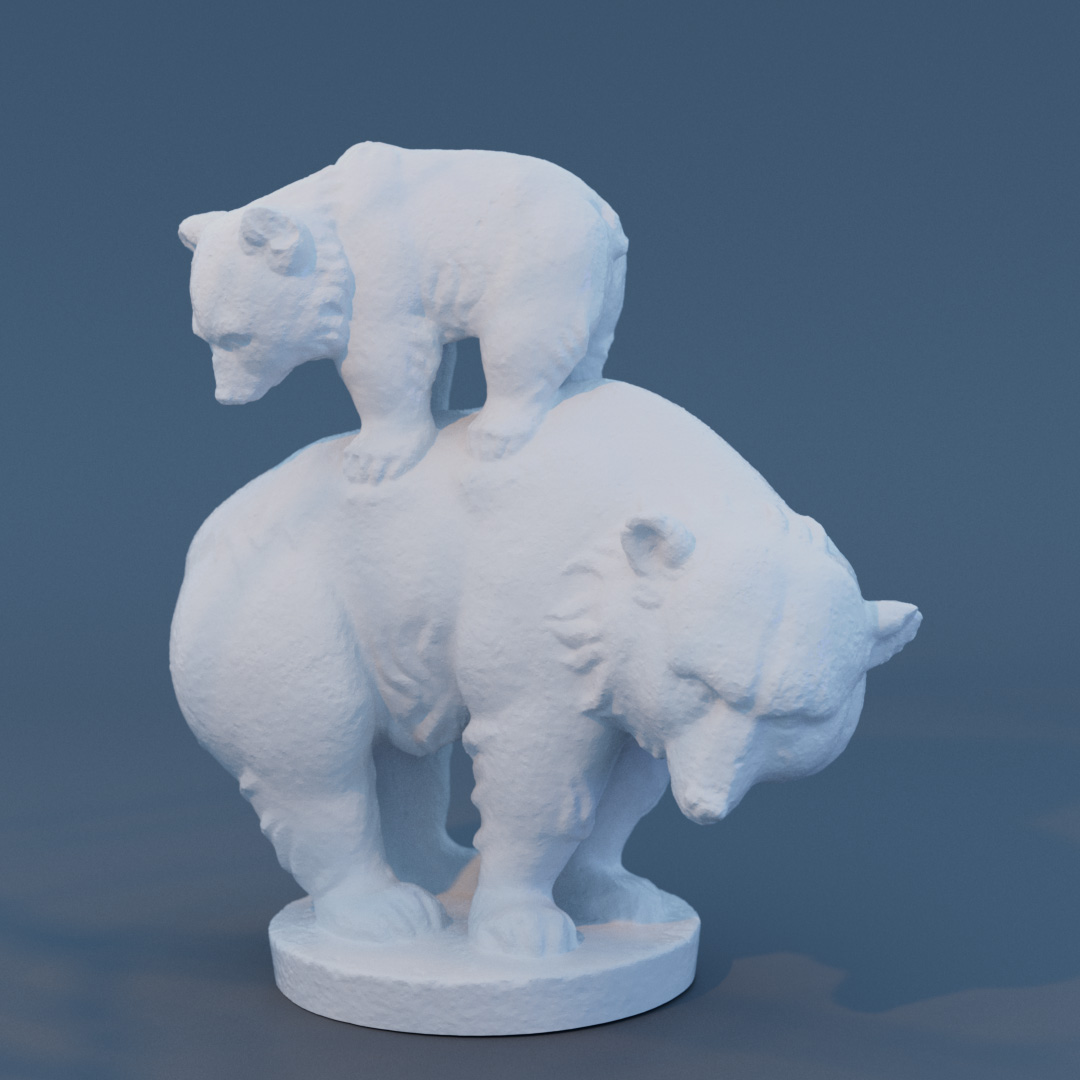
We used a 3D scan of two bears, sculpted by Hanna Gärtner, which was downloaded from My Mini Factory website which is an amazing resource for scans from all around the world and these models are excellent for practising lighting and shading in 3D as well as for printing. We used two simple Redshift grey materials, one slightly rougher and darker for the floor and lighter grey material for the model. These materials are the same for each render, so that gives us a base for comparison
The preview scene is set to use cm for project scale, and the sculpture of the Bears, is 1.5 metres high. Using real world scale for your scenes will help with lighting as you can accurately size and position lights based on real objects. This will help calculations such as light falloff and shadows to be more physically correct.
1. Which type of light?
Depending on the atmosphere you are trying to achieve, choosing the correct light can be fundamental.
For a candle or a light bulb in a room, a point or spherical area light would work well as the light emits in all directions. For outdoor scenes, perhaps a dome light for ambient illumination, then compliment this with an area or infinite light for sunlight. I tend to use Area lights 90% of the time unless I am after a specific effect.
In the examples below you can see the results using the C4D Default Light, RS Point Light, RS Area Light and RS Dome Light. Click on the images and scroll left and right to see them at full resolution.
They each offer quite different results. The default light should never be used for a final render, but the other three all have benefits and can be used together for creative results.
The Dome Light renders with overall flat illumination and no obvious shadows, the area light is more directional but still illuminates a wide ‘area’ and has an obvious shadow being cast behind the model.
2. Global Illumination, Dome Lights and HDRIs?
Global Illumination and Radiosity are the terms used to describe the process of calculating indirect lighting. The following is a simplified explanation and not all renderers work the same, but hopefully this helps explain the general principle behind Global Illumination (GI).
When a light is evaluated, the render engine will fire rays from either the camera or the lights, these rays will travel into your scene and bounce off the surfaces of your models. Without GI, the only light that is calculated is from the rays that bounce from the surface of the model. Depending on the light type, intensity and distance, combined with the surface properties the amount of illumination for each ray hit is calculated.
In the real world, light will bounce from one surface to another and will continue to bounce until all the energy is absorbed. This is why we can see light around a corner as it bounces from one wall to another, and this is the concept of Global Illumination. Rather than only calculating the direct hits, the rays are bounced from surface to surface and the light and colour contributions are calculated for each ray bounce.
In the images below you can see the difference that adding GI makes, from left to right we have Dome Light, Dome Light with GI, Area Light and Area Light with GI. Notice how the images appear slightly lighter, this is due to the additional bounces of light which are now illuminating parts of the model indirectly and is especially noticable between the legs of the bear.
The reason I included Dome lighting in a tip about Global Illumination, is because over the last few years (decade maybe), it has become increasingly popular to use the combination of High Dynamic Range Images (HDRI) with Dome Lights and Global Illumination as the sole light source for rendering. The advantage of this is that you have a quick and easy solution for lighting your scenes realistically with only a few clicks. You can cycle through your HDRI library until you find a look that appeals to you. Job done!

Using HDRIs with GI can produce great results, there’s no doubt about it, but you are limited by the rotation of the dome light and the colours are defined in the image itself. I’m not saying don’t use Dome Lights or HDRIs, they are awesome, but they should rarely be your only light source. I use HDRIs all the time and they are an essential part of my lighting toolkit.
HDRIs are super handy for quick solutions, but if you are crafting an image and trying to dial in a specific look, then I think that dome lighting should be used conservatively, for ambient light only, or HDRI for reflections, etc. Add additional lights into your scene to compliment the dome, and use these to define the look you’re aiming for.
Here are some examples using three different HDR images for illumination. I adjusted the angle and intensity of the dome light and the saturation of the HDRI for varied results.
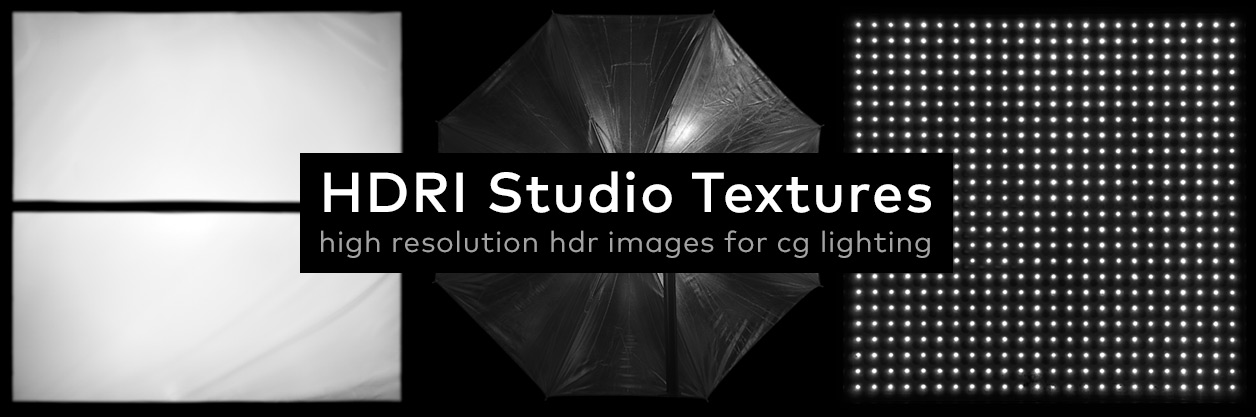
At helloluxx we offer a variety of high quality HDRIs, view our current library here.
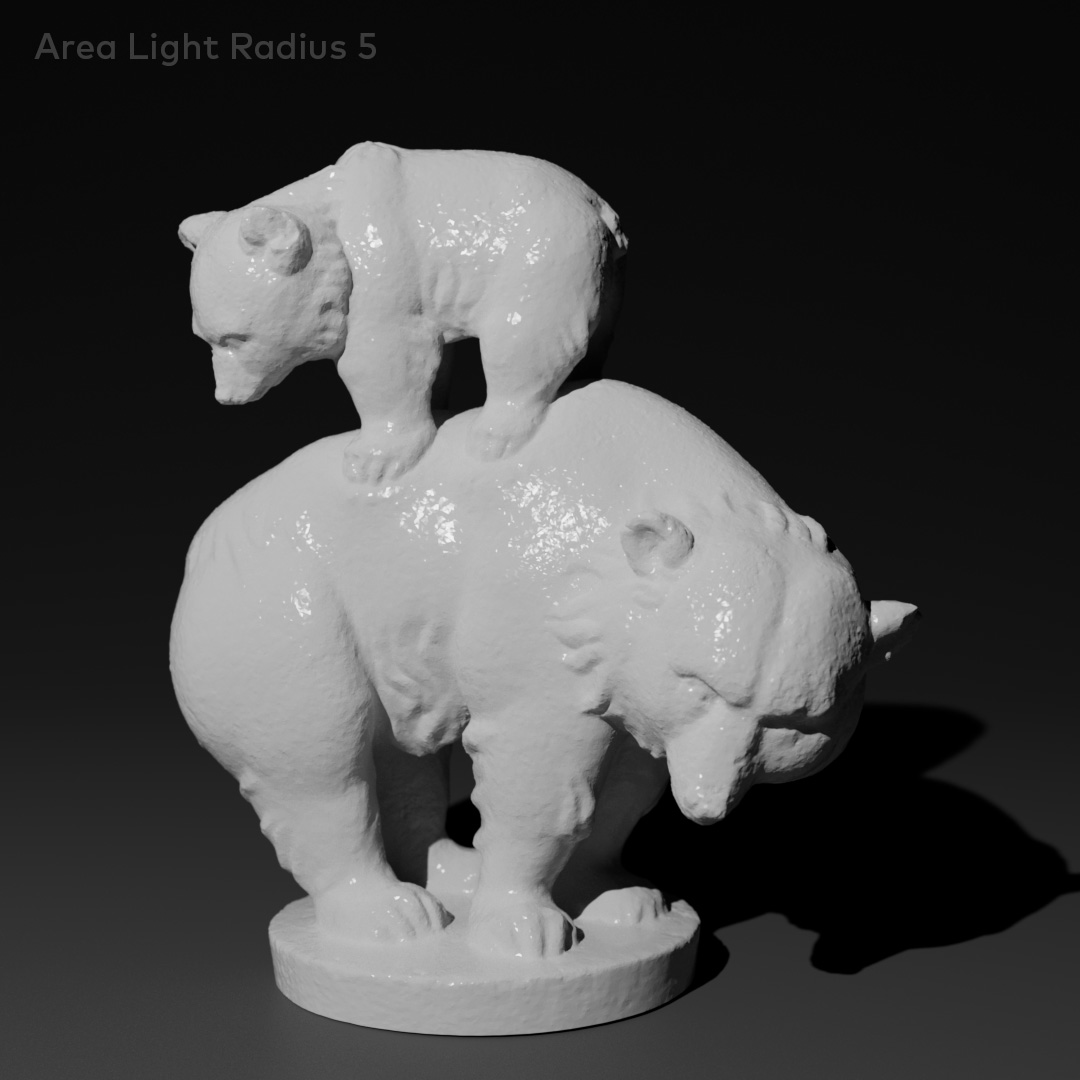
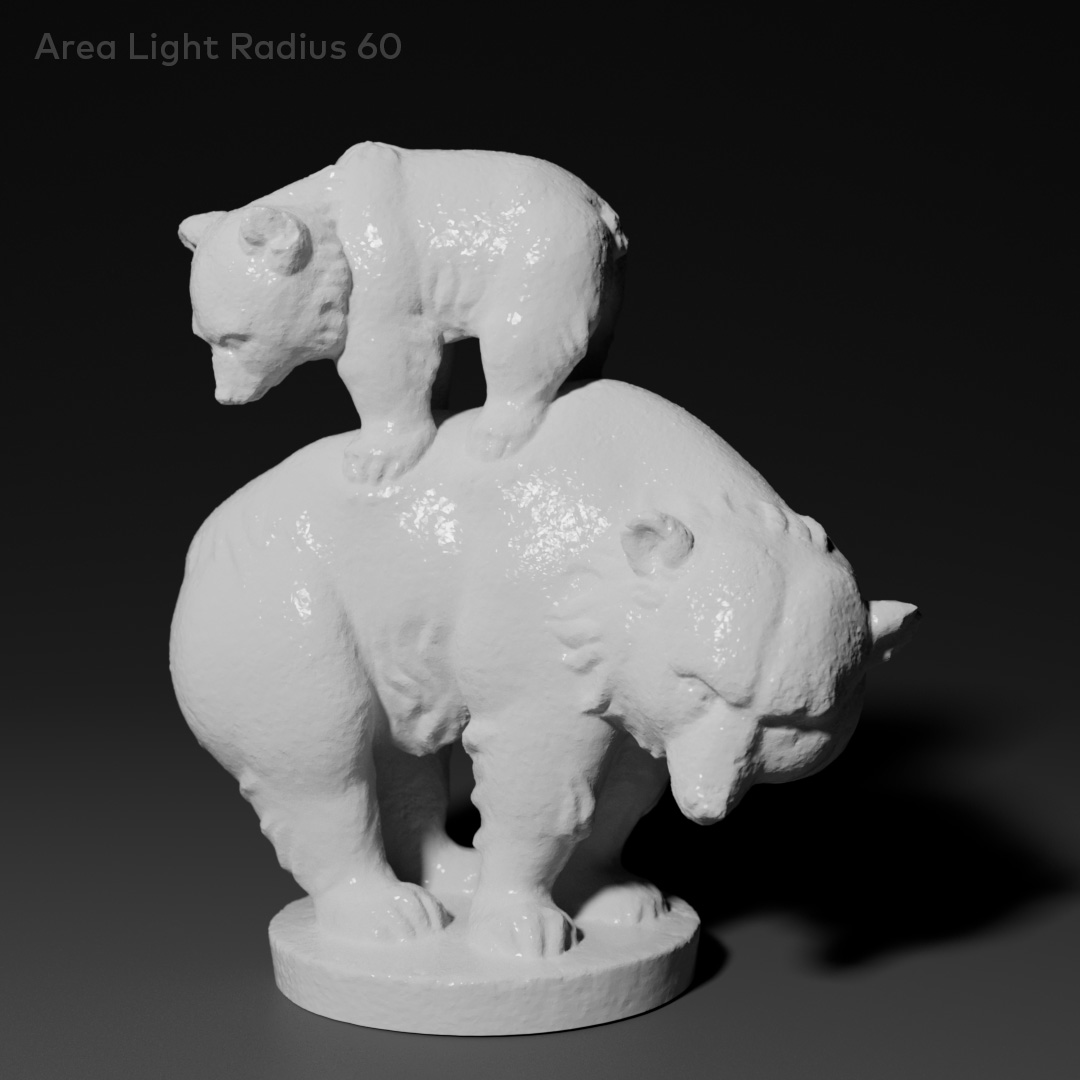
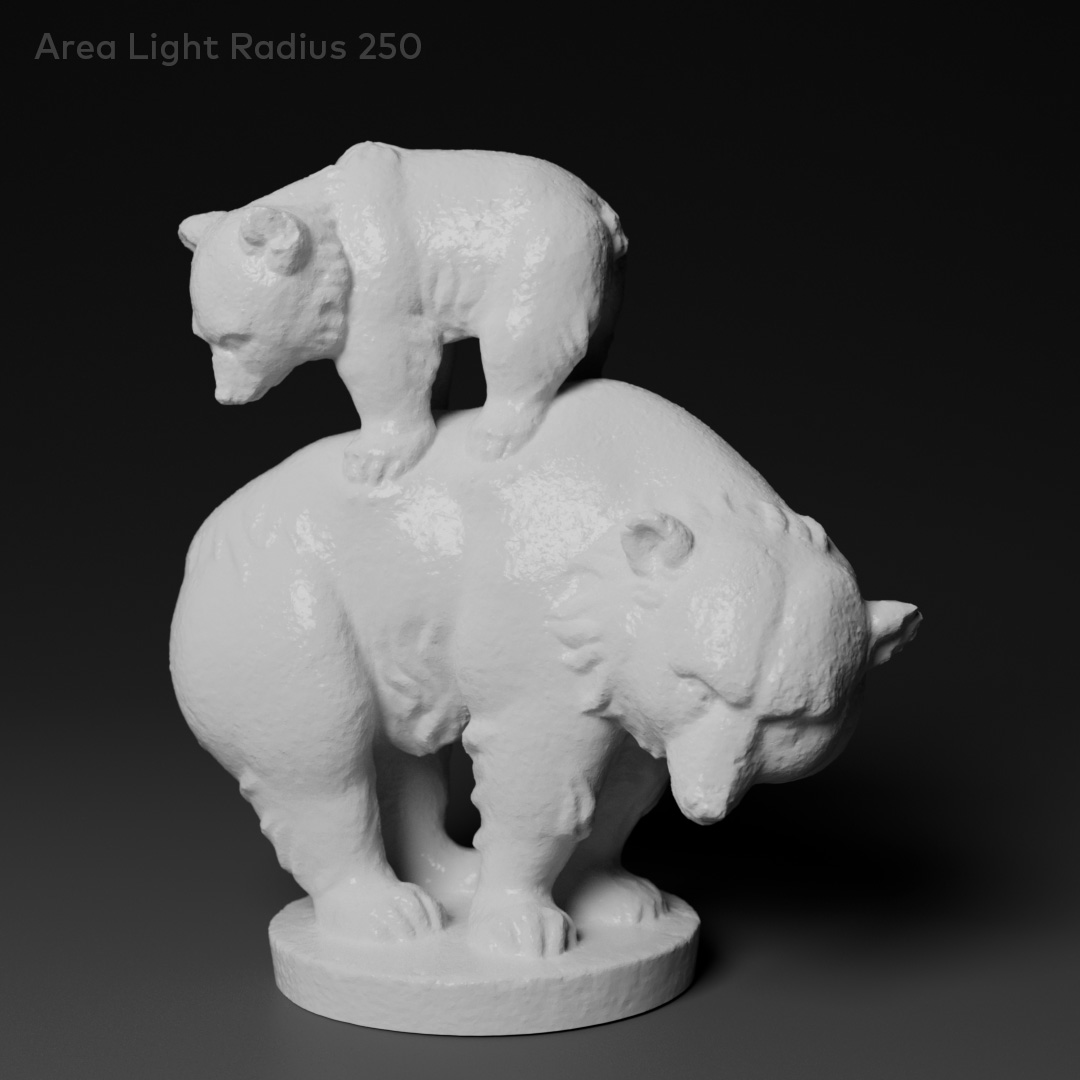
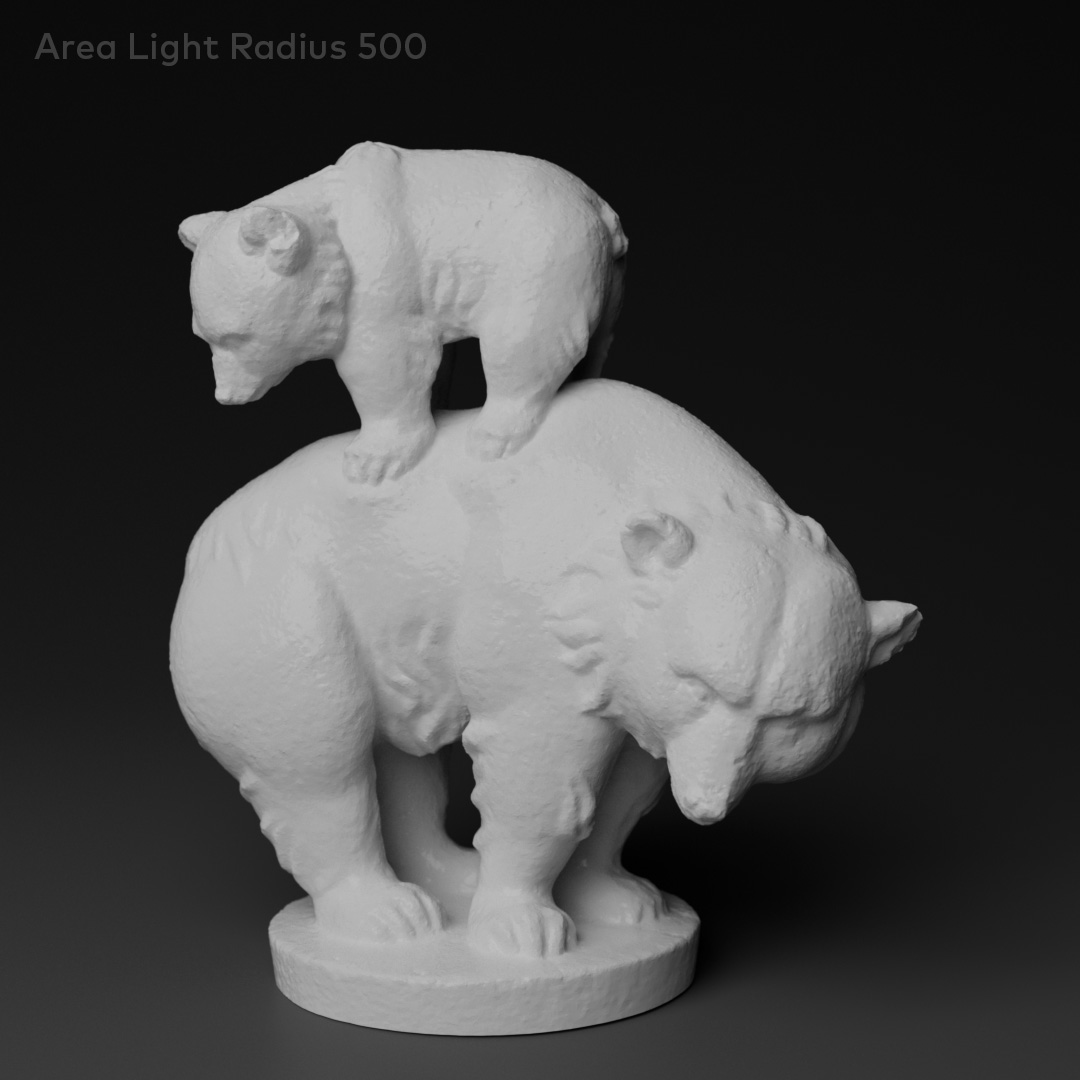
3. Size is everything.
The type of illumination and the shadow a light produces will strongly influence the feeling of your shot. For a hot sunny day you would want the light to be bright, reflective and glaring, the shadow would be dark and hard with very little falloff. In sharp contrast to this, an overcast day would have soft lighting with very little specular and the shadows will be lighter with very soft edges.
To create these types of lighting effects in the real world, you could use big soft boxes or bounce the light onto huge sheets of polystyrene to create very diffuse lighting. You can also adopt these tricks in the 3D world and emulate traditional photographic lighting tricks by bouncing your lights off large surfaces to create a similar effect.
The Rectangular Area Light is essentially a virtual soft box, a bank of smaller lights in a grid, all contributing to create a flat surface of illumination. By adjusting the size of the light and the distance to the model, you have control over the illumination and the shadows created.
It’s simple really, the larger you make the light, the softer the result. A small area light will produce a smaller highlight and a sharper shadow, the larger it becomes the larger the reflection and softer the shadow. As you adjust the size or radius of the light, the amount of illumination will also change, simply adjust the Exposure parameter on your light to compensate. You can see this effect in the images below where the light gets progressively larger from left to right.
4. Use more than one light.
One light alone is rarely going to give you the result you’re looking for, as it will leave you with areas in your scene which have no illumination. If you use Global Illumination, this will help to bounce light around, but even then, one solitary light will probably need some supporting lights. Use lights to define darker areas of your image just as you do to light hero areas.
A common lighting technique is three point lighting, this uses a main light (key) for the primary illumination, a fill light to illuminate the darker areas, often finished off with the third light, a rim of light from behind to lift the subject away from the background.
The key / fill ratio is the balance between the intensity of the various lights dictating the overall contrast. If the key light is bright and fill lights are dull, the result is high contrast dramatic lighting such as the full sun of midday. If the illumination of all lights is more or less the same, the result is the opposite and the scene will look flatter, more like an overcast cloudy day.
Below we have two lights illuminating the scene and the image contrast reduces as the light’s brightness values become similar from left to right.

There are many ways to light a scene or character and three point lighting is fairly basic, but it is still a viable technique to master as it can be a good starting point for many shots.
Another trick is to add a spill light to your scene, this is a light positioned similarly to your key light, however the spill should be much softer and illuminate a wider area, the combo of key and spill creates a more natural look than key light alone.
The images below demonstrate a simple three point lighting setup, starting with just the Key Light, then adding in a Fill Light, finally a bright Rim Light behind. The problem with the Rim Light in this example, is that it also adds a lot of light to the floor behind the model which may not be desired.
5. Include lists and light linking.
To solve the problem above where the Rim Light is hitting the floor, you could adjust the light’s angle and position, maybe use barn doors to minimise the spread of the light.
Another option would be to use include / exclude lists or light linking which limits the lights influence to specific objects in the scene. For the problem above I chose to simply exclude the floor object from the Rim Light.
The way you achieve this varies depending on the renderer, with Redshift in C4D under the light’s project tab, drag and drop objects into the list to include or exclude them from that particular light. Octane uses light linking which works by assigning lights to specific numbered passes, then on the Octane Objects Tag you can select which number light pass will affect that object.
A common lighting trick is to light in layers and have areas of dark move to light and then back to dark to light. This lifts the hero elements away from the background but also allows detail to be seen in the distance. Using include lists or light linking gives you the freedom to light your foreground and background objects independently.
6. Light is colourful.
Whether you’re a color or colour lover, add colour to your lights. It is good to explore the balance of light in your scene using only white light, but colour allows you to paint with the lights and surfaces.
It’s common to see the combination of a warm yellow key with cooler blues and purples for fill and ambient, but exploring more vibrant colours and combinations can open up new creative directions.
The colour of the lights is essential for portraying a certain time of day or a particular environment. Early morning sun is very different to the harsh lighting of fluorescent tubing. Think of the lighting you’d like to achieve so you have a target in mind and then chase it.
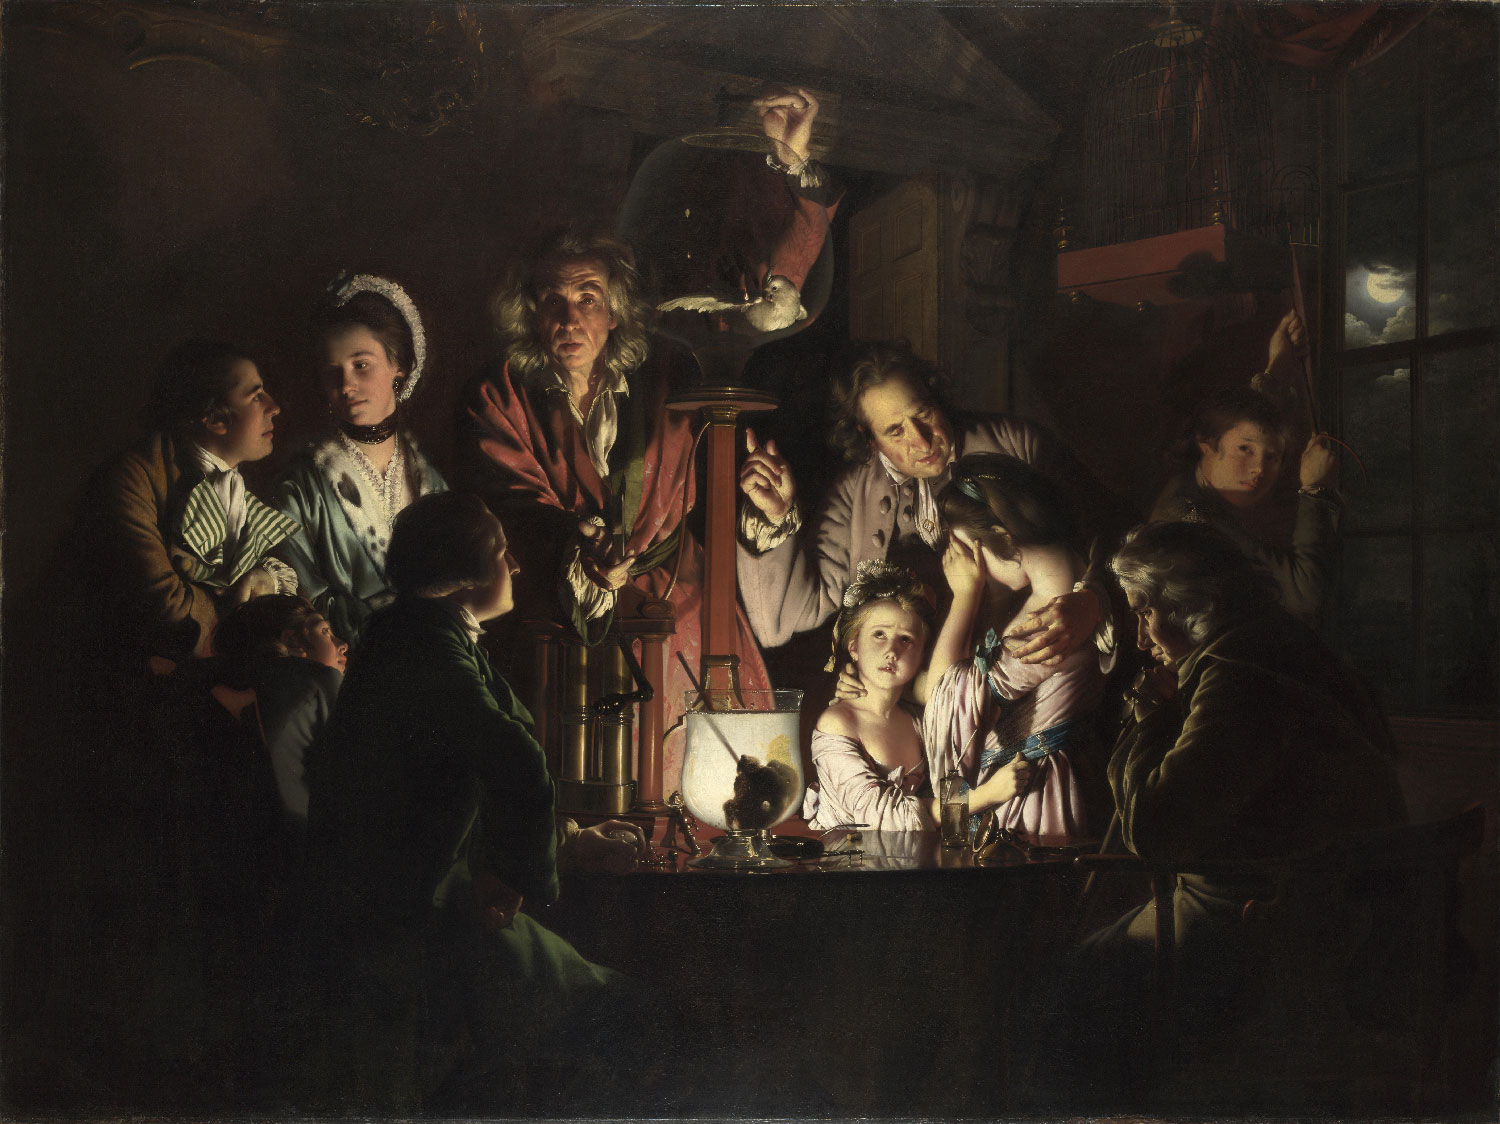
Study other mediums like film for reference, and also look at how the old masters worked with light in traditional painting. Artists such as Rembrandt and Caravaggio whose studies of light are an inspiration.

7. Where is the light?
We already looked at the three point lighting rig and this gives a basic result, however, your story is far more complex and exciting.
A bright moon behind a hill creating a silhouette, someone huddled over a fire on a cold night, the early morning sun hitting the rooftops. Whatever you’re creating, deciding where the light sources are and how they affecting the subject and environment is fundamental to your shot.

8. Solo lights.
As you add more lights to your project it can be difficult to really assess the influence each has on the scene. I like to solo my lights as I build my lighting, this means that I disable all the other lights in my scene and focus on each individual light to refine the illumination and the shadows being cast.
Try enabling your lights one by one and trying different combinations to see how they work together. If a light isn’t contributing much, ditch it or move it. In the images below I’ve soloed the dome, key, fill, rim lights, then all lights enabled.
9. Diffuse, Specular and Shadow casting lights.
One of the advantages of CG lighting over practical is that you have complete control over every light. Lights create diffuse reflections, specular reflections, shadows and they also contribute to other render features such as GI and Sub-Surface Scattering.
Most modern render engines offer a way to control how much of a given feature is influenced by each light. For example, you can enable or disable the diffuse and specular component of a light. Maybe you only want your key light to cast a shadow?

With Redshift Lights, under the Ray Tab you can decide if a light contributes diffuse or specular. There are controls to scale the effect or simply disable it. You can also control the GI and SSS influence of individual lights. Switch to the Shadow Tab and here you can disable shadows for the light, or adjust the shadow transparency.
In the exaggerated example below, we have bright specular from two lights, then I’ve disabled the specular from one light, finally the shadow is switched off.

10. Dirty up your lights.
CG lights are perfect lights, the illumination and spread is calculated to be as precise as possible, but in reality lights aren’t like this. Even the sun gets obscured, maybe by clouds or a tree. A lamp on a wall might get dirty or even cracked, this will affect the light distribution and how everything is illuminated.
We can simulate this be using gobos and textures on our lights. You could apply a texture directly to the light itself using a shader, or you could use the texture in the opacity or alpha of a material and shine the light through it to project a shadow like a gobo. Either way, using these kind of methods to dirty up your lights will add another level of detail to your work.
This collection of HDRI Studio Textures is perfect for using with your lights to transform them into softboxes, LEDs or banks of flourescent tubes.

Can you see the light?
These tips for lighting are just the beginning of your adventure. The journey through each and every project you take on will improve and enhance your lighting skills, this is something that you will constantly finesse for the duration of your career. Always learning more and improving. I hope this small collection of tips helps those of you new to this and inspires you to keep on rendering.
If you are interested in in depth lighting training then please check out learn. Pro Lighting with Cinema 4D and Redshift. This course will teach you fundamental principles for successfully lighting with Cinema 4D and Redshift. Mixing the artistic with the practical, this course covers technical aspects of digital lighting along with creative workflow. Starting with light fundamentals to set you on the right track, we quickly move on and explore multiple lighting setups in a variety of scenes.