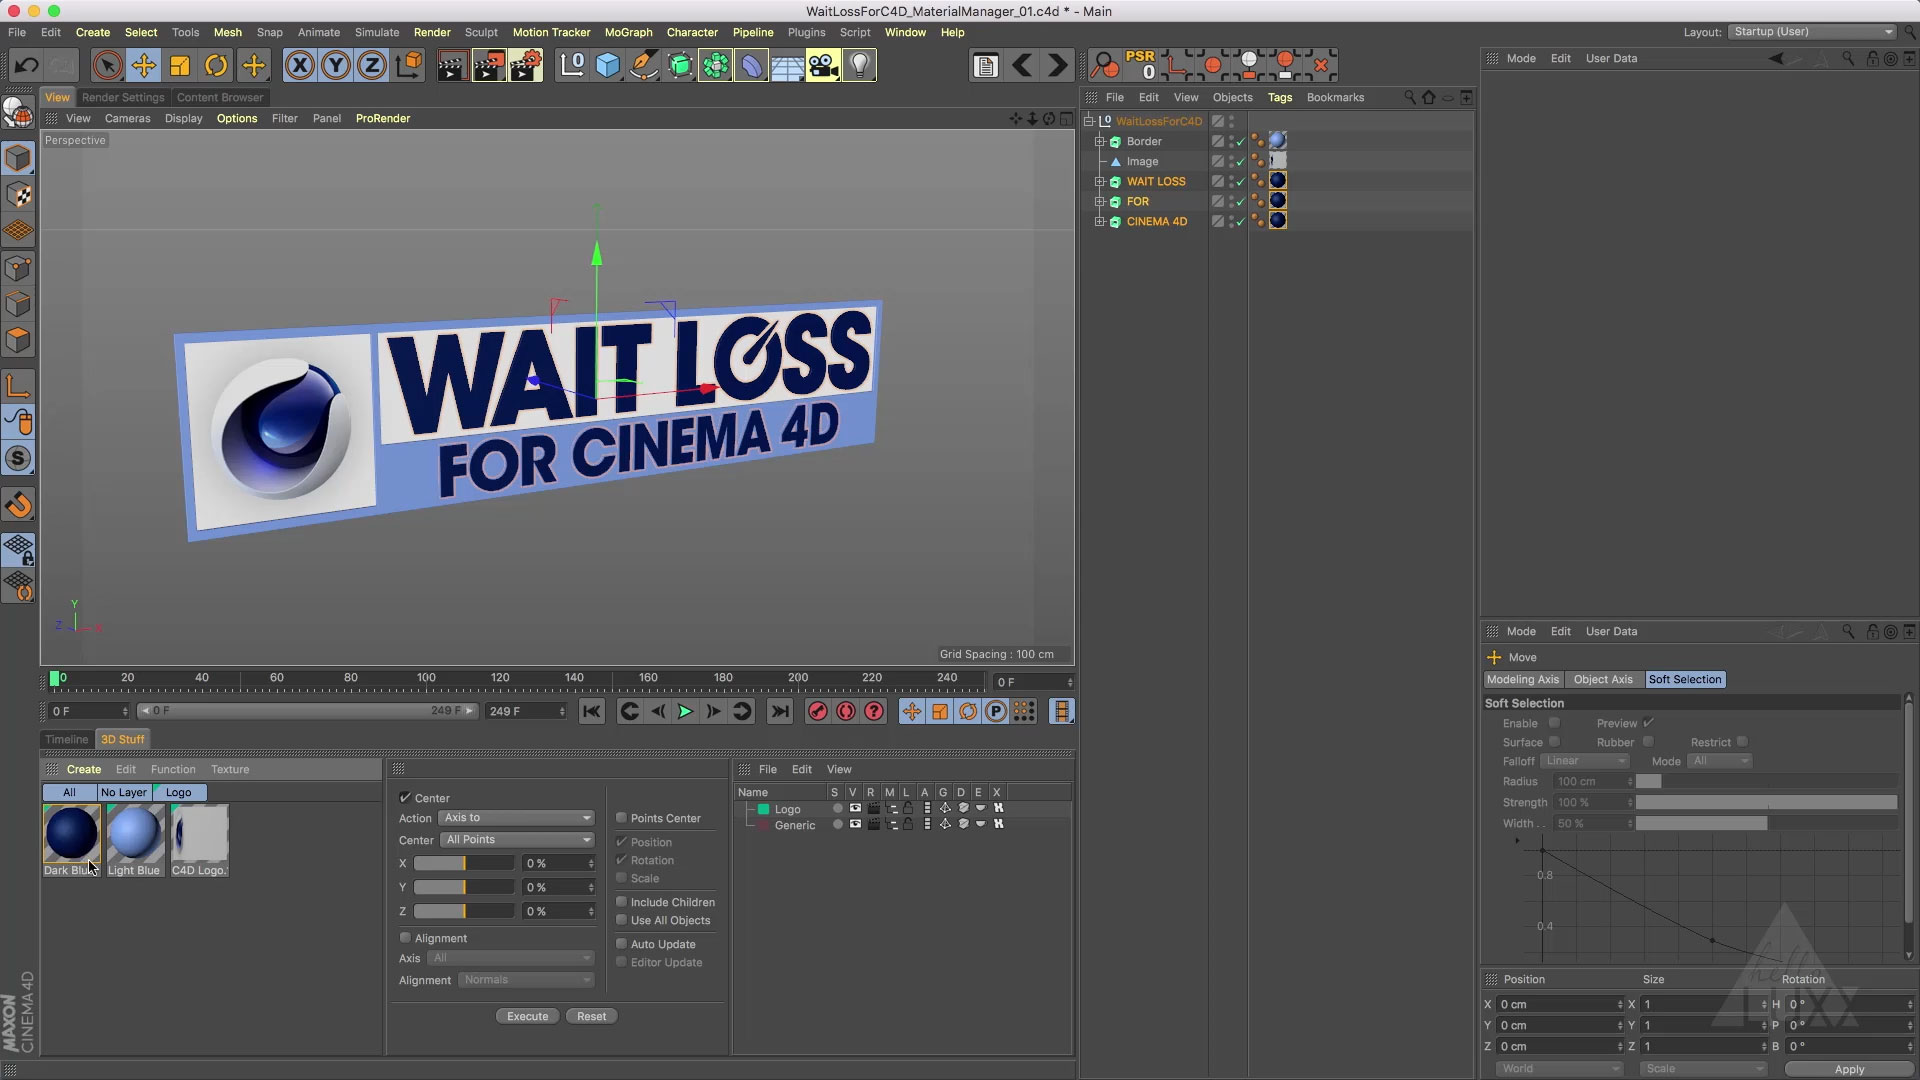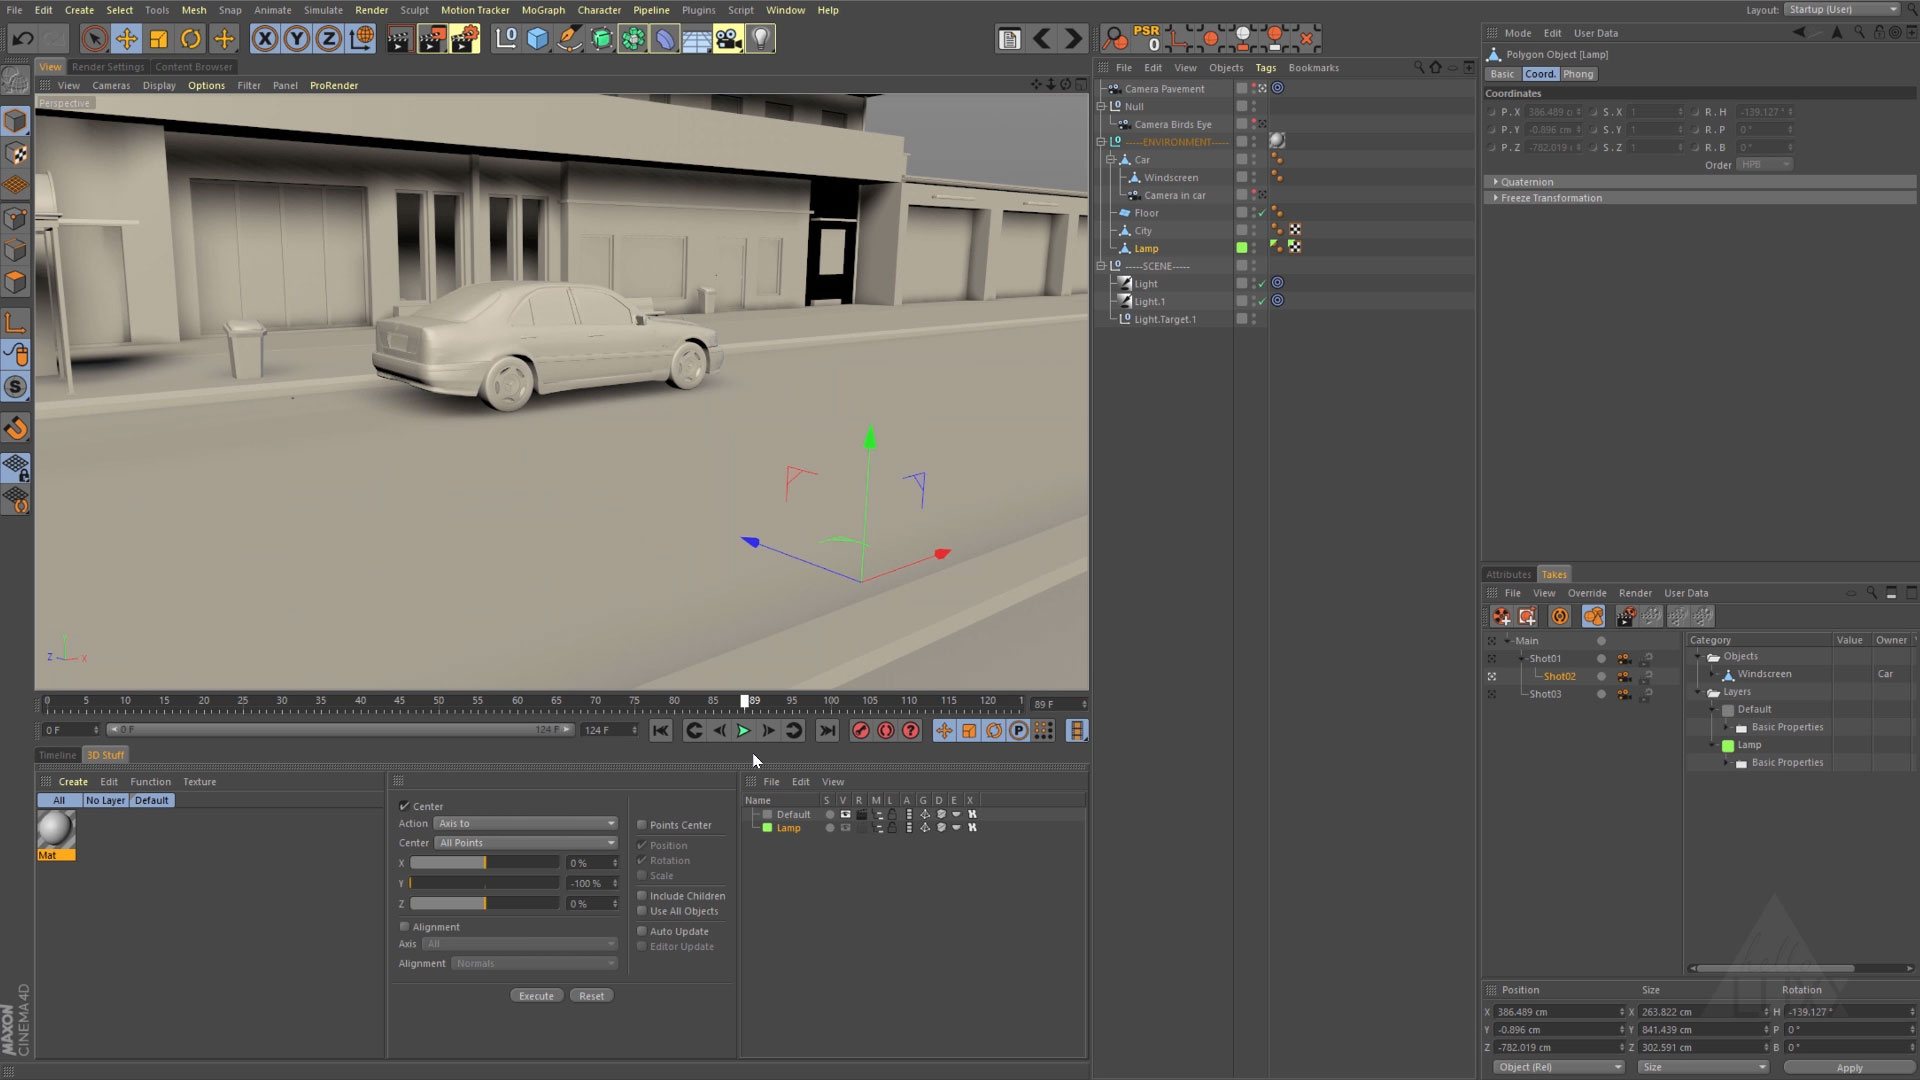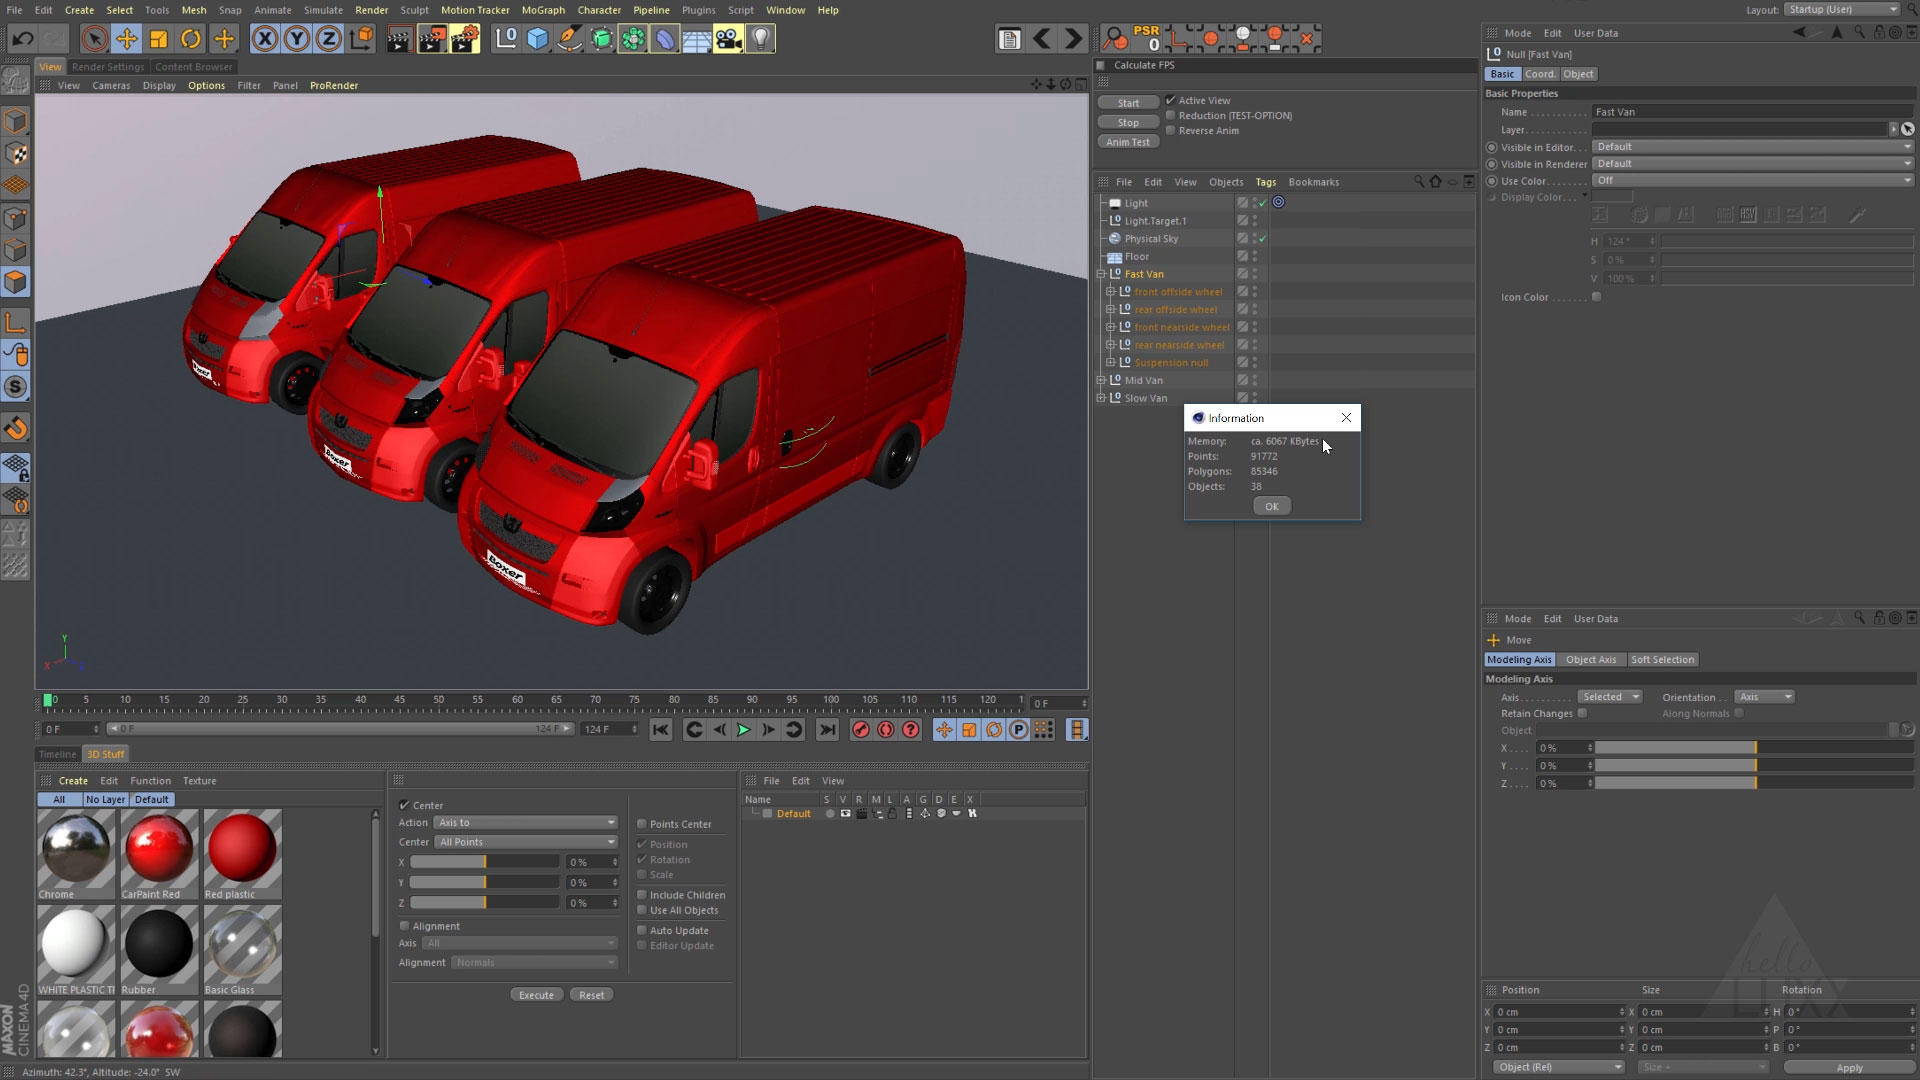
As a motion graphics artist, you need to be on top of your game, both creatively and technically. It doesn’t matter how much faster your systems become, creative demands are getting a lot tougher too. Wait Loss for Cinema 4D is not about teaching you the latest trendy technique or fancy feature, this is about working fast and efficiently; knowing which button to push to get the job done right … and on time.
Tim touches on virtually every aspect of Cinema 4D, from setting up the program to suit your needs on every project, through to managing larger jobs with multiple shots and assets. Working fast is essential and Tim will show you how to optimise your scenes and objects to get the maximum playback speed whilst working.
Training Summary
Speed up workflow for every project
Managing huge scenes efficiently
Tips for many aspects of C4D workflow
Solve problems with efficient solutions
Includes all relevant C4D scene files
27 tutorials over 350 minutes
Recommended requirements
Cinema 4D R19 or above
Your toolkit of skills will be bursting with tricks to achieve your goals faster, while spending less time on the technical and more time on the creative.
The 350 minutes that comprise this tutorial are spread over 27 chapters, with durations ranging from 3 minutes, up to 35 minutes, affording you fantastic flexibility to do a little or a lot, at any given time. Perhaps a 10 minute chapter while you are waiting for the pasta to cook, or a 4 minute chapter while you wait for your egg to boil!?
So what are we WAITing for?!?! Let’s check-out the chapter contents below to see what Faster & Smarter goodness awaits…
Tips for setting up your default projects, preferences, layouts and shortcuts
↓Setup 01 : New.c4d
Duration : 23 mins
Creating a new.c4d file will ensure that your most commonly used project settings become the default with each new Cinema 4D scene file you create. Covers project settings, customising tools, setting up and using parent / child relationships by creating render settings which are relevant to you.
Setup 02 : Preferences
Duration : 24 mins
Configuring the preferences to suit your workflow, OpenGL settings, managing memory and using texture paths to help with project and file management.
Setup 03 : Layout
Duration : 25 mins
Customising your layout and tool palettes for maximum efficiency. Using full screen mode with multiple managers. Creating tabbed managers and group windows. Configuring an attribute manager for working exclusively with tools by limiting the modes available. Easily building custom palettes using existing menus and the Customise Commands dialogue. Transfering layouts to other installations of Cinema 4D.
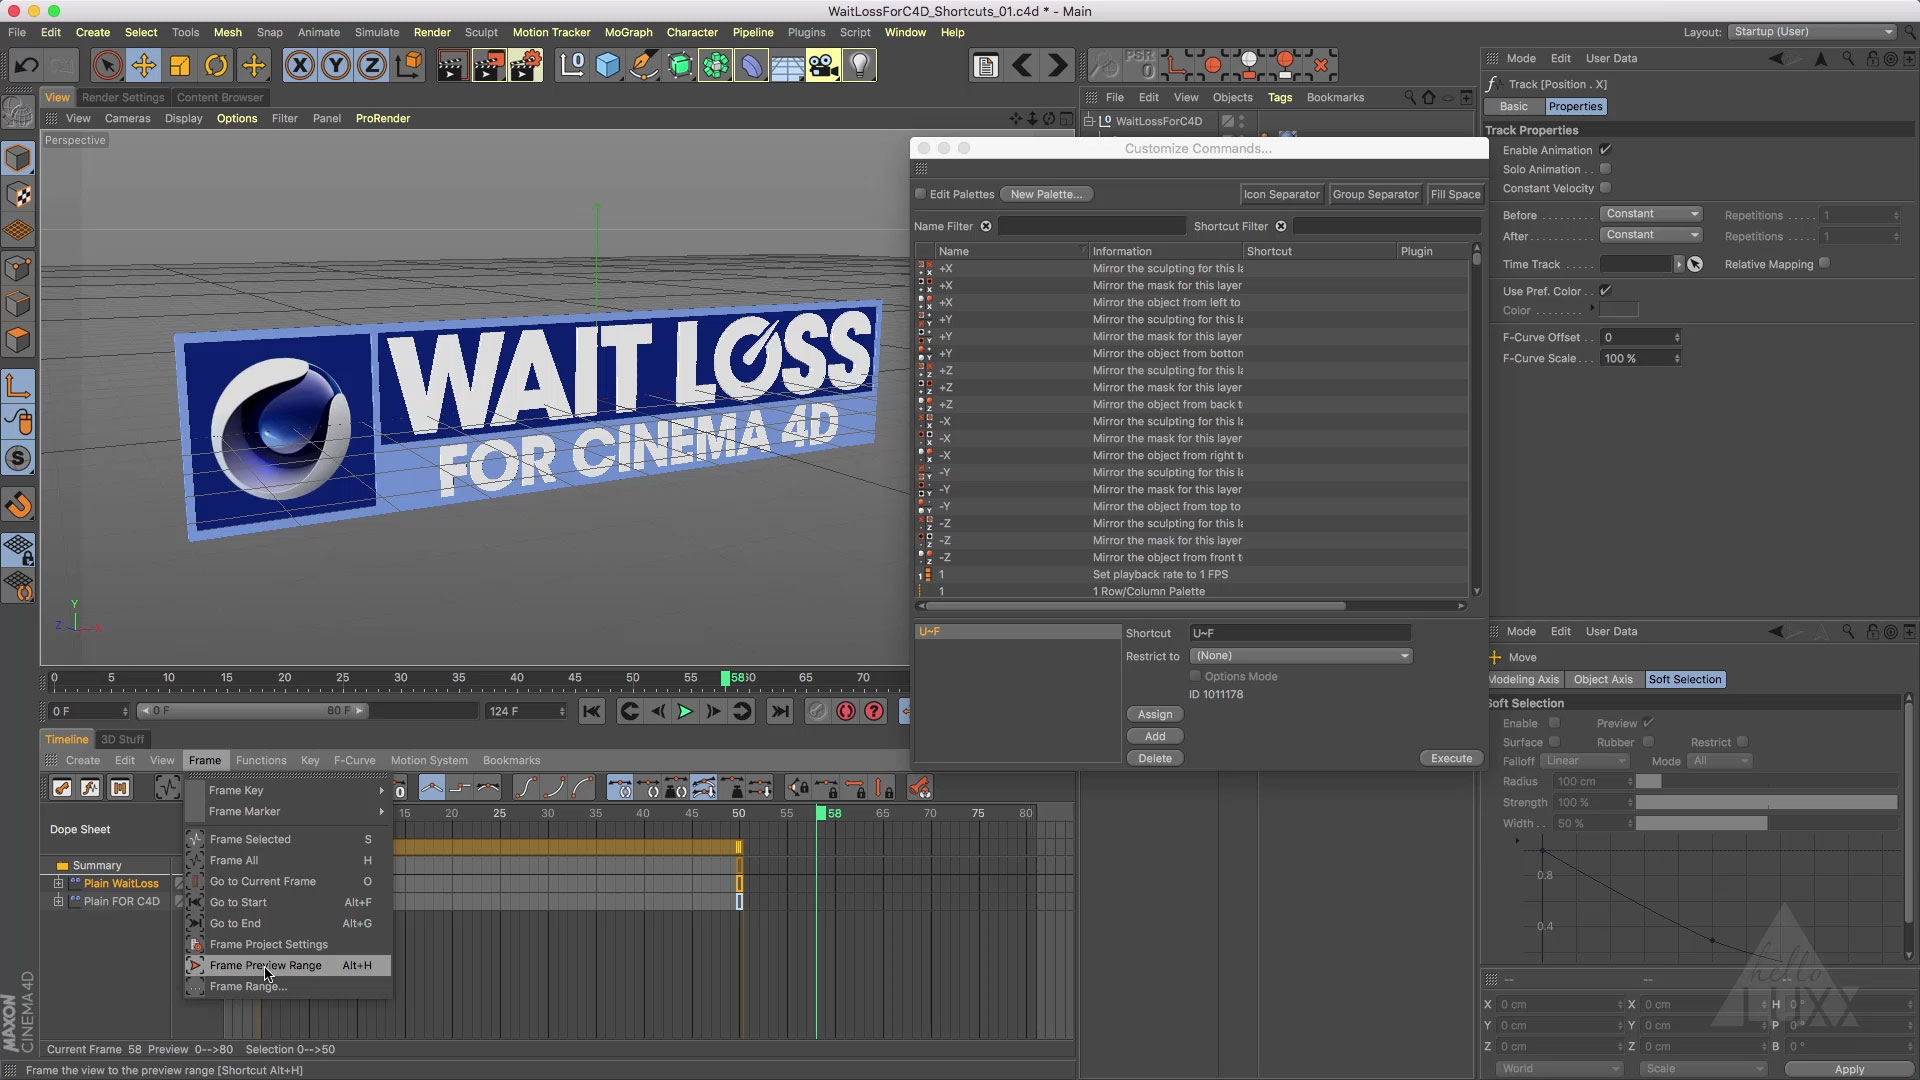
Setup 04 : Shortcuts
Duration : 6 mins
Using the customise commands dialogue to find commands and define custom keyboard shortcuts. Transfer your custom shortcuts to other installations of Cinema 4D.
Attribute Manager, Axis Centre, Layers and plenty more workflow tips
↓Attribute Manager
Duration : 19 mins
The attribute manager is the key to manipulating all of your objects parameters. This section explores this manager and the powerful options available to you. Covers the modes available and working with multiple attribute managers. Create default settings for any of the objects you use and change regularly. Manipulating multiple parameters simultaneously and using formulas to facilitate easy changes whilst maintaining relative values. Navigating the attribute manager and finding specific parameters with ease.
Attribute Manager – Mesh Checking
Duration : 3 mins
A quick look at the Mesh Checking options available with the attribute manager modelling mode.
Some tips for finding problems with your models and cleaning them up quickly and efficiently.
Axis Centre
Duration : 3 mins
Axis Centre is an essential tool for manipulating objects and axis position and orientation with relation to the points, edges or polygons on a mesh, as well as the spatial relationship between parent and children object hierarchies.
Constraints
Duration : 20 mins
A collection of tips for working with constraint tags and how these can speed up and automate tasks that would otherwise be tedious and complex.
Covers the Clamp, PSR, Aim and Mirror constraints.
Layers
Duration : 20 mins
Using layers for scene management and efficiency with large complex scenes. We explore the various methods of adding elements to layers and working with layer hierarchies. Speeding up your scenes by disabling slow features or isolating layers to focus on an uncluttered project.
8 essential tips for working with materials, textures and shaders
↓Materials 01 : Overview
Duration : 5 mins
This tutorial covers some generic techniques for working with materials, finding and replacing missing textures using the texture manager and setting up texture paths.
Materials 02 : Manager
Duration : 10 mins
Working with the material manager to display and organise your materials. Replacing multiple materials with ease. Using layers for tabbed organisation and cleaning up any duplicate or unused materials.
Materials 03 : Editing
Duration : 33 mins
Eight mini-tutorials bundled into one, covering many tips for editing materials and shaders. Including anisotropic specular, bake texture, image alpha channels, layer, falloff, filter, noise and fresnel shaders.
Materials 04 : Layered PSD
Duration : 5 mins
This quick tip shows you how you can keep all your textures within one Photoshop file and still access the individual layers or layer groups in your material channels.
Materials 05 : Bevel Deformer
Duration : 3 mins
This quick tip shows you a method for texturing the parametric bevel created when using the Bevel deformer.
Materials 06 : Parametric Objects
Duration : 3 mins
This quick tip demonstrates a technique which allows you to create polygon selections for isolating materials to specific parts of parametric objects.
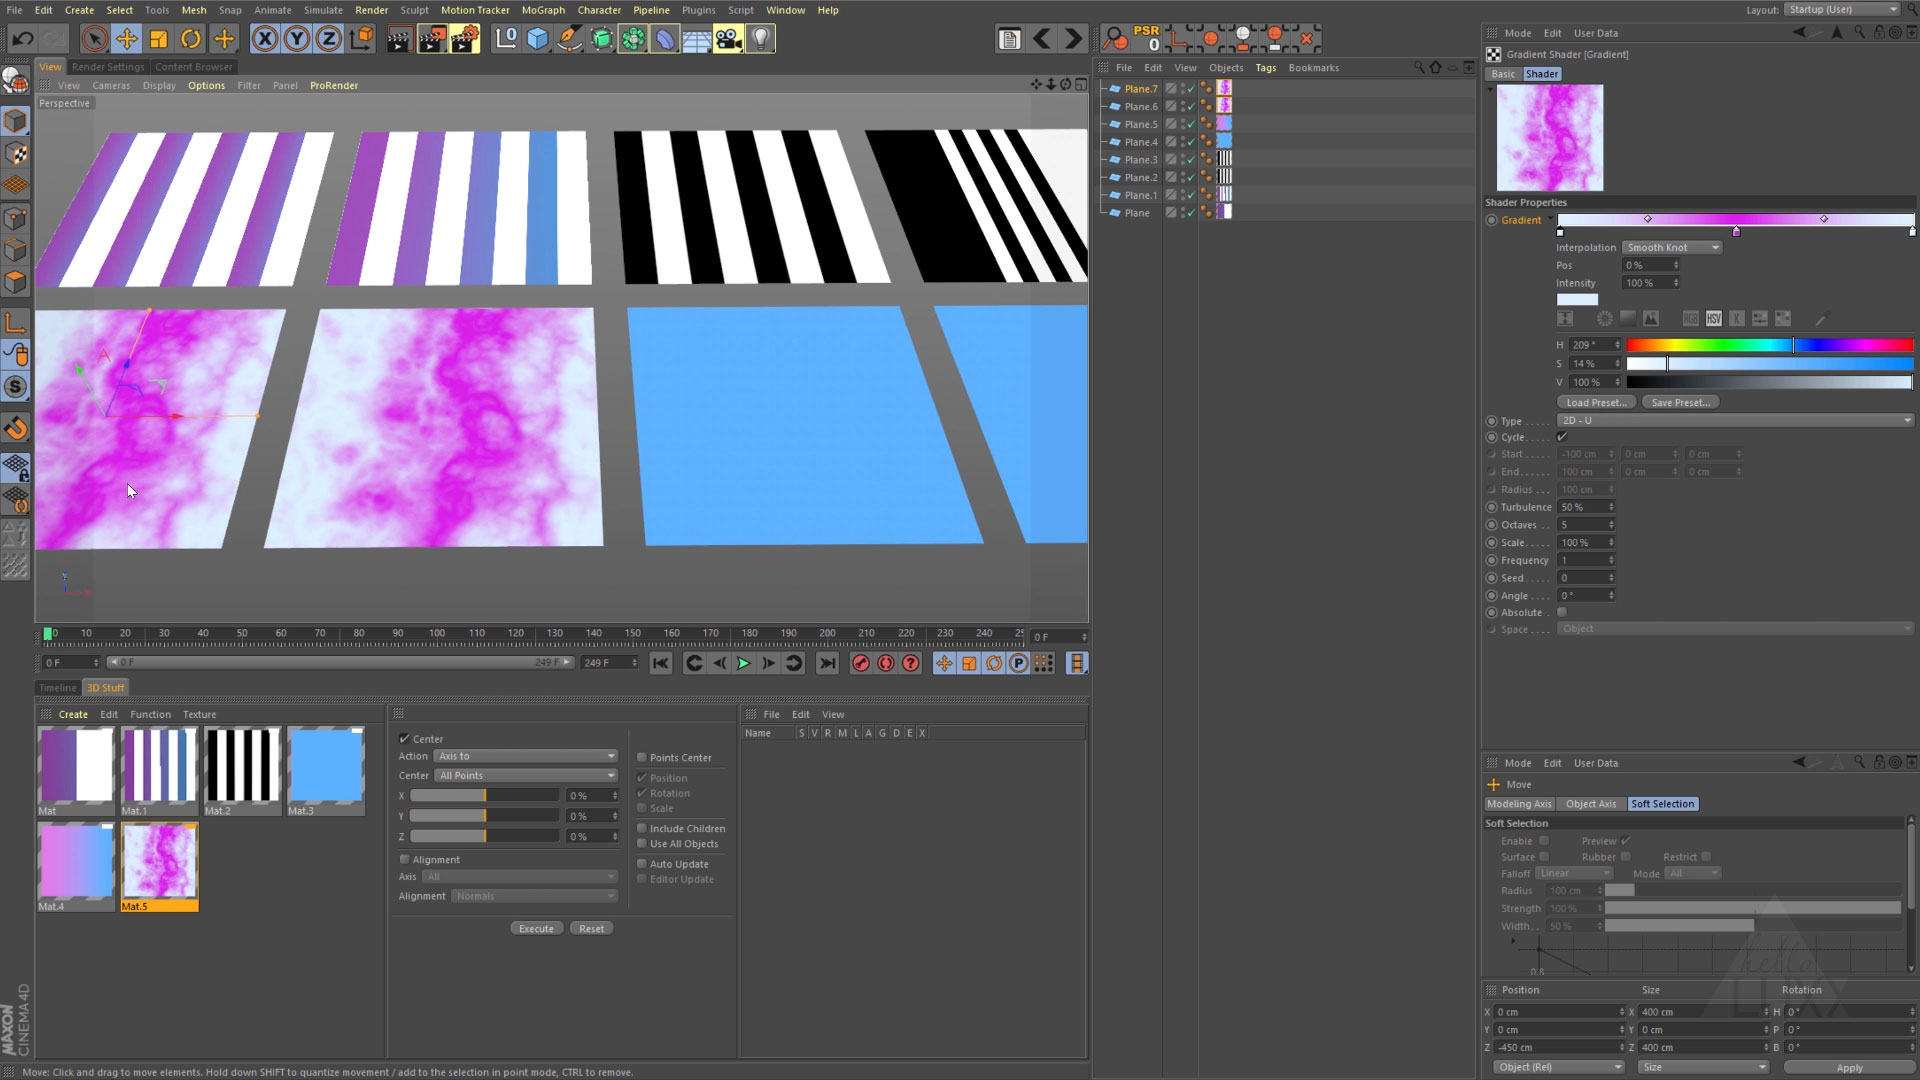
Materials 07 : Gradients
Duration : 22 mins
Exploring the powerful Gradient shader. Creating stripes using UV tiling and cycling the gradient shader. Various methods of animating the gradients.
Materials 08 : Texture Tags
Duration : 9 mins
Using object hierarchies with texture tags and how we can assign materials to multiple objects with a few simple tricks to automate the offset of the texture for perfect alignment. Sticking the texture to multiple objects when working with deformation.
Take control of time with these top tips
↓Takes 01 : Multi-Camera Shot
Duration : 15 mins
Using takes will greatly improve your day to day workflow. This first tutorial covers a multi-camera shoot and how using takes can make this process streamlined and efficient.
Takes 02 : Look Development
Duration : 4 mins
In this second tutorial on working with the Take system, we explore look development and how takes can help make this simpler and more flexible for creating variations of your scenes and reviewing your work.
Timeline
Duration : 35 mins
This tutorial explores many aspects of working with the timeline, keyframes, curves and animation. We look at speedy navigation and selection tips, so you can focus on your animation, rather than trying to find it. The various methods of creating, duplicating and recording keyframes, including copying, pasting, dragging, auto-keyframing and using keyframe selections. We also explore using the region tool, bookmarks, snapshots and many more essential techniques.
Timeline : Powerslider
Duration : 3 mins
A collection of quick tips to compliment the timeline tutorial and show additional features or alternative ways to manipulate your animation using the powerslider.

Optimising the viewport for speedy playback with lots of objects
↓Viewport 01 : Optimising
Duration : 20 mins
Speeding up the Cinema 4D viewport will allow you to focus on the creative, in this tutorial looks at how we can increase the efficiency of our scenes and how fast they playback in the editor viewport. First we declutter the viewport, removing unused elements and deactivating view options. We then explore ways to optimise your models for the best performance.
Viewport 02 : Caching
Duration : 9 mins
This tutorial looks at some of the caching options available when working with animated and deformed objects, we work with the caching options in the jiggle deformer, the point cache tag and the bake function in the timeline.
Viewport 03 : Speed Comparison
Duration : 7 mins
In this chapter, we look at the speed benefits we can achieve by using some of the tips we looked at in previous chapters.
Viewport 04 : Proxies with Instances
Duration : 8 mins
This tutorial covers a technique for creating proxy objects by using the instance object with a switch for changing the linked object which is built with xpresso.
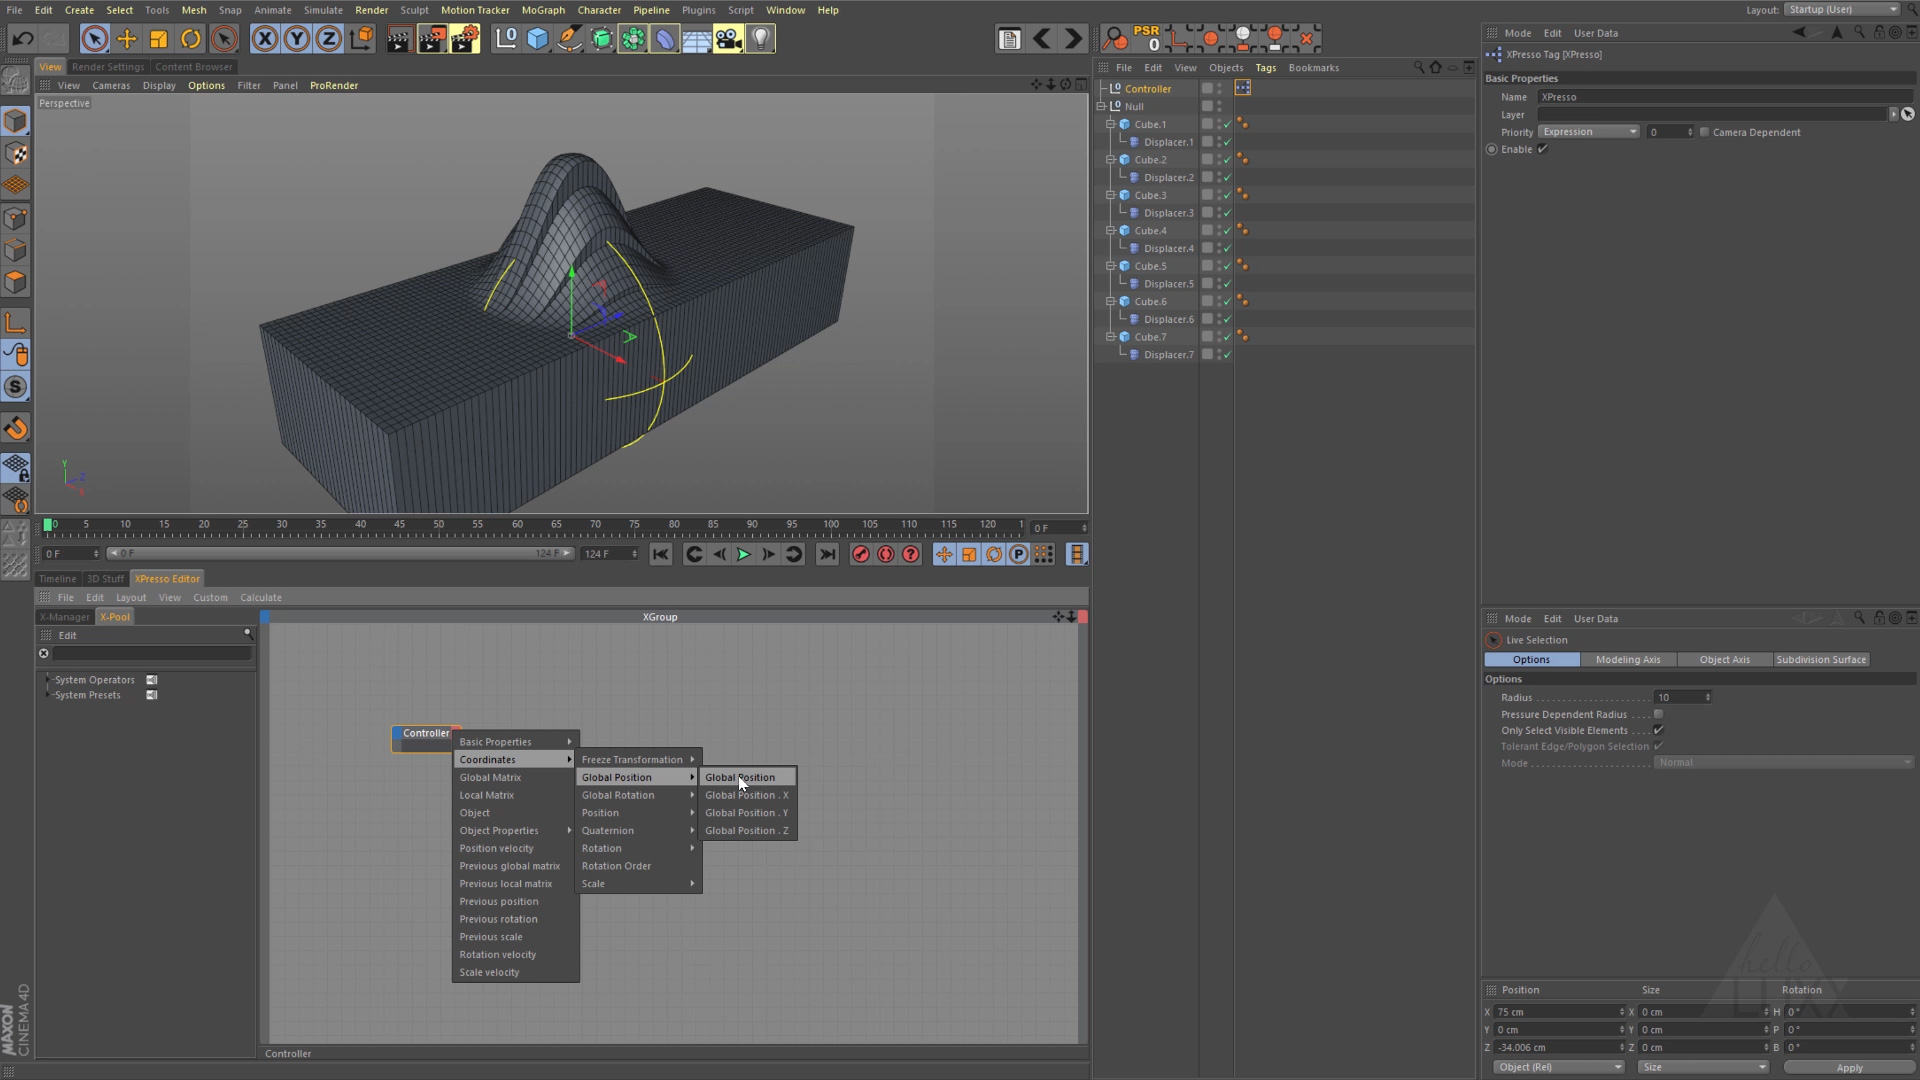
Using Xpresso to speed up workflow and automate tasks
↓Xpresso
Duration : 26 mins
This is a brief introduction to working with Cinema 4D’s node based expression language, Xpresso. We cover some simple examples of Xpresso, including linking parameters together, automatically naming objects and iterating through groups of objects.

