learn. Houdini. In Bloom with Rich Nosworthy exclusively at helloluxx.
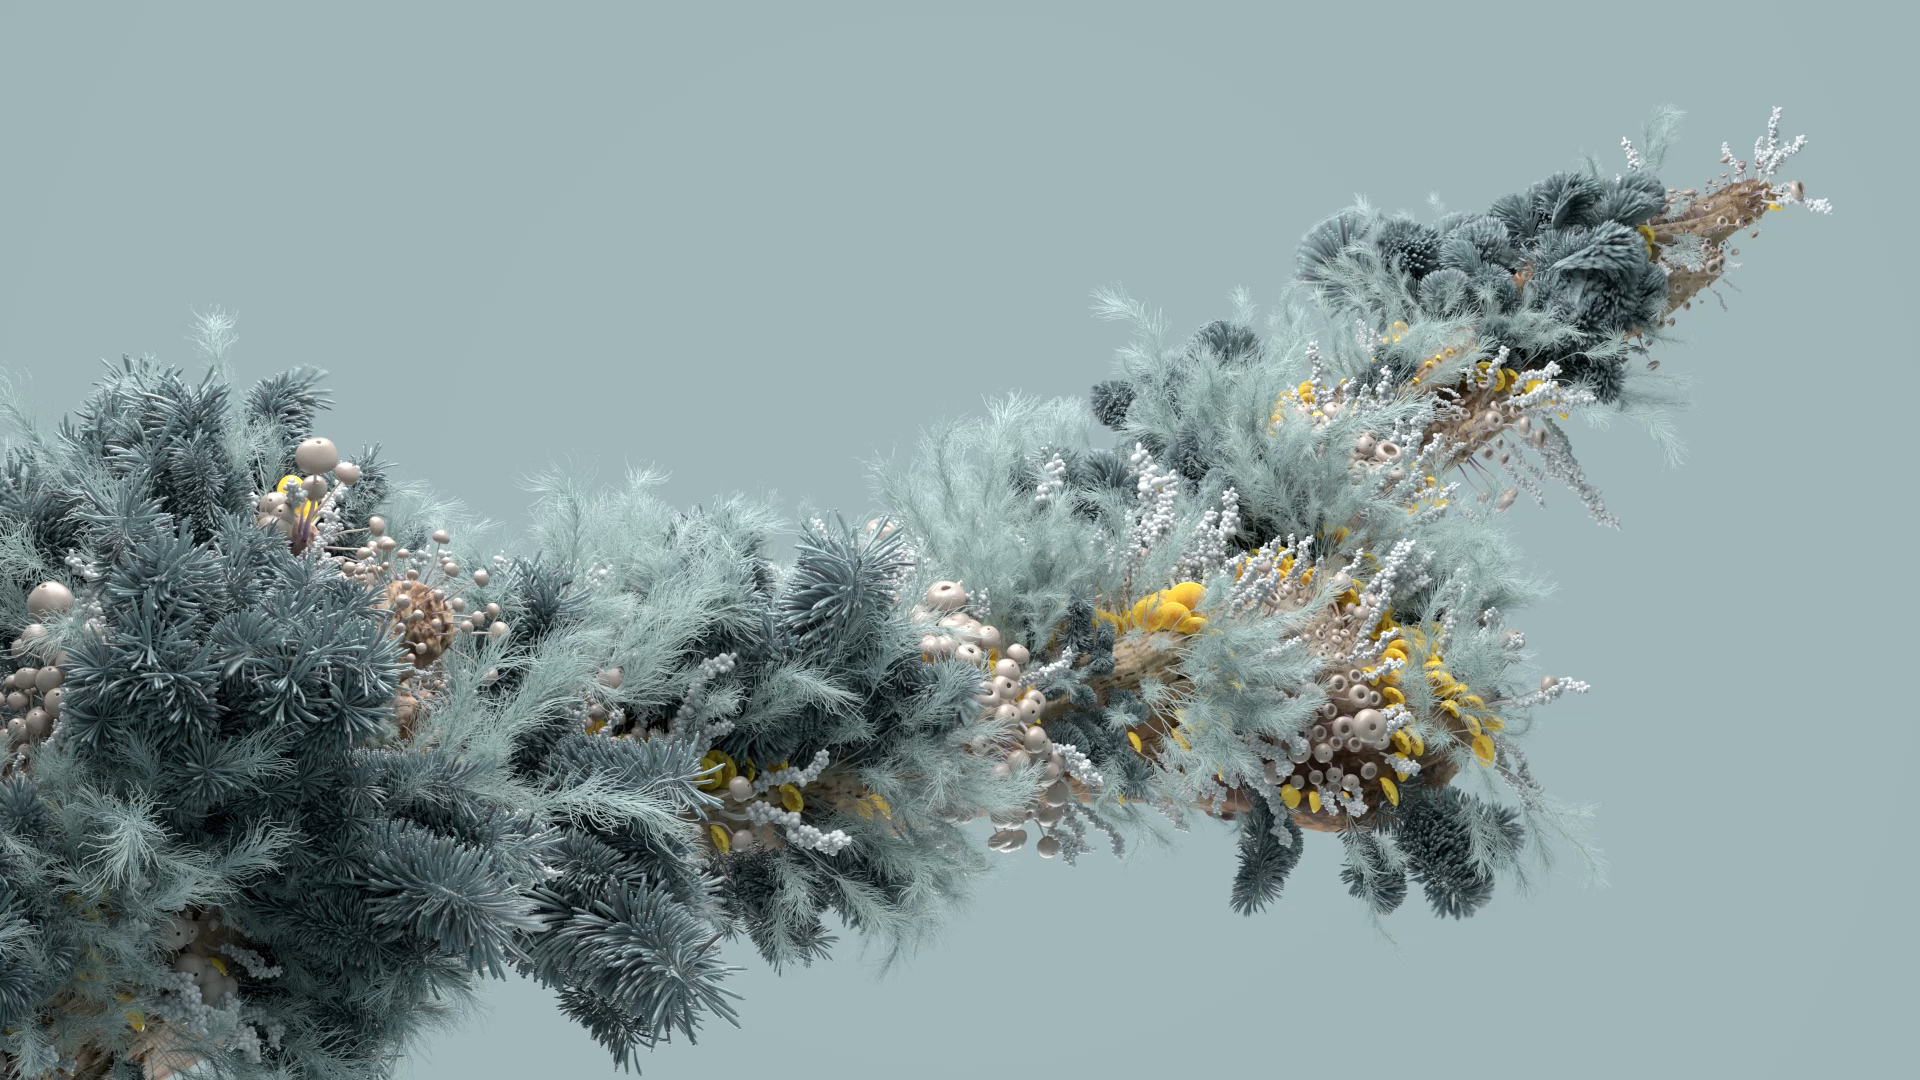
Create an intricate and detailed flowering setup using Houdini and then render this with Redshift, in this project-based training from Houdini Rockstar – Rich Nosworthy.
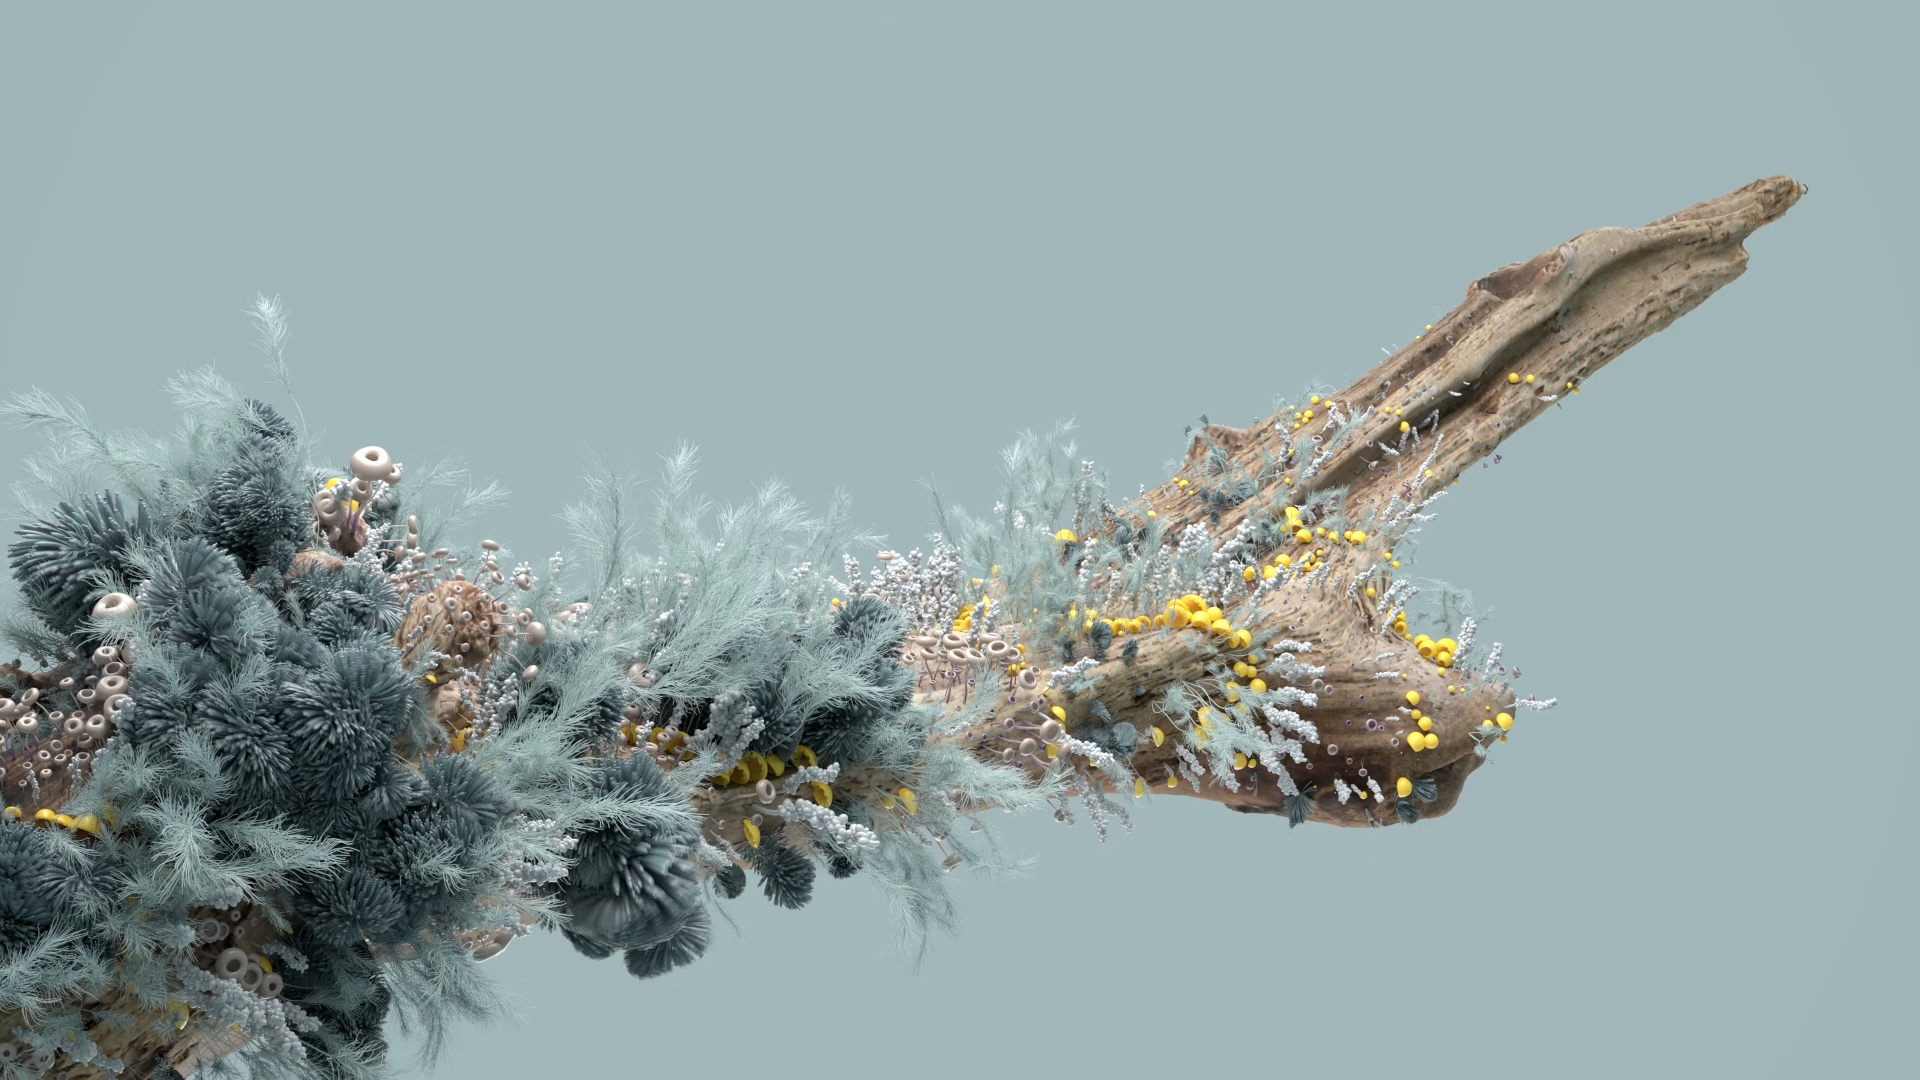
In this Houdini course, Rich Nosworthy creates an intricate and detailed flower shot from start to finish, 100% in Houdini. This is based on techniques used for full studio and client work, and will demonstrate a whole bunch of workflow tips for setting up your scenes efficiently.
With over 8 hours of training, Rich covers modelling, animation, instanced geometry and alignment, VEX programming, Proxies for efficient workflow, and full lighting, camera, shaders and rendering all within Redshift Renderer. Rich also covers more advanced topics such as quaternion functions and matrix transformations, which while they are complex topics, can be very useful with a few different techniques he’ll go over.
This covers a huge amount of knowledge all within SOPS to help you push you Houdini skills to the next level.
While this isn’t a complete beginners course, there’s a range of topics that should hopefully provide insight for everyone.
Training Summary
learn. Houdini from an industry leader
Over 8 hours of training
Modelling, animation, instancing, VEX, rigging
Proxies, lighting, materials & rendering in Redshift
Recommended requirements
Houdini 18.5+
Redshift 3 and above
To get the most from this course, a basic working knowledge of Houdini is required.
Knowledge of VEX also beneficial
Setting up the scene
↓introduction
duration: 6 mins
Overview of what we will create, a note on the project file and some prerequisites
chapter 01
duration: 7 mins
Set up of our basic scene, loading our model and setting up our render cam.
chapter 02
duration: 13 mins
Setup basic lighting in Redshift and add in our material for our hero branch model. We set our render settings to give us quick feedback and we’ll set up some quickmarks for our scene so we can move around easily.
chapter 03
duration: 17 mins
Here we look at the new scatter and align sop and why we’re not going to use it!
Instead, over the next few chapters, we’ll learn the basics of aligning instances in Houdini so we can create our own custom setups. We prepare our geometry, setup scattering based on masking features and look at some of the ways we can adjust the scale of our instances with the new attribute adjust sop.
chapter 04
duration: 9 mins
Here we look at aligning our clones with our point normal and an up vector to fix the rotation around that axis.
chapter 05
duration: 20 mins
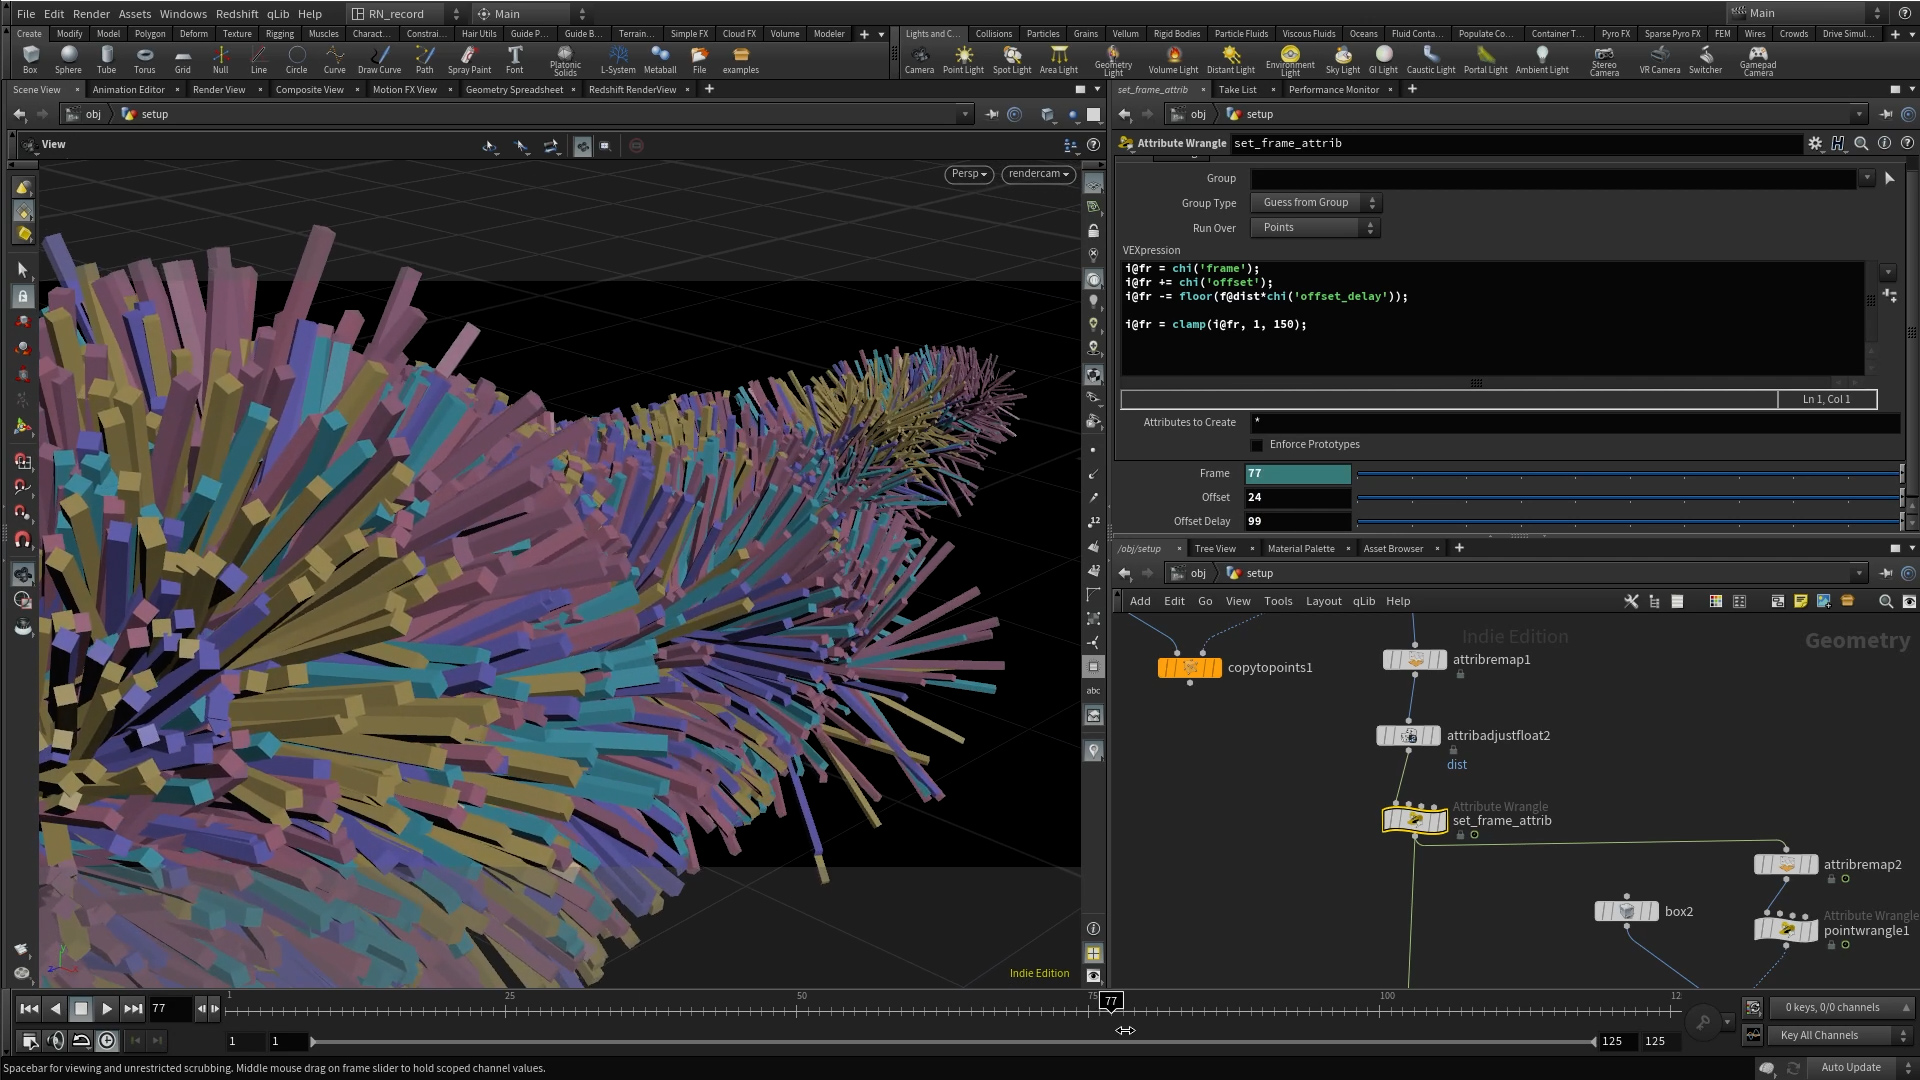
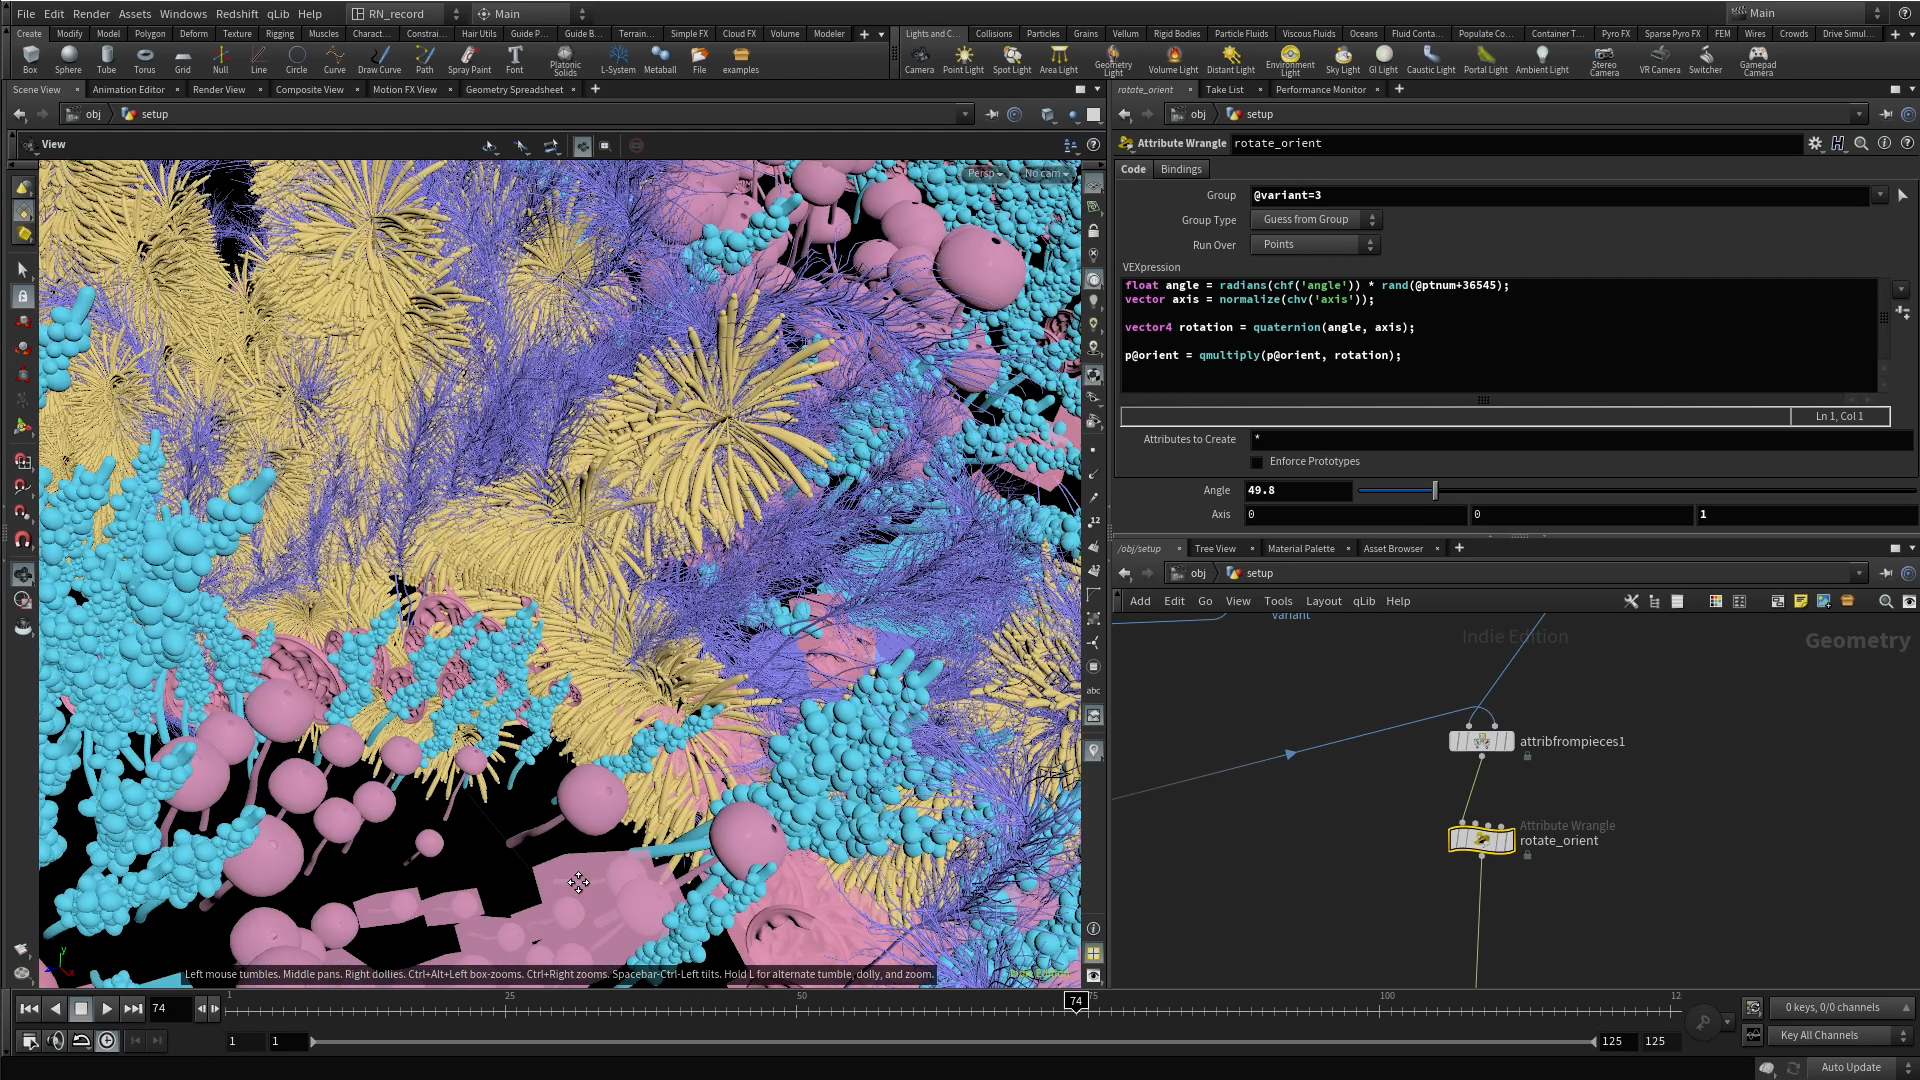
In this lesson we extend our knowledge to learn about quaternions. We see what they can do for us and how to convert our setup into orient attributes so that we can adjust our rotations of our instances easier. This is a little heavy, but don’t let it put you off. While it has some fairly complex vex functions going on, once we learn the main ones we can save as a preset for later use. We even look at how we can set attributes via a simple falloff so that we can offset our rotations based on distance.
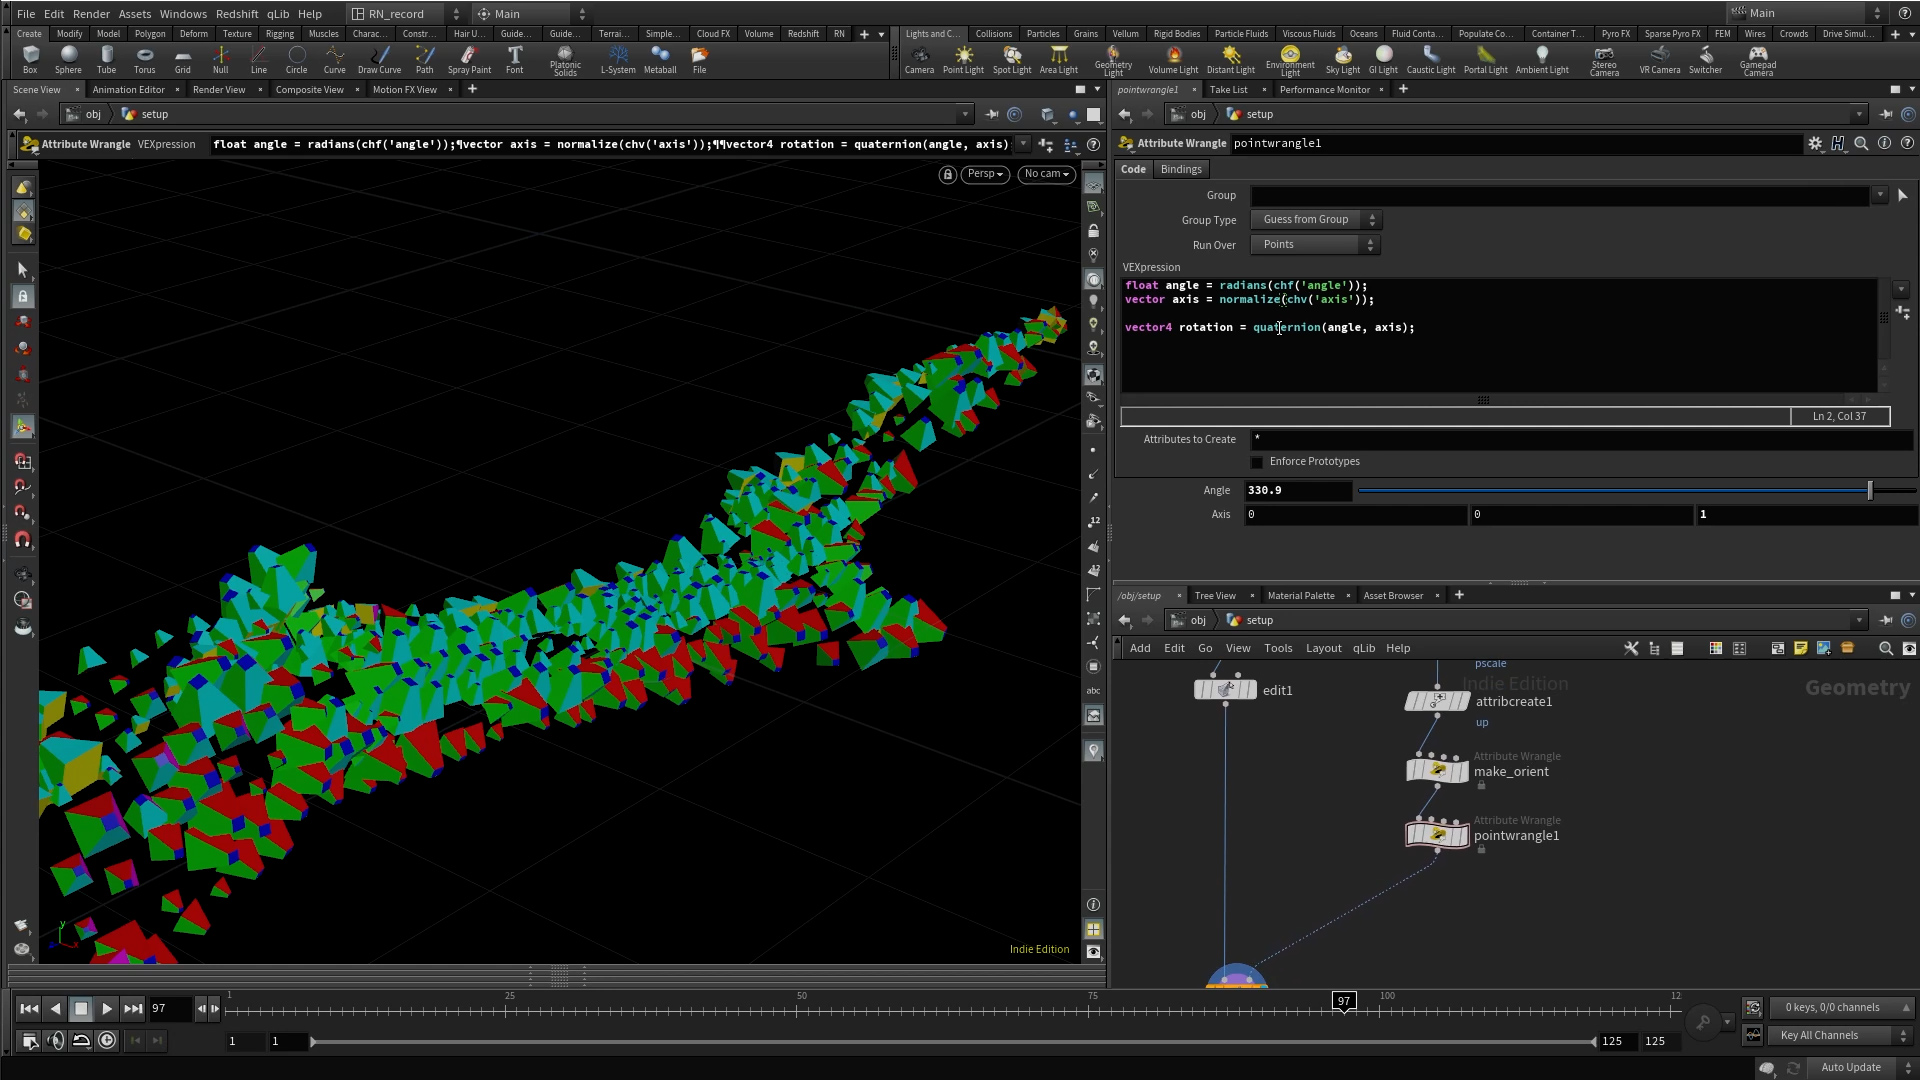
creating the first flower
↓chapter 06
duration: 16 mins
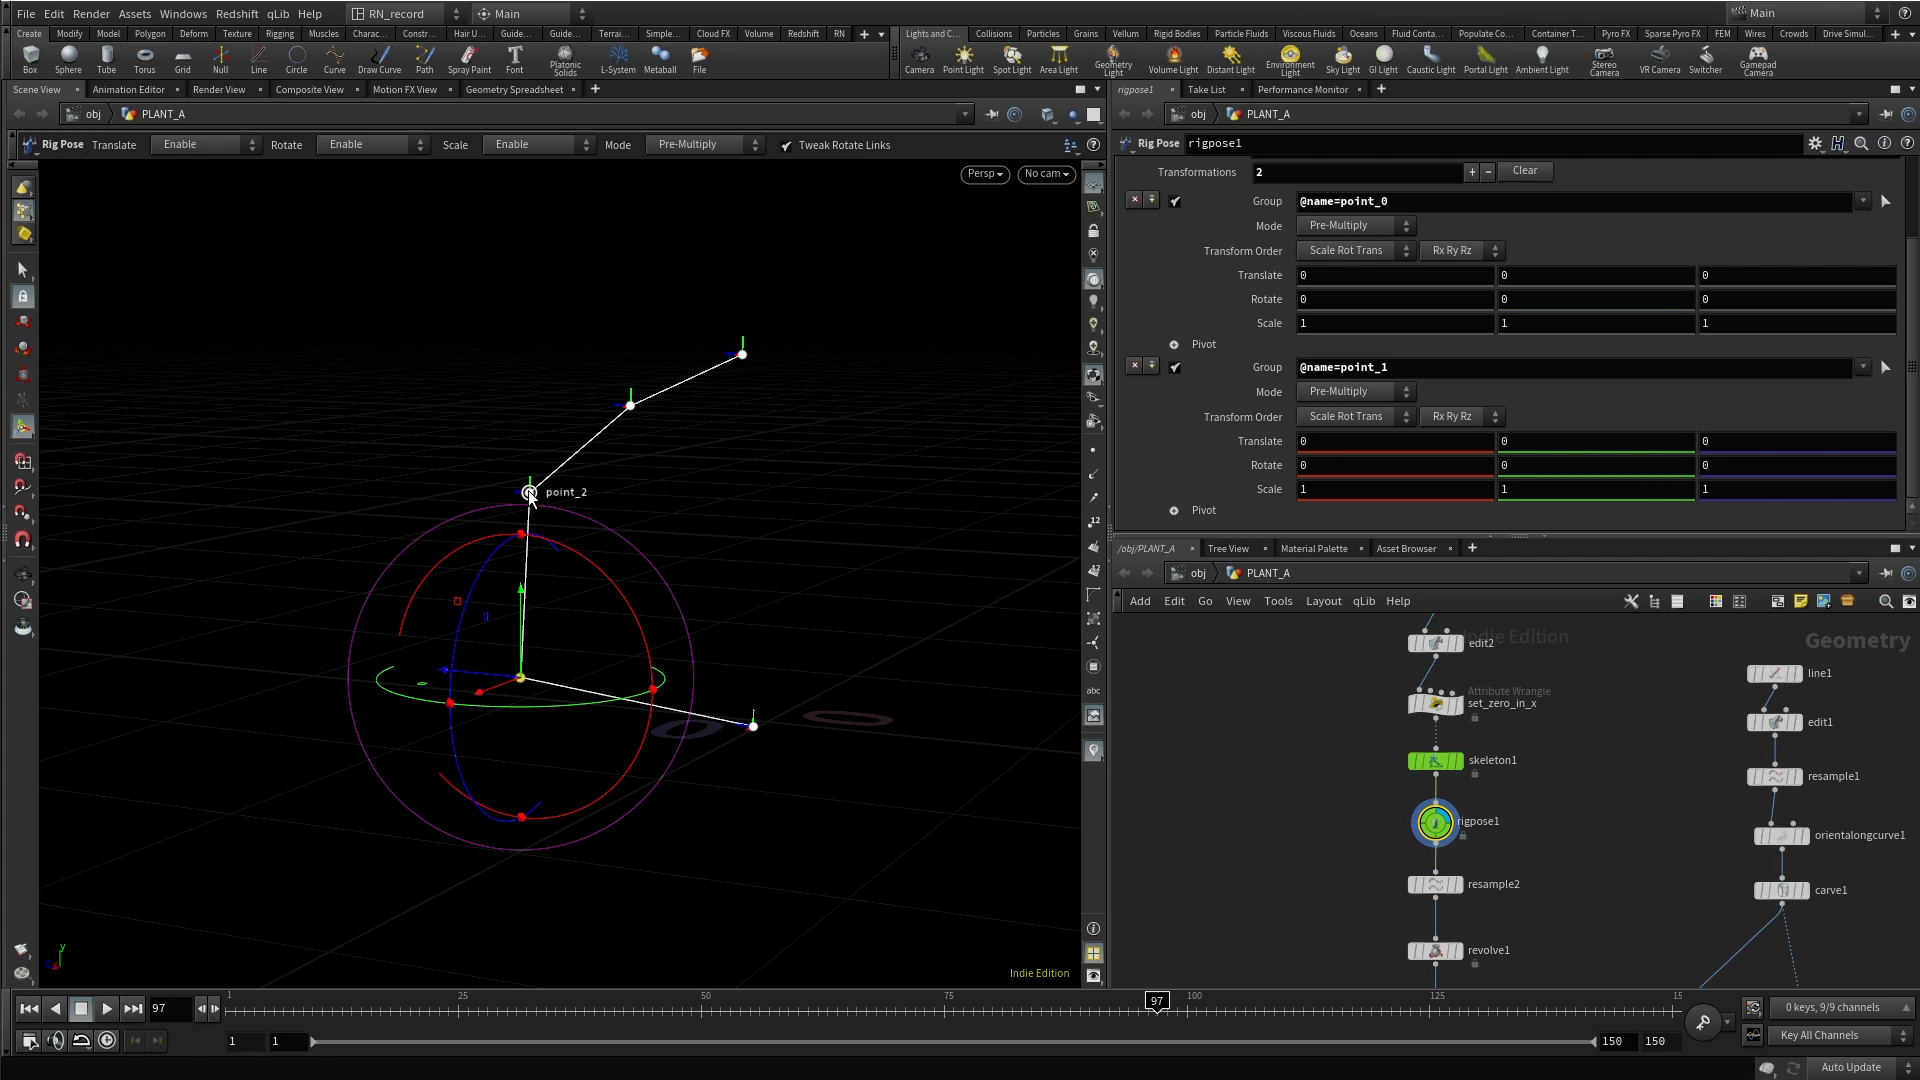
Here we build the first of our plant models, we model the stem and plant bulb procedurally to give us flexibility. We’ll look at how we can rig our bulb so it can stay in alignment with our stem as we grow it on.
chapter 07
duration: 27 mins
Next we start animating our flower, we’ll be using a mix of the new Kinefx tools to rig splines for keyframing, set up the growth of our stem and add a subtle noise setup to give our plant some additional movement.
chapter 08
duration: 13 mins
Here we jump back to our main setup to test out our first flower in our setup. We look at how we can adjust the angles using our orient setups and also look at how we can further randomise our pscale. We set up our instances for render and add our first shader.
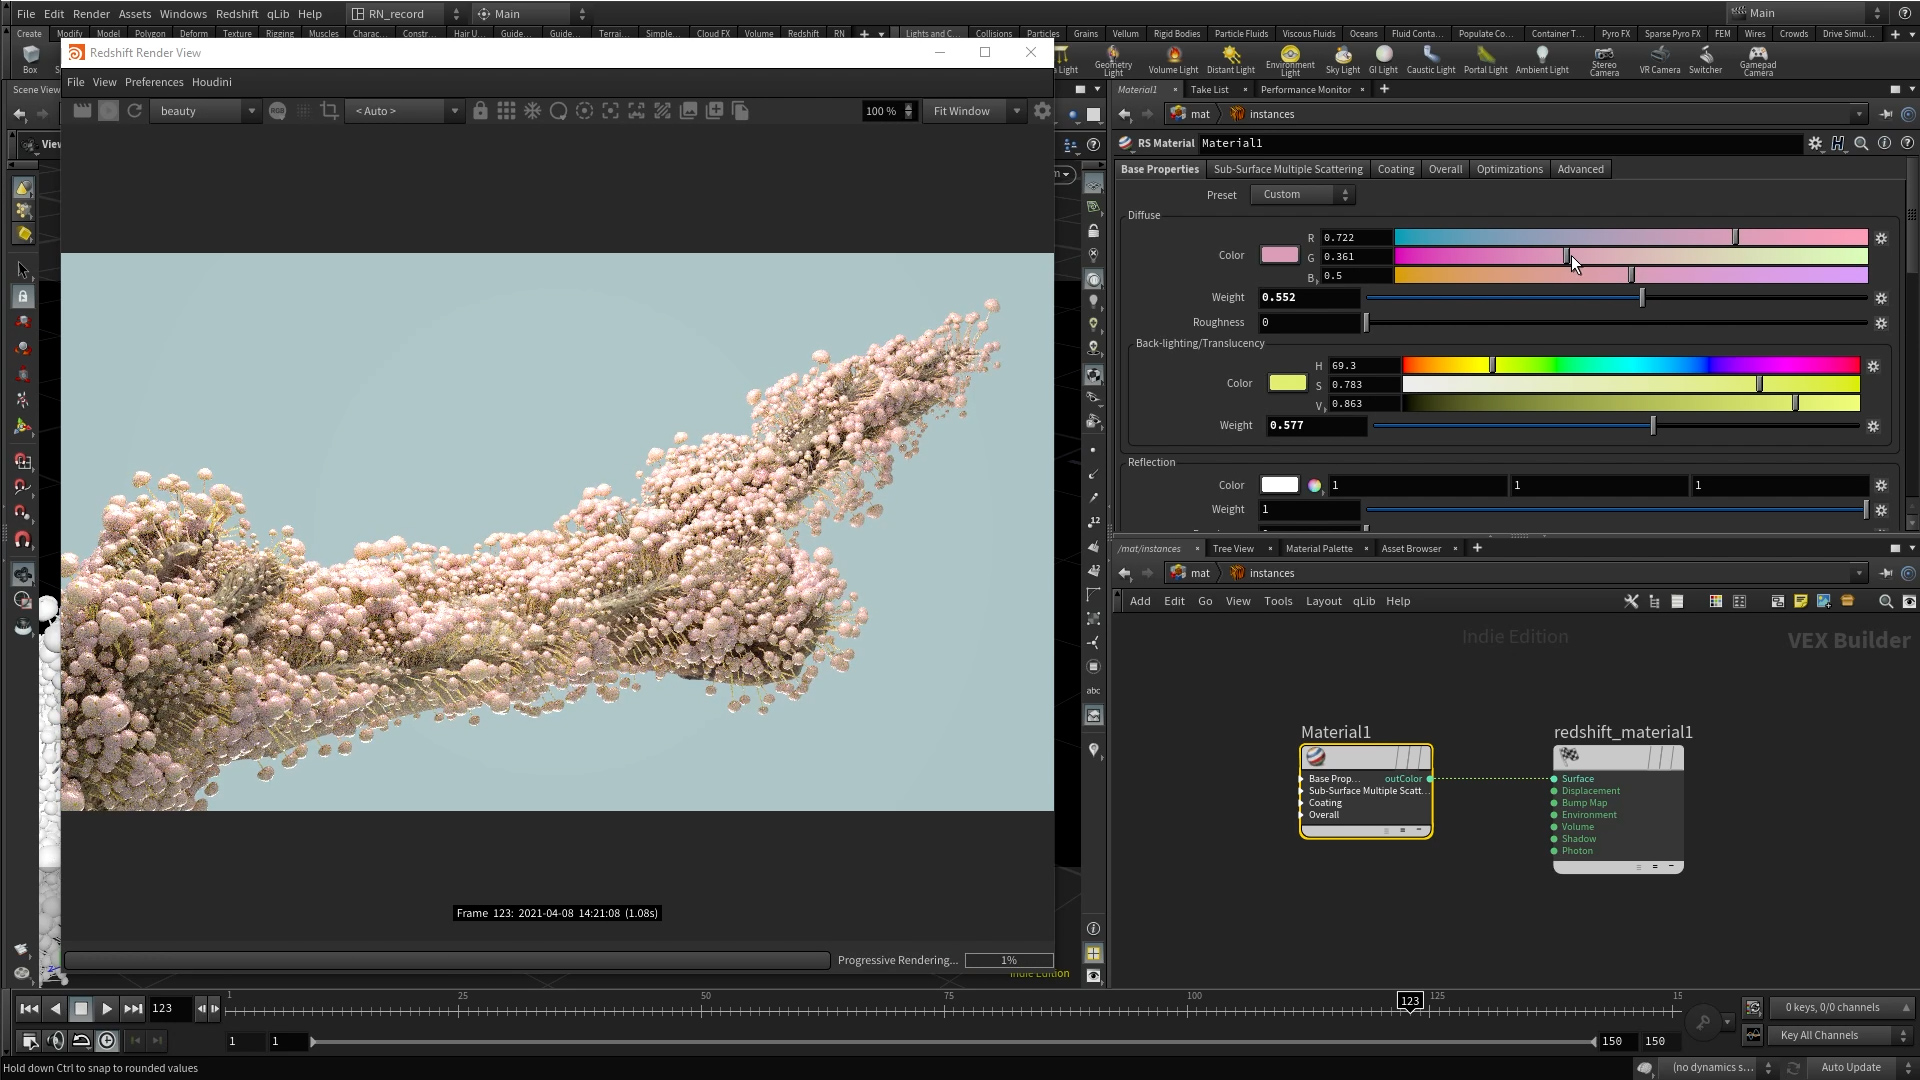
the second plant is born
↓chapter 09
duration: 22 mins
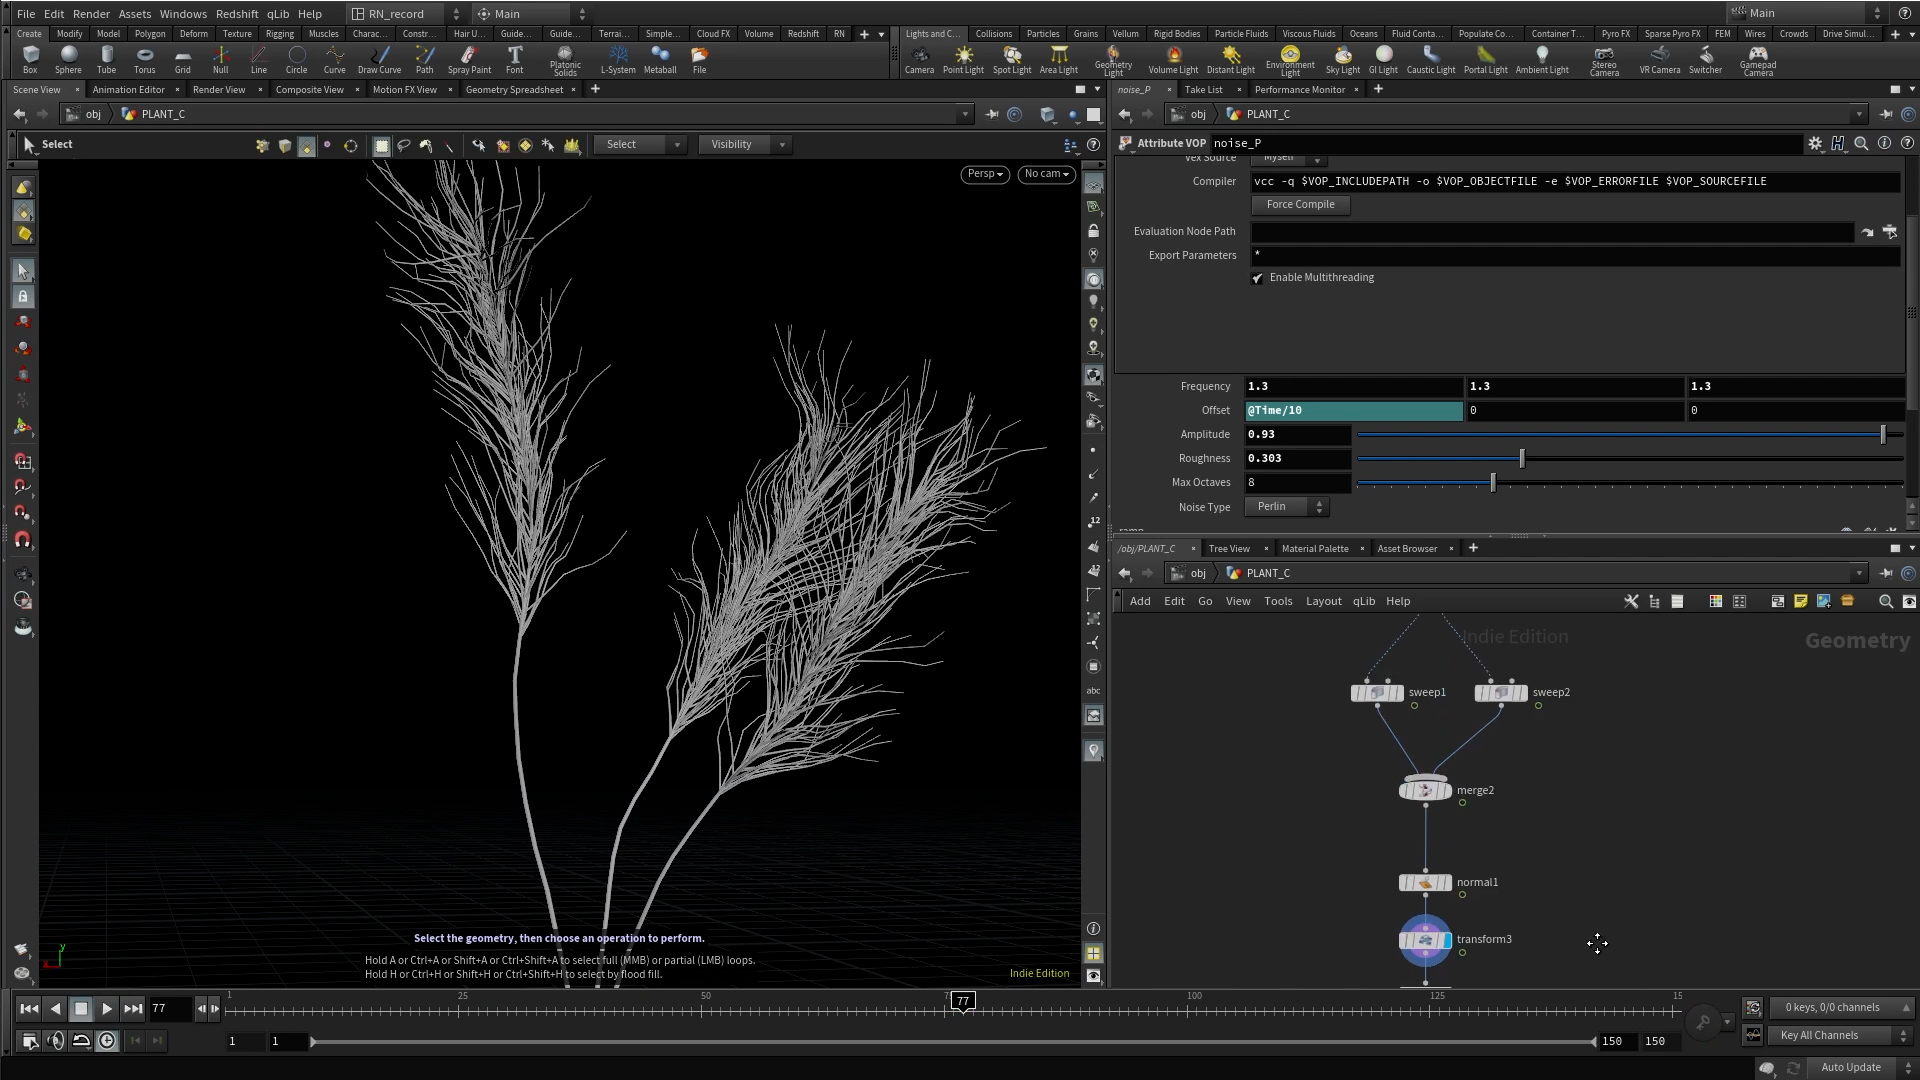
We set up our second plant here, using lines, noise, normals and instancing to create both branches and hairs along the ends.
chapter 10
duration: 12 mins
Next we use a bend sop to curl up our branch and look at how we can use for loops to offset and stagger our animation across our 3 branches.
chapter 11
duration: 9 mins
In this lesson we’ll finish off our second plant model.
We’ll take a look at the primuv function and how we can use this on splines to create a carve style effect that will grow our splines down themselves and hence retain our point count for consistent motion blur later on.
the third plant model
↓chapter 12
duration: 19 mins
This breakout video is a quick overview of the basics of matrix transformations.
We’ll have a look at what matrices are plus a few vex functions that will allow us to manipulate them on a per point basis.
By the end we’ll have created a simple twist style deformation and have learned how we can rotate normals on our model, which will set us up for future lessons.
chapter 13
duration: 23 mins
We set up our third plant, starting with the stem.
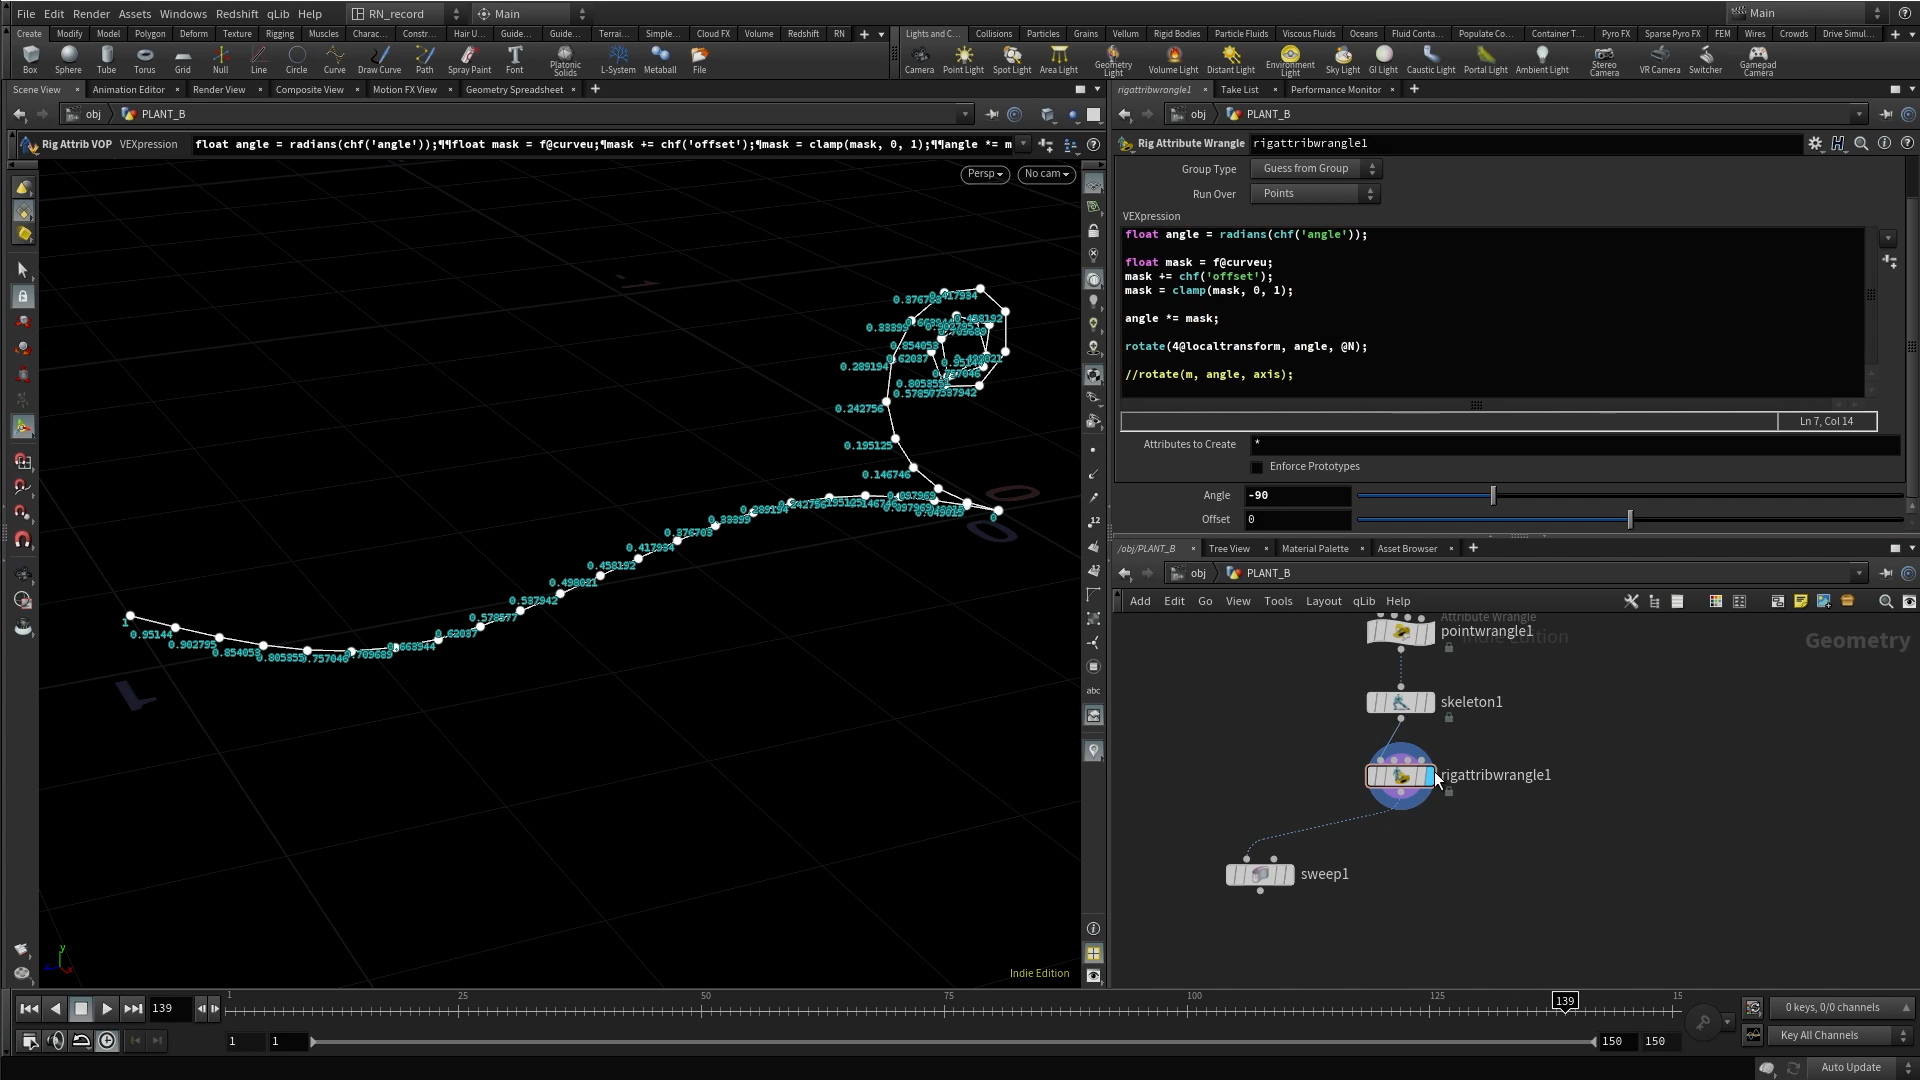
We look at Kinefx again to rig this and use our matrix transform functions from the last lesson to see how we can generate a unfolding motion based on a curve based mask.
chapter 14
duration: 14 mins
Next we set up our spine geometry and look at how we can stick our root positions to our moving geometry.
chapter 15
duration: 25 mins
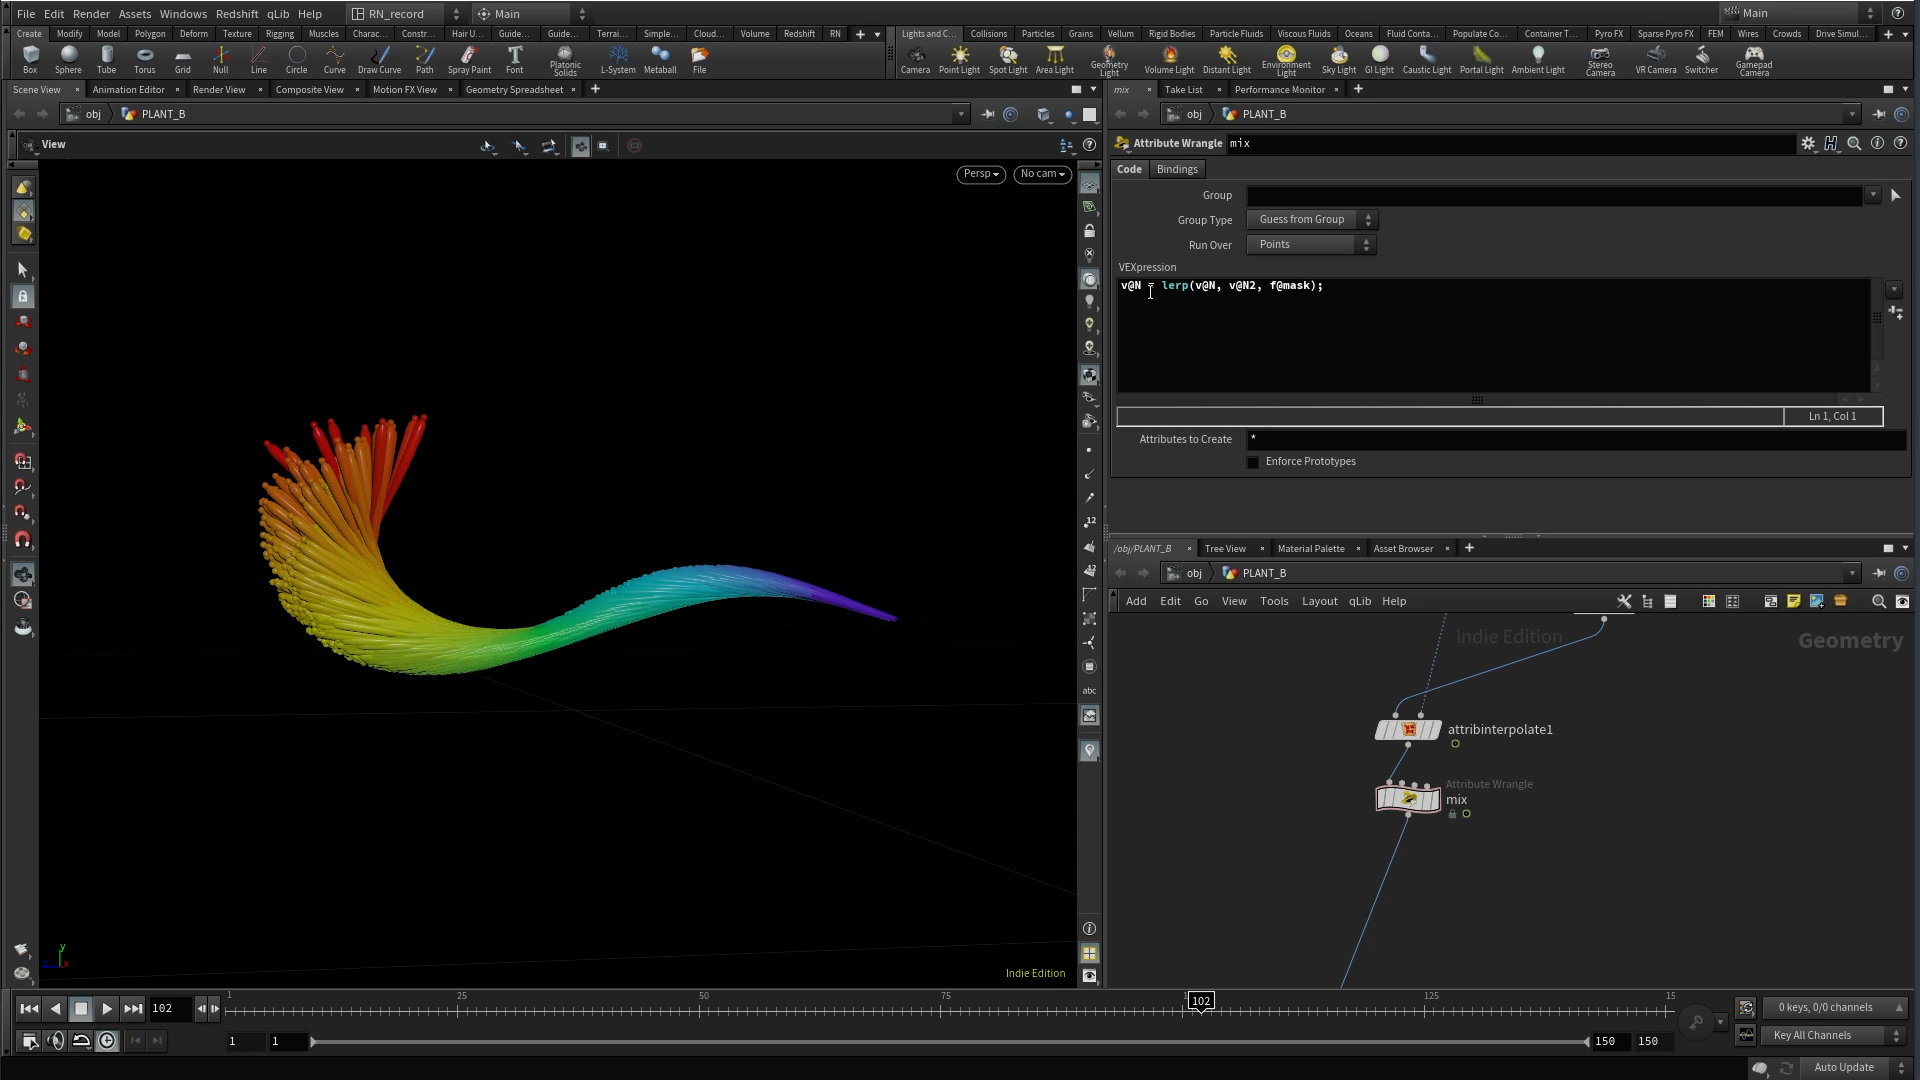
To finish off this plant, we will look into how we can animate our spines to unfold out as our main stem unrolls. We’ll also look at the lerp function and how we can use this to mix between alignments.
the fourth plant
↓chapter 16
duration: 19 mins
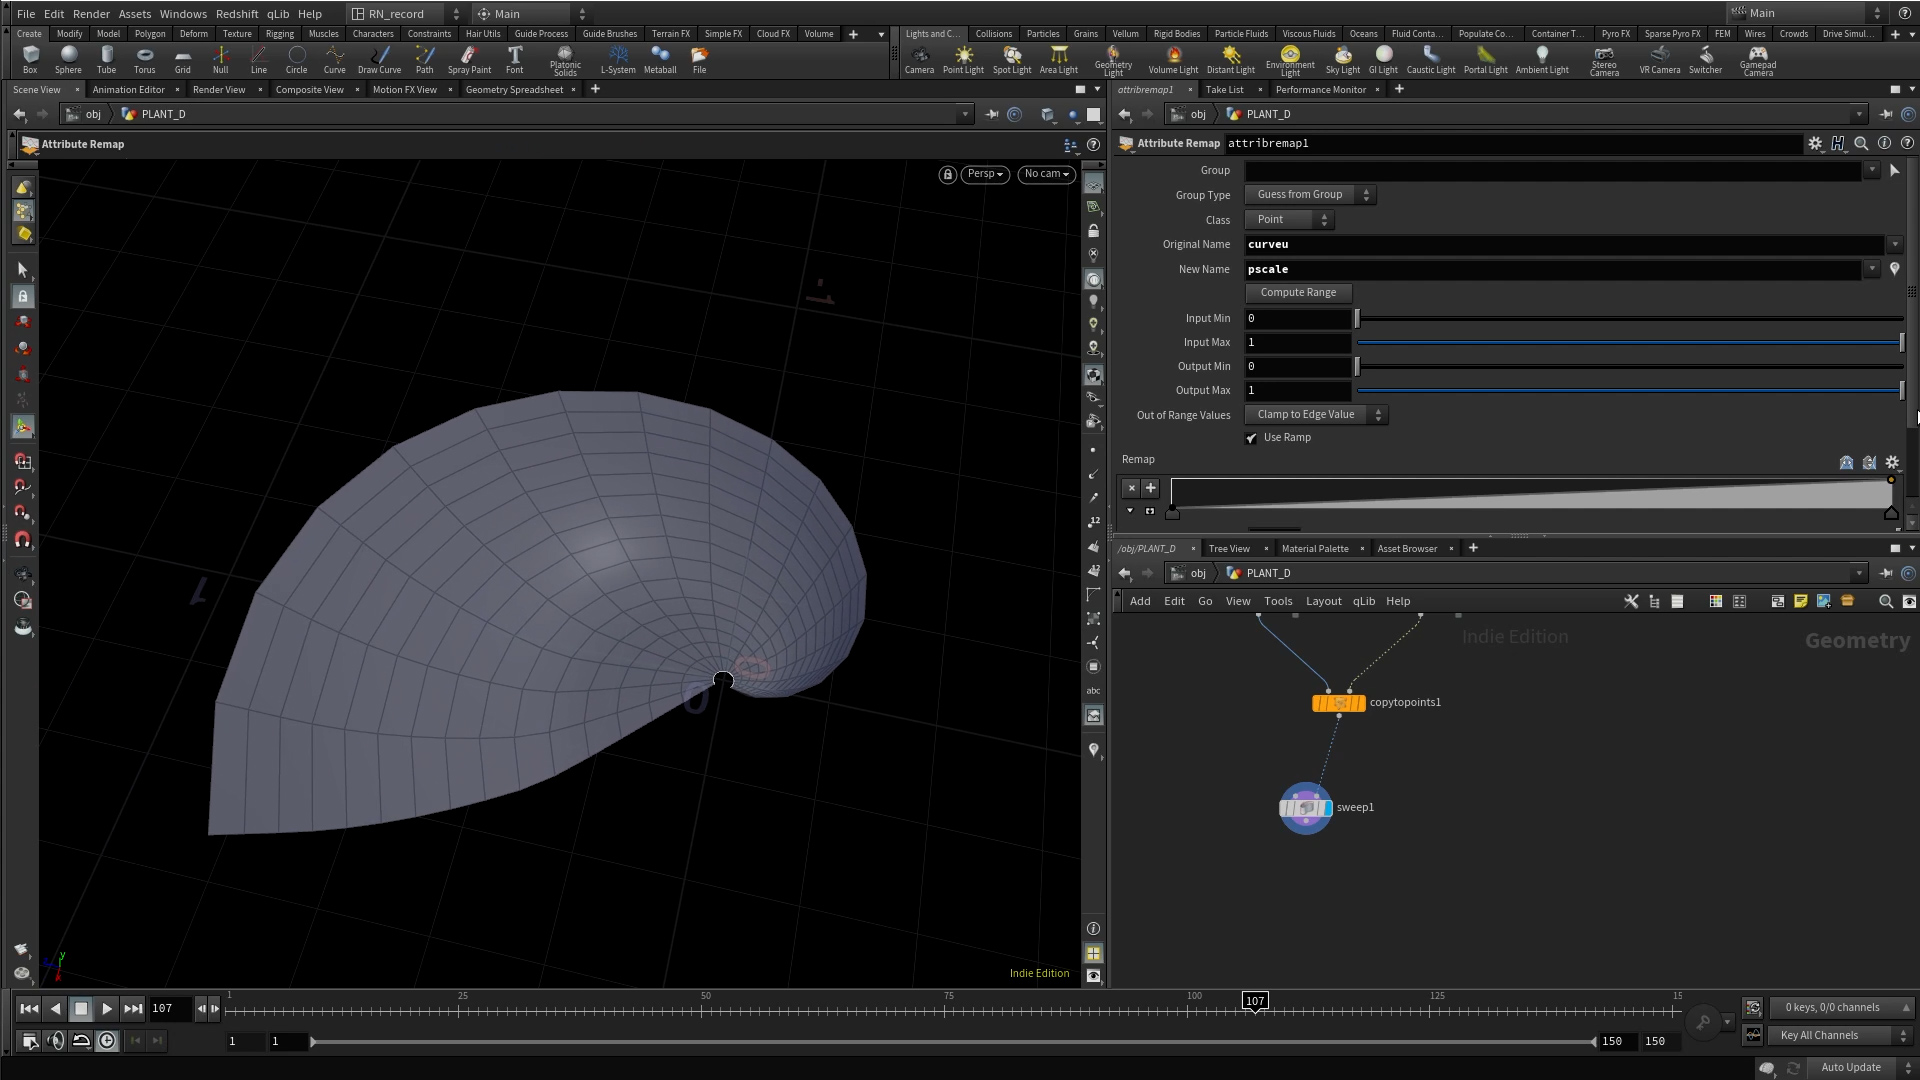
We start modelling our 4th plant here; this will involve a bit more traditional poly modelling mixed with some procedural parts. We’ll look at setting up construction lines that can be lofted into a surface and use polyextrude to generate more of our shape
chapter 17
duration: 12 mins
We animate this time using point deform and a lower res version of our mesh to control its motion. We’ll also look at distance along geometry and how it can help us generate an attribute to use later with shading.
The final plant
↓chapter 18
duration: 20 mins
Our final plant!
We build out our stem and our seeds.
We’re going to use our normals to align our seeds, but we’ll also use the cross product to generate tangents that flow out from our curve and we’ll revisit our matrix functions which will give us a really nice way to generate a Fibonacci spiral type effect for our seed arrangements.
chapter 19
duration: 11 mins
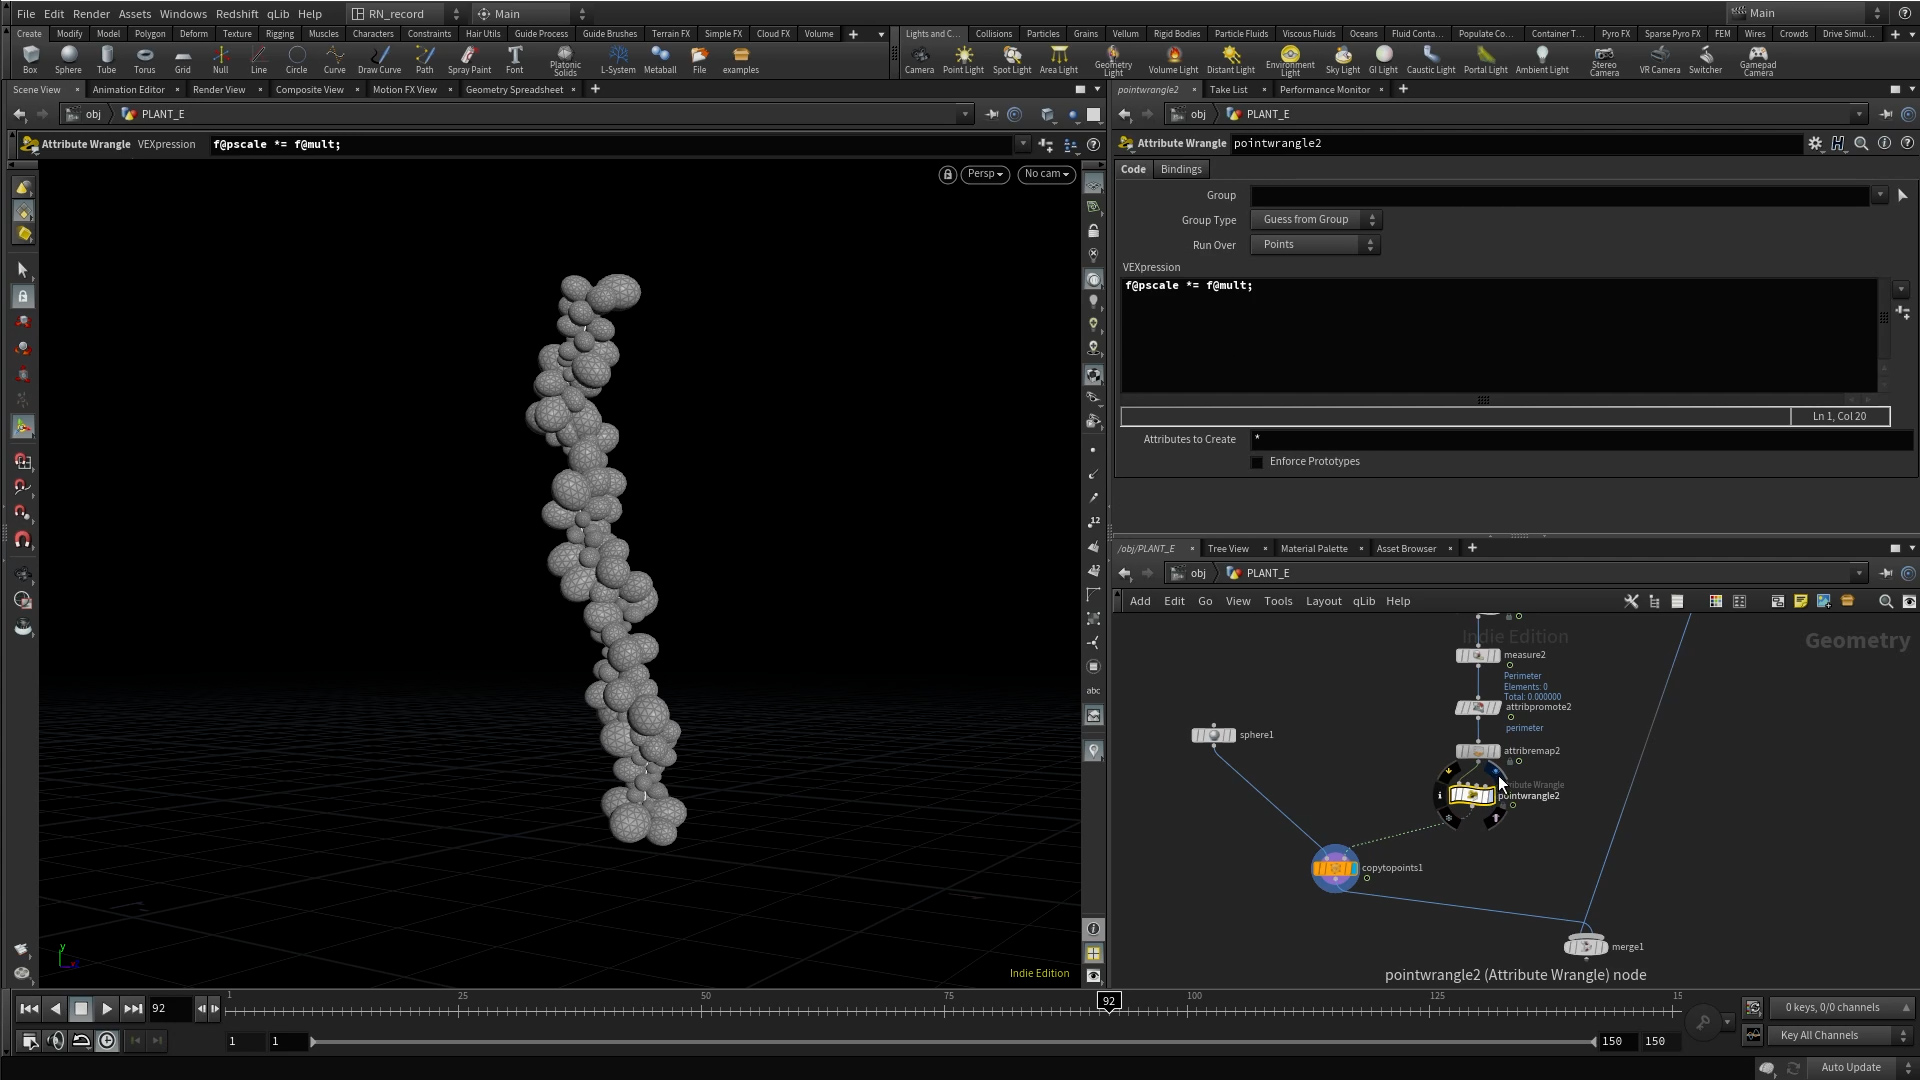
Here we refine our setup a little more by looking at the measure sop and how we can use this to drive the scale of our plant over our animation.
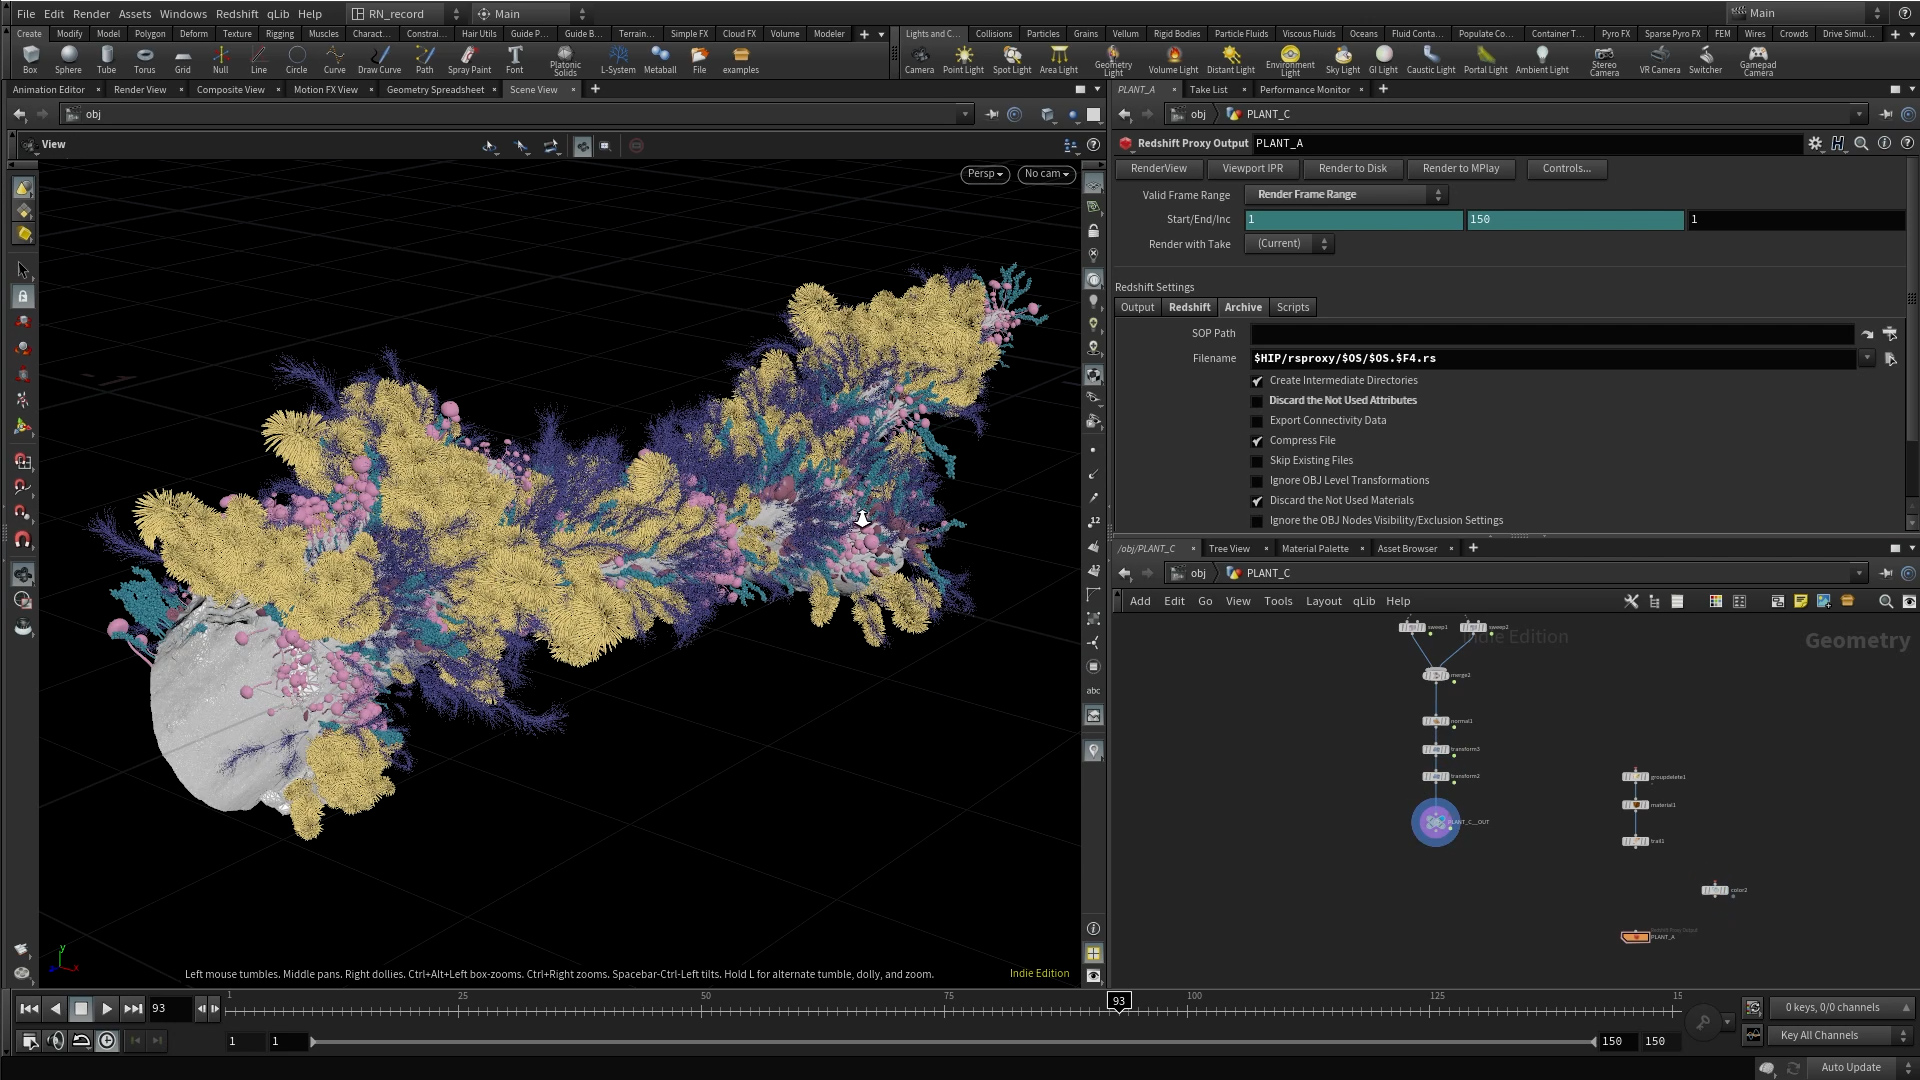
refining the plant arrangement
↓chapter 20
duration: 10 mins
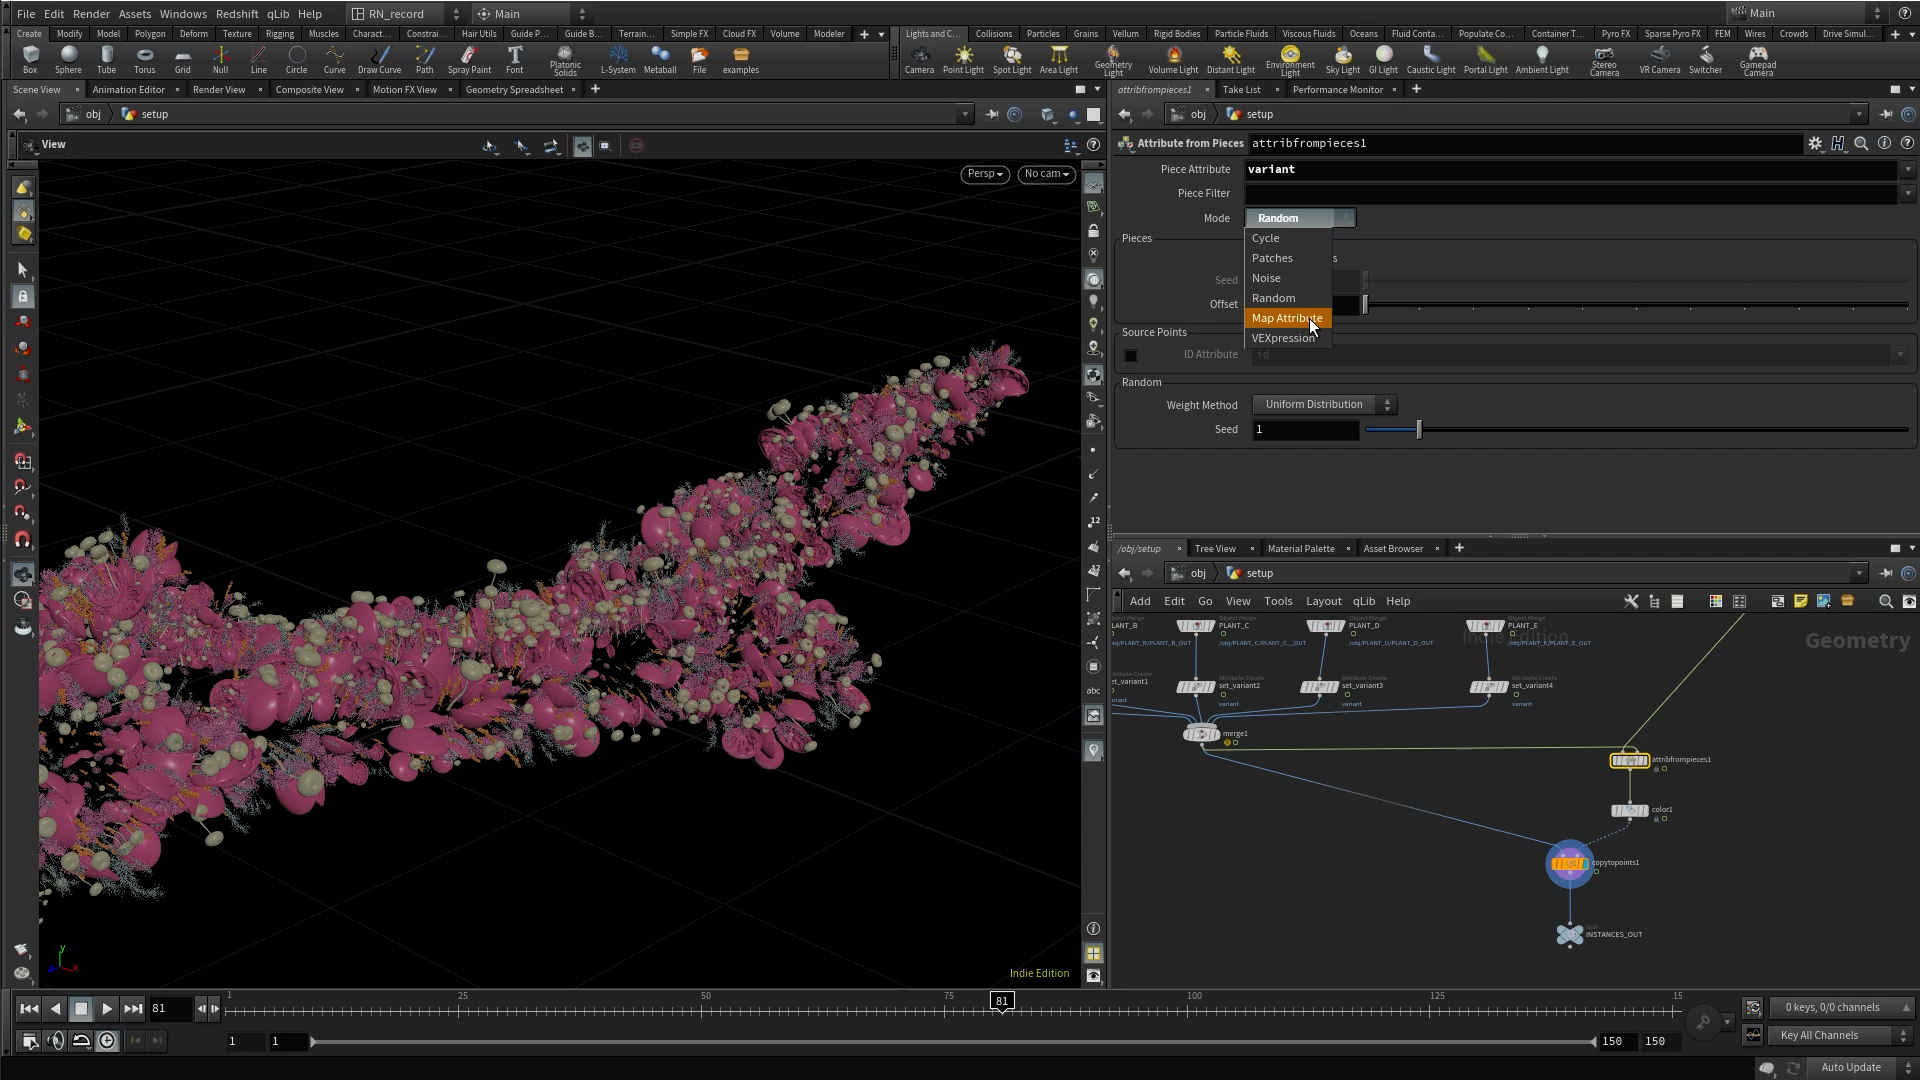
With all of our plants finished, we bring the models into our main setup to set these up for instancing.
We look at how we can use both variant and the attribute from pieces sop to distribute our geometry.
chapter 21
duration: 19 mins
We look at futher refining our plant arrangement by creating a control that will allow us to scale and reduce the number of each plant by type.
We’ll take a look at a first pass of rendering this and getting our colours from our geometry point colour.
Redshift Proxies & Shaders
↓chapter 22
duration: 25 mins
In this chapter we talk about Redshift proxies and what they can do for our setup.
We’re going to clean up our plant geometries for export as proxies.
We’ll calculate our motion blur and learn how we can refer to the proxies by using the instancefile attribute.
chapter 23
duration: 14 mins
Here we set up a proper system to generate our instancefile attribute. We can take our frame number and variant and use this to generate the full path to our Redshift proxies.
chapter 24
duration: 20 mins
Looking to our shaders now, we learn how to override the materials in our proxy. We also learn how we can override the userdata of our proxies. We set up various shaders for each plant and adjust our colour palette to taste.
Fine tuning & rendering
↓chapter 25
duration: 17 mins
For this chapter we first look at removing a time dependency in our scene to make things a bit more efficient. We set up a distance attribute on our geometry and then we create a setup that allows us to control our cache and visualise our result.
chapter 26
duration: 16 mins
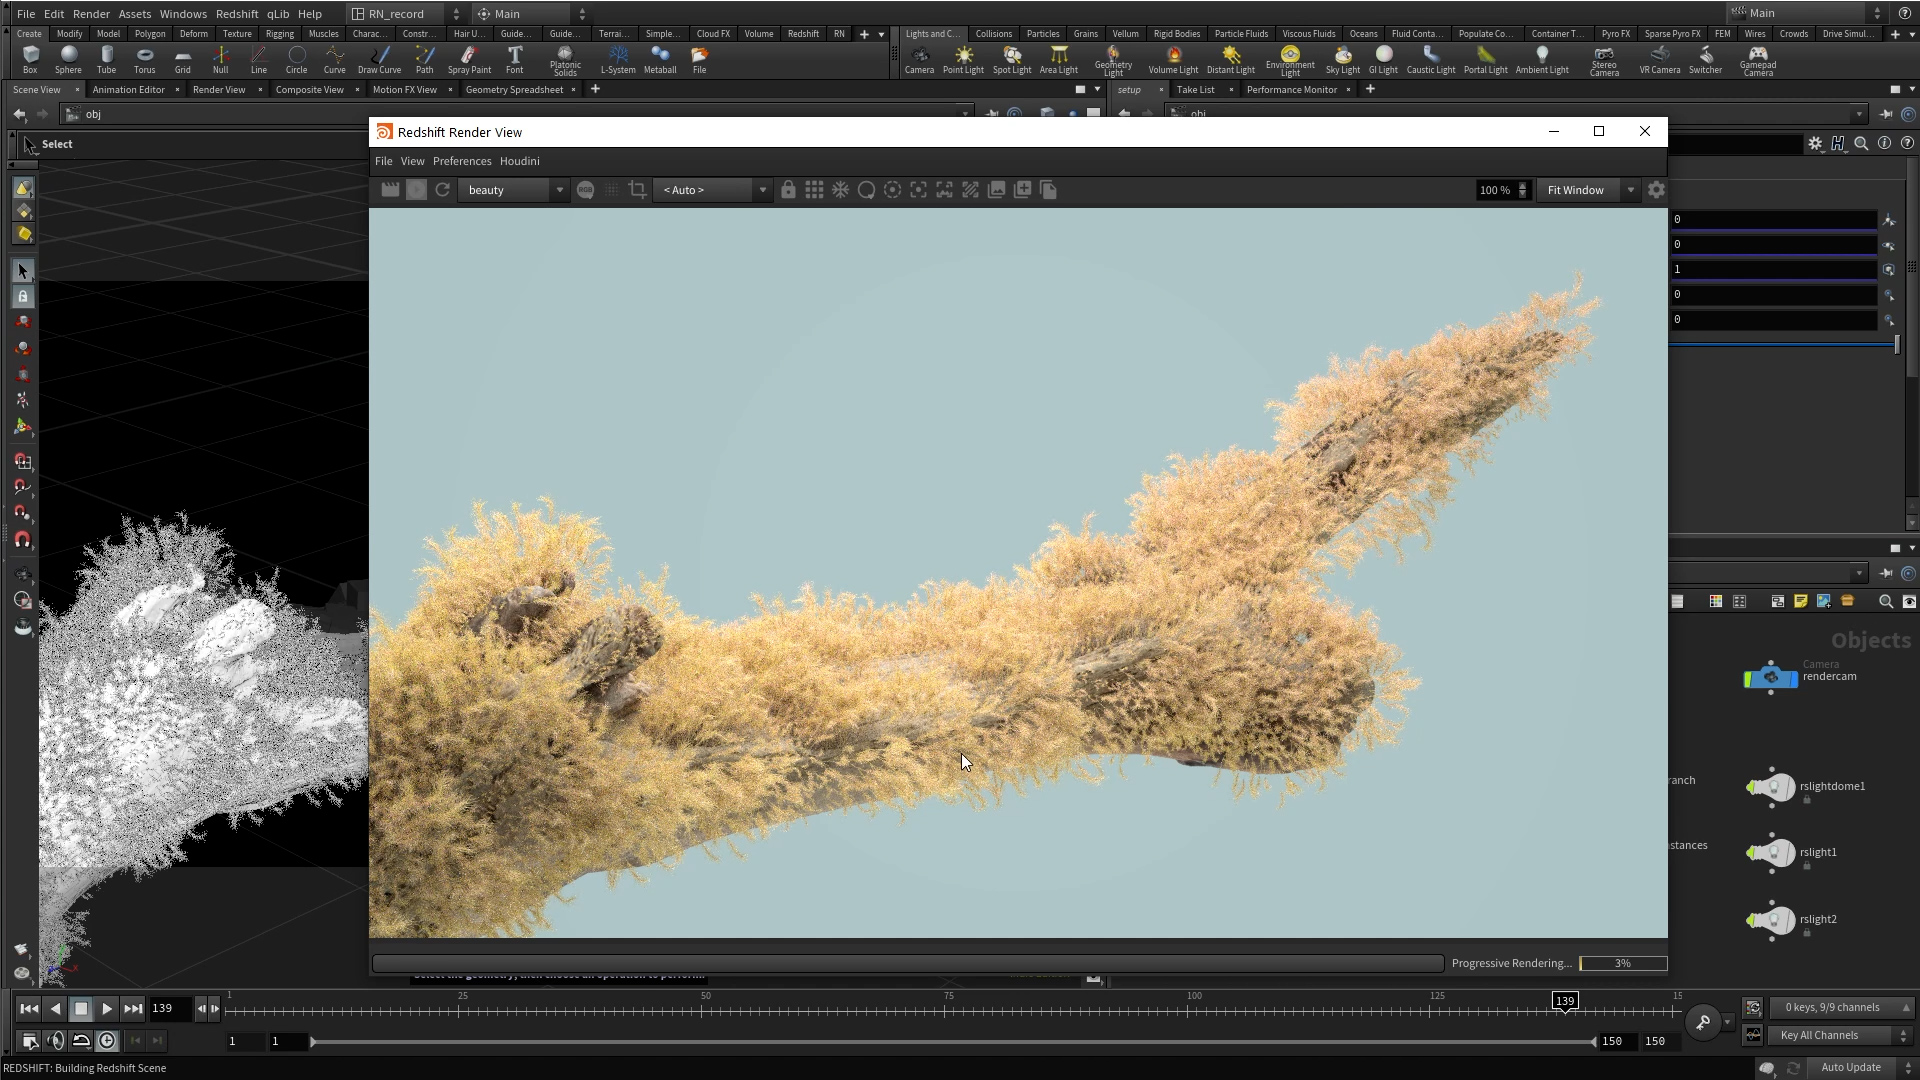
We set up our camera move, exploring the fit function and how we can use this to control our animated parameters. We tweak our animation offset and finally we set up some quick render settings that will allow us to generate a fast Redshift preview.
chapter 27
duration: 7 mins
Quick review of our render, we adjust some of our parameters to setup for our second test render.
chapter 28
duration: 33 mins
We review our last render to see our changes.
We set motion blur for final rendering, adjust some of our shading attributes for our plants, and set up a control to speed up our rendering while doing look dev on our shaders.
At the end we set up our final settings for render.
chapter 29
duration: 4 mins
Final review, we check out the result of our finished project.
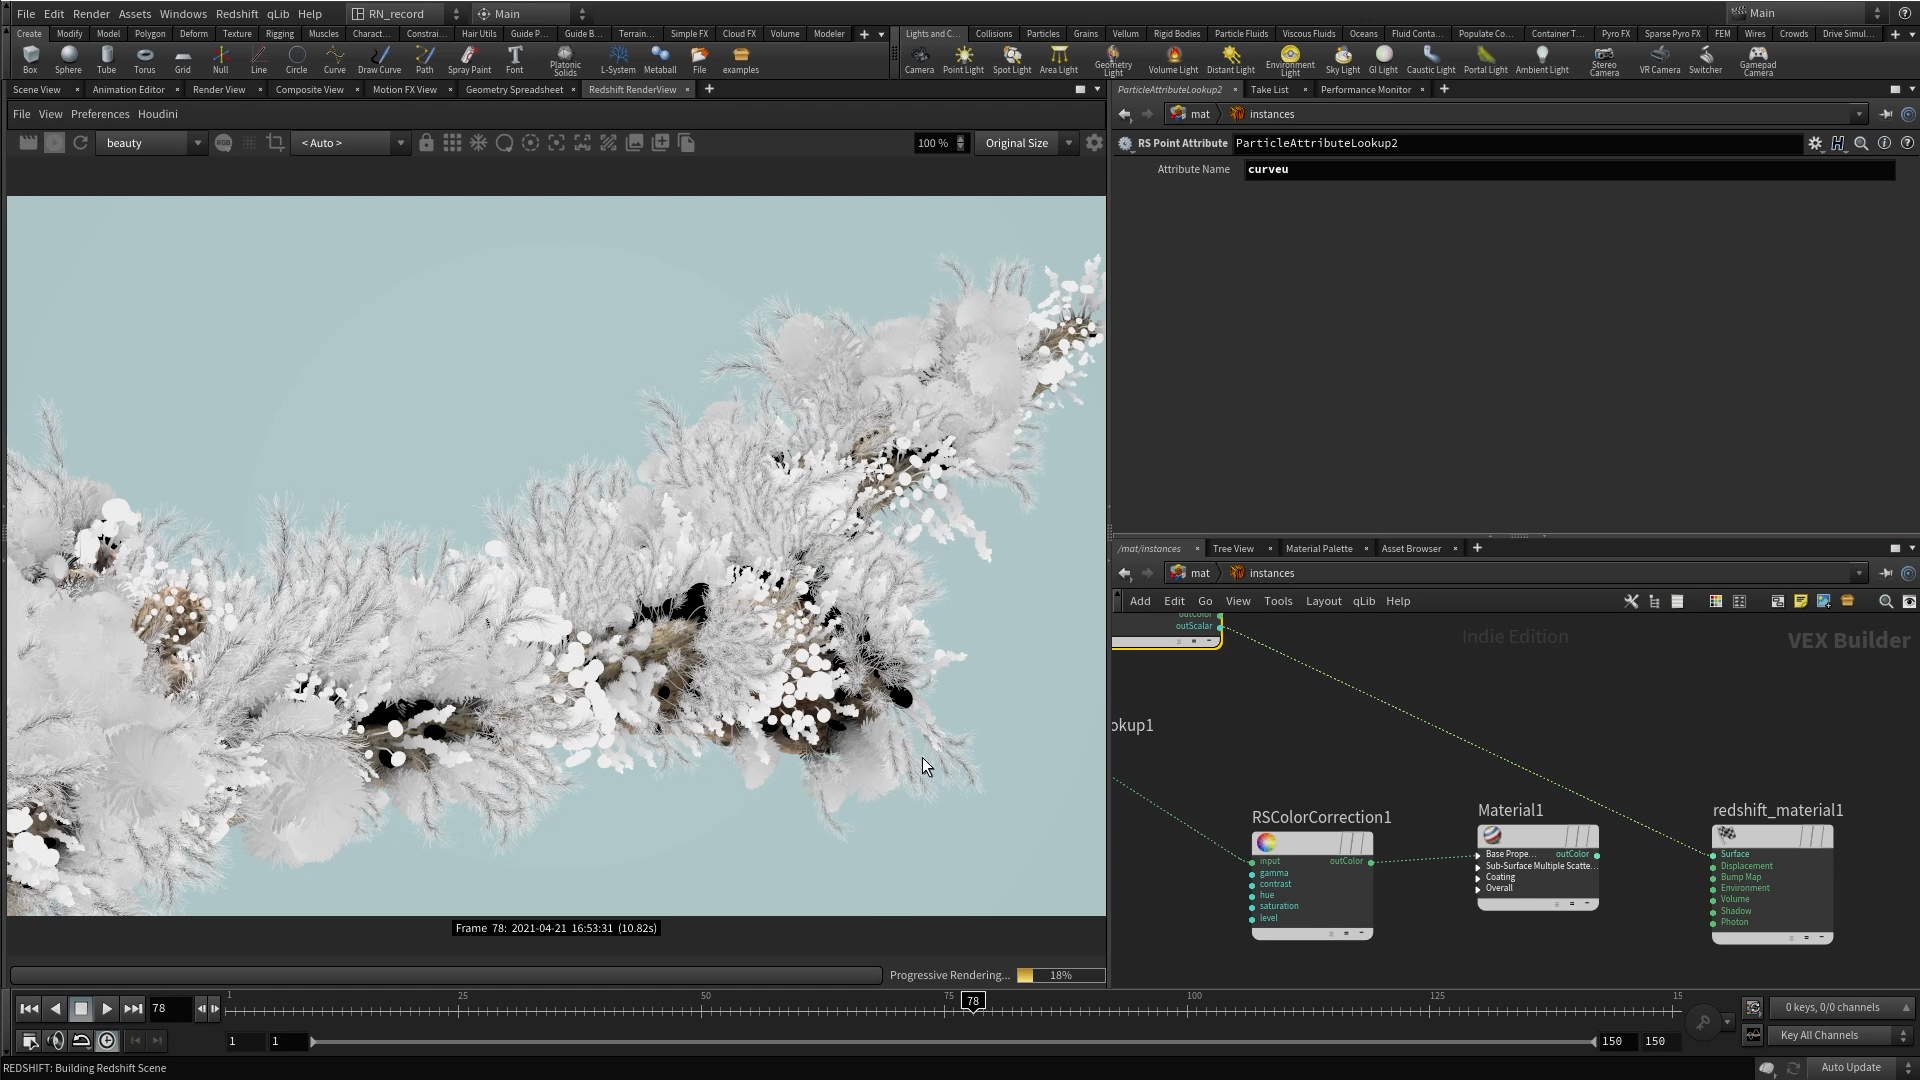
Bonus Chapters!
↓chapter 30
duration: 7 mins
For those who I scared off with talk of orients and quaternions, we take a look at the earlier part of our setup but using the scatter and align sop instead.
We also show that we can still use the functions we created as tools to modify our scatter and align.
chapter 31
duration: 20 mins
One more advanced technique where we can look at how we can take our instances, manually delete or align some of them individually and run this back out to our proxies.
There’s a few gotchas along the way but with this we can literally have full control over each instance’s placement if we need to.
