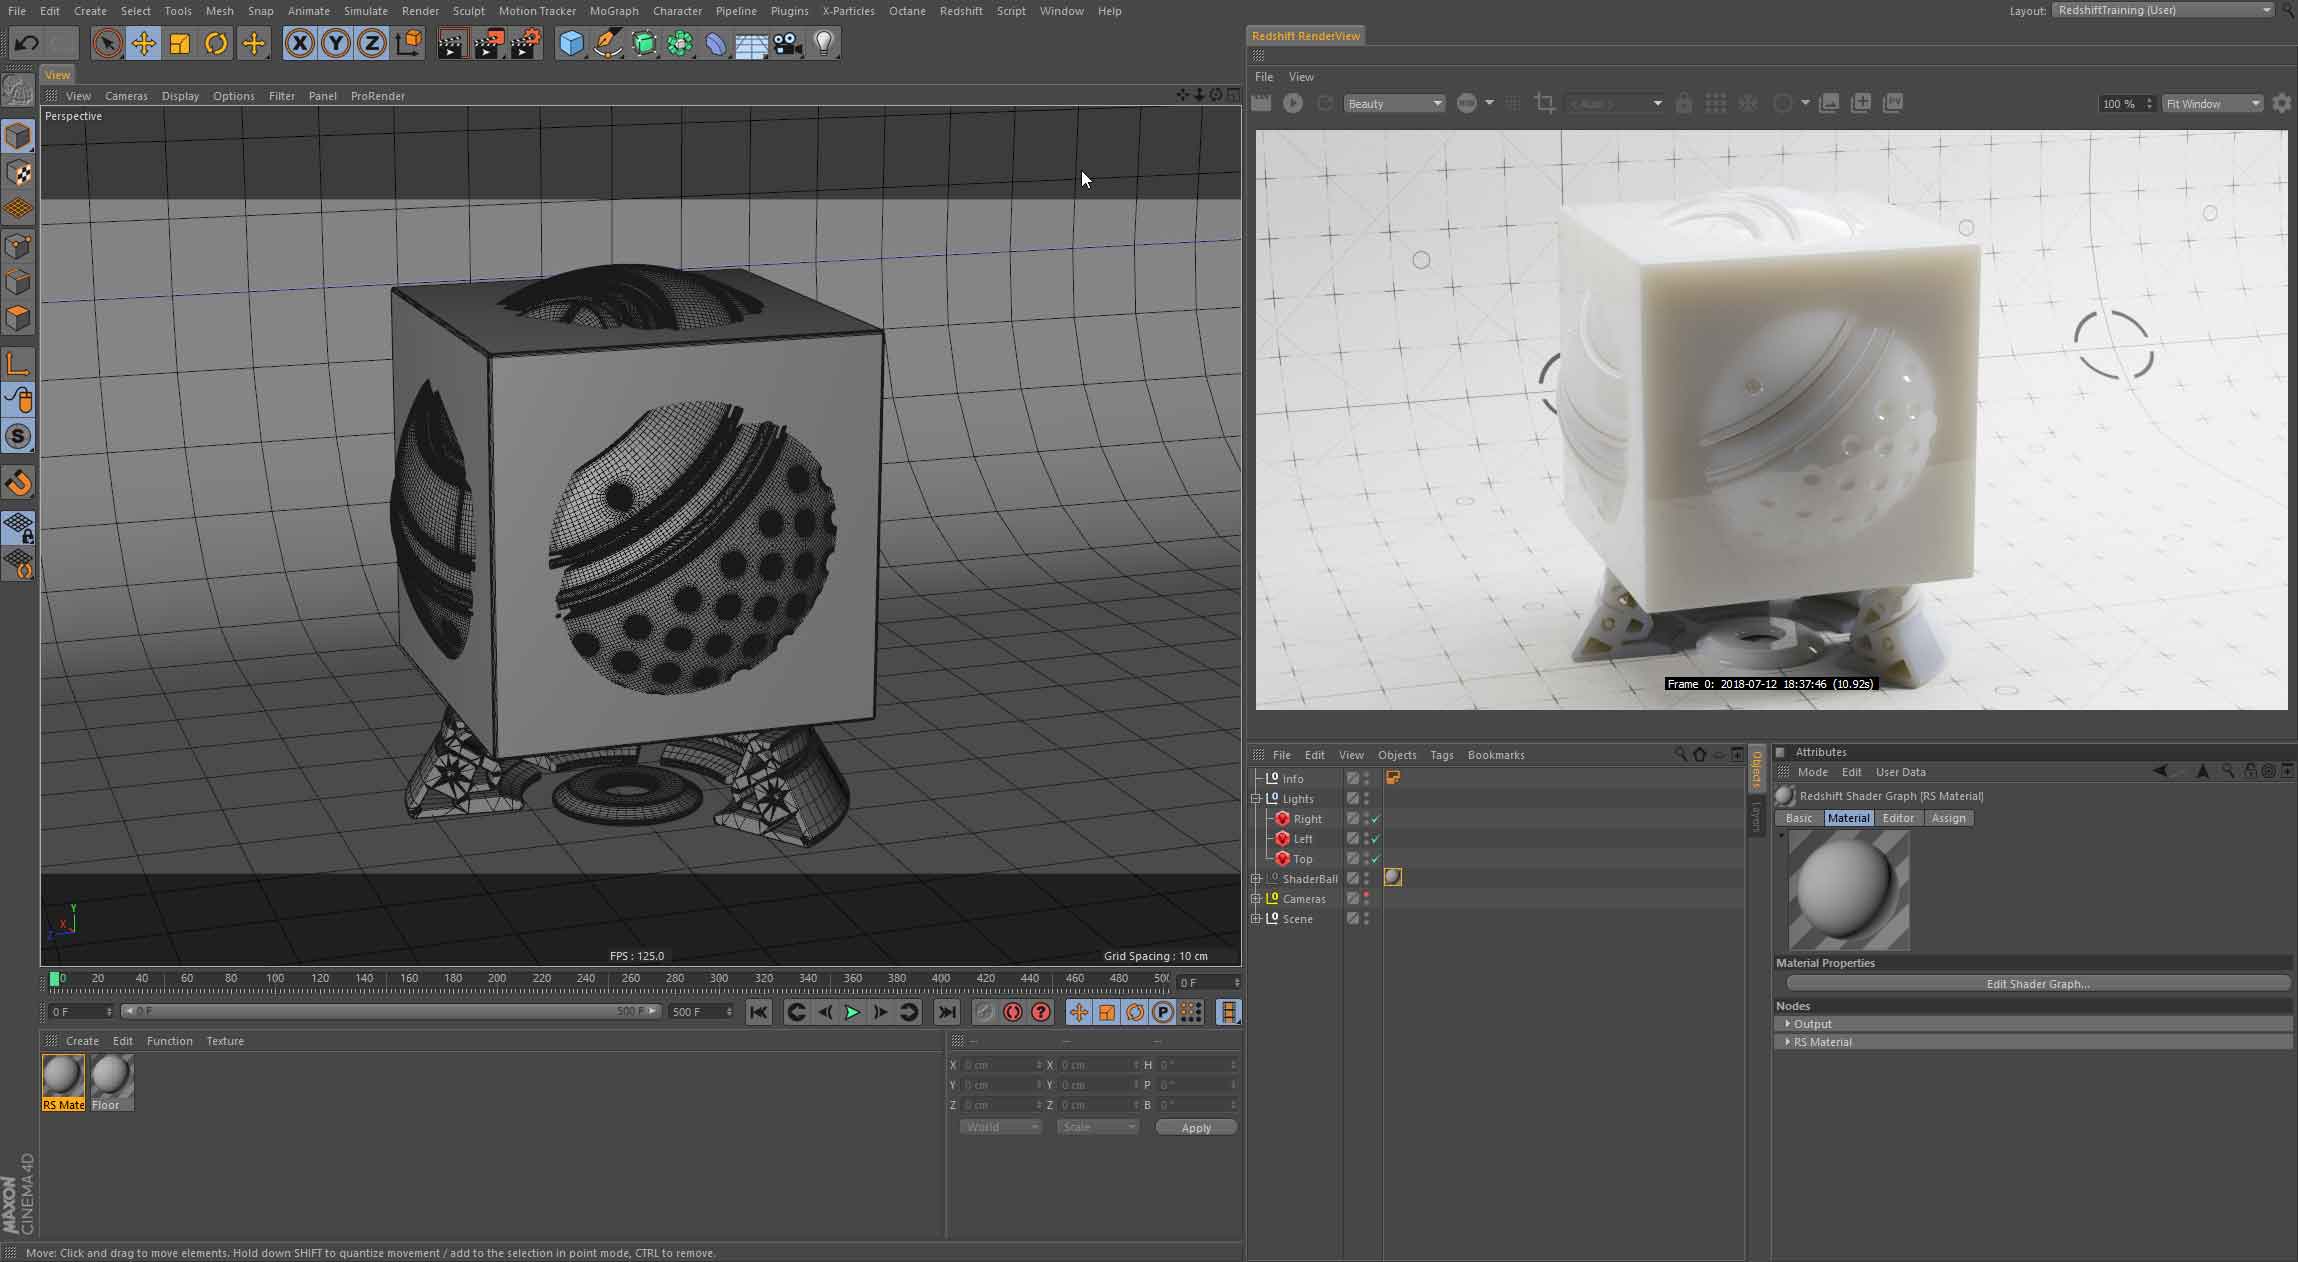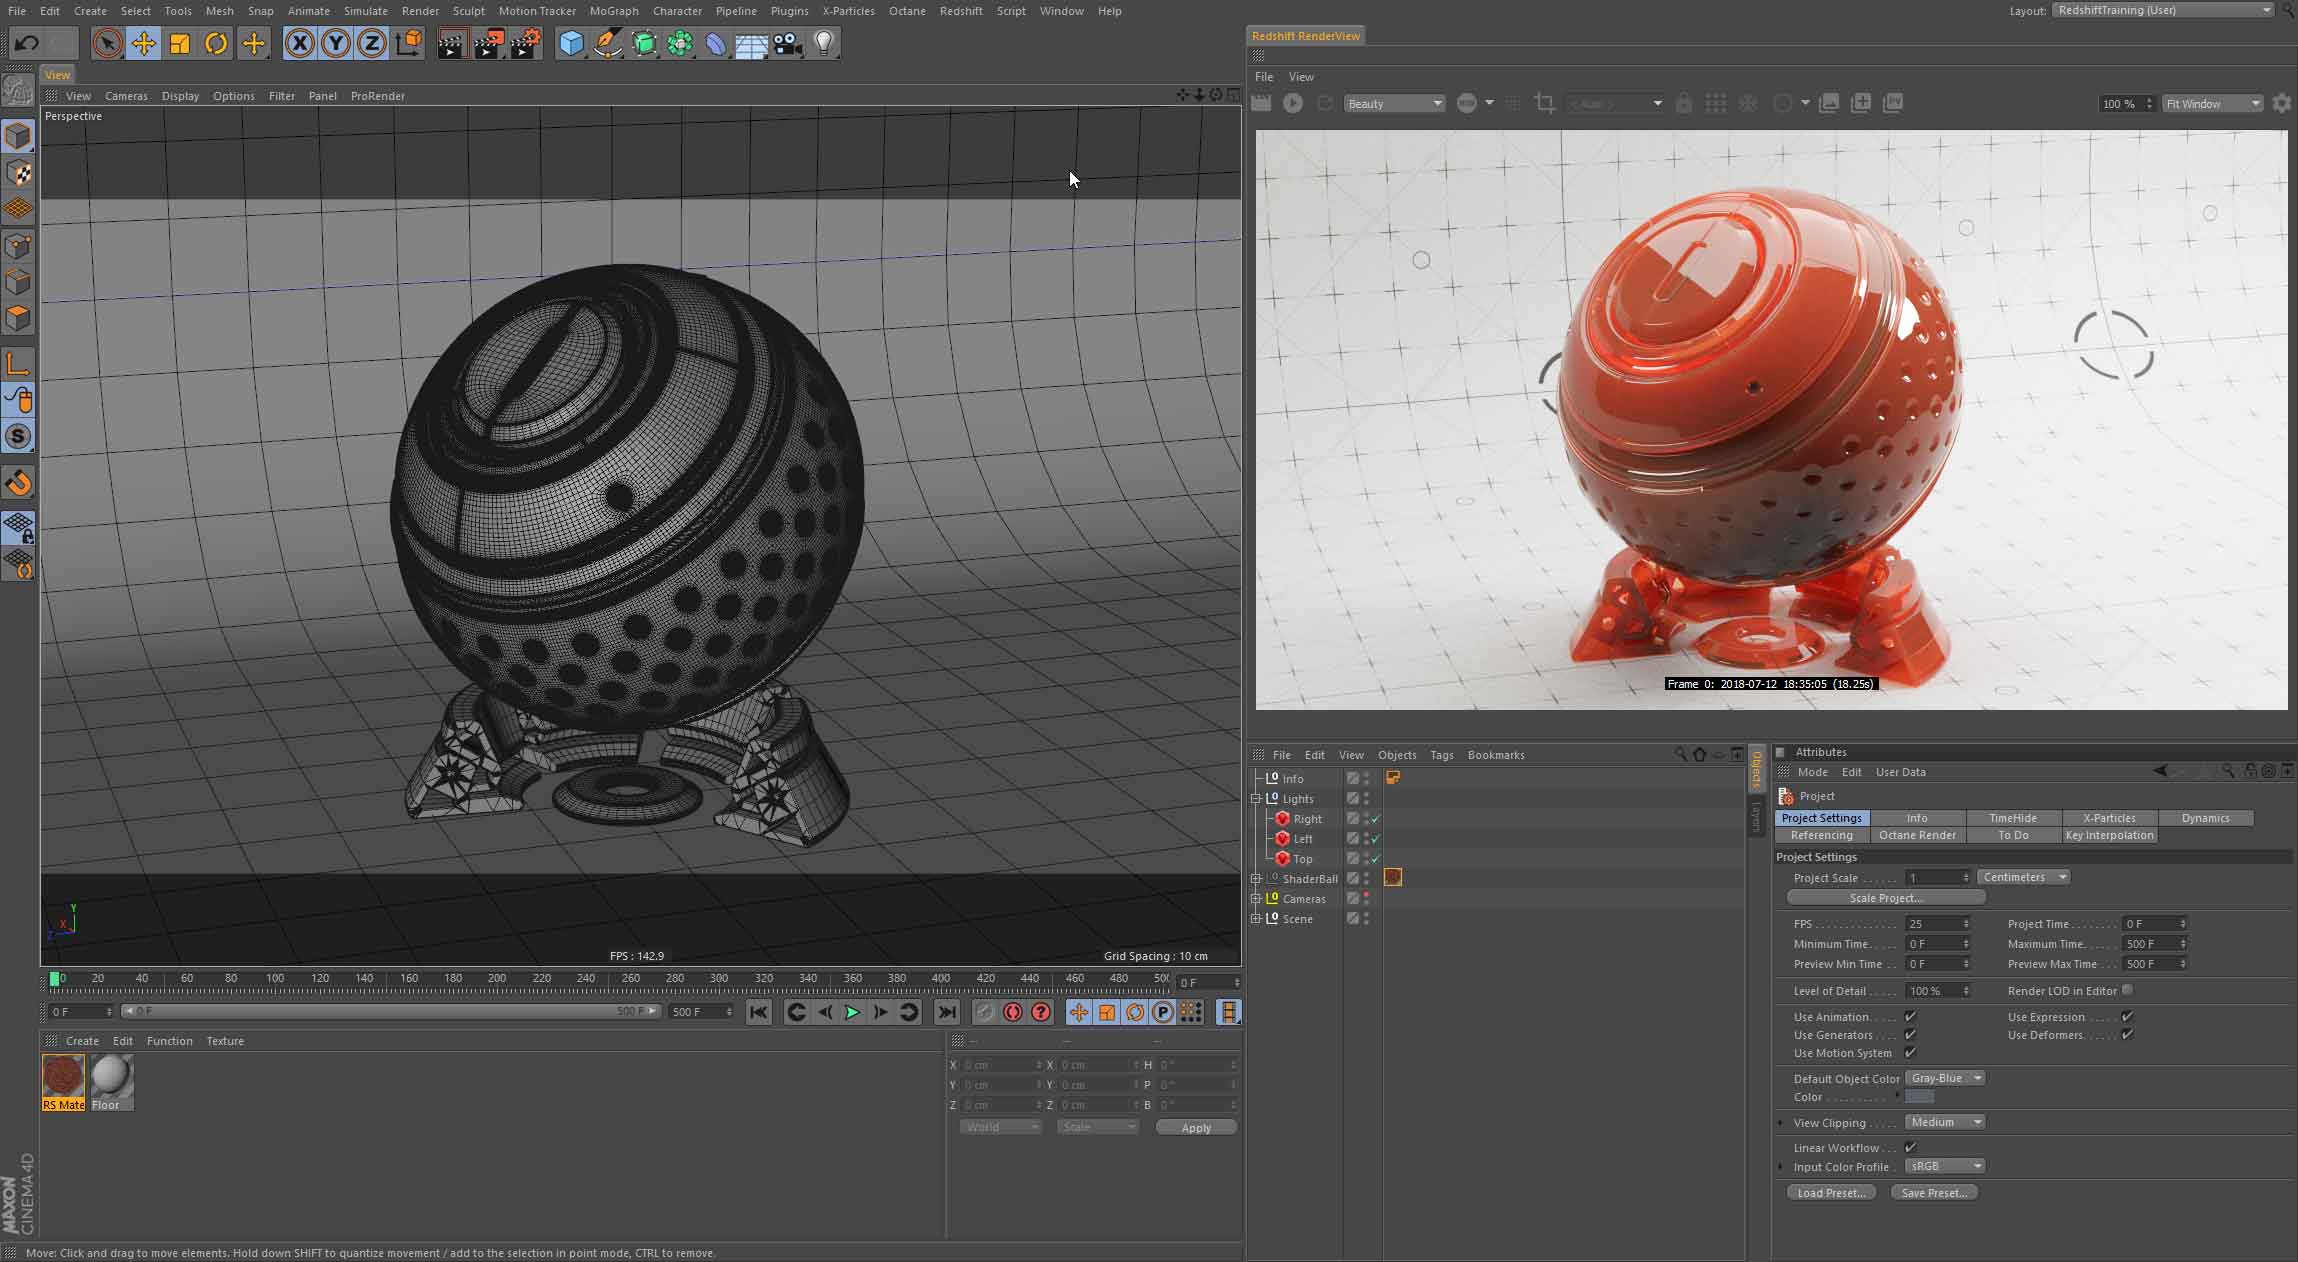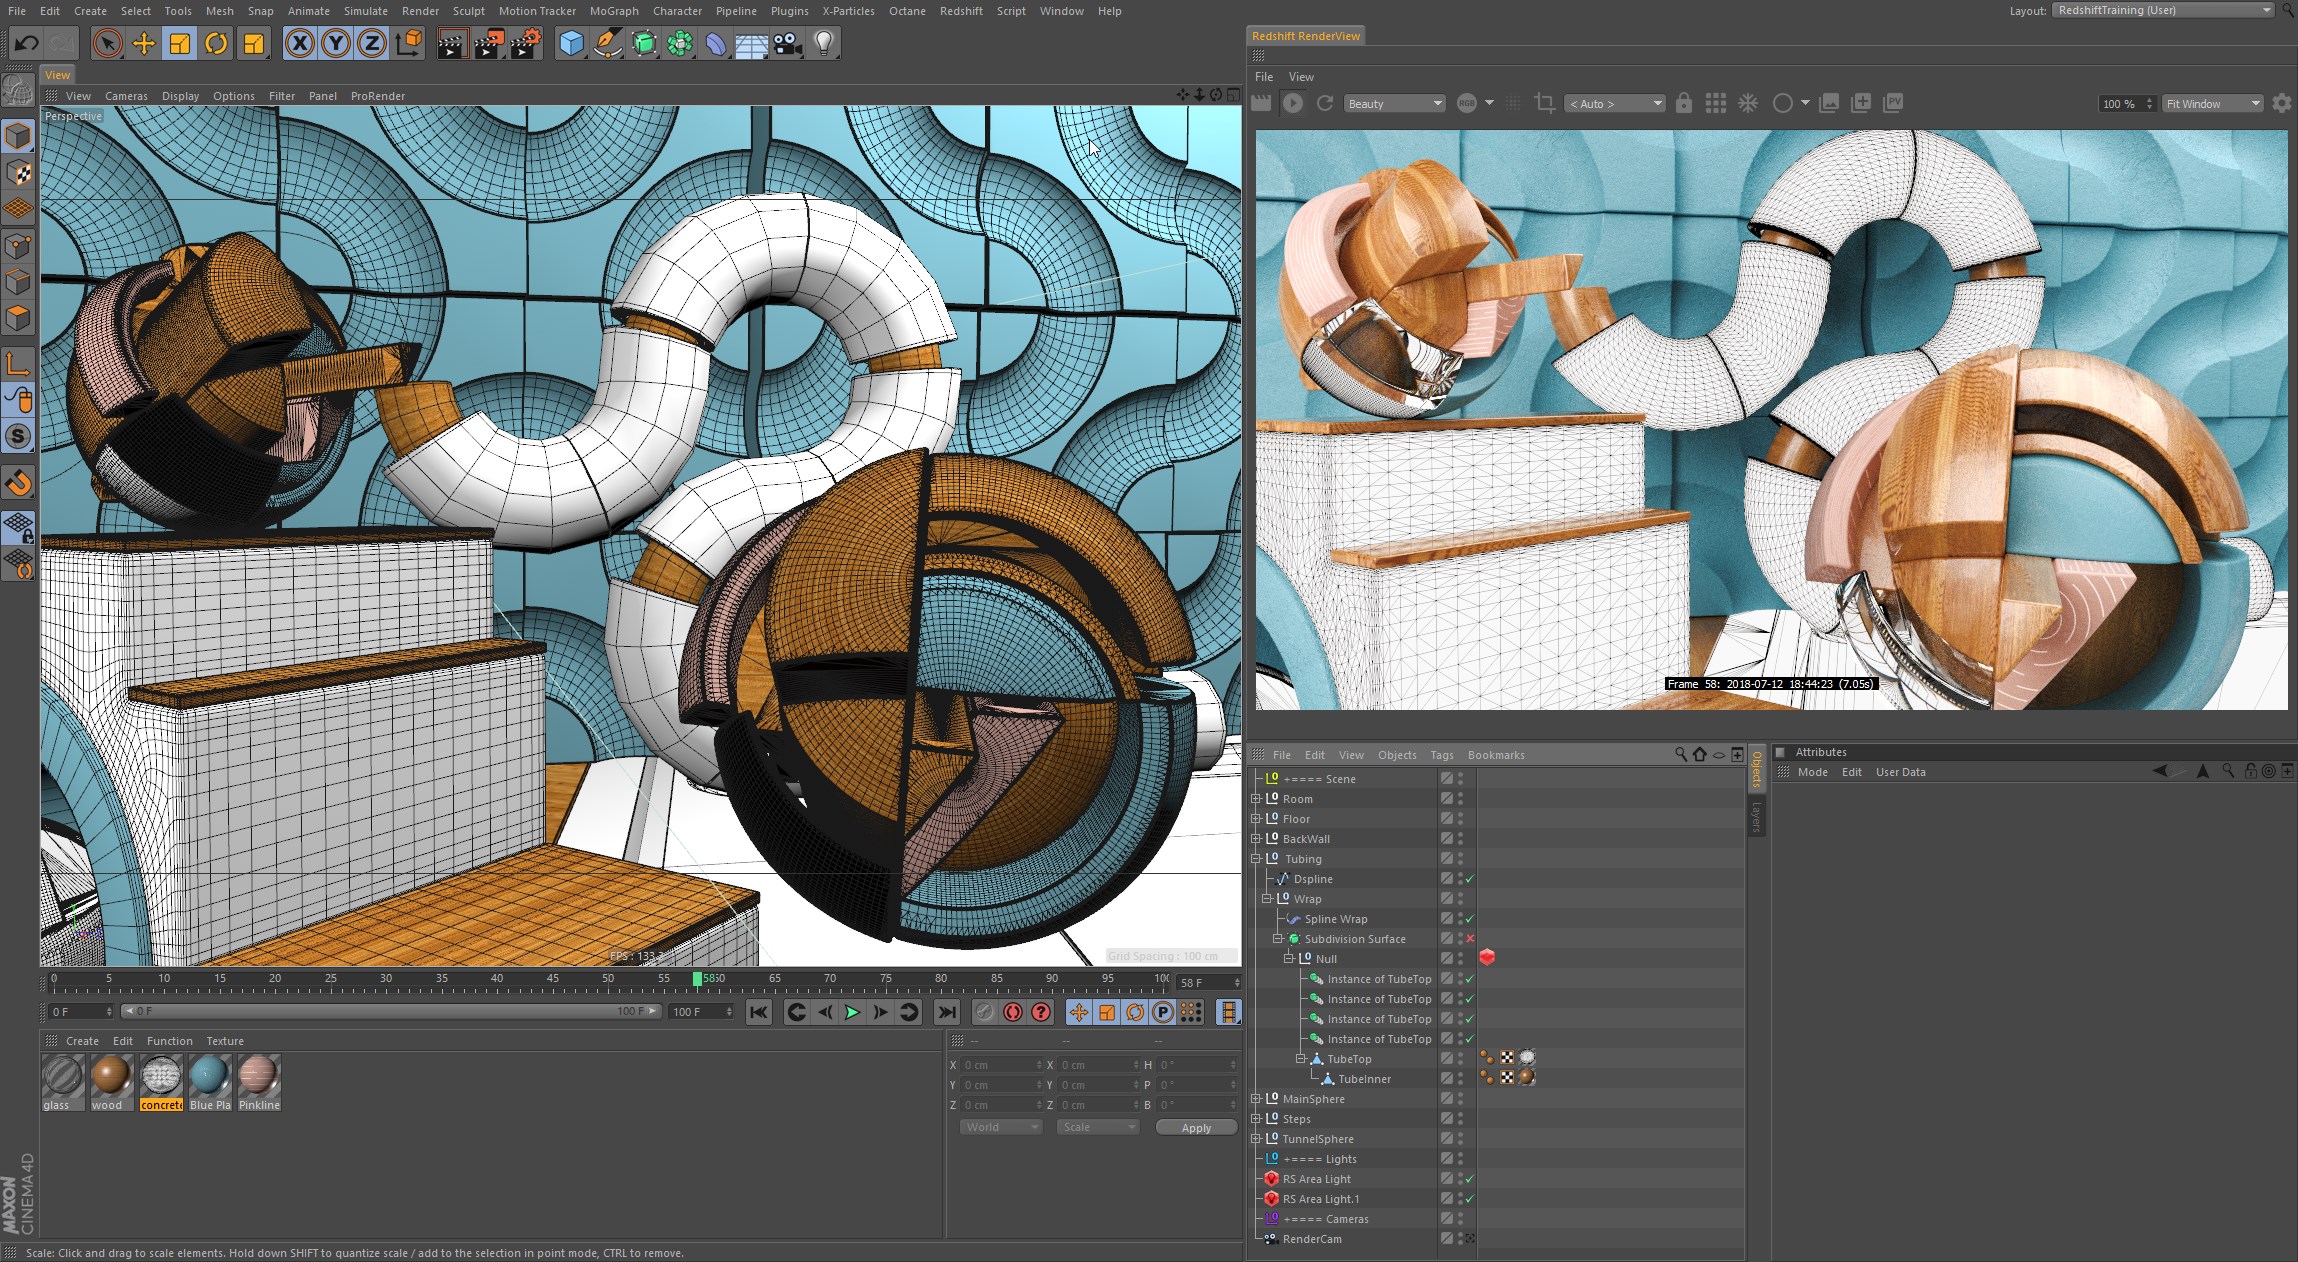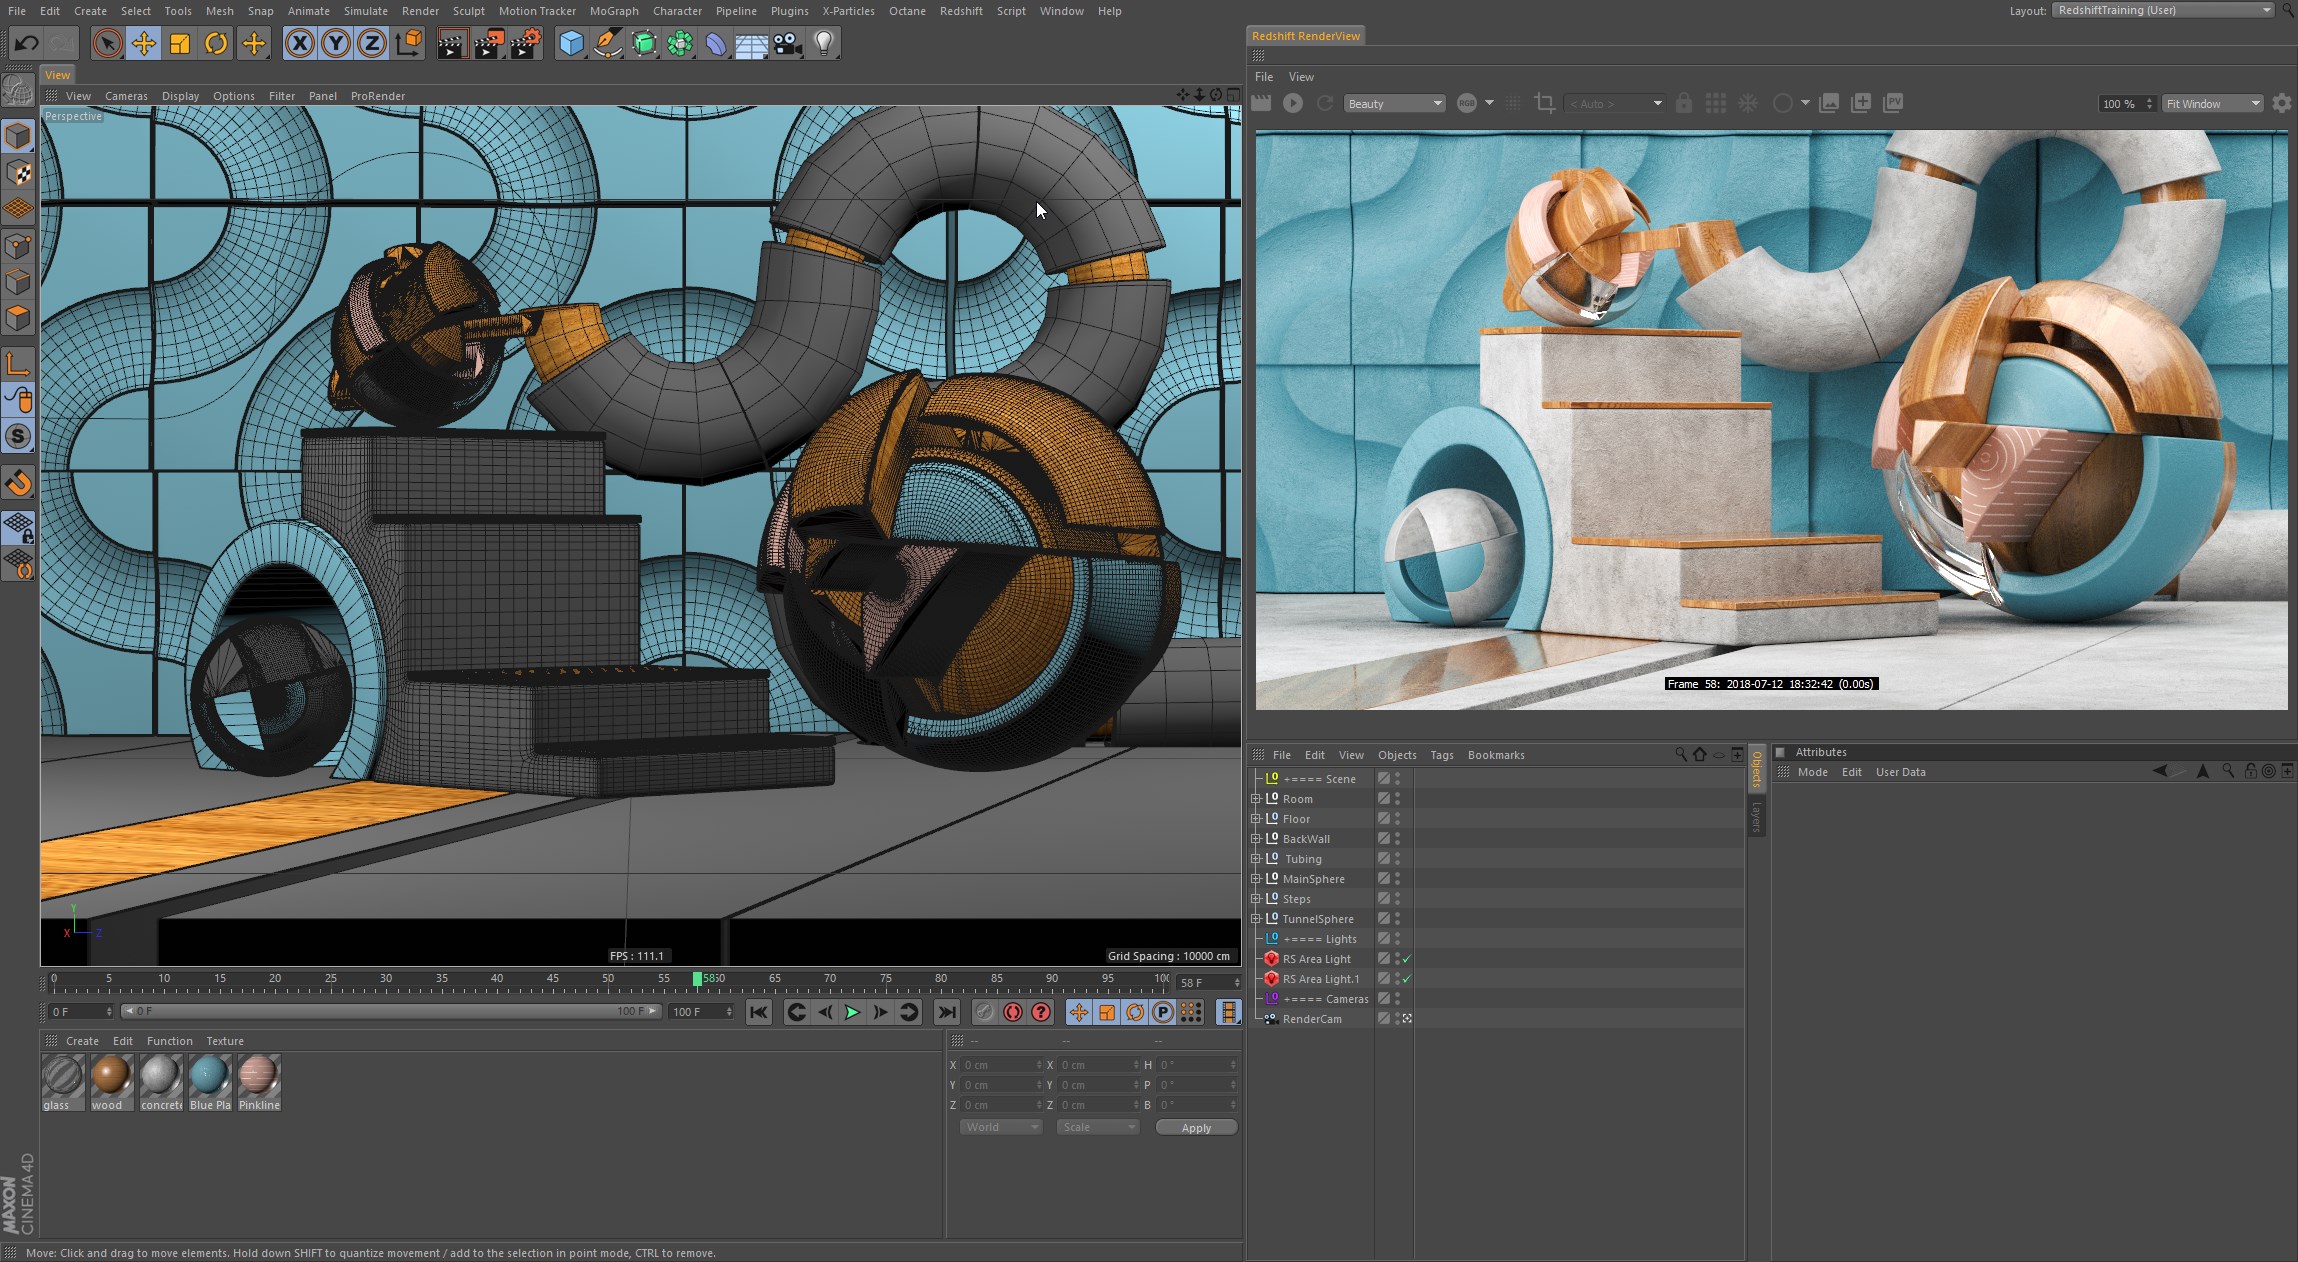
NOW ONLY $15!
Cinema 4D now uses the new Node Editor for Redshift materials, rather than the Xpresso interface, although both are still supported. This training is created with Redshift 2.5, since then there have been new features added which are not covered. Much of this information in this training is still relevant, but due to the age of this training, we now offer over 80% discount as this title will be discontinued shortly.
Redshift is the world’s first fully GPU-accelerated, biased renderer, built to meet the specific demands of contemporary high-end production rendering. Tailored to support creative individuals and studios of every size, Redshift offers a suite of powerful features and integrates with industry standard CG applications and as all helloluxxers know, Cinema 4D is our CG application of choice!
Rich Nosworthy is well known to many as an authority on all things Redshift so it is with great delight that we now bring to you Volume 01 of learn. Redshift for Cinema 4D a premium suite of tutorials, exclusive to helloluxx.
learn. Redshift for Cinema 4D : V01 includes over 48 videos covering topics such as introducing the renderview, the redshift material, Sampling, GI, texture workflow, area lights, triplanar projection, motion blur, depth of field, hdri’s and much more, all in a very detailed format. V01 is split over two projects, with Rich setting up both for final render, along with tips, tricks and all you need to get started with this exciting render engine.
In the sample lesson below, Rich takes you through the process of creating a glossy wood texture in Redshift using Triplanar projection.
Training Summary
Learn Redshift with expert tuition
48 concise chapters
All C4D project files included
Learn lighting, materials & rendering
Understand PBR workflow
Bonus Substance Designer walkthroughs
Recommended requirements
Cinema 4D Release 19 and above
Redshift 2.5 and above
Aimed at beginner users in Redshift.
Some knowledge of Cinema 4D is required.
Chapter 01 : Introduction
↓Redshift Menus and Tags
Duration: 02 mins
Begin by looking through the redshift menus for where to find the redshift objects and tags.
Preferences
Duration: 02 mins
Take a quick look at where to set your preferences for things like the texture cache and GPU assignments.
Chapter 02 : The Renderview
↓Renderview Intro
Duration: 01 min
A quick intro to what the renderview is.
Renderview Basics
Duration: 06 mins
We take a look through the main renderview icons and controls.
Renderview Size & Scale
Duration: 03 mins
A look at the control for how to size the render within the viewer.
Renderview Navigation
Duration: 03 mins
How to navigate the render in the image, panning and scaling the image as well as flip and rotate options.
Renderview Display Options
Duration: 04 mins
We look at the display options including how to load in Lookup tables.
Renderview Undersampling
Duration: 01 min
Brief video explaining how to use undersampling.
Chapter 03 : RS Material
↓RS_Material Intro
Duration: 02 mins
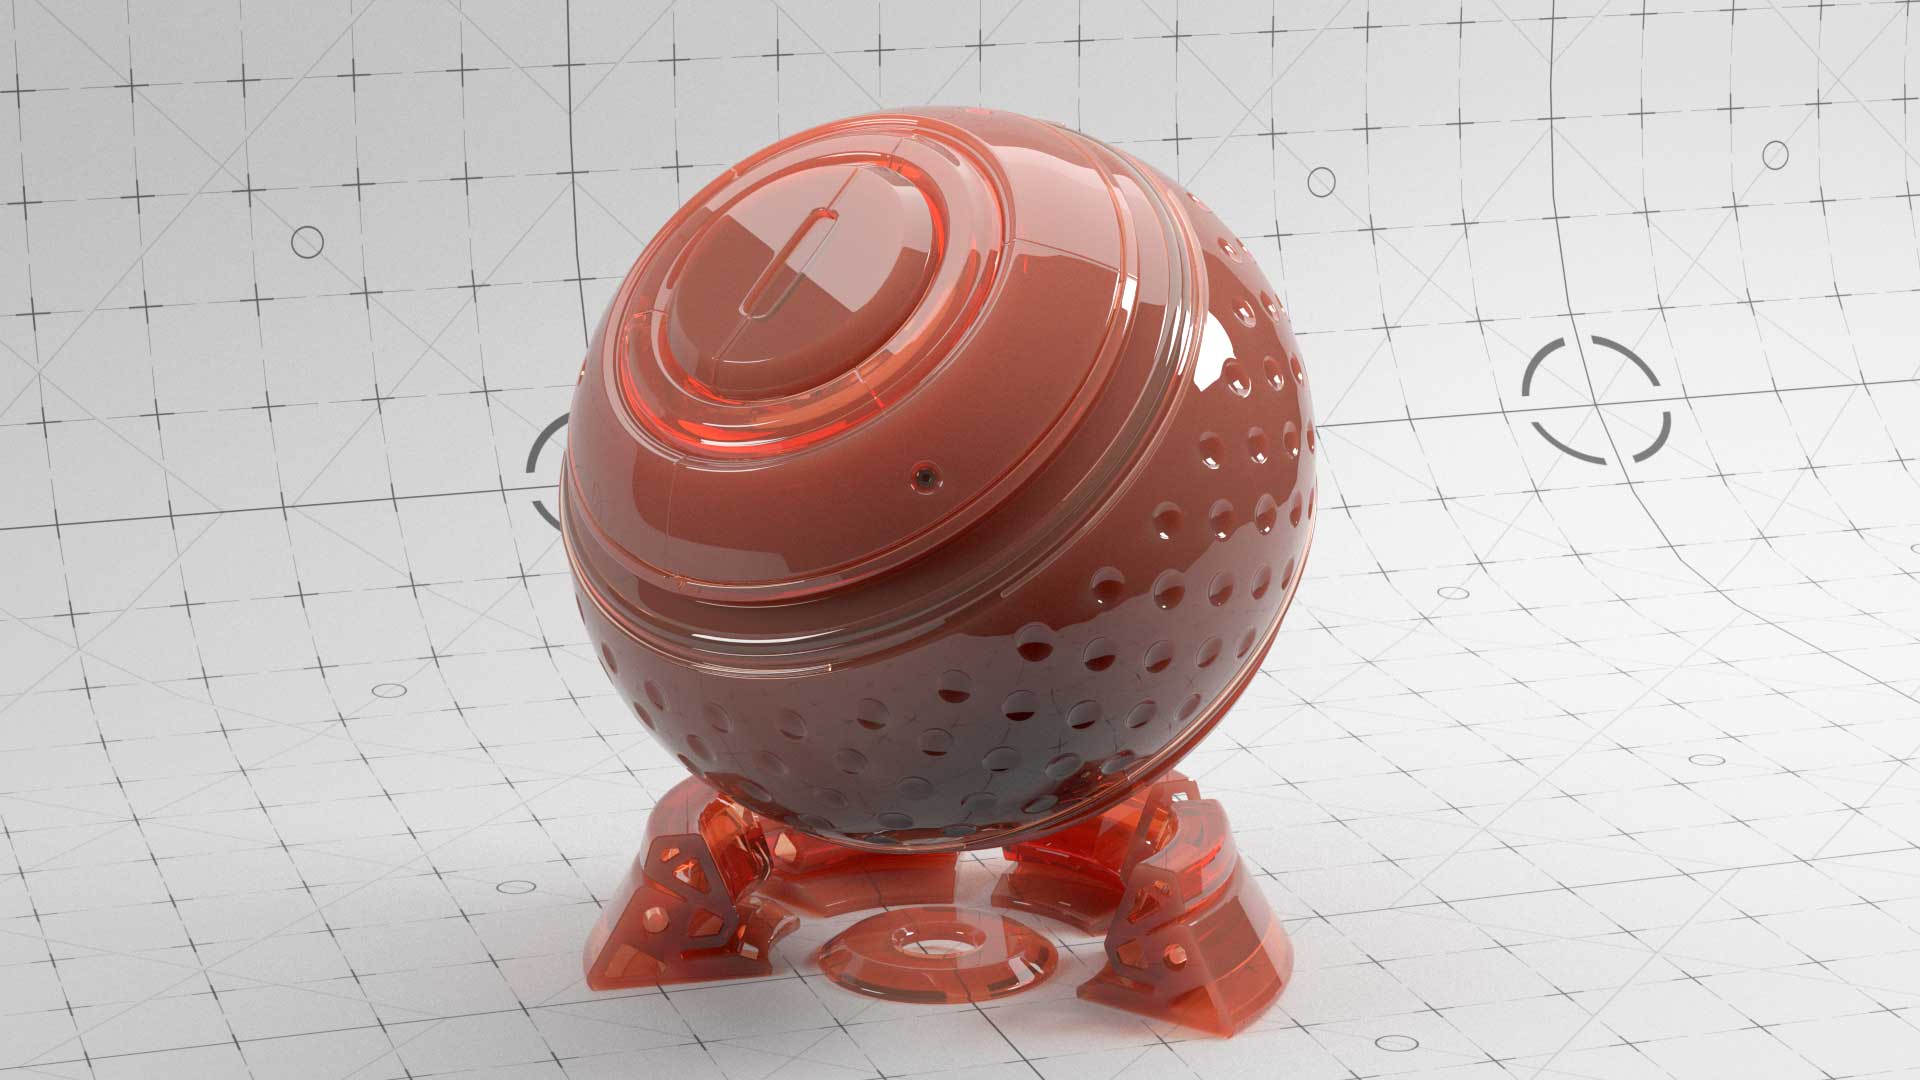
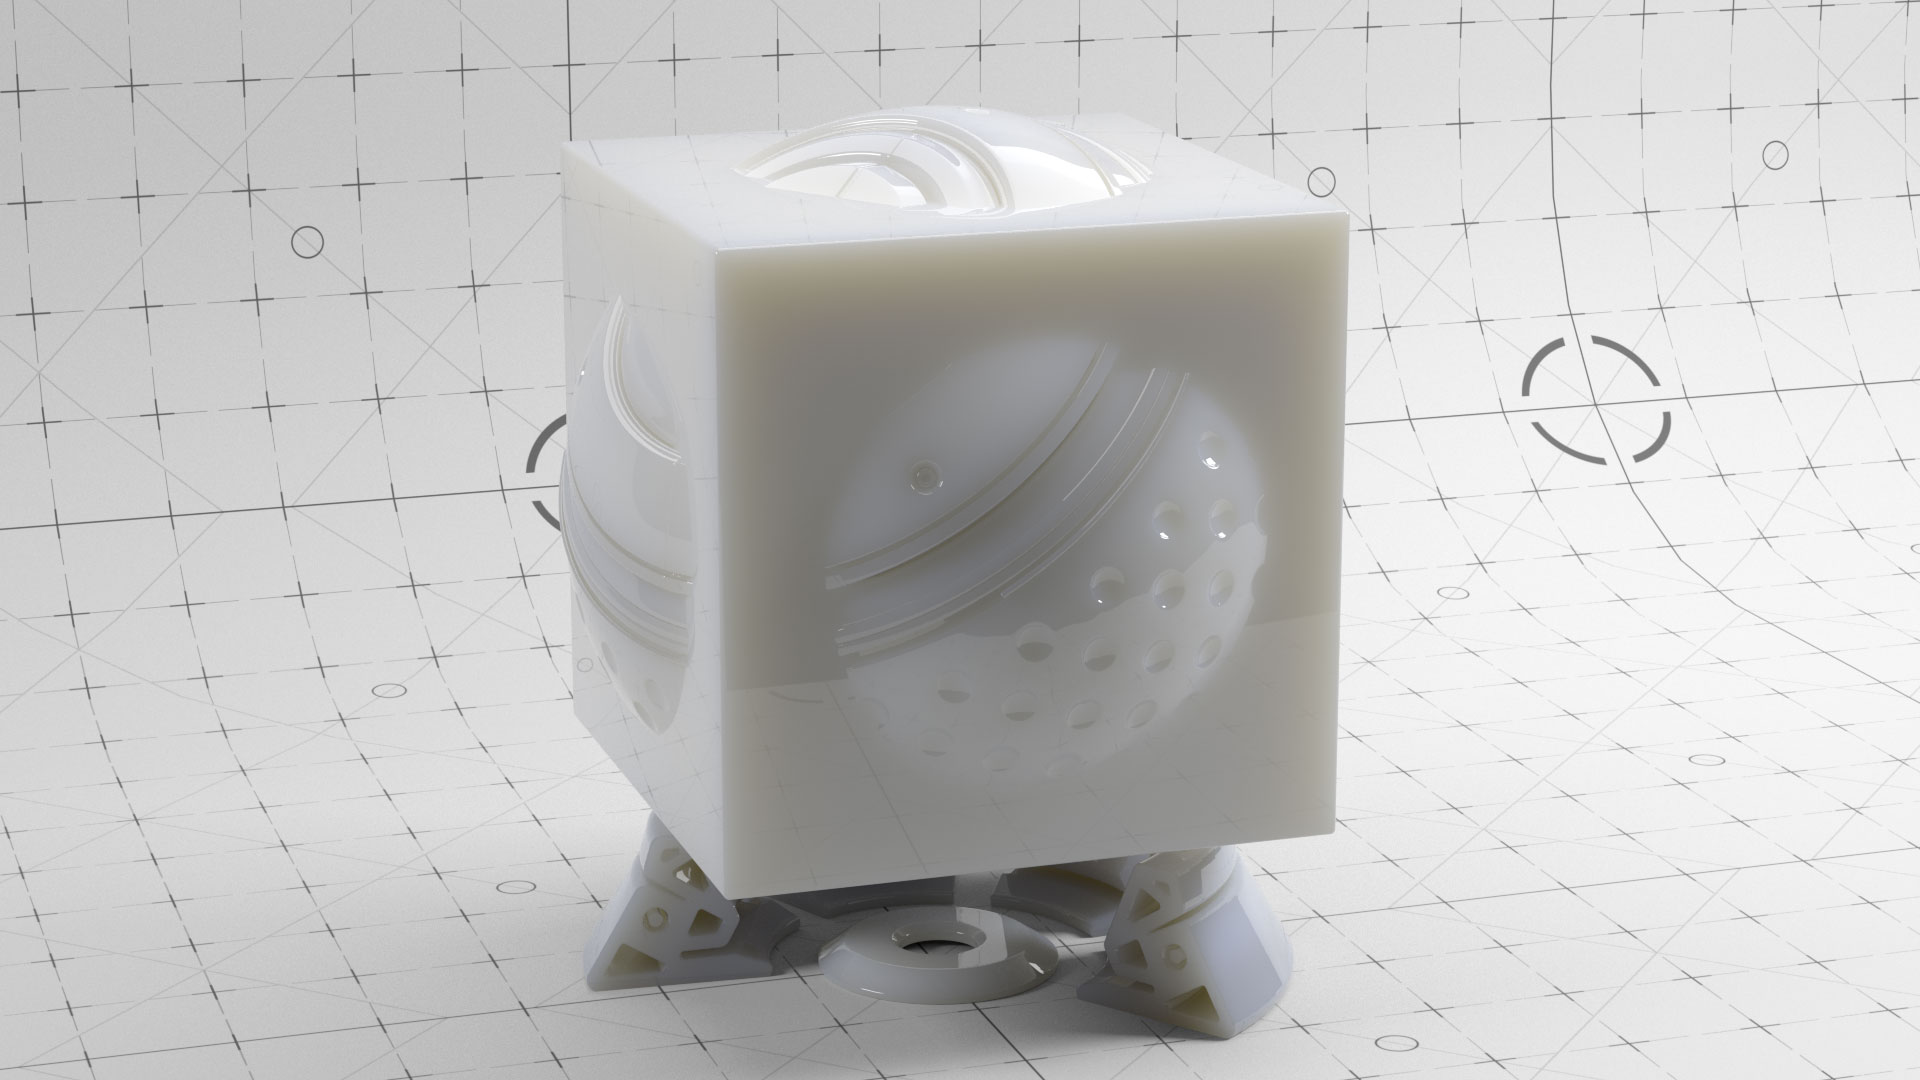
Rich talks about the RS material, loading it into your shader scene and applying it.
Base Properties
Duration: 07 mins
In this section, go through the setup of the main base layers of the RS Material.
Multi SSS
Duration: 08 mins
Take a look at the Multi Scattering tab for subsurface scattering and what the controls do.
Coating & General
Duration: 03 mins
Look at the coating tab as well as a quick look through some of the other extra tabs.
Backlight Example
Duration: 01 min
An example showing how to use backlighting in a scene on a single poly object.

Chapter 04 : Block Ball Scene
↓Block Ball Scene Overview
Duration: 03 mins
An overview of the main project you will be working on, briefly explaining the setup.
Setting The Renderer
Duration: 03 mins
Select the renderer as well as a short look through the render setting tabs.
Area Lights
Duration: 11 mins
A look at the Redshift Area light and to set up our base scene lighting using these.
Basic GI Setup
Duration: 02 mins
A very quick video, showing the setup Rich uses for almost all his scene files, whether they are stills or animation.
GI Theory
Duration: 12 mins
To follow on from the previous video, talk in more detail about Brute Force GI, Irradiance Point Cloud, how they work and the settings we can adjust.
Base Plastic Material
Duration: 02 mins
Create your first shader for this scene, a simple plastic material.
ShaderGraph & Textures
Duration: 12 mins
We continue our plastic shader by taking a look at the Redshift Shadergraph, loading in textures, the RS ramp and connecting outputs directly to view the changes.
C4D Shader & Bump Map
Duration: 12 mins
Create your next material, looking at how you can use Cinema 4D’s own shaders within Redshift. We then look at the Bump map node and how to use Redshift’s noise to add in some subtle detail to our surface.
Concrete Shader
Duration: 07 mins
A look at loading in some textures created in Substance Designer to create your next concrete shader. You also look at how to load in normal maps with the bump map node.
Linear Workflow for Textures
Duration: 10 mins
An introduction to the idea of linear workflow, how this relates to your textures and why you may wish to sometimes override the gamma settings to force a texture to be read in as linear.
Triplanar
Duration: 06 mins
A short example showing Redshift’s triplanar node and all it’s settings.
Wood Shader
Duration: 16 mins
Continuing from this, use triplanar to setup your wood shader. Also take a look at creating a clear coat varnish effect over the top. Rich also introduces a quick look at how you can load assets from Substance Designer.
Texture Assignments
Duration: 05 mins
Take a moment to setup all the shaders you have created so far on our various objects in the scene.
Redshift Subdivision
Duration: 05 mins
Take your first look at Redshift’s tesselation as an alternative to using Cinema 4D’s Subdivision surface object. Also look at the wireframe node and how you can use this to preview the geometry.
Glass Shader
Duration: 02 mins
Using a preset this time, setup a quick glass shader with a little bit of dispersion.
LUTs & Adjustments
Duration: 04 mins
Load in a lookup table for preview, as well as a few scene fixes and also an overview of Redshifts asset manager.
Depth of Field Setup
Duration: 03 mins
A look at how to setup Depth of Field, aka Bokeh within the Redshift camera tag, as well as setting your focus distances.
Photographic Exposure
Duration: 06 mins
Continue your look at the Redshift camera tag with a look at exposure, tone mapping and the effect on your render.
Sampling Theory
Duration: 23 mins
The BIG one! Talk about the theory behind how Redshift samples it’s scene and how to balance your samples against the AA for setting the final renders.
Sampling Setup
Duration: 26 mins
After covering the theory, take a practical look at setting the sampling for your scene, based on the methods that Redshift recommend.
Alternative Approaches
Duration: 10 mins
Take a look at a sampling method that you can use to setup a final scene faster, at the expense of a slightly longer render time.
Rich’s Approach to Sampling
Duration: 12 mins
In this video, Rich explains the method he likes to use for sampling, which is essentially a mix of the two previous methods.
Applying Your LUT
Duration: 03 mins
Take your final render and look at applying the Look up table, in post, in both Black Magic Fusion and Adobe After Effects.
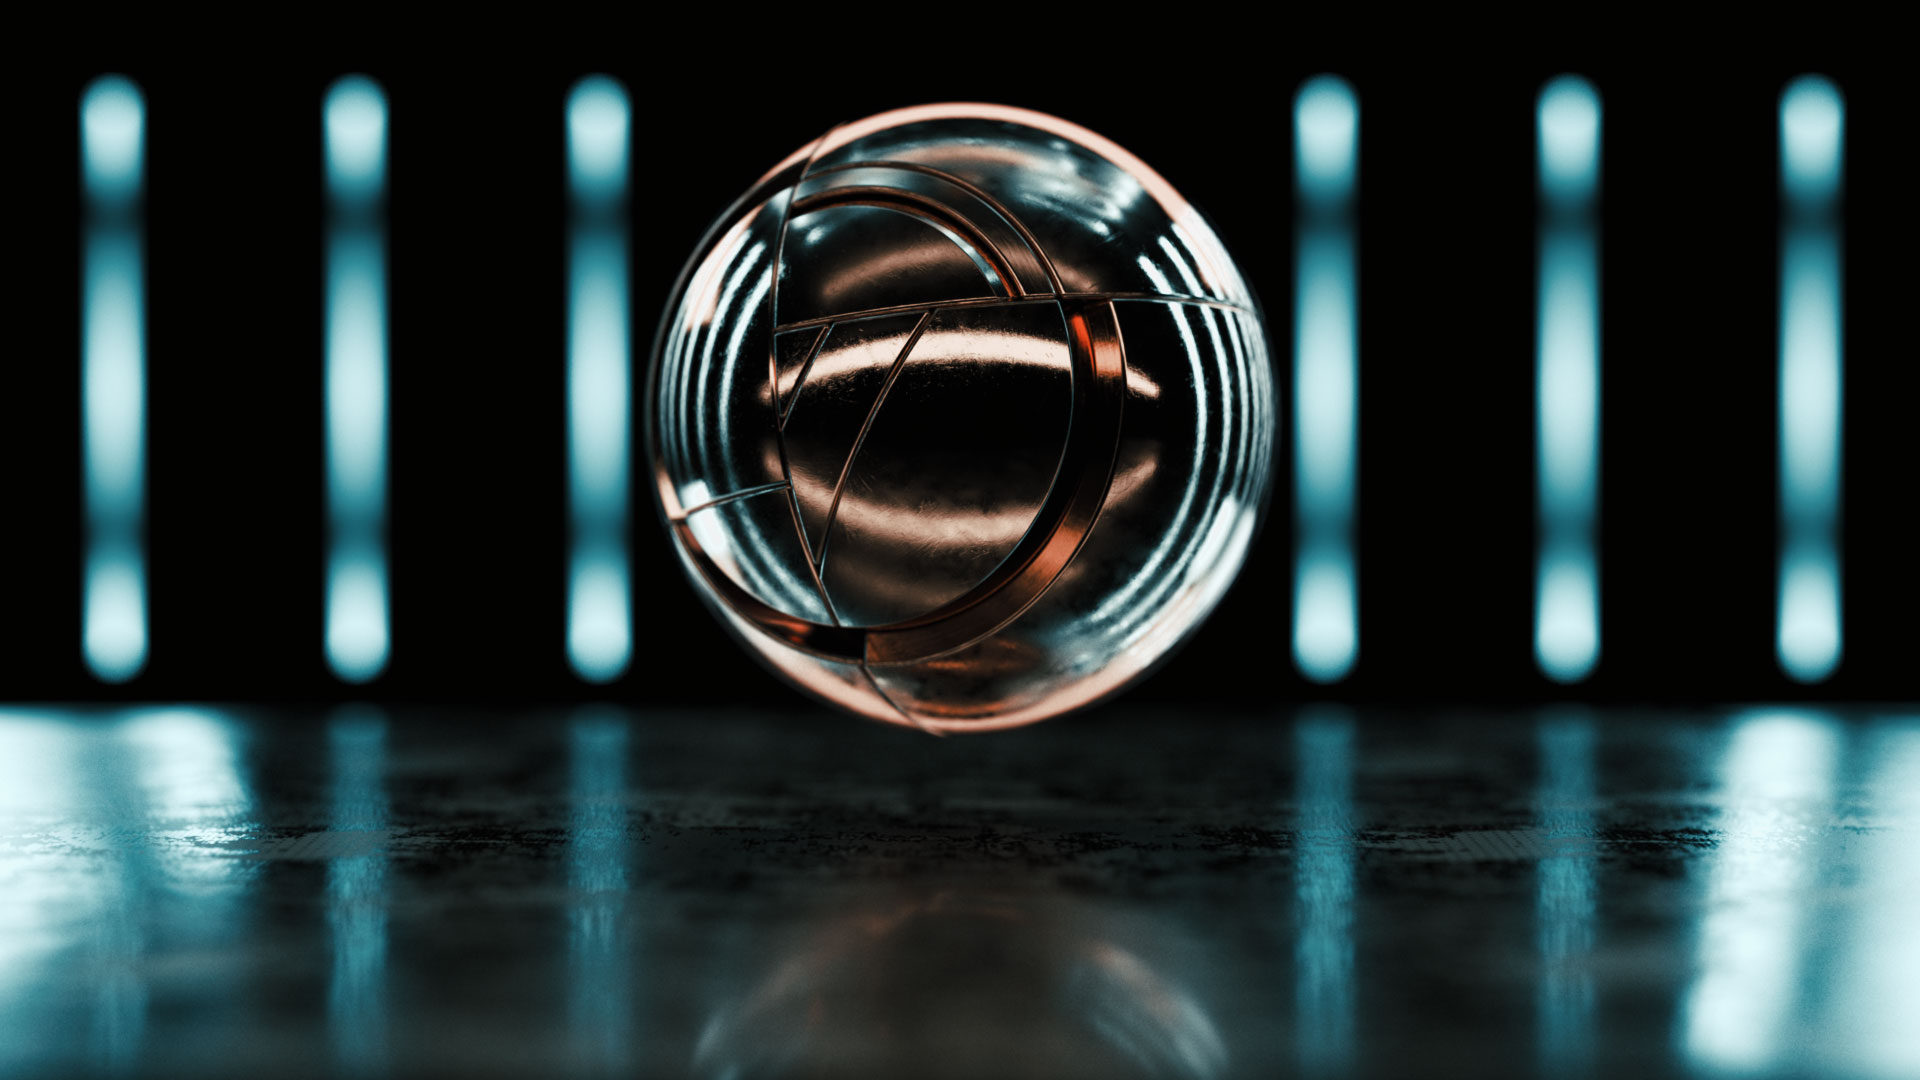
Chapter 05 : Shatter Sphere Logo
↓Project Overview
Duration: 02 mins
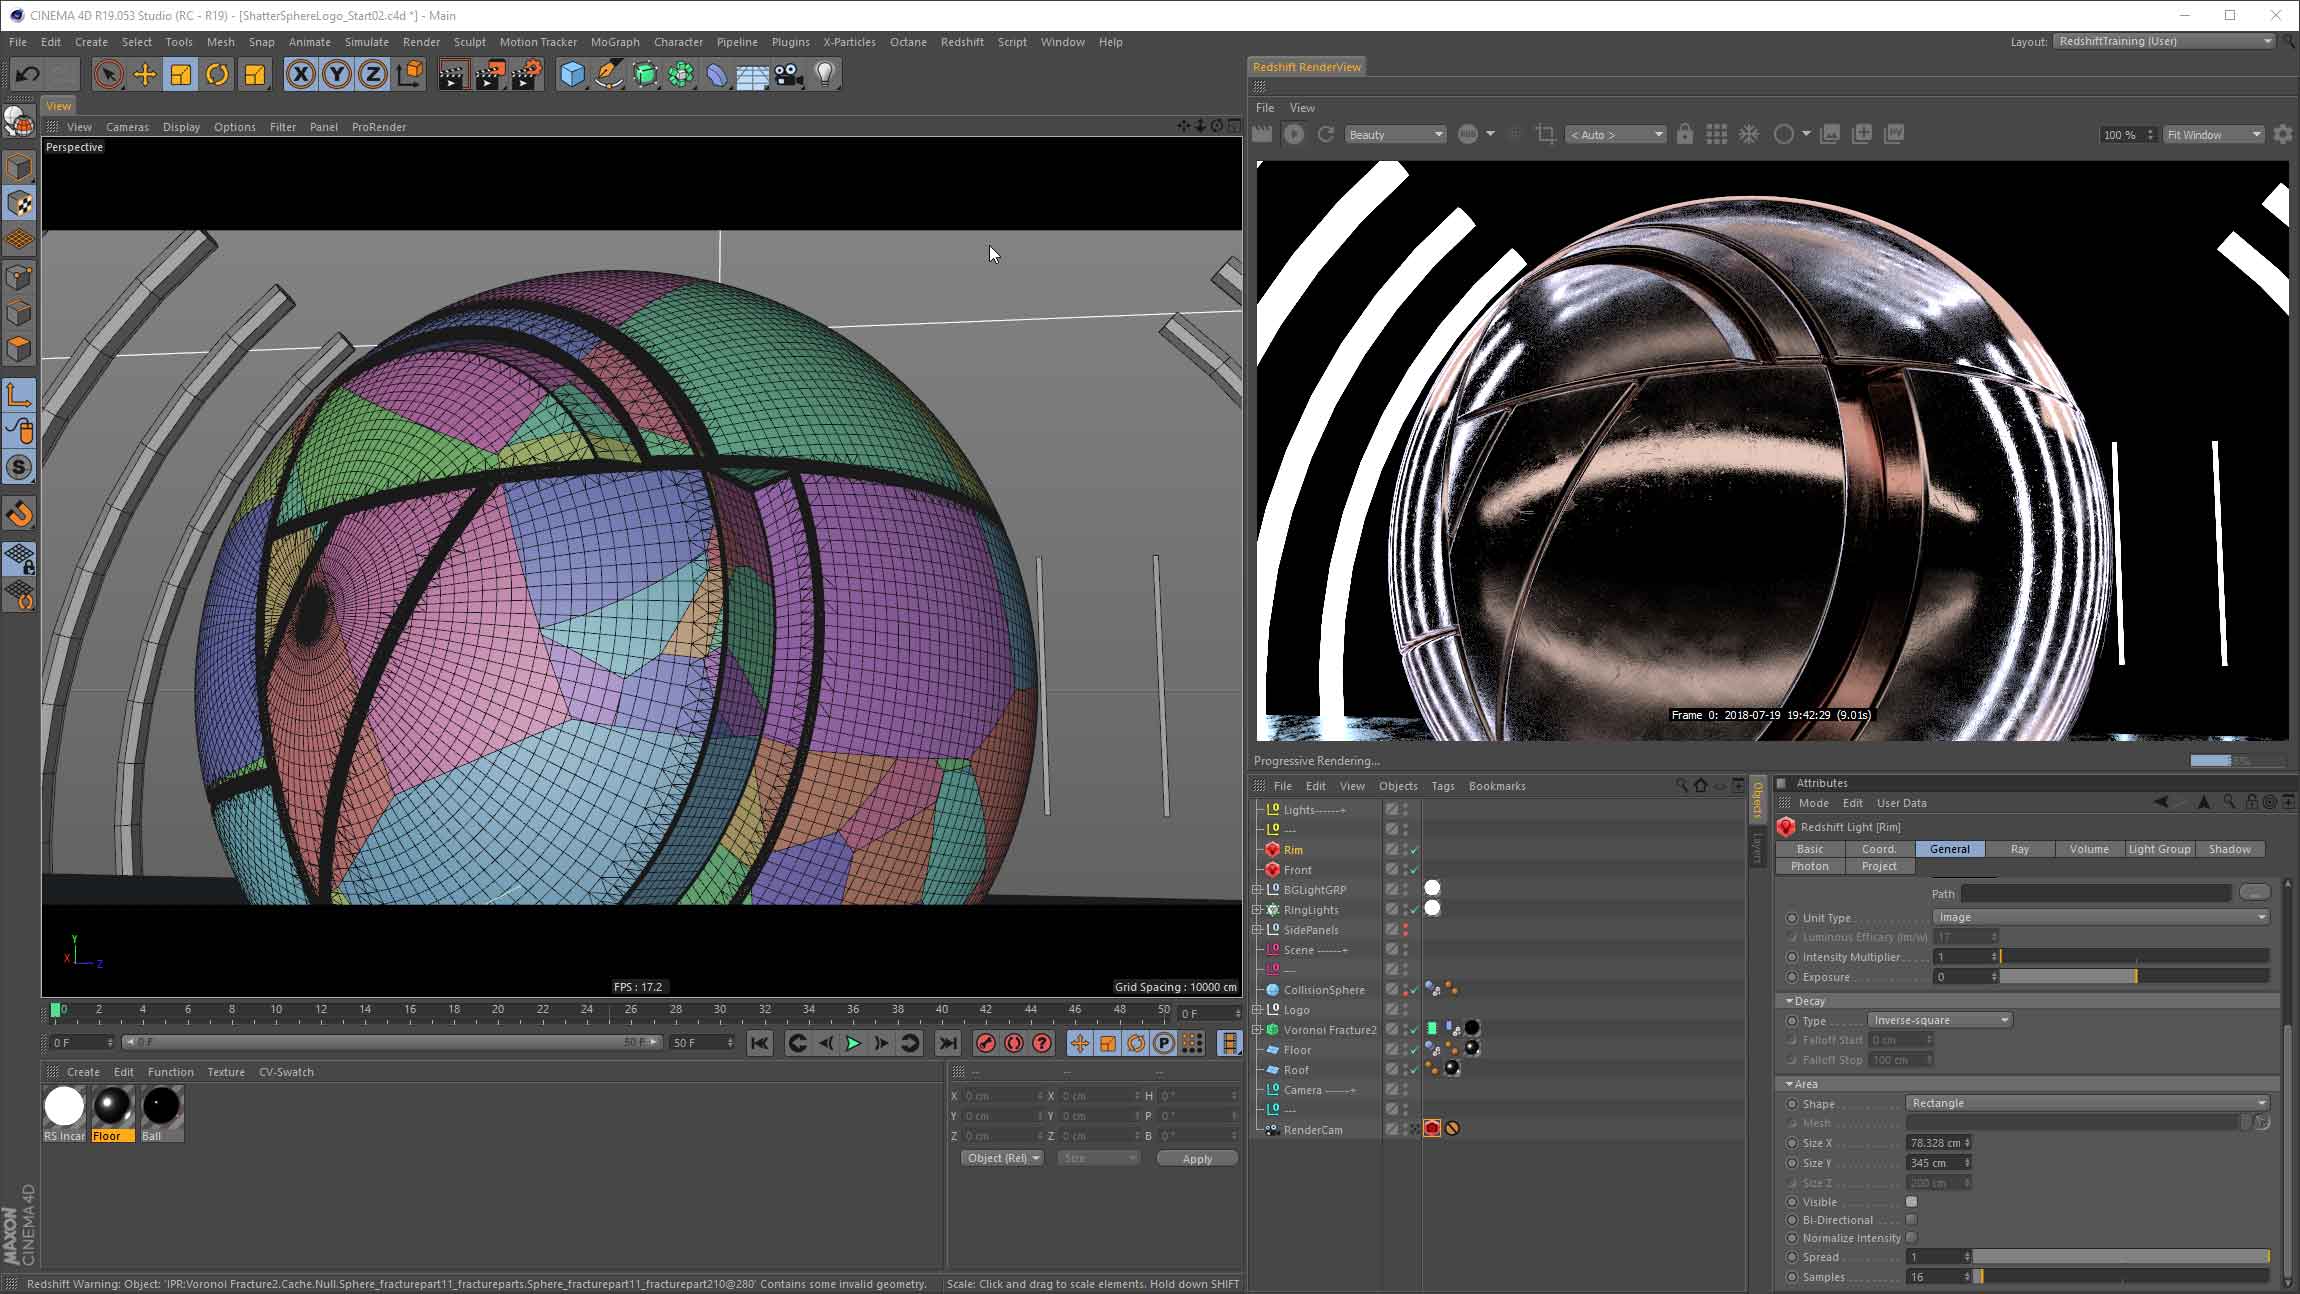
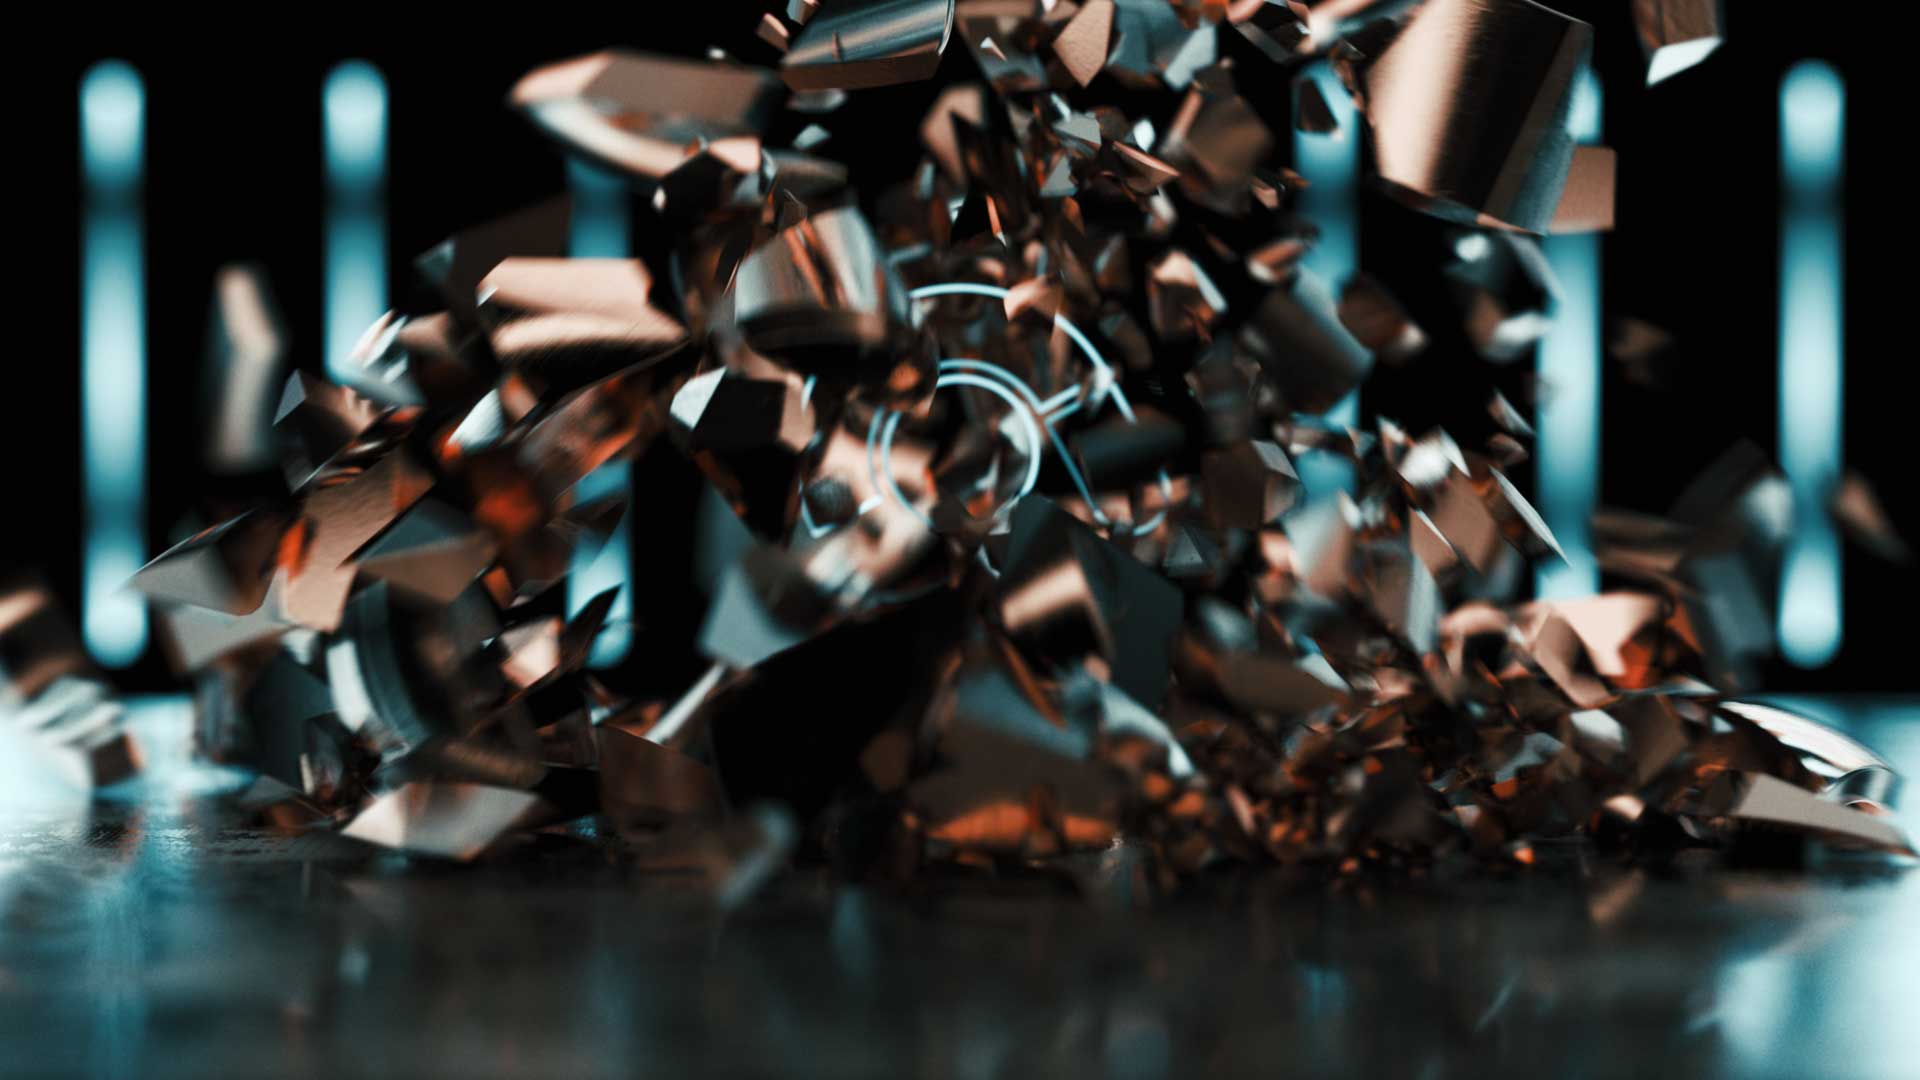
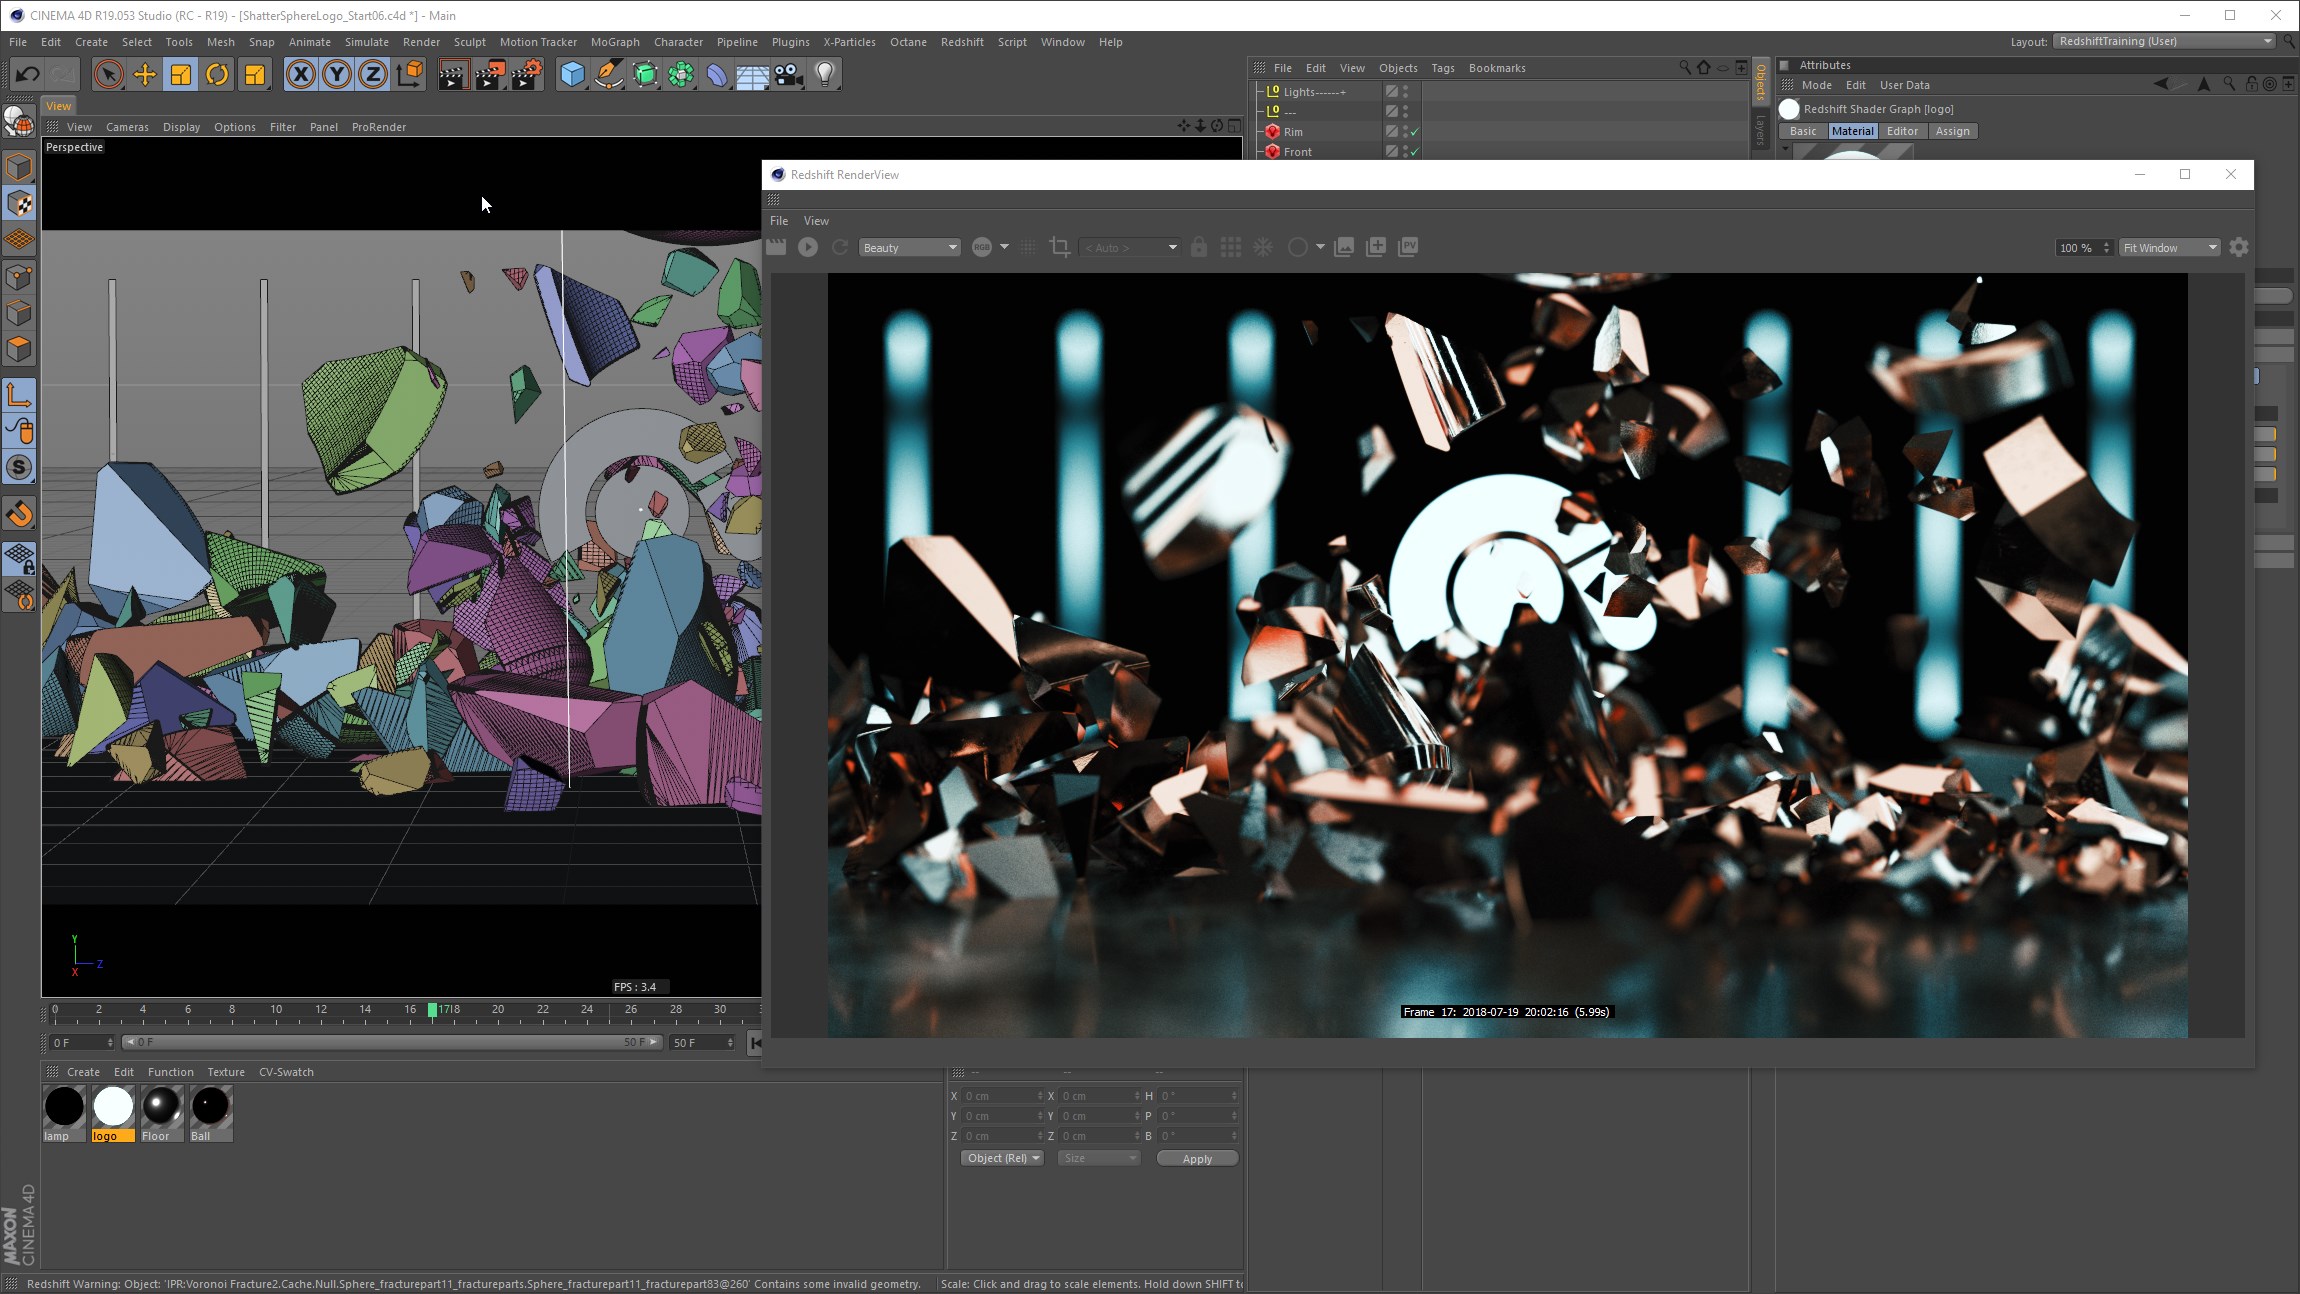
Look at your second project, a simple logo resolve from a shattered ball and how the scene is setup.
Scene Setup
Duration: 03 mins
In this video setup your lights, add some base shaders and setup your Bokeh.
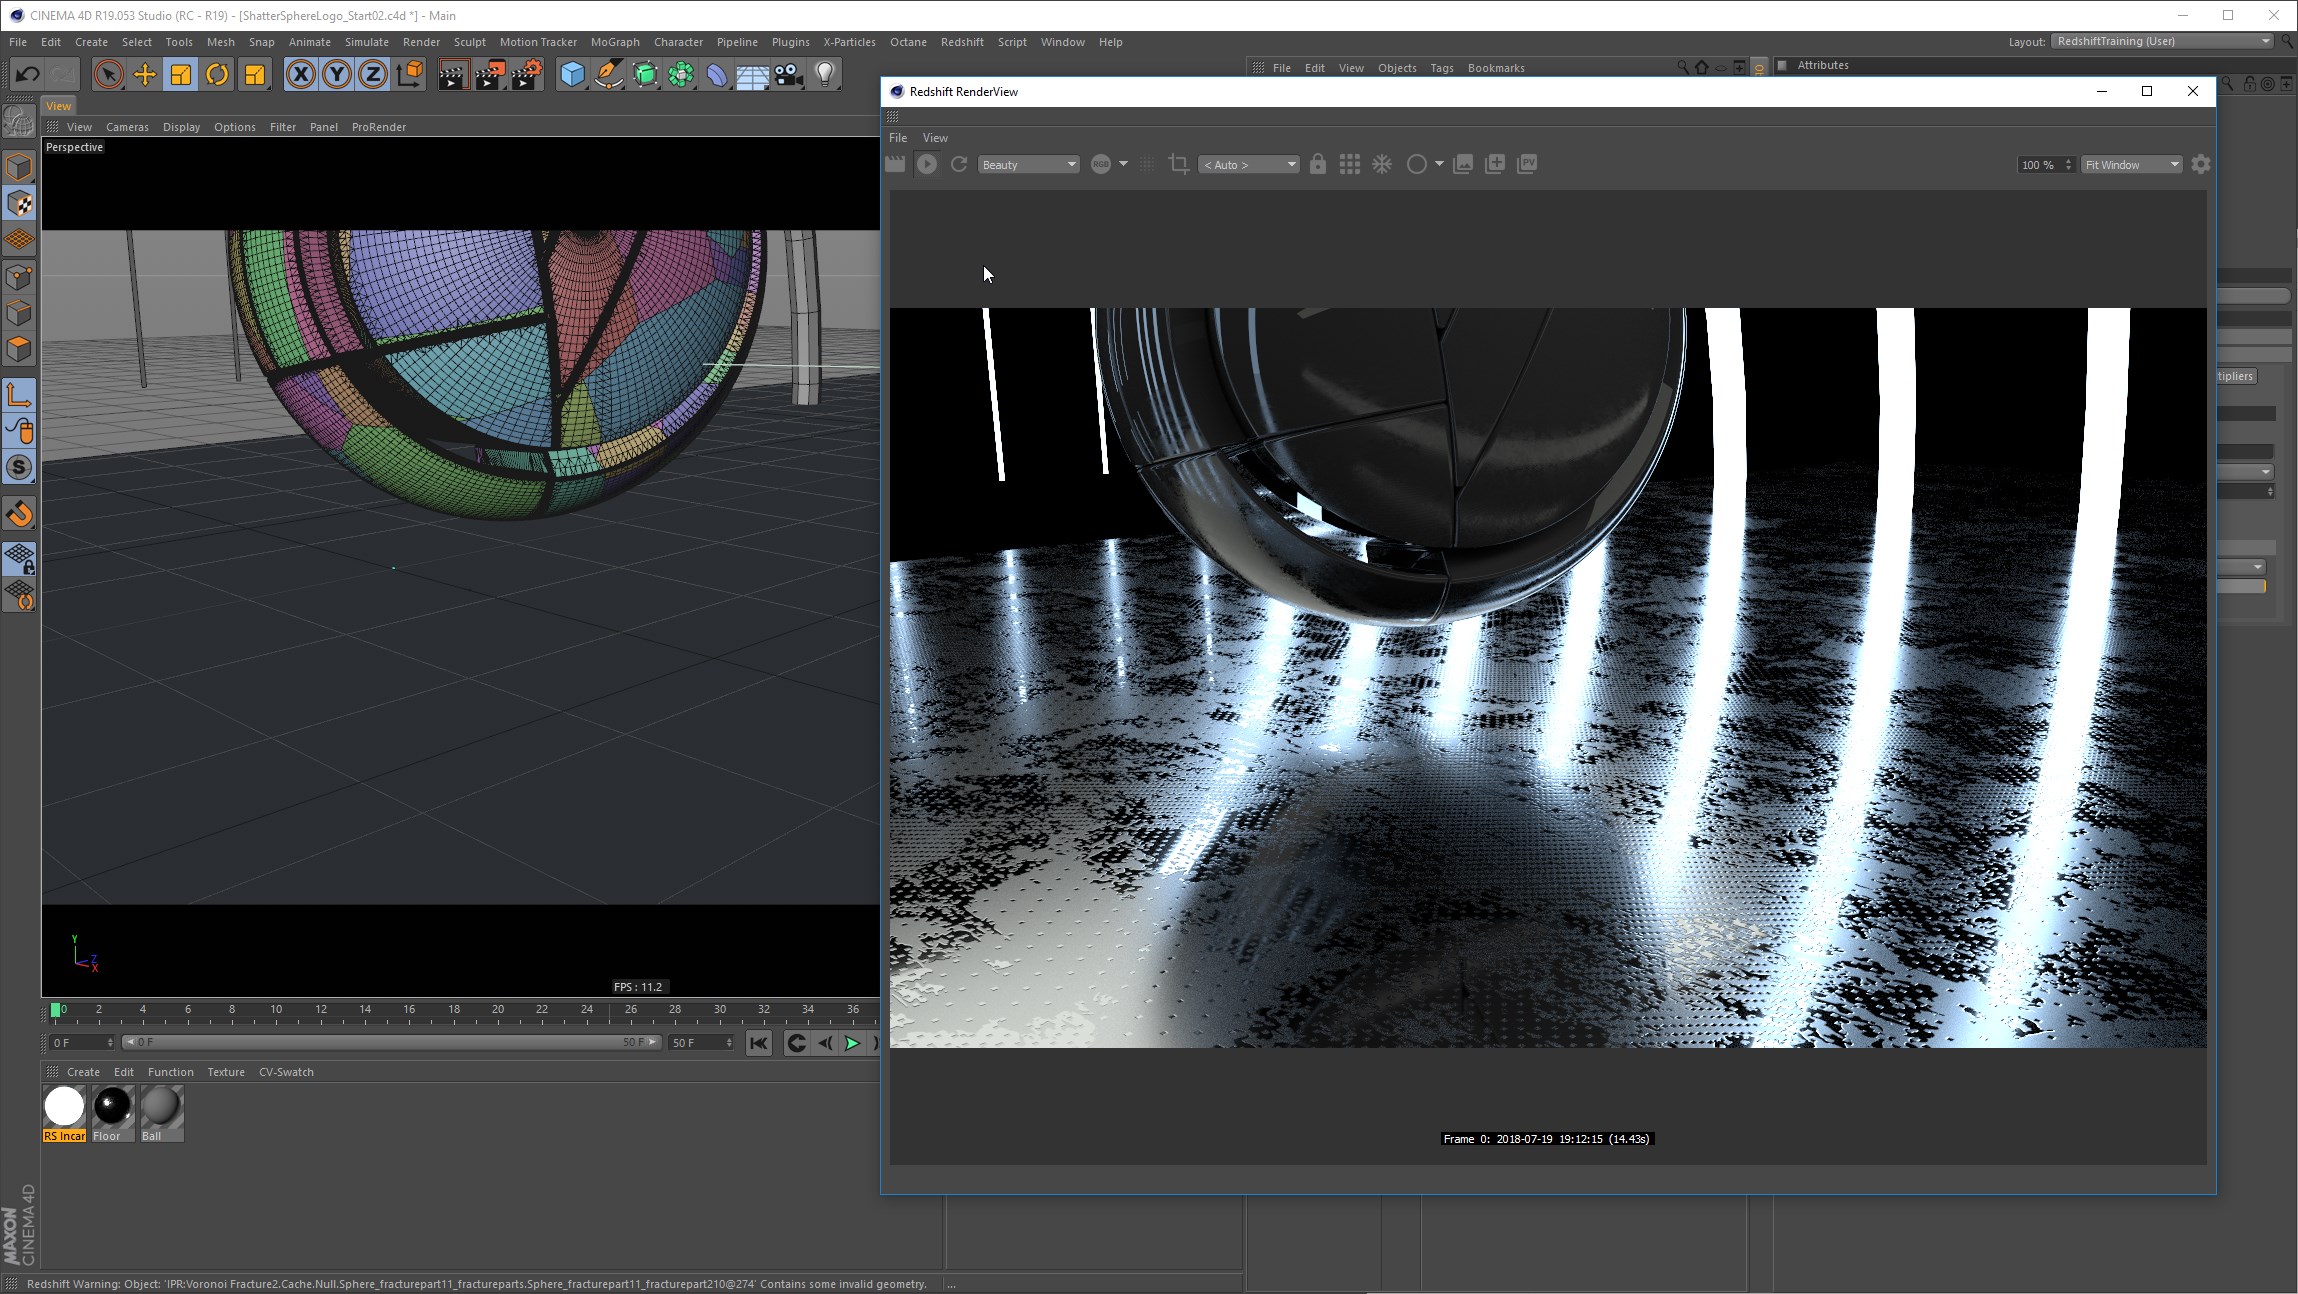
Floor Material
Duration: 07 mins
Setup your floor shader, a glossy metal shader with some texture detail in the bump map and roughness.
Sphere Shader
Duration: 06 mins
Look at setting up your second metal material, this time using the IOR method of colour and edge tint.
Incandescent Shader
Duration: 05 mins
A closer look at Redshift’s incandescent shader as well as how you can apply textures to your light geometry.
Enable Motion Blur
Duration: 03 mins
Assign motion blur to your scene and talk about how to view it within the renderview.
Motion Blur Settings
Duration: 03 mins
Discuss how all the various settings for motion blur work with a secondary example scene setup.
Object Visibility
Duration: 04 mins
Add some extra reflection cards to your lighting setup as well as using Redshift’s object tag to hide the cards but keep reflections. Also look at how you can use exclusion to remove the cards from other objects in your scene.
Sampling
Duration: 15 mins
Continuing your knowledge of sampling, Rich walks through his approach for how he would setup his samples for render.
Redshift Curve Primitive
Duration: 06 mins
Adjusting your logo shader, take a look at Redshift’s curve primitive to render your logo as an outline. Also look at adjusting your sample filter.
Applying LUT
Duration: 05 mins
Time to look at the final render, applying the LUT and why it pays to check that your lookup table is actually suitable for the colourspace.
Alternative HDRI Setup
An intro course wouldn’t be complete without talking about HDRI setup! Rich takes you through a look at an alternate light setup using an HDRI and the options of Redshifts Domelight.
Chapter 06 : BONUS Substance Designer Walkthrough
↓Substance Concrete
Not a tutorial in substance but you do have a look through the concrete shader that Rich setup in Substance Designer. Next, a brief walkthrough of the different nodes and blends.
Substance Wood
Taking the same approach, look through the Substance Designer file that was created for the wood shader. The course includes the substance files for use in your own projects.
