learn. Pro Lighting with Cinema 4D and Redshift
Original price was: $79.00.$15.00Current price is: $15.00.

Cinema 4D now uses the new Node Editor for Redshift materials, rather than the Xpresso interface, although both are still supported. This training is created with Redshift 2.5, since then there have been new features added which are not covered. Much of this information in this training is still relevant, but due to the age of this training, we now offer over 70% discount as this title will be discontinued shortly.

Light and Colour are both essential components to a winning image, this course will teach you fundamental principles for successfully lighting with Cinema 4D and Redshift. Mixing the artistic with the practical, this course covers technical aspects of digital lighting along with creative workflow. Starting with light fundamentals to set you on the right track, we quickly move on and explore multiple lighting setups in a variety of scenes.
We look at essential methods for creating the right mood in your image and learn how to craft a shot by painting with light to bring out the best in your images. Exploring both traditional real world lighting techniques and combining these with digital tricks of the light, creating an illuminating toolkit of knowledge for you to work with.
The techniques you will learn with this training are timeless and will serve you well throughout your creative career, regardless of the application or medium you are working in. Understanding how to manipulate light and colour to enhance your scenes will take your work to the next level and provide you with a solid grounding for each and every future project you undertake.
Training Summary
Learn fundamental lighting principles
Light 5 scenes with 15 different setups
19 chapters over 5 hours
Covers grading, LUTs, multipass & AOVs
Scenes, models & textures included
Includes all lighting setups
Recommended requirements
Cinema 4D Release 19 and above
Redshift 2.5 and above
Aimed at beginner / intermediate users in Redshift.
Basic knowledge of Cinema 4D is required.
1 part : 13 mins
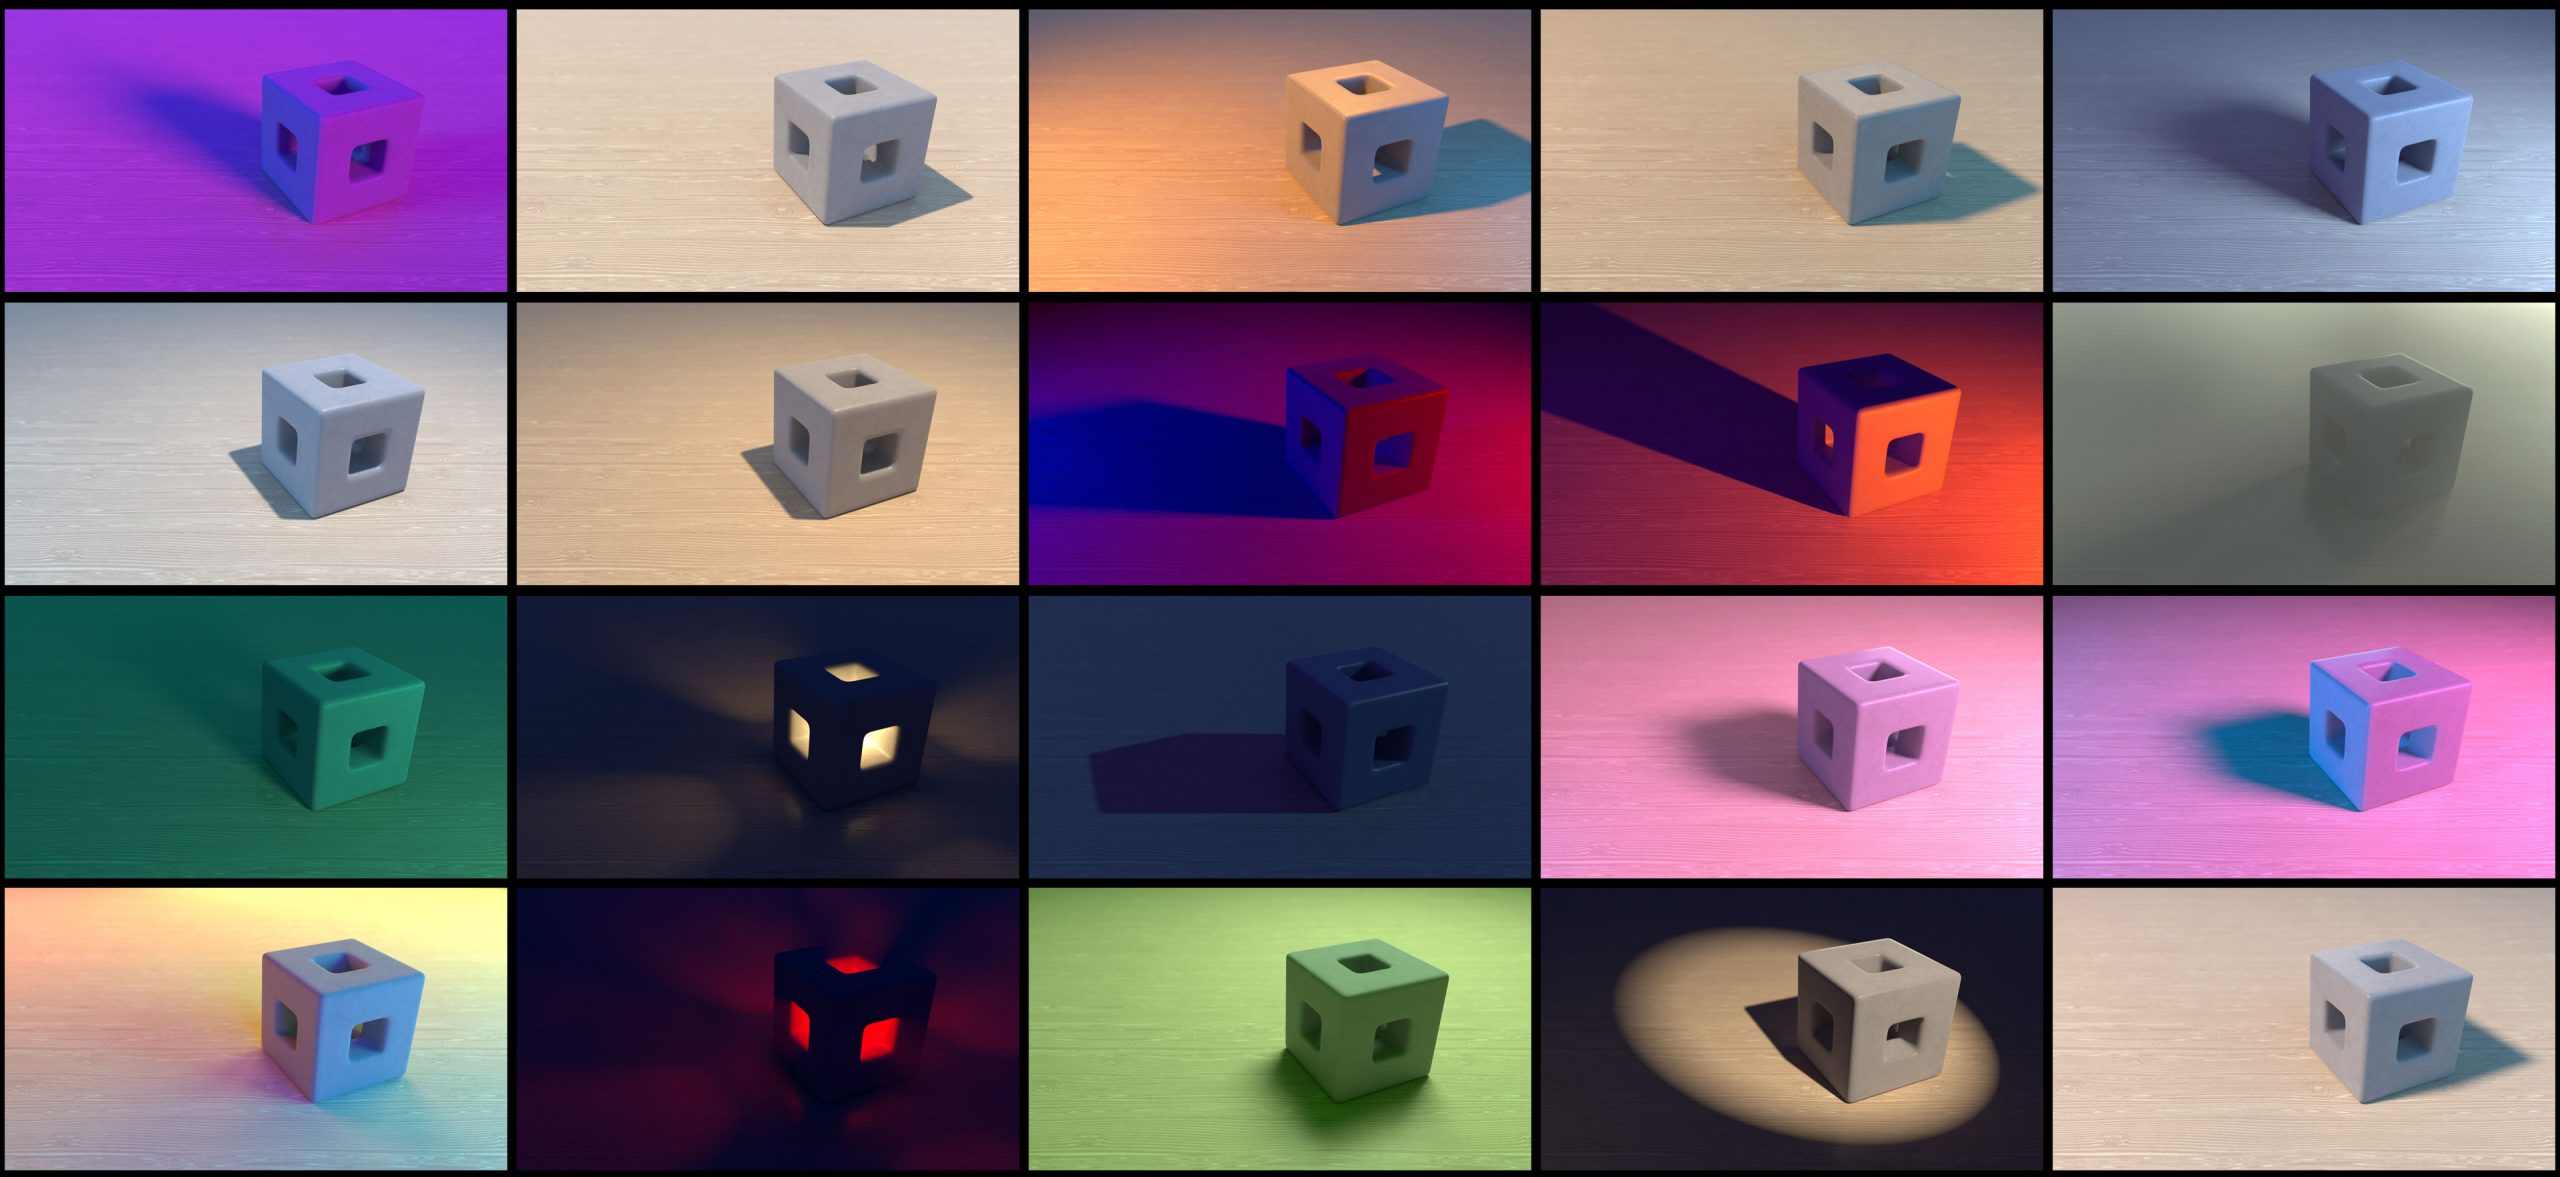
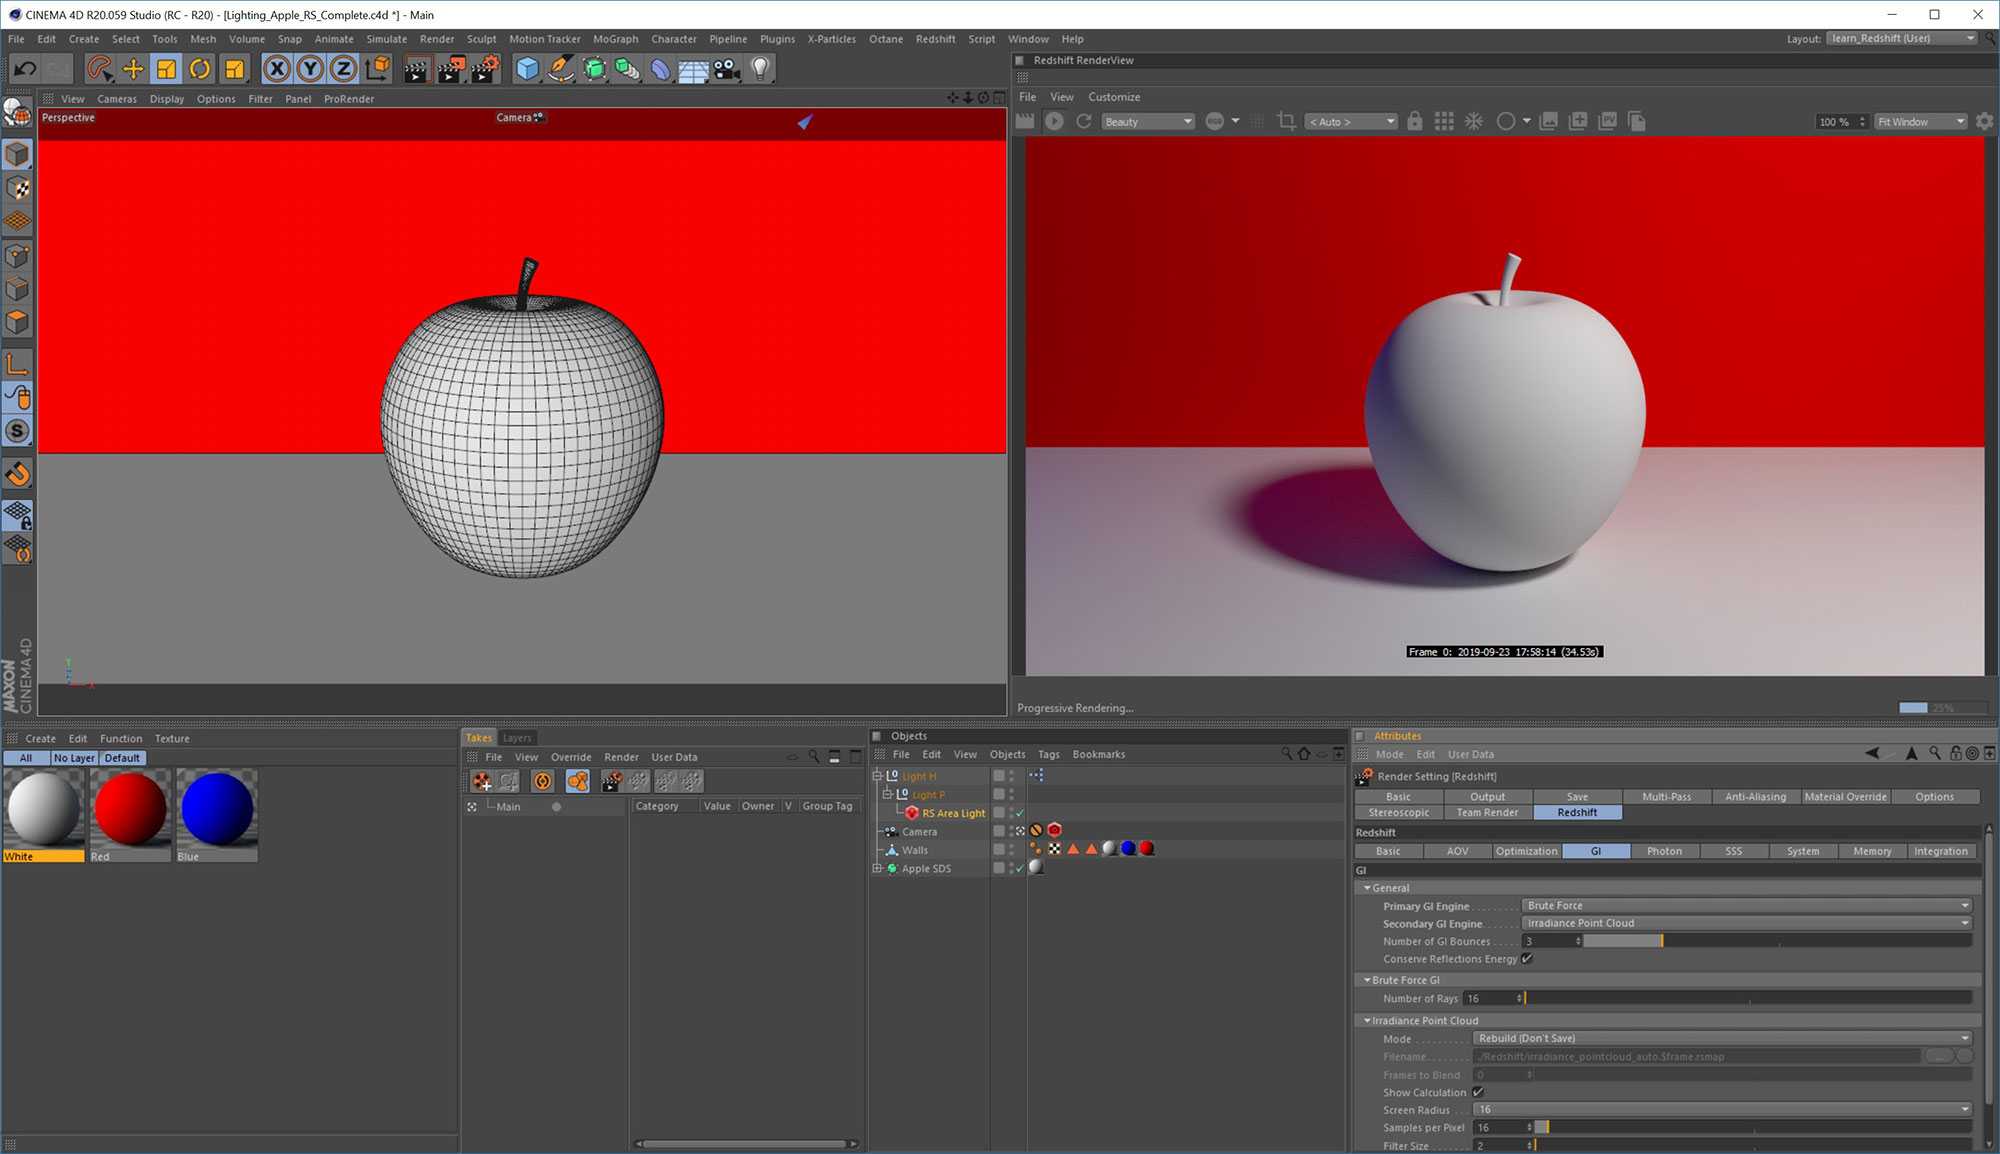
We start with an introductory overview of CG lighting. Using a simple scene at real world scale, this tutorial covers lighting properties and how light interacts with objects in the scene. By adjusting various parameters such as light position, intensity, exposure and size, we explore how this affects the illumination, falloff and shadow properties of direct lighting.
With these basics in place, we move on to discuss indirect lighting using global illumination and we examine how rays bounce the light between the surfaces, resulting in a more realistic and balanced illumination. Finally, we go through the steps of adding colour to demonstrate colour bleed, an exercise that shows how different coloured surfaces bounce light and blend together, bringing a natural richness to the scene.
Understanding these fundamental principles ensures you are ready to move on to the next chapters with a solid foundation and understanding of key-themes of lighting.

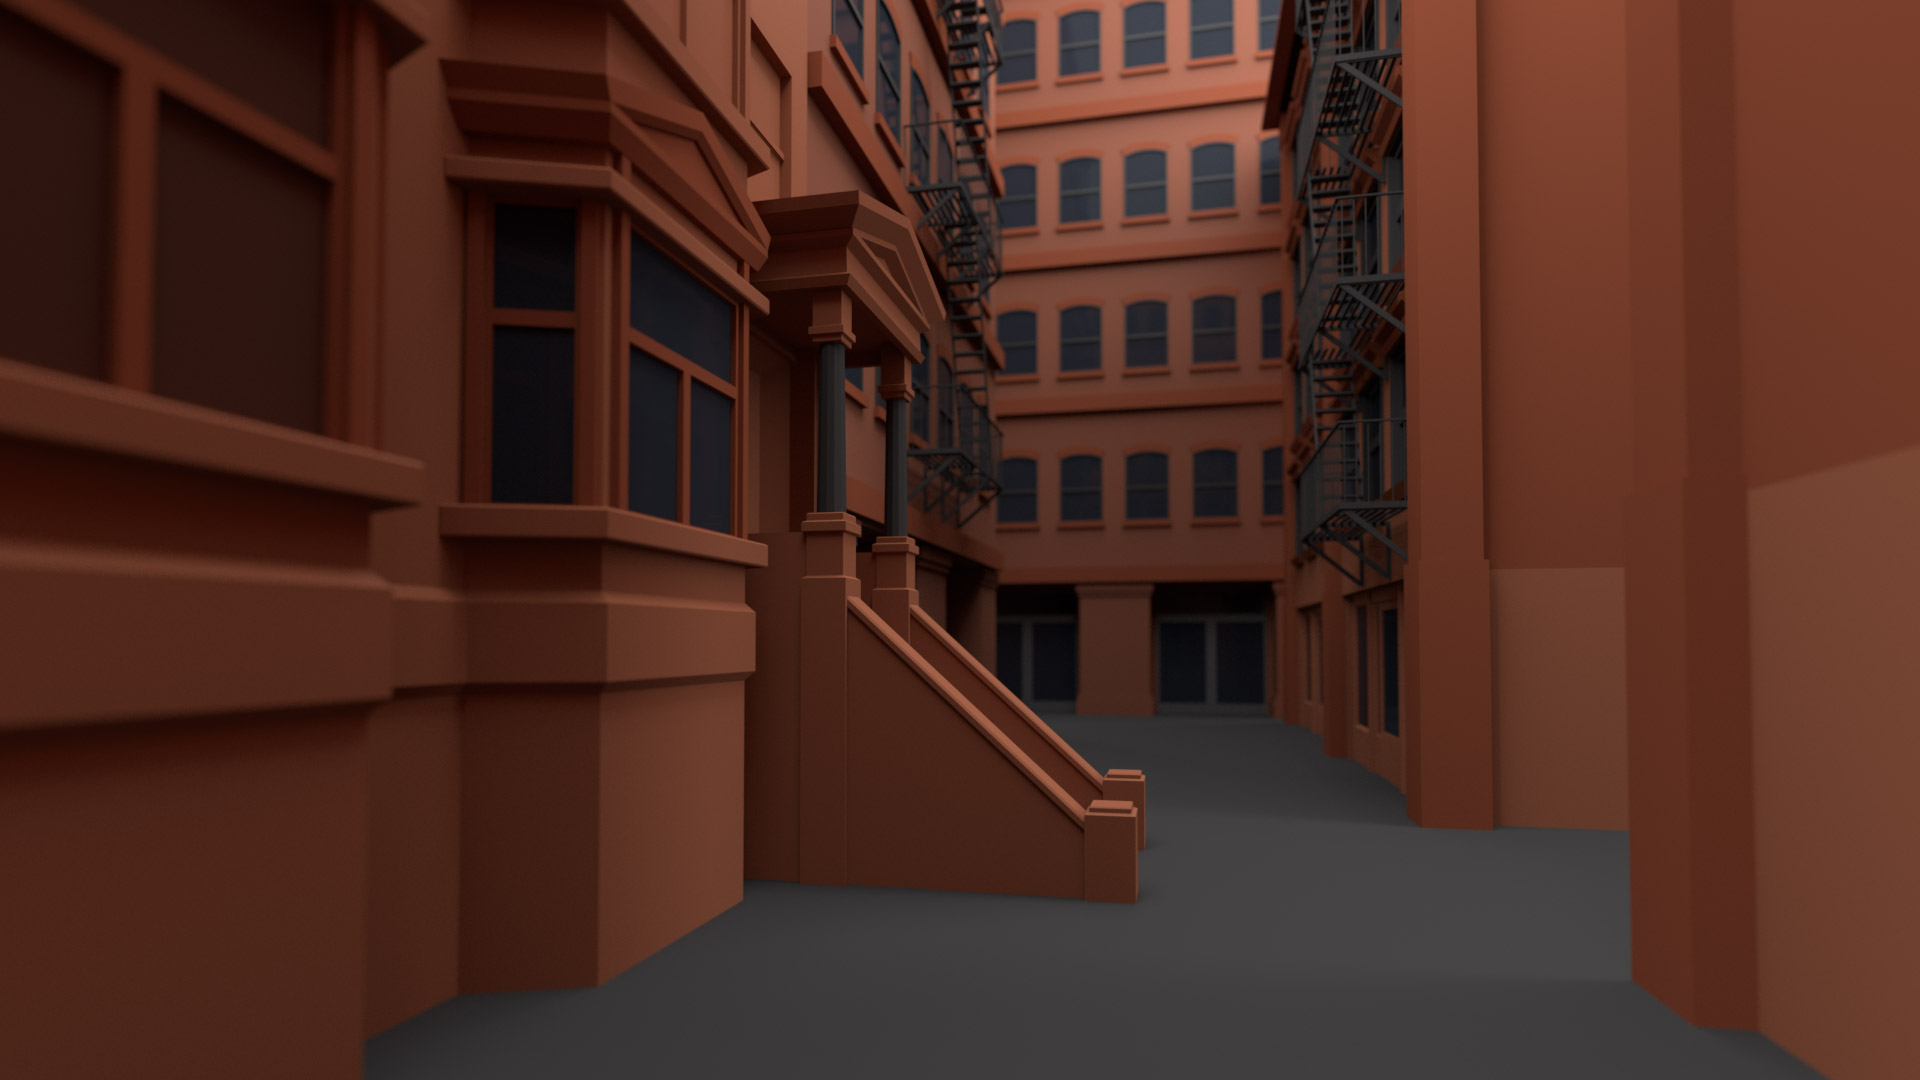
4 parts : 43 mins
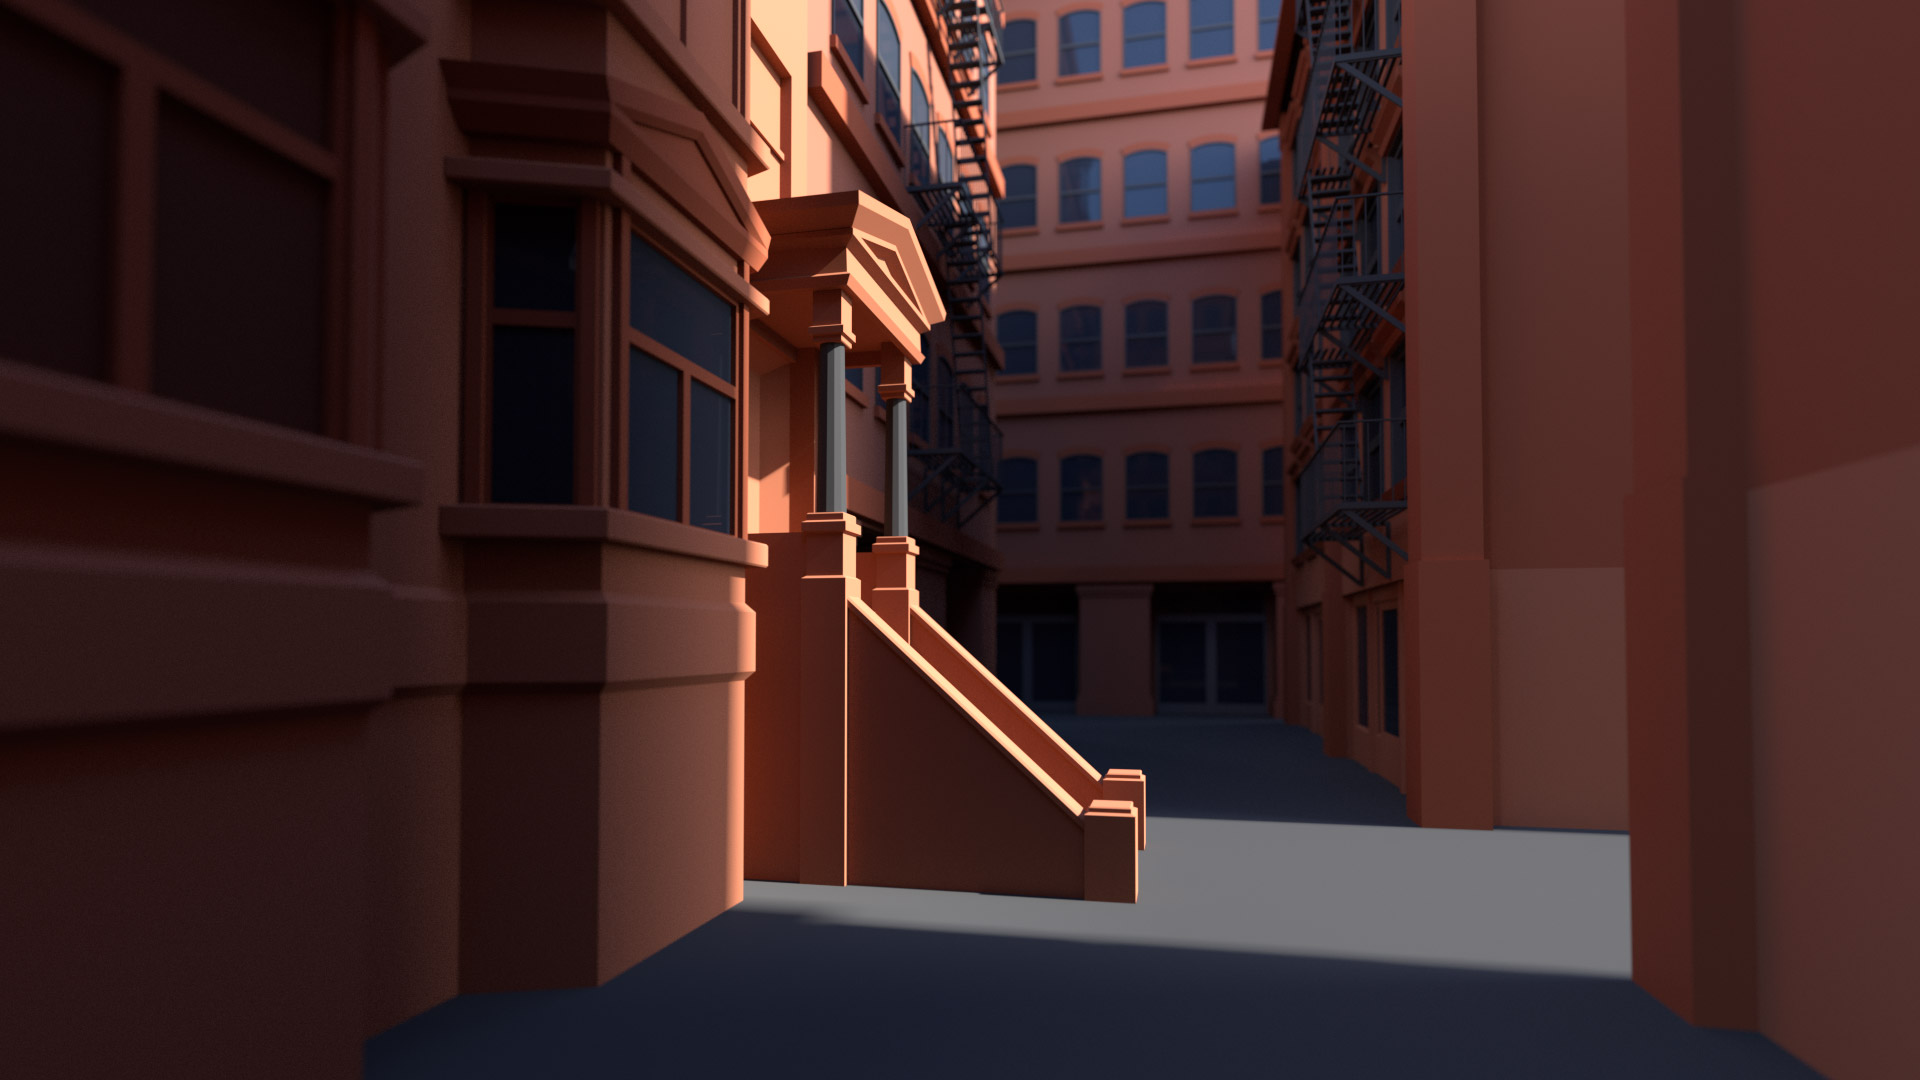
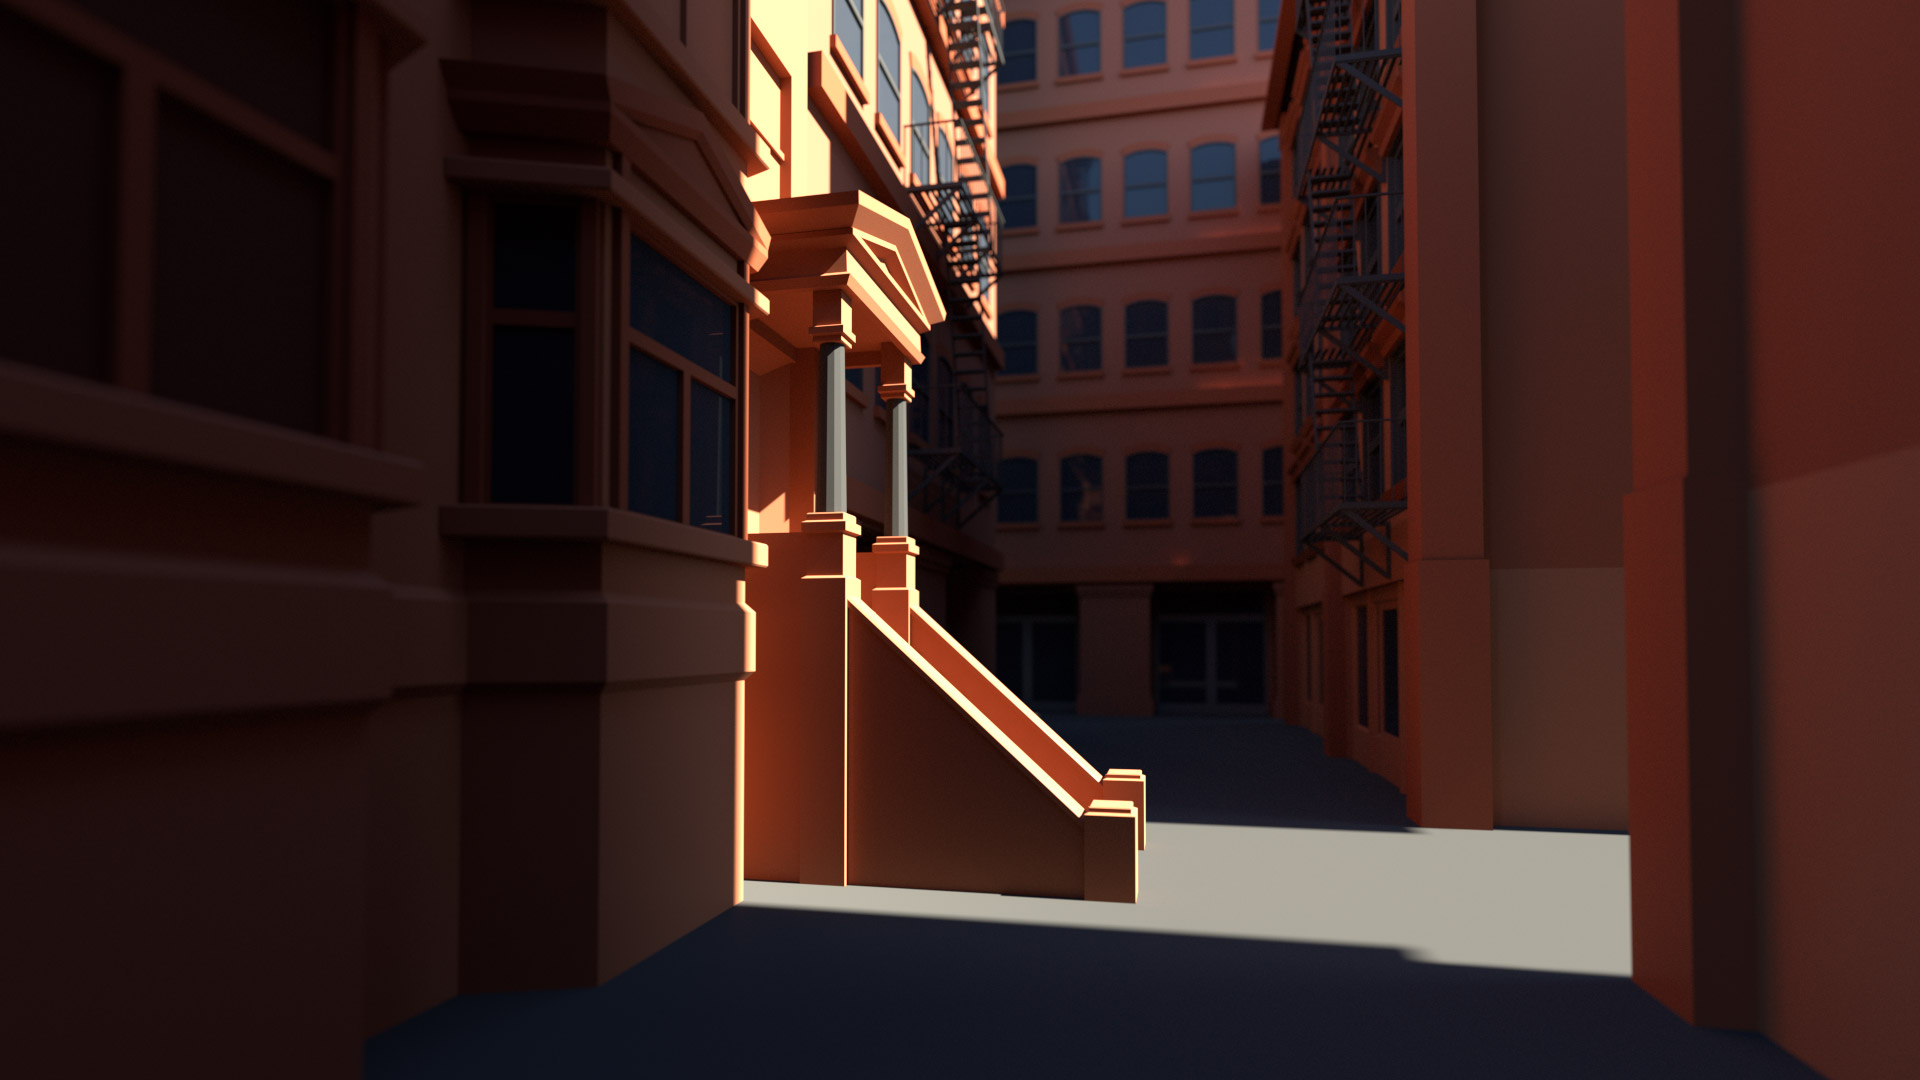
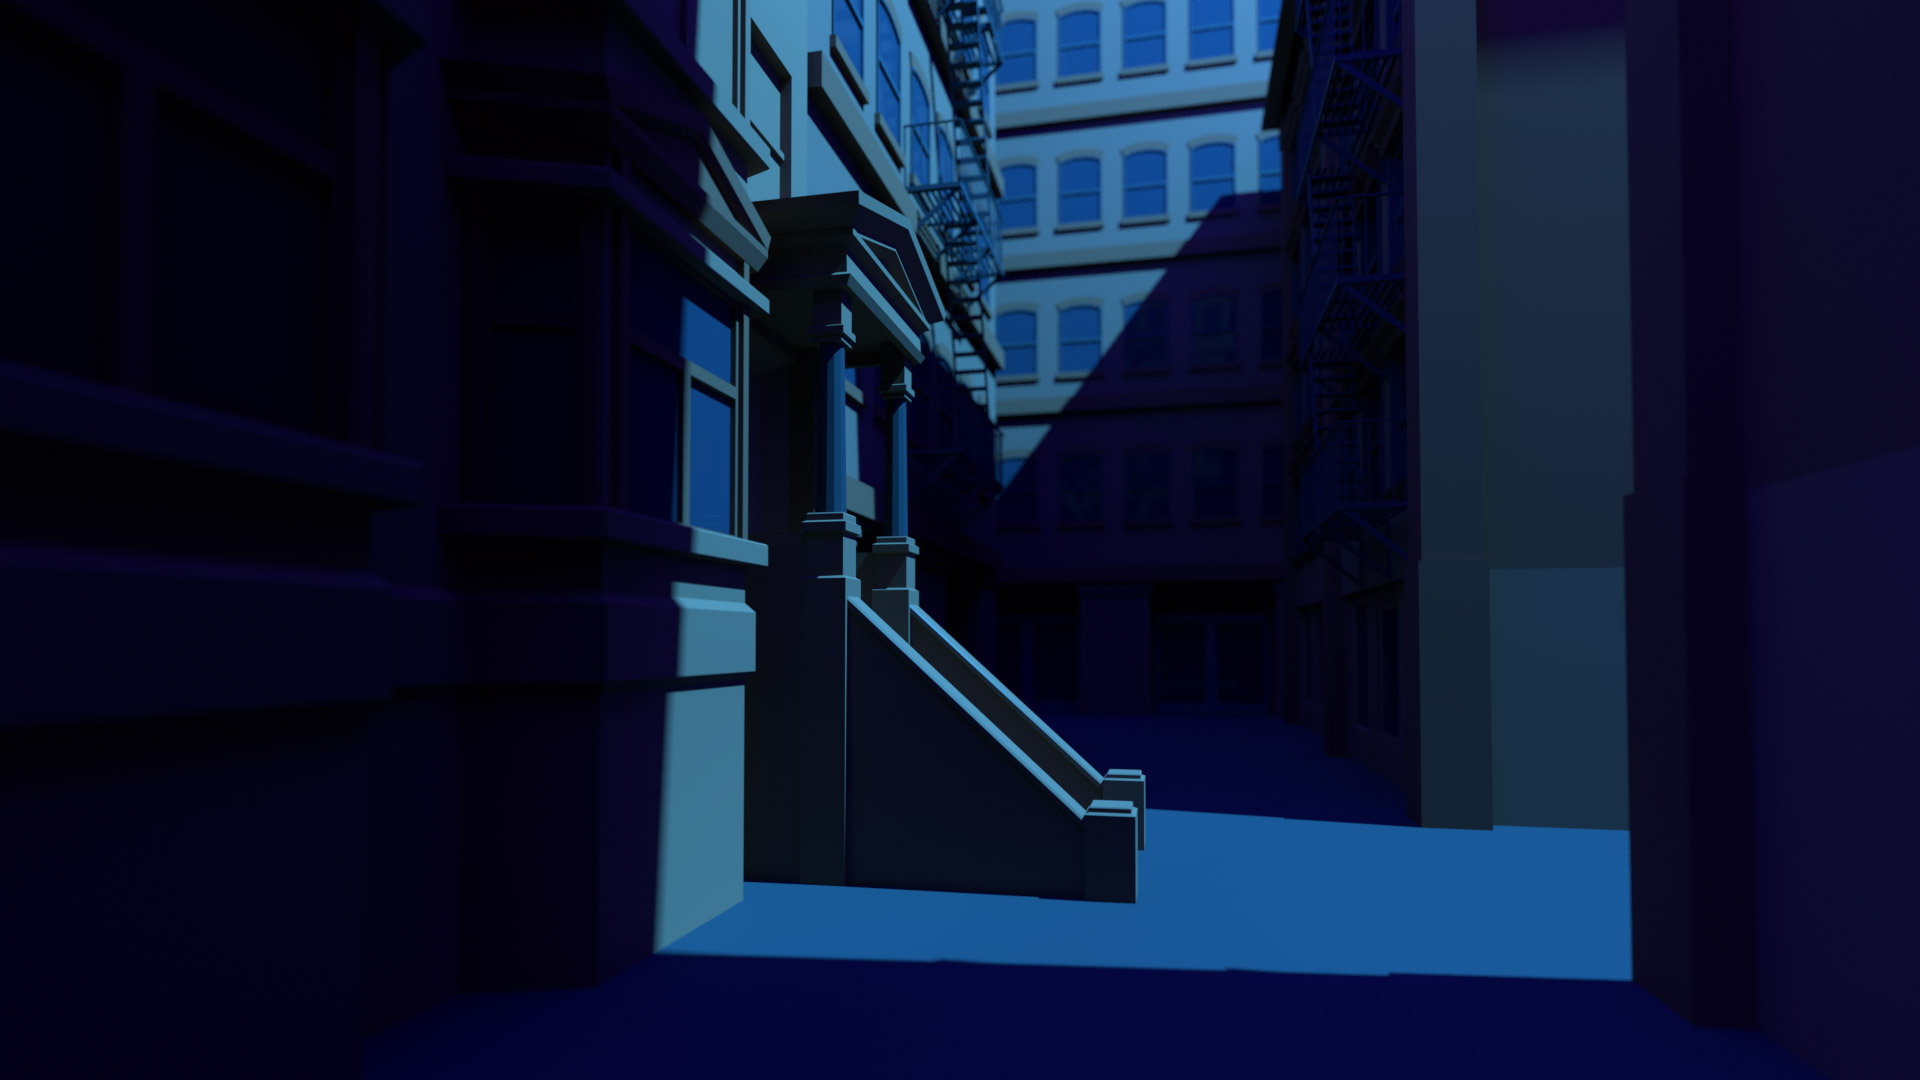
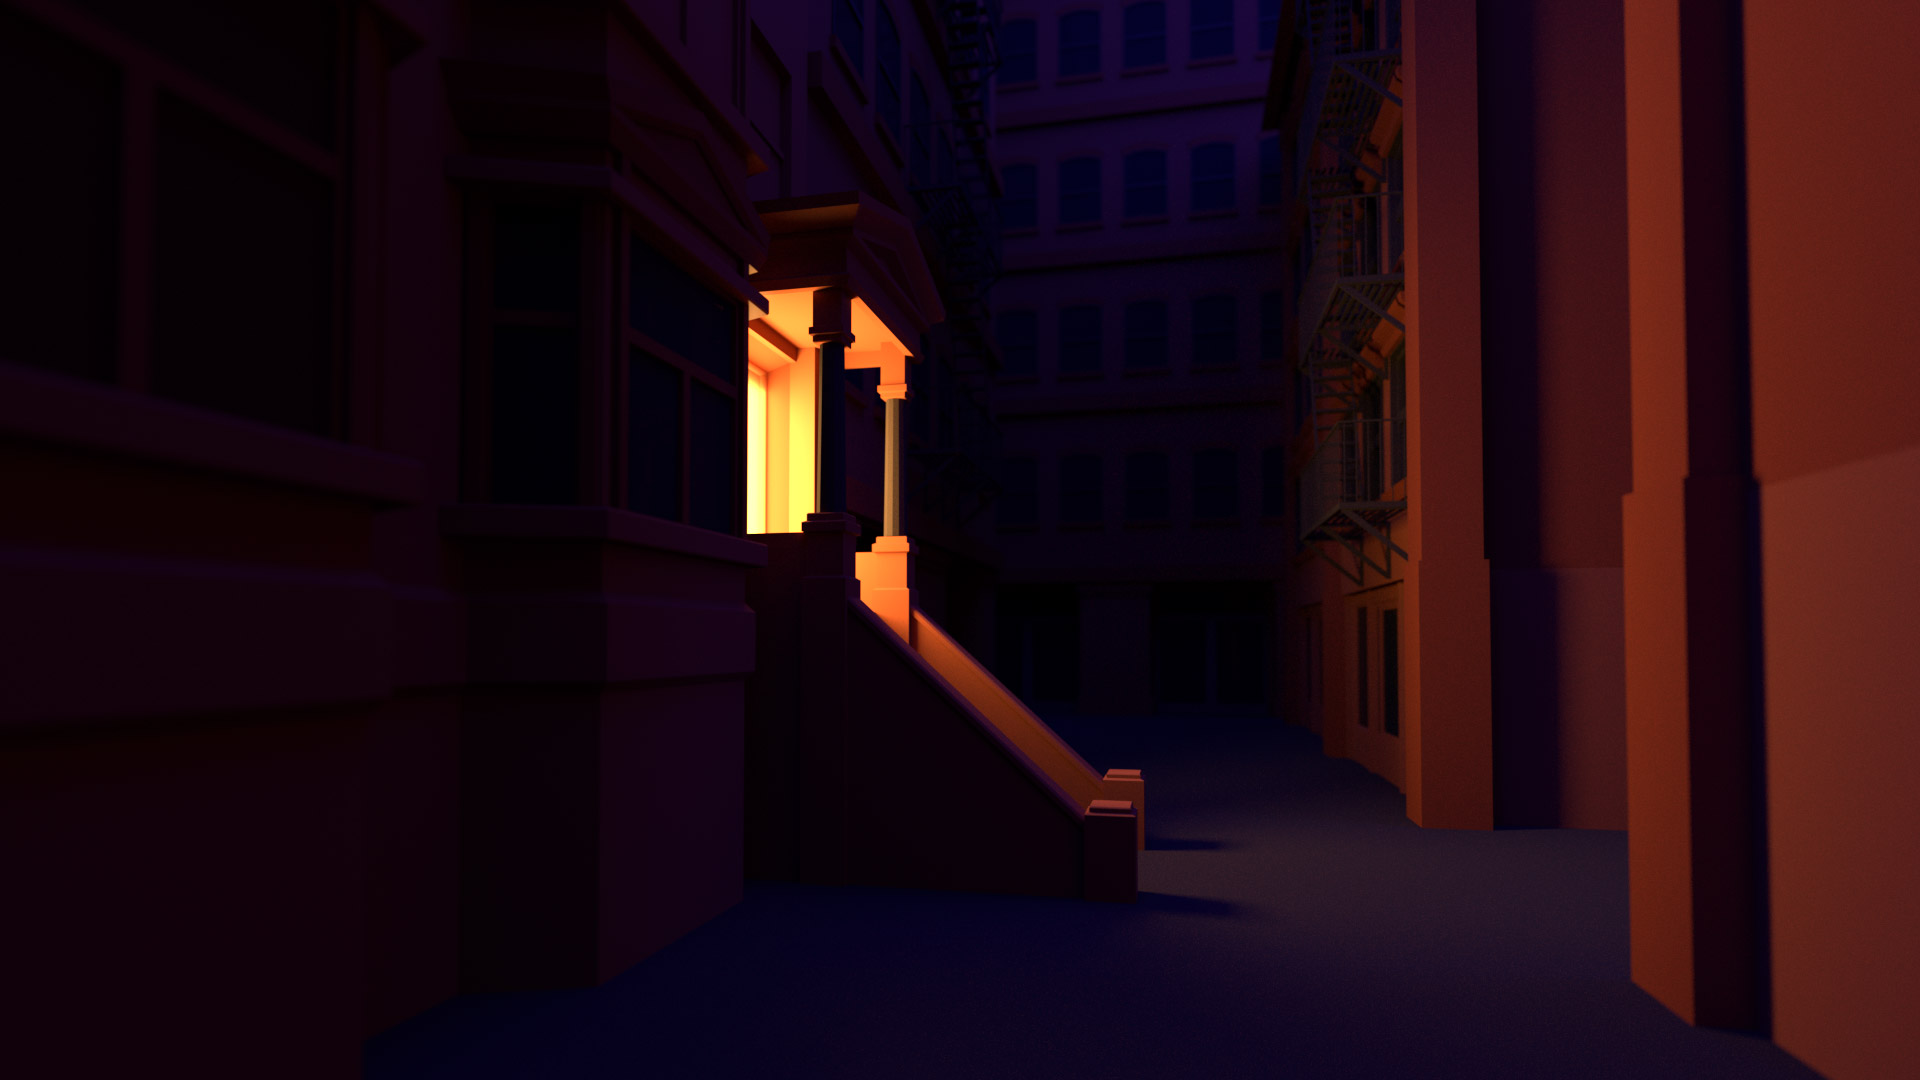
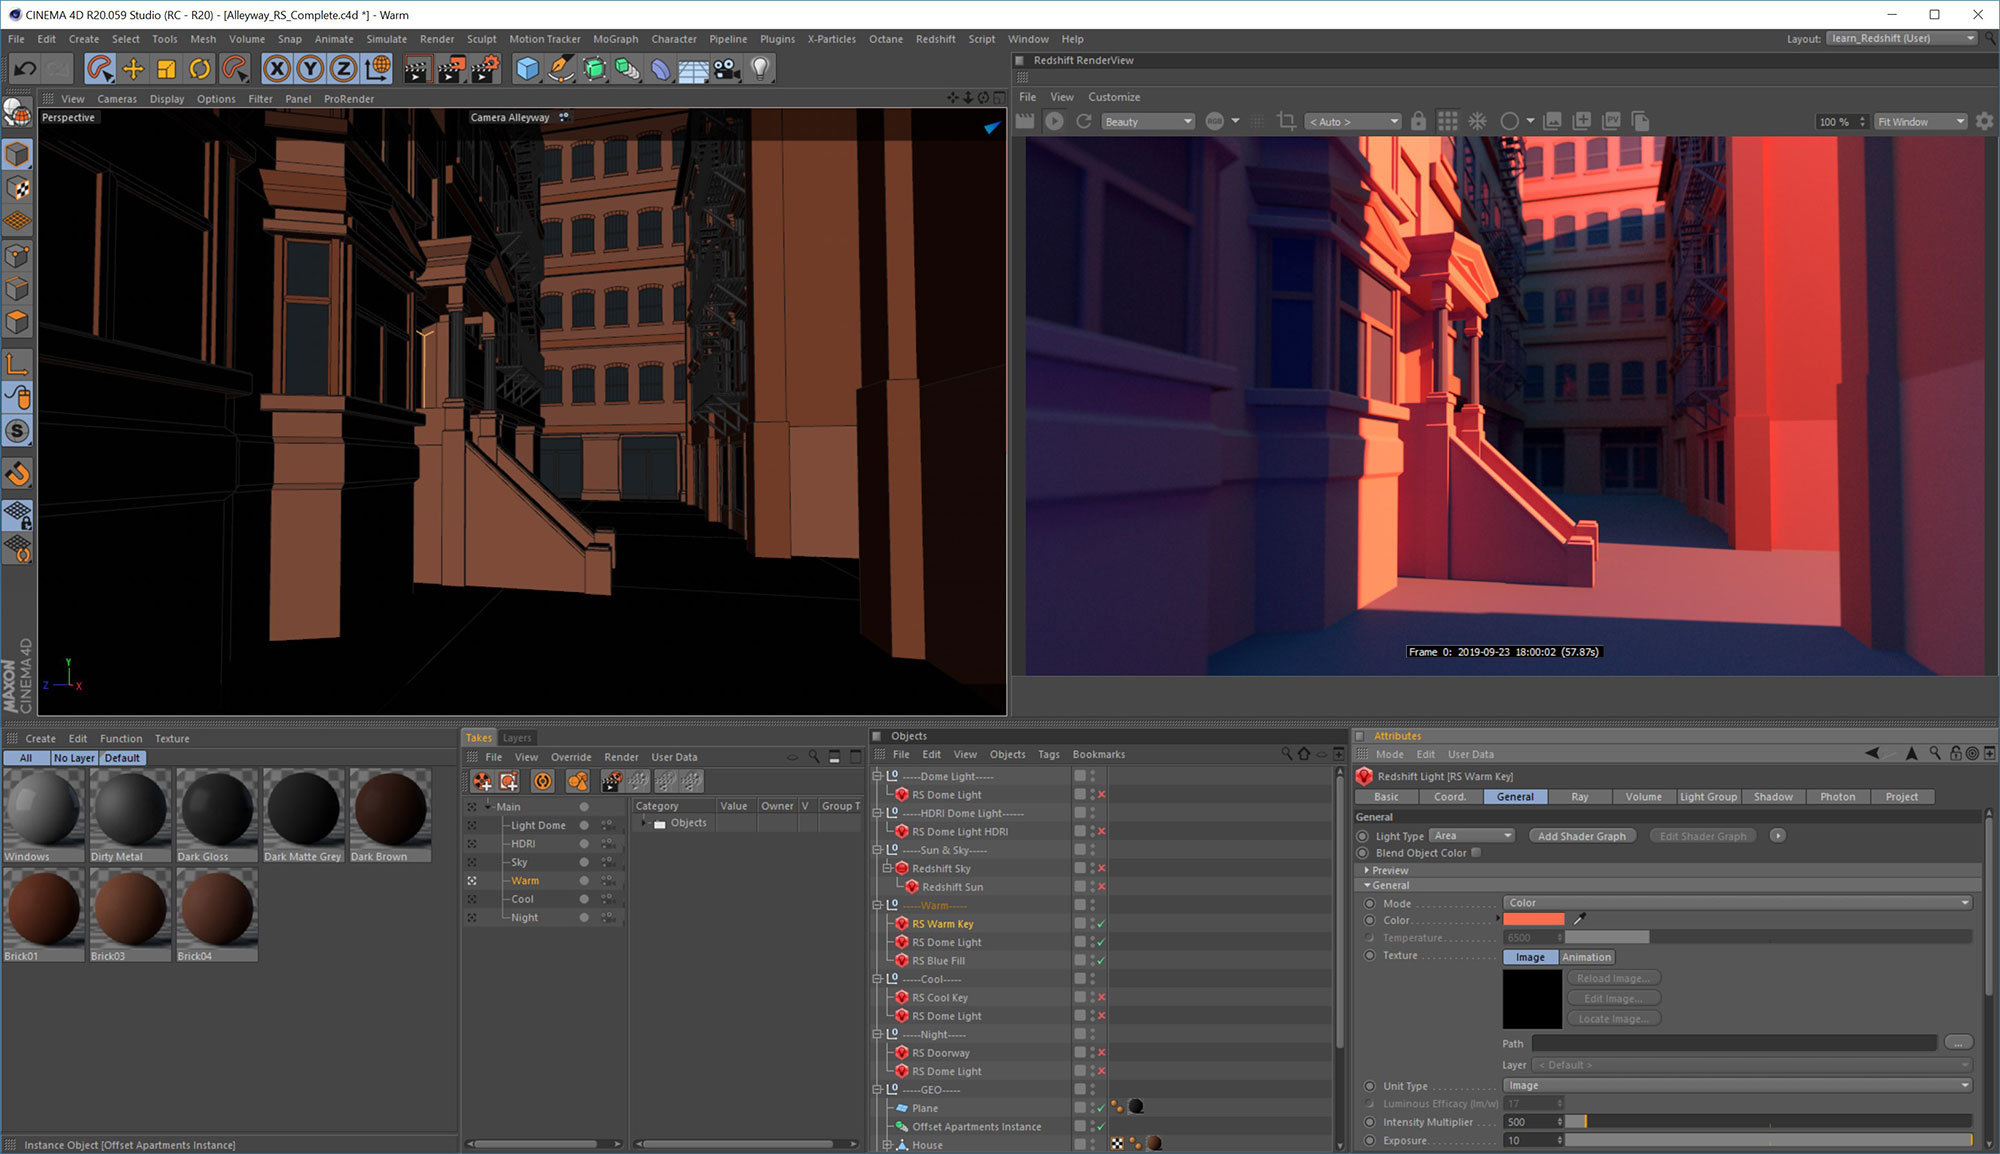
This chapter covers a variety of methods to illuminate a simple alleyway scene using basic geometry and materials, as we explore a collection of lighting techniques.
Starting with dome and environmental lighting using HDR images, a very easy and popular solution, but limited when chasing a specific look. We then use the physical sky and sun, which are often used for architectural rendering, again a fast and reliable technique, but limited for artistic exploration.
Finally, we work with hand placed lights, this allows us to art direct the shot so we may build both a warm and cool lighting setup, before finally ending on a night time doorway shot.

3 parts : 38 mins
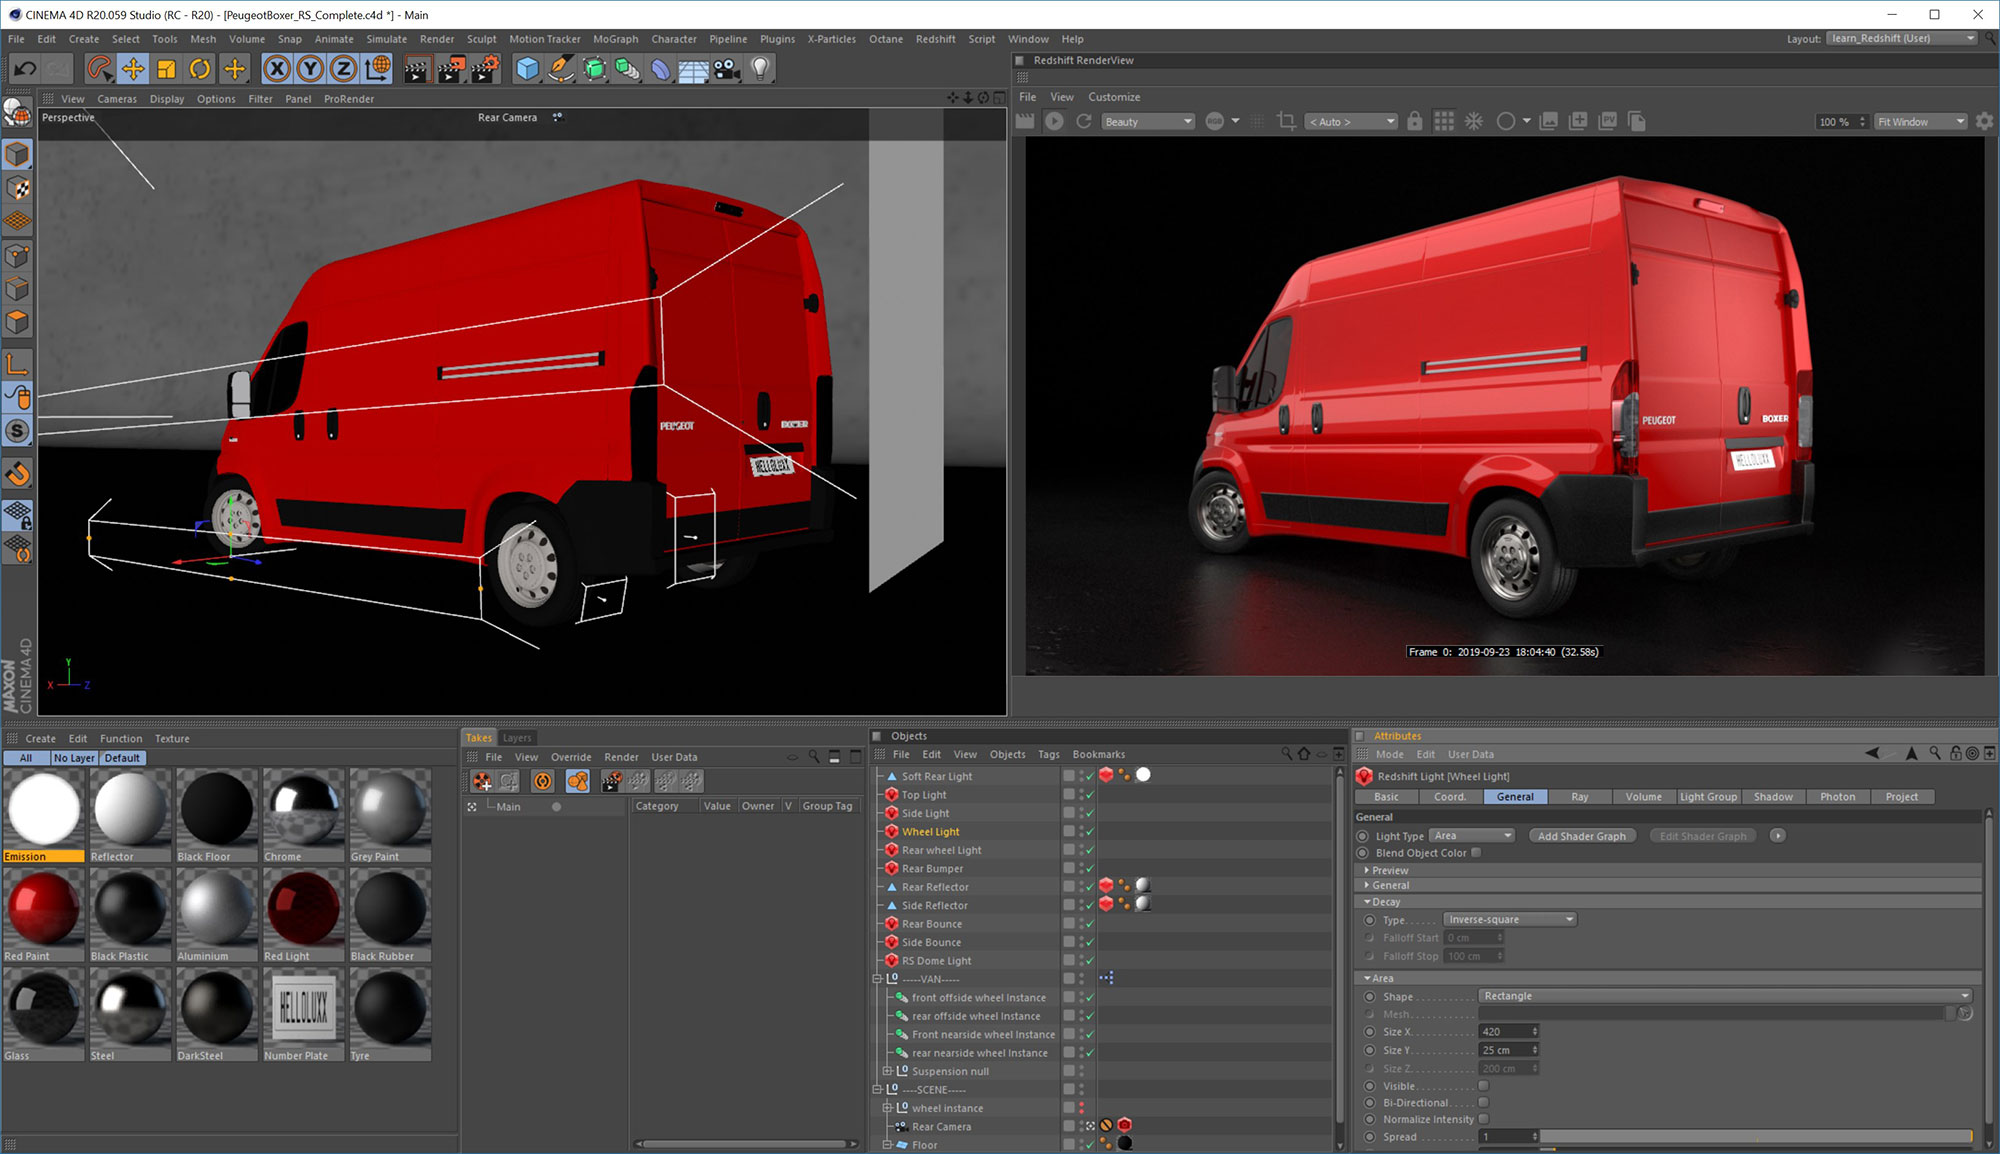
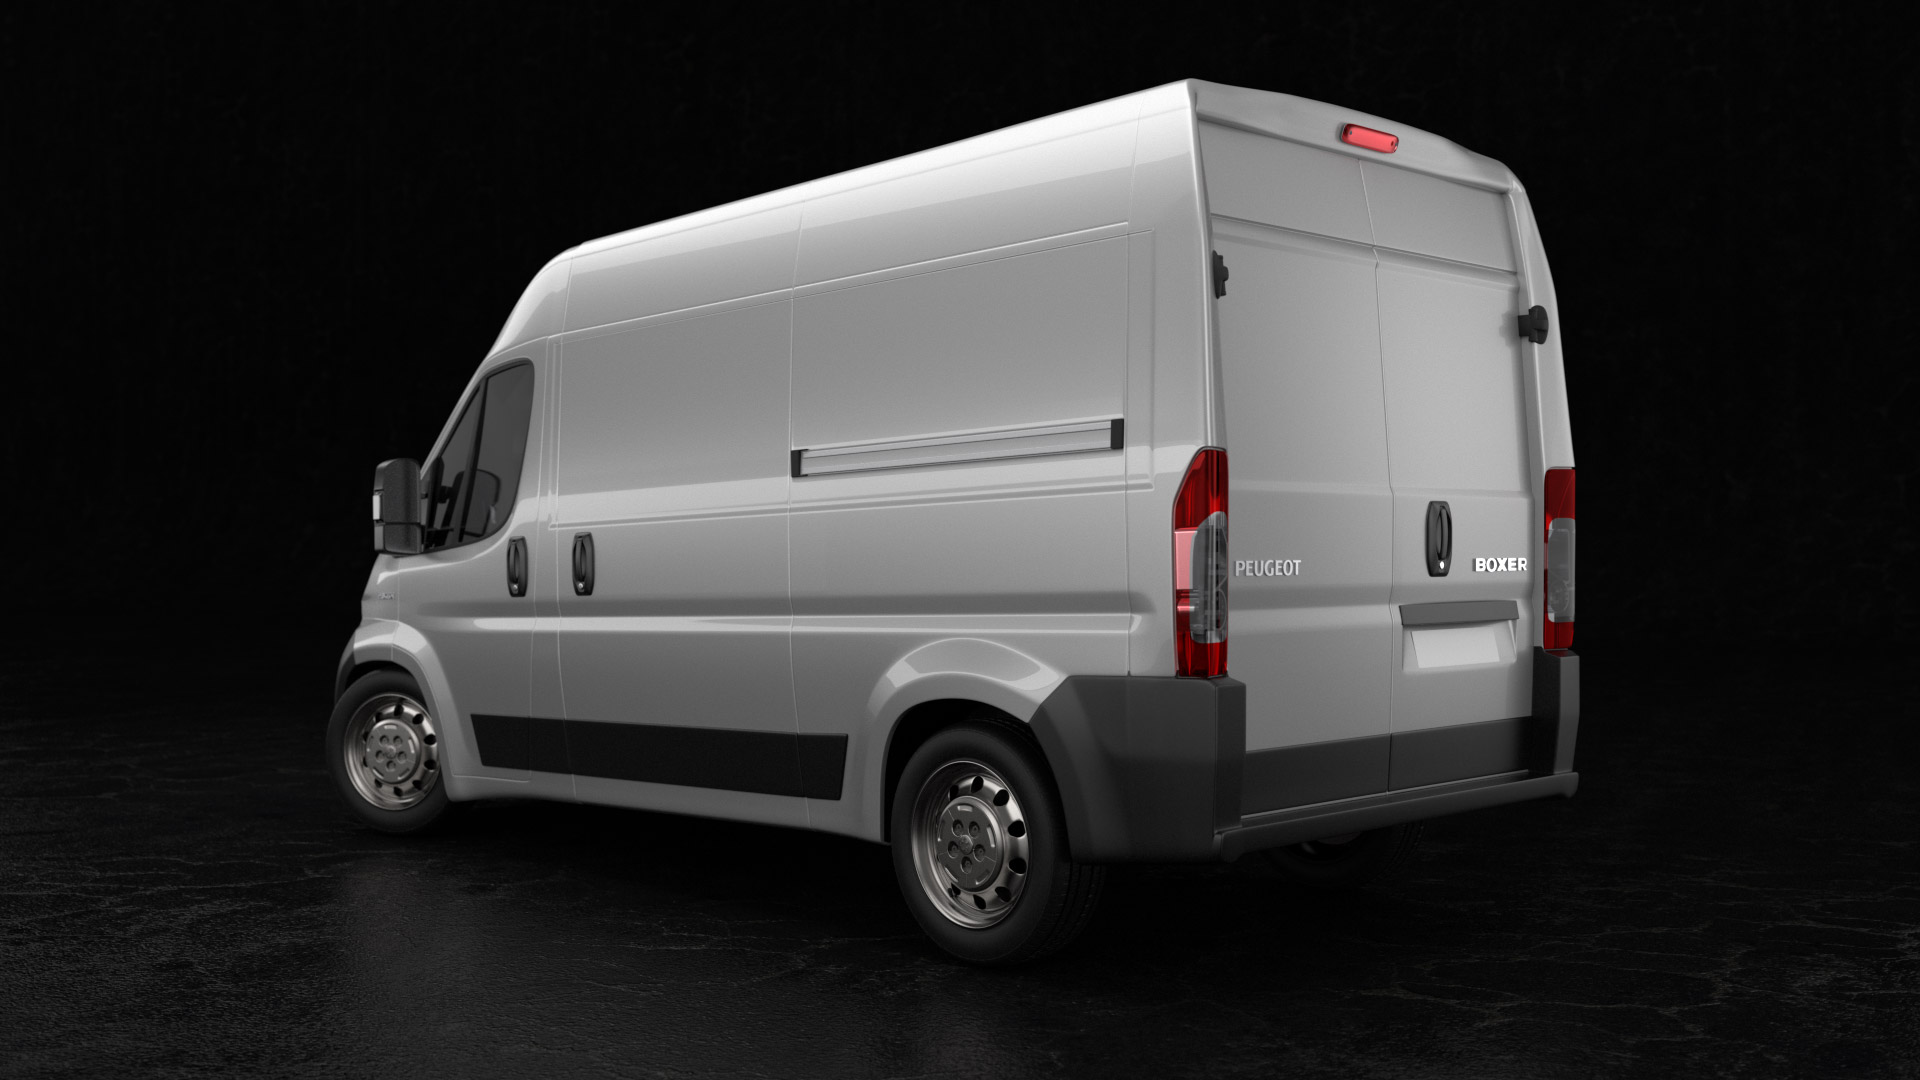
Replicating some classic studio photographic techniques, we start with the diffuse lighting of the vehicle using bounce light from large area lights. We then add further specular lighting by hand, placing multiple lights and reflectors to allow each reflection to be fully art directed.
This chapter will also introduce the concept of light linking or include/exclude, this allows you to control which objects are lit by specific lights, something not possible in a real photographic studio, but a great asset to your CG lighting skills.

5 parts : 78 mins
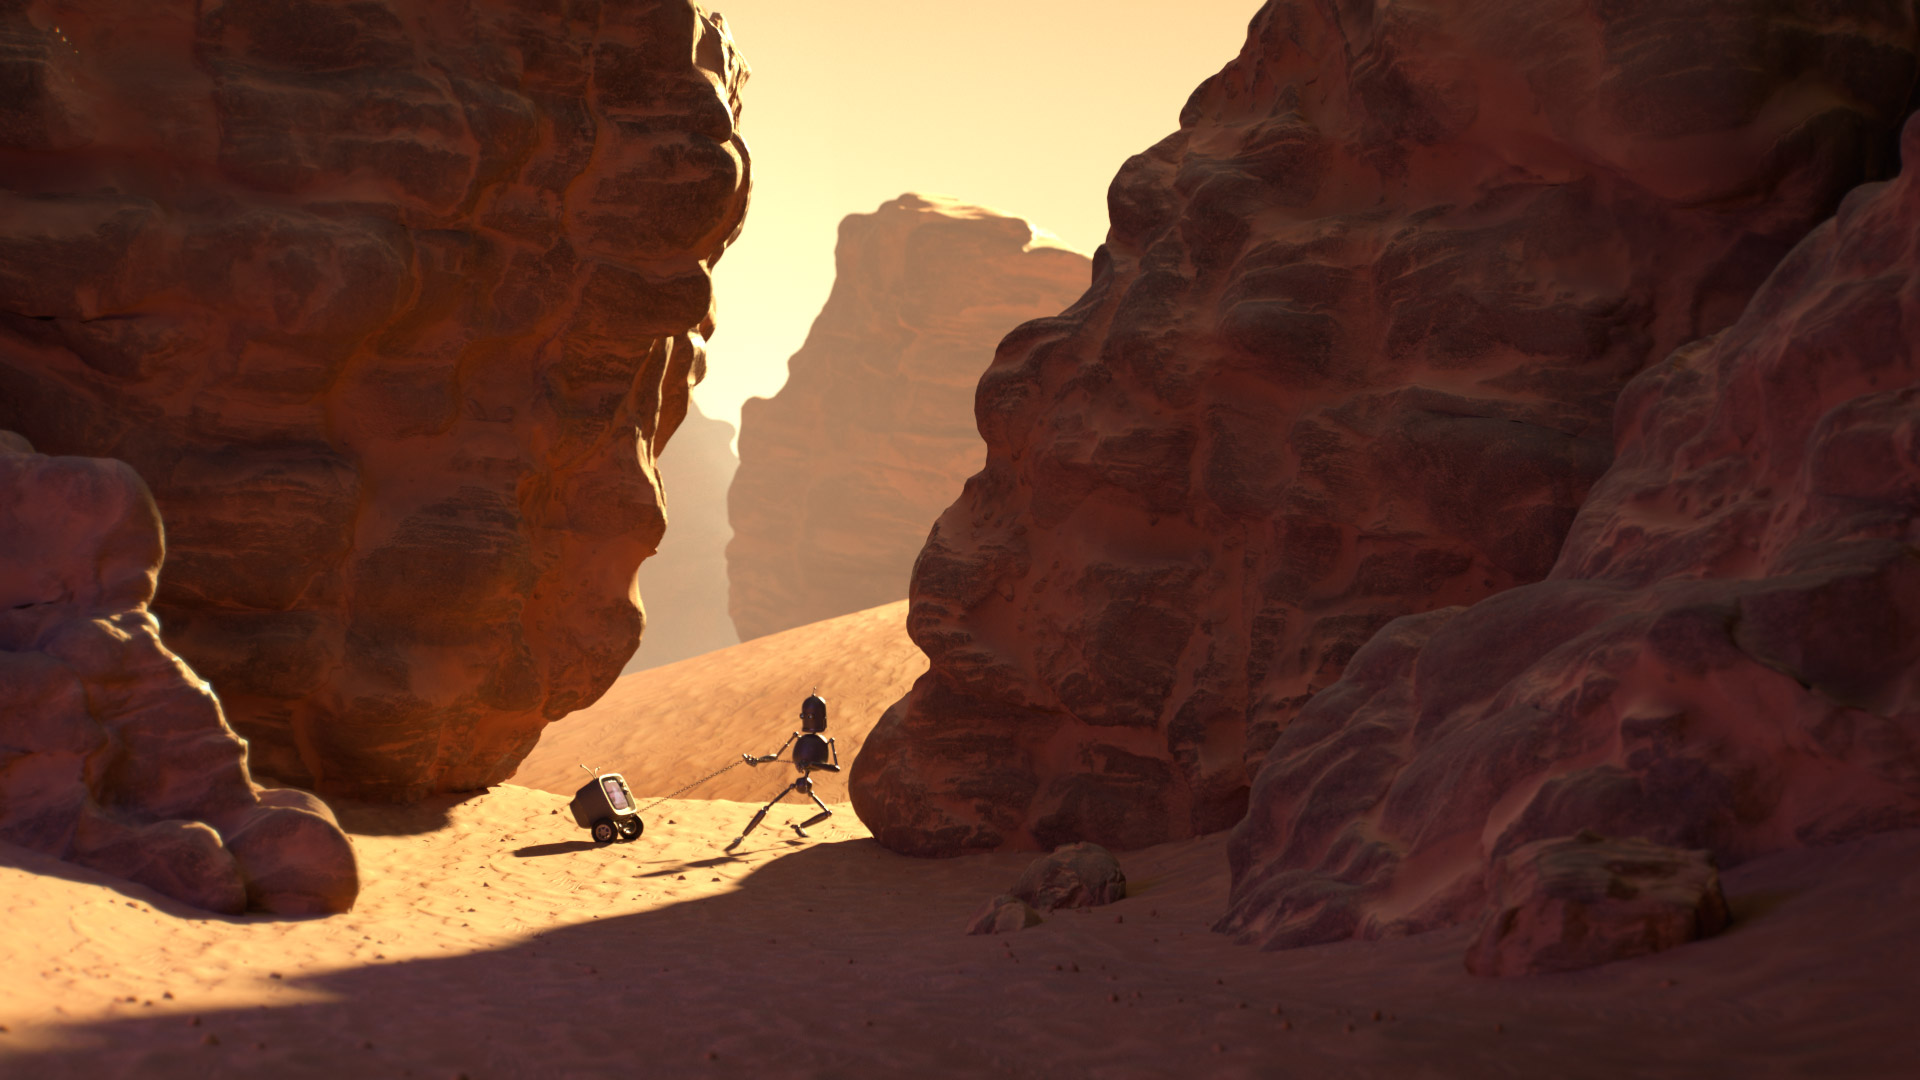
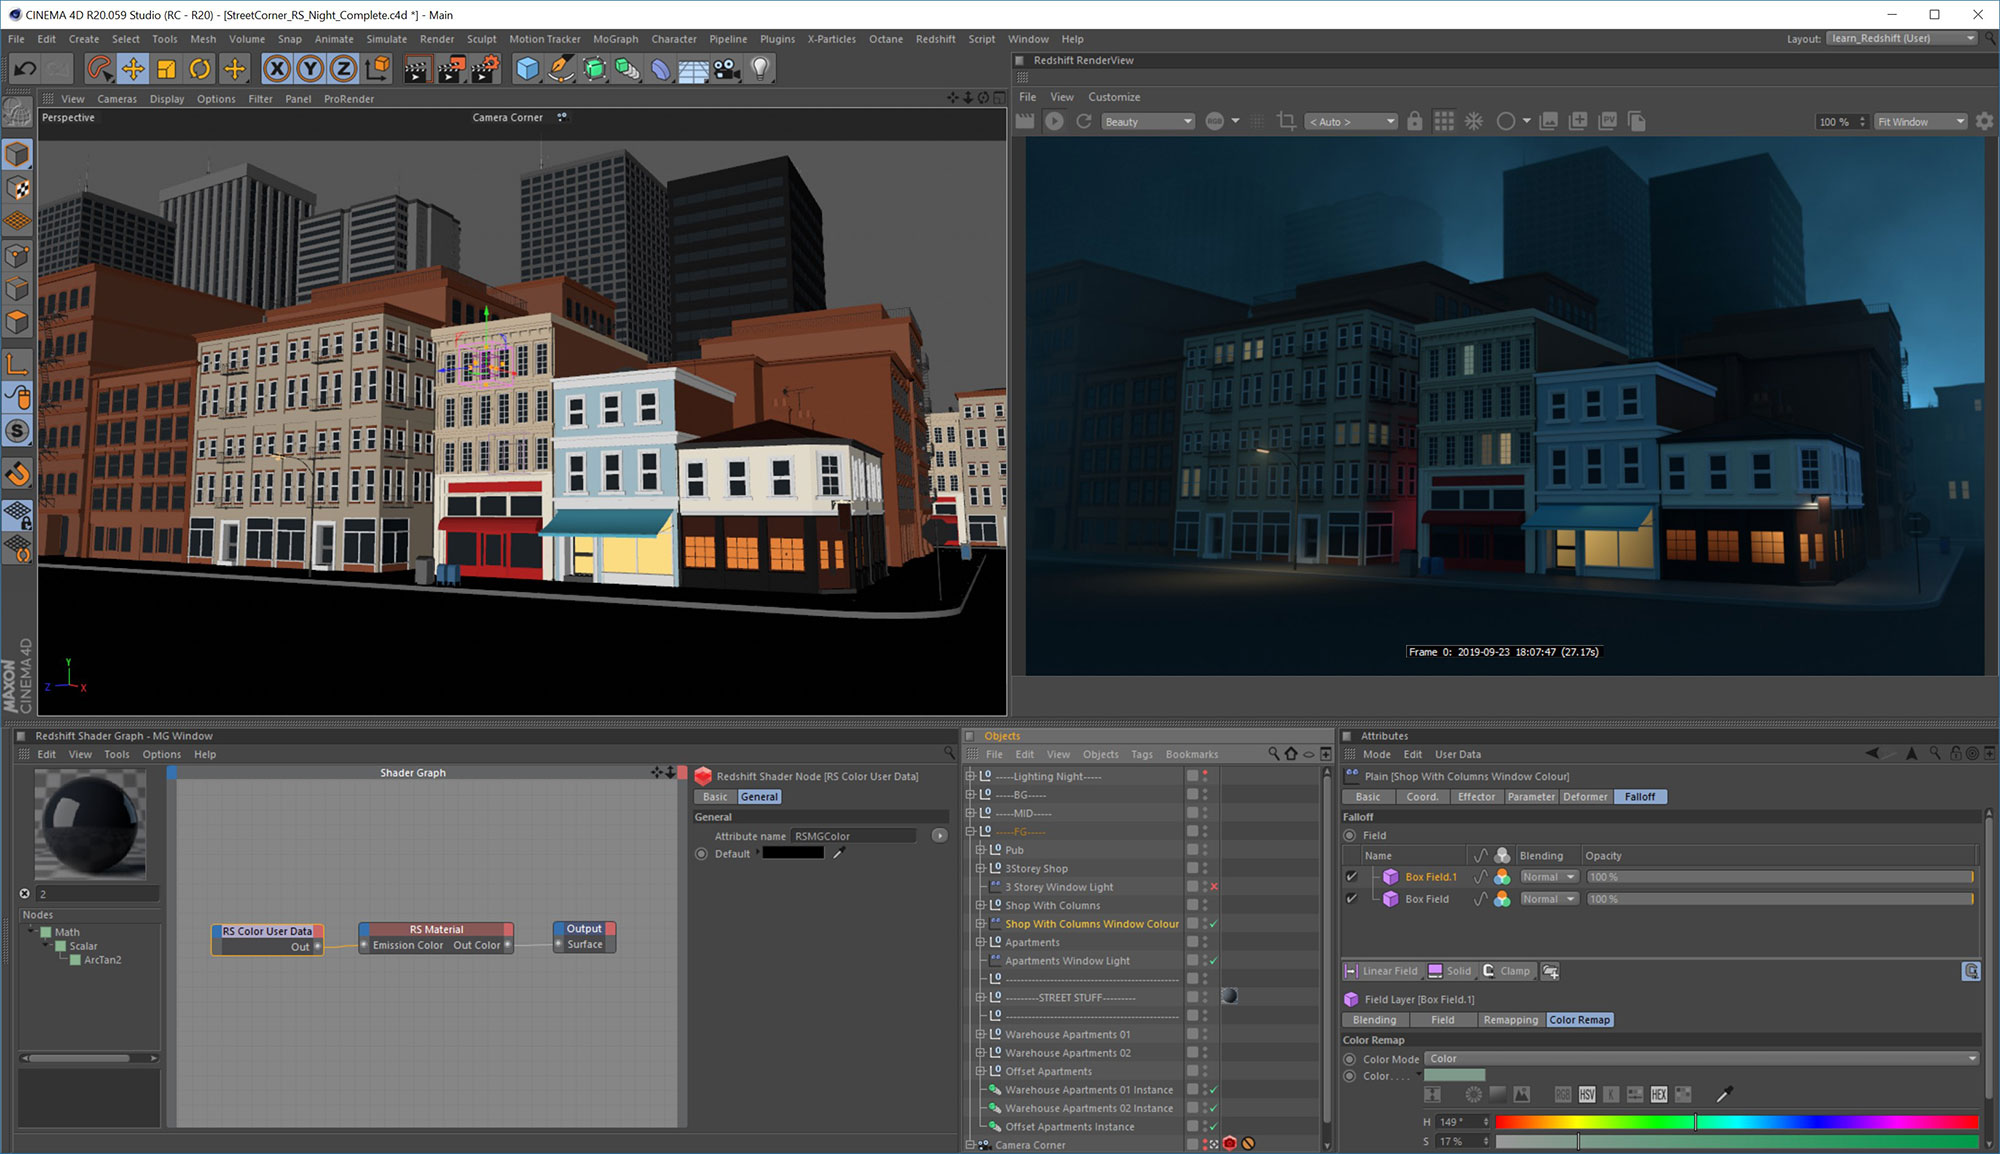
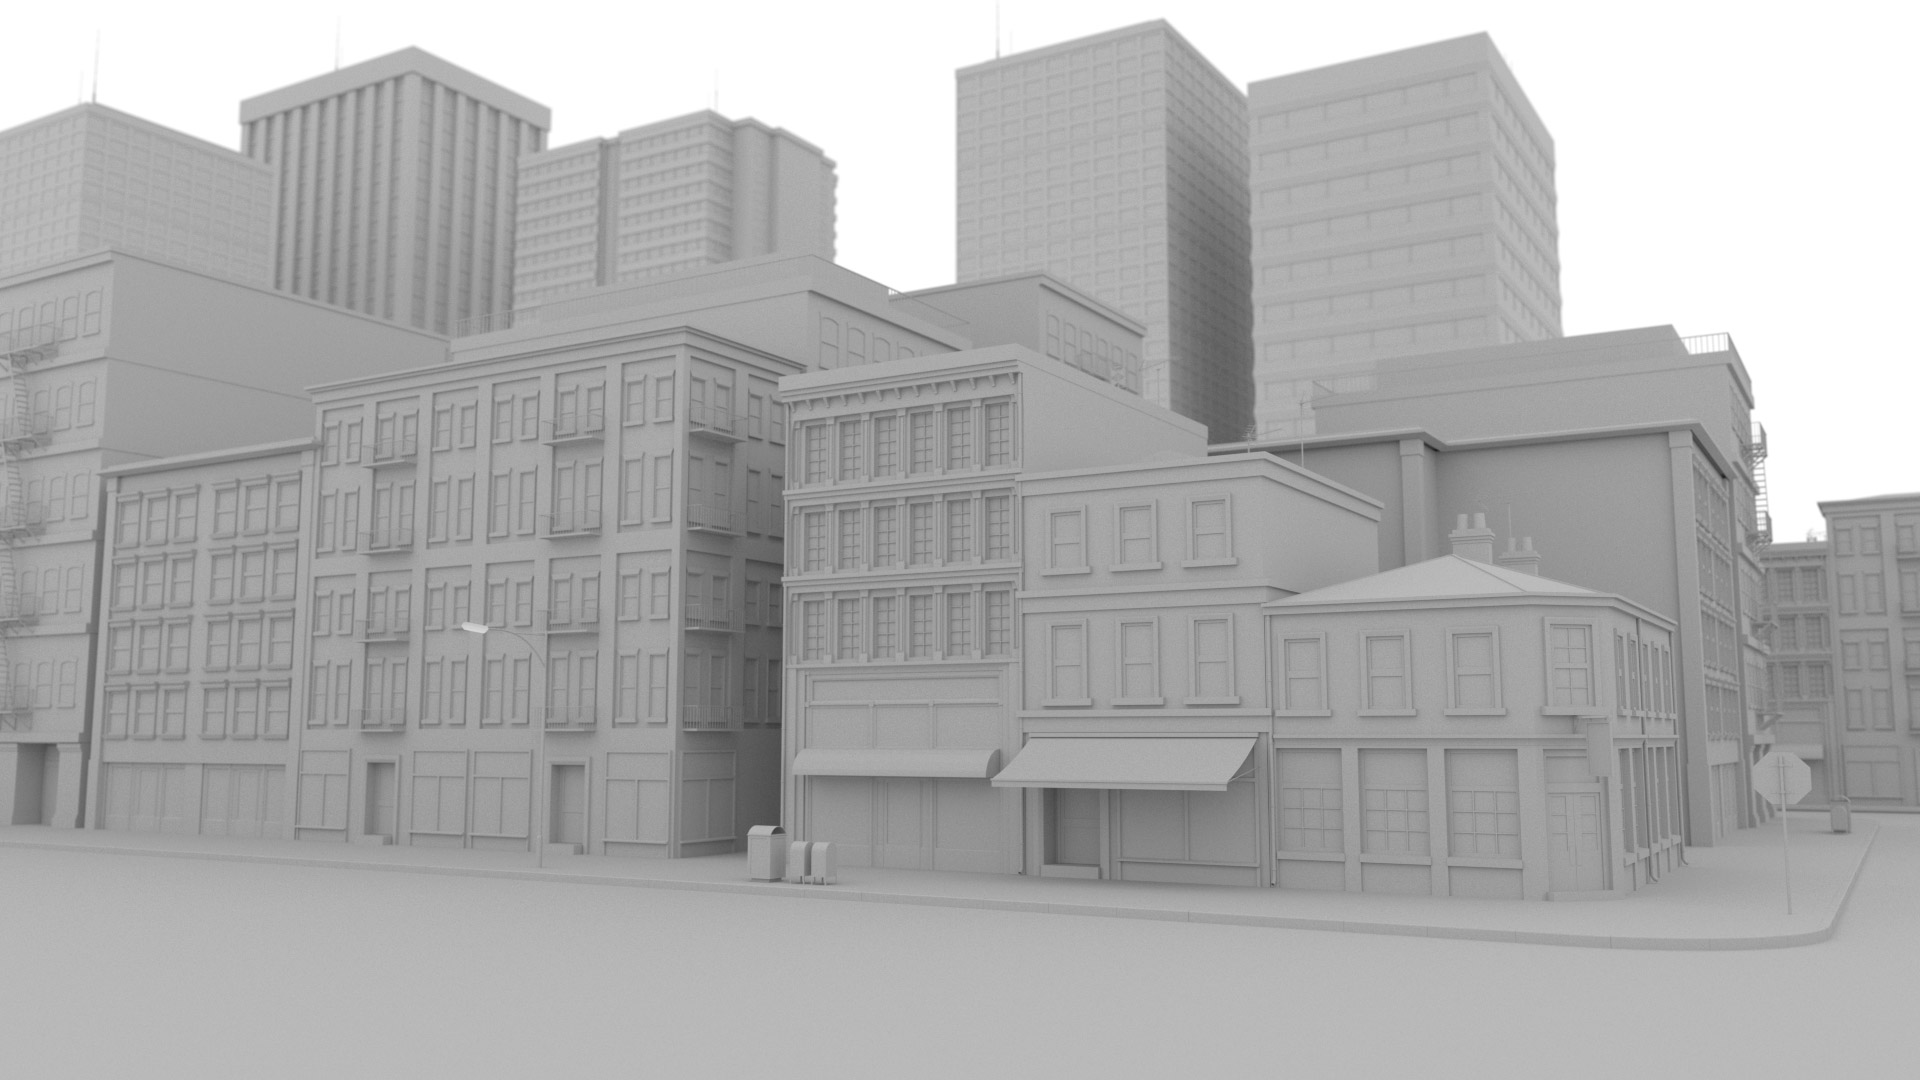
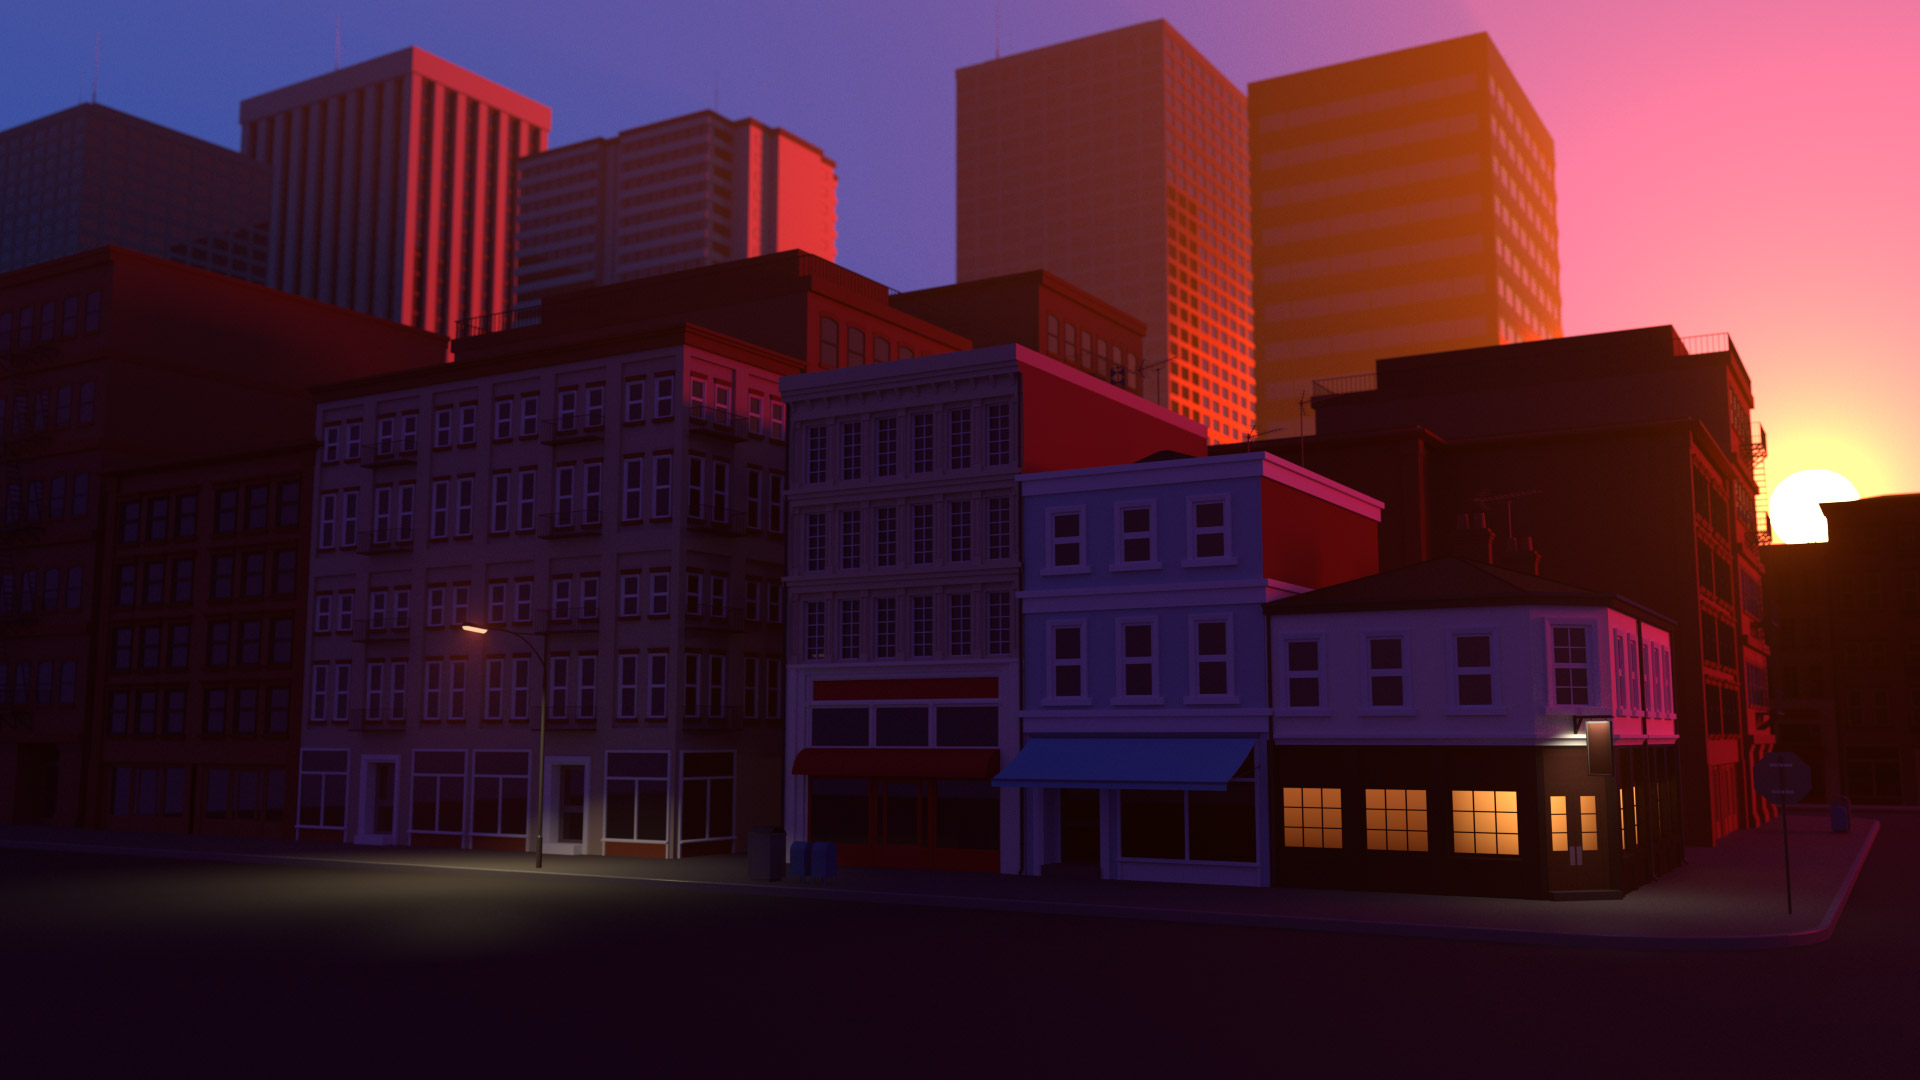
In this tutorial we investigate lighting a larger scene and build three different setups, each representing light from a different time of day and atmosphere. We explore more light types, including infinite and spot lights, plus using emissive textures to create lighting.
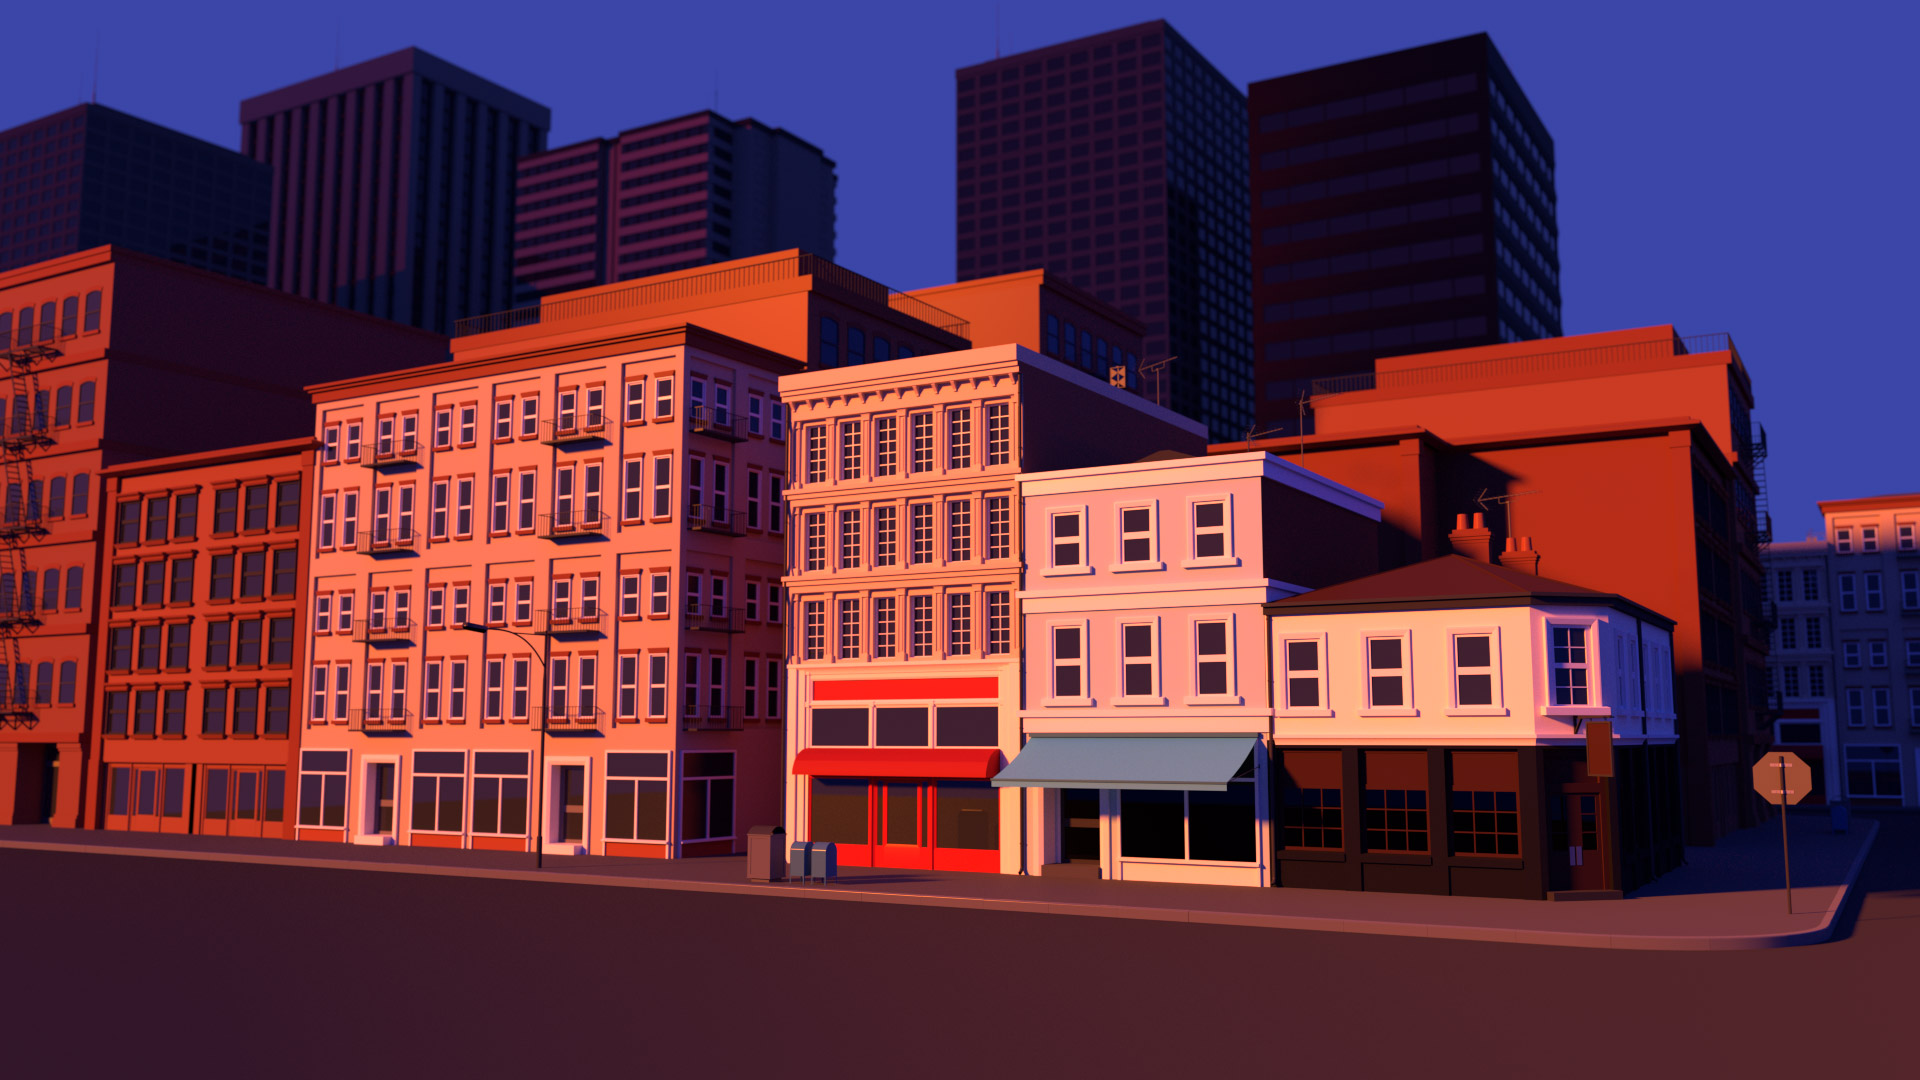
Starting with a quick and rough sketch, pushing the colours to the extreme for an oversaturated look at golden hour, we light the scene in layers, separating background and foreground so that we can focus attention on key areas of our shot.
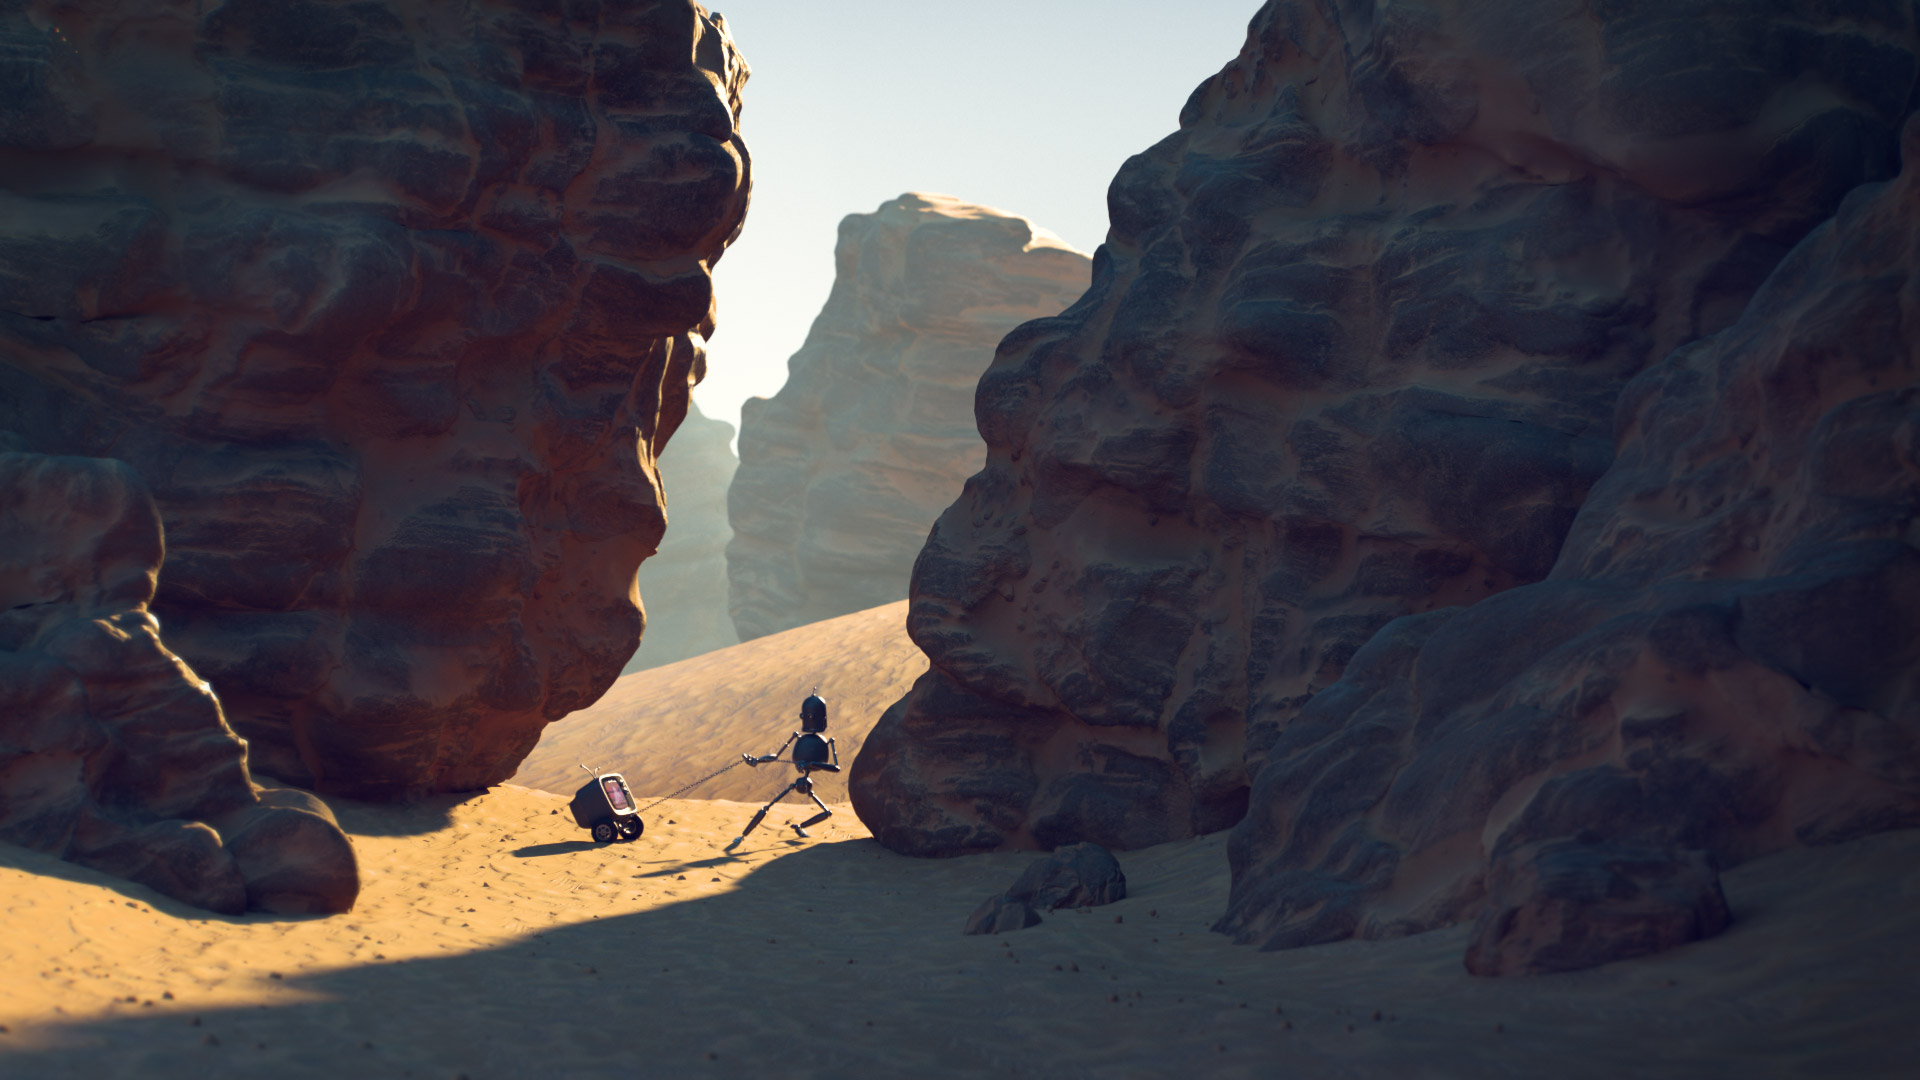
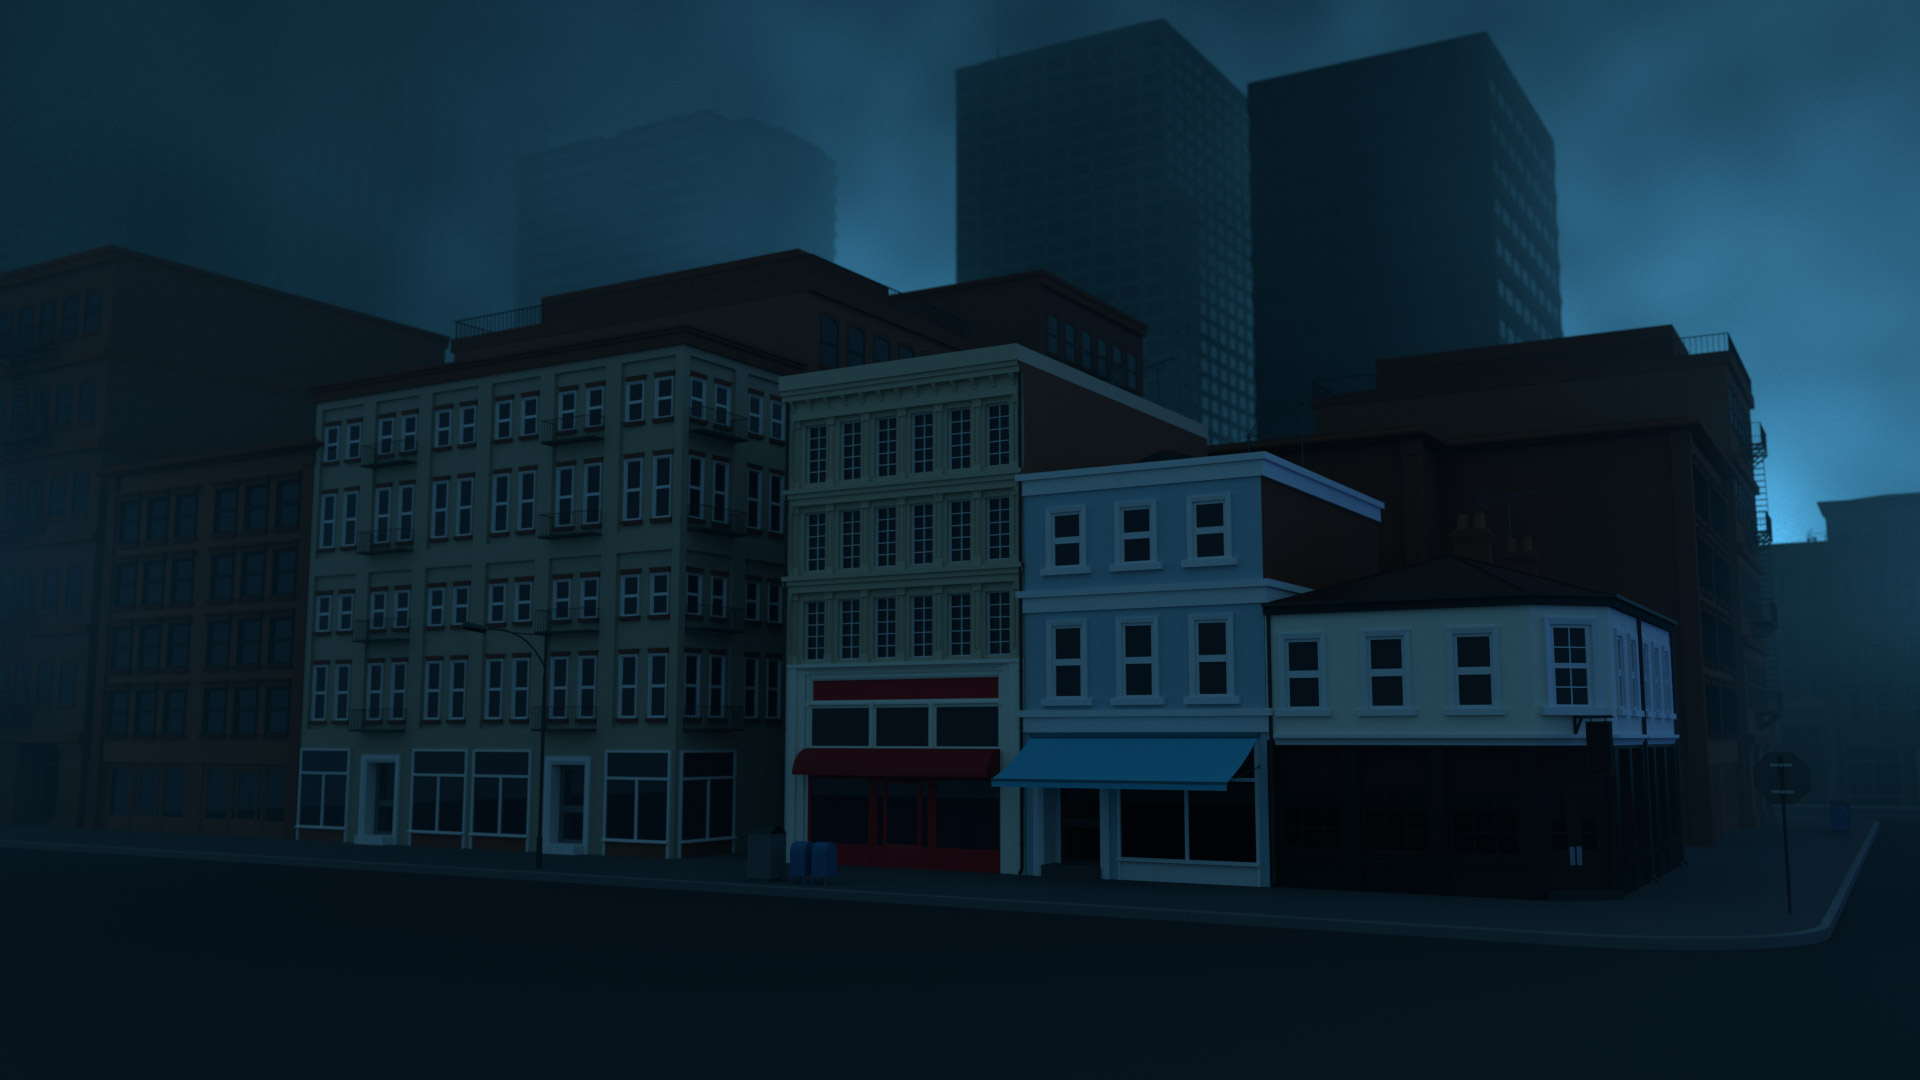
The next setup introduces volumetric lighting as we create a hazy sunset shot. This is complimented with additional fill lights to shape the scene and enhance the mood, again lighting the scene in layers.
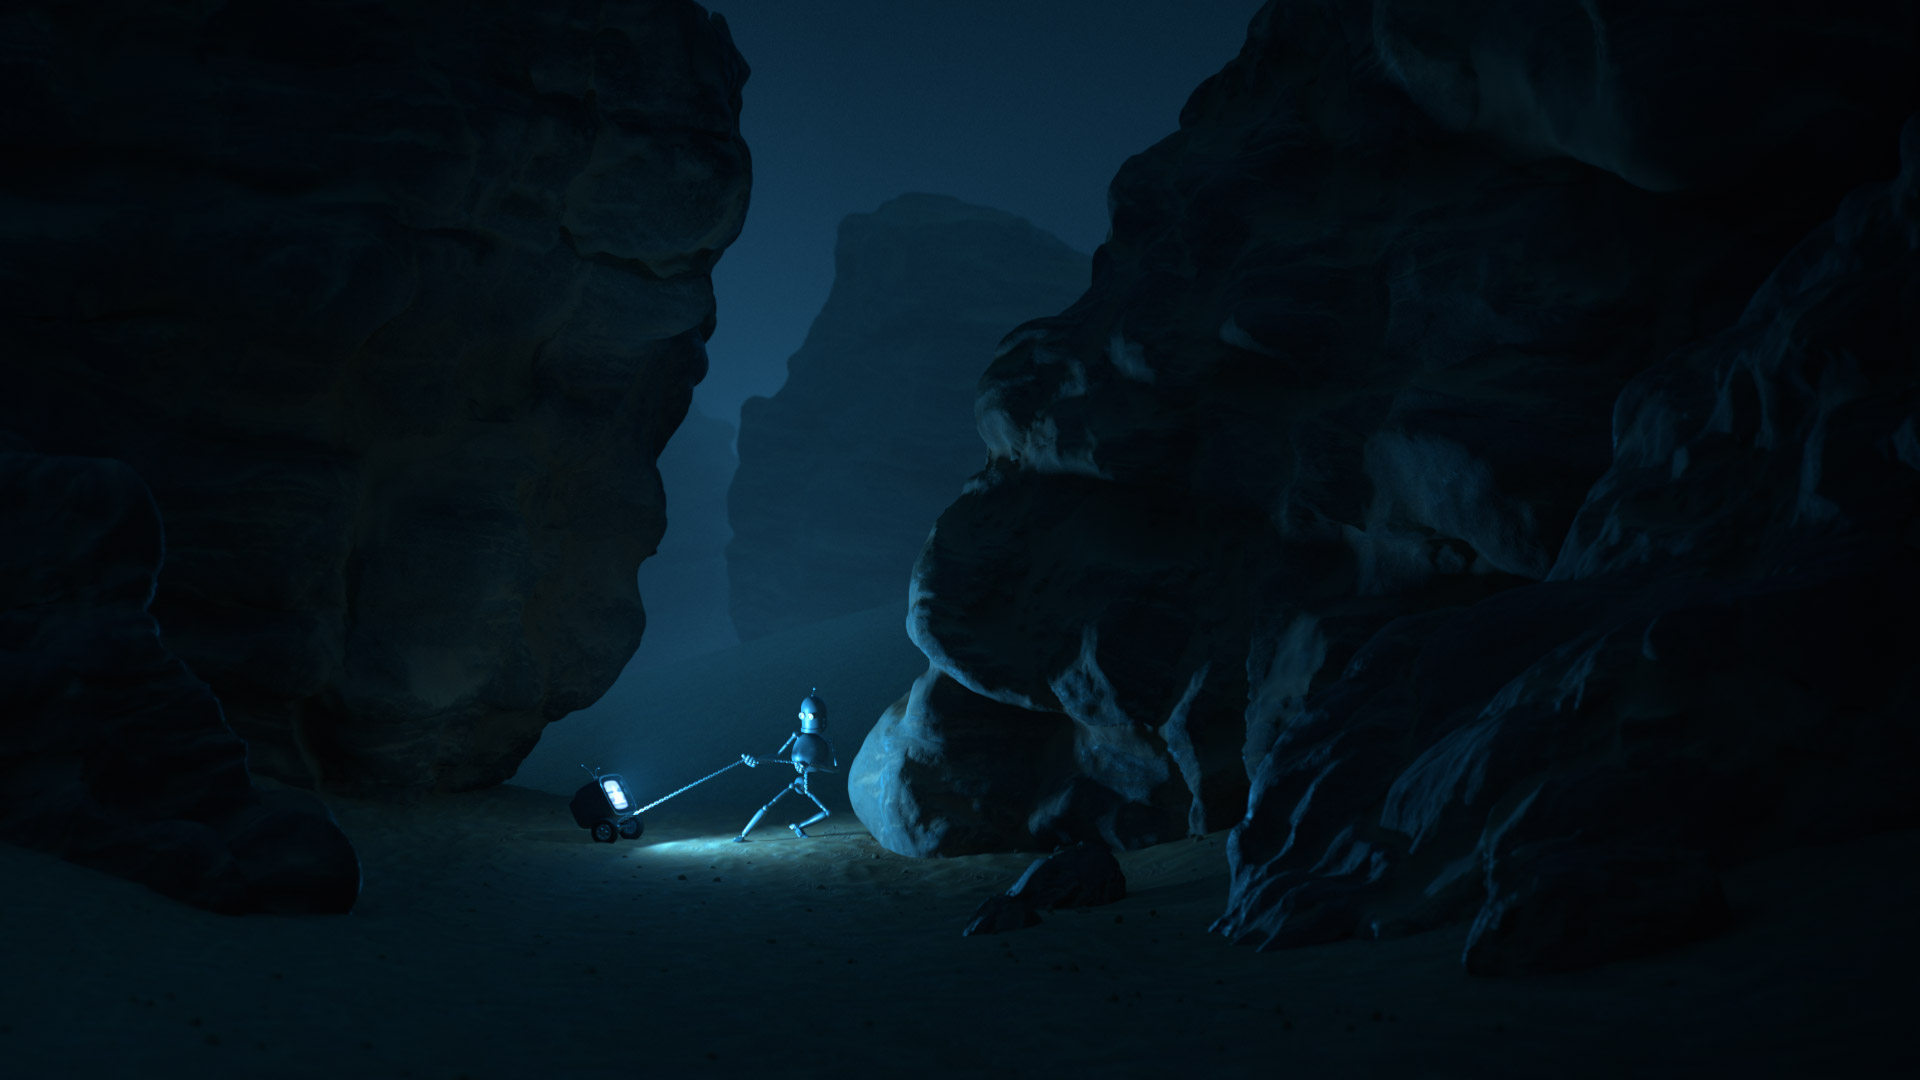
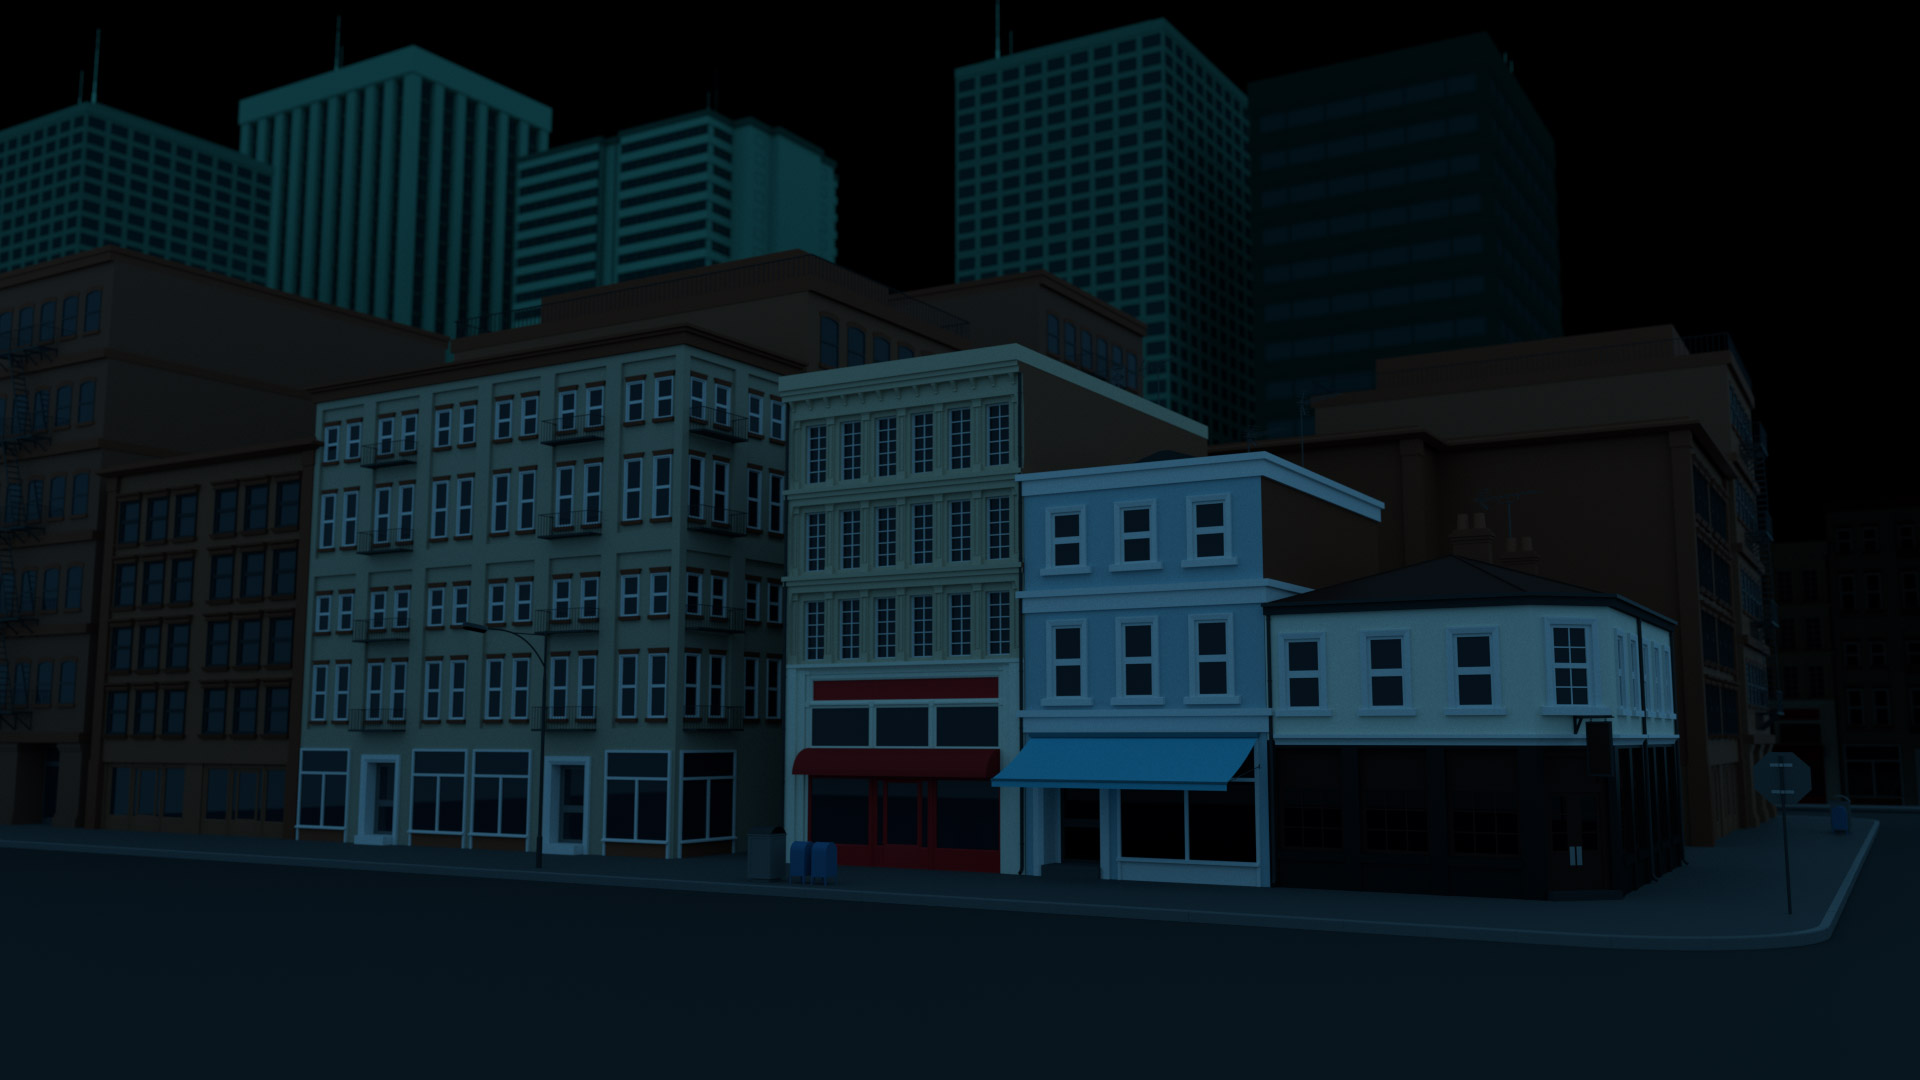
To complete this chapter, we create a moody night time scene. We develop the volumetric effects further, adding noise and additional volumetric lights, street lamps and illuminated windows. Using Mograph shaders we create a setup which allows us to use effectors, fields and selections to control individual window colour and illumination procedurally.

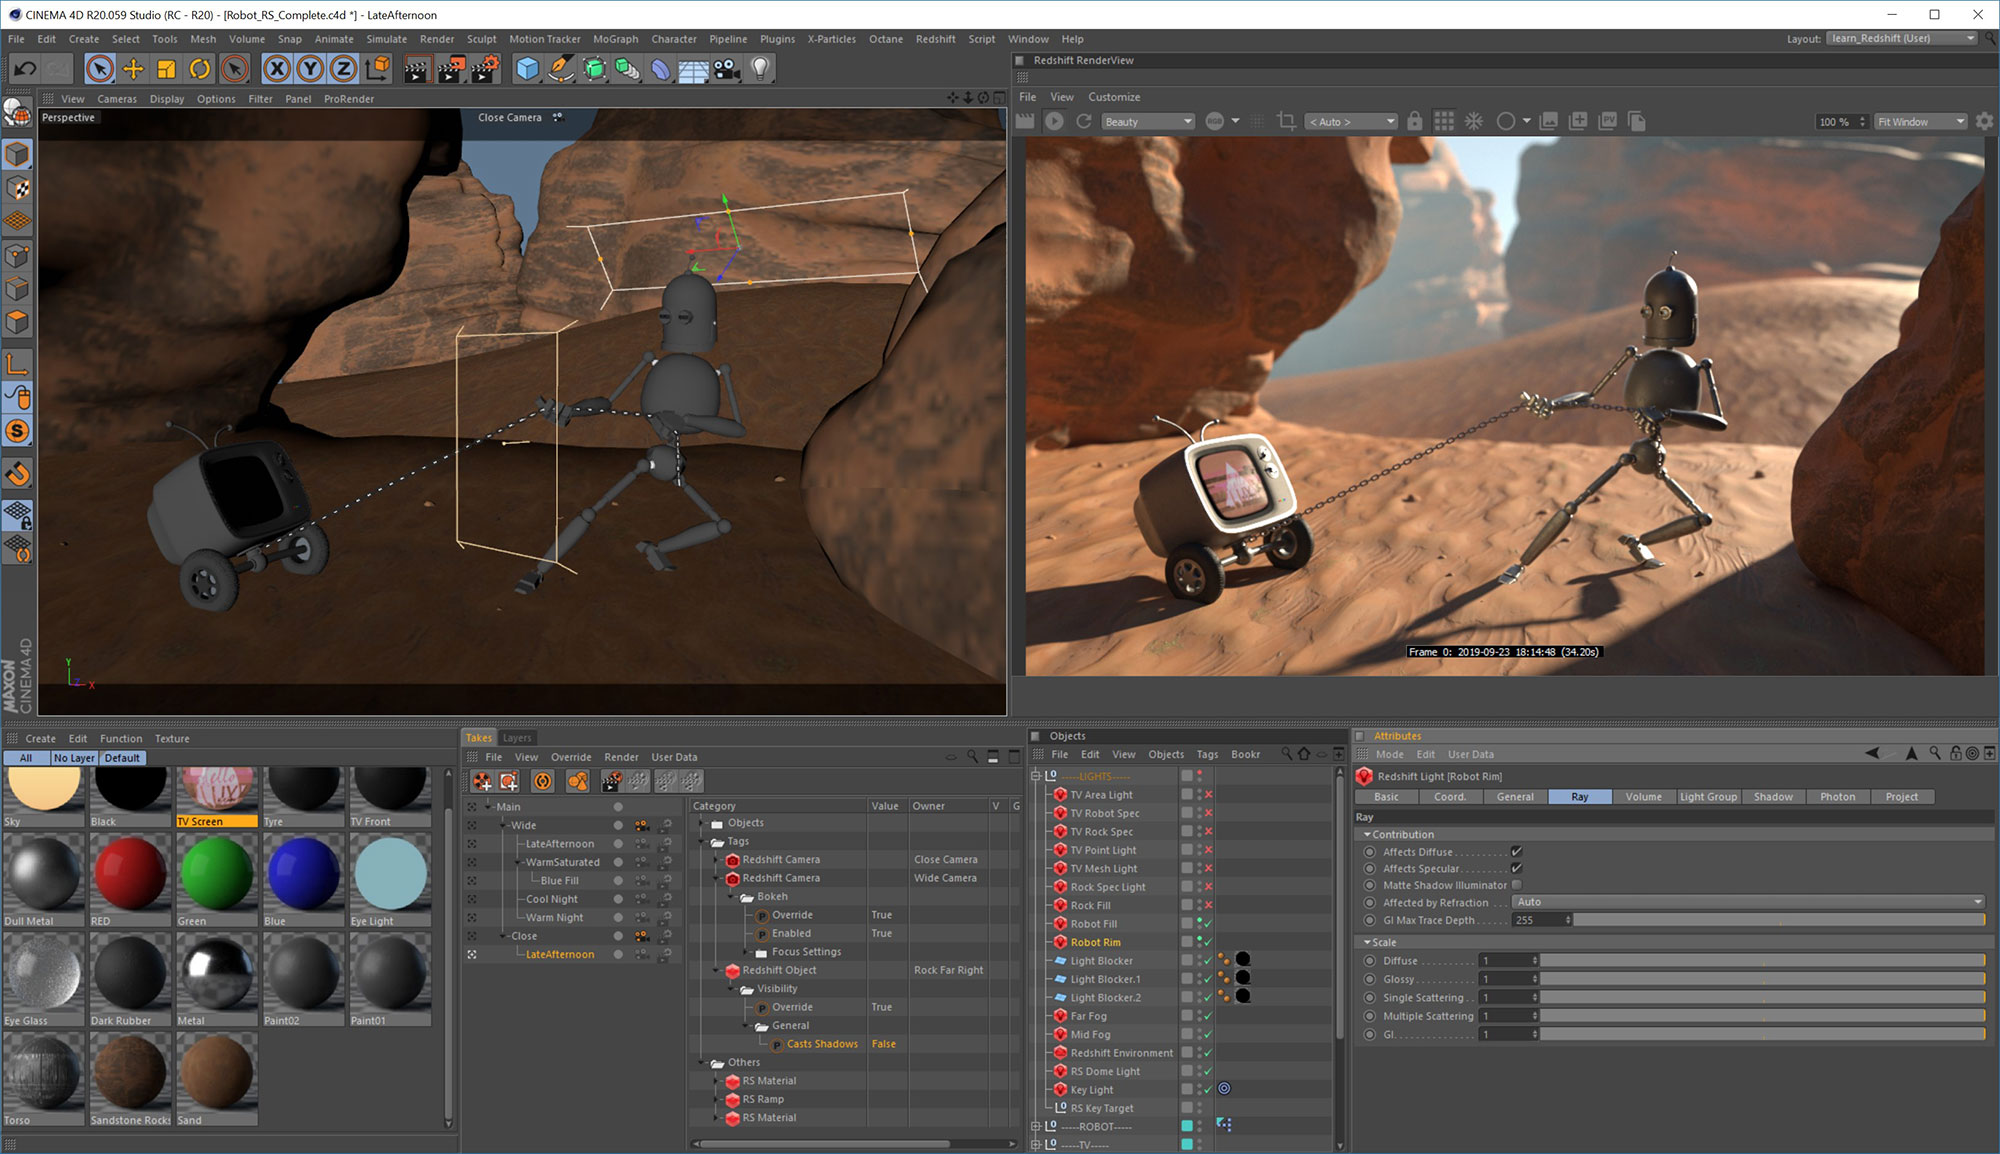
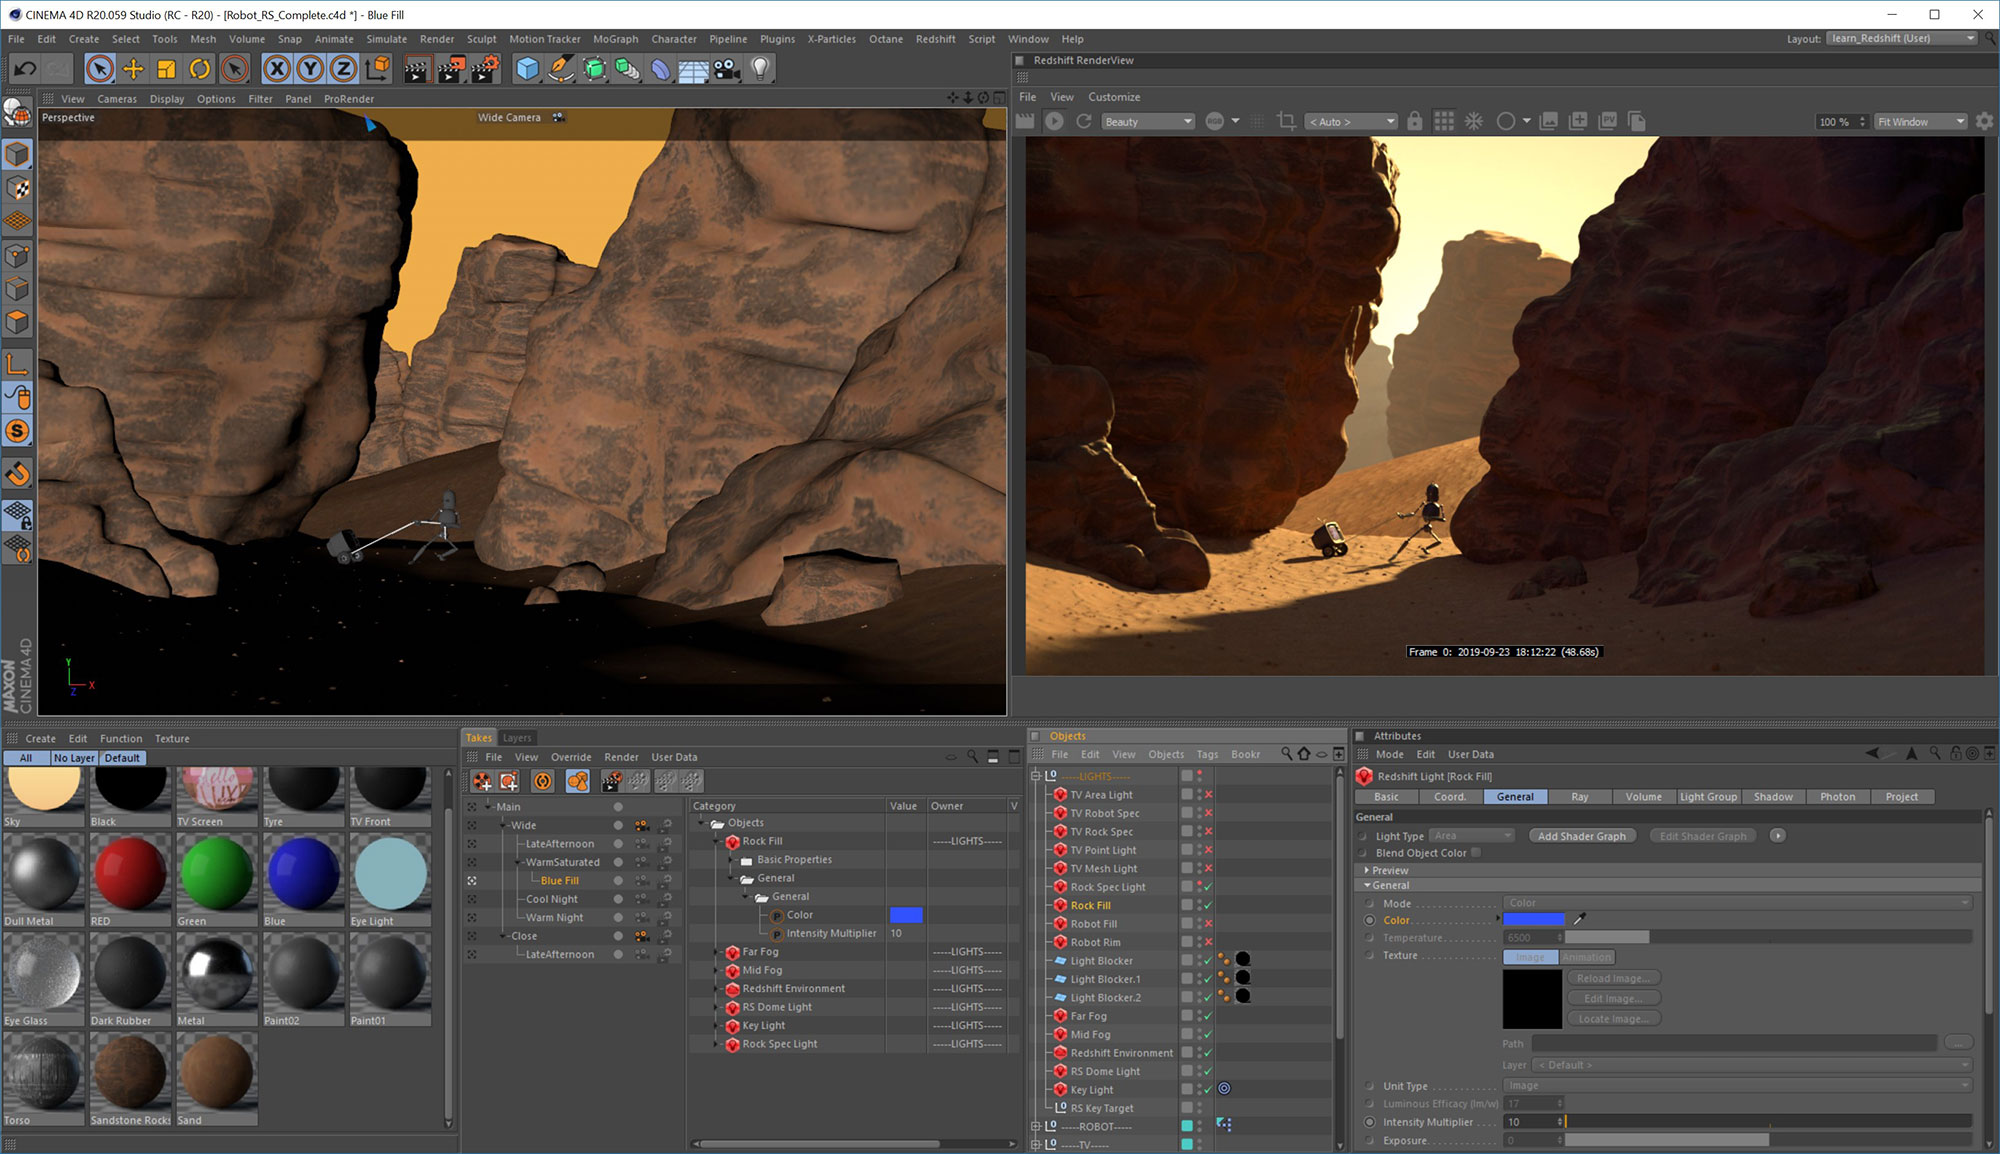
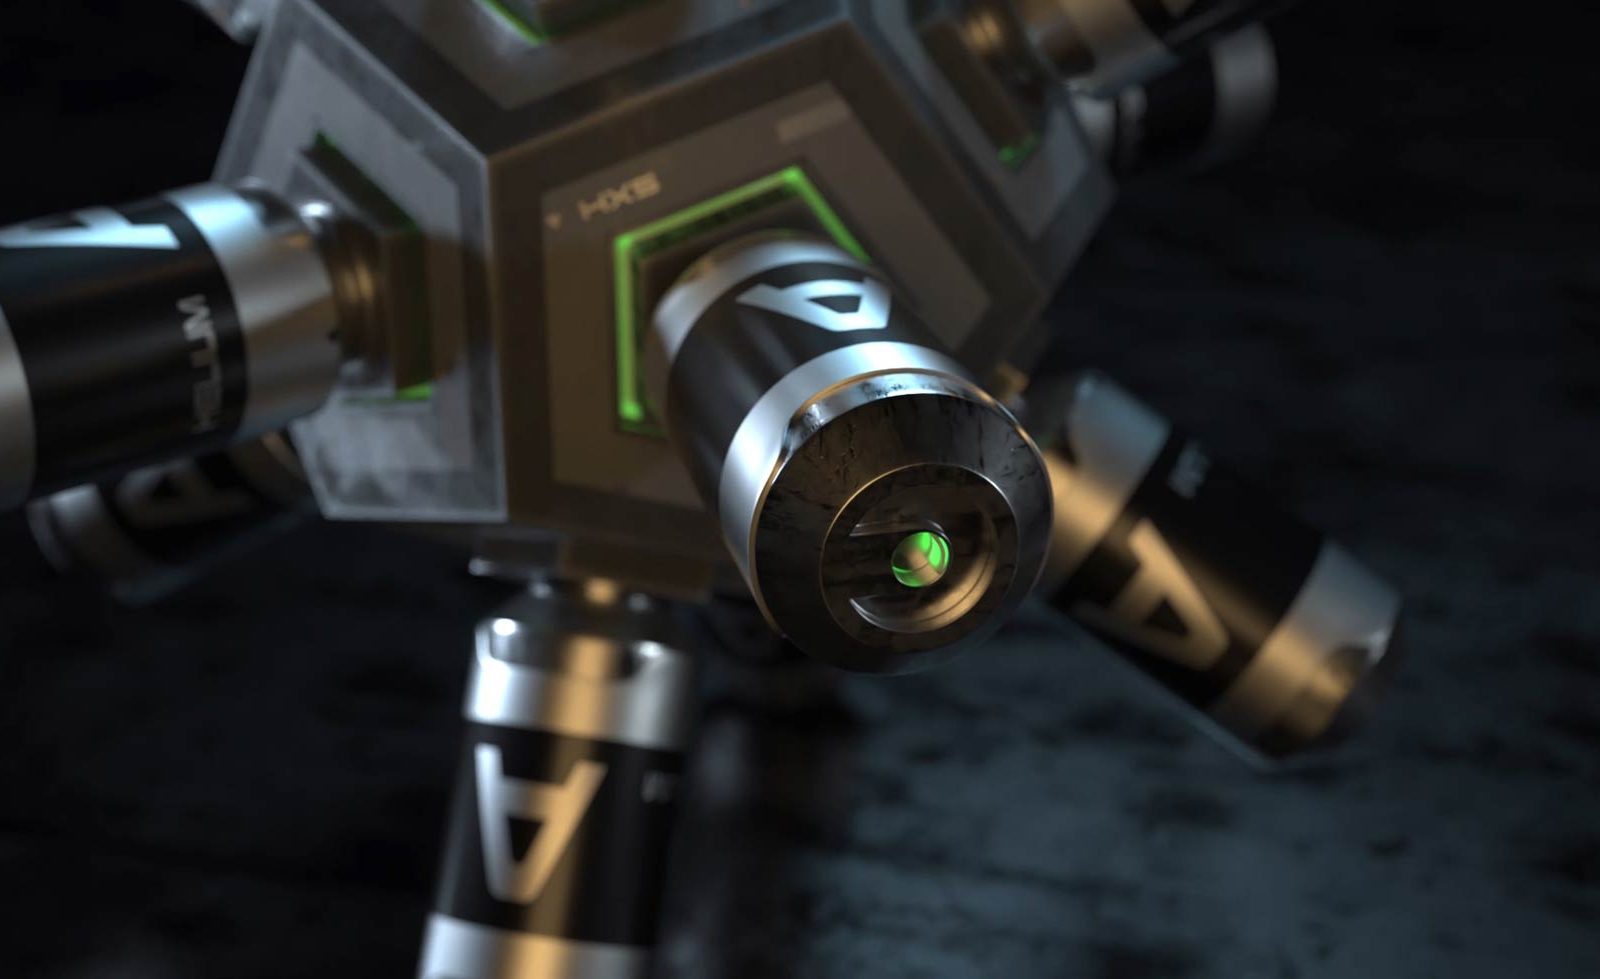
4 parts : 90 mins
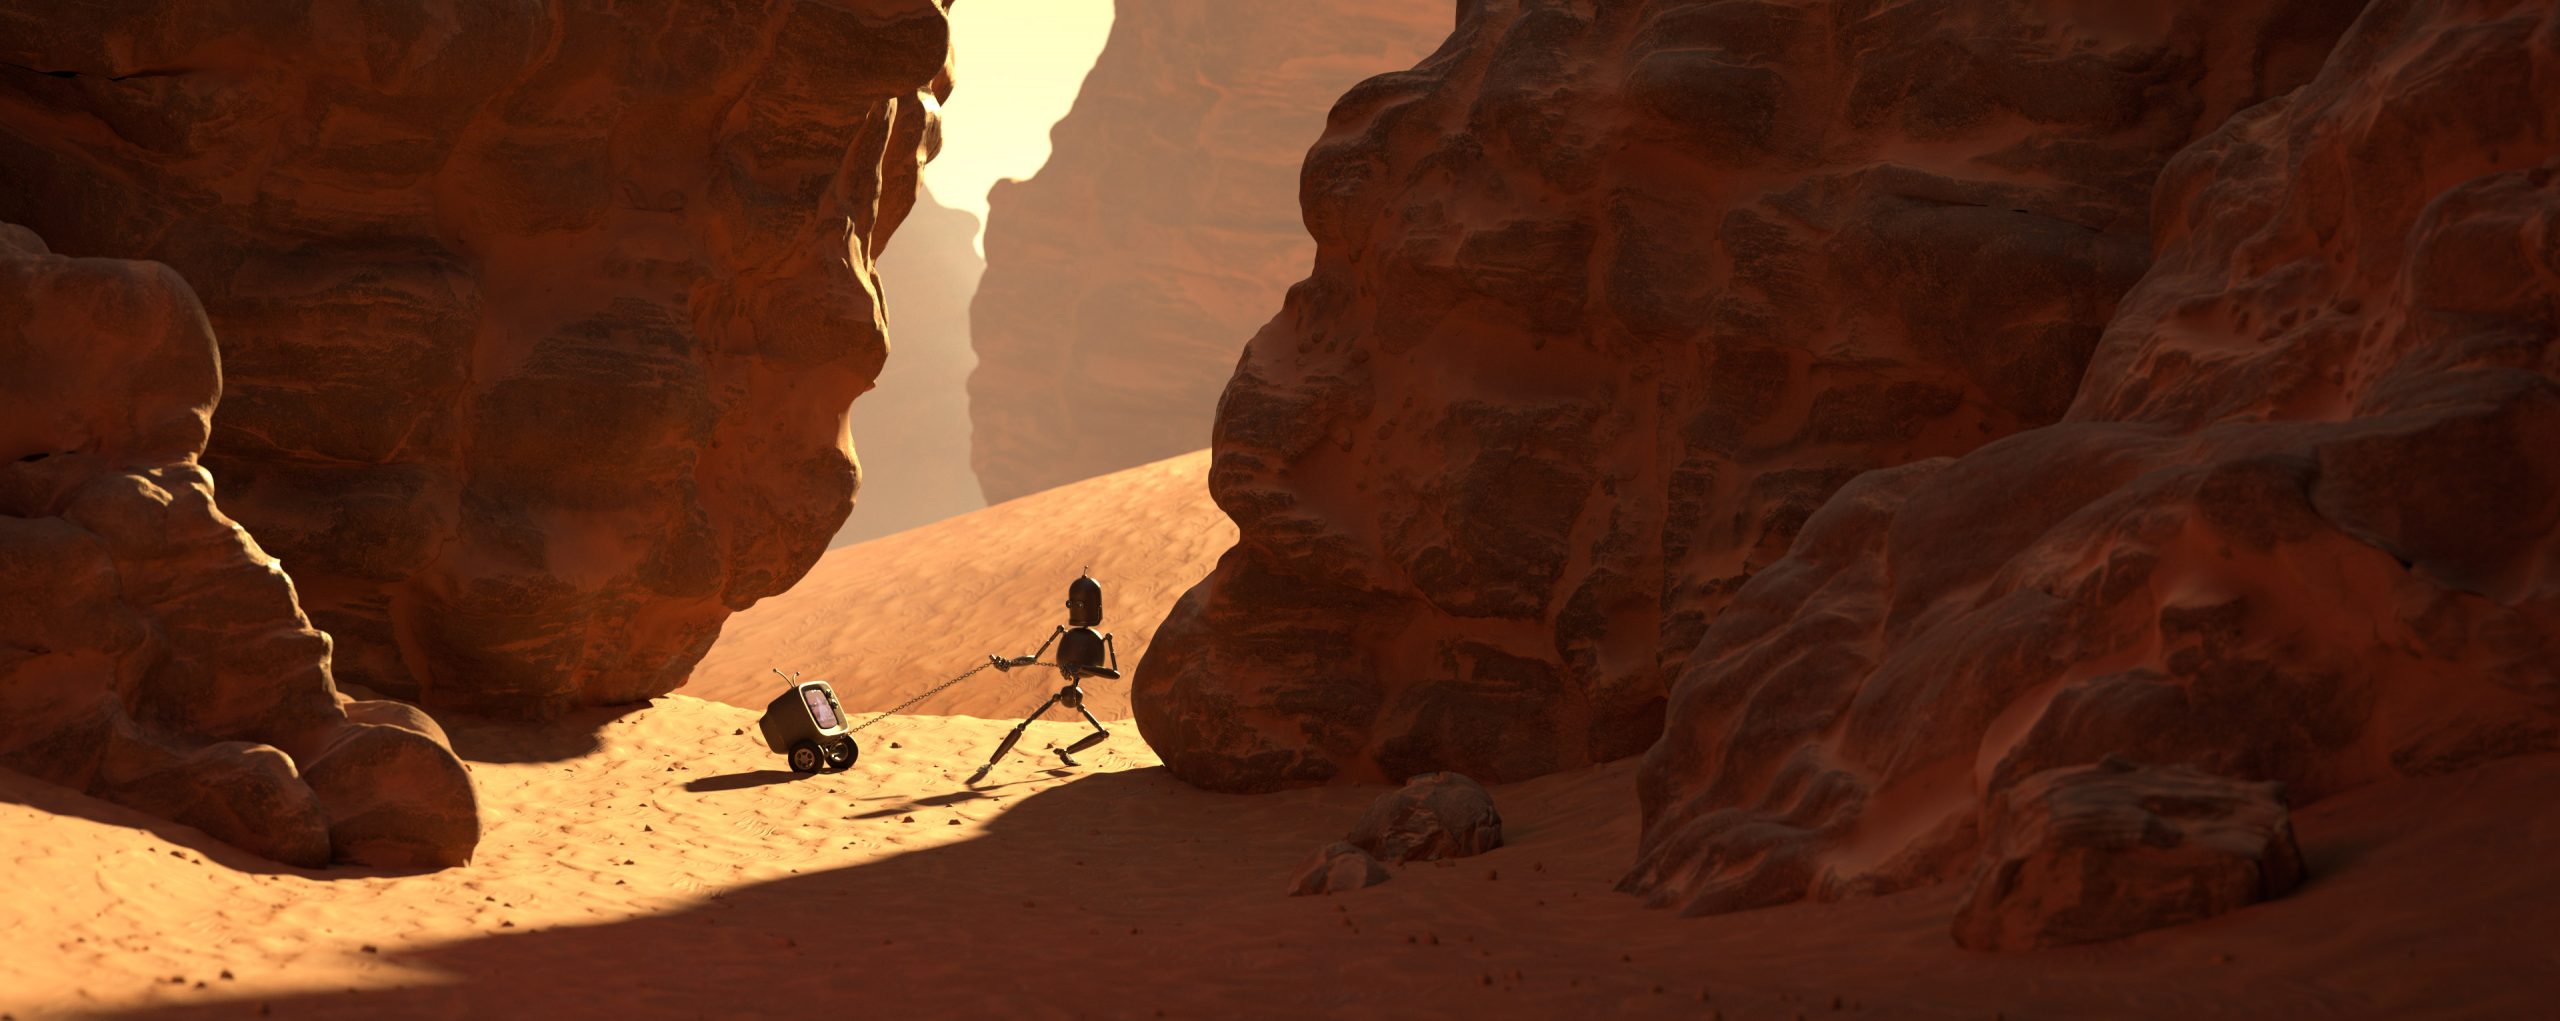
This chapter is all about creative exploration using practical, real world techniques as we work with a multiple camera setup and work through some fast efficient colour exploration. We start by creating a ‘late afternoon’ look, using Takes to flip between two shots and art direct each of them to maintain a consistent mood. This introduces the concept of scene lights versus shot lighting by first lighting the overall scene to define the mood, then adding and refining the lights for each shot, to enhance that particular composition.
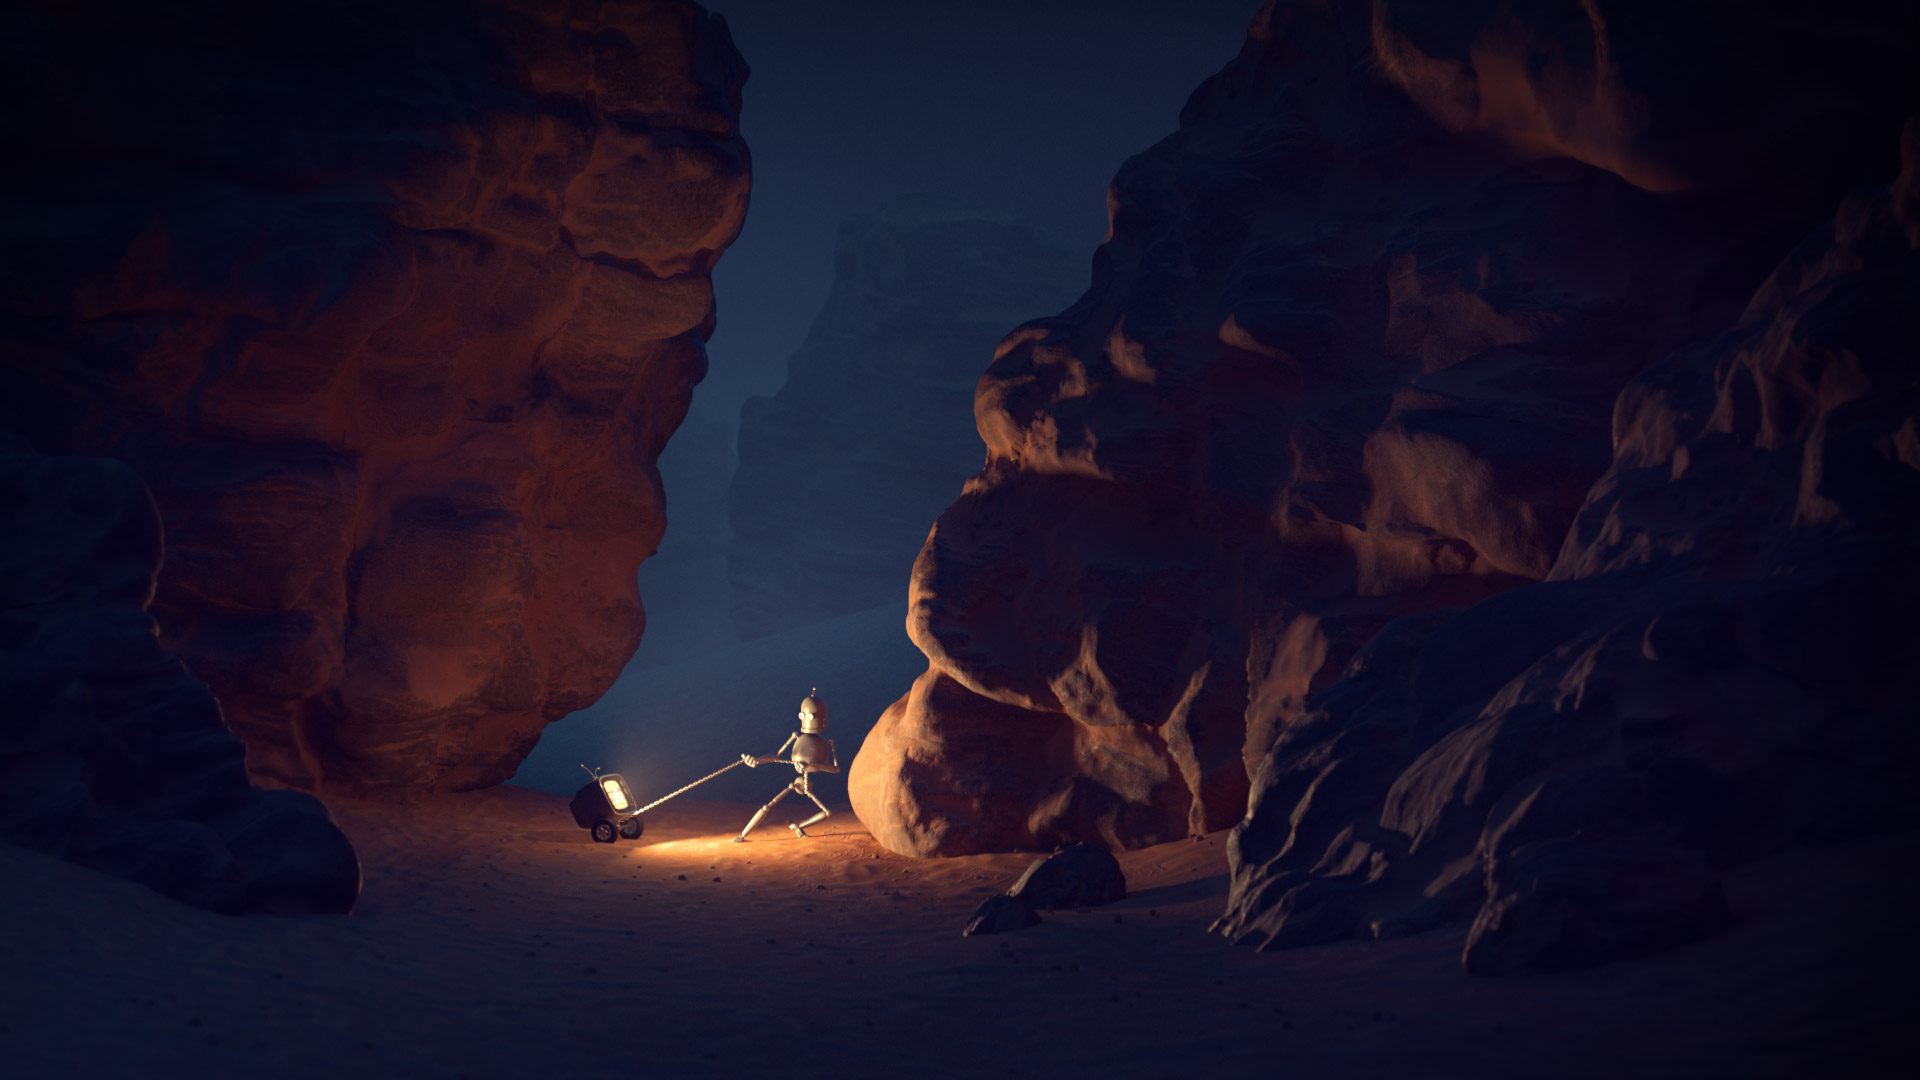
Further shot development and the lighting evolves into an alternative palette. Next we alter the mood of the shot and build two night time looks, enhancing the shot’s composition by carefully placing lights to strengthen the narrative of the scene.
We use Cinema 4D’s Take system throughout the Robot tutorials. This facilitates efficient workflow when exploring multiple lighting setups within one scene, and allows you to quickly and easily create many looks in one scene file, a crucial technique when planning and Art Directing your shots.
1 part : 11 mins
No lighting with Cinema 4D and Redshift tutorial would be complete without a discussion on post effects, compositing & grading, an essential part of the creative pipeline for improving the final rendered result.
This chapter explores the post effects that are available in Redshift’s Renderview and Cinema 4D’s Picture Viewer, such as applying Look Up Tables (LUTs) and basic grading. We follow up by applying the same LUT in After Effects for comparison and apply some simple grading to one of our renders using the AE native toolset.
1 part : 20 mins
For additional control when compositing, the addition of AOVs take you to a completely new level. AOVs (Arbitrary Output Variables) are additional files that split your output into multiple channels. These channels can be components of your image, such as diffuse lighting, reflection and refraction, or they can be utilities, such as normal direction and Z-depth.
By using AOVs you have incredible control over the light and colour of individual elements within your shot. With the addition of light groups in Redshift, you can output separate AOVs for each light within your scene, giving you ultimate control in composite, whilst also offering the added benefit of speeding up workflow and efficiency.