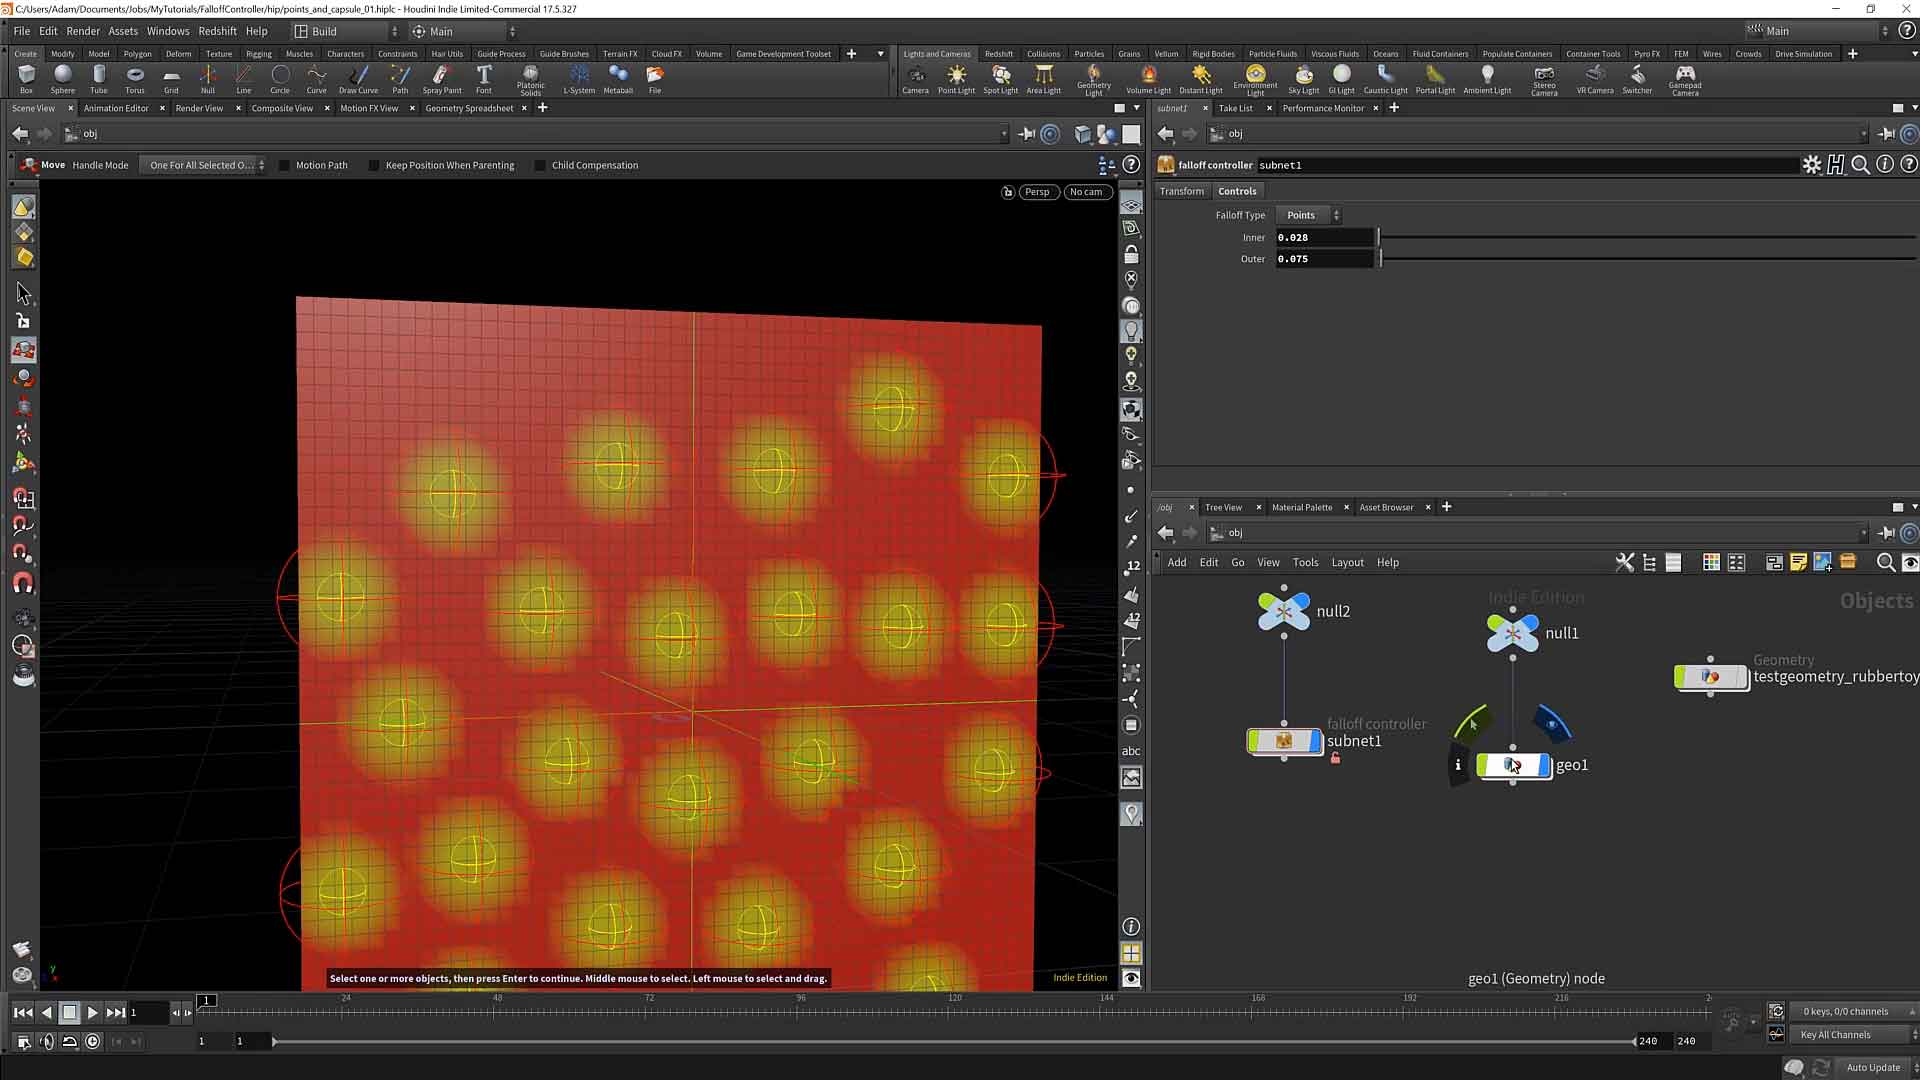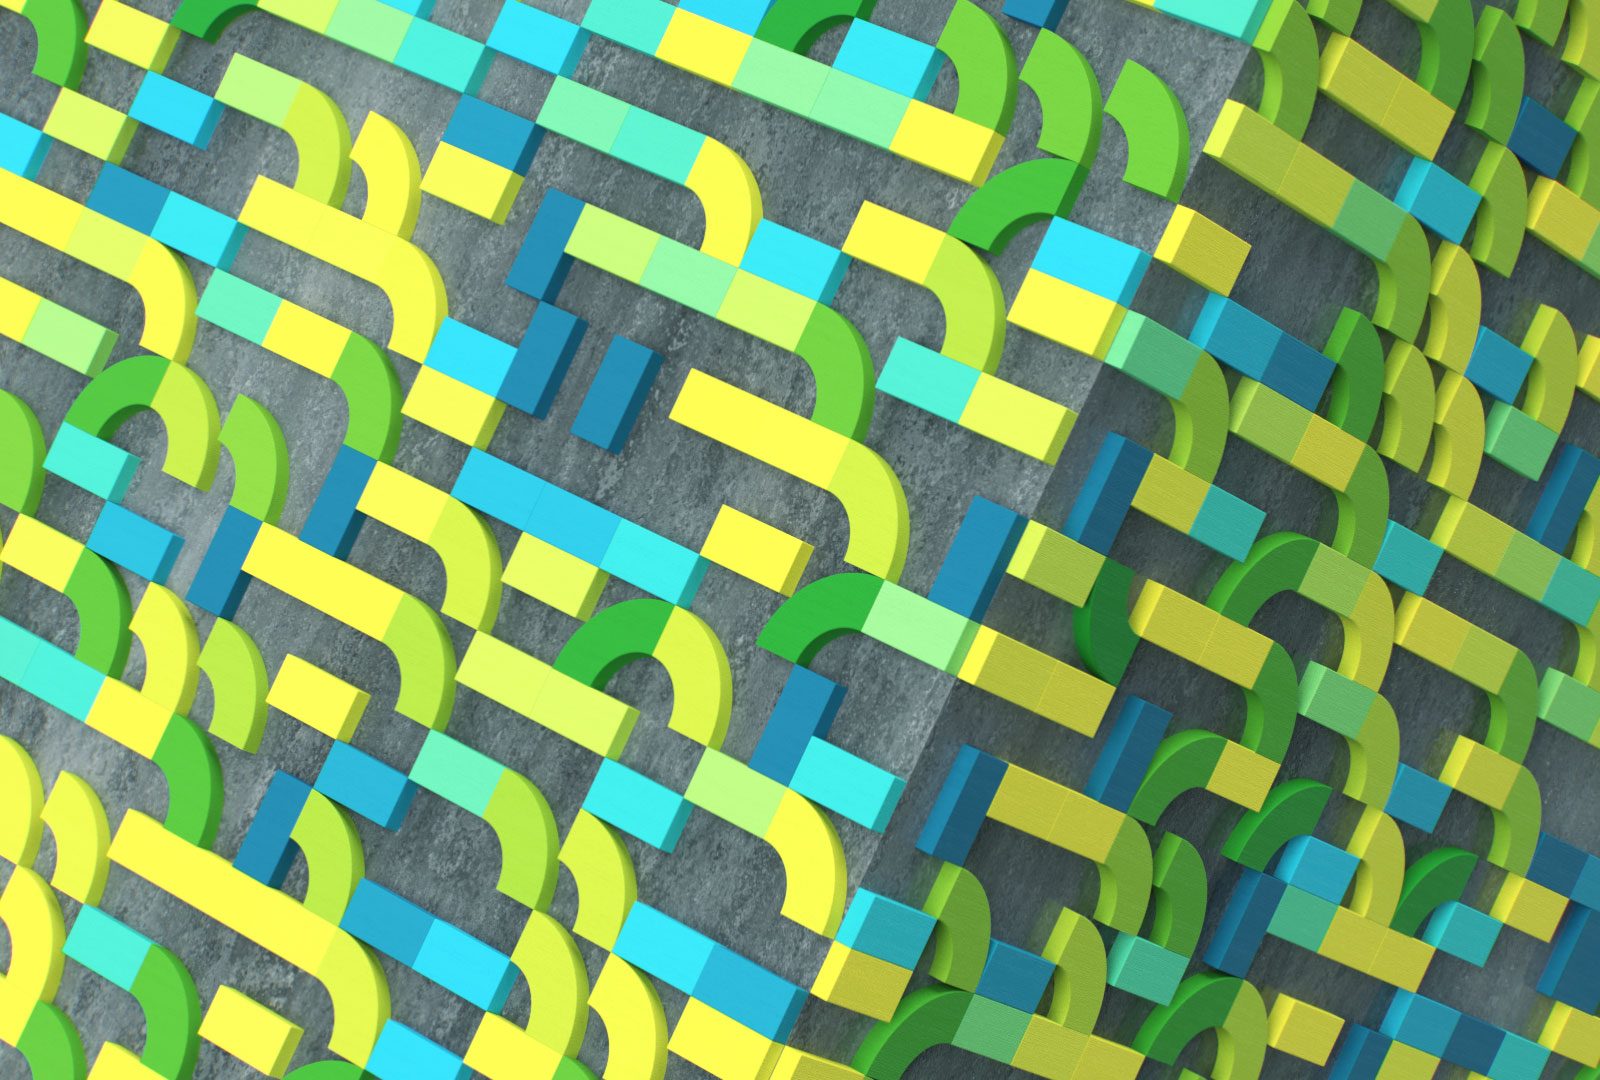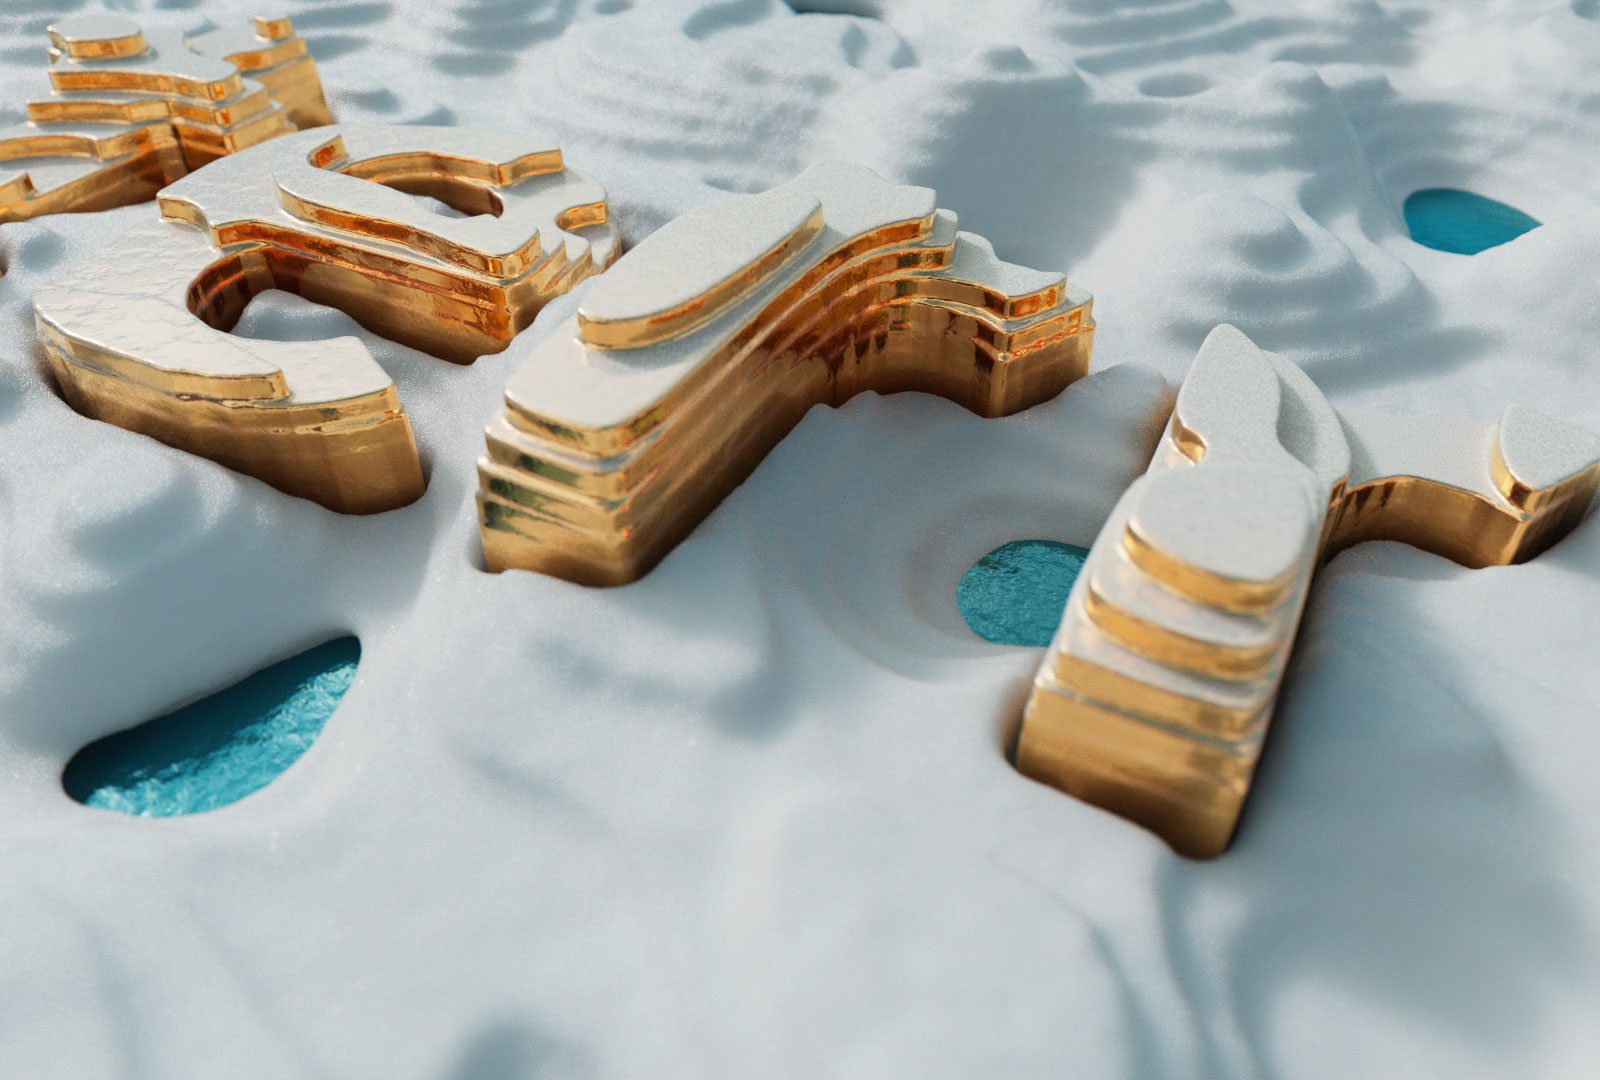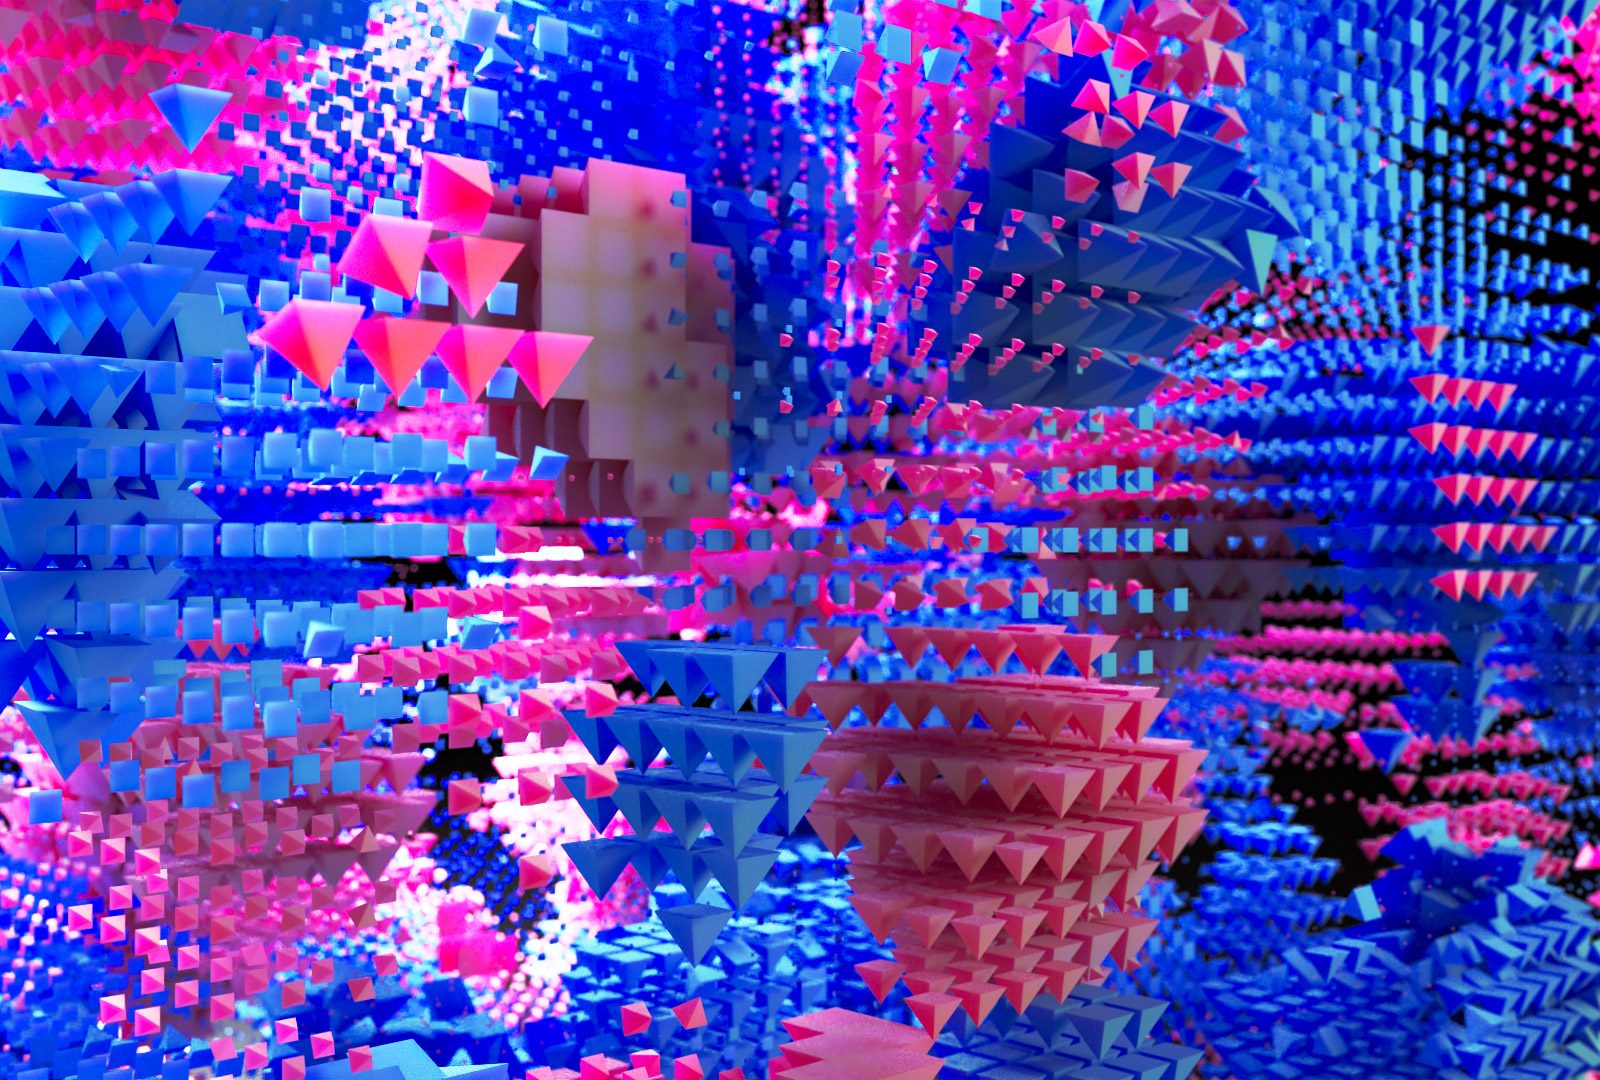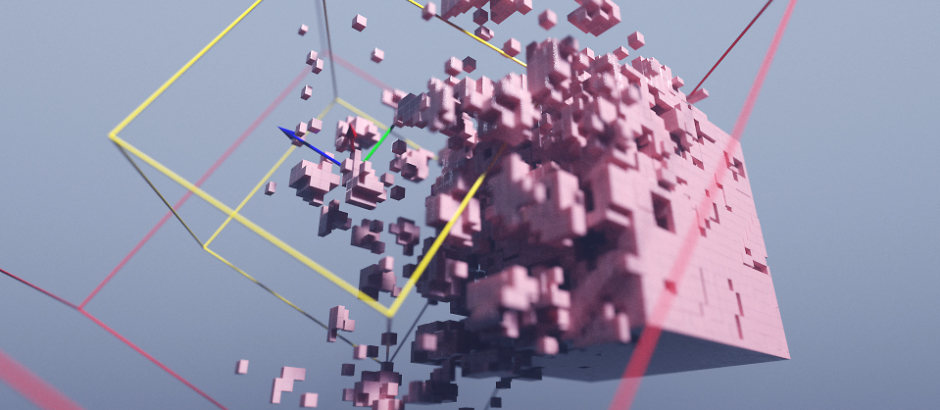
Falloff control objects are tools I use in almost everything I do. They are a great way to control effects in a non-simulated space. Most people are familiar with Cinema 4D’s Mograph falloffs, and I’m going to show you how to create your own set in less than two hours. It’s a full suite of falloffs that will work in world space. That means you’ll be able to incorporate them in rigs, parent them to other objects, or just keep them on their own and get consistent predictable results.
We’ll work with matrix functions and develop the simple equations that create falloff in Houdini with many shapes (sphere, box, capsule, torus, plane, etc.). We even add features like noise and remapping.
Recommended requirements
Houdini 17.5 and above
This is an intermediate level tutorial. Experience with attribute wrangles and digital asset creation is assumed.
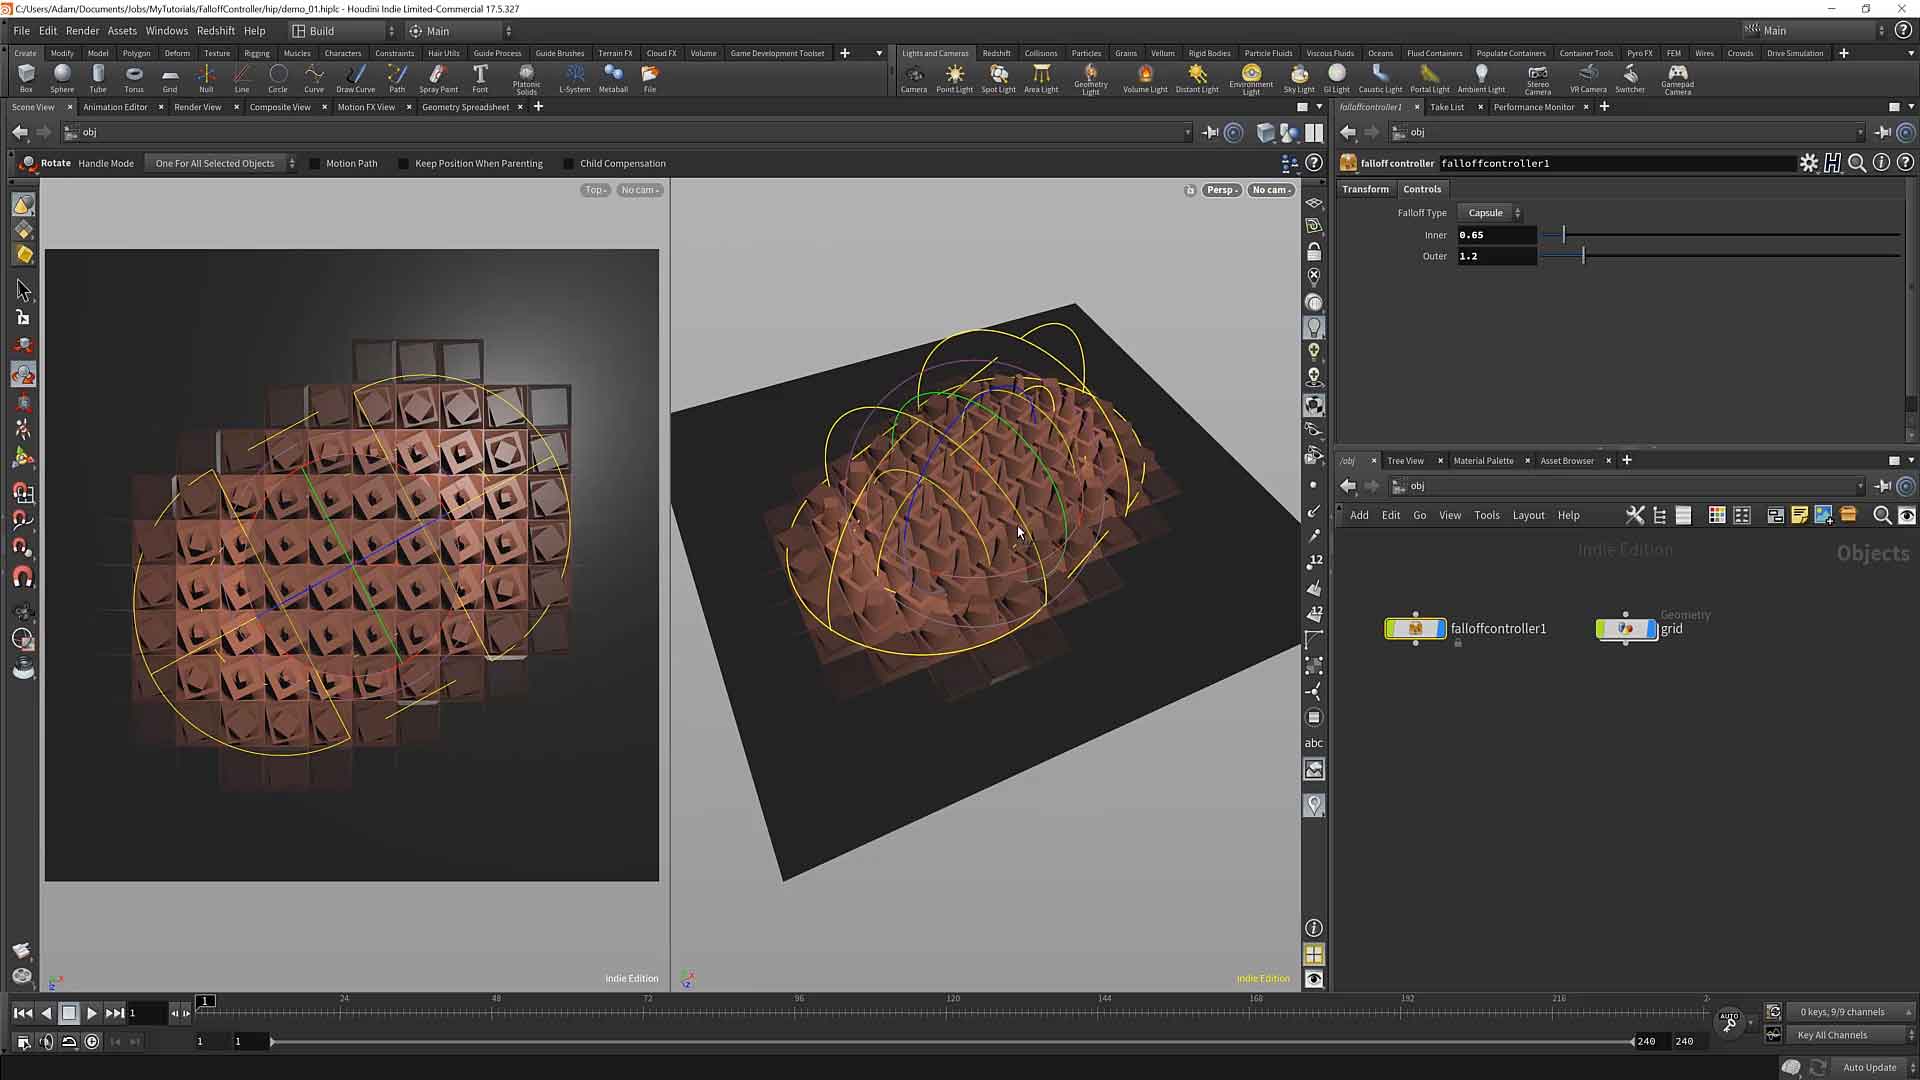
Prerequisites and setting up the base asset
↓01 : Intro
duration : 01:05
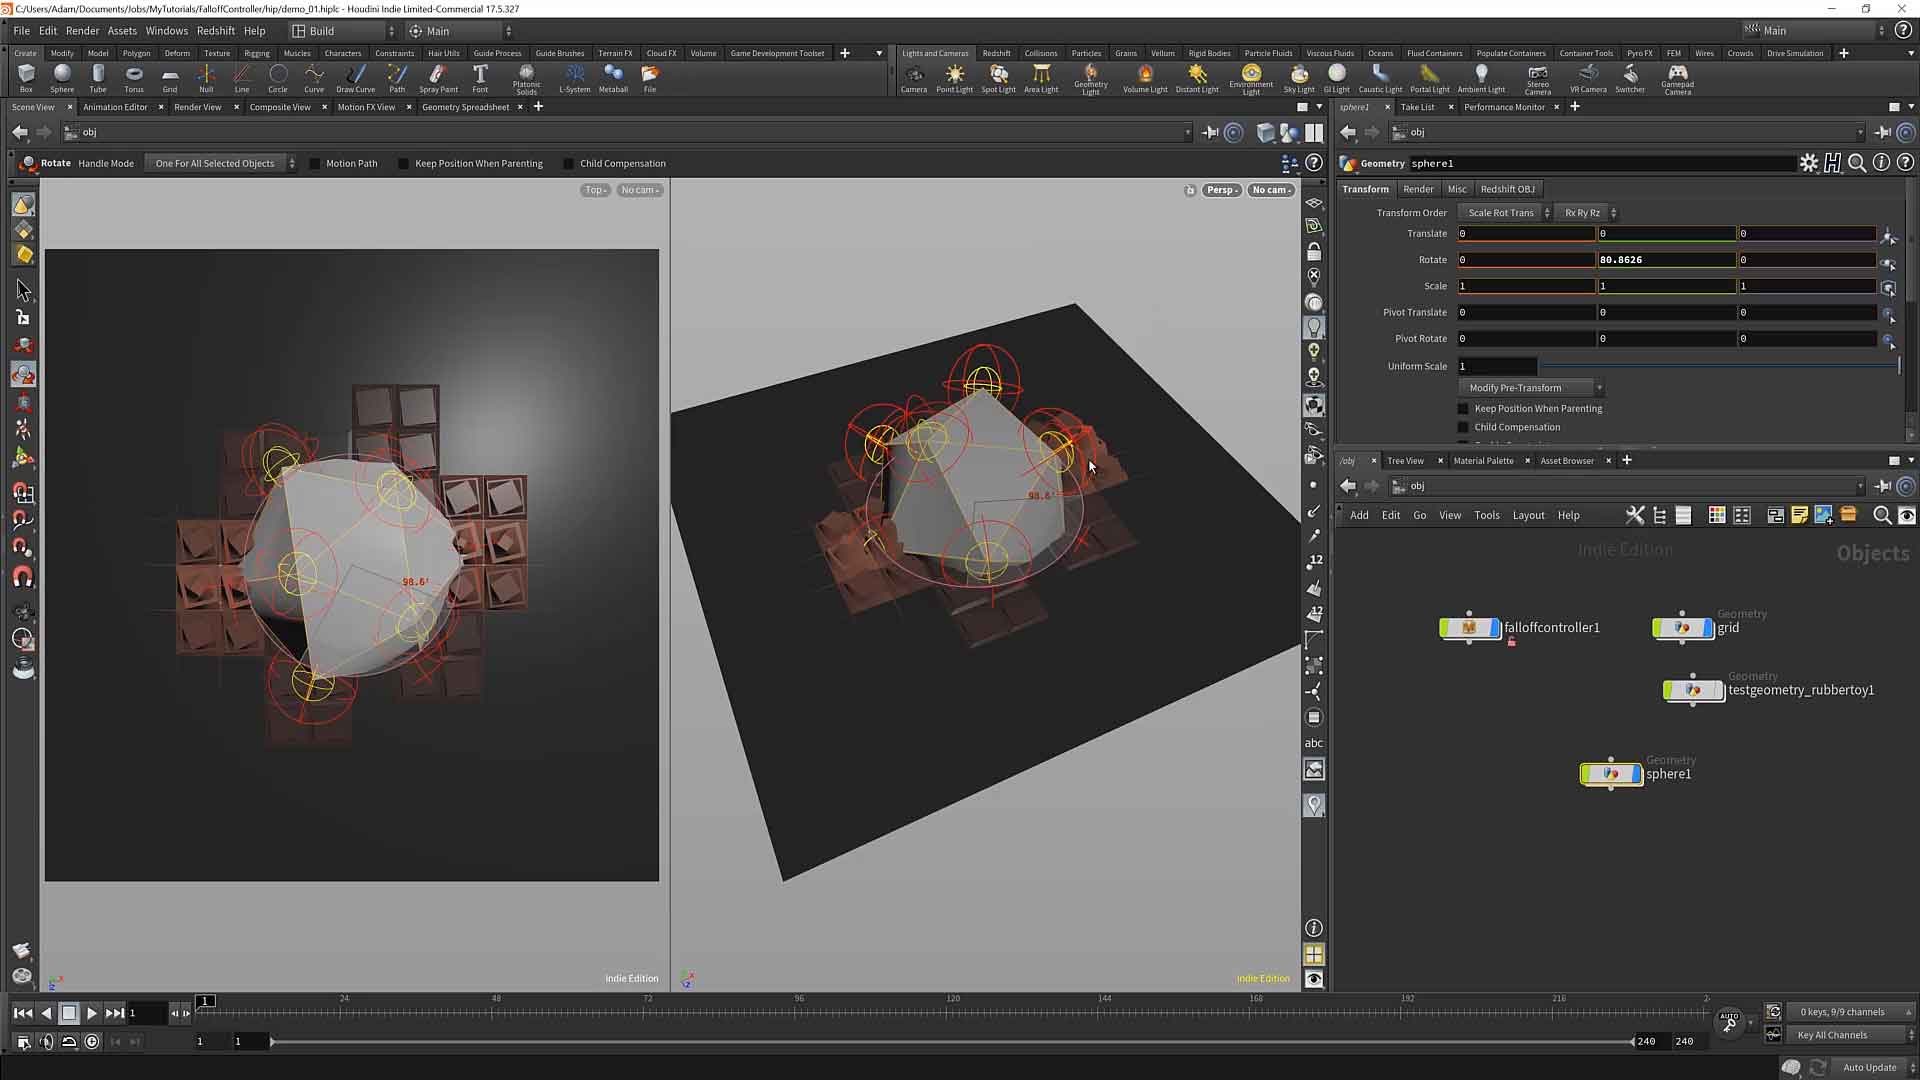
This chapter is a quick introduction to the tool we will be making.
02 : Prerequisites
duration : 06:24
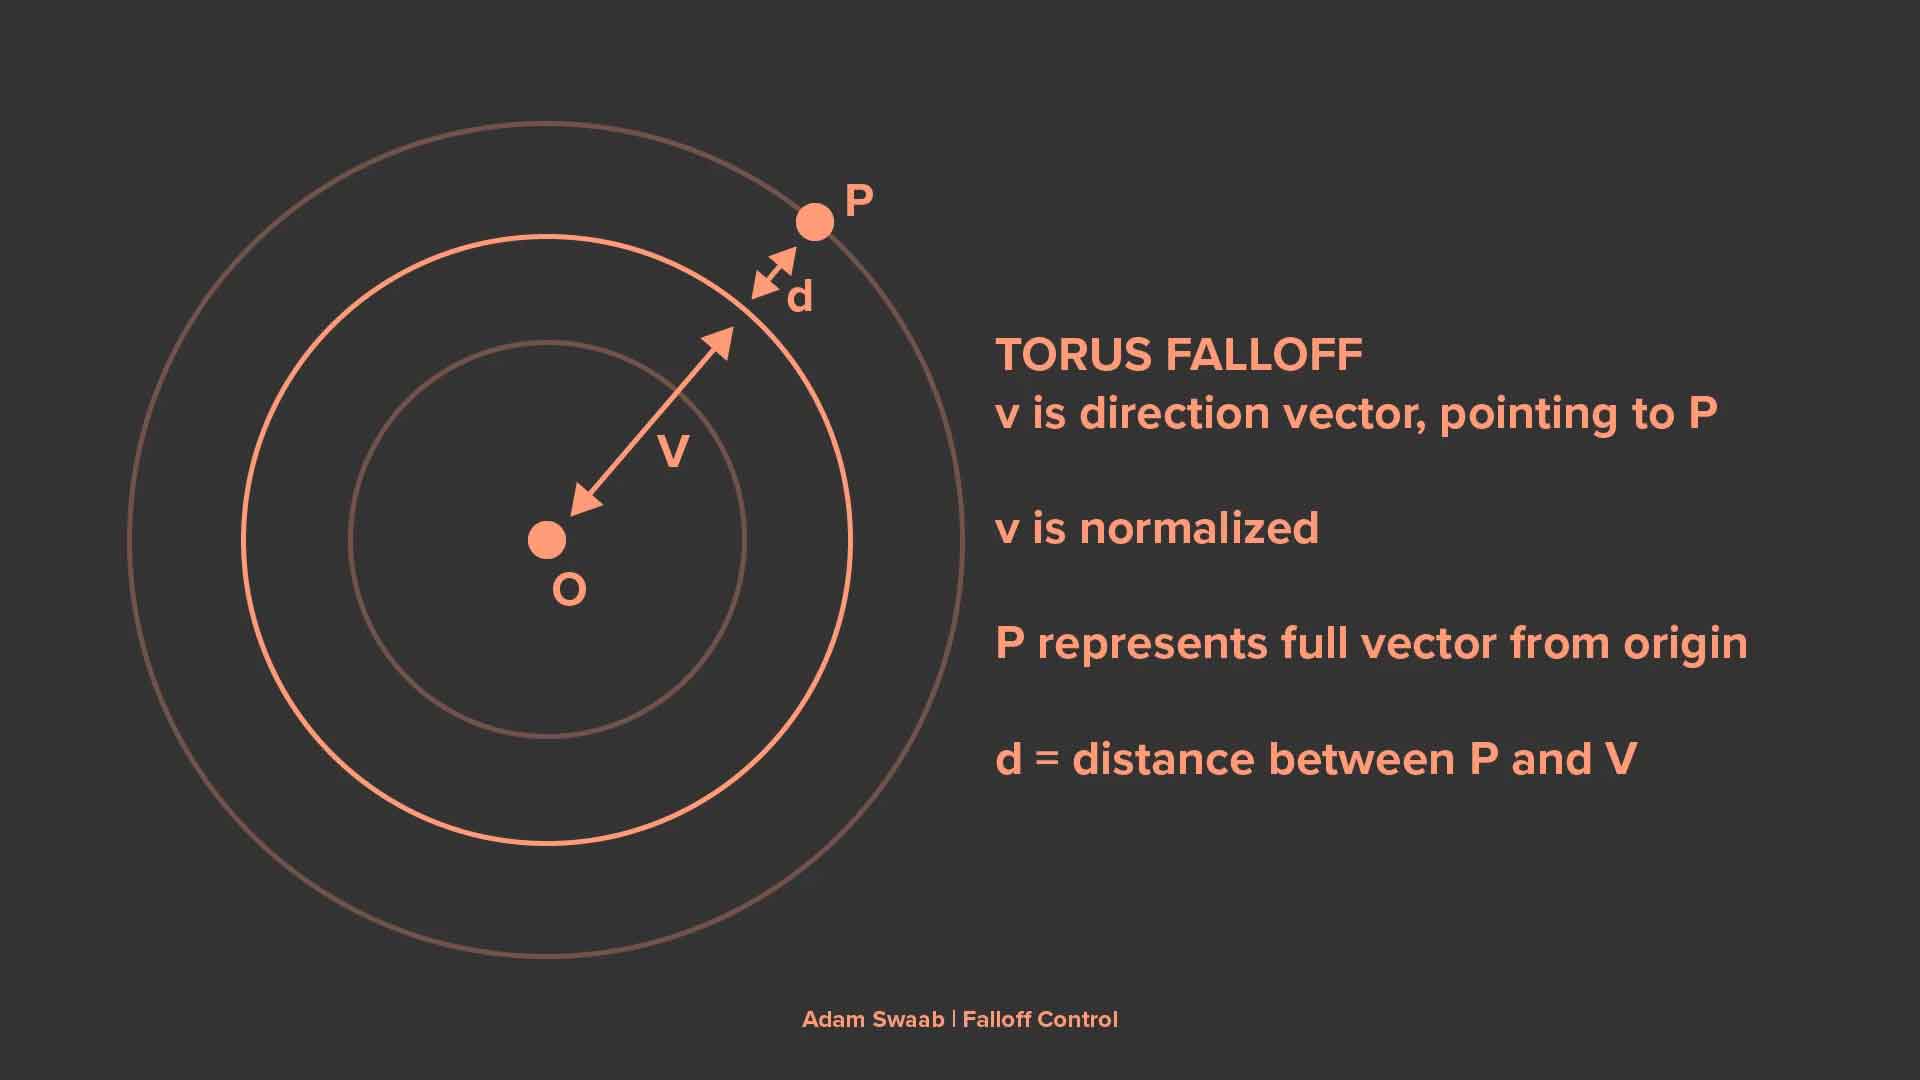
A quick lesson on the matrix functions needed in this lesson, as well as the theory behind our falloff functions.
03 : Controller HDA
duration : 08:53
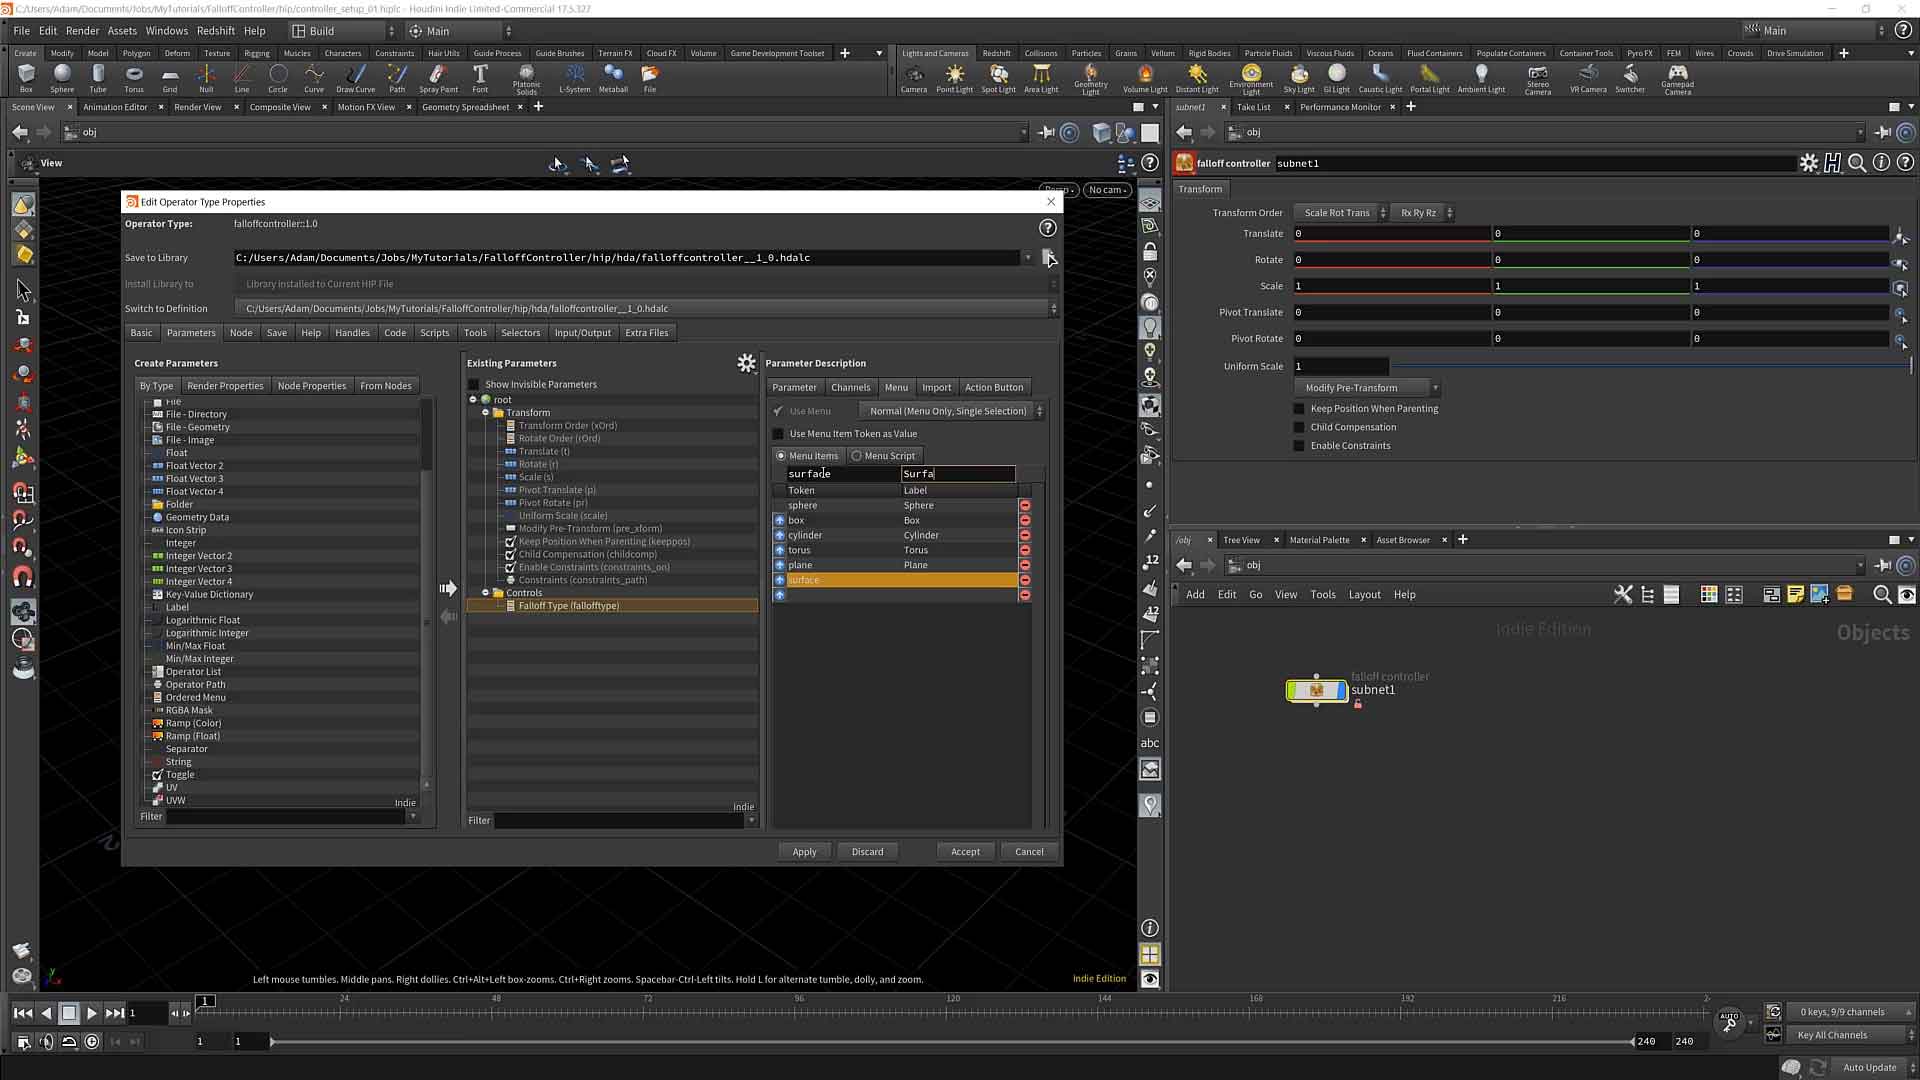
We set up the base asset and controls for our controller object. The controller object is used to determine falloff type, falloff settings, and coordinates of the falloff effect.
04 : Falloff SOP HDA
duration : 07:14
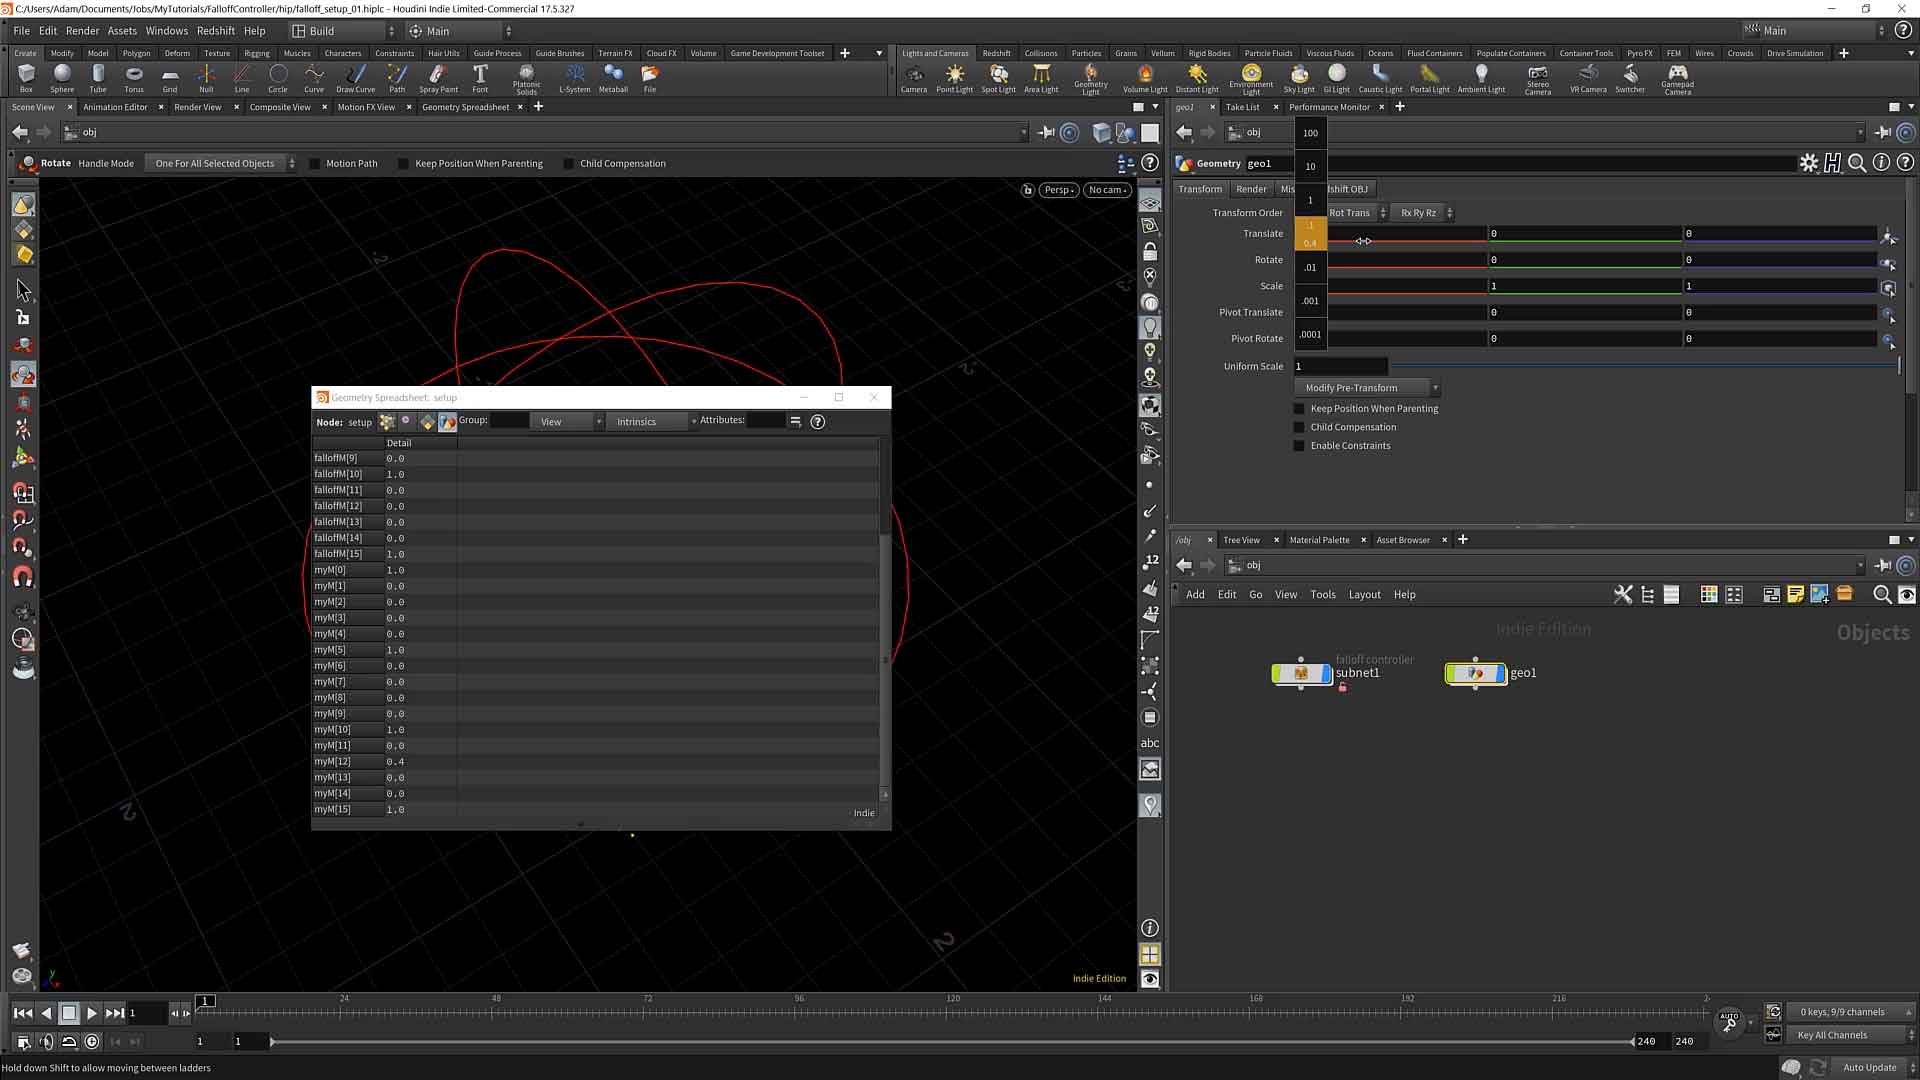
In this chapter, we set up our SOP level HDA. The falloff SOP will read in data from the falloff object and parse it into attribute data that can be applied to geometry.
Building the falloff shapes
↓05 : Sphere
duration : 10:36
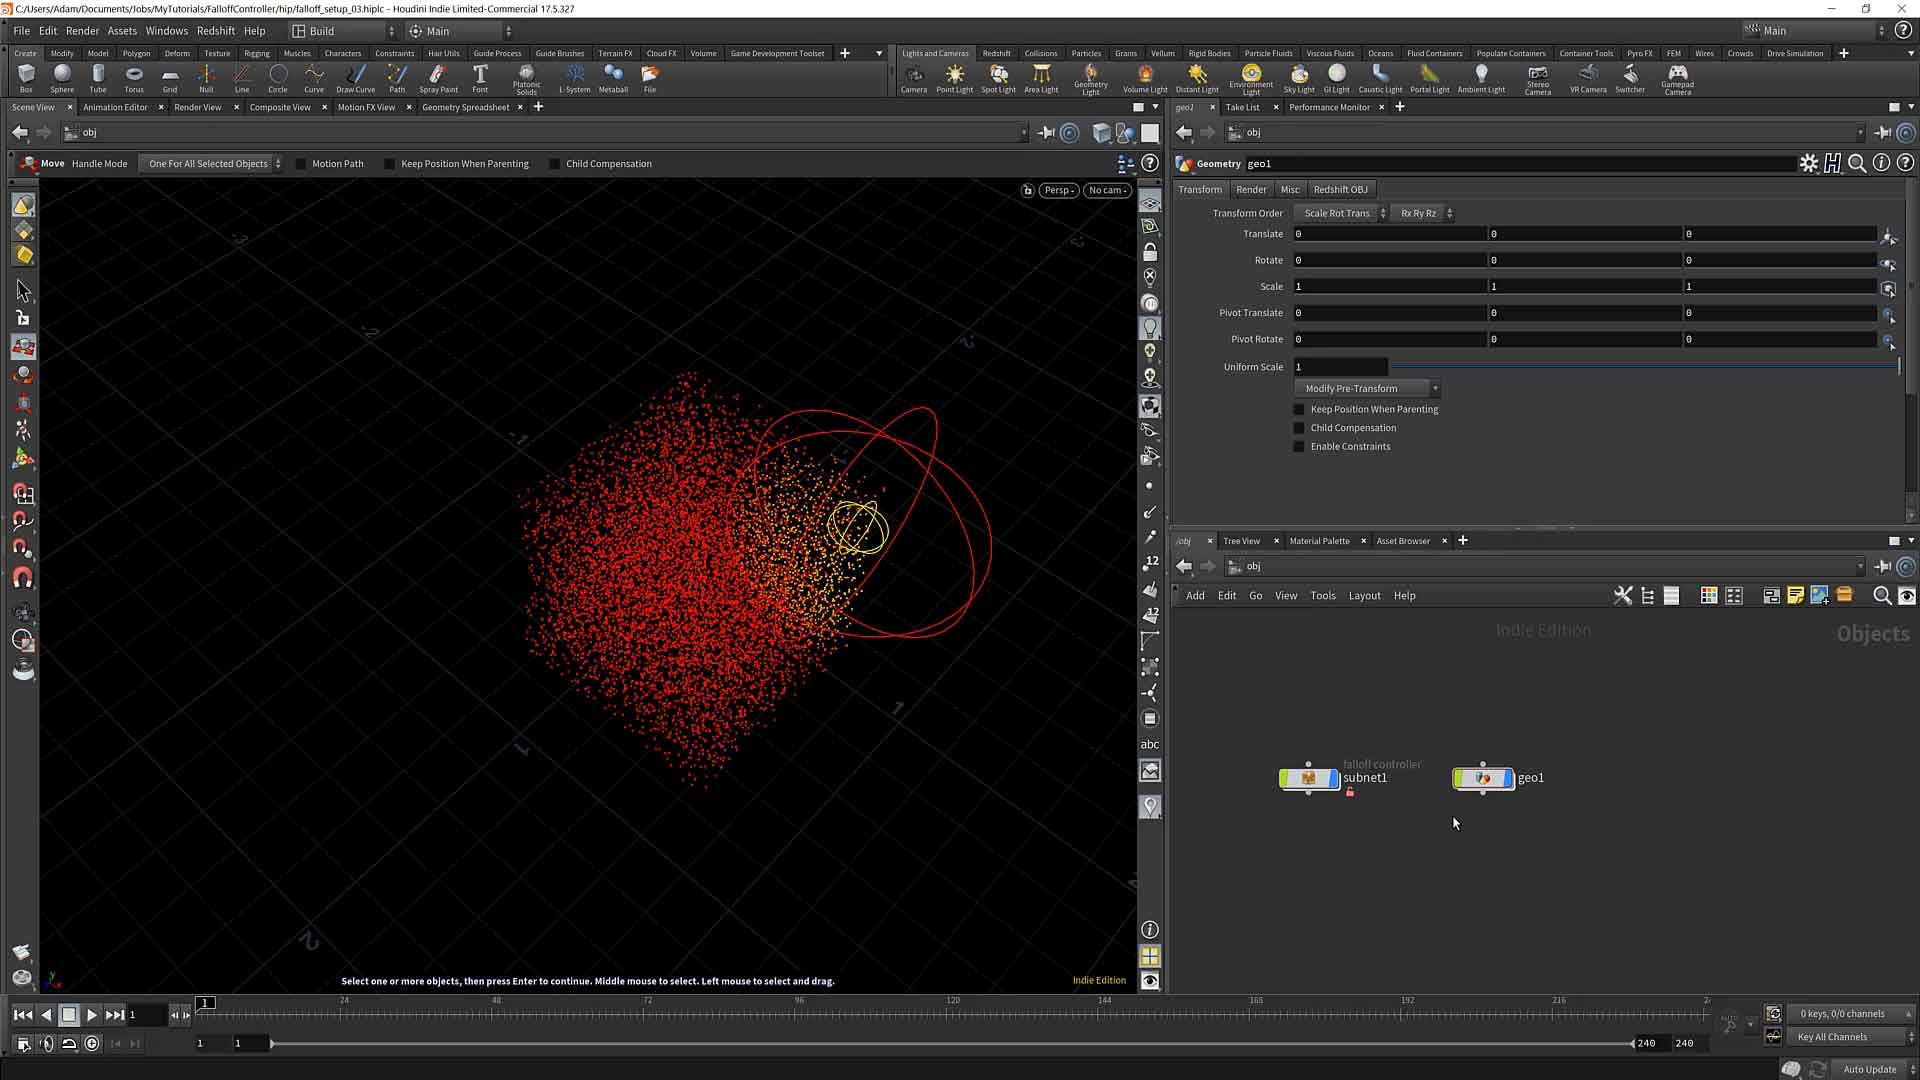
We set up the necessary space transformations and apply our sphere function.
06 : Cube
duration : 05:49
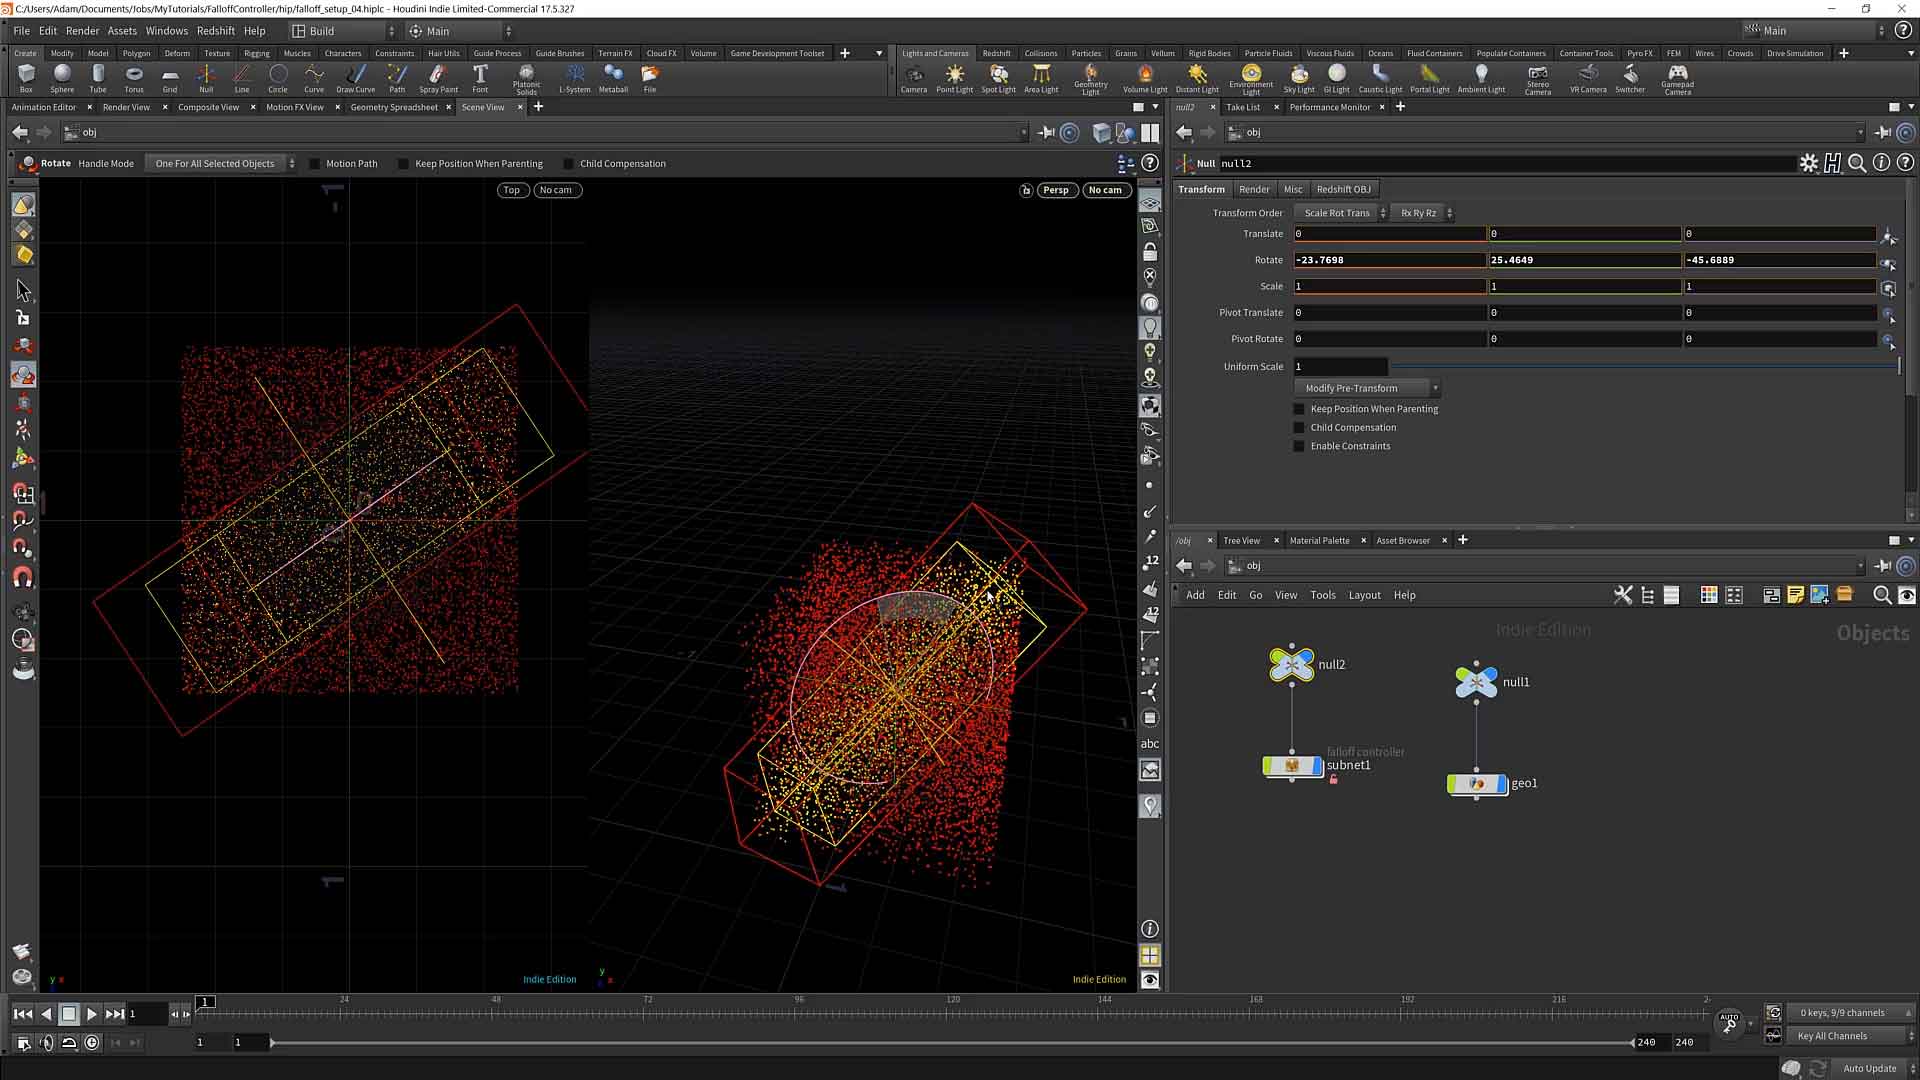
We move on to the cube function, adding it to our falloff SOP.
07 : Ramps & Noise
duration : 08:45
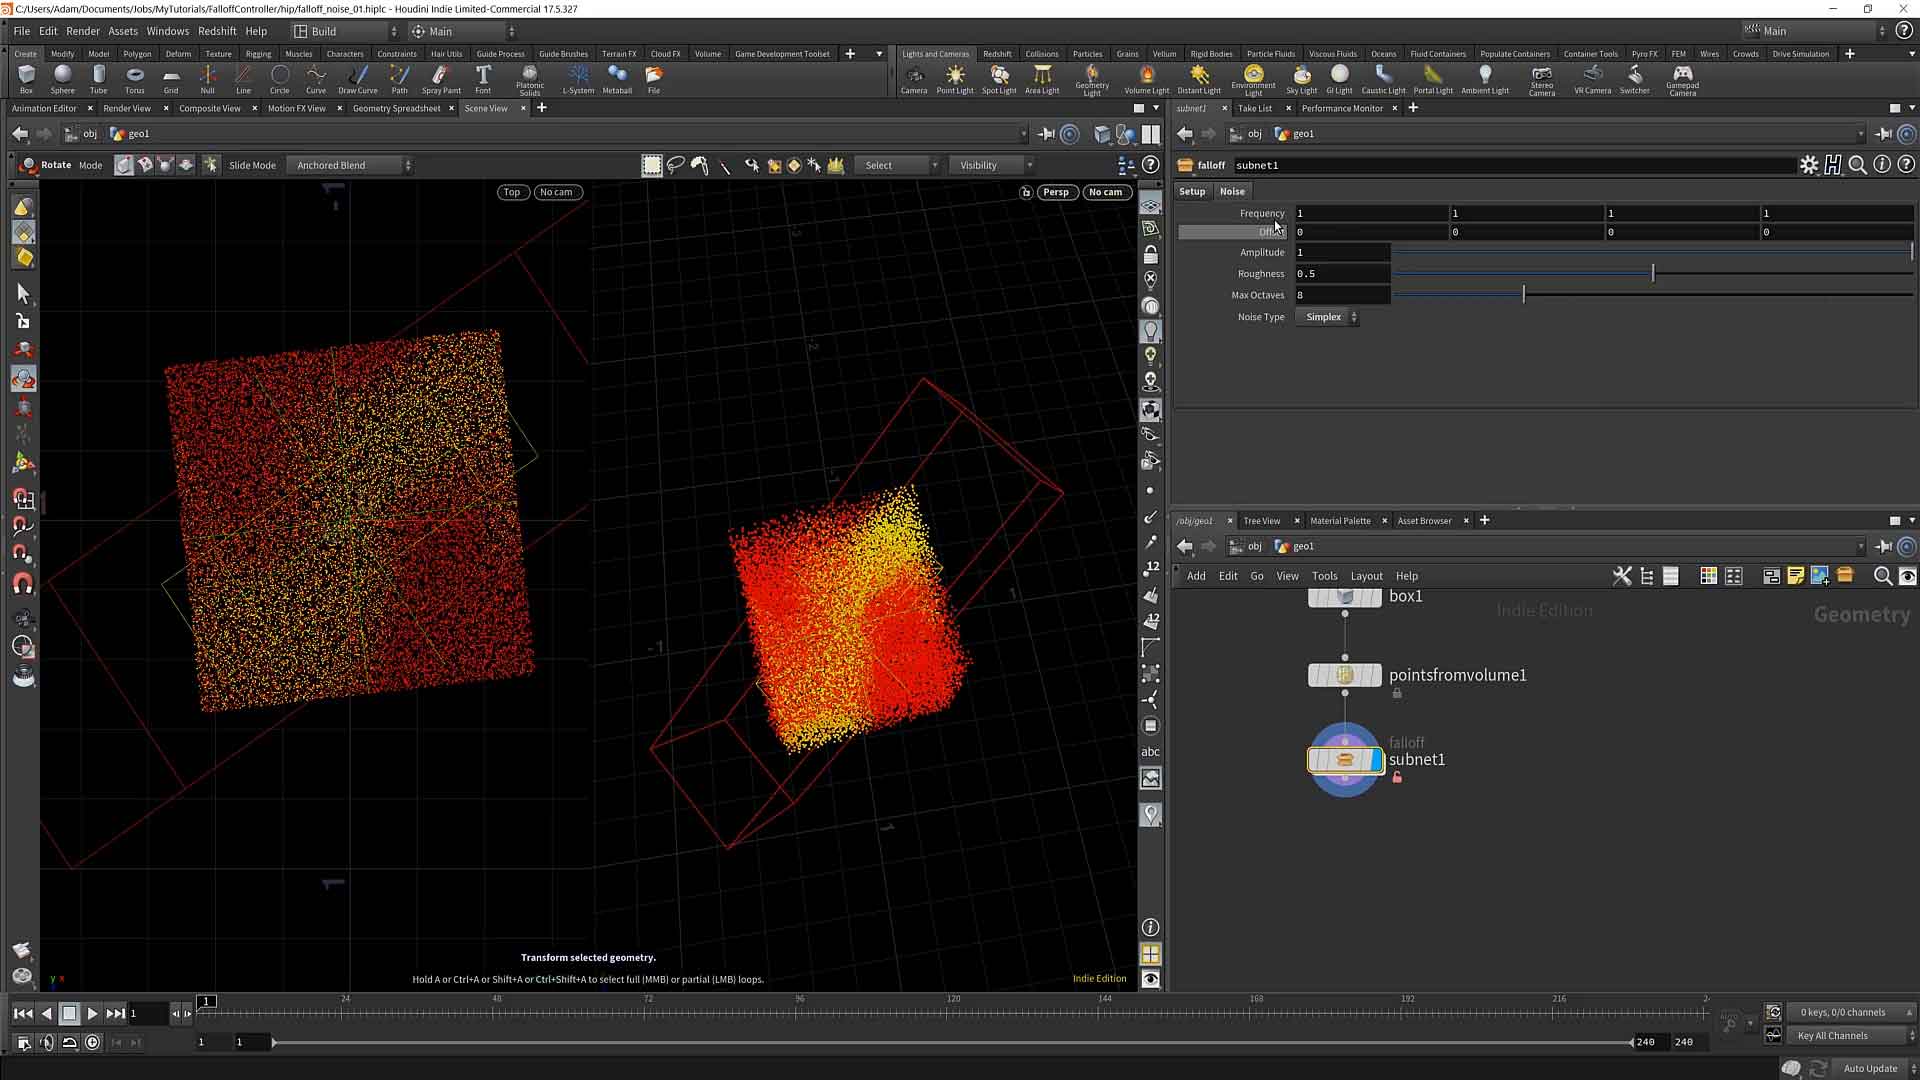
Taking a short break from our falloff types, we add a couple bells and whistles. Namely, we add a four dimensional noise to add variety to the falloff and also add a remapping ramp.
08 : Cylinder
duration : 06:22
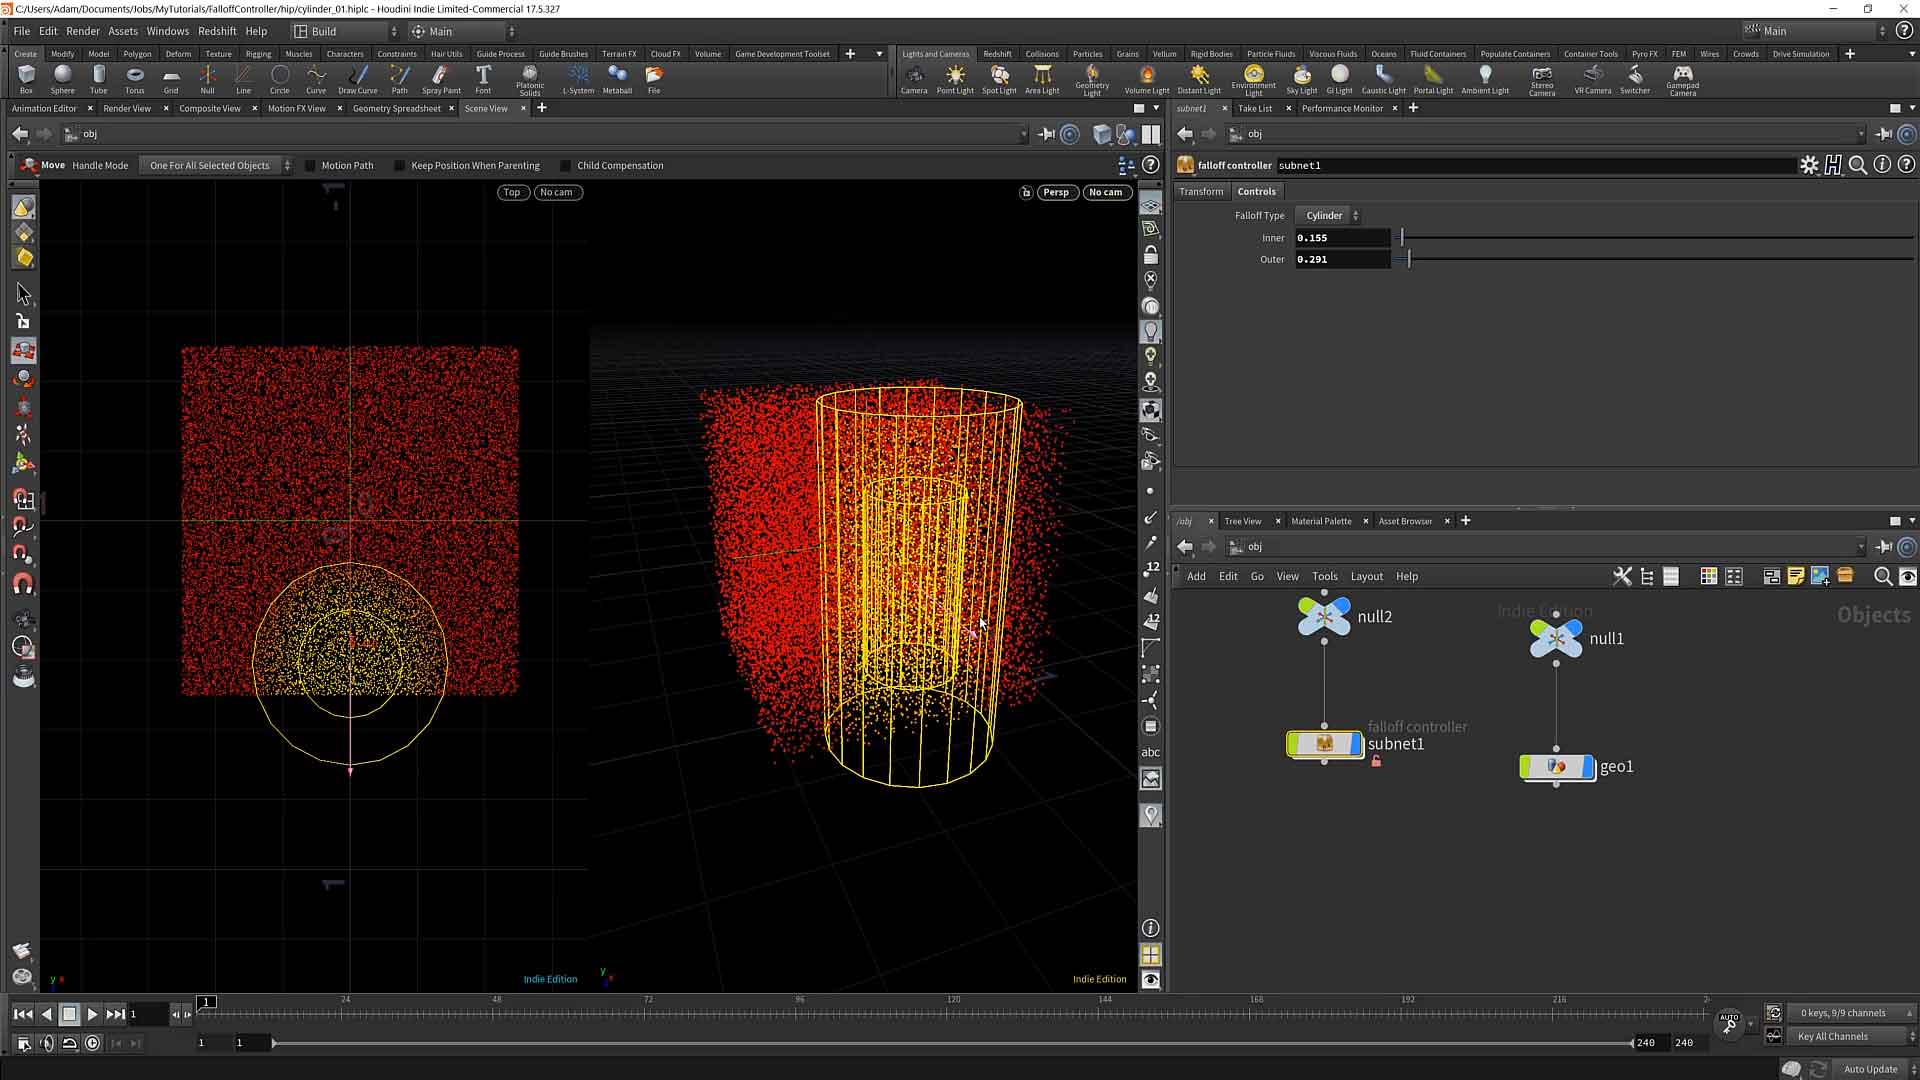
Back to our functions, we continue to add a cylinder falloff.
09 : Torus
duration : 07:10

Continuing from the cylinder falloff, we incorporate a torus falloff.
10 : Plane
duration : 06:37
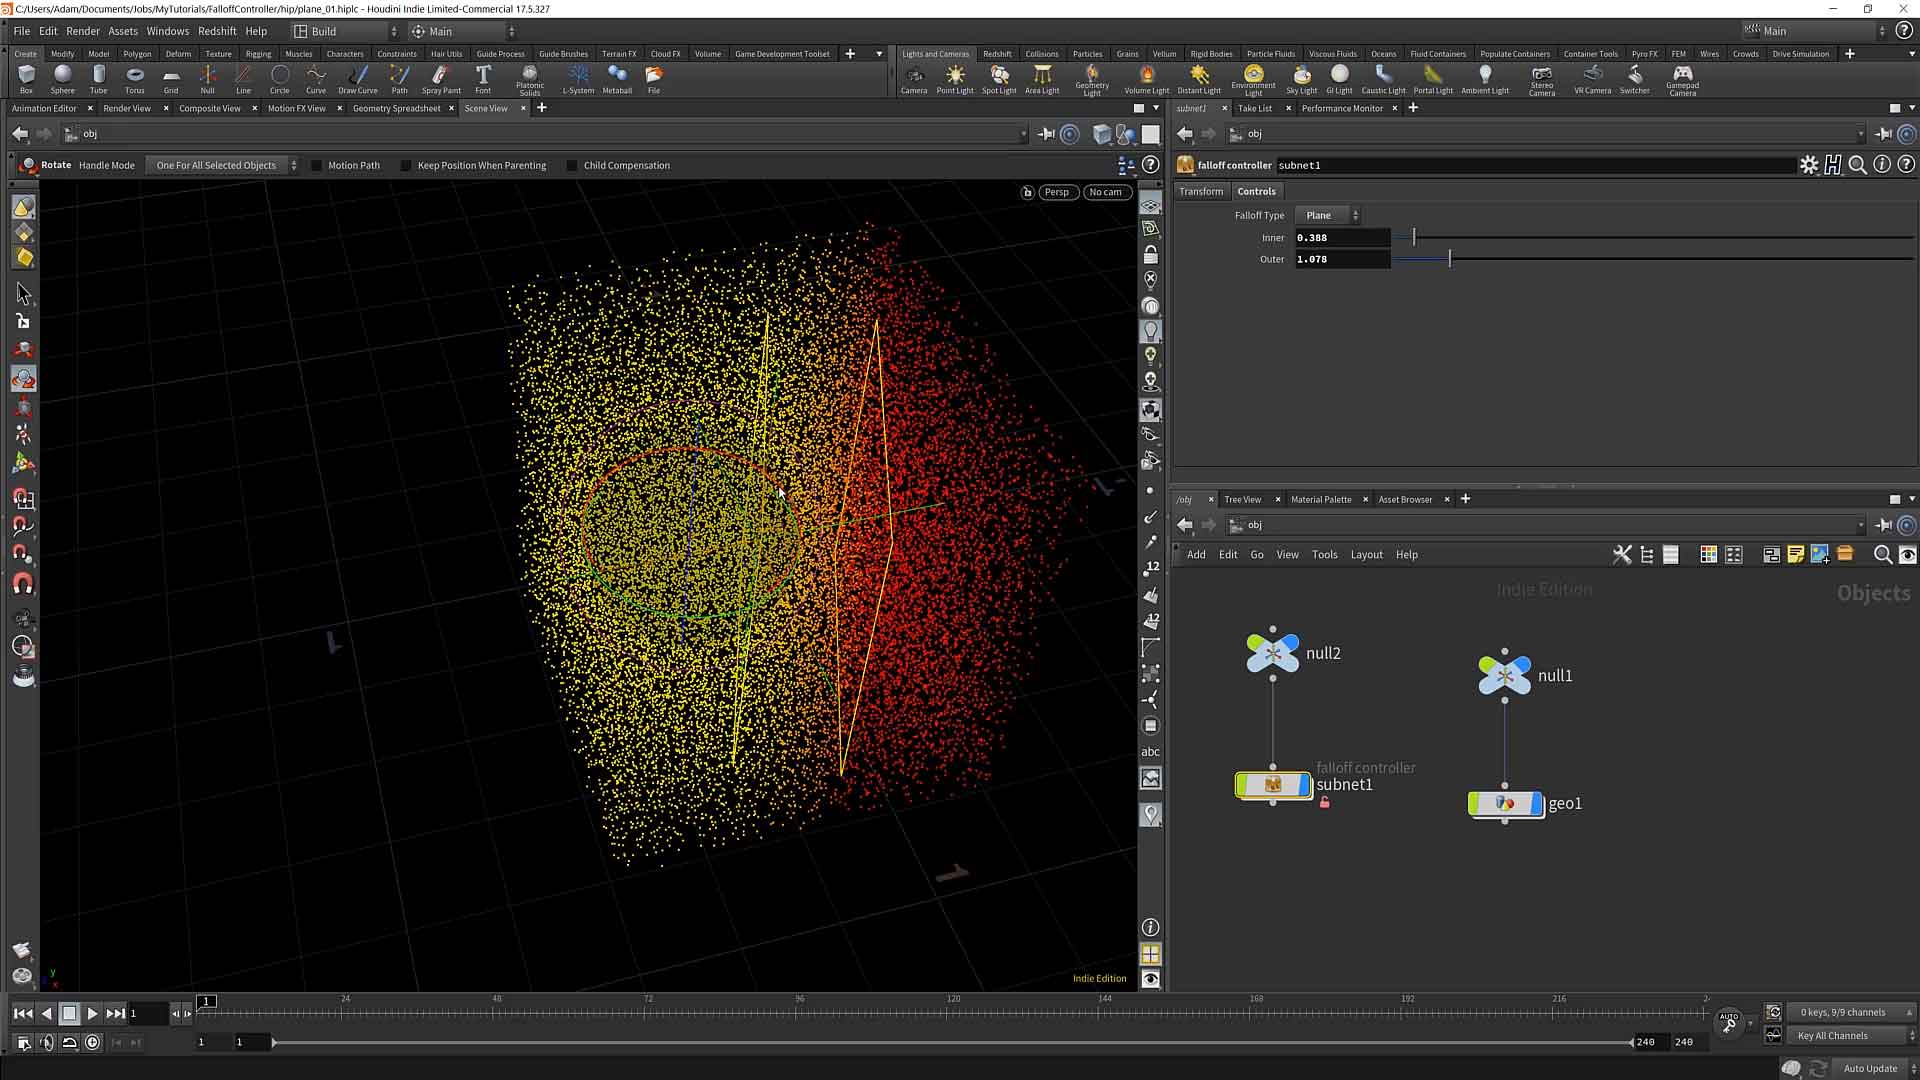
Similar to the cube falloff, we reuse some of that function to create a plane falloff.
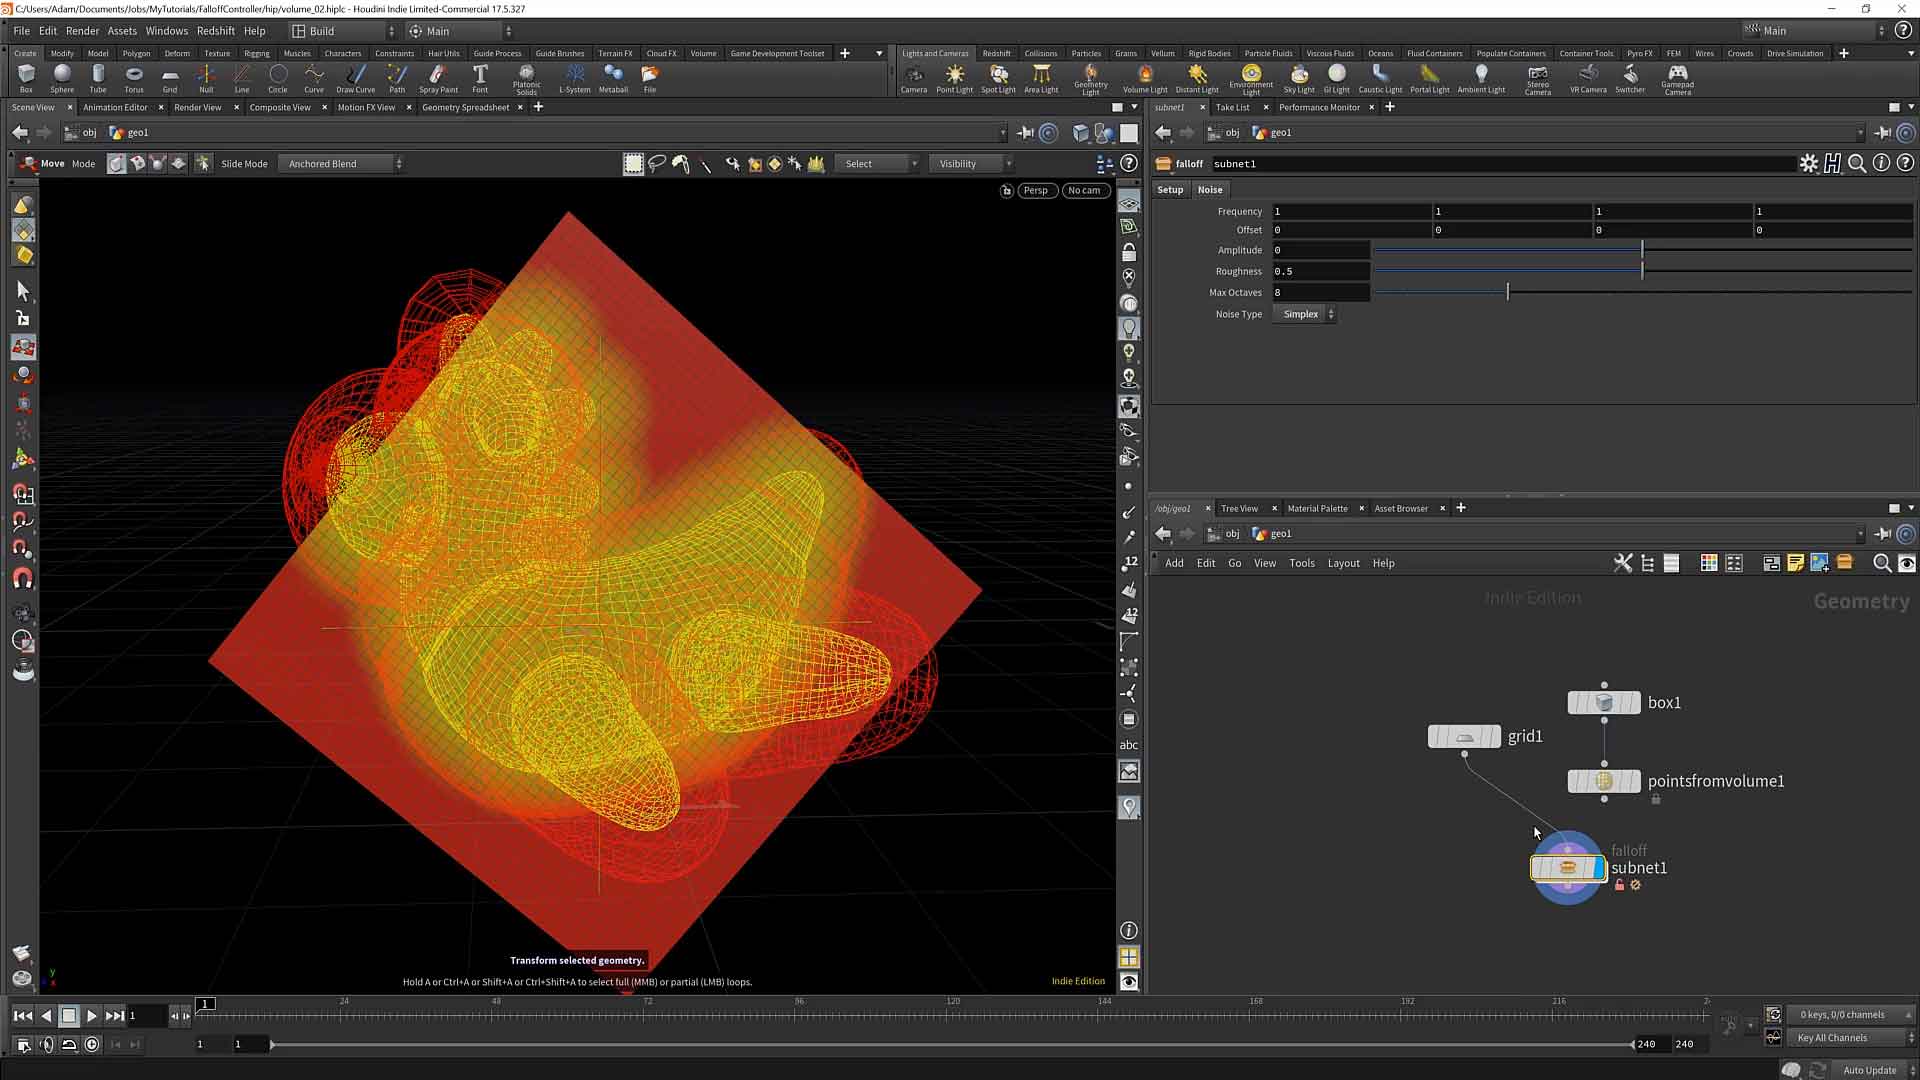
Add support for surface, volume and point based falloff
↓11 : Surface & Volume
duration : 17:34
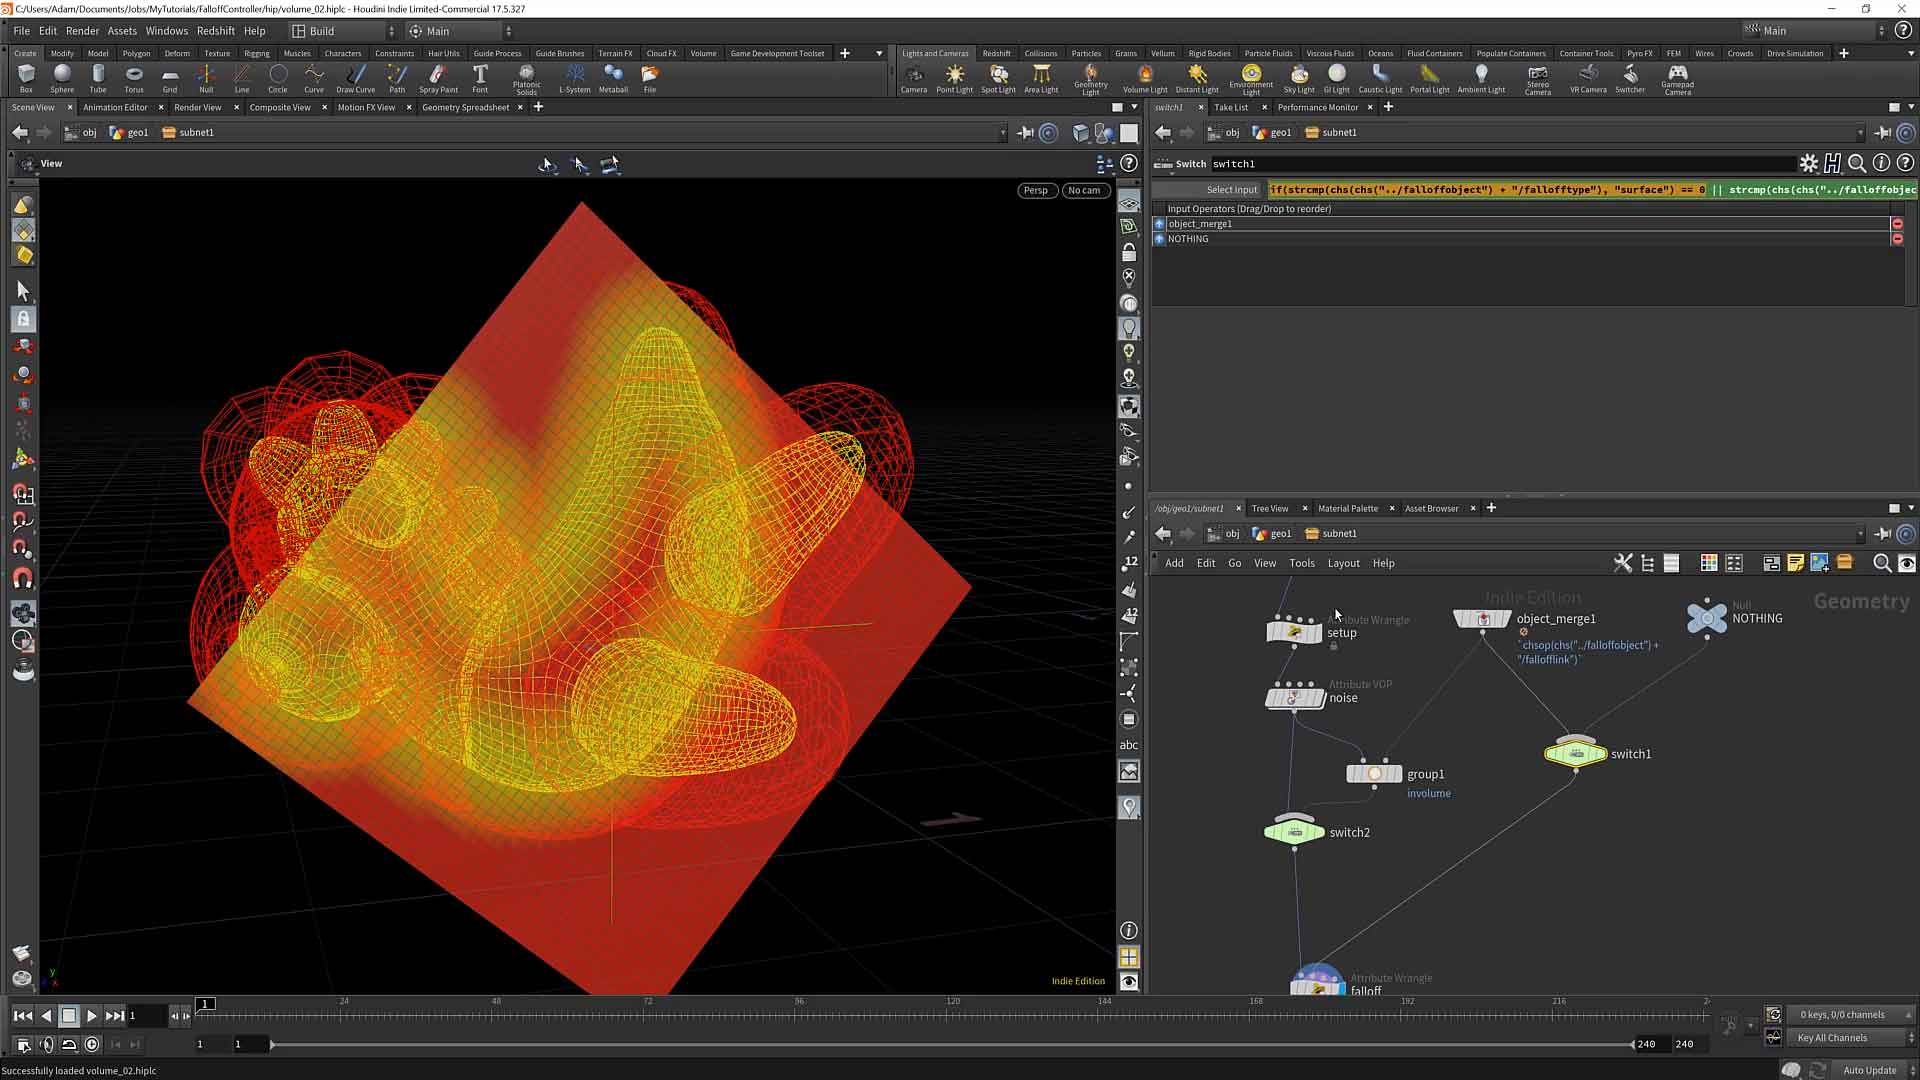
Rather than recreating functions from scratch, in this chapter we utilize Houdini’s surface sampling functions to make our surface and volume falloffs.
12 : Capsule & Points
duration : 19:19
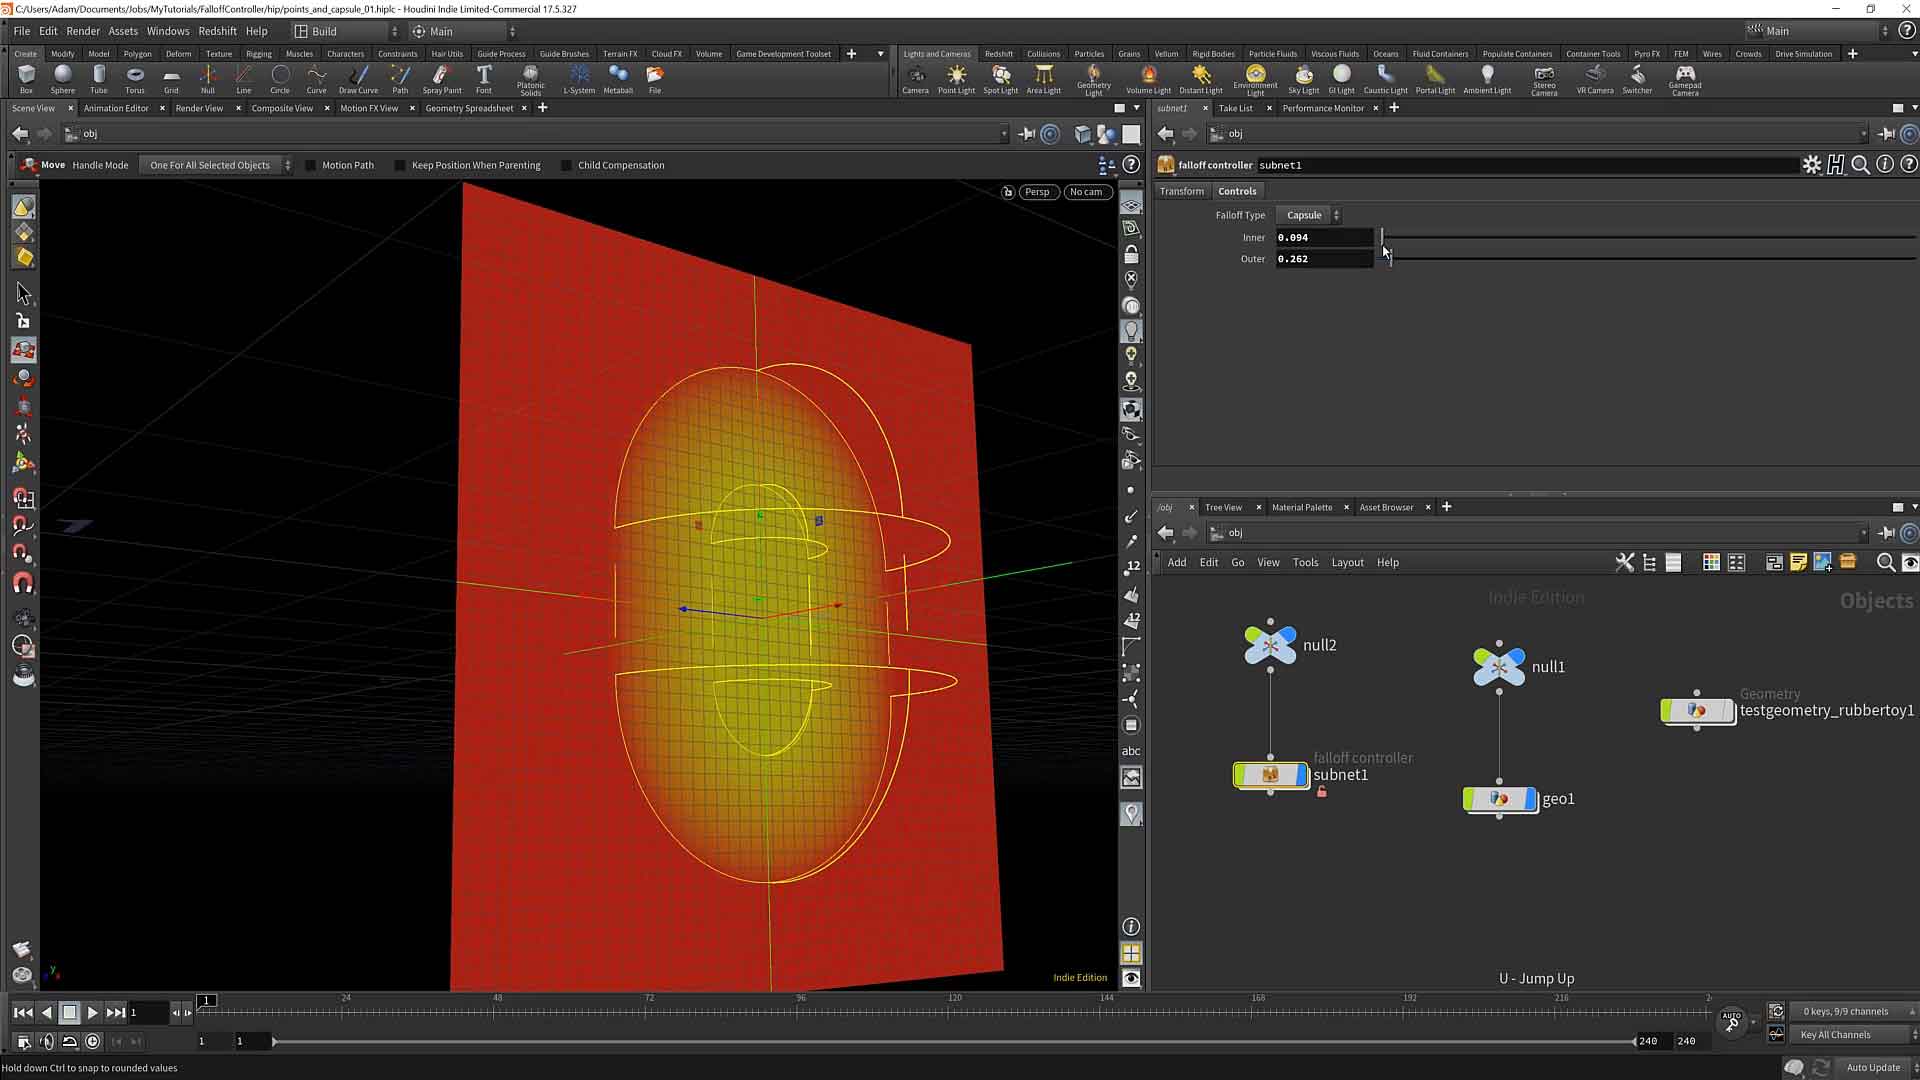
This chapter is an explanatory chapter, rather than a follow-along chapter, to keep the length of the tutorial manageable. In here, we add capsule and points falloff. We also go back through our asset, address outstanding issues, and discuss next steps to take it to the next level.
13 : Wrap up
duration : 04:02
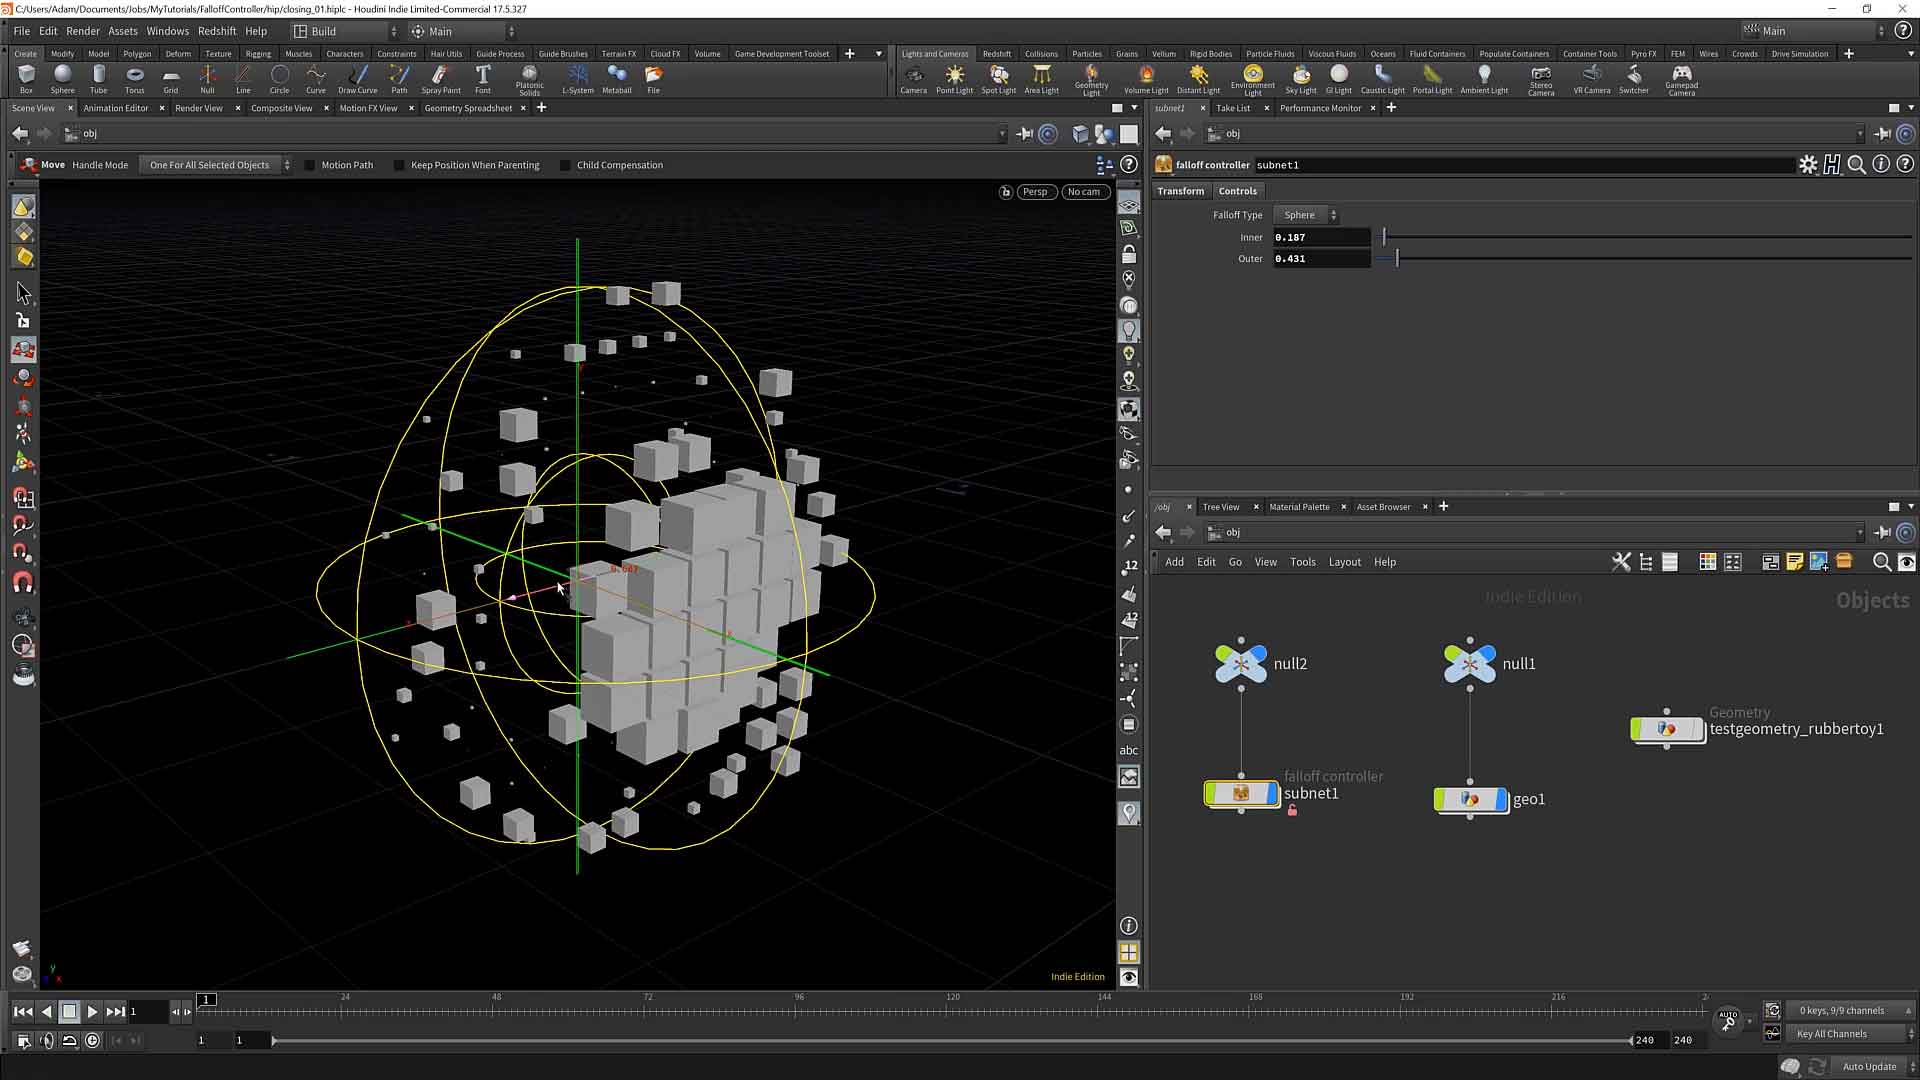
Now that you have made this tool, how do you use it? Here I show a quick demonstration of how the falloff information can be utilized to control a simple copy effect.


