`
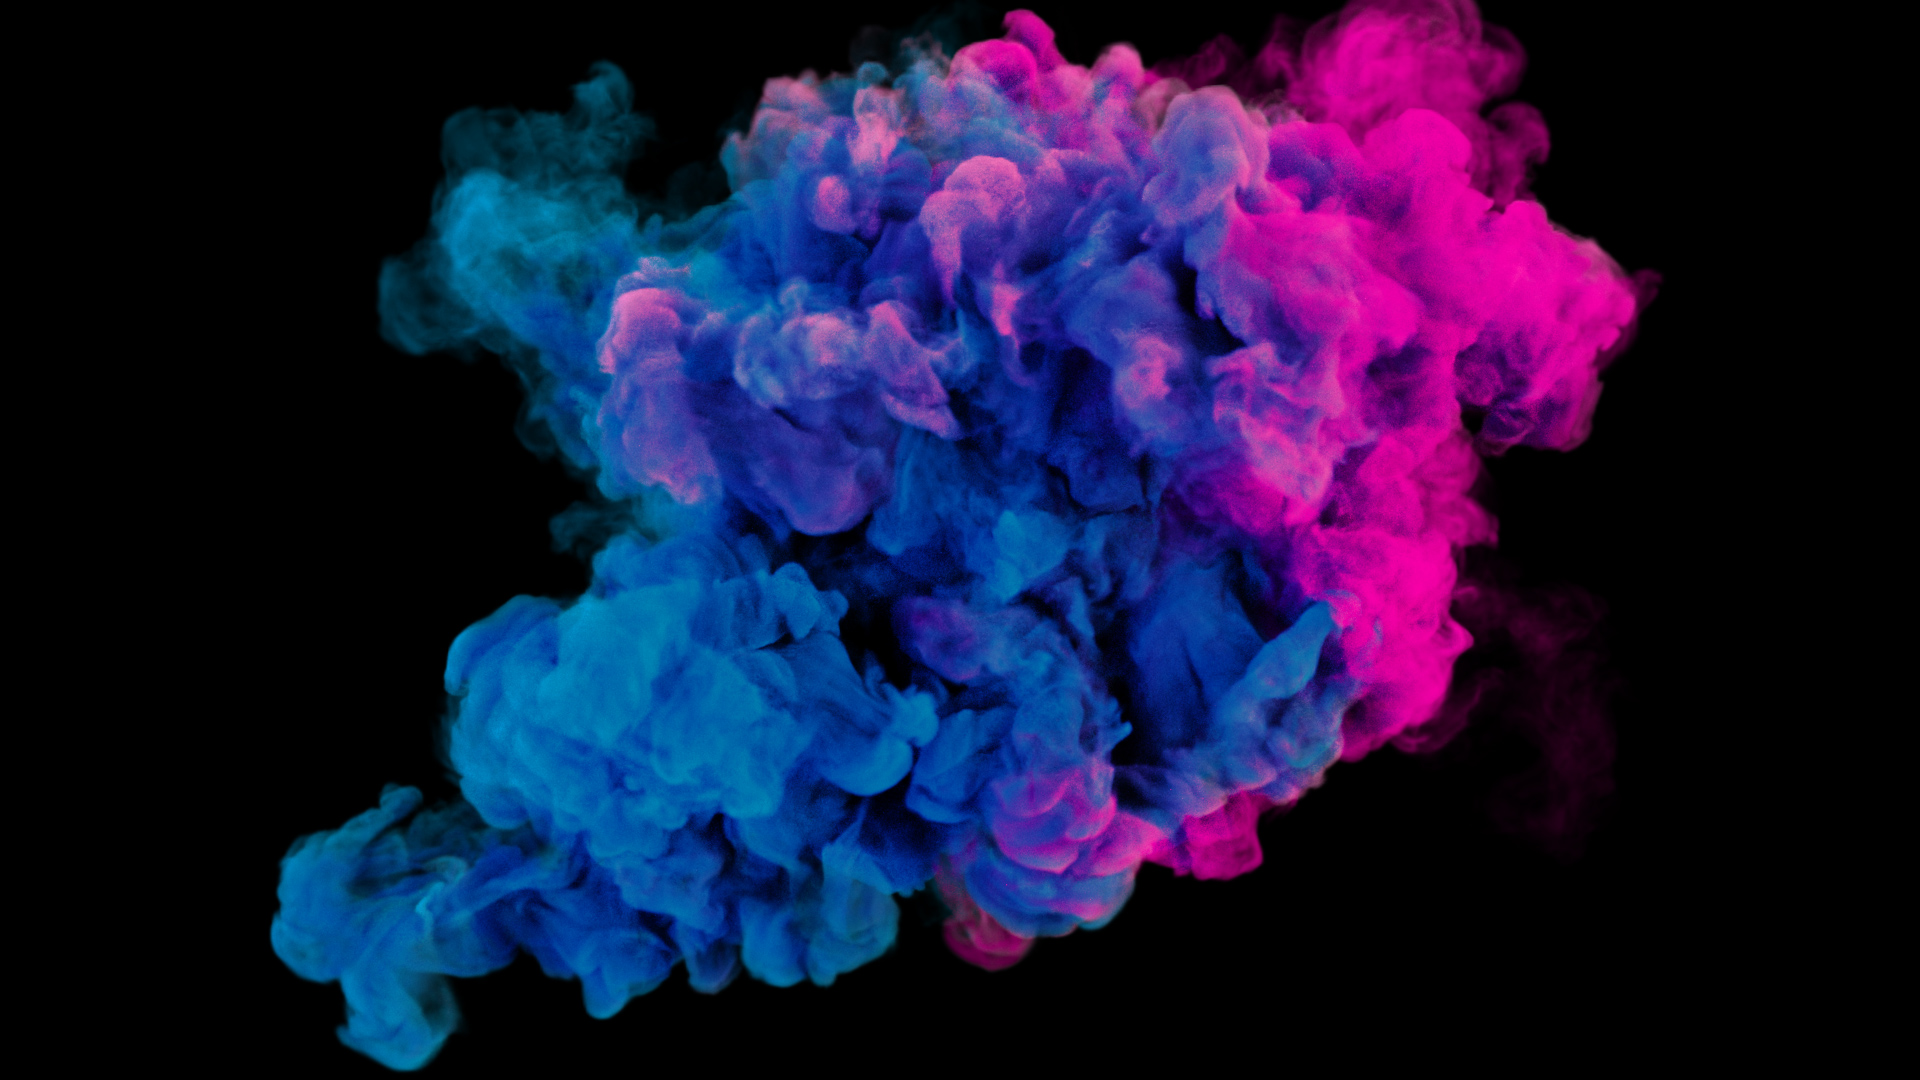
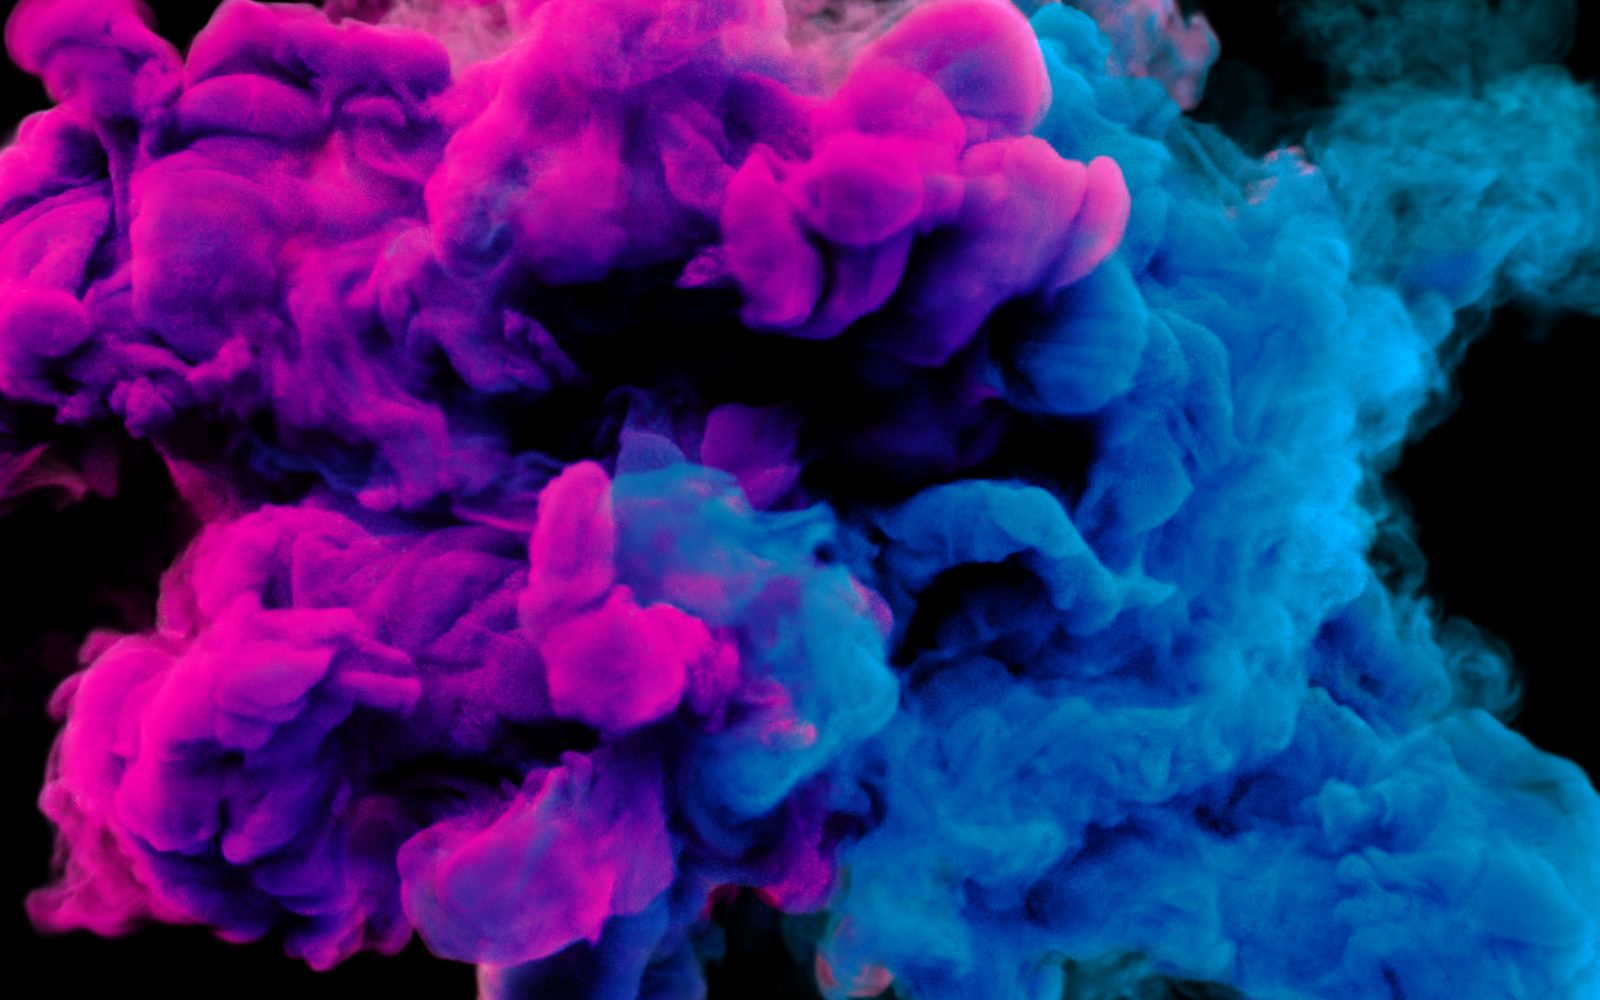
Create multi-coloured smoke using Houdini’s Pyro tools…
Create multi-coloured smoke using Houdini’s Pyro tools…
Render using Redshift Volume material.
In this tutorial we will take you through the process of creating simple coloured pyro using Houdini and Redshift. We will create the required attributes on some spheres, deform the spheres and then generate a pyro source across the surface. During this process, we will create new attributes on the points for colour, velocity, density and more. We then transfer these attributes into a volume for use with the Pyro Solver. The result is a smoke simulation which inherits the colour and velocity from the points we create, in this example we use only two colours, but the colour attribute could easily be created with noise and mapped to a ramp, for a multi-coloured result.
The Houdini Pyro Solver creates a native Houdini Volume and this essentially creates a seperate Volume or Field for each attribute. Volumes only store one attribute, this is why there are multiple fields created. However the Houdini Volume only stores scalar volumes, which means that vectors such as colour and velocity are split into their respective x,y,z components. The result is a separate field for Cd.x, Cd.y, Cd.z or any other vector attribute. Try to use this attribute in the Redshift Volume Material and it won’t work. Redshift requires a vector for the colour attribute and Pyro only offers three scalar values.
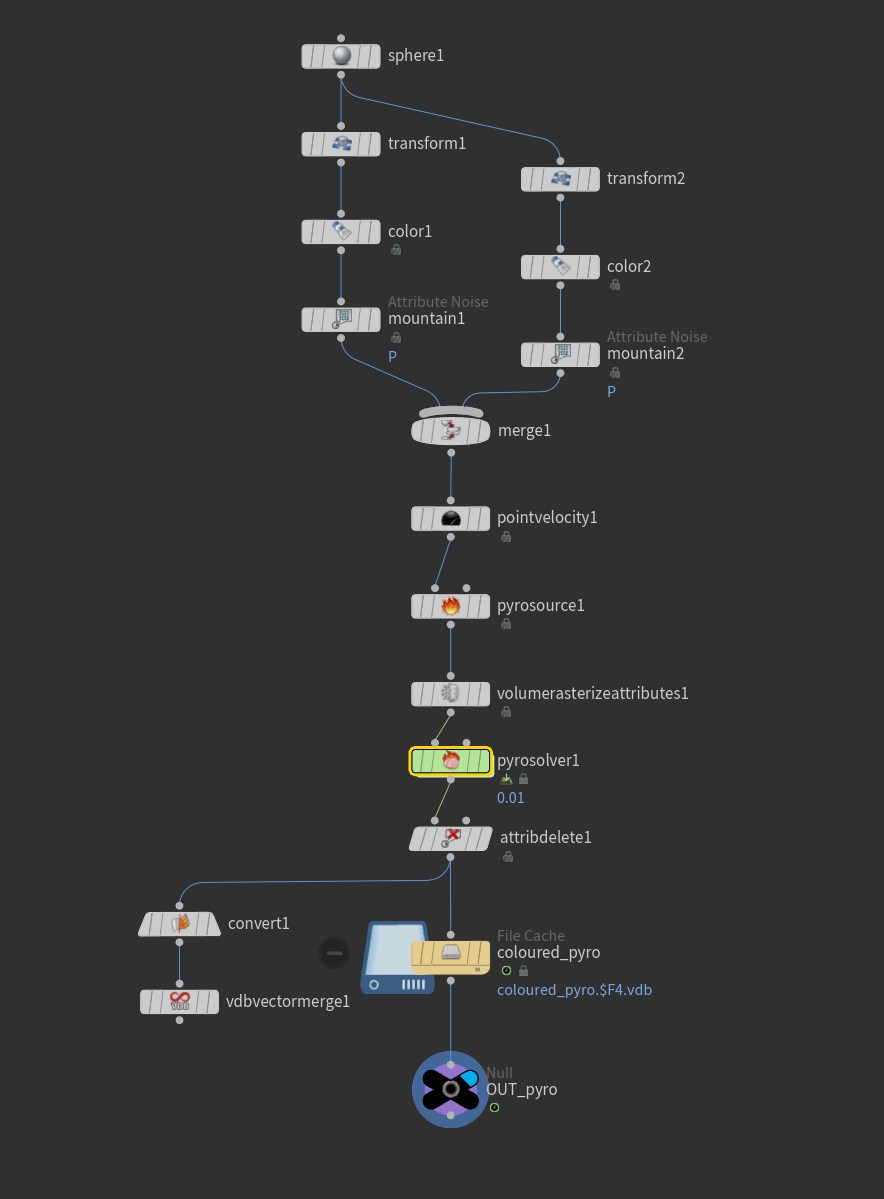

The solution is simple, use a VDB which is capable of storing vectors in its magical voxels. However, when you convert the Pyro Volume into a VDB, you still have separate fields for the vectors! WTF? Well you now need to merge those scalars into a vector. Lucky for us SideFX included the VDB Vector from Scalar node which does exactly that. This node will merge your scalar VDBs into vector VDBs, once you’ve done this you can simply use the Cd attribute with your Redshift Volume Materials.
Watch the tutorial below for all the details.