In this tutorial I take you through the process of building a flexible Cinema 4D Camera rig, that I use all the time. It is very simple to use and easily adaptable, you’re gonna love it. This is an updated tutorial from our previous site with more features in the rig and a more in-depth exploration of usage.
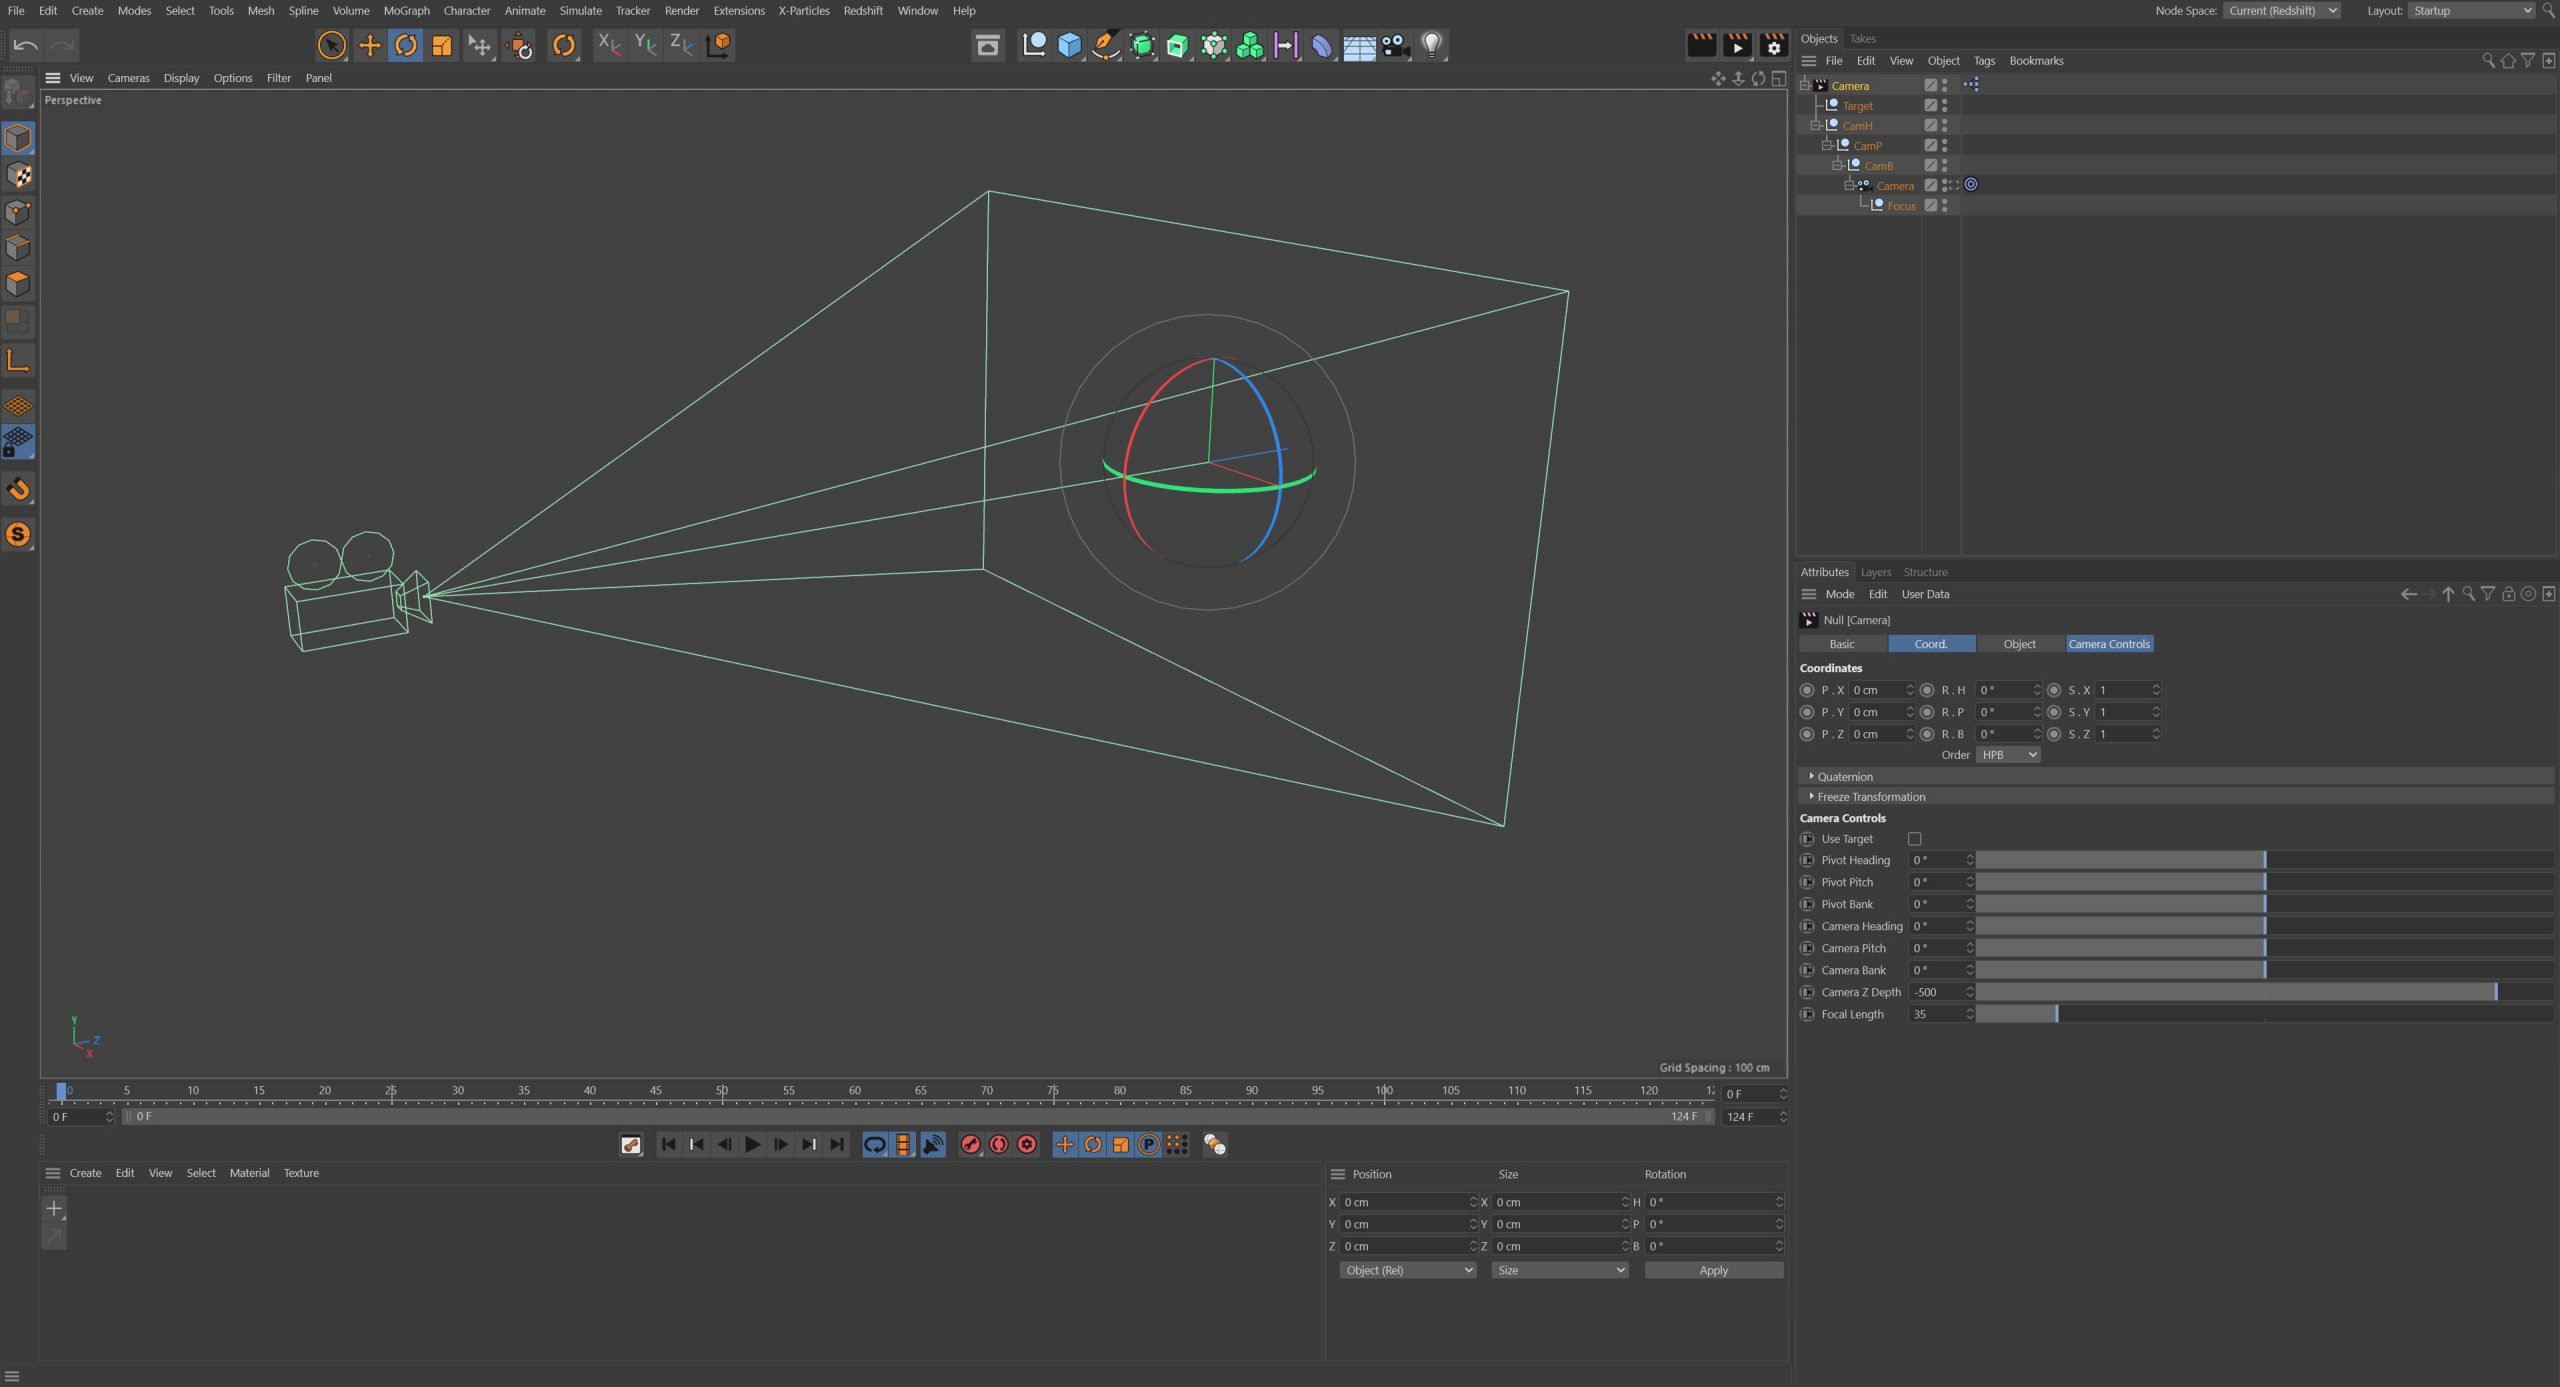
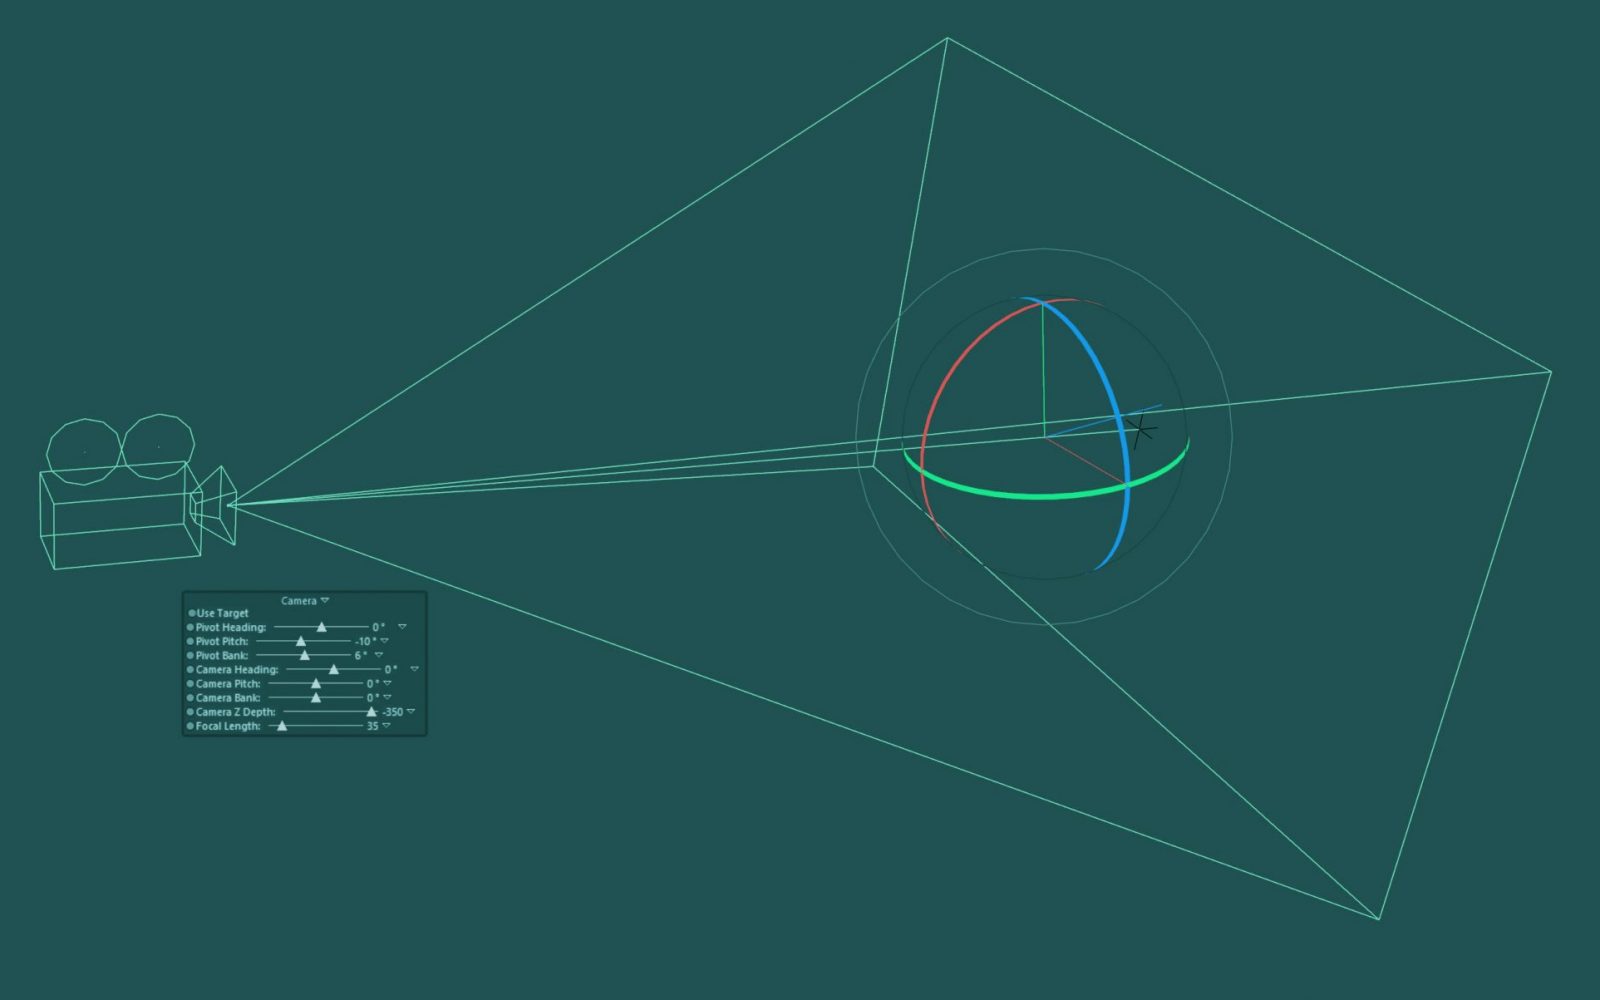
First of all we build the rig using four null objects which allow us to break the movement into logical groups for Heading, Pitch & Bank. Each null defines an axis of rotation and this allows you to animate each rotation individually either directly at the camera nodal point, or at a distance away from the rotation point, which creates a jib, boom or crane type of rig.
The main parent null is your virtual dolly, not only to contain the objects in the rig, but also the parent object you should move and animate.
By adding User Data to the root null of the setup and linking this through Xpresso, we keep all the controls in a custom tab on the Attribute Manager. If you prefer, you can drag all the controls into the viewport as HUD elements.
At it’s core, it is actually a very simple Xpresso setup, basically linking Custom User Data to object parameters such as position, rotation and camera focal length. Feel free to add any other parameters you need and adapt the rig as you go, that’s how I use it.
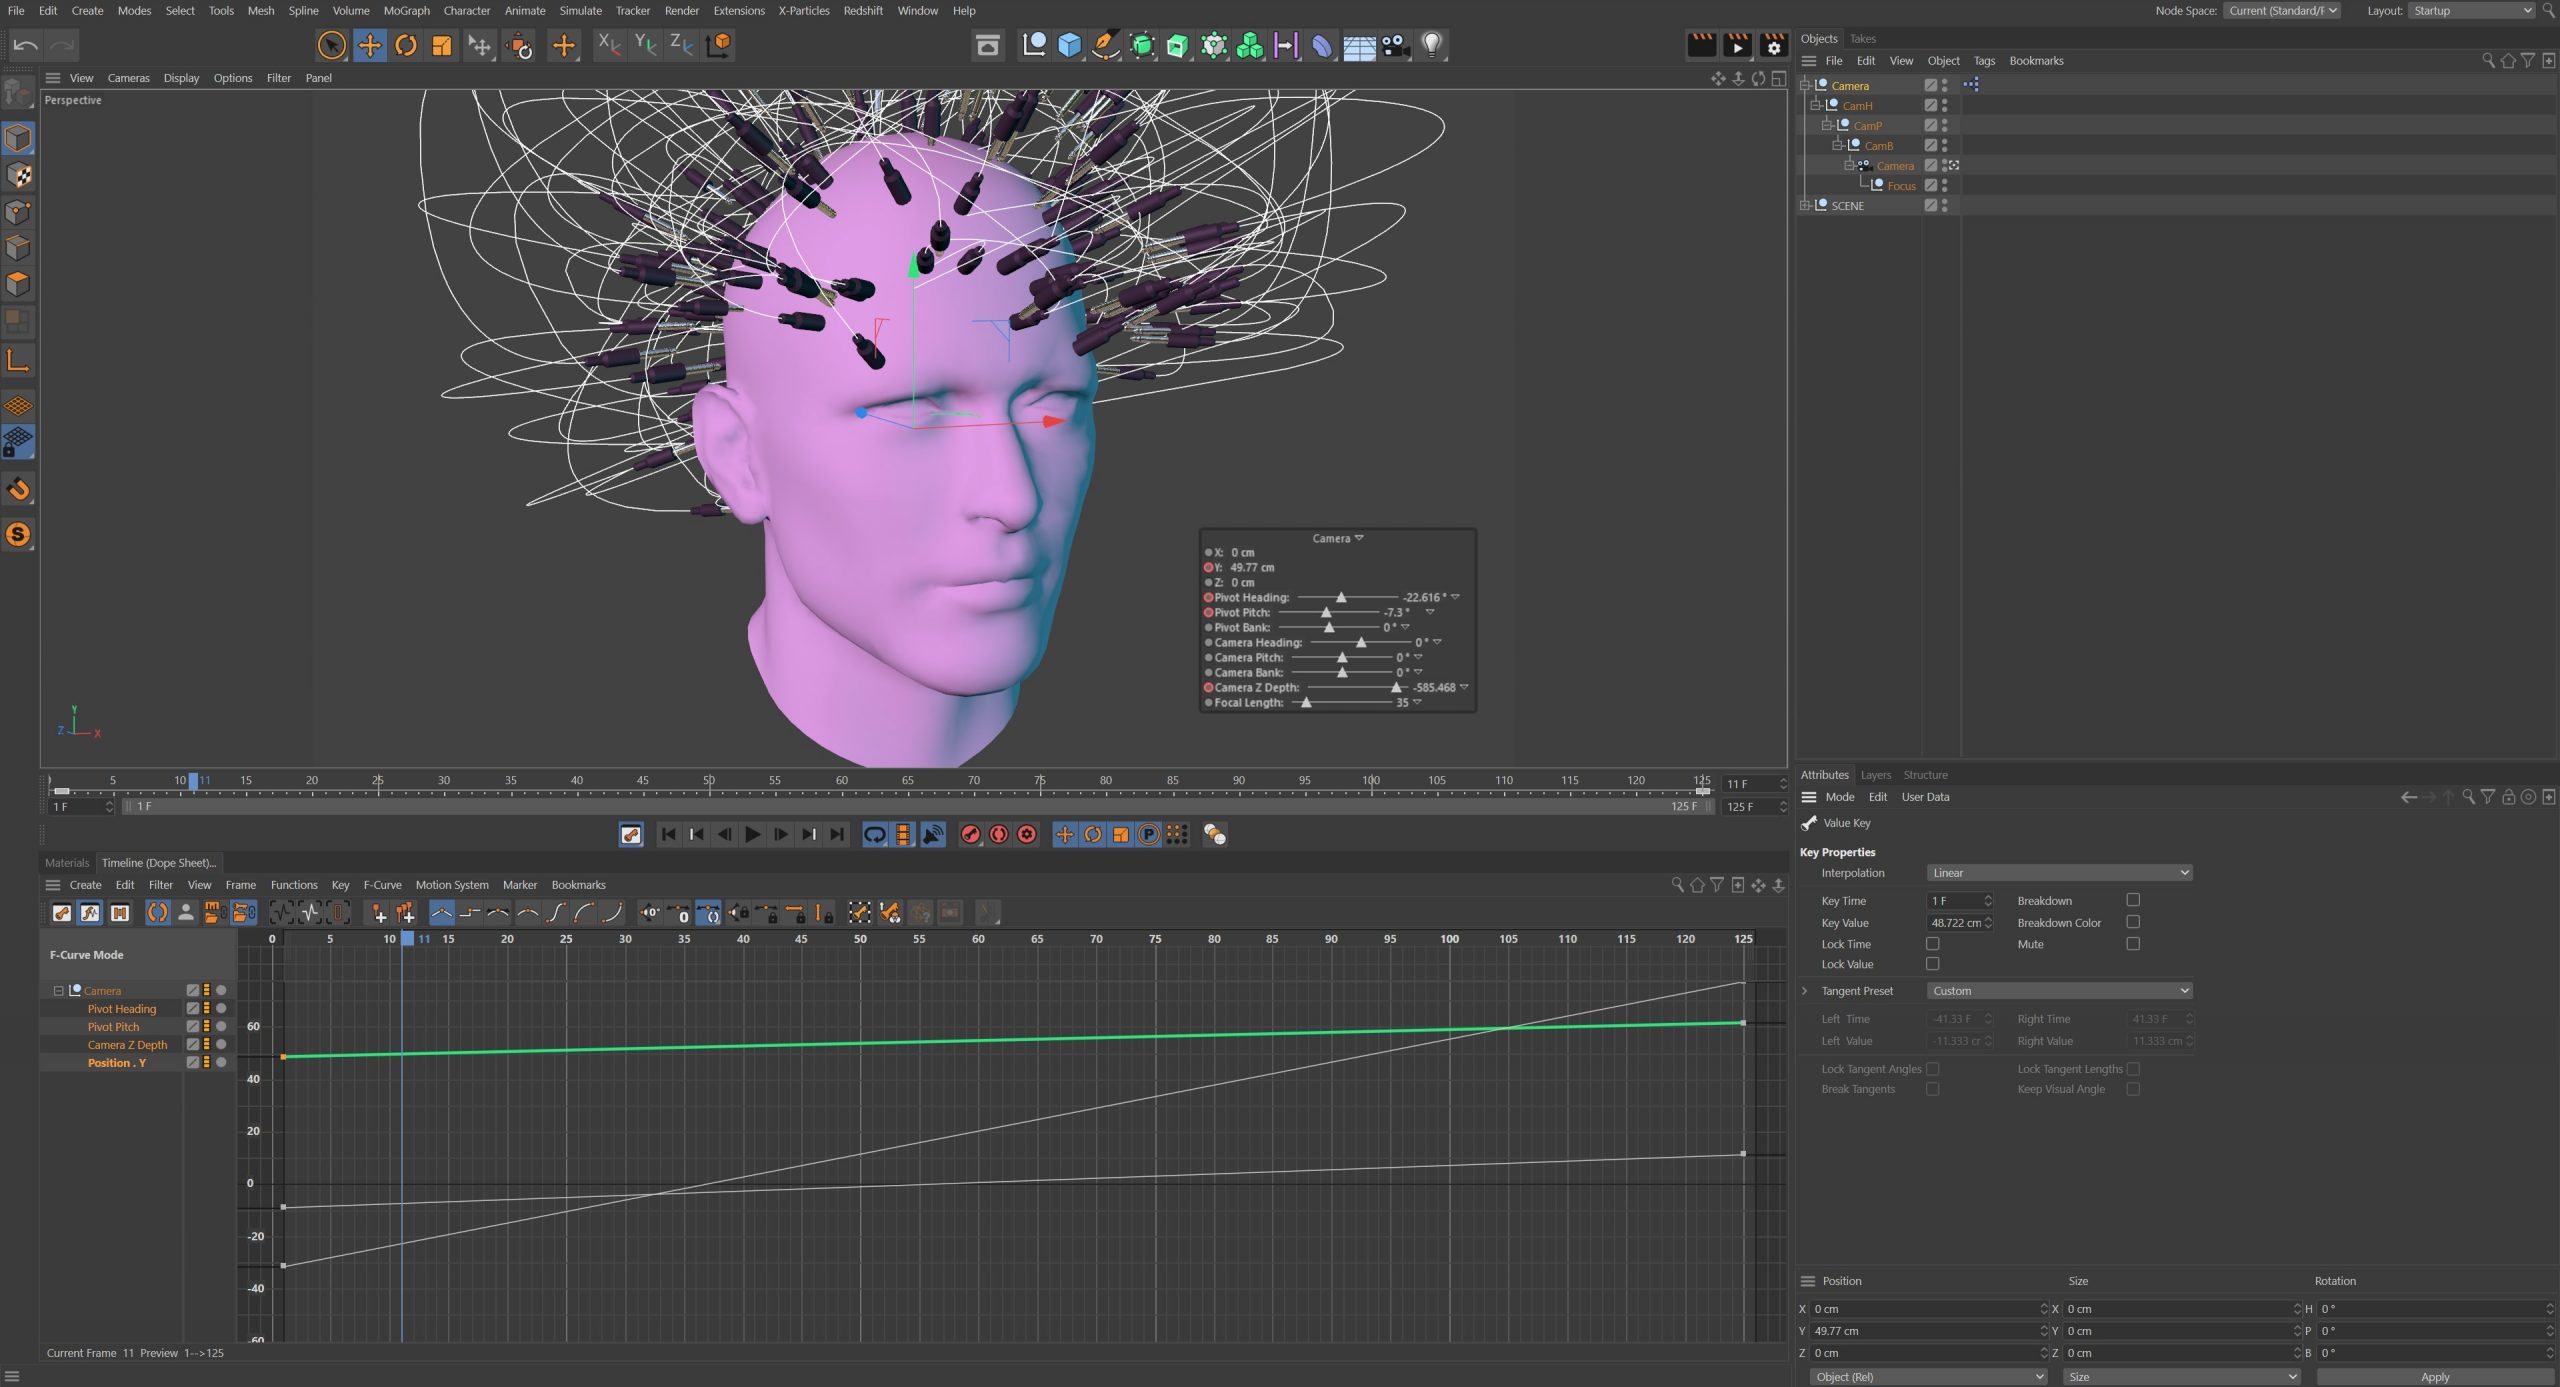
Once the main rig is built, I run through a quick example of using it for an orbiting shot. Typical product shot stuff, but this is perfect to demonstrate how simple the rig is to use and more importantly, how easy it is to experiment and fine tune your keyframes.
If you attempted a shot like this with just a lone camera and animated position / rotation keyframes, it would be tricky to maintain smooth arcs and shifts in Z depth and it would be a nightmare to adapt this without messing up the whole animation path. Using a rig like this makes it so simple to fine tune any animation track to get the shot exactly where you need it to be, then make it better by easily swapping direction or adding additional movement.
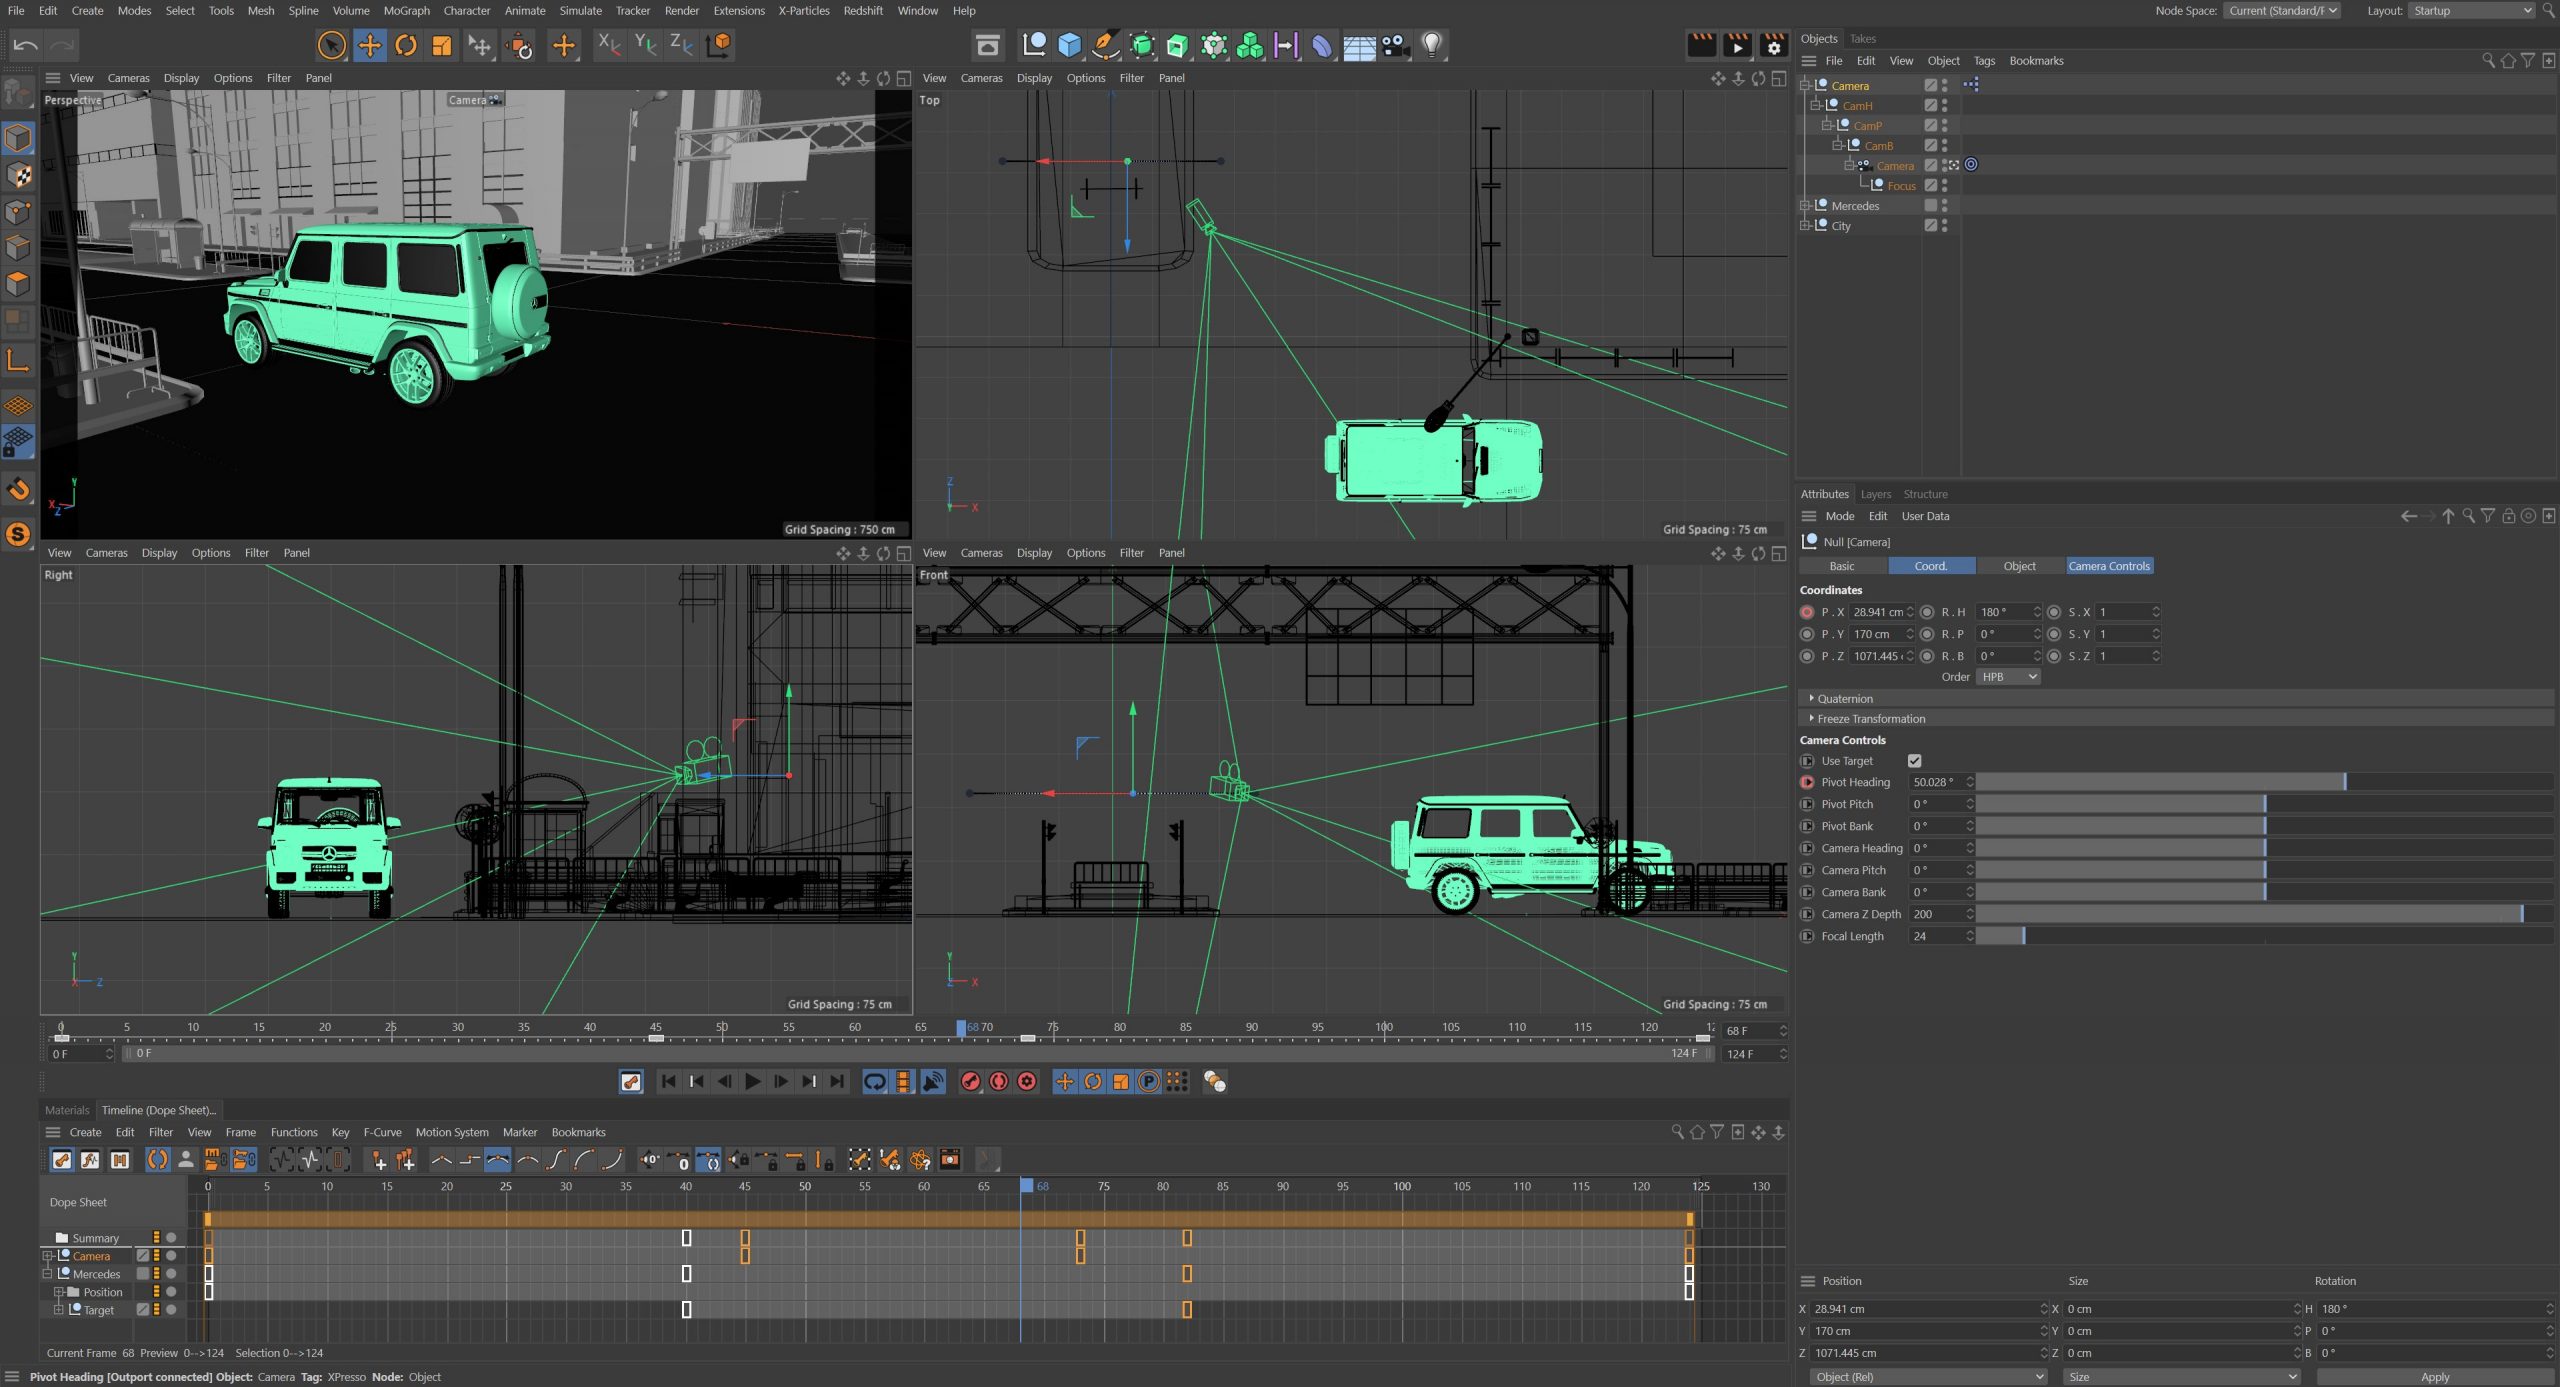
Next chapter we go back to Xpresso and make a few small changes which allow you to switch between the User Data to control the camera rotation or using a target tag. I add in a checkbox to switch between these two settings and then run through a couple of shots showing how to use it.
The rig is attached to a moving car shot and allows big swooping arcs around the vehicle as it flies along, then a dolly / jib type setup where we film the car drive by.
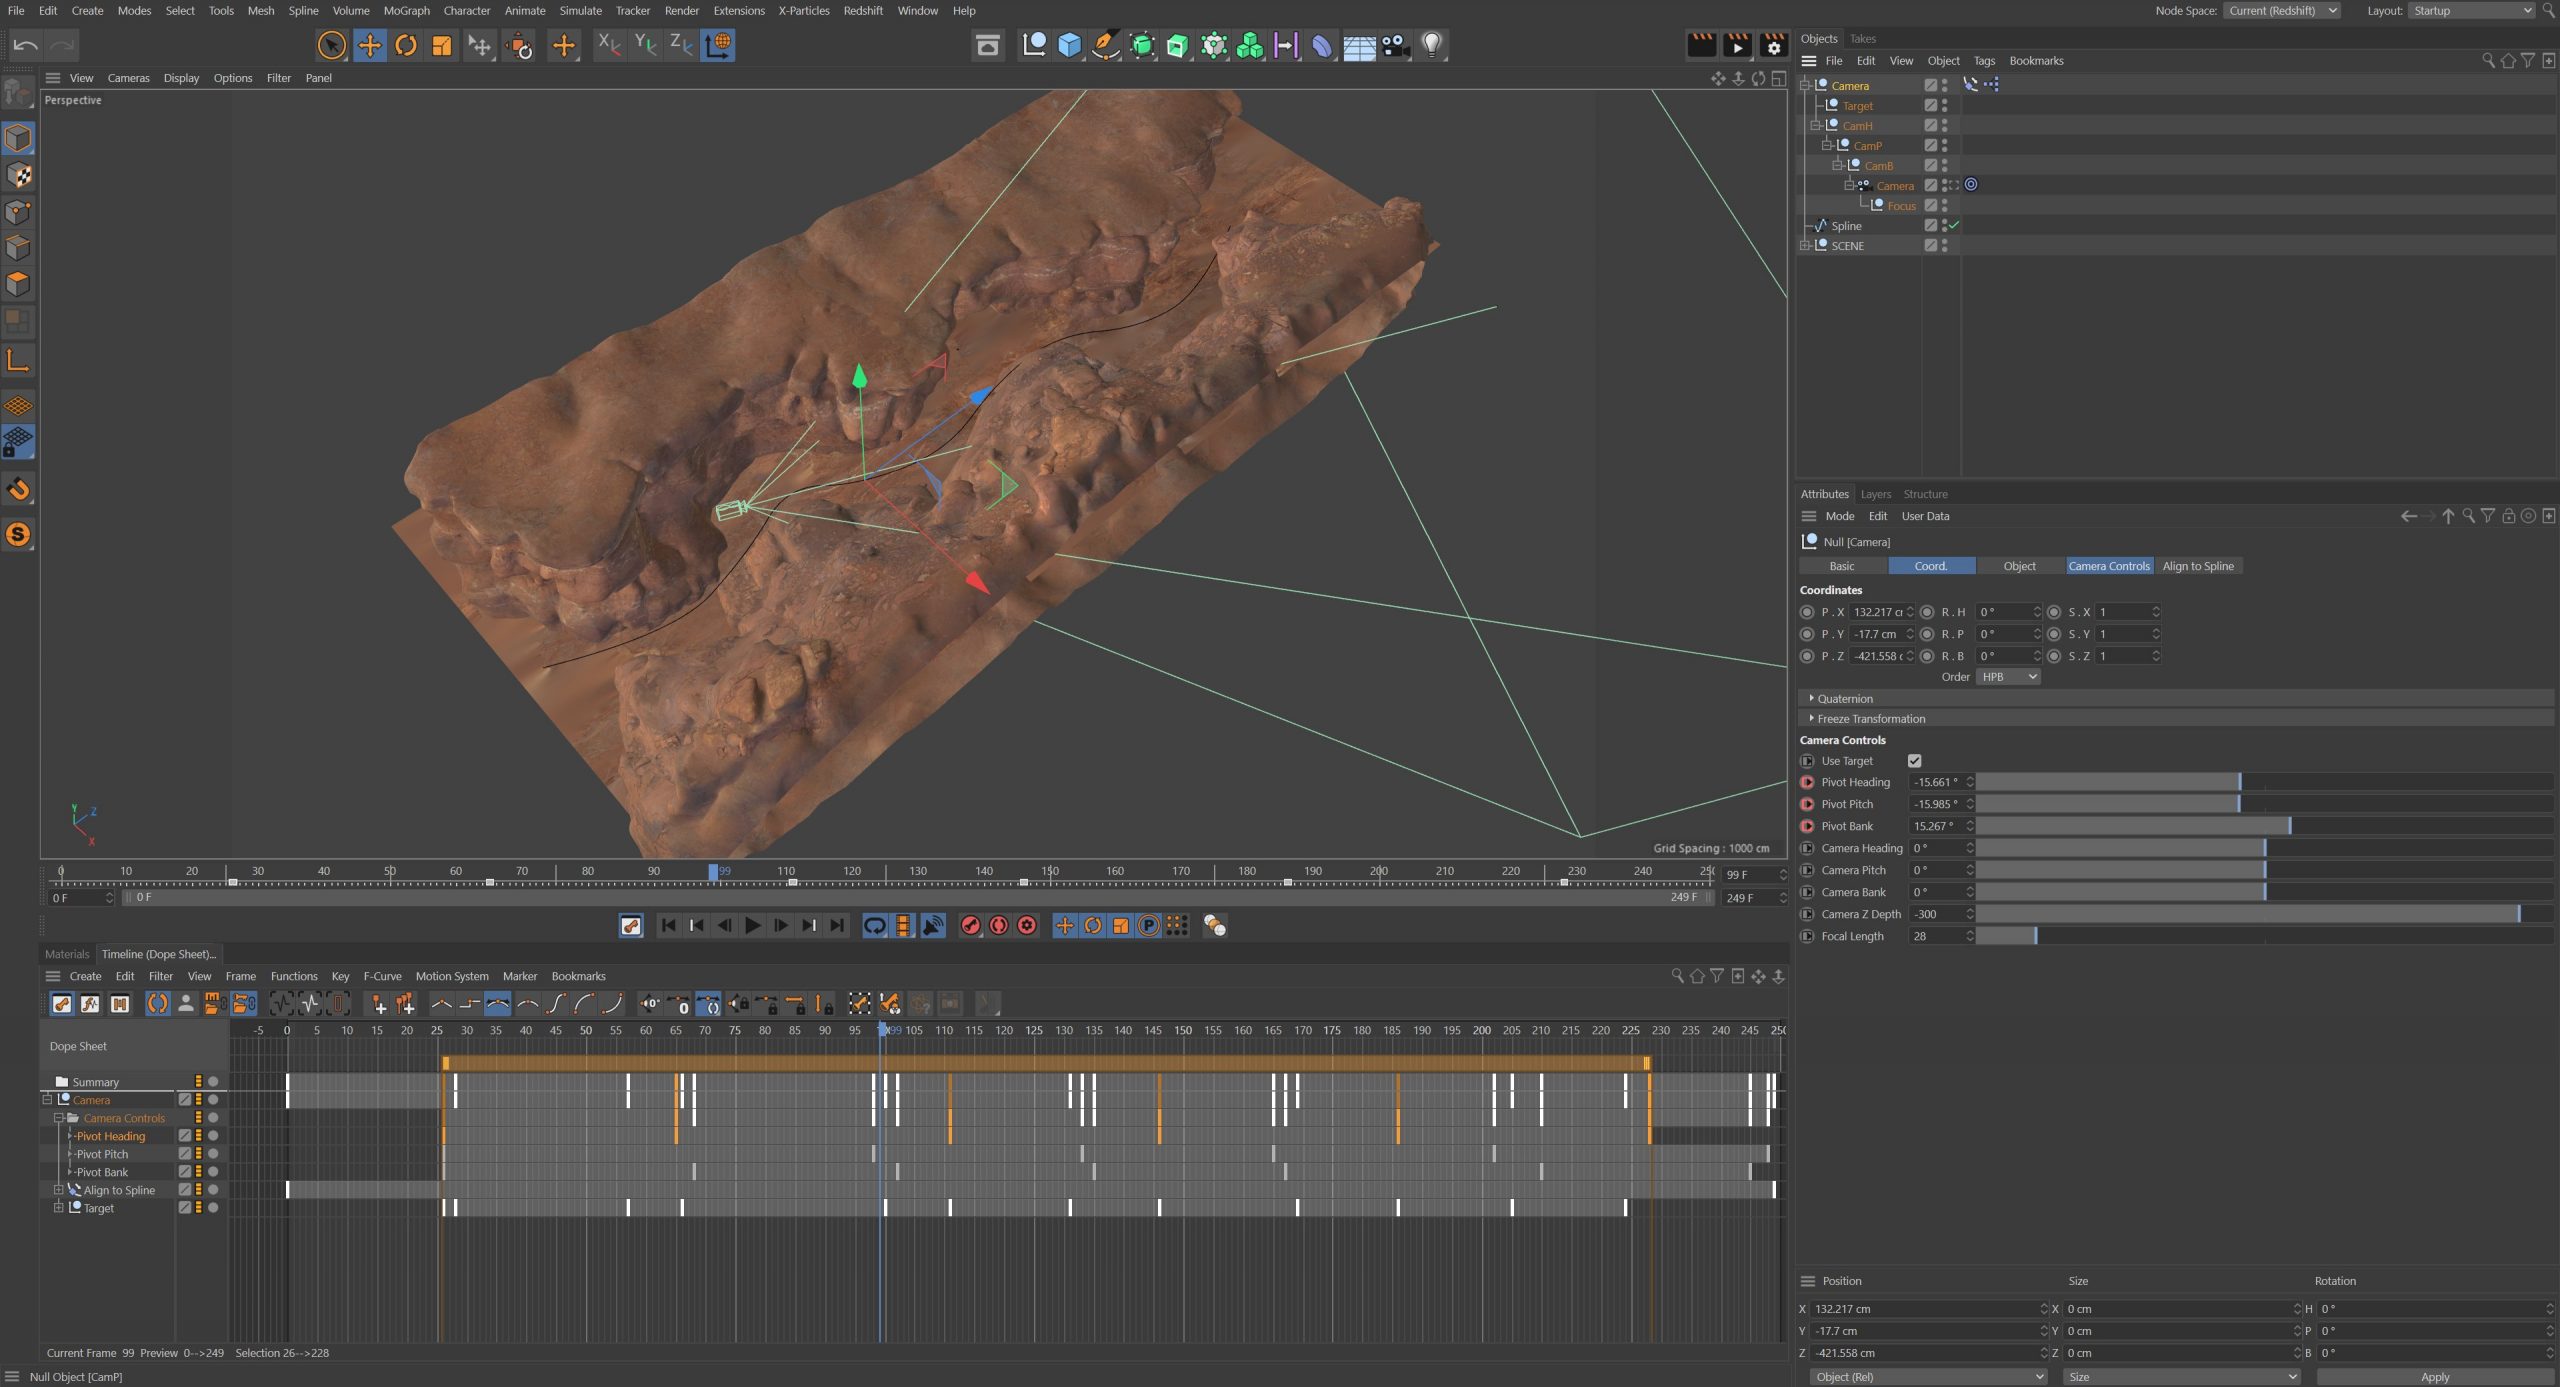
Finally I run through another approach for using the rig in combo with the Align To Spline tag.
By drawing the most basic path and then working with the rig controls as you traverse the spline, you quickly create swooping and flowing camera moves with much more control than using align to spline directly on the camera. In just a few minutes I show you how to block out a 10 second fly through of a winding canyon.
This is my go to rig and I adapt it all the time for different projects, let me know if you like the rig and tag @helloluxx if you show any of your work, we love to share.
Cinema 4D Rigging Bundle
SAVE 15% when you buy both titles.
C4D Rigging in One Day and Intro to Character Rigging in C4D.
Improve workflow and build custom rigs for your projects.
