learn. Redshift for Cinema 4D : V02
Original price was: $79.00.$15.00Current price is: $15.00.
Over two fun projects learn. Redshift for Cinema 4D with Rich Nosworthy.
Master this inaugural Volume 01 then conquer Volume 02!
Volume 02 of Rich Nosworthy’s learn. Redshift for Cinema 4D series delves deep.
Get into more of the shading nodes, setting up multipass renders & lots more!
Enjoy!
Cinema 4D now uses the new Node Editor for Redshift materials, rather than the Xpresso interface, although both are still supported. This training is created with Redshift 2.5, since then there have been new features added which are not covered. Much of this information in this training is still relevant, but due to the age of this training, we now offer over 80% discount as this title will be discontinued shortly.
learn. Redshift for Cinema 4D : Volume 2 is your complete guide to multipass AOVs in Redshift.
The tutorial begins by taking a deeper look into more of the shaders that Redshift aficionados can use to build more complex materials, before diving into the AOV workflow. AOV Setup, mattes, custom passes, light groups, everything you need to know for your multipass production pipeline is in this Redshift-goodness packed volume.
For a refresh on where Rich’s awesome Redshift tutorial journey for helloluxx began, check out the original volume.
Training Summary
In-depth Redshift with expert tuition
25 detailed chapters
All C4D project files included
Nodes, displacement, sprites, custom data, more nodes
Multipass, AOVs, Light Groups
Compositing in Fusion & After Effects
Recommended requirements
Cinema 4D Release 19 and above
Redshift 2.5 and above
Aimed at intermediate users in Redshift.
Some knowledge of Cinema 4D is required.
Duration: 07:39 mins
Welcome back! In this video, take a look at a few of the subtle changes in Redshift since learn. Redshift : V01
Duration: 20:13 mins
Start by setting-up the scene which you will be using for your next few lessons, including how to use Redshift’s Sun and Sky Rig.
Duration: 23:22 mins
Here we take a look at data types within our shader networks and dig deeper into some of the colour nodes that we can use to create shaders.
Duration: 16:28 mins
In part 2 of this video we look at some of the nodes we can use to layer up our colours inside the material network.
Duration: 23:36 mins
We explore more of our shaders, we remap fresnels to create colour variation in our facing ratio, animating noise, as well as how to use ambient occlusion and curvature for controlling edge effects.
Duration: 16:31 mins
Here we look at multi layered materials using the material blender, including how to stack up shaders with alternative uv sets.
Duration: 07:43 mins
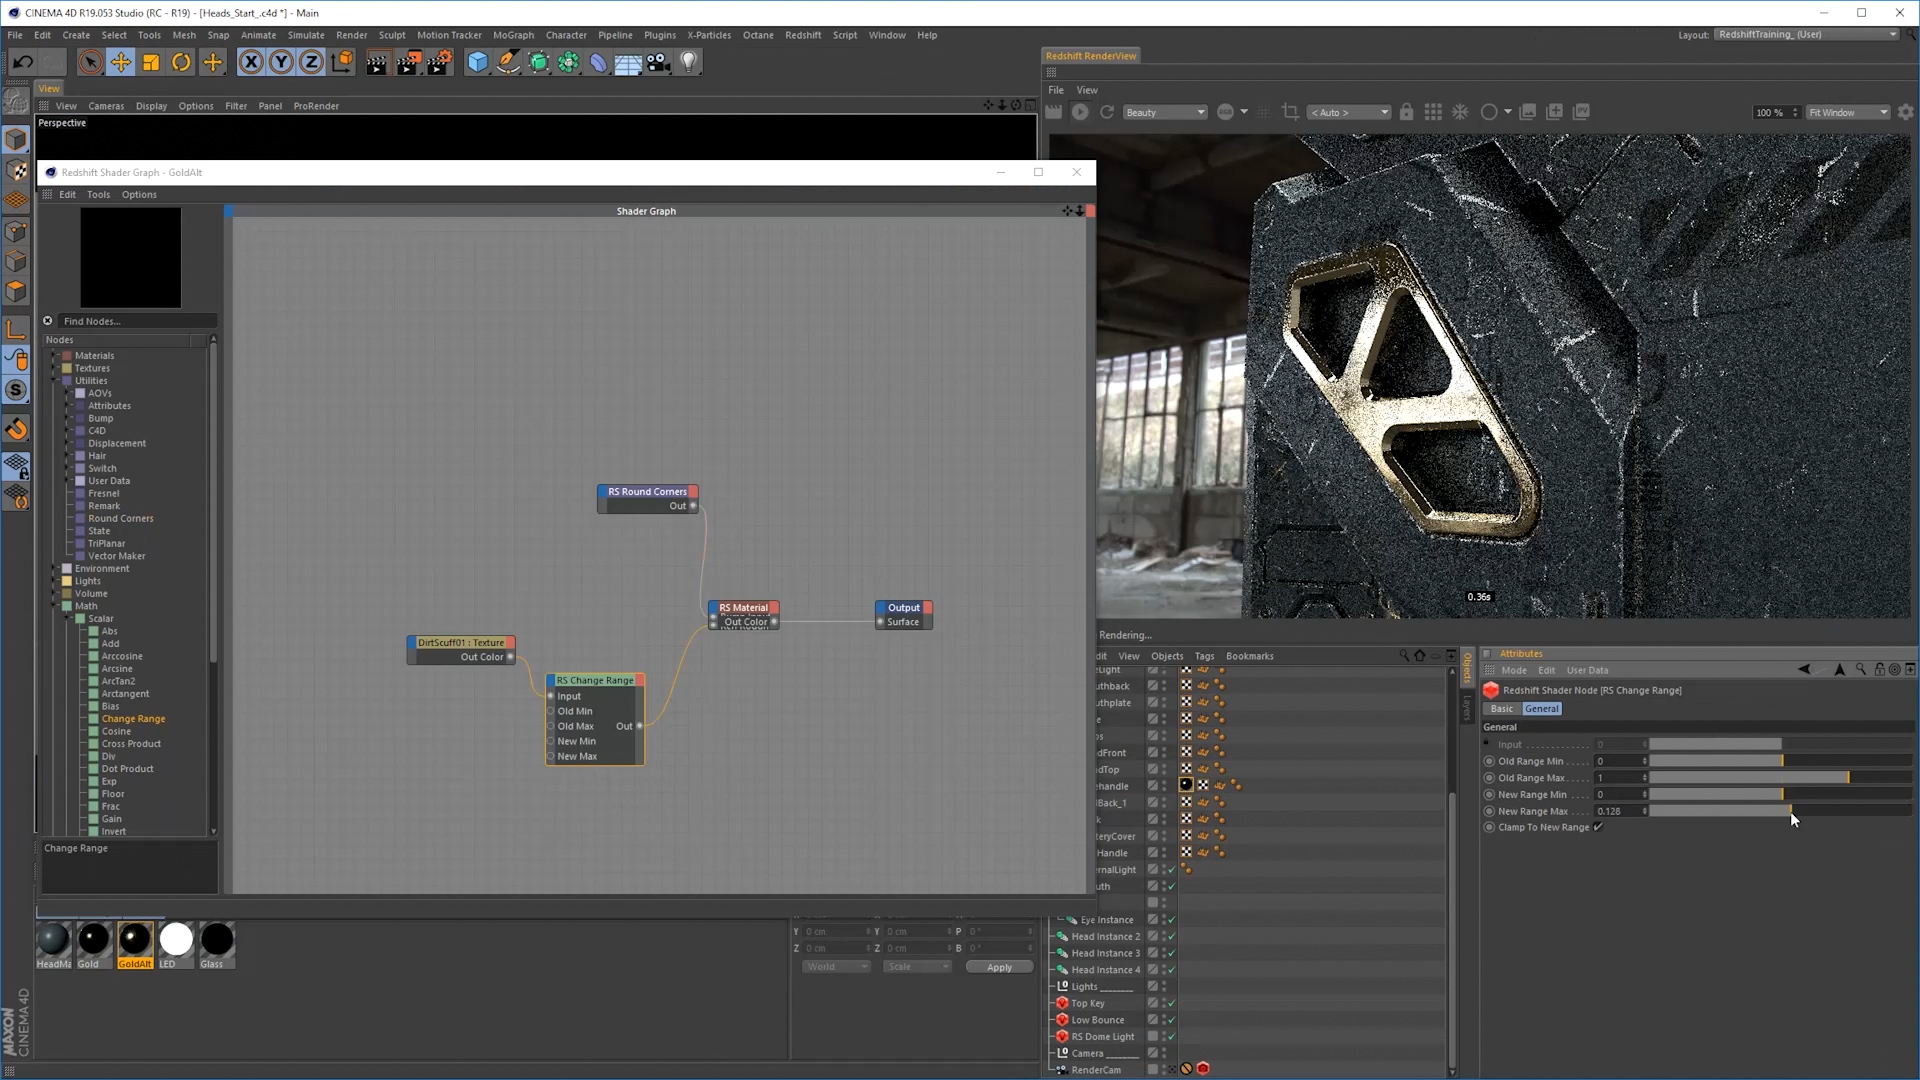
We look at how the round corner node works and how we can combine it with other normal maps within our shaders.
Duration: 13:53 mins
Here we discuss trace depth inside our render settings and how this affects our reflections and refractions. We also look at opacity and why the sprite node is a better option in many cases for controlling our opacity.
Duration: 08:56 mins
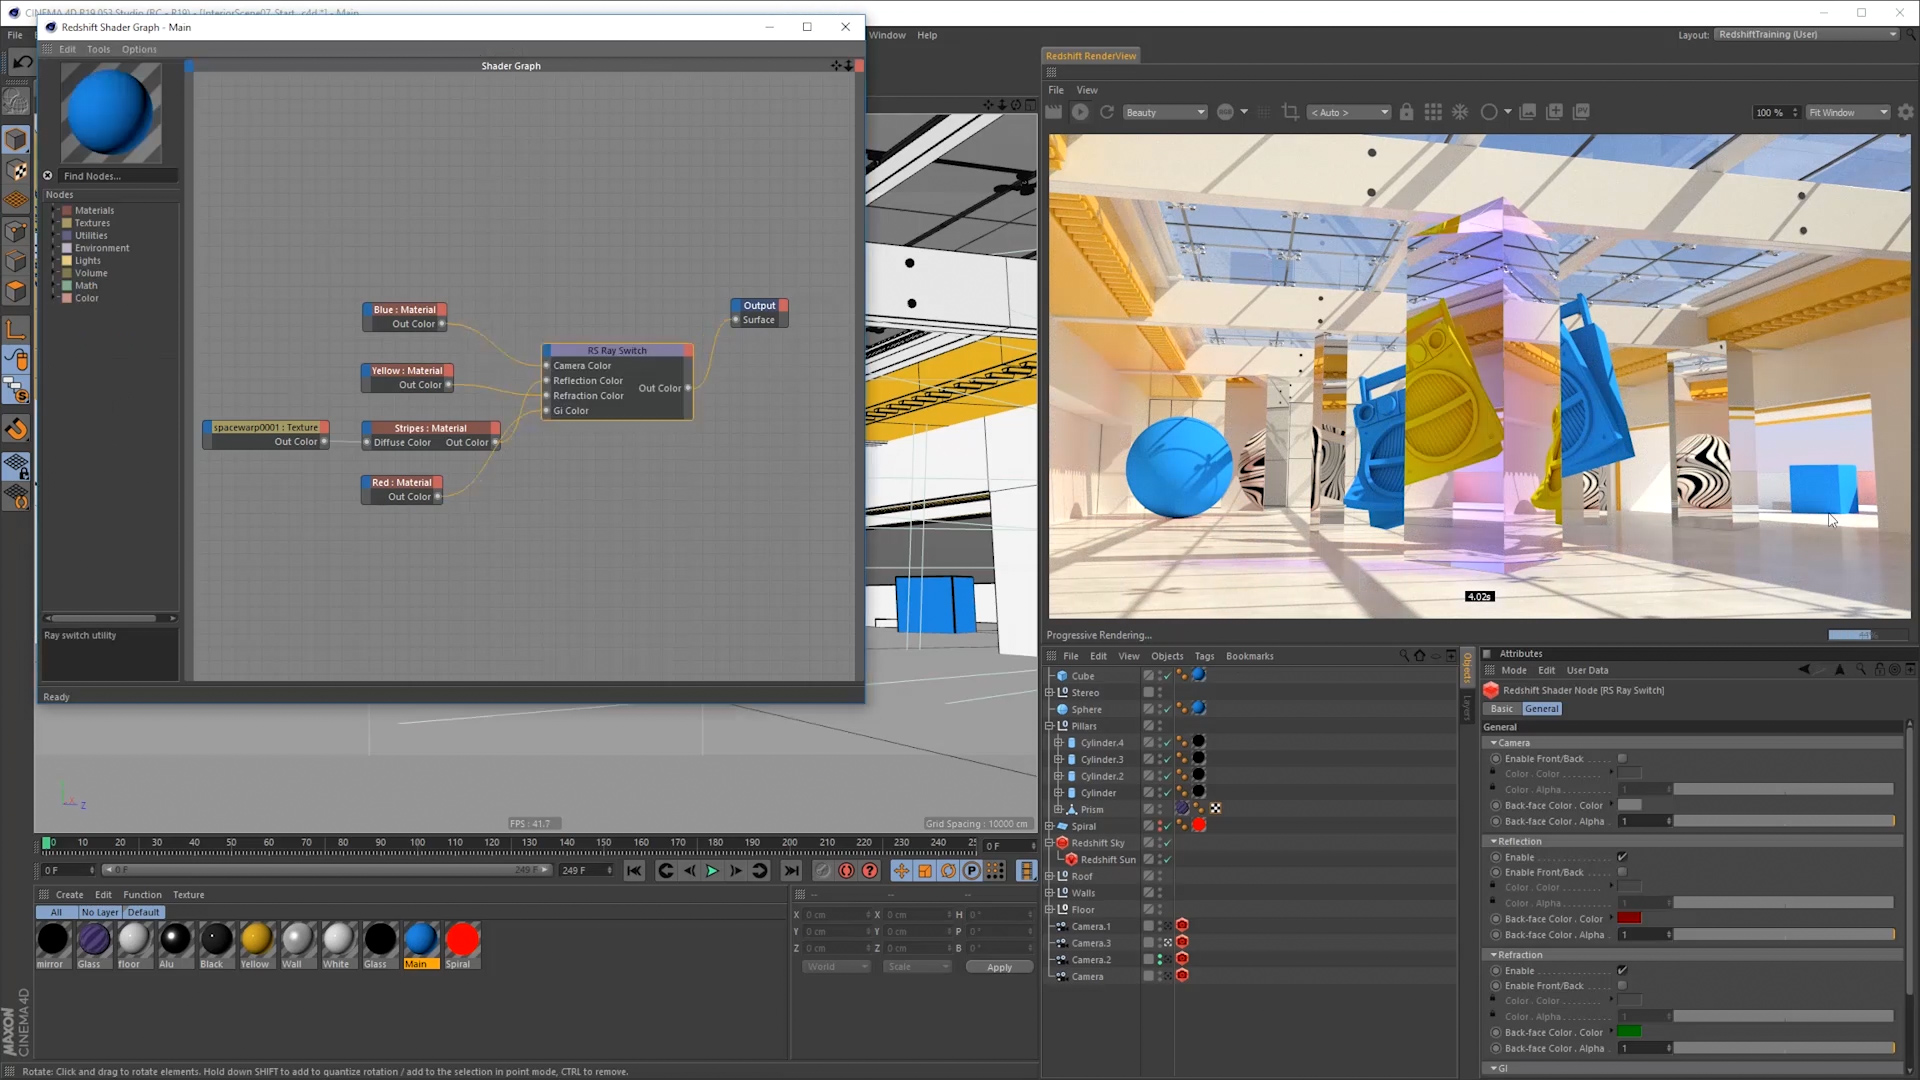
We explore some examples with the ray switch node to control how your shaders are seen depending on ray type, we also see how we can use the front/back option to create double sided materials.


Duration: 23:24 mins
We take an introductory look at how we can use custom user data in our scenes to vary parameters of our shaders. We also discuss how we can use mograph colour, random colours, the shader selector and how user data can be made to work with render instances.
Duration: 19:05 mins
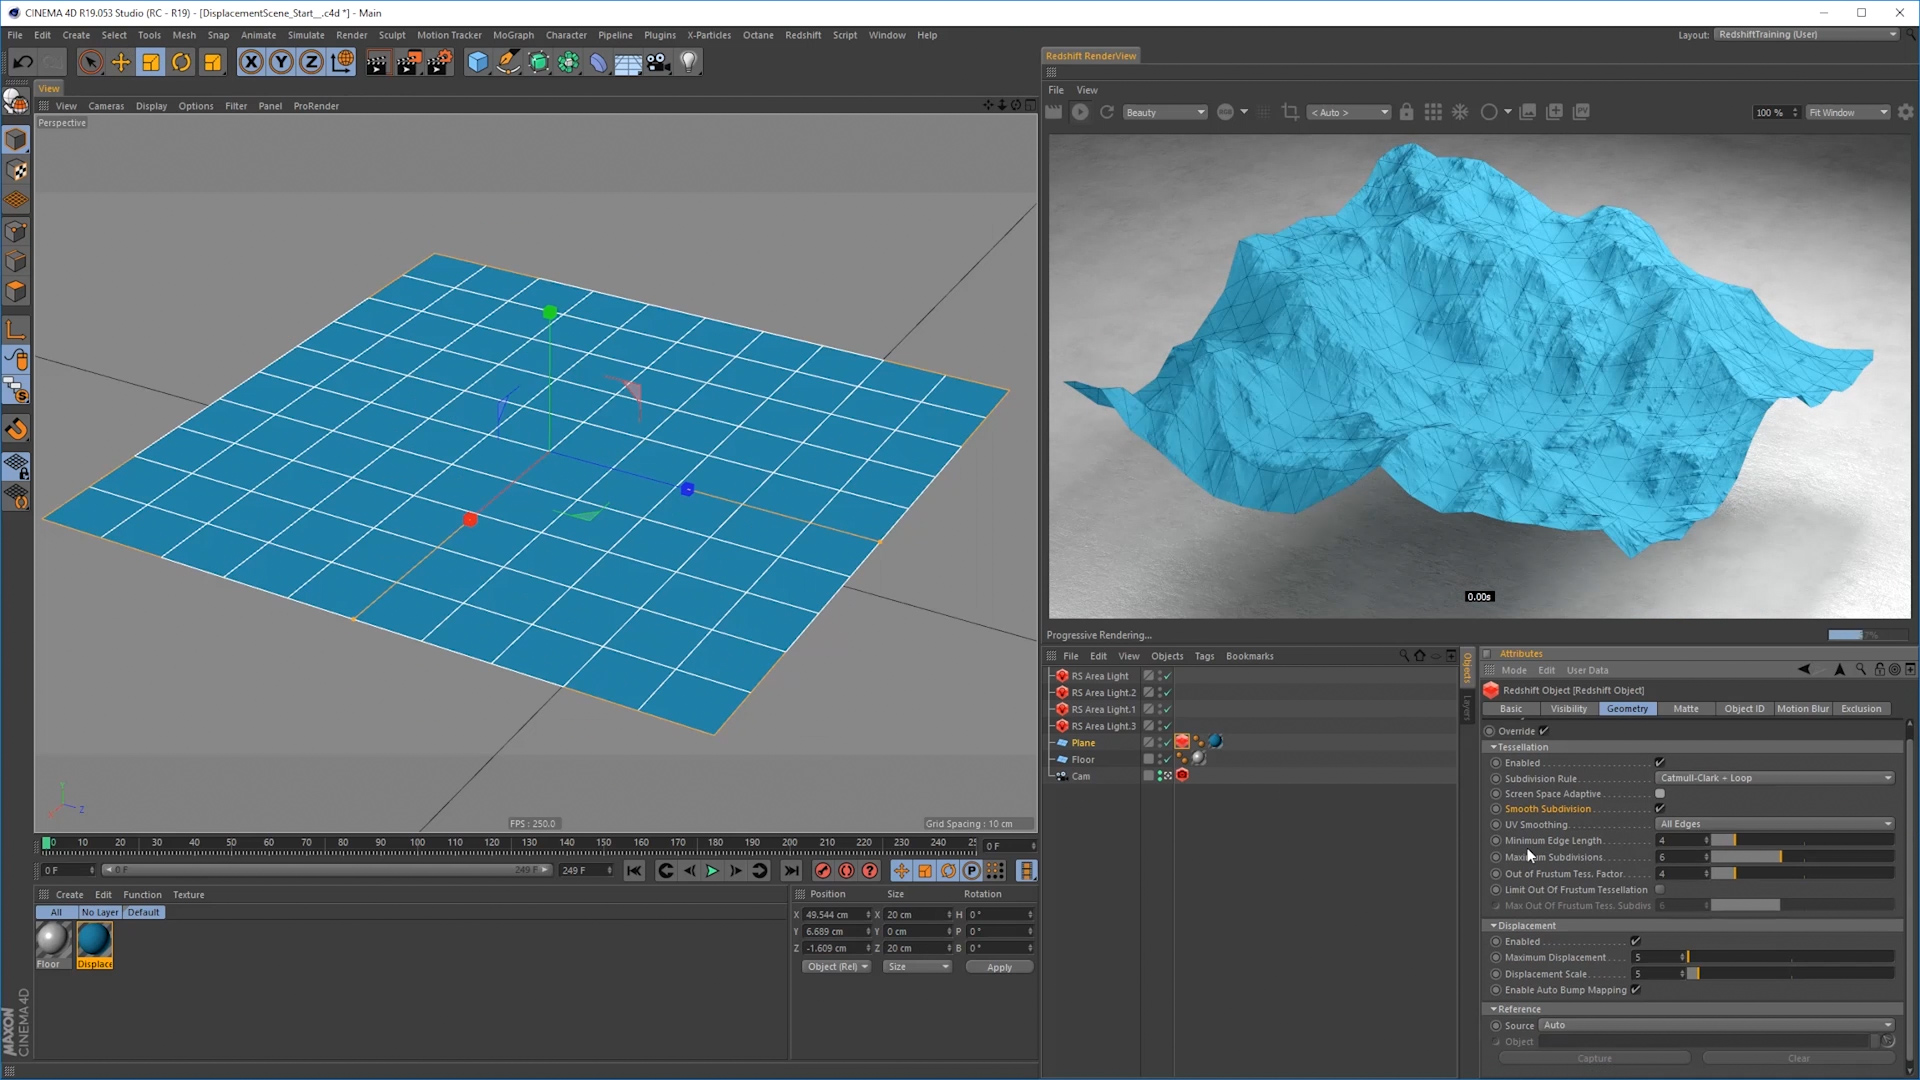
Setting up displacement, we look at how this works within our shader aswell as the controls to fine tune this and the tesselation of our objects within the redshift object tag.
Duration: 07:05 mins
An addon video discussing some techniques we can use for reducing any fireflies or bright pixels within our renders. Specifically from single SSS or reflection.
Duration: 06:43 mins
Add on video discussing our scene input colour profile and how setting this will effect our colour pickers inside of redshift.
Duration: 06:09 mins
Here we look at the main scene we’ll be using for our multipass section.
Duration: 31:35 mins
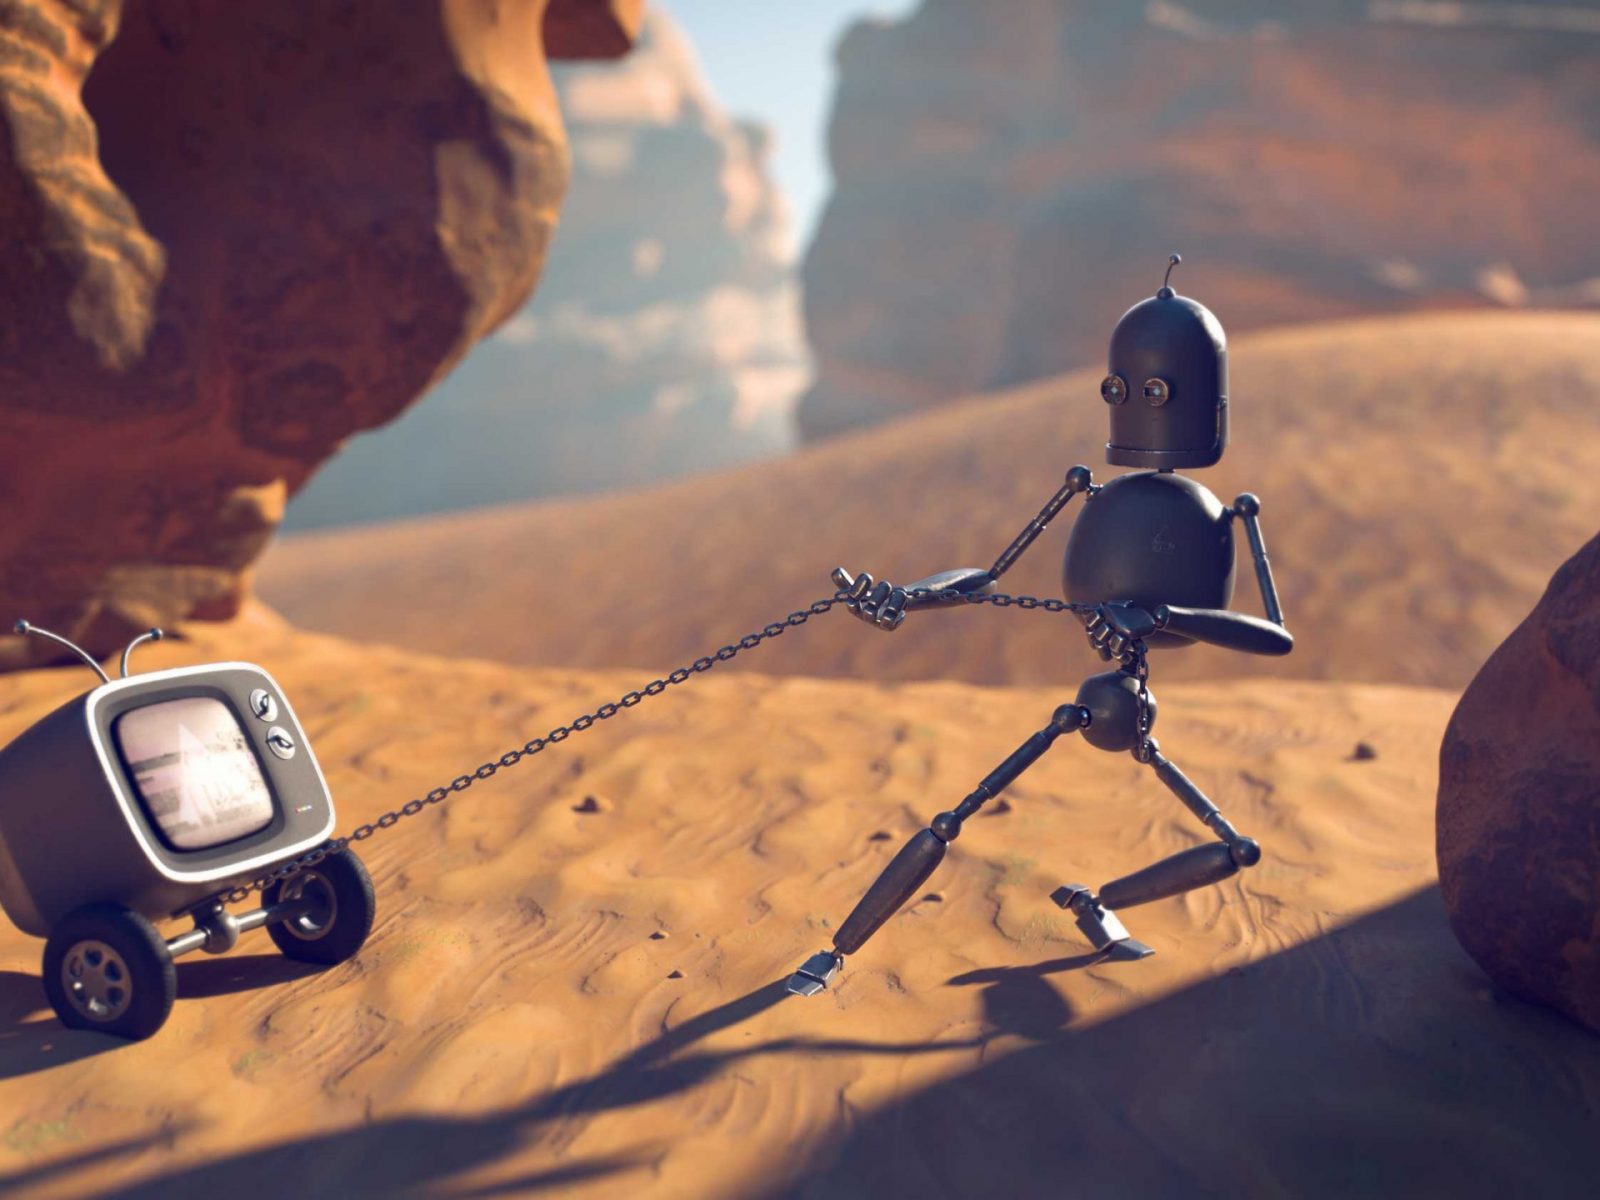
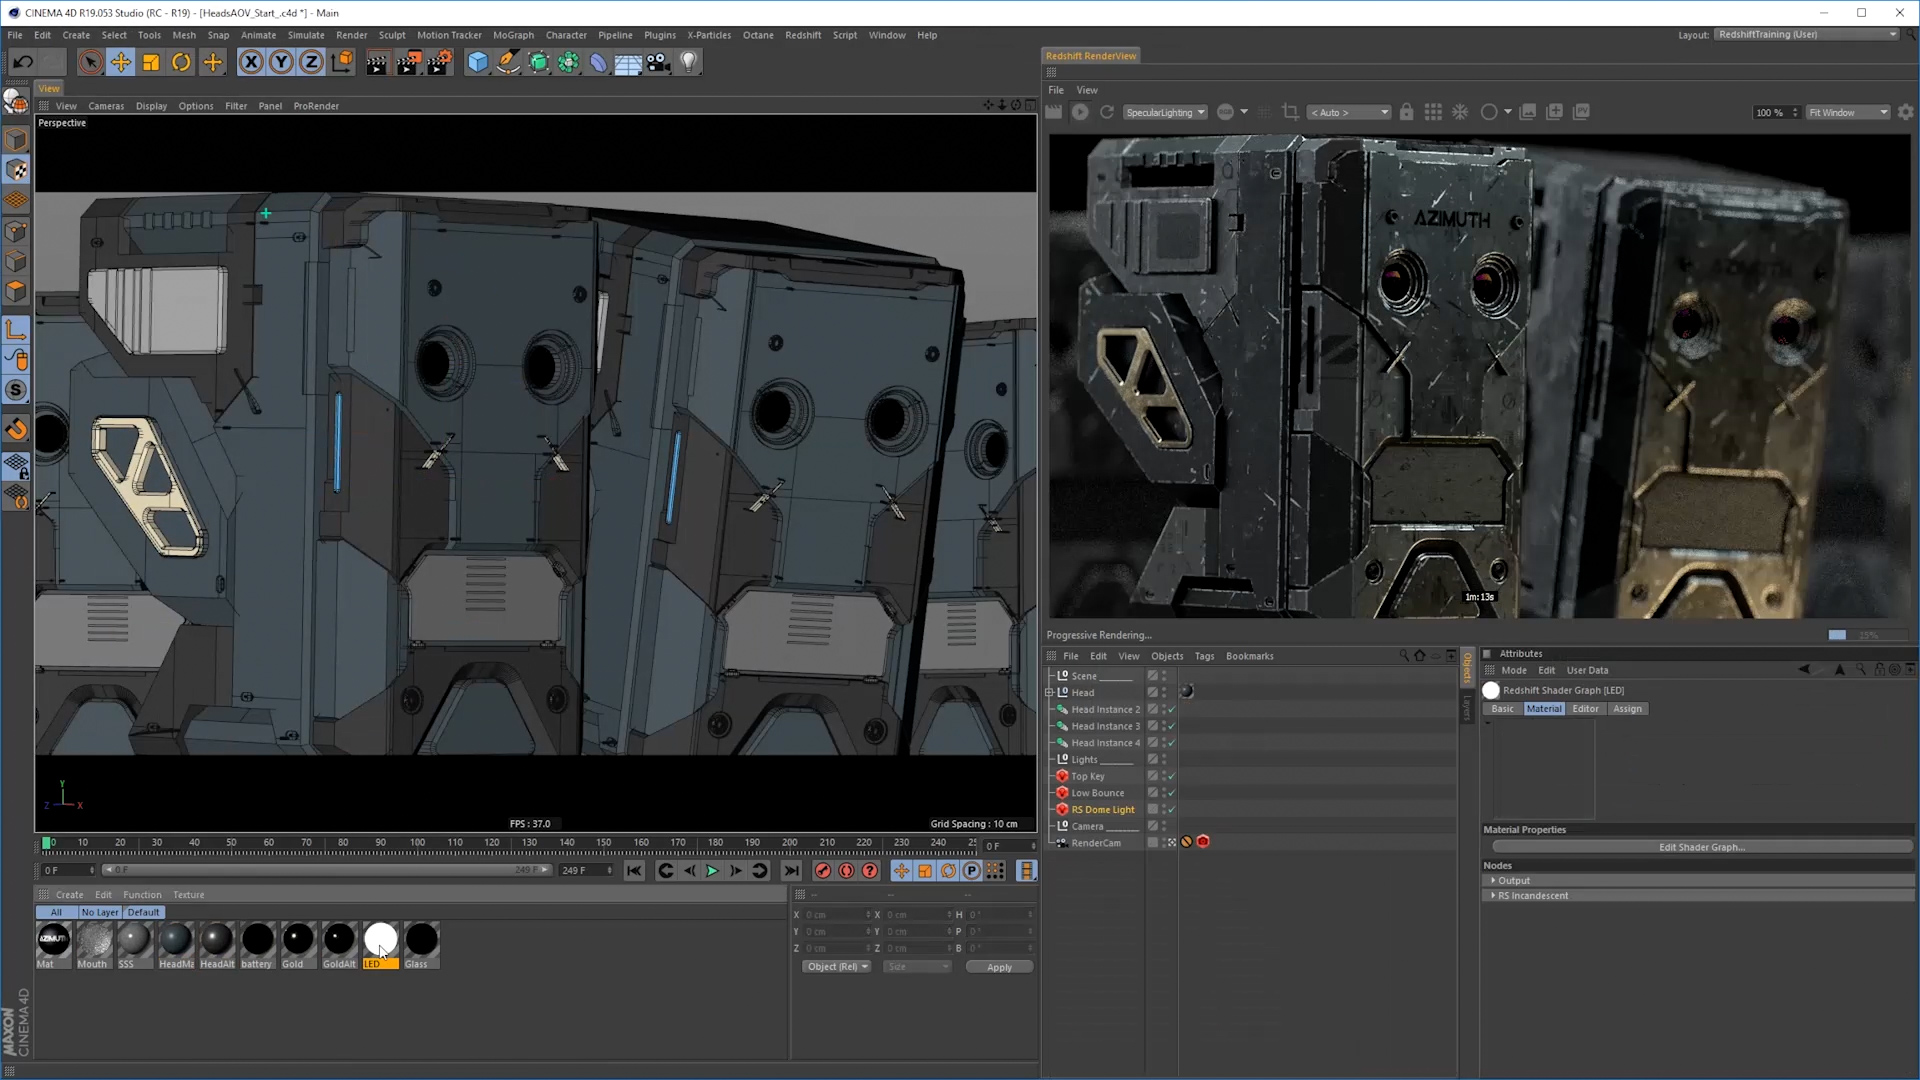
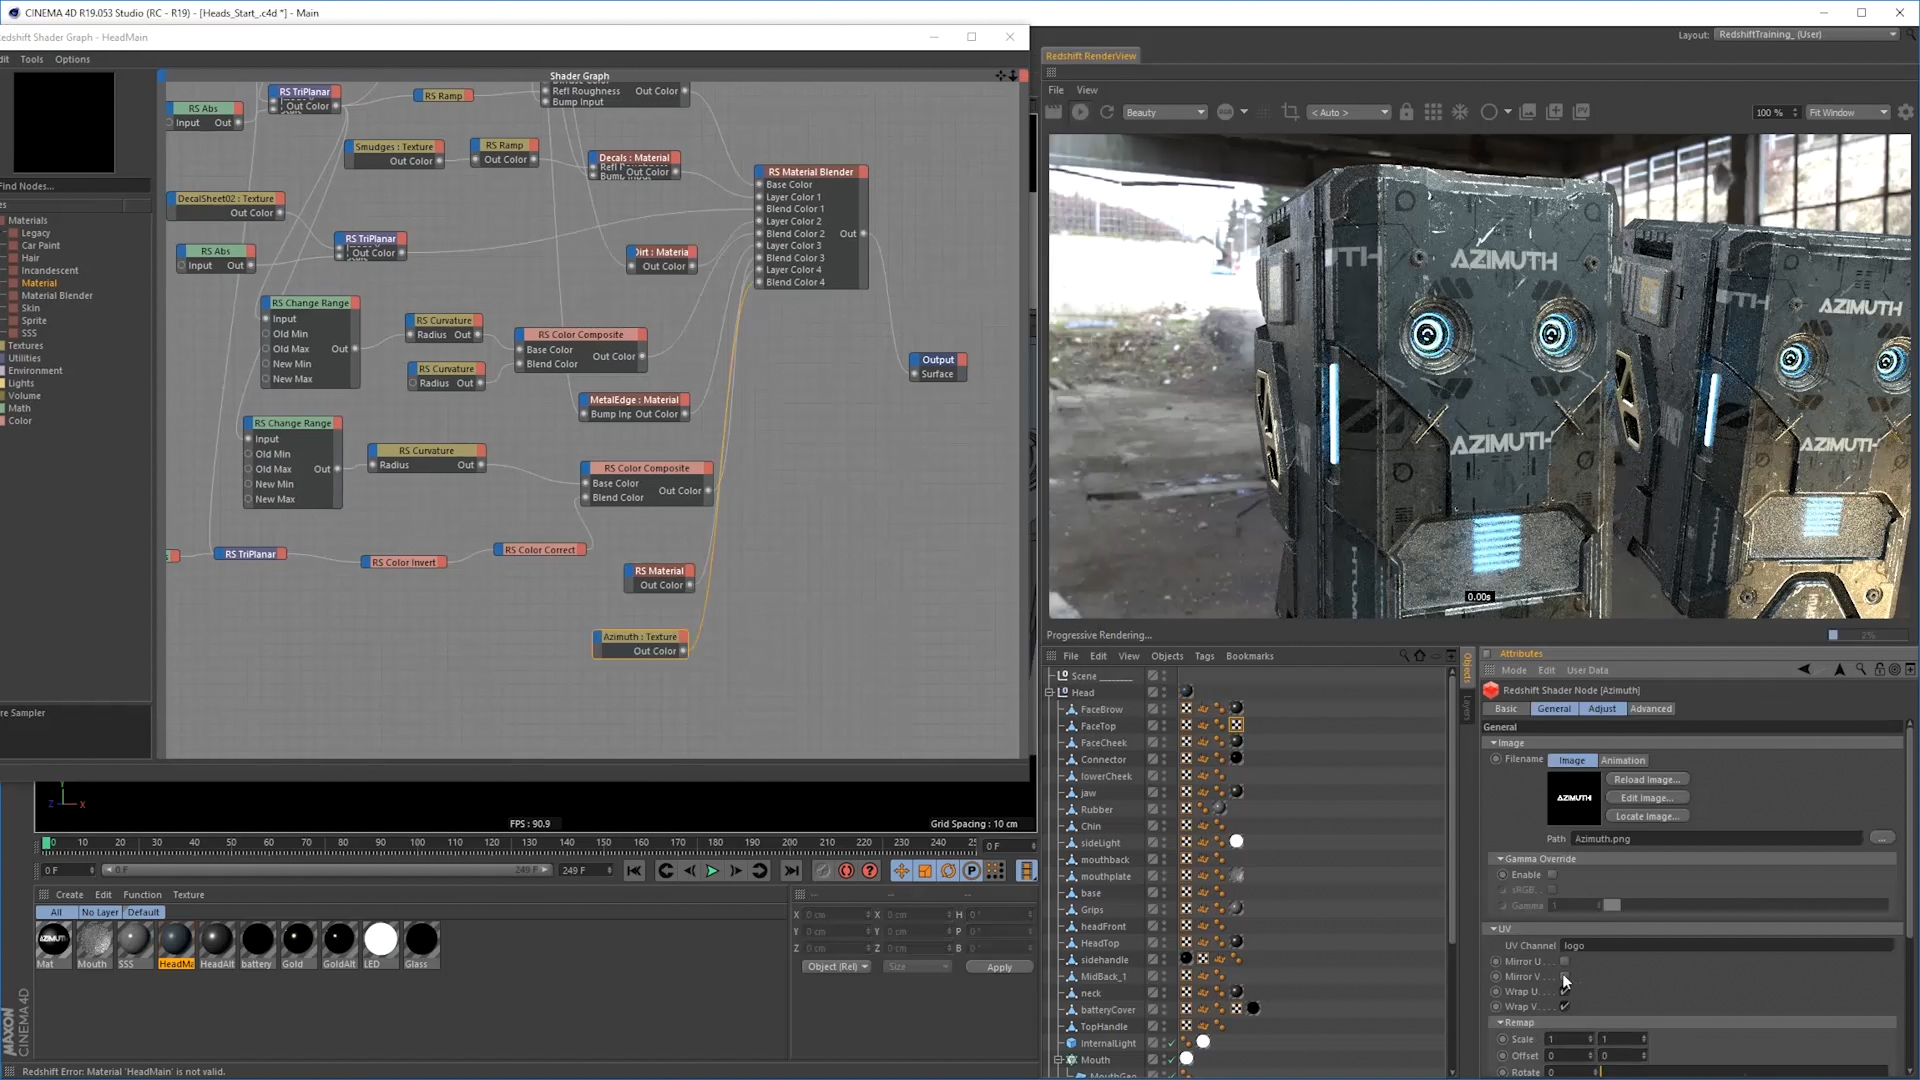
A practical example of using some of the shader nodes and techniques we’ve looked at so far to create the main shader for our robot head. We setup a multilayered material consisting of a base, decal layer, dust collecting in the recesses and also an overall edge scratch setup.
Duration: 26:43 mins
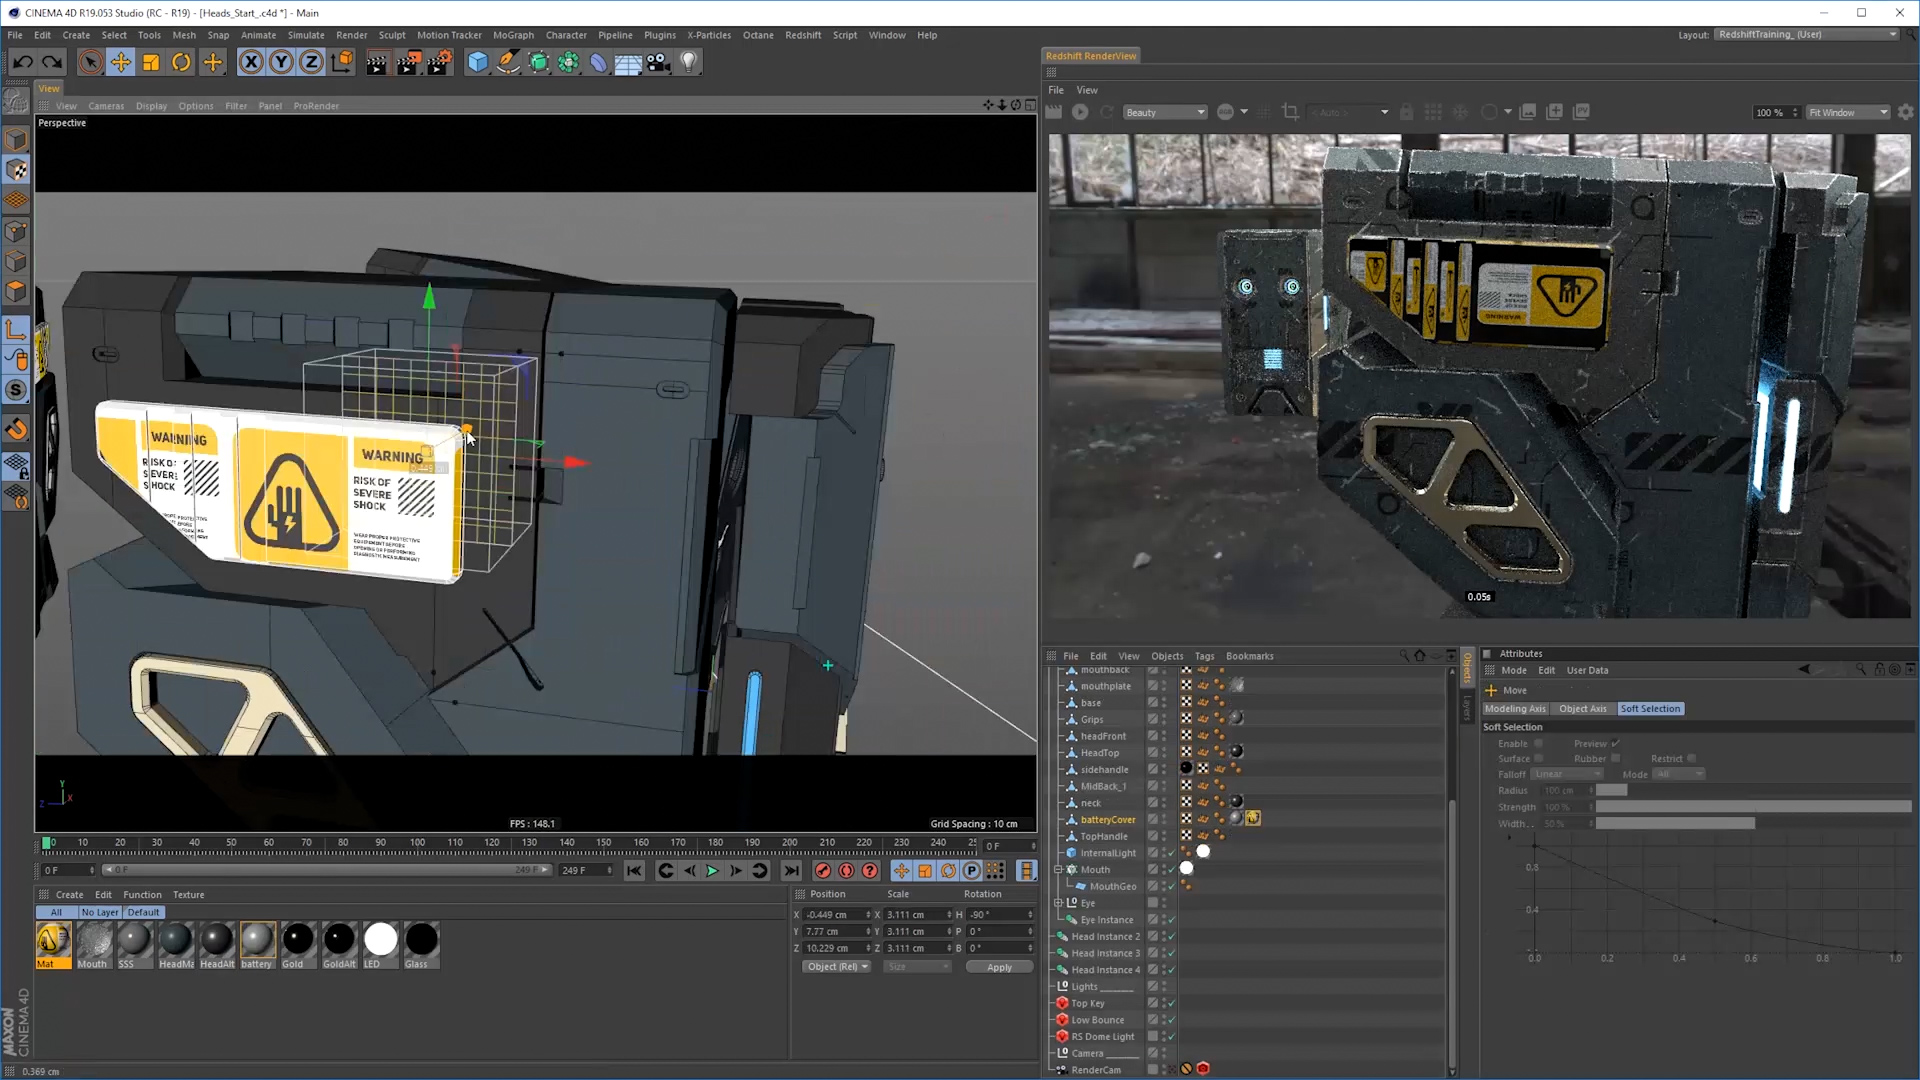
We set up the last of our materials for our scene here, adding in shaders for gold, the transparent mouth plate, some rubber parts using multiSSS and also, set up both a logo and a warning label, with alternative UVs.
Duration: 12:45 mins
An introduction of how AOVs (also known as multipass workflow) work inside of redshift. We look at the aov manger, the differences between direct and multipass output and how to view our aovs within our viewer.
Duration: 15:33 mins
So now we apply this to our scene, we set up our main scene AOVs for our robots shader. We look at puzzle matte and it’s various options for output and also various times we may wish to use reflect/refract IDs.
Duration: 06:14 mins
We look at how we can set up a depth pass for our scene.
Duration: 21:20 mins
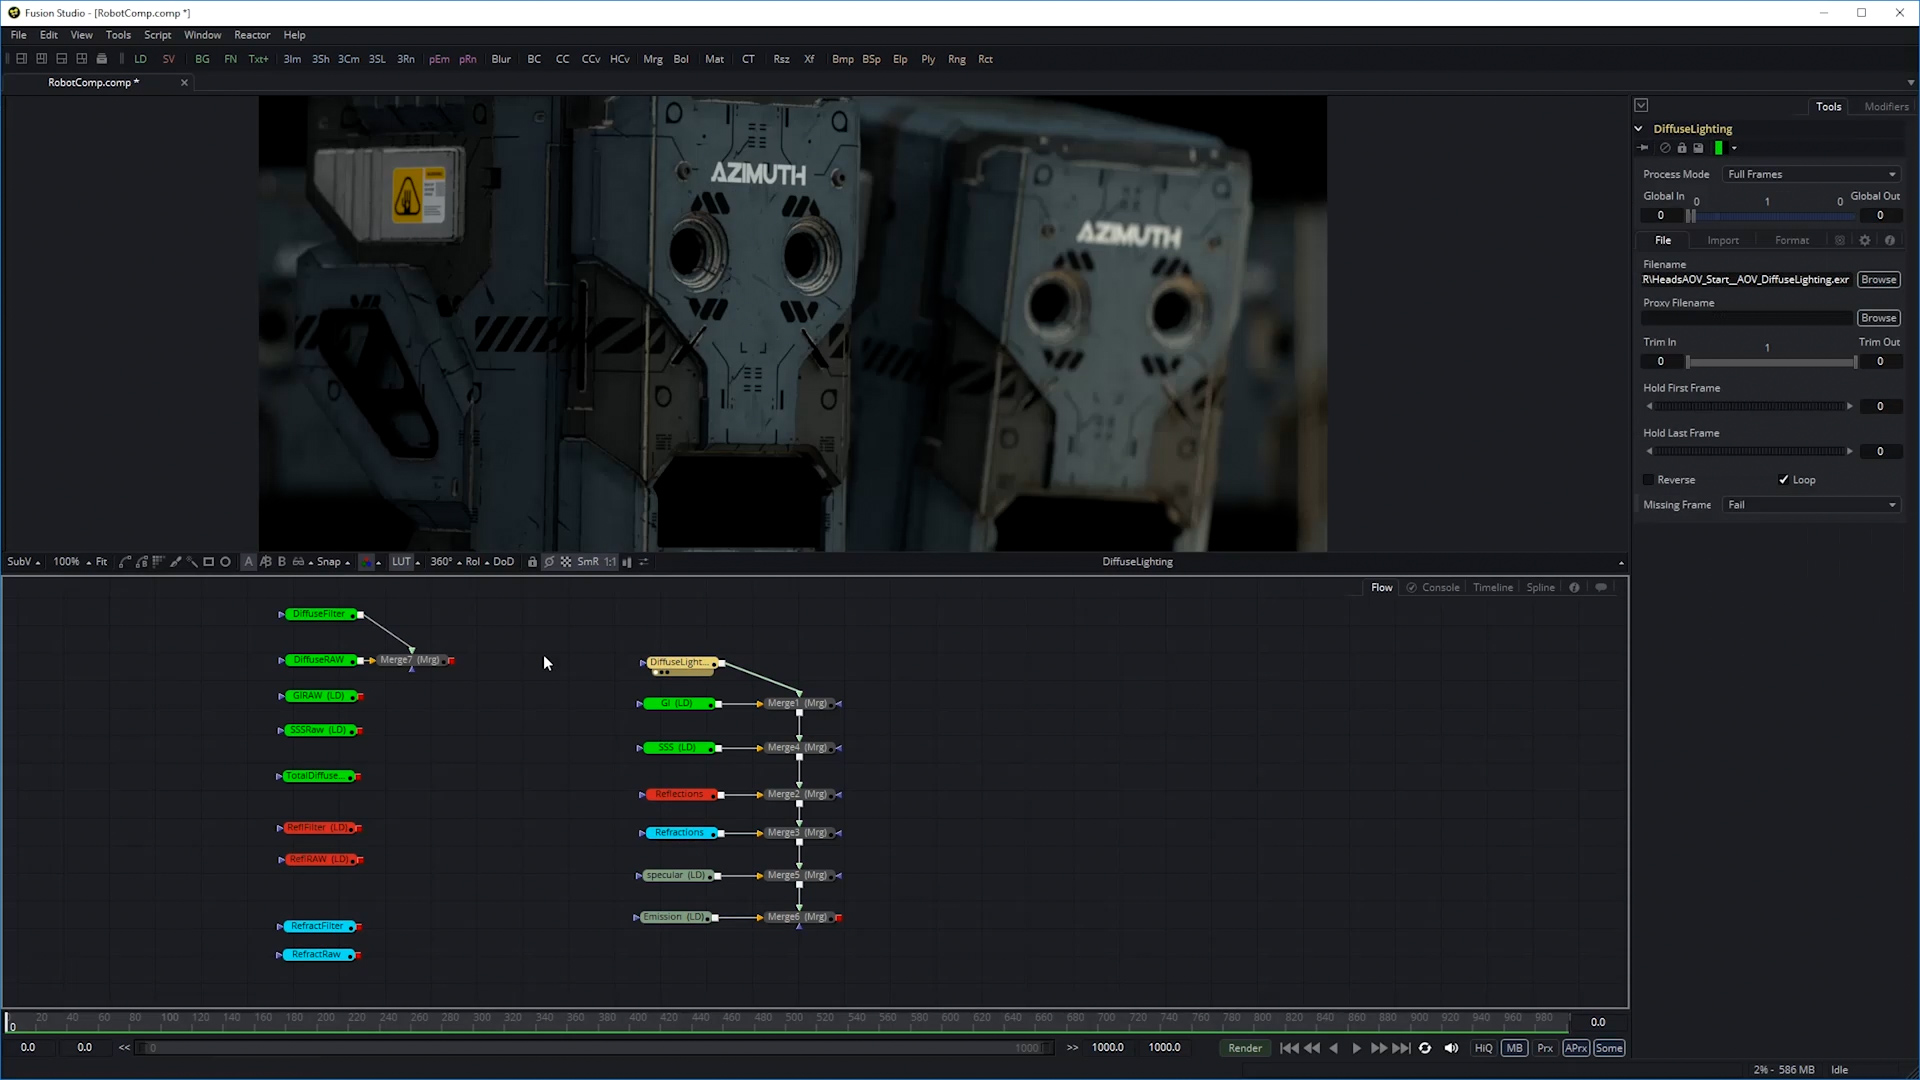
We look at some of the other supporting passes we can output in Redshift, we setup our samples and our scene for final render and we look at how we can recombine all of our main passes together in both black magic fusion and after effects, to recreate the beauty pass.
Duration: 10:29 mins
This video is about raw lighting passes and comparing them to their standard AOV counterparts. We also discuss at why we may want to disable ‘apply colour processing’ to our AOV passes.
Duration: 25:07 mins
Custom AOVs give us the ability to output just about any part of our rendering into a separate pass; here we learn how we set these up. We look at overrides, outputting custom passes from parts of our shader graph and also combining all of these together as RGB mattes.
Duration: 21:29 mins
An intro to cryptomatte and the 4 different ways of outputting a cryptomatte pass. We look at how we can isolate our mattes within both fusion and after effects.
Duration: 09:52 mins
We look at how we can define light groups for our scene lighting, this give us further control so that we can further split our passes into their respective contribution from each light.
Duration: 06:58 mins
For our last video we go back to the depth and look at setting up a non antialiased depth pass that can work with frischluft’s depth of field plugin, in black magic fusion.